
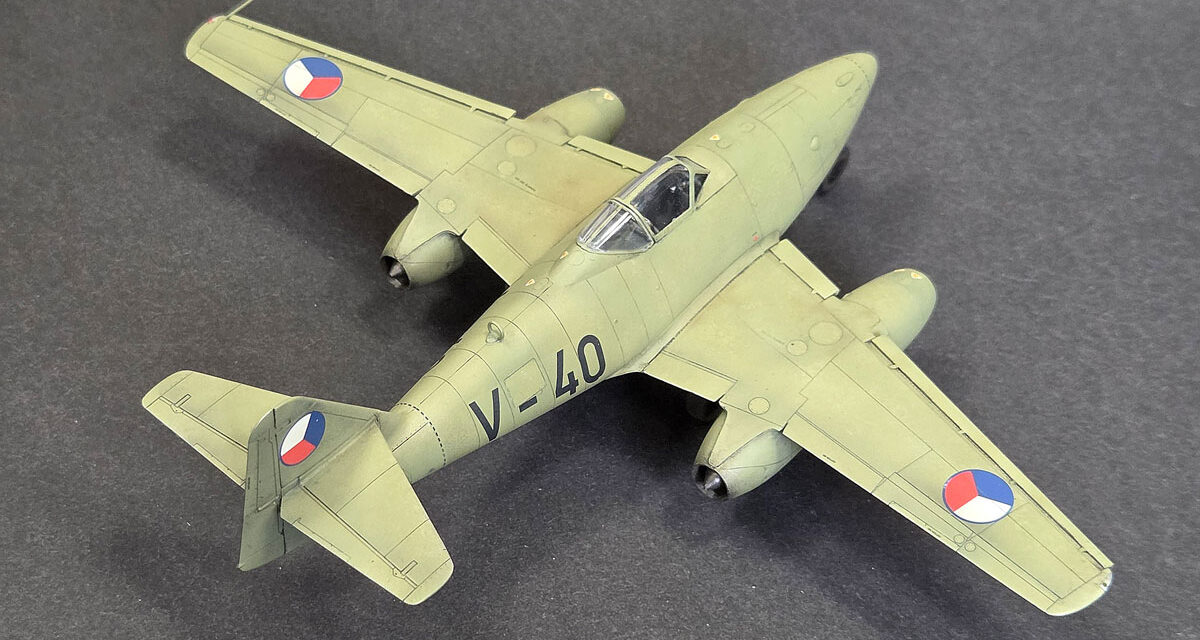
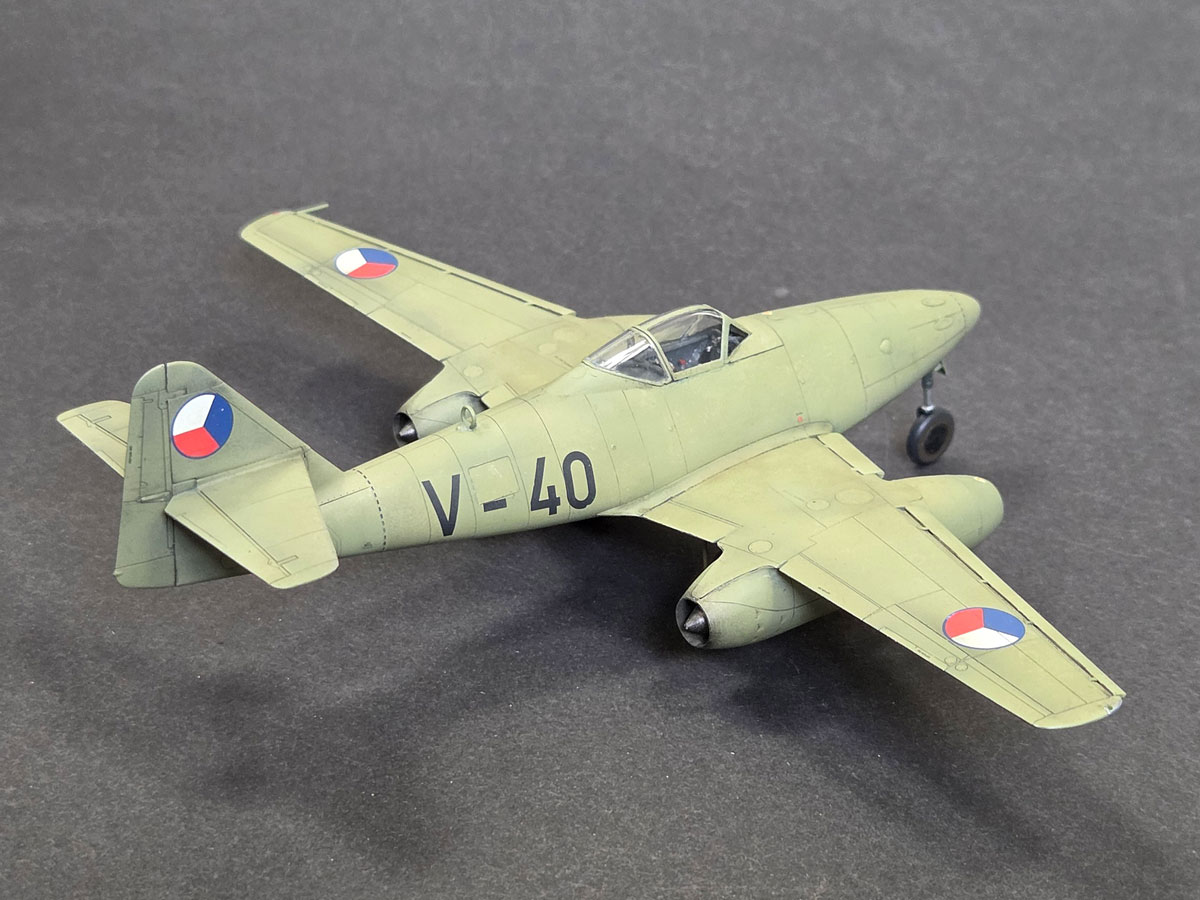
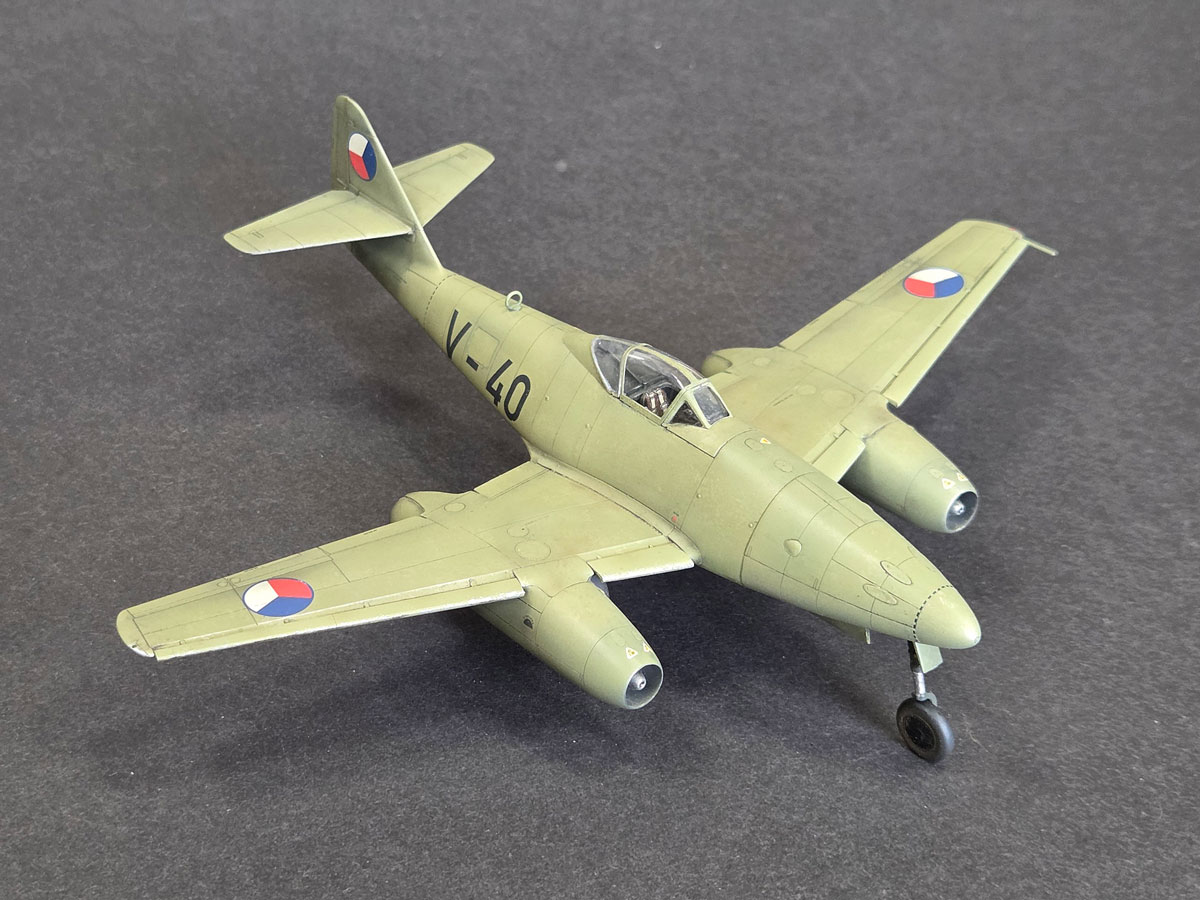
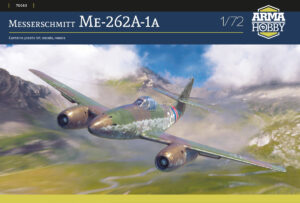
Today I’d like to show you my model of the Czech Messerschmitt 262 – the Avia S-92 Turbina. I was especially keen to build this particular scheme, but more on that in a moment. It’s a model where some things went well, some were less than perfect, and a few lessons along the way may be useful for your own build too.
Nostalgia Goes Jet-Powered
I chose this model partly out of sentiment. I’ve always had a soft spot for Czech kits from the old days, when many of us built various Avias from Kovozávody. I already have several of these built, including newer releases from Eduard. I knew from the start that I wanted to build the Czech Avia first, and perhaps later a classic Messerschmitt Me 262 – maybe with extras and a bit more ambition.
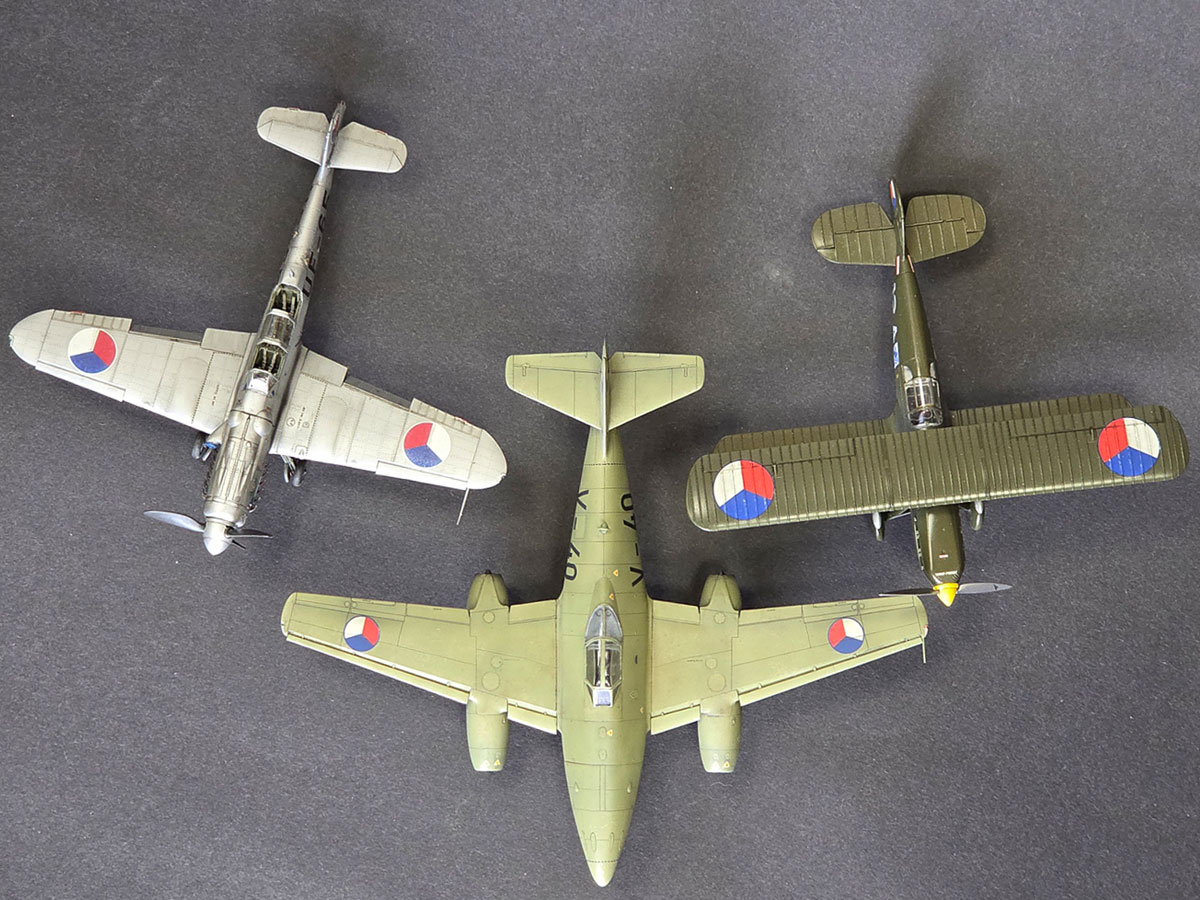
I think you’ll agree that this Turbina looks right at home next to an Avia B-534 and an Avia CS-199. You’ll find the answer at the end of this post.
I built the model straight from the box. No extras, no modifications – just assembly, paint and decals. I focused a little more on the painting, because I wanted to show how much character you can bring out of an out-of-the-box kit with paint and a few simple techniques.
Painting the Model
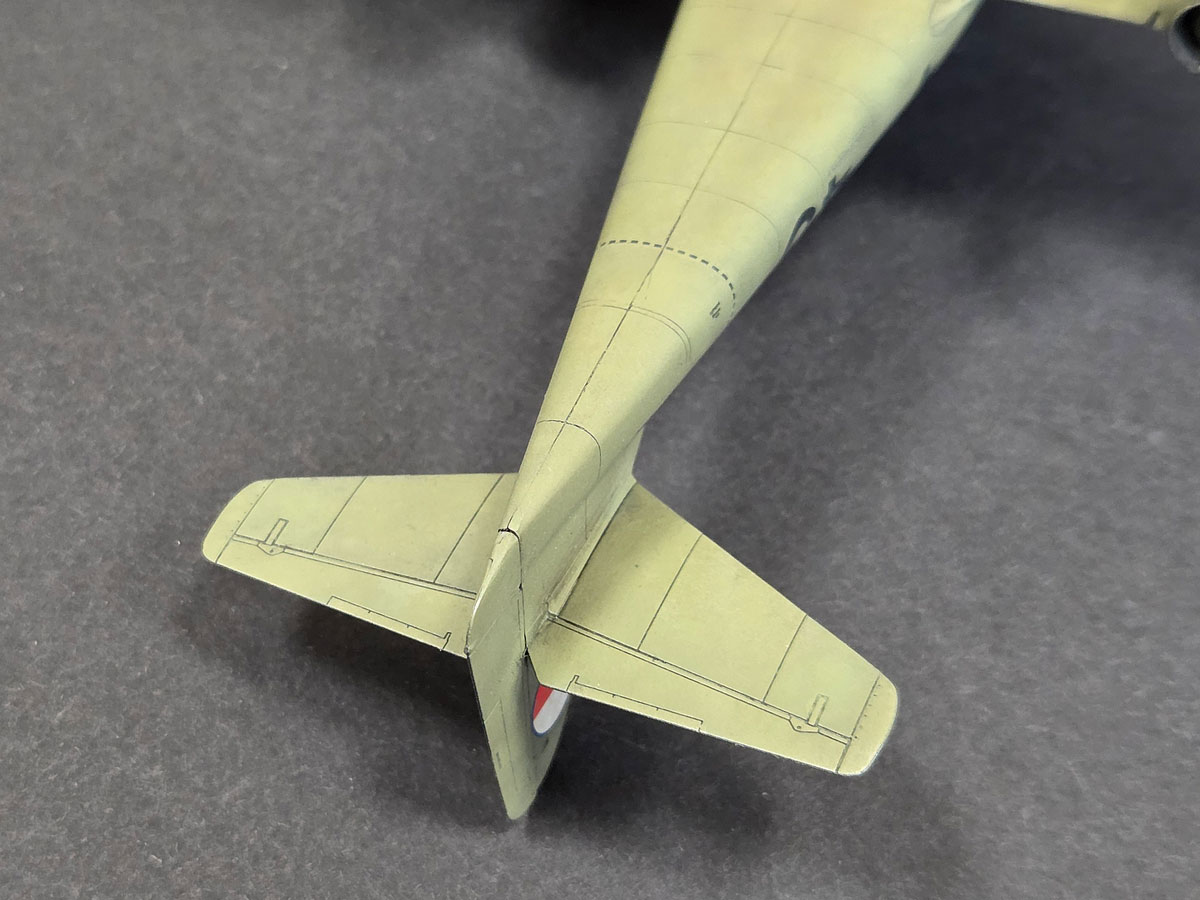
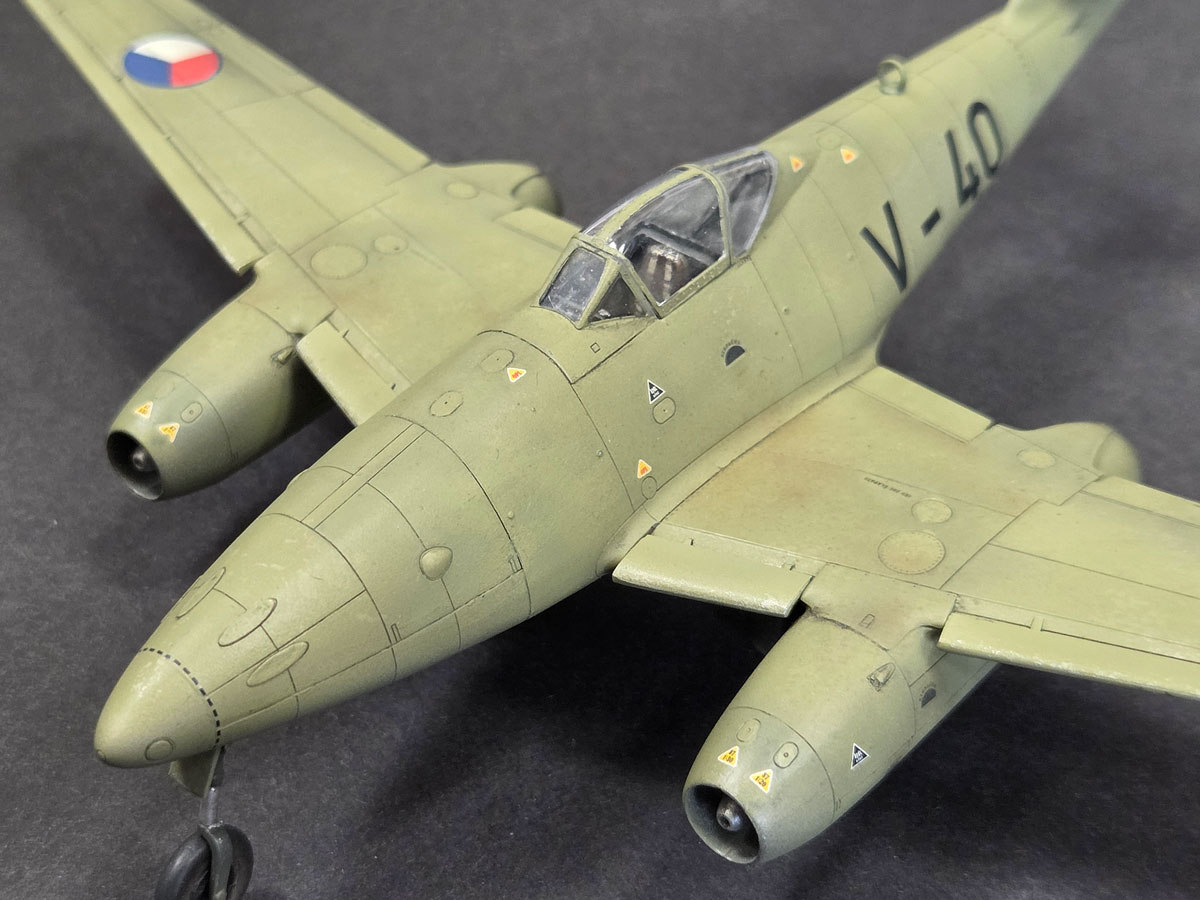
The aircraft was painted in a Czech colour very close to RLM 02, the familiar German protective primer shade. A single-colour finish has one major advantage: it makes it much easier to create subtle fading, grime and signs of use. With multi-colour camouflage, like on late-war Me 262s, that becomes harder because the colour divisions already do much of the visual work.
My method was to start with a metallic base coat – for example Gunze C8. Then I used masking fluid to protect selected panels, inspection hatches, ailerons and small areas I wanted to vary later. Around those I sprayed a darker shade, probably RLM 66. After that I dabbed tiny spots of masking fluid with a sponge in areas that would see more wear.
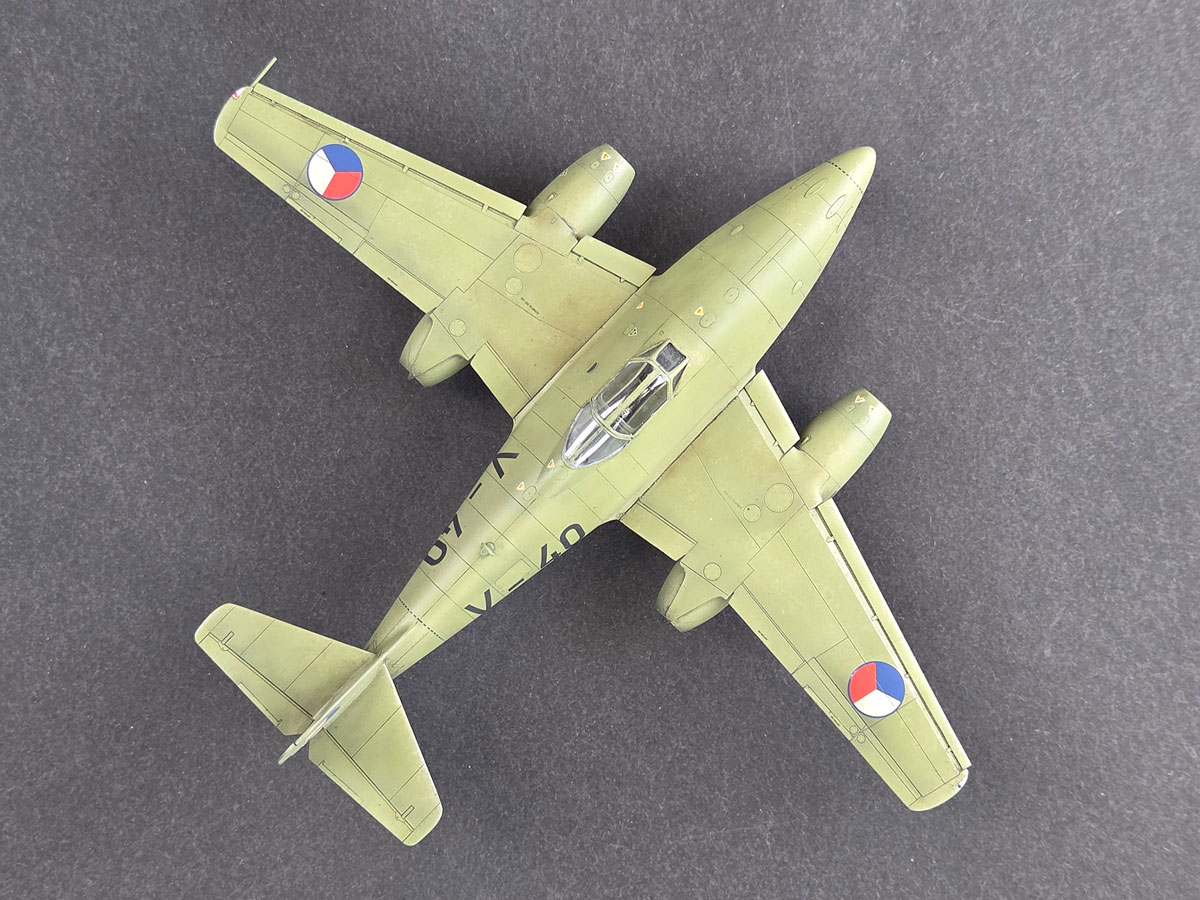
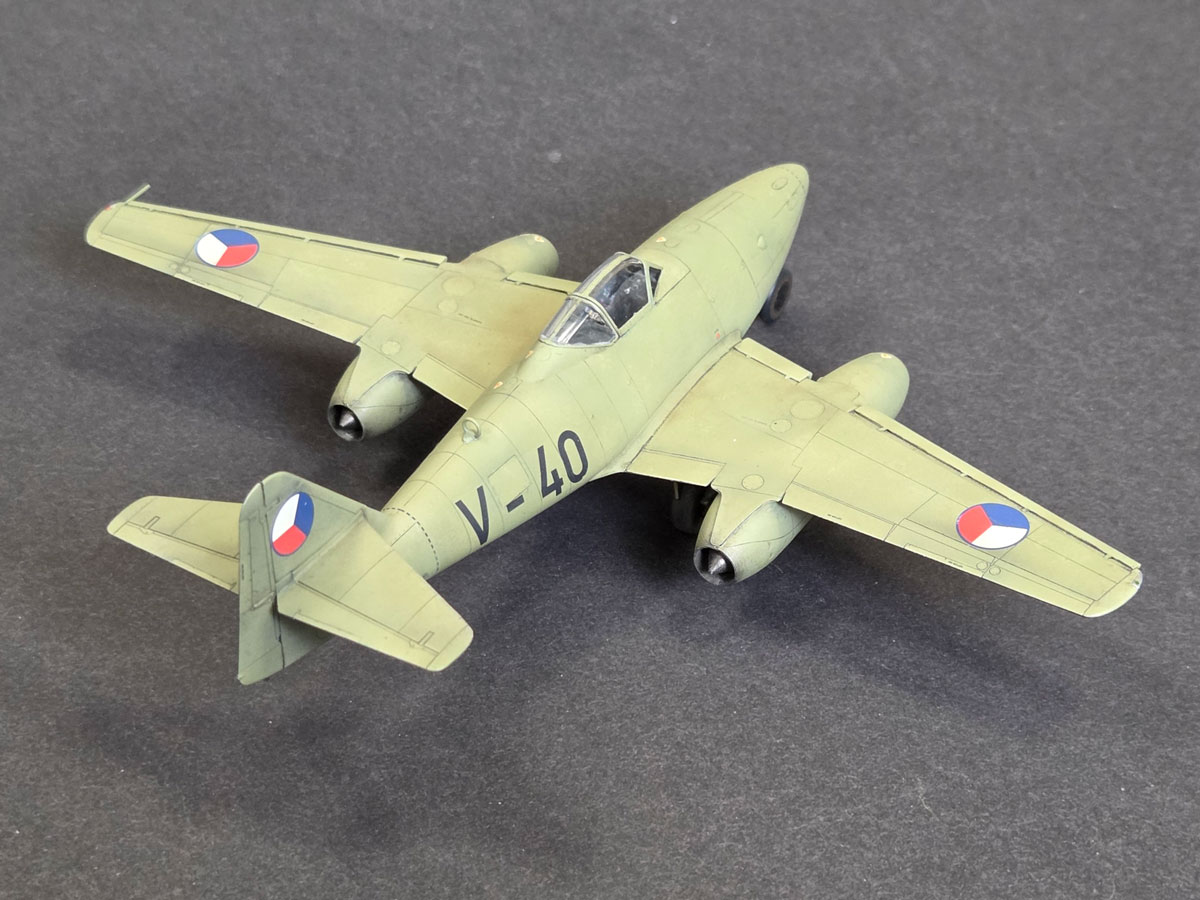
Then I painted the whole model in RLM 02, gradually removing the masking and adding further layers. Later I lightened selected areas with RAF Sky. The result was an uneven grey-green finish that looked far more interesting than a plain solid coat.
I also used a very thin sponge, stretched slightly, and sprayed through it with the airbrush. The paint passed through the tiny openings and created subtle dots and tonal variation. It’s a very effective way to bring a single-colour finish to life.
Cartograf Decals – A Few Notes
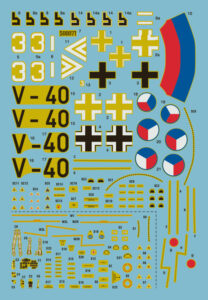
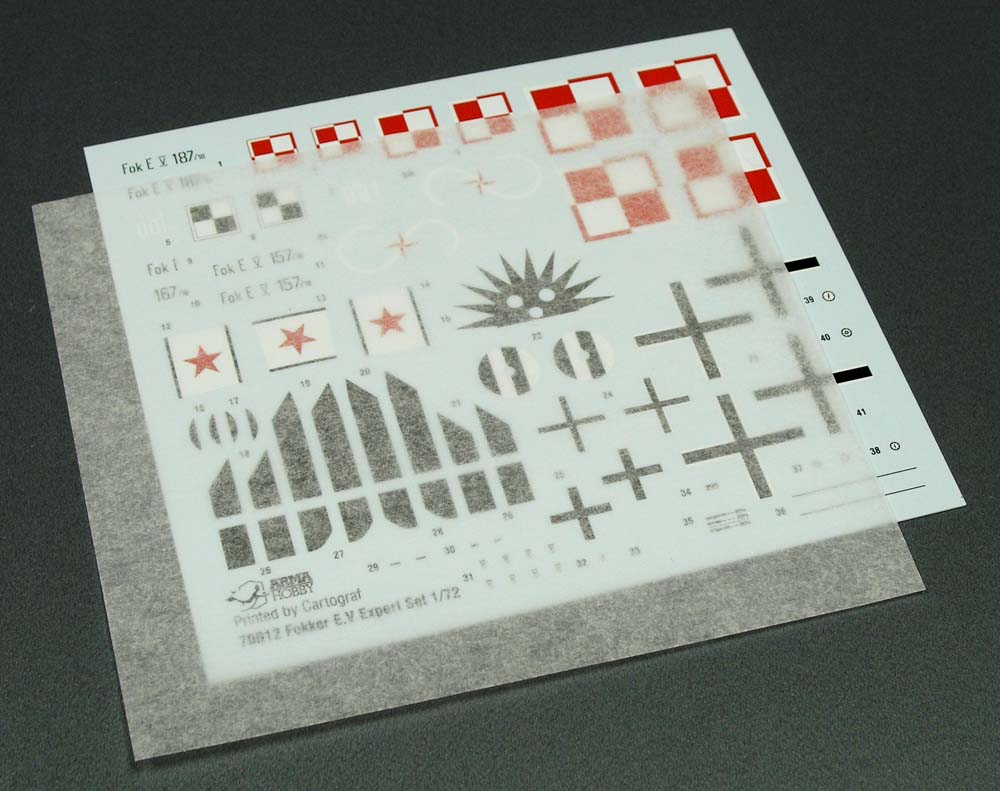
After a clear coat, I applied the decals. One small note here – decals from Cartograf are softer than those many of you will know from Techmod. Both companies make excellent decals, but they behave a little differently. Cartograf decals work best on a properly wetted surface with decal solution or water. If the surface dries too quickly, they can curl and become harder to position.
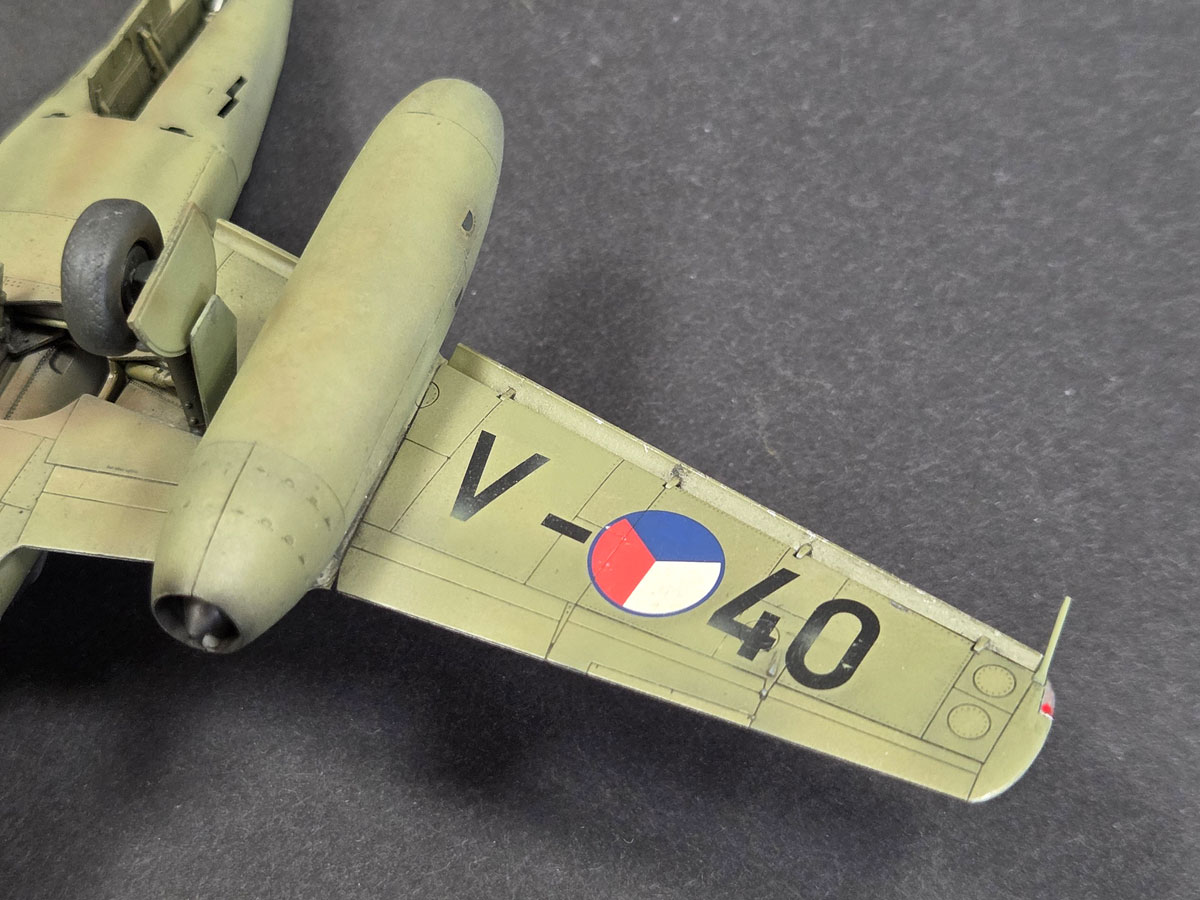
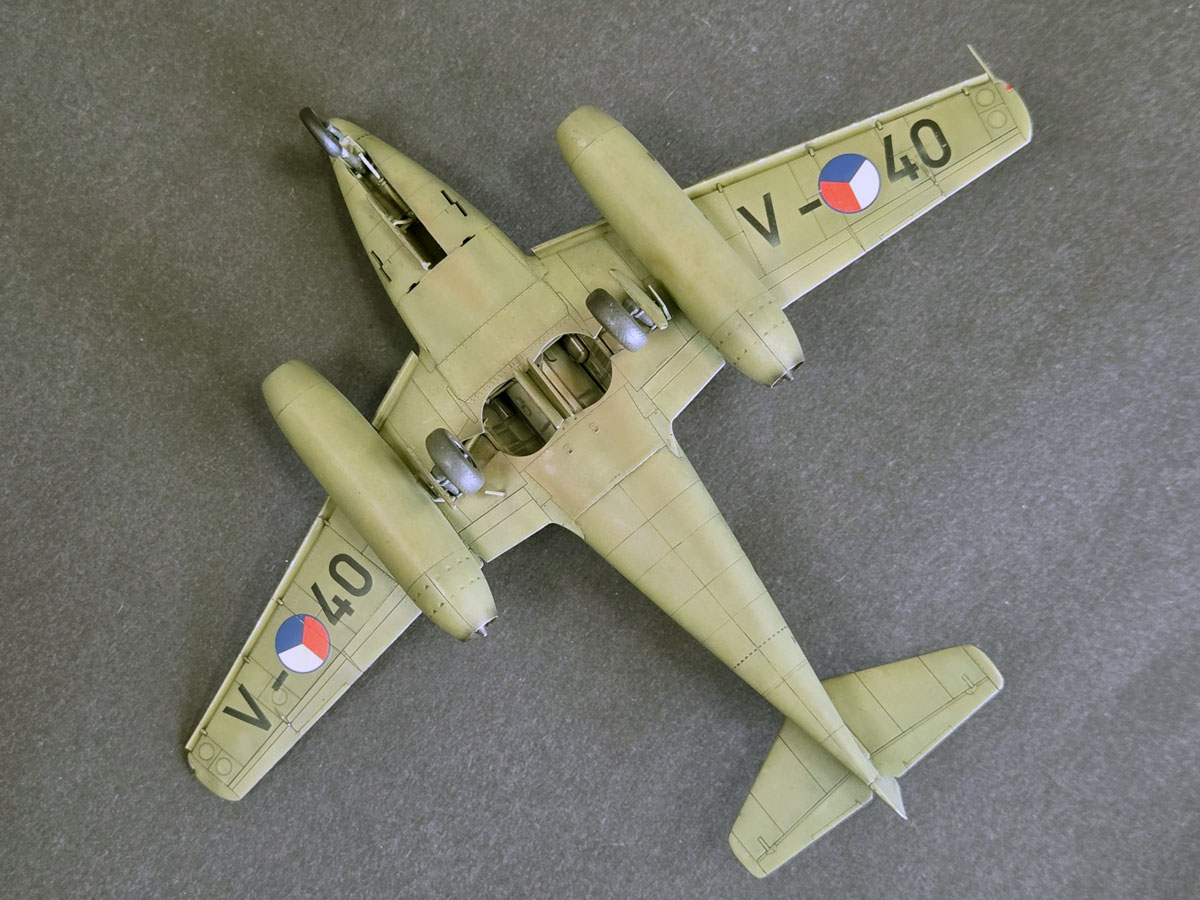
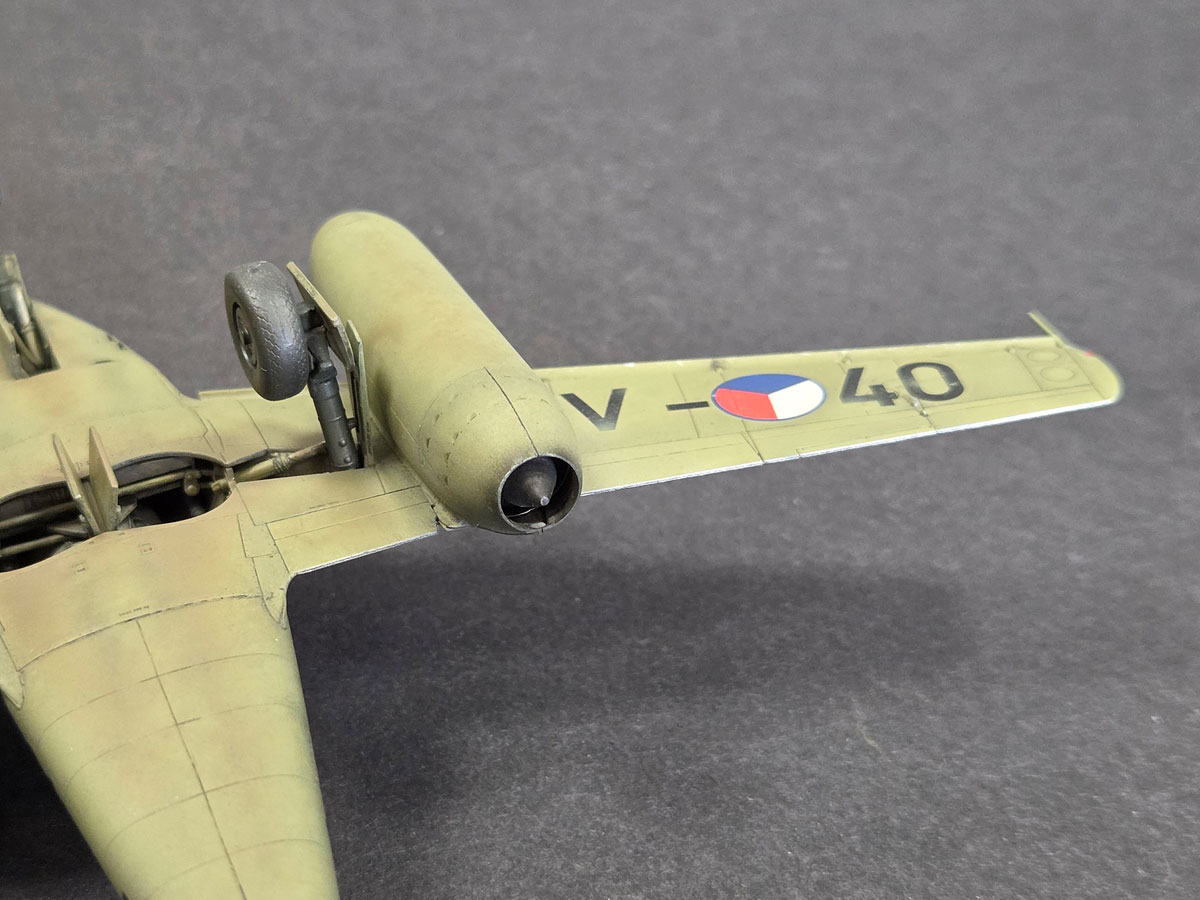
This model carries Czech markings mirrored on both sides of the aircraft. It’s worth taking a little extra time to keep them symmetrical and aligned with the panel lines, because on a single-colour finish any asymmetry stands out immediately. There are also fine warning stripes – they like to curl, but they can be settled into place without too much trouble.
Weathering – Post Production
Once the decals had dried, I added another clear coat and highlighted the panel lines. I didn’t use black, as it would have been too harsh. Instead I used Ammo Mig Oilbrusher Starship Filth – a dark grey-green shade that works very well on this kind of finish. Excess was wiped away with paper towel, with a few areas cleaned up using a brush and white spirit.
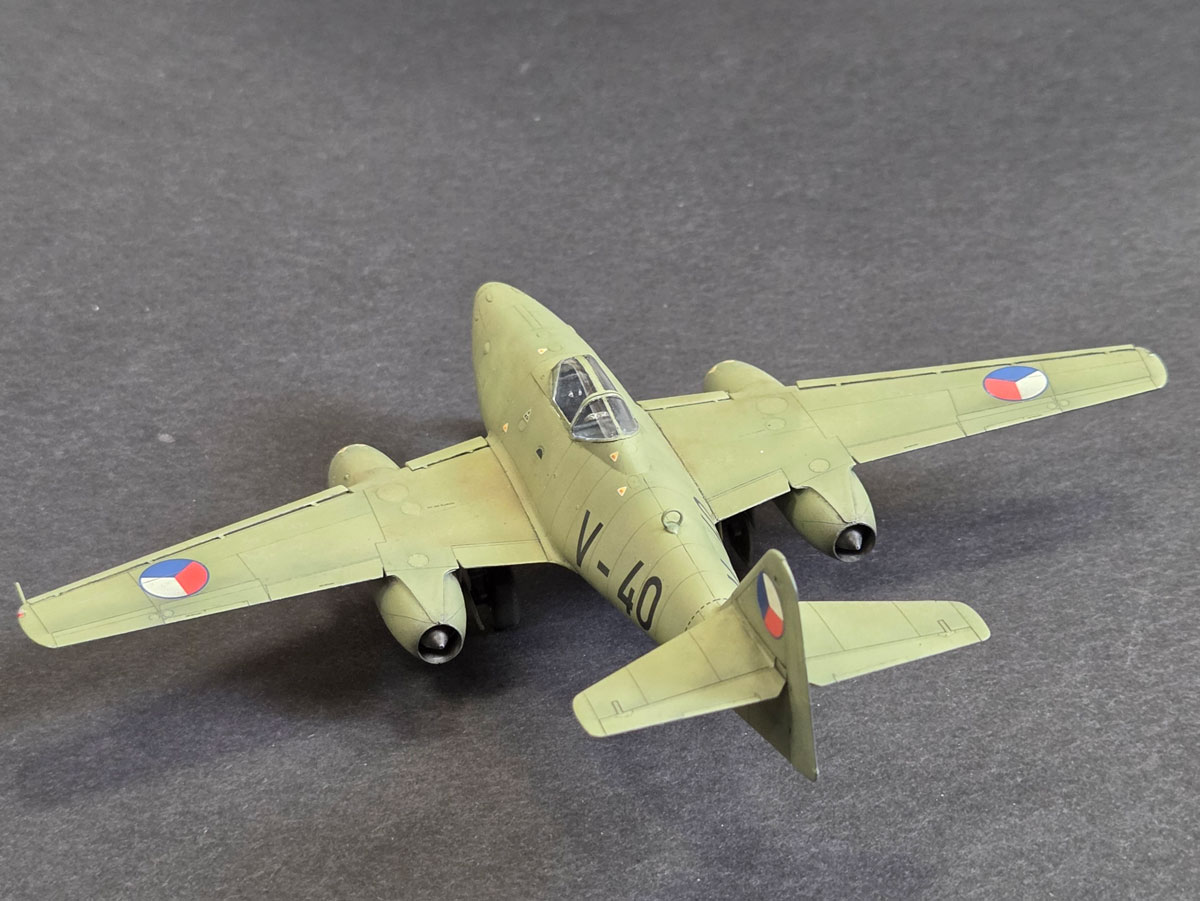
Finally, I sealed everything with Hataka semi-matt varnish and added a few chips plus some dirt sprayed with Dark Earth in areas walked on by the crew and around the undercarriage.
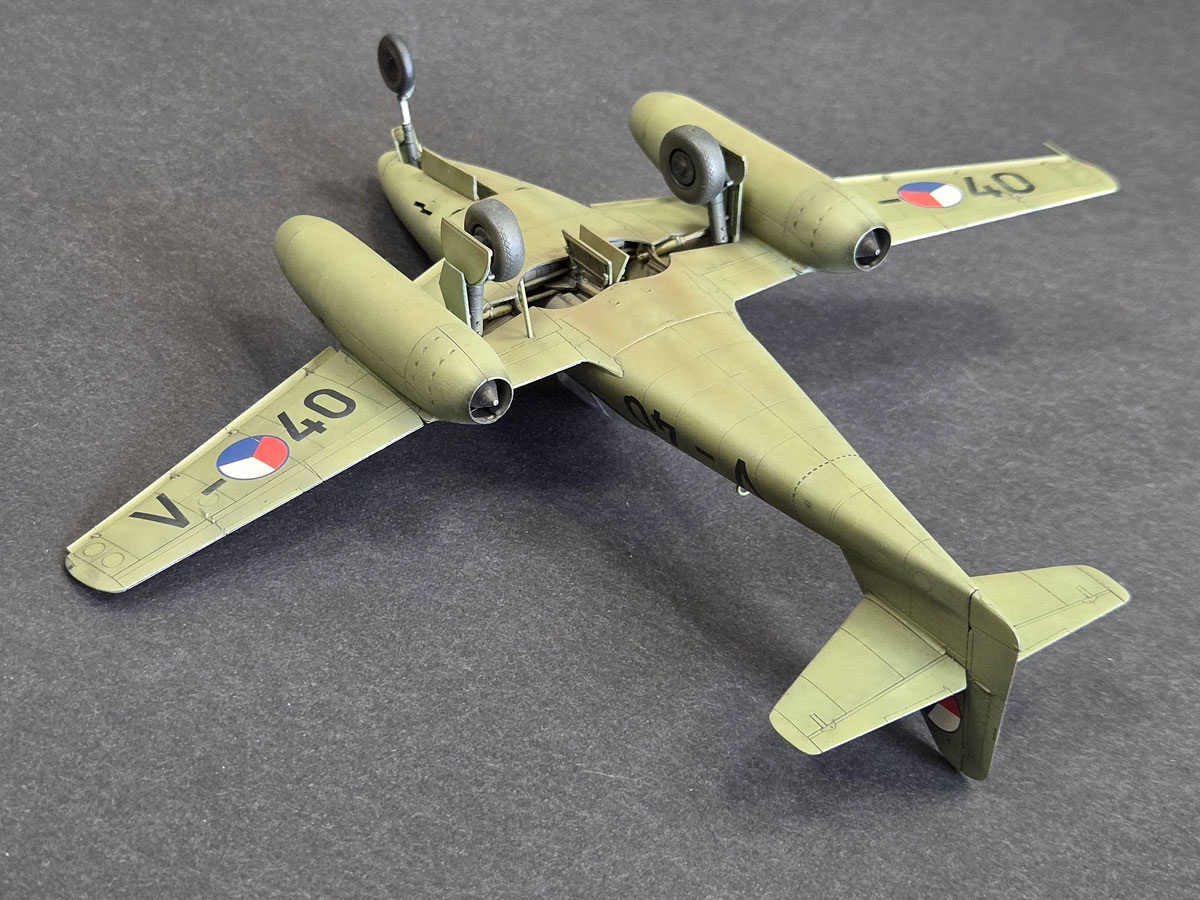
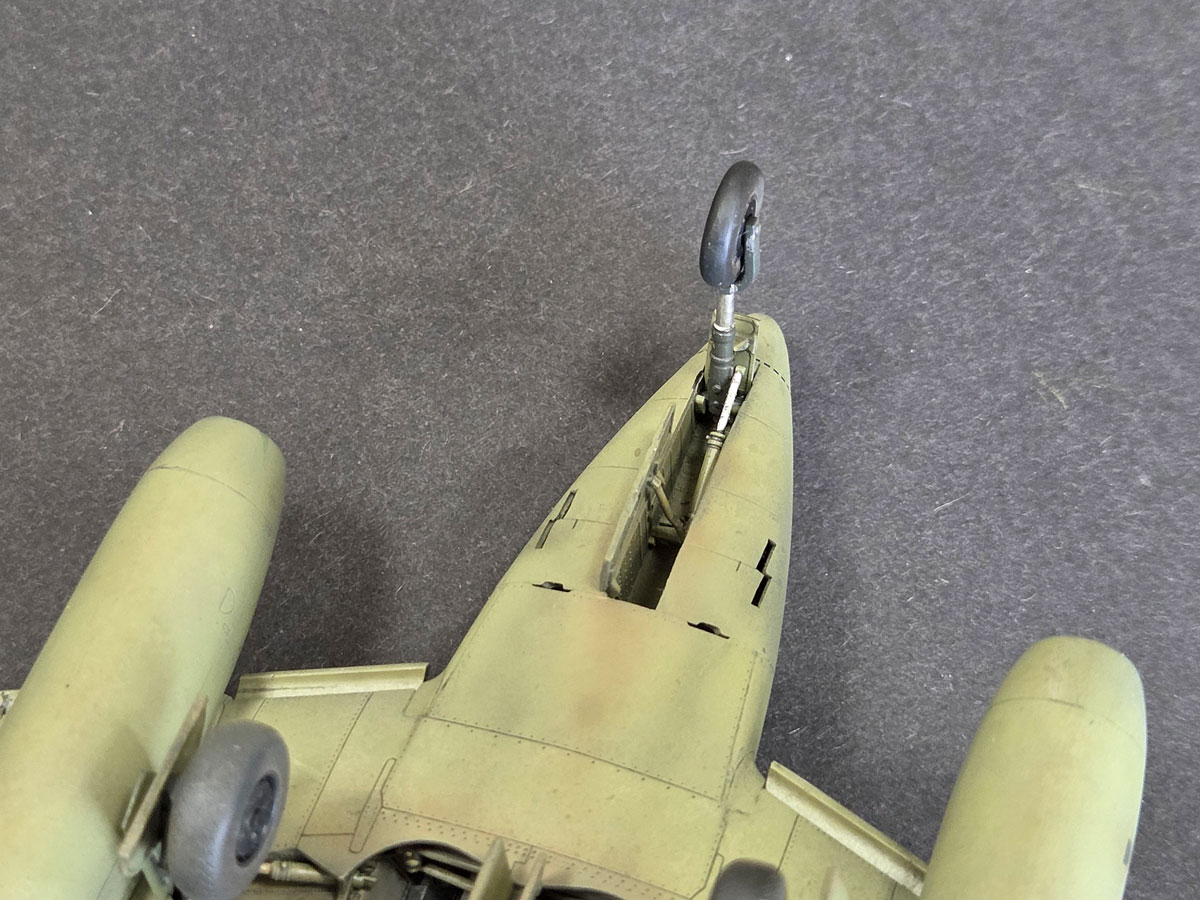
Undercarriage Assembly – Almost Click Fit
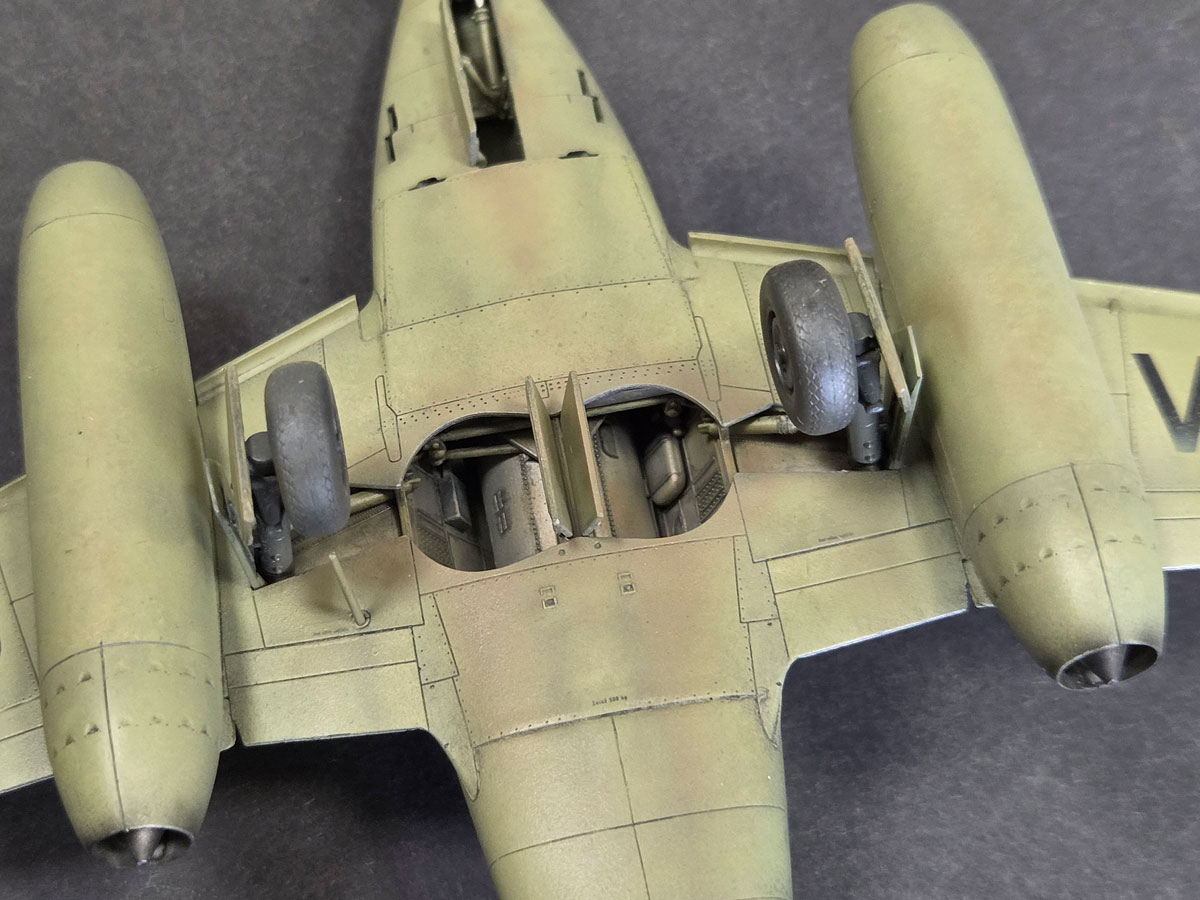
As for the undercarriage, the model is very cleverly engineered here. The parts fit so well that they can almost be assembled without glue. You just need to watch paint thickness – if the coat is too heavy, parts may not slide into place. A light sanding of the contact areas solves that quickly.
The main and nose gear legs have cleverly attached upper door sections, and once inserted into the wing they lock neatly into place. You can press them home with blunt tweezers, gently and with feel. No sudden moves and no unnecessary brutality.

My Three Biggest Mishaps
- There were a few mishaps too. After removing the canopy masks, I noticed what looked like a scratch. I sanded and polished it, but nothing helped. It turned out to be dirt on the inside. I carefully cut out the sliding canopy section with a Czech razor blade, removed it, and the culprit – a tiny speck of dust – vanished somewhere. The canopy section no longer fit quite as neatly, but I tell myself you can’t really see it (almost).
- The second issue was a fingerprint on the fuselage side. My finger must have had a trace of glue or thinner on it. I first tried to rescue it with a glass fibre pen, but that looked worse. In the end I simply repainted the area with the base colour and the problem disappeared.
- The third was one main gear leg sitting very slightly out of line. You can hardly see it – but I know it’s there. If I’d checked it earlier in the jig, I could have corrected it easily. Once the wheels and doors were attached, I didn’t want to risk breaking anything. Sometimes you just have to accept that perfect isn’t happening today.

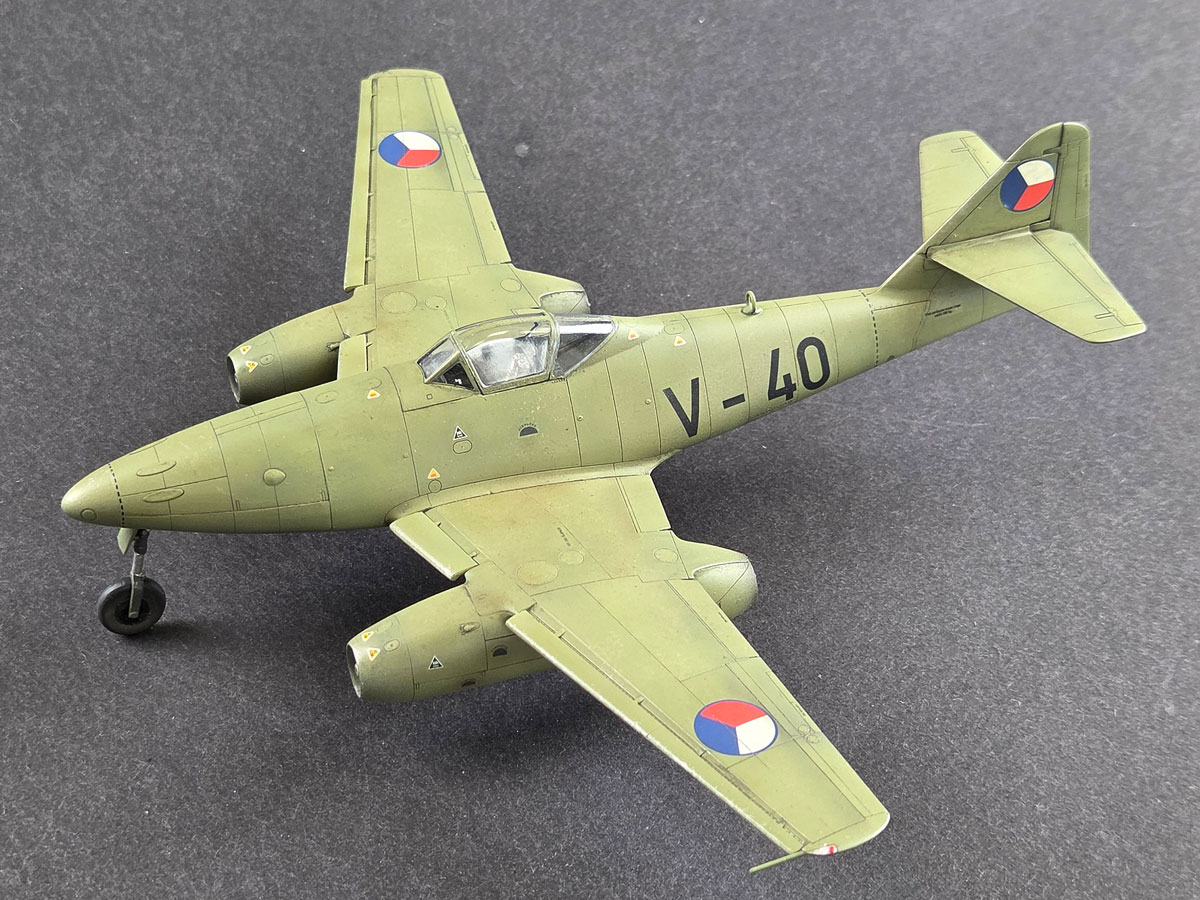
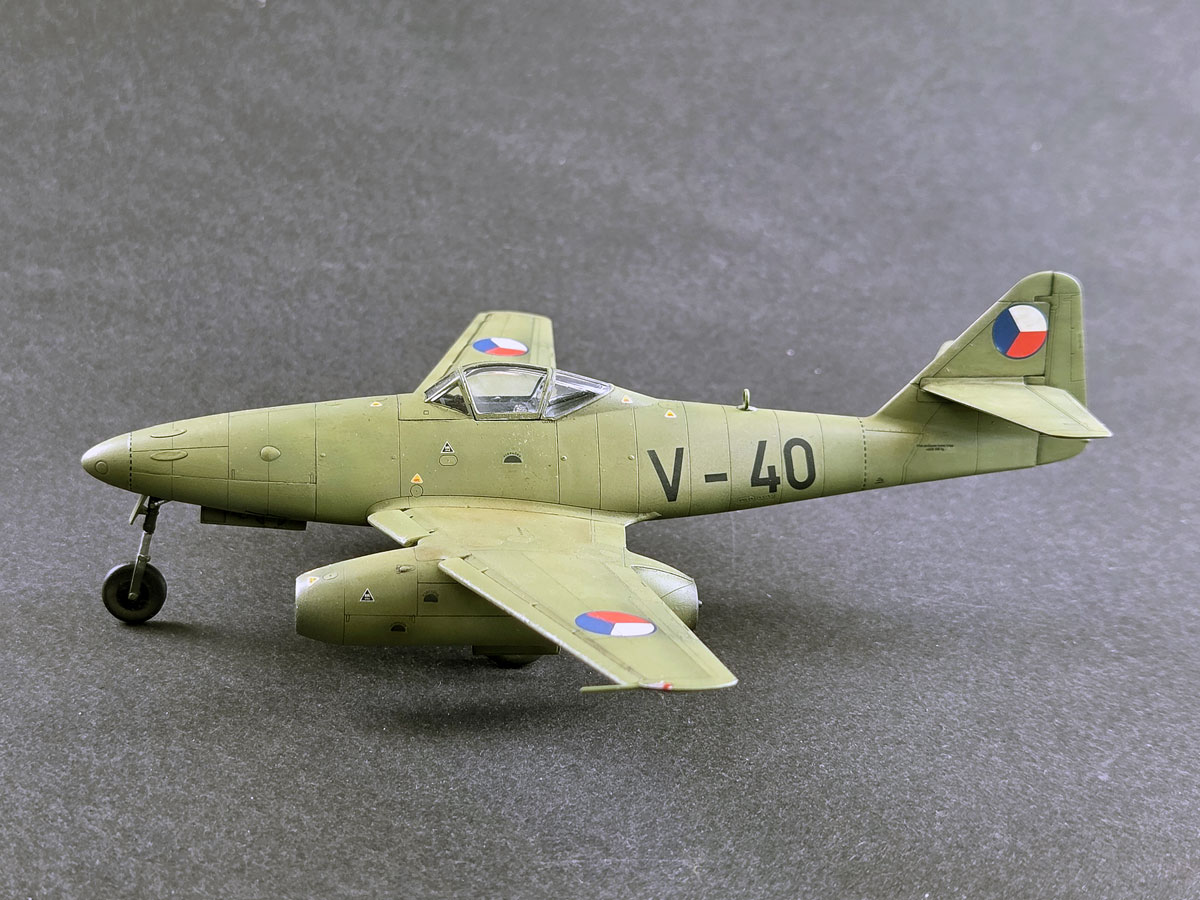
Finished Model
I expect you know this feeling too: the build dragged on a bit. There were other jobs to do, an Easter break, and for at least two weeks I didn’t touch it at all. I can’t even clearly remember some of the earlier stages now. Sound familiar?
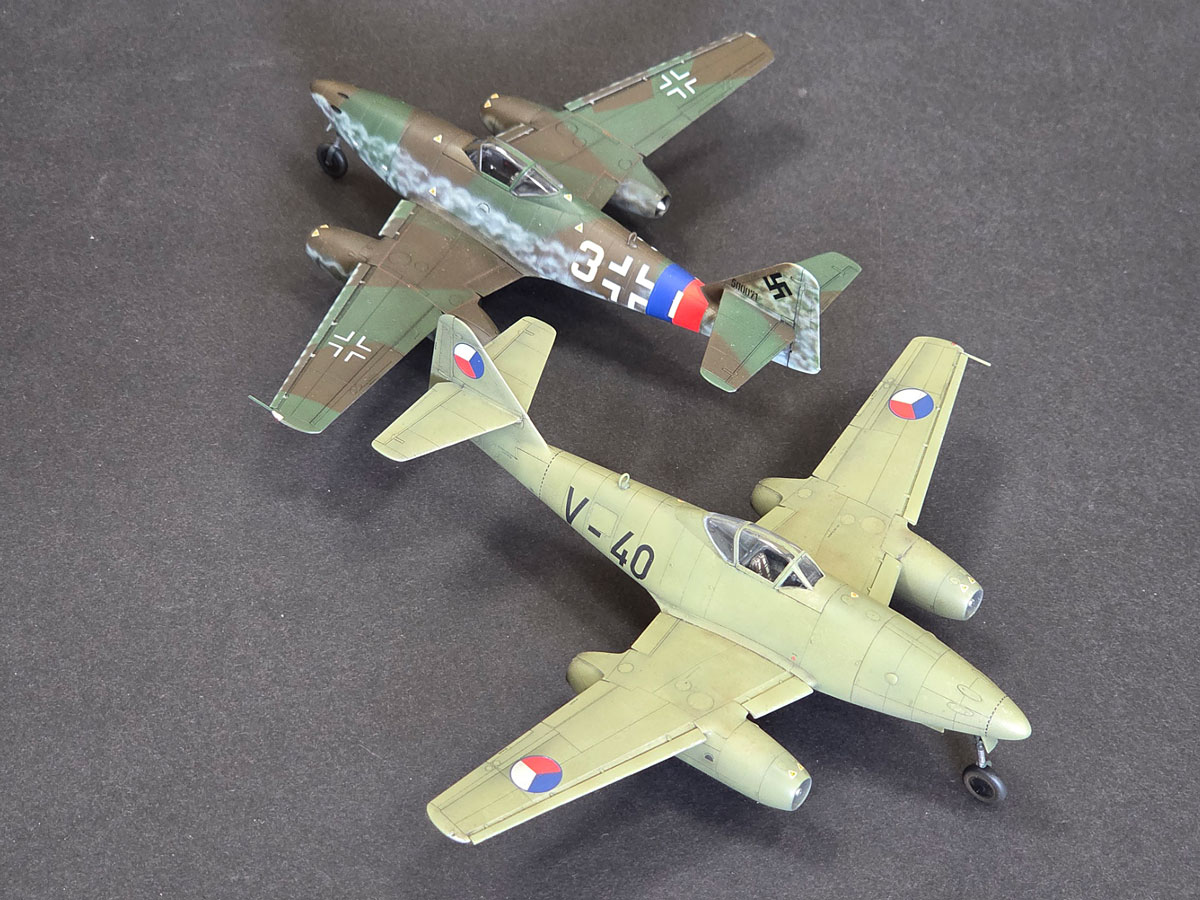
Once finished, it turned out that this grey-green Turbina had more charm than I first expected. It’s not an aircraft that shouts with bright colours, but that’s exactly why it draws the eye with detail and character.
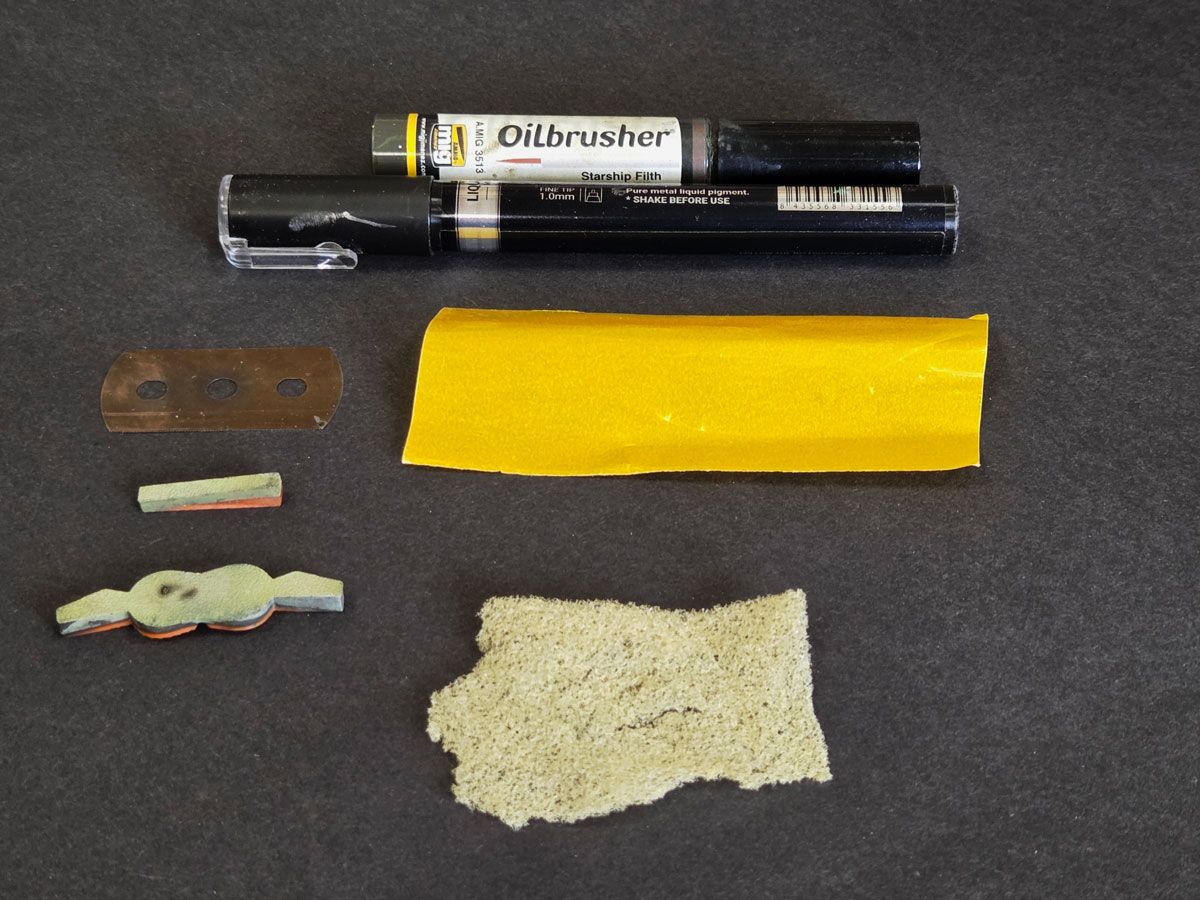
Tools of this story. I didn’t mention a few helpful workshop companions in the main text: 3D-printed masks for the wheel wells, a small piece of plastic backing from double-sided tape used when shading the ailerons and flaps, and the Chrome marker from AK Interactive. I used it for the shiny hydraulic cylinder sections of the undercarriage. I corrected it three times before finally realising the best way was to squeeze a little paint into a small container and apply it with a brush. That was mishap number four – and another useful lesson.
It gave me a lot of enjoyment, several chances to improvise, and a few useful lessons along the way. If you like unusual subjects and want to build something different from yet another standard Messerschmitt Me 262, then the Czech Avia S-92 Turbina is a really enjoyable choice.
Let me know which model surprised you most despite a modest paint scheme. I’d love to hear what’s currently on your bench.
Order the kit from our shop
- Buy now link from the Arma Hobby model shop.
Post Scriptum
This is what two Messerschmitts look like:
And this is what three Avias look like:
Modeller happy enough to work in his hobby. Seems to be a quiet Aspie but you were warned. Enjoys talking about modelling, conspiracy theories, Grand Duchy of Lithuania and internet marketing. Co-founder of Arma Hobby. Builds and paints figurines, aeroplane and armour kits, mostly Polish subject and naval aviation.
This post is also available in:
 polski