Encouraged by the very positive reviews of Arma Hobby’s 1/48 Hurricane kit, the growing number of unbuilt Hurricanes on my “shelf of shame”, the inspiring build reports published on the Arma blog and – last but not least – the articles by Tomasz Gronczewski on pme.org.pl, I finally decided to try my hand at this legendary workhorse of the Battle of Britain.
Text and photos Mariusz Hasiuk
Table of contents
- First encounter with the Arma Hobby Hurricane
- Choice of markings and fuselage corrections
- First impressions after opening the box
- “Shake and Bake” – the buildability of the kit
- Cockpit interior and 3D accessories
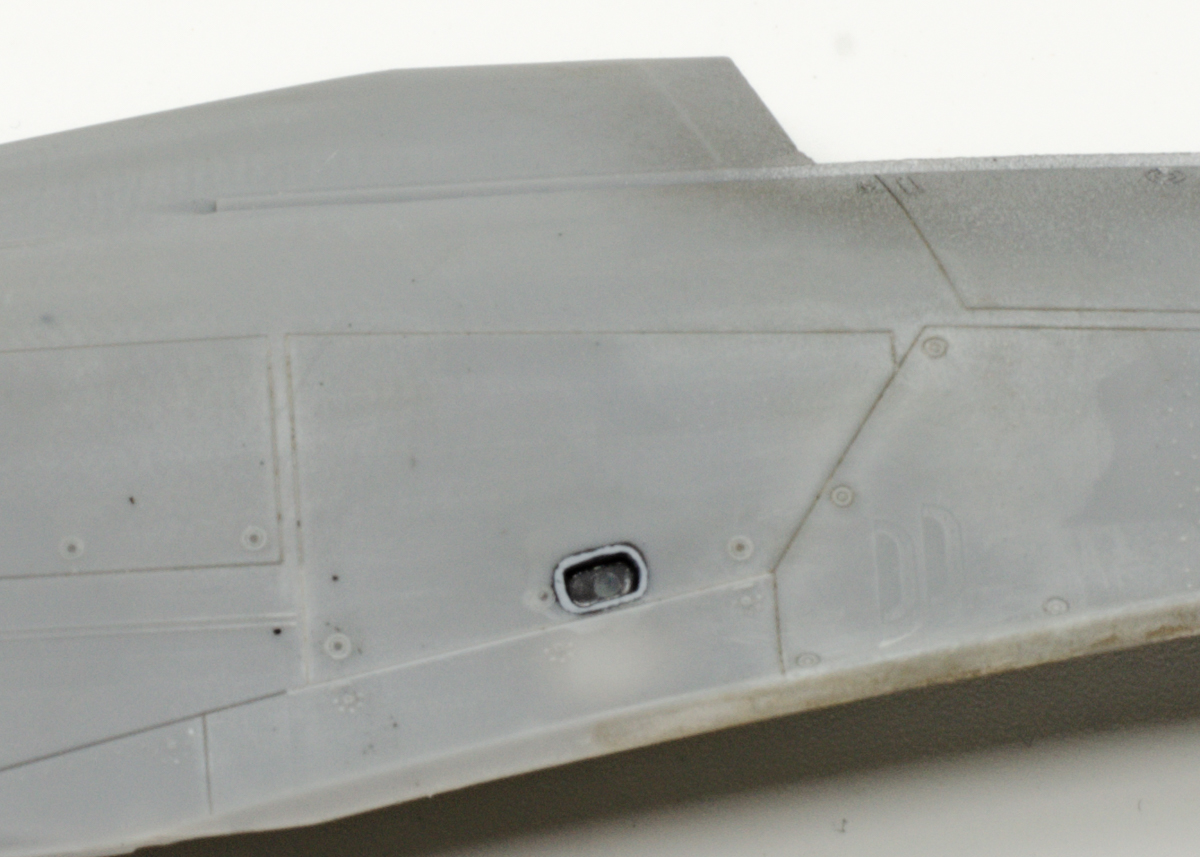
- Radiator, Dzus fasteners and small details
- Battle with the 3D landing gear
- Painting RAF and Malta Hurricanes
- Wash, weathering and modelling magic
- UV resin and transparent parts
- How I photographed the models
- Final thoughts
- Photos of Hurricane Mk I DT-A
- Photos of Hurricane Mk I Trop
First encounter with the Arma Hobby Hurricane
A small digression first: my adventure with the Arma Hobby Hurricane Mk I started rather unfortunately, because the first kit I ordered in preorder was seriously damaged by the courier company. Fortunately, Arma rose to the occasion and immediately sent me a completely new kit free of charge.
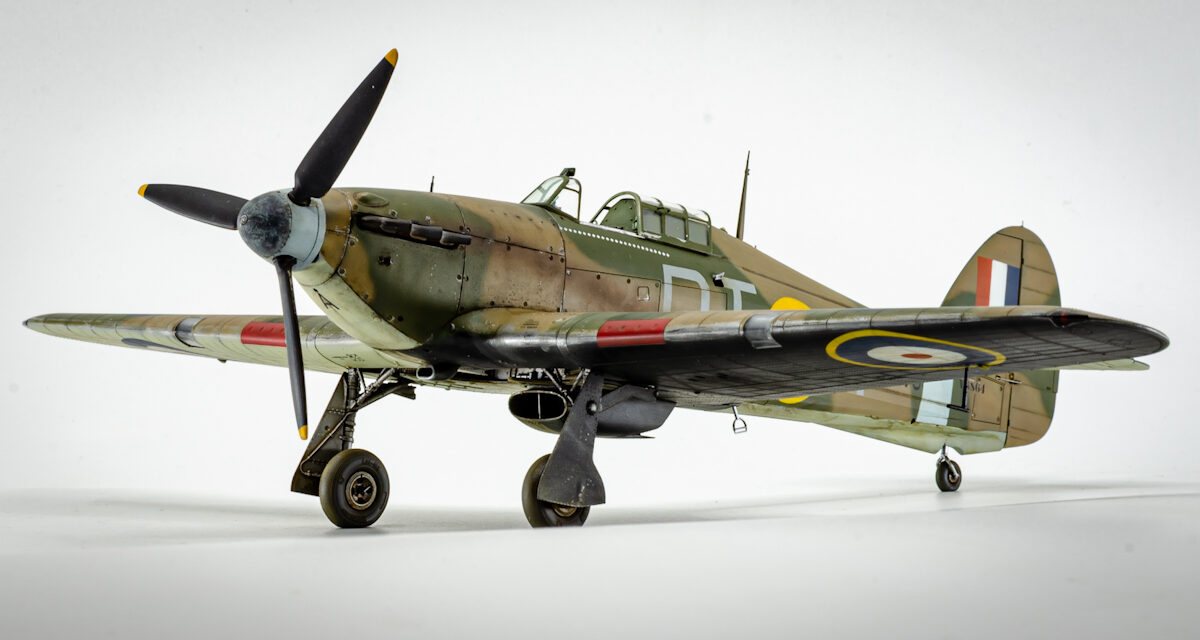
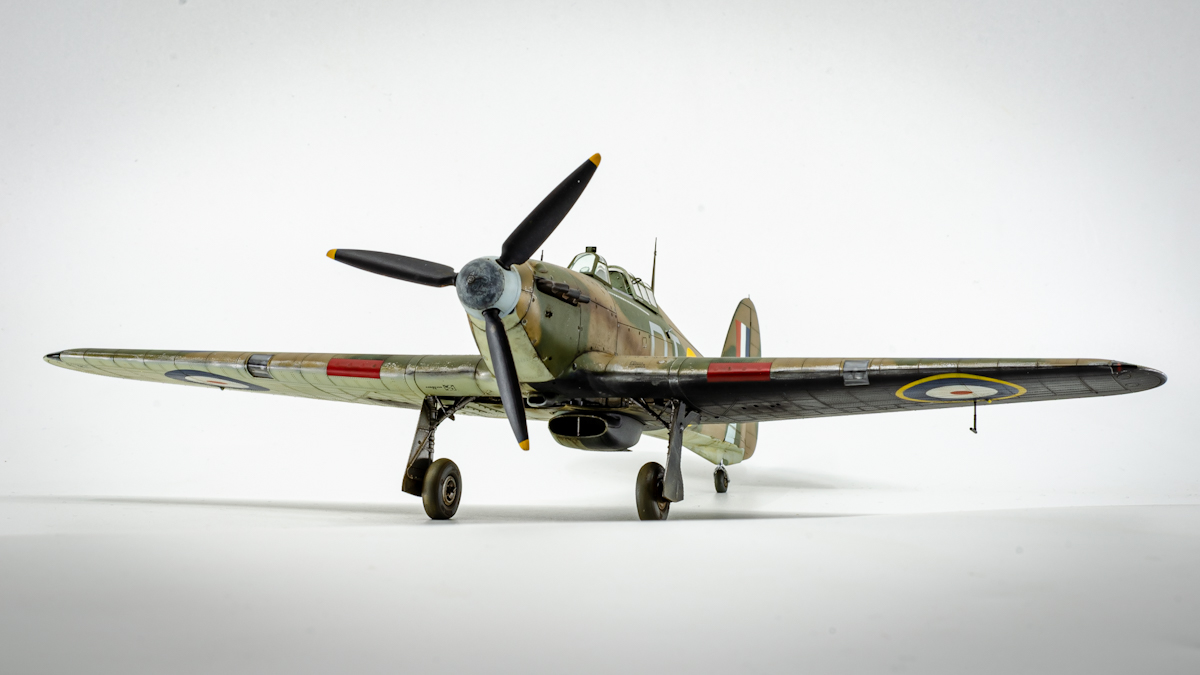
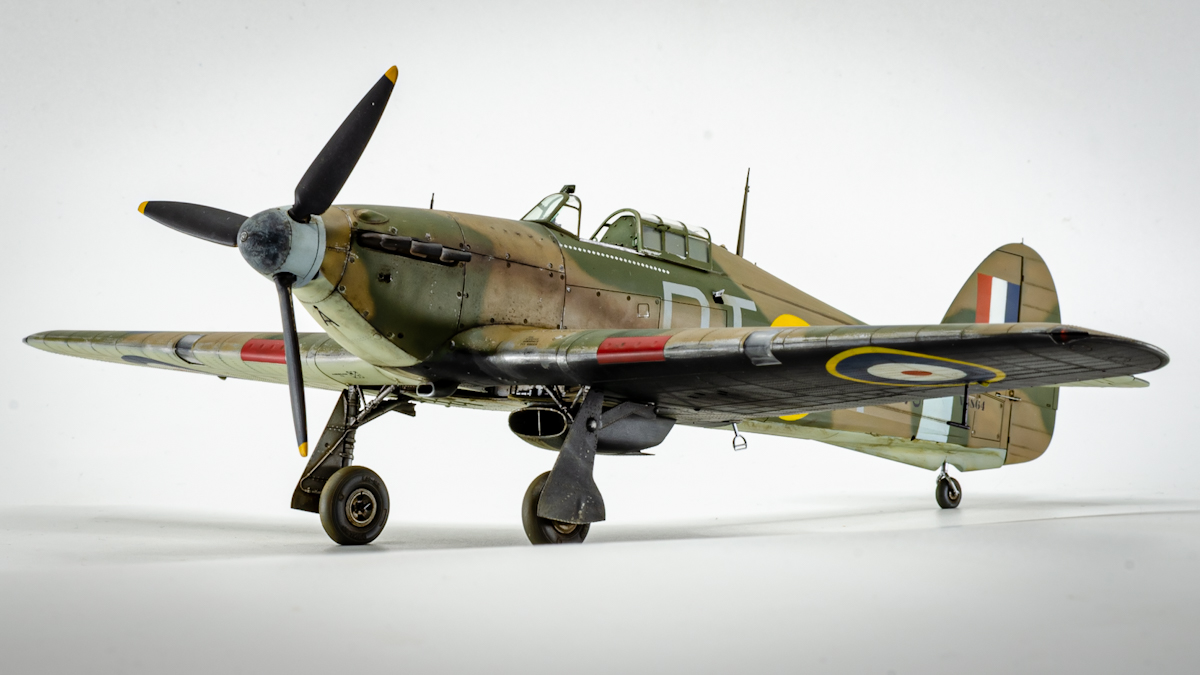
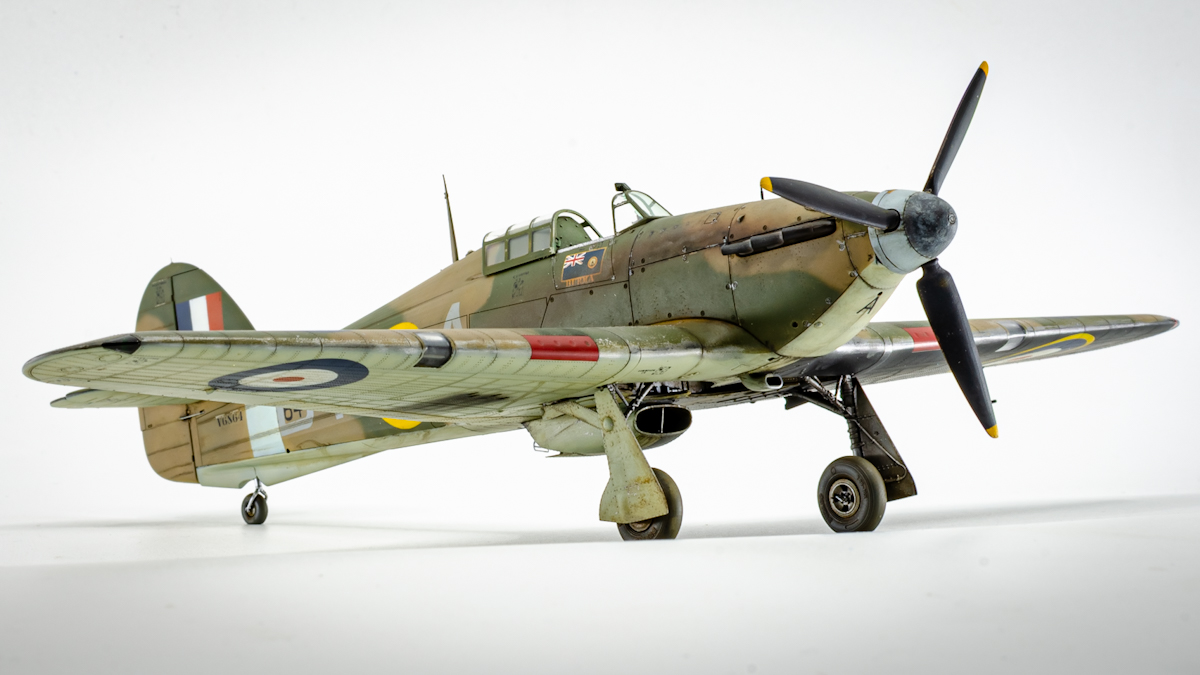
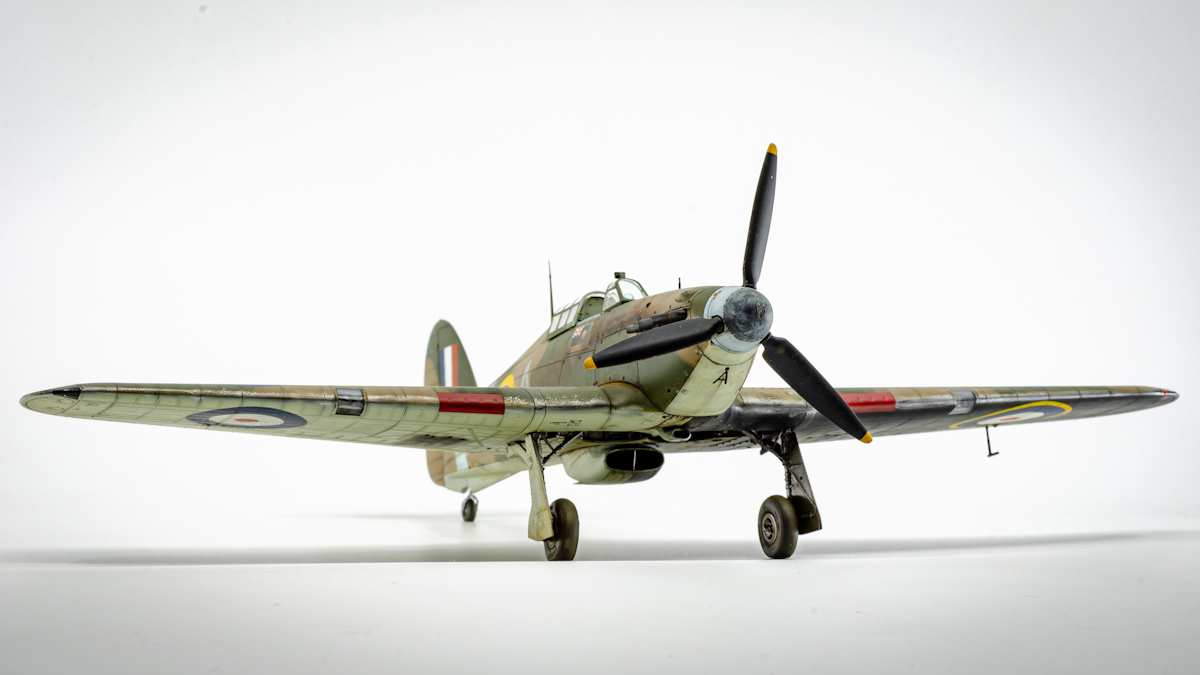
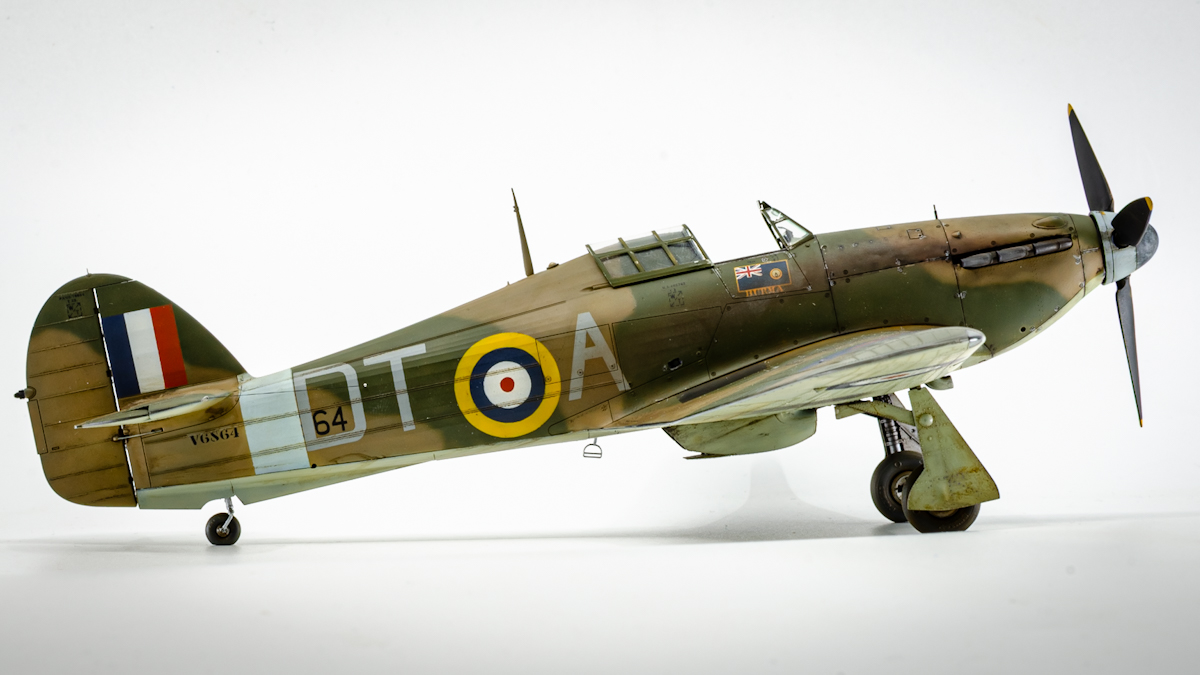
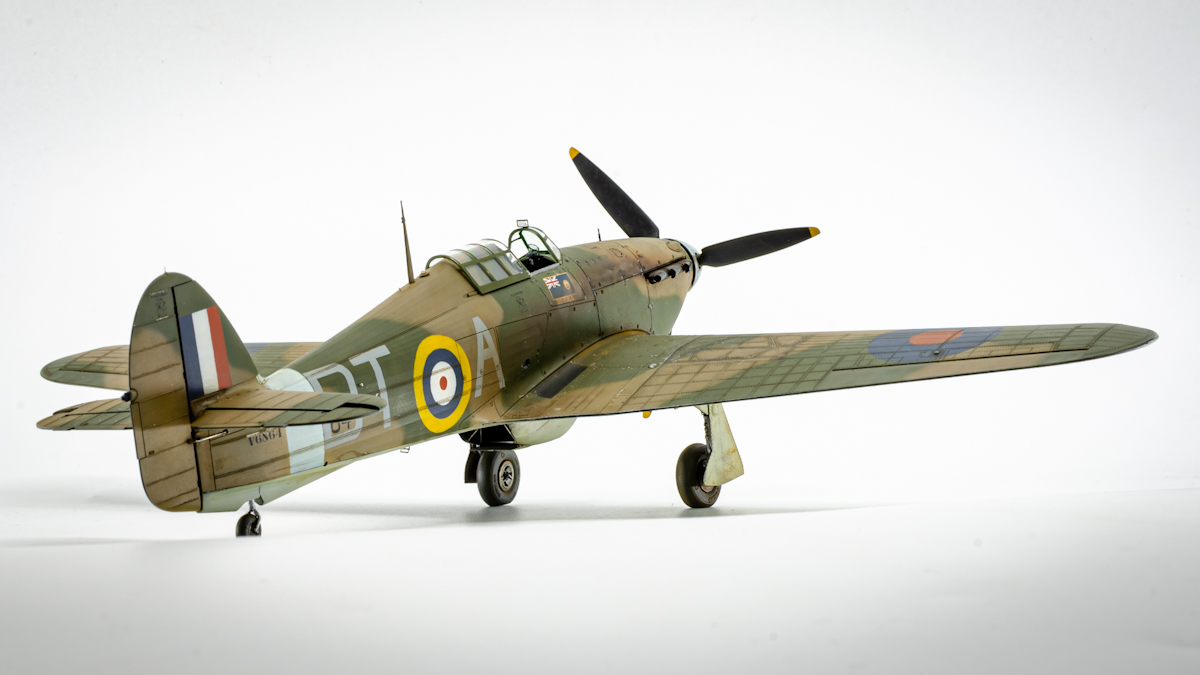
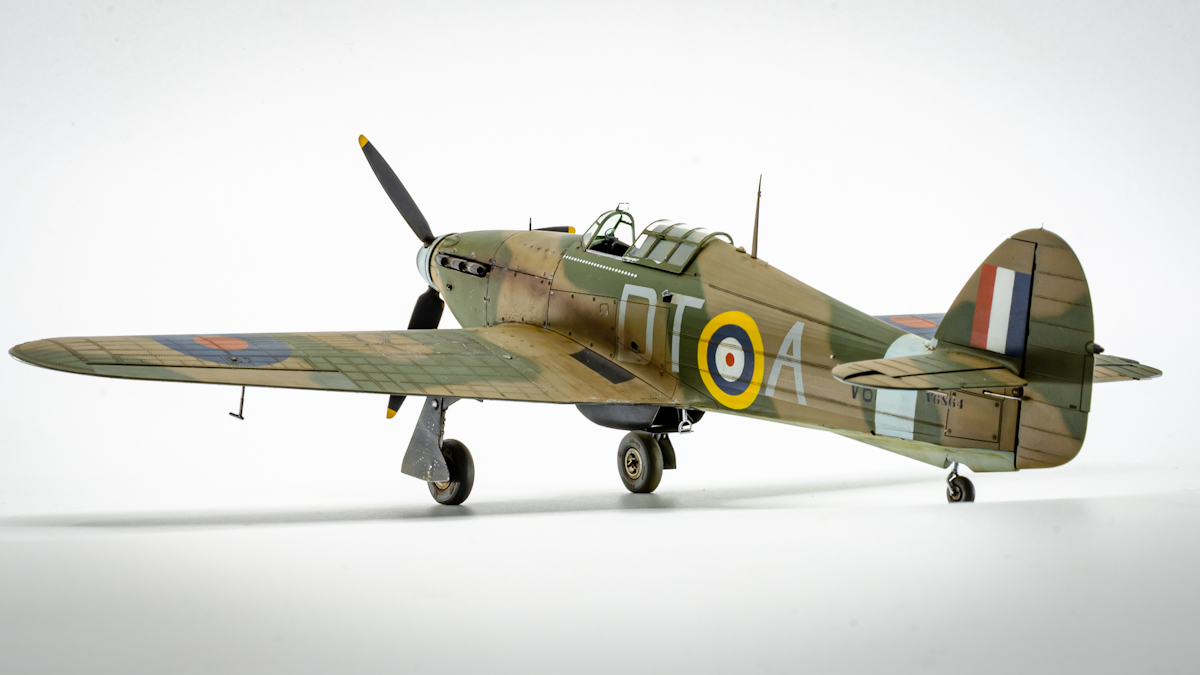
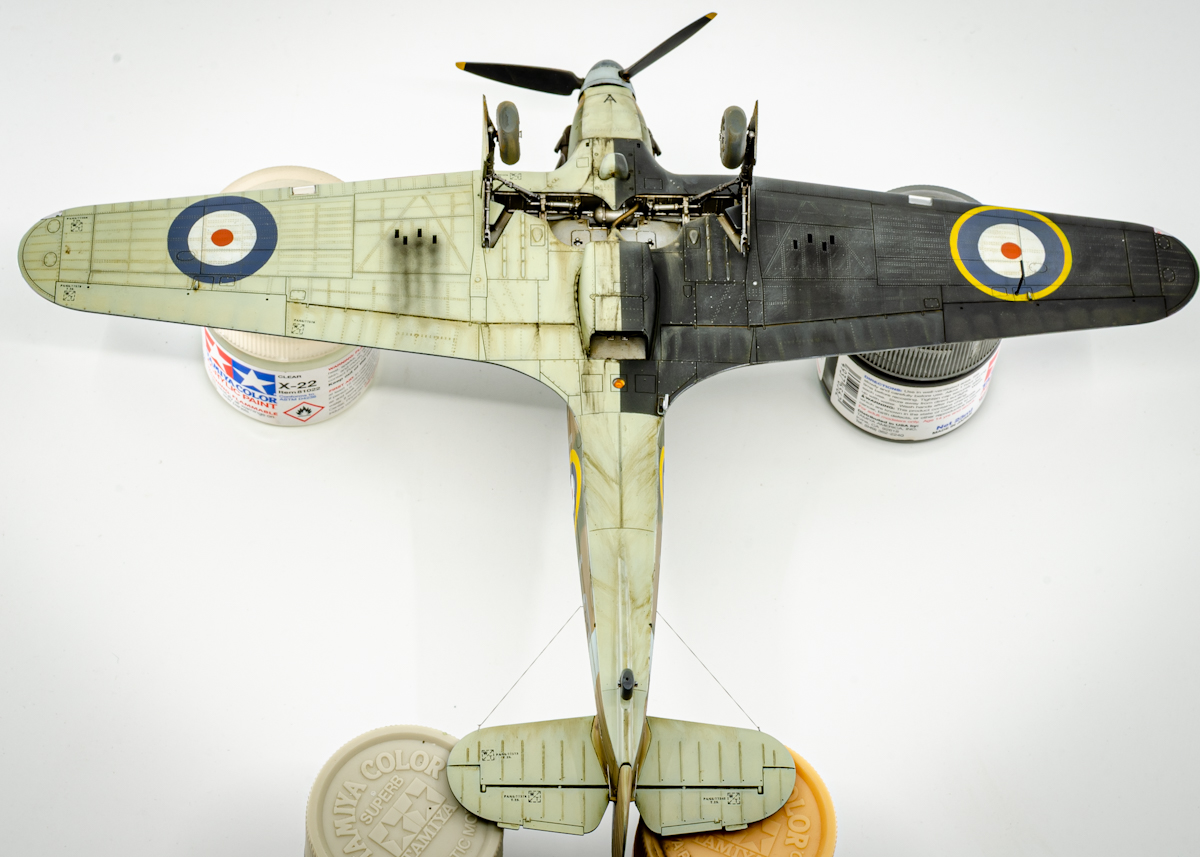
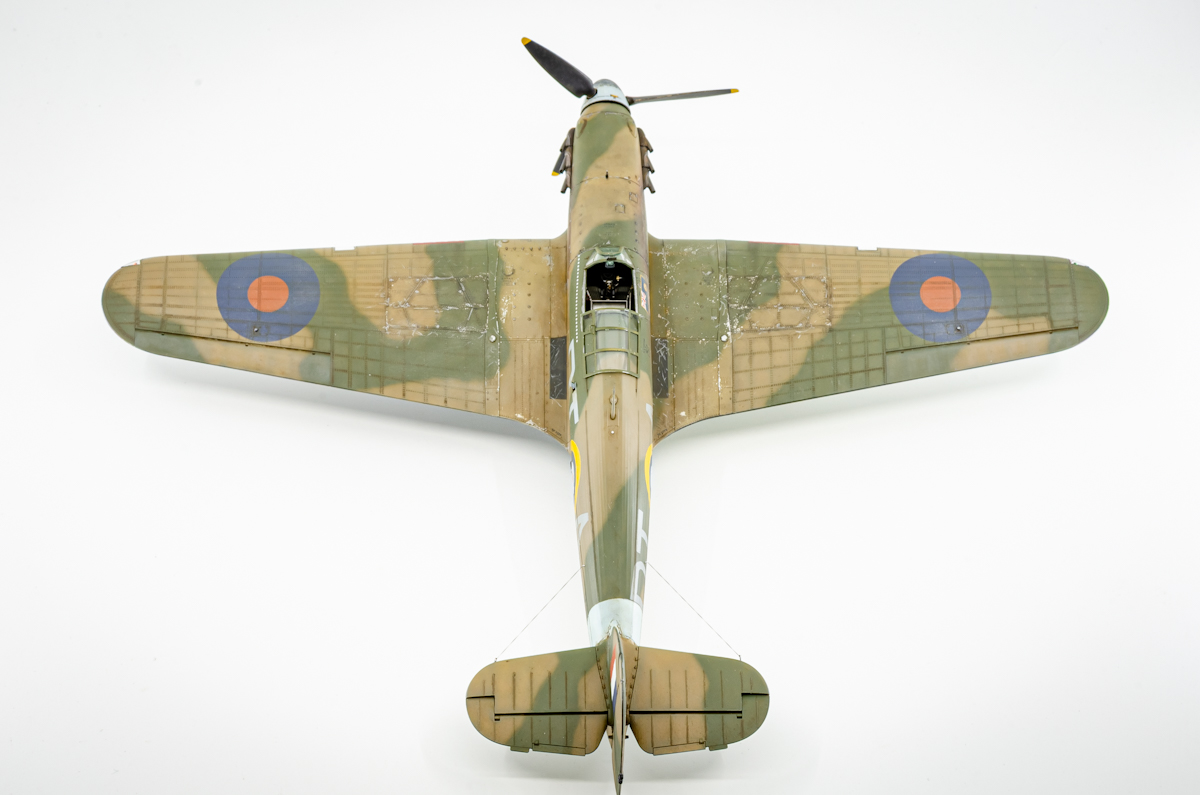
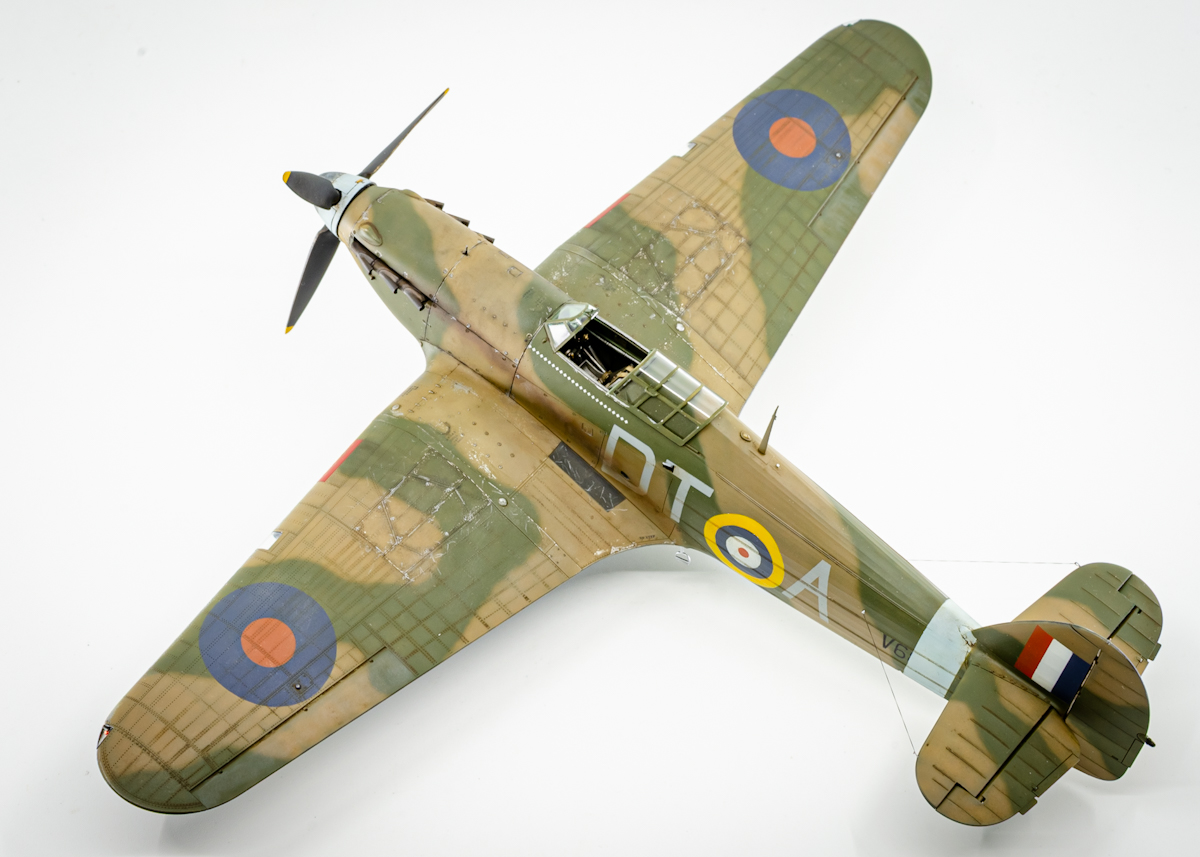
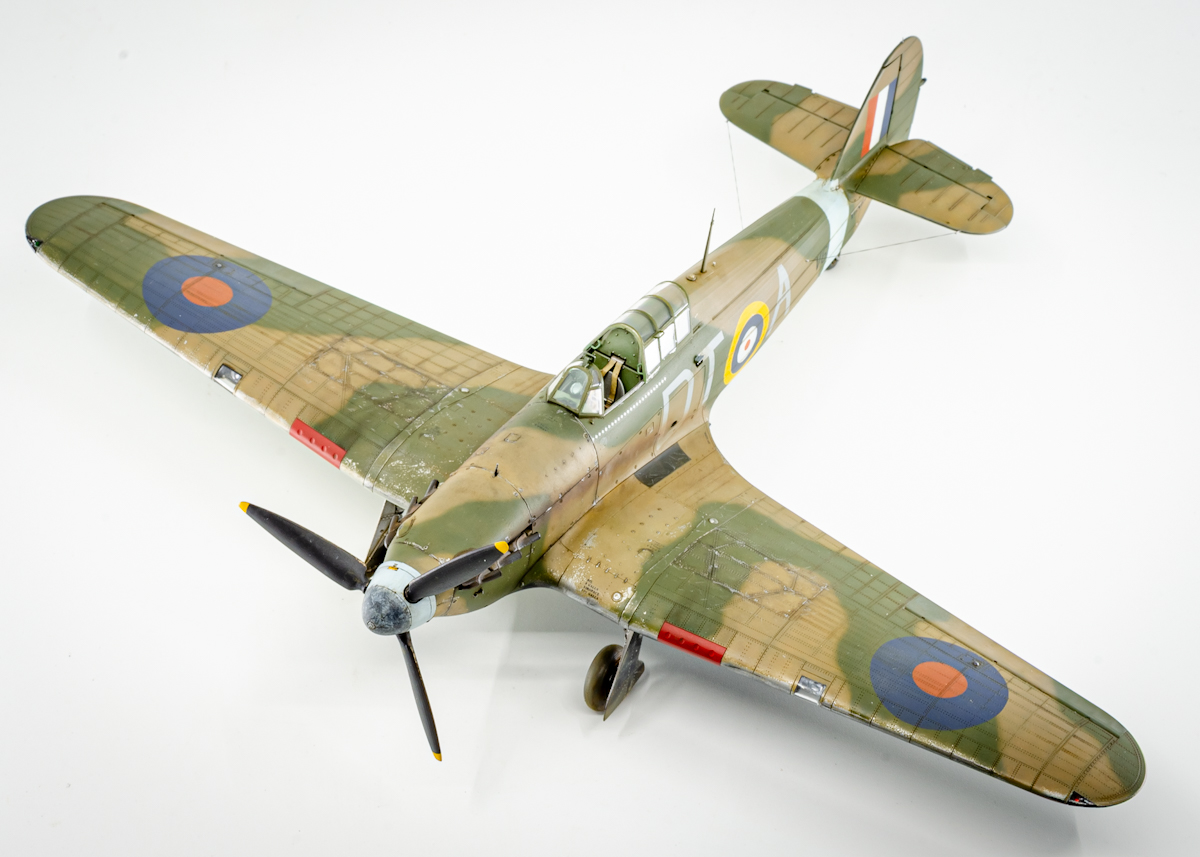
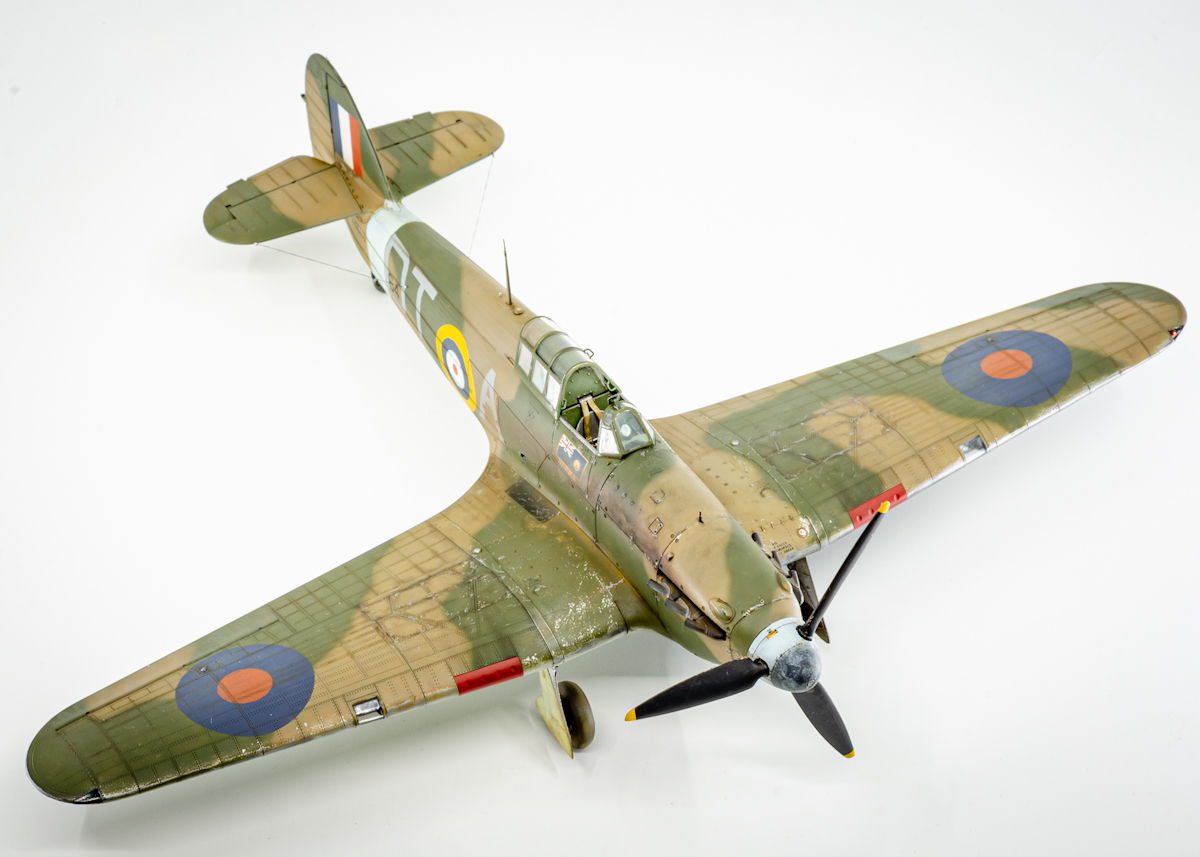
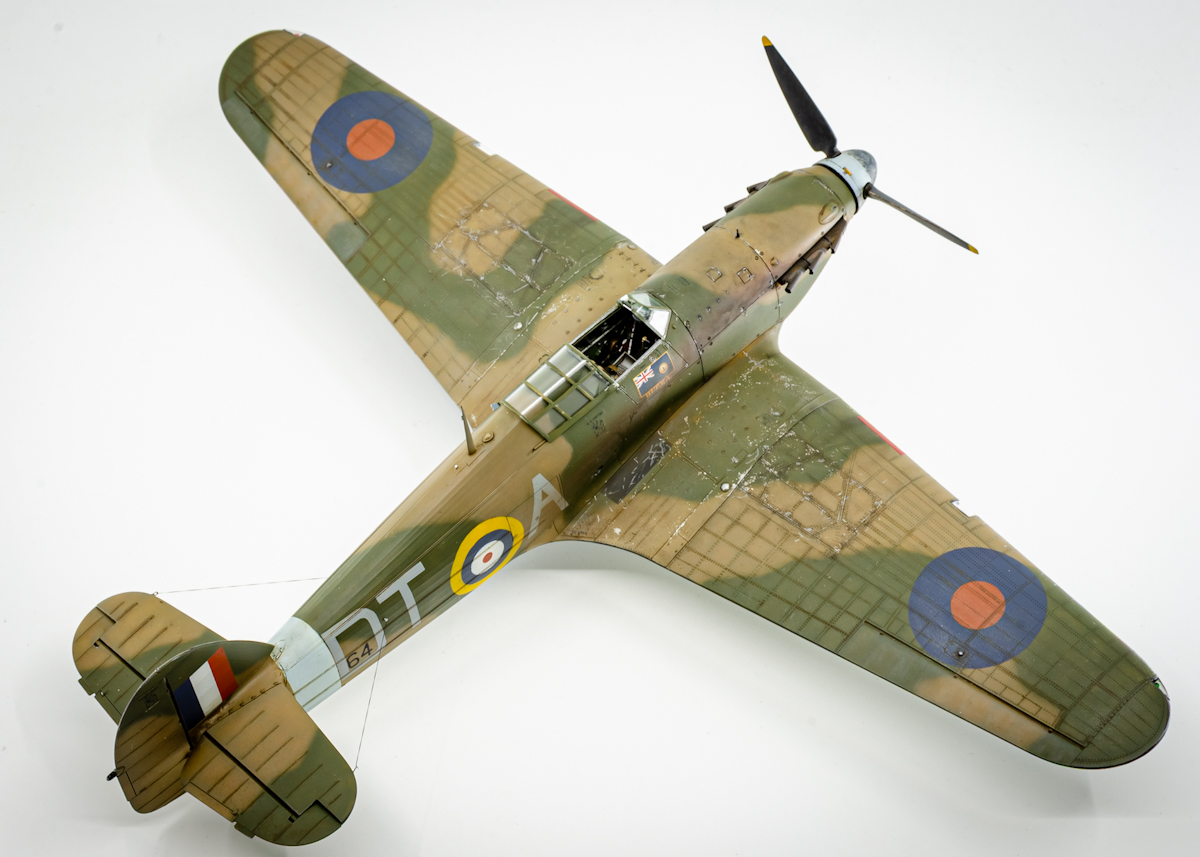
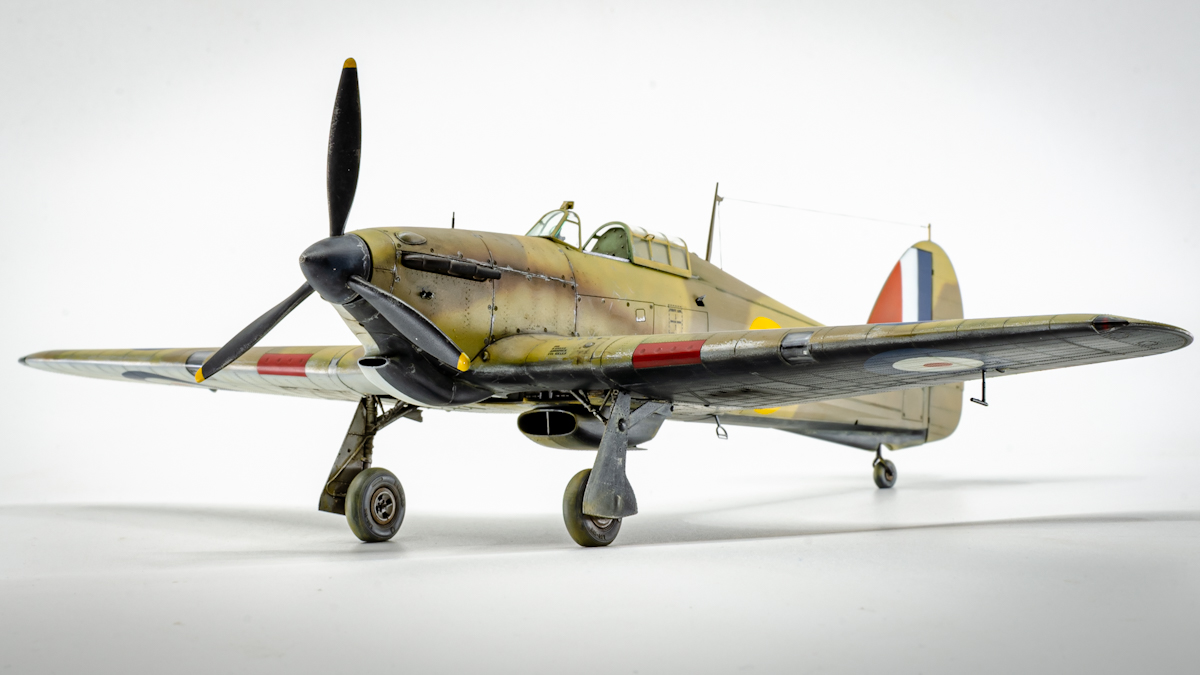
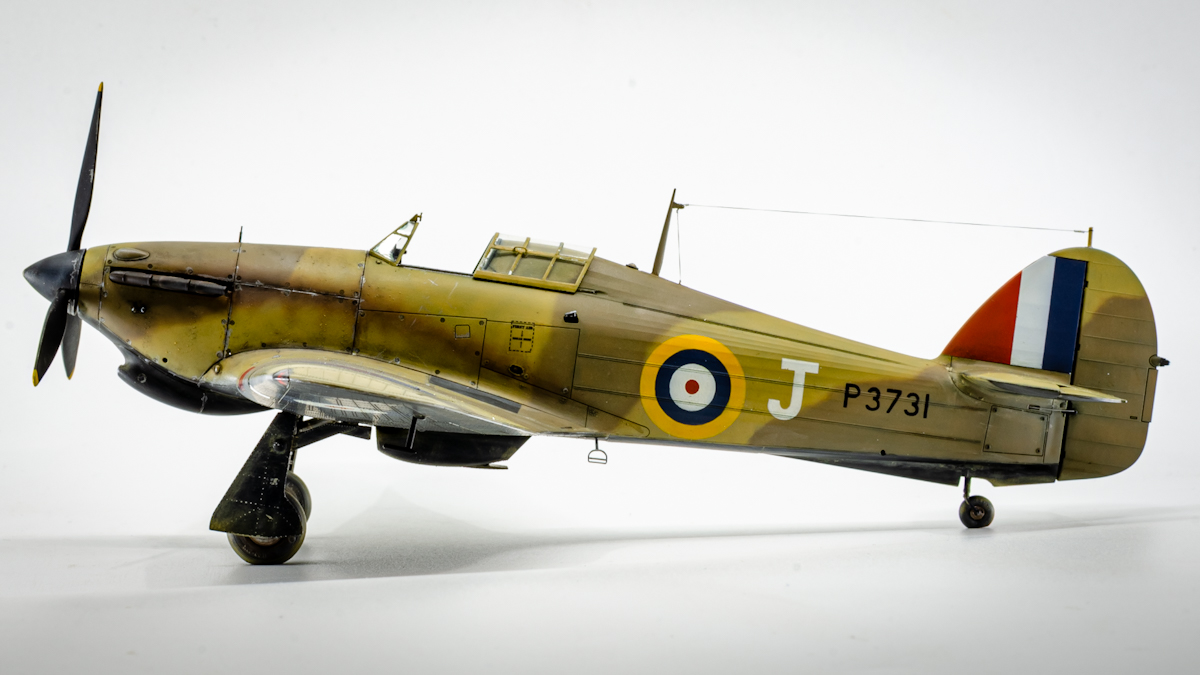
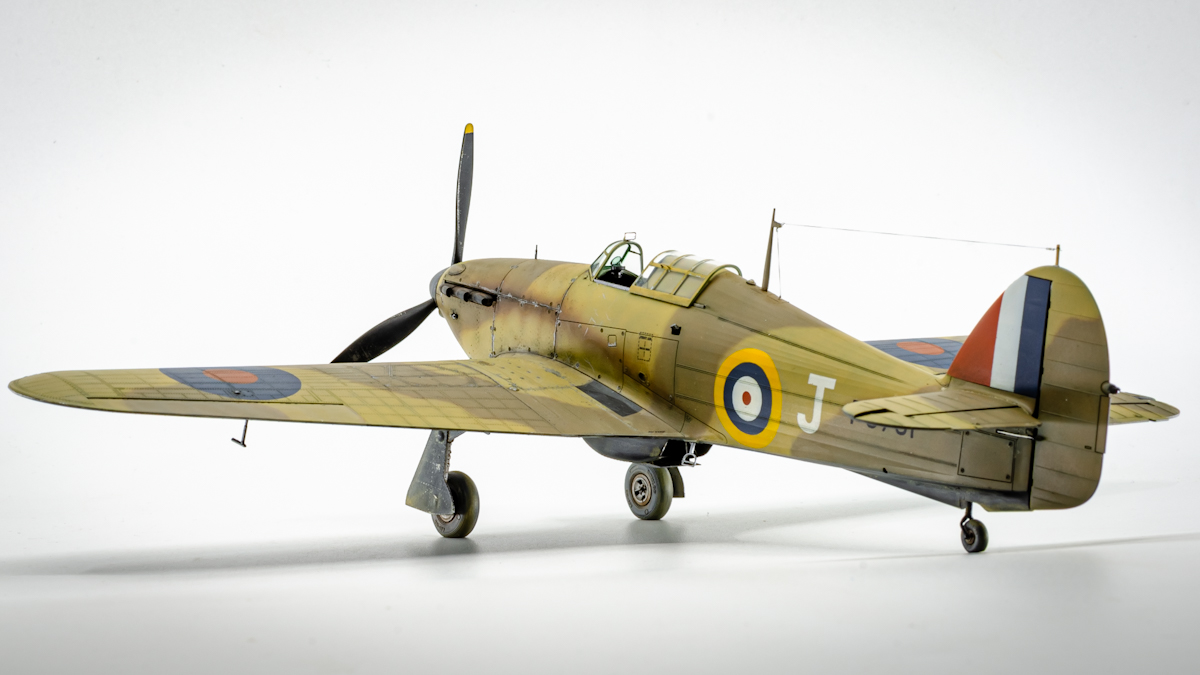
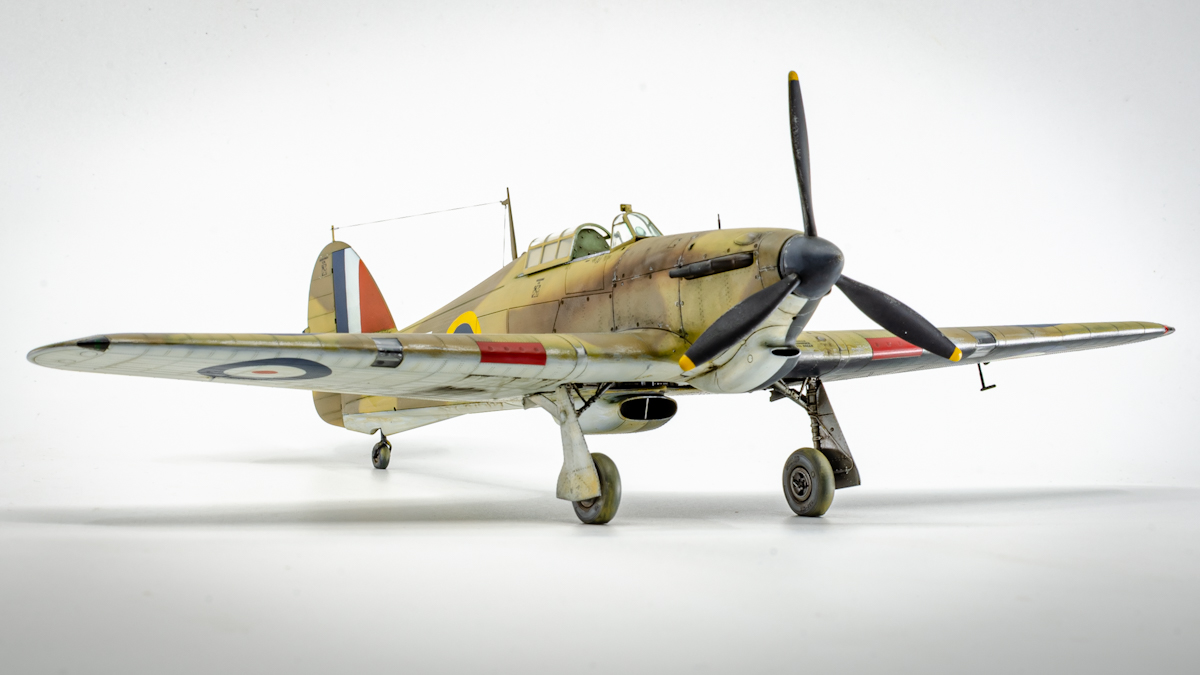
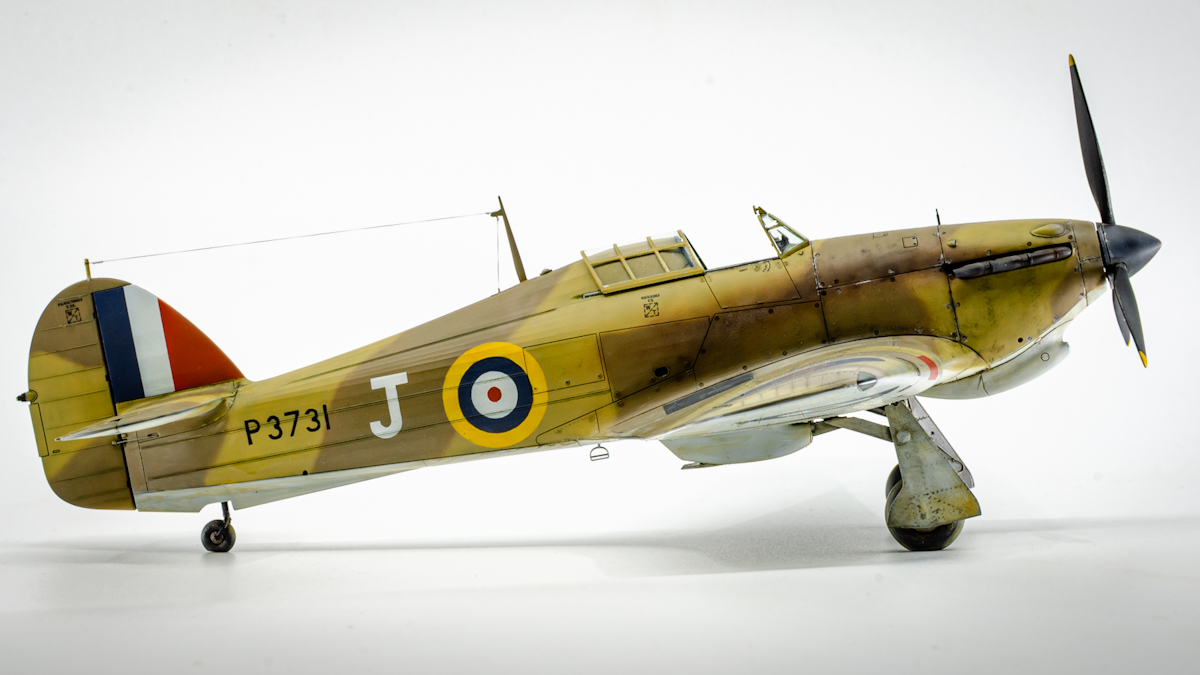
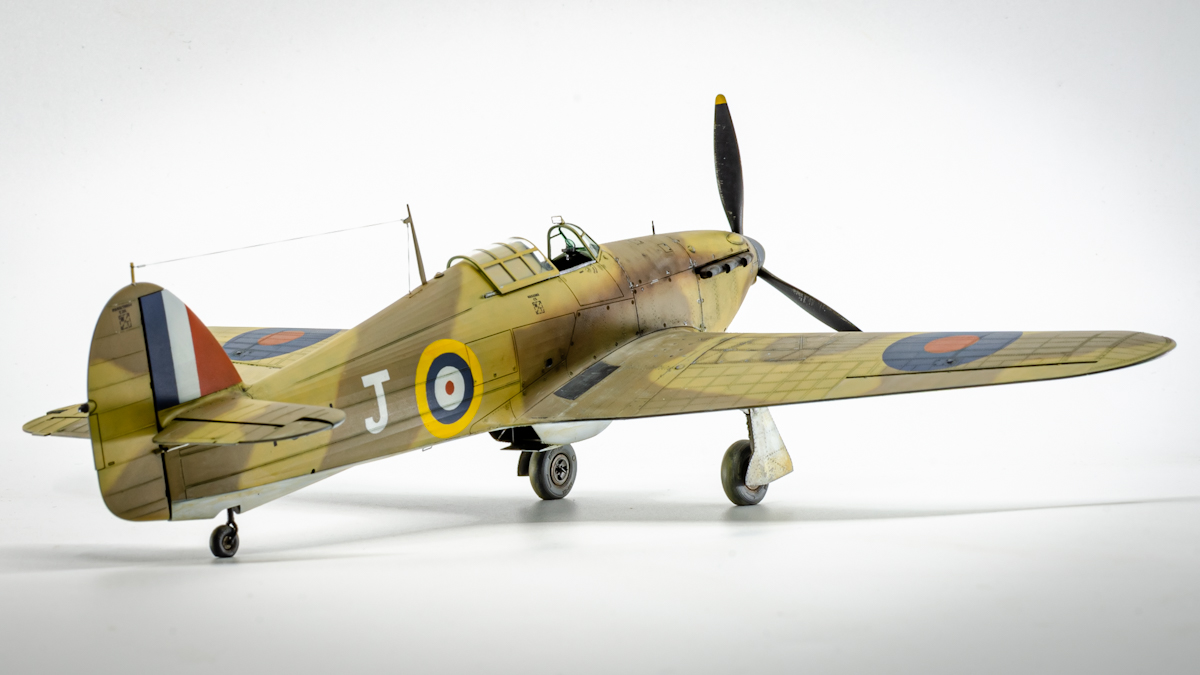
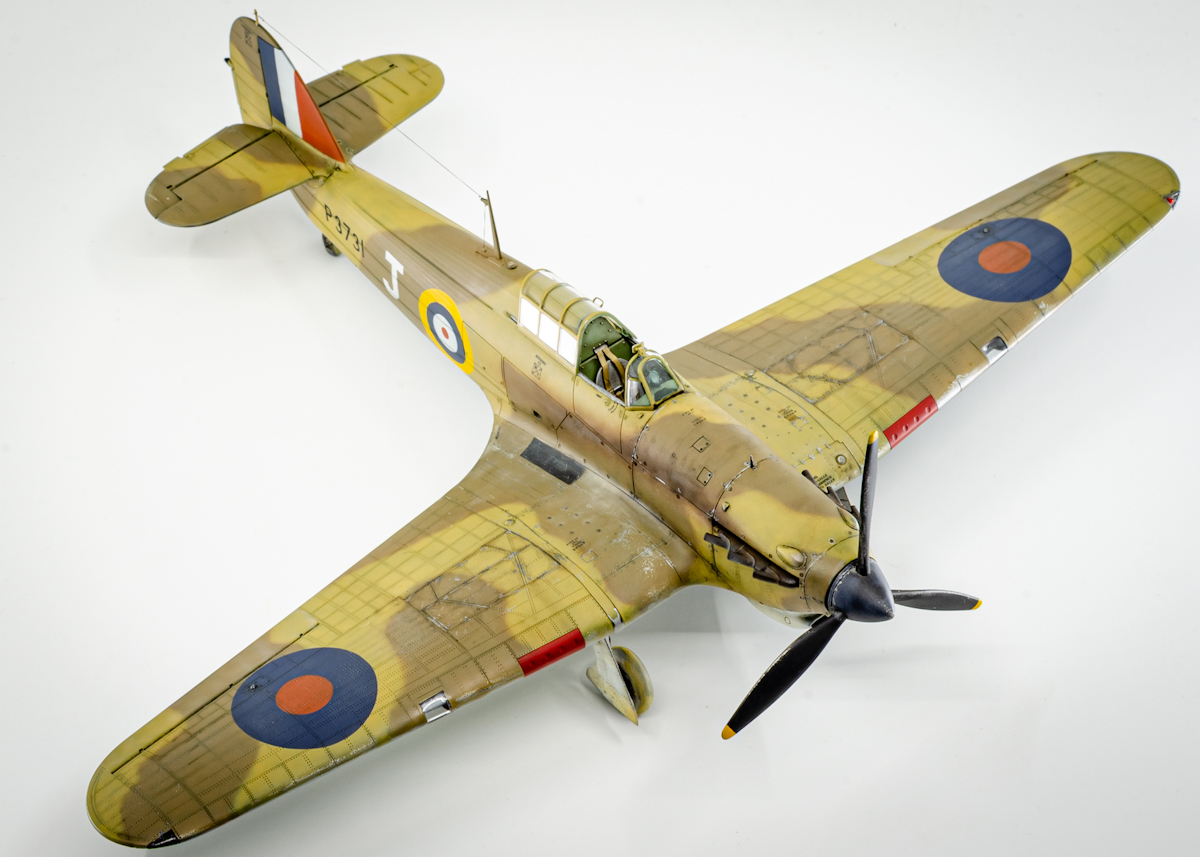
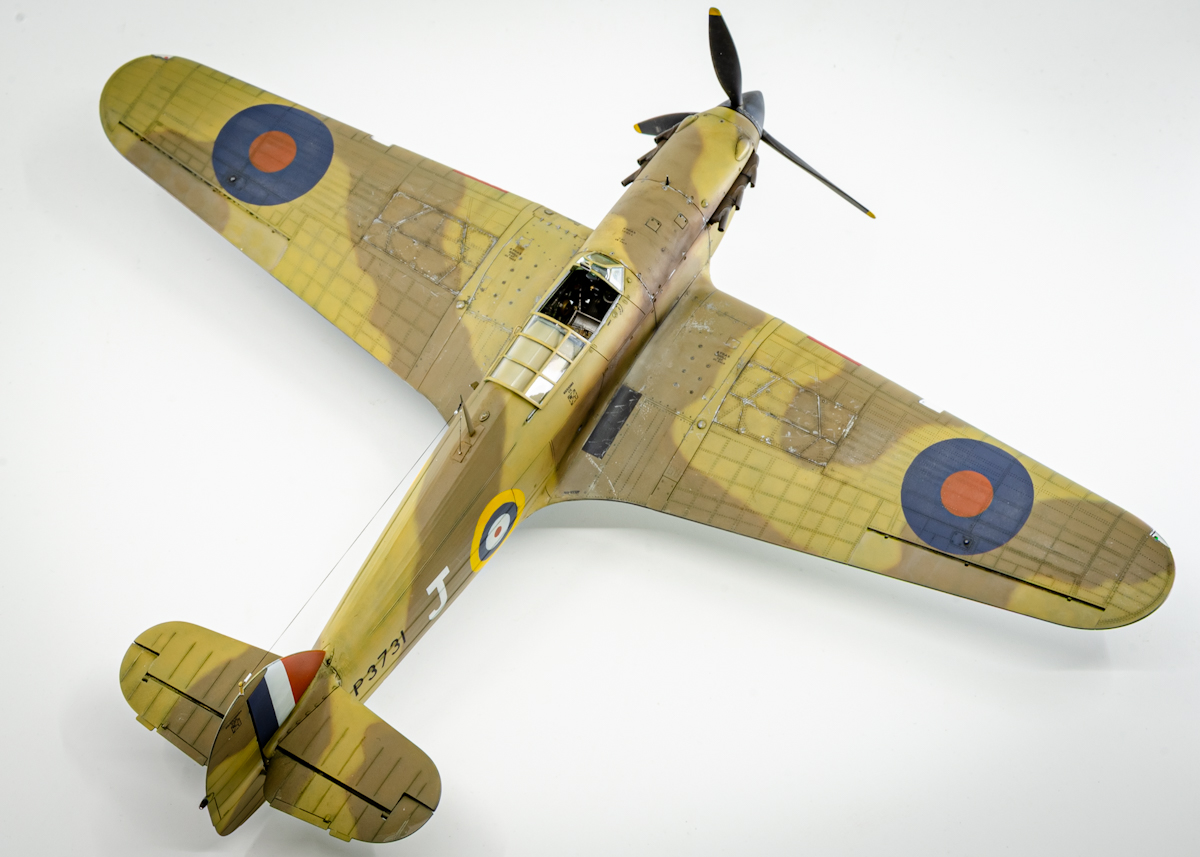
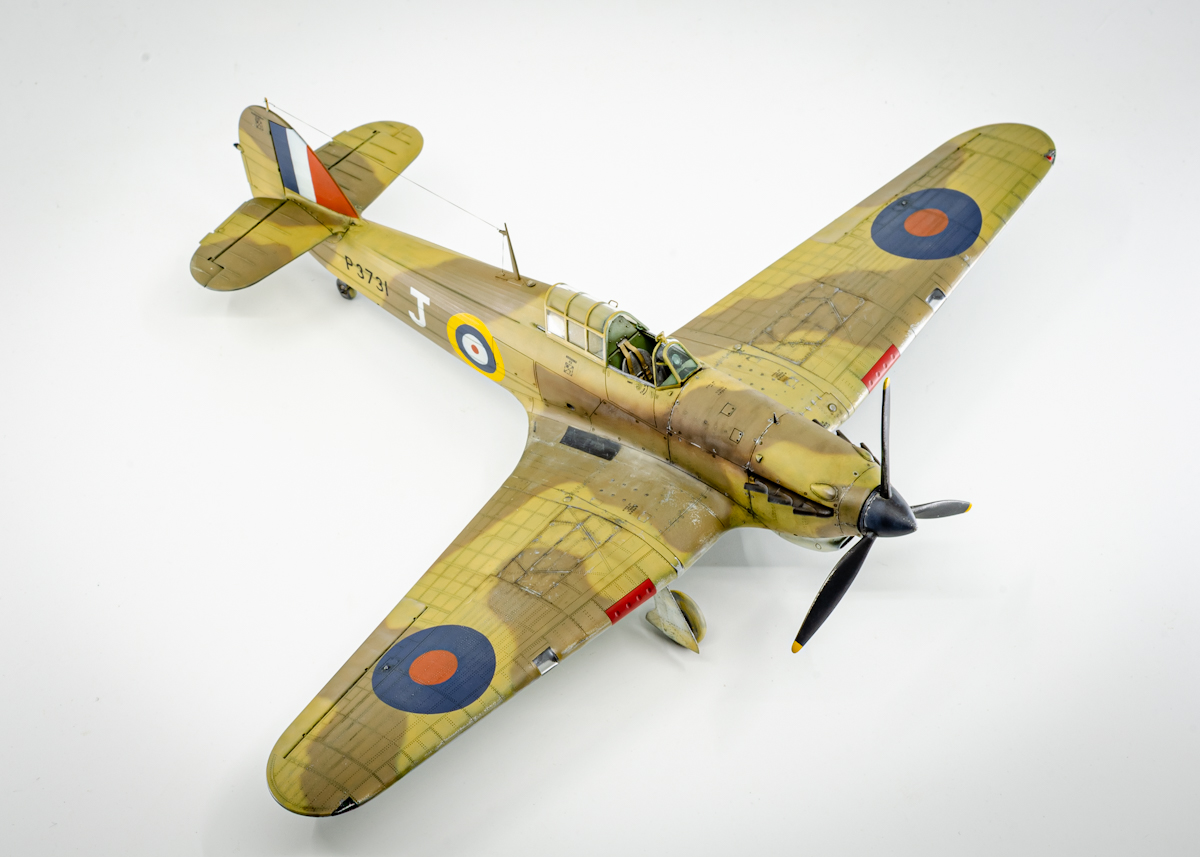
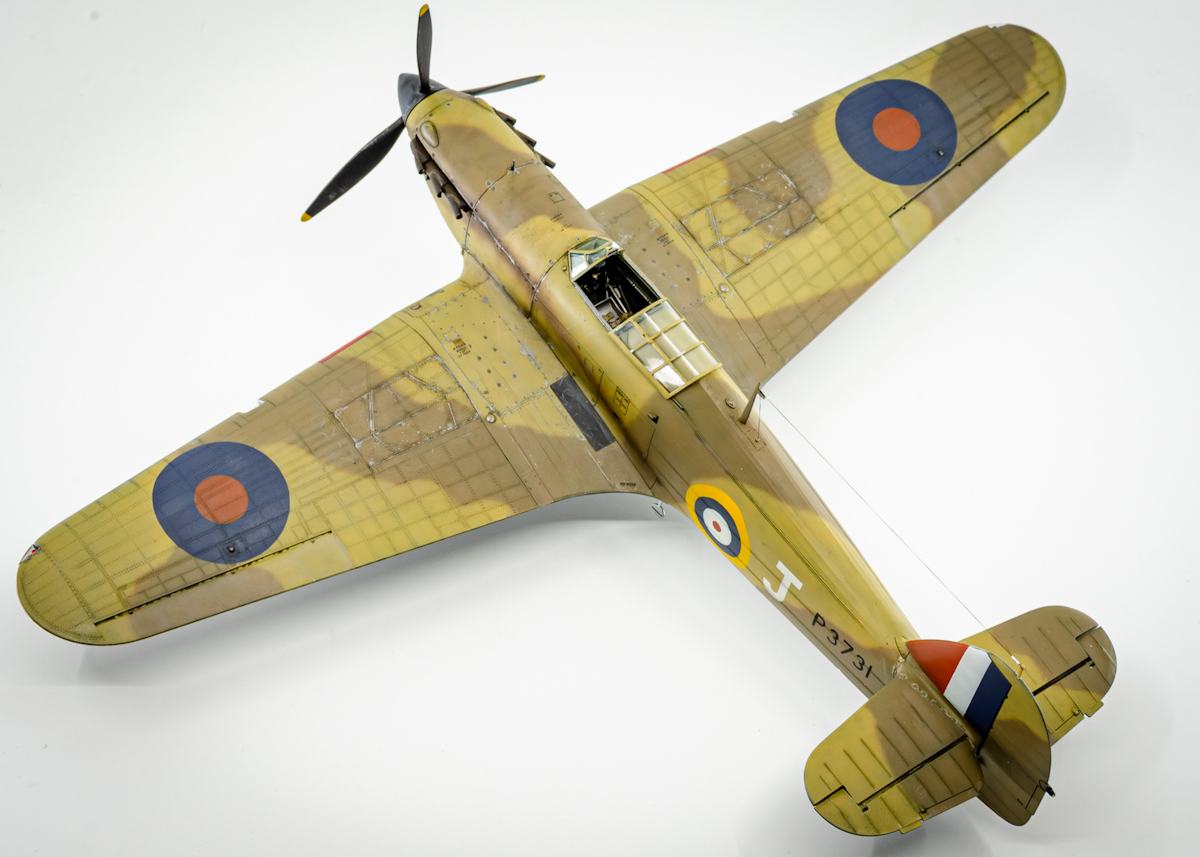
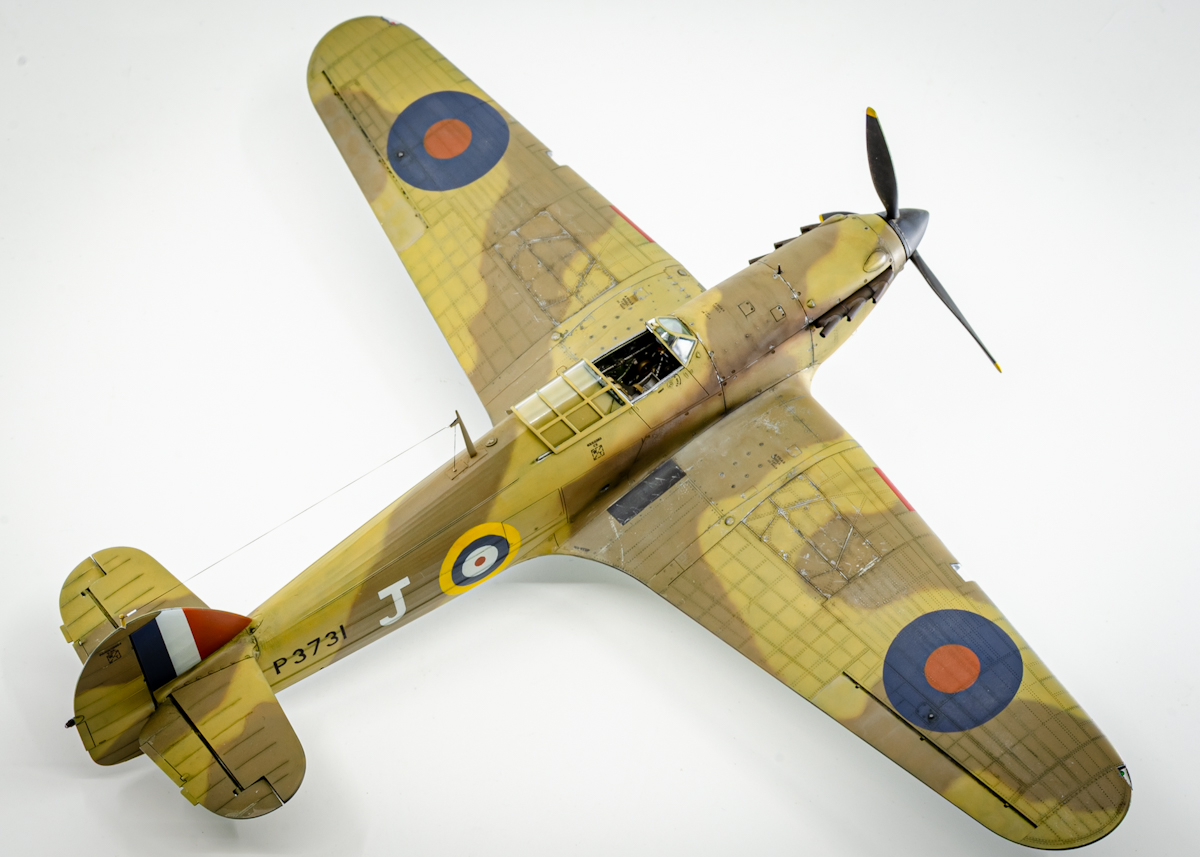
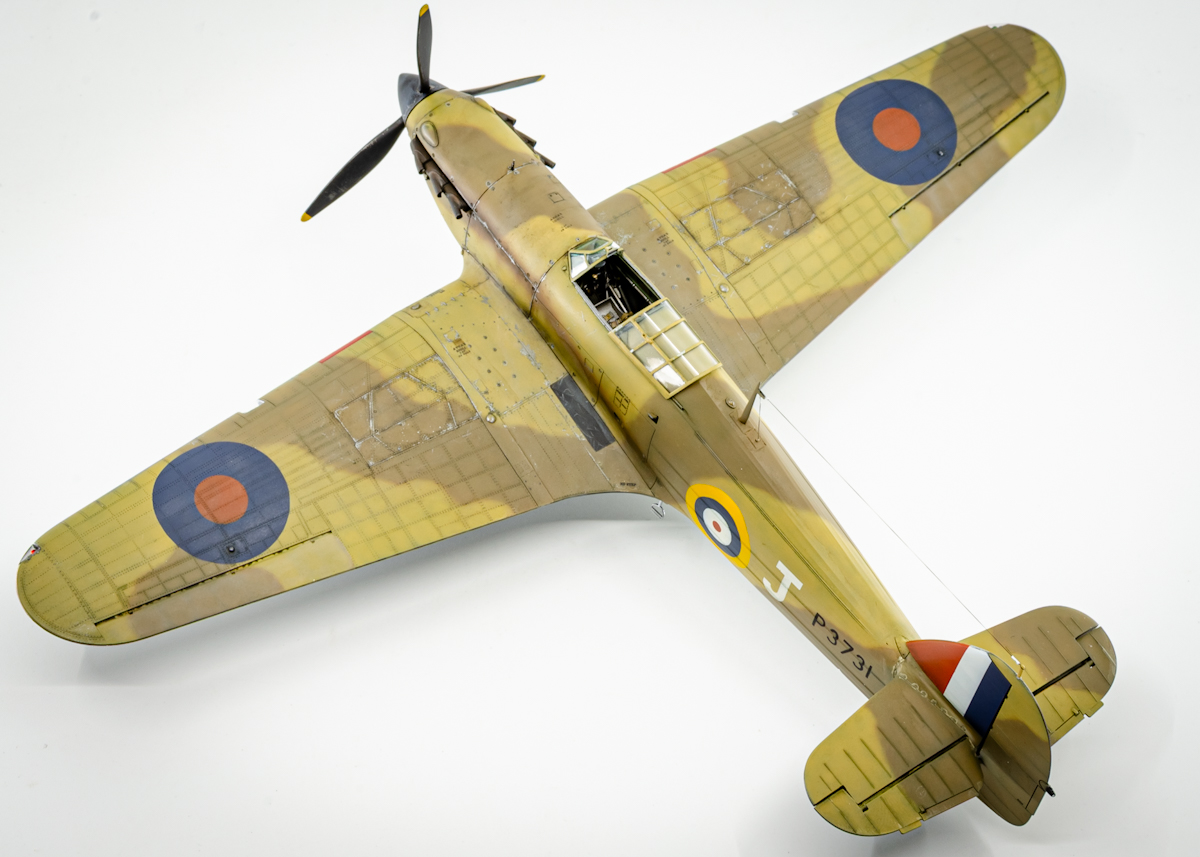
Since I like building models in series, once the Hurricane Mk I Trop was released, building both kits side by side became the obvious choice. The markings selection was not random either, because they had to be aircraft of “Aces” – membership in the Facebook group “WWII Fighter Aces in Miniature” comes with certain obligations. I eventually chose Hurricane V6864/DT-A, the aircraft of the outstanding ace Robert Stanford Tuck, and Hurricane P3731/J, which was not assigned to any particular ace, but whose achievements during the defence of Malta certainly qualify it as an “ace aircraft”.
Hawker Hurricane V6864 „DT-A” — myśliwiec R.S.S. Tucka w dwóch odsłonach
Choice of markings and fuselage corrections
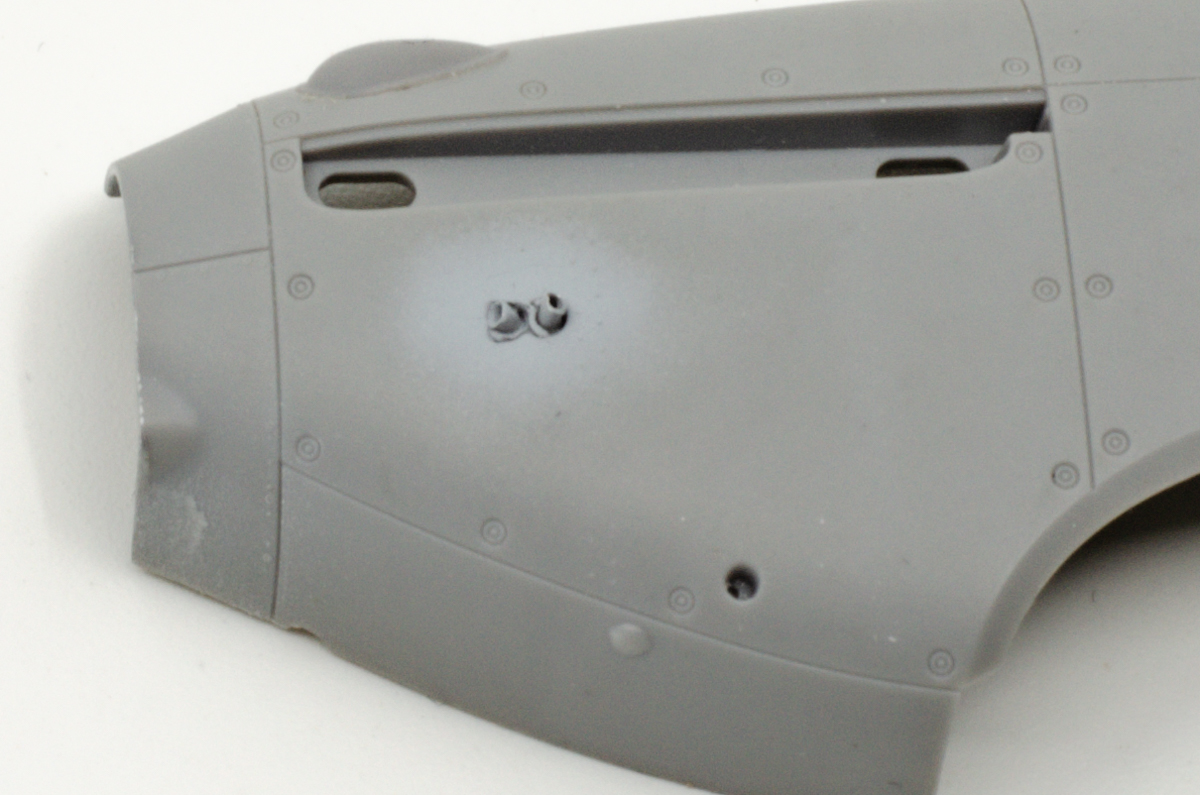
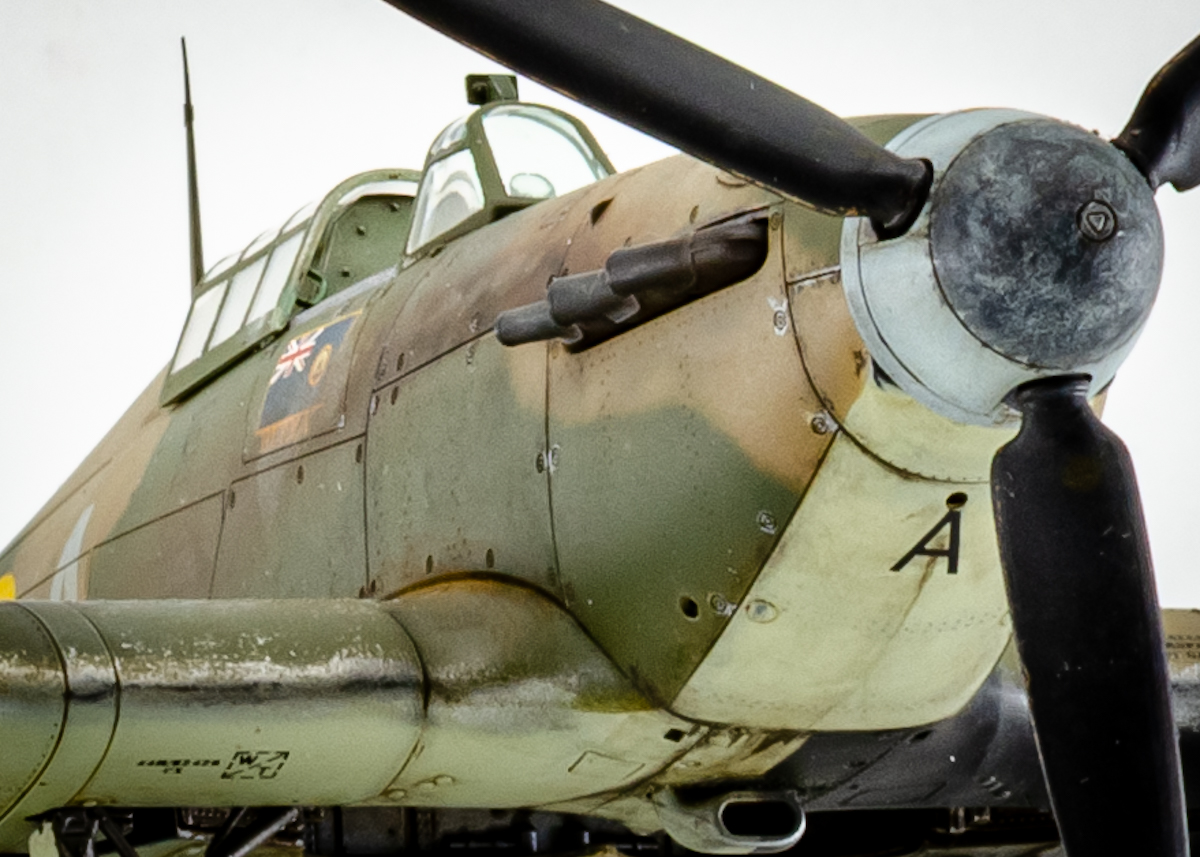
Because of the selected paint schemes, after analysing the available photos – I highly recommend all four volumes of the Wingleader Photo Archive devoted entirely to the Hurricane – I concluded that both models would require small fuselage corrections: removing the cooling air intake “gills” visible on photos of later Hurricane Trop versions, and adding the formation light openings in the panels behind the cockpit, visible on early Hurricanes and sometimes overpainted by squadron code letters.
First impressions after opening the box
Another short digression regarding my first quick inspection of the kit.
My first impression after taking the sprues out of the box was very misleading. I thought to myself: “What is everyone so excited about? My kit must be defective because there are no rivets on the fuselage, and the raised rivets on the wings are barely visible. After primer, paint and satin varnish they will disappear completely.” Fortunately, the next stages of the build proved how wrong that first impression was. Especially what happened after applying the wash – it was pure modelling poetry, but more on that later.
“Shake and Bake” – the buildability of the kit
The second thing I had heard many positive comments about was the user-friendly engineering and the very carefully planned parts breakdown intended to make life easier for the modeller. Here there were no surprises from the start – this is a true “shake and bake” kit, assembling almost like bricks from a famous Danish company. The only area requiring extra attention was the joint between the fin/rudder assembly and the fuselage, where a bit of filling and sanding was necessary.
Cockpit interior and 3D accessories
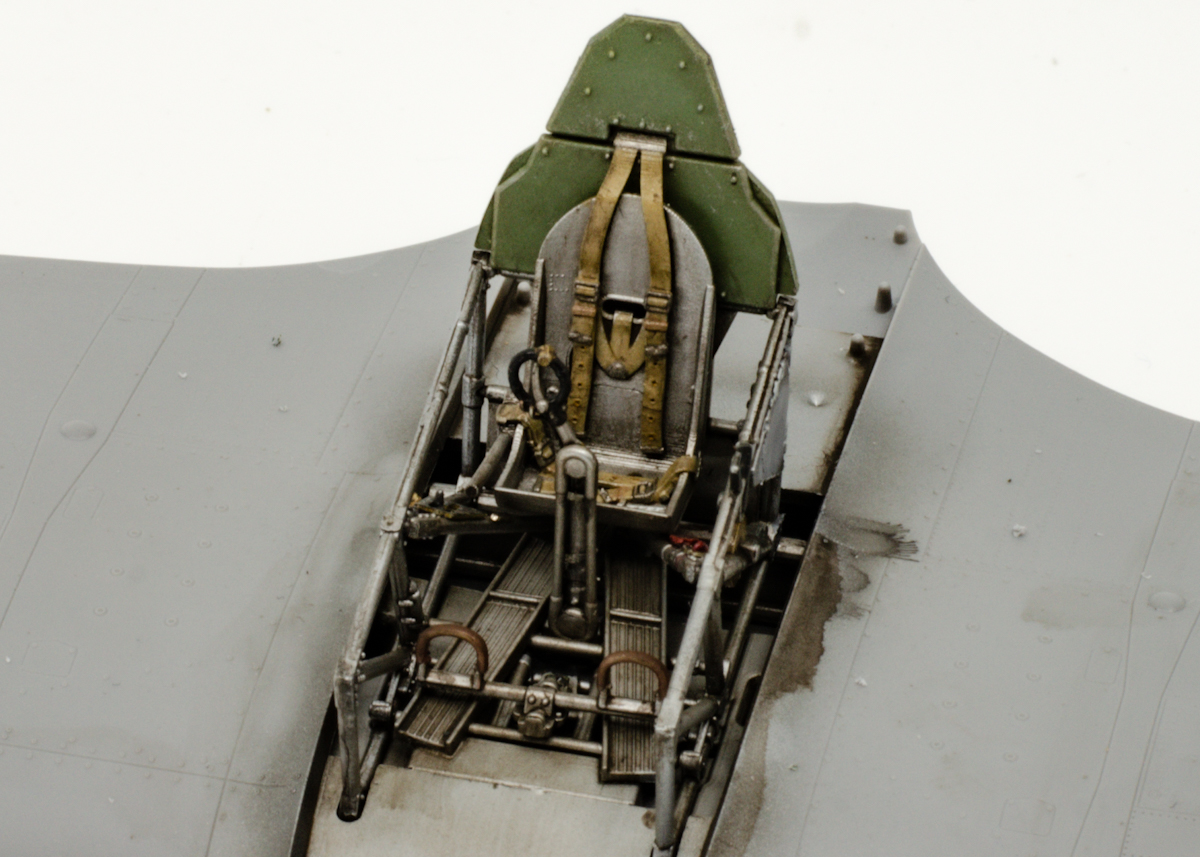
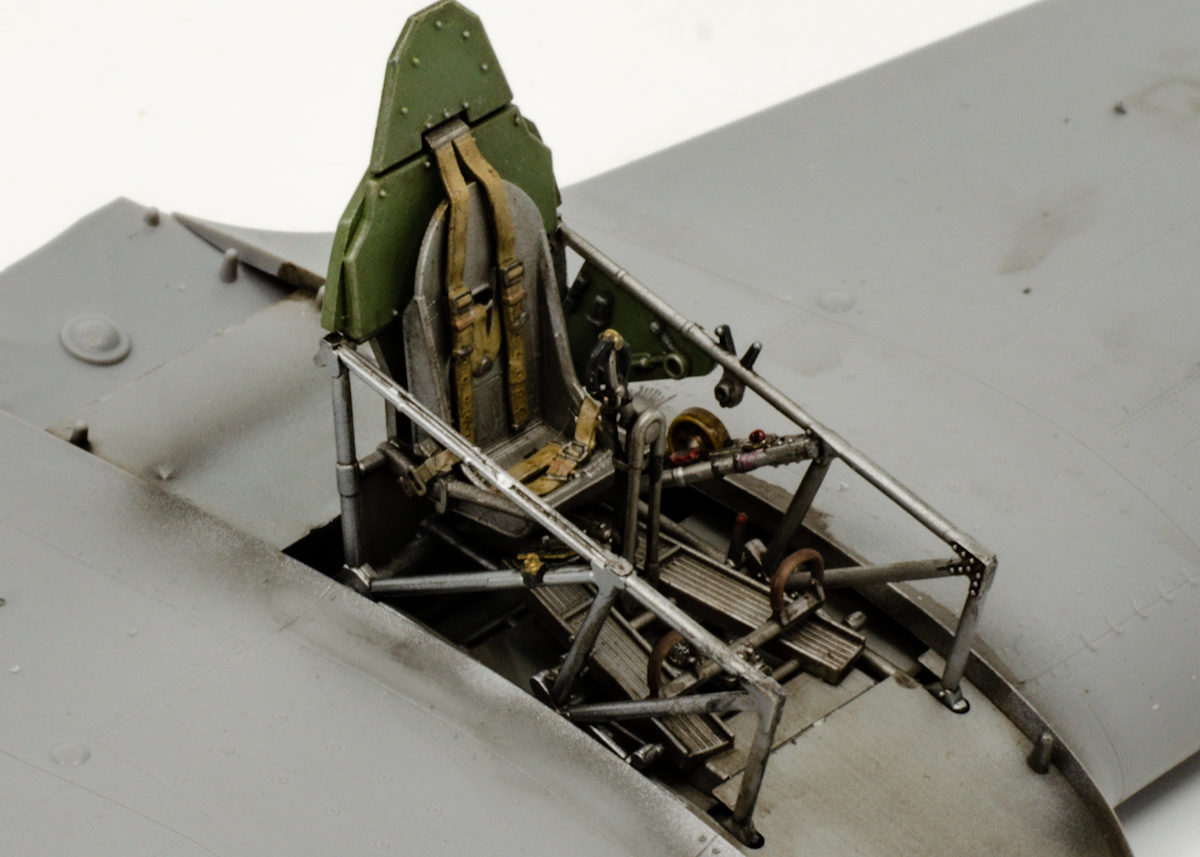
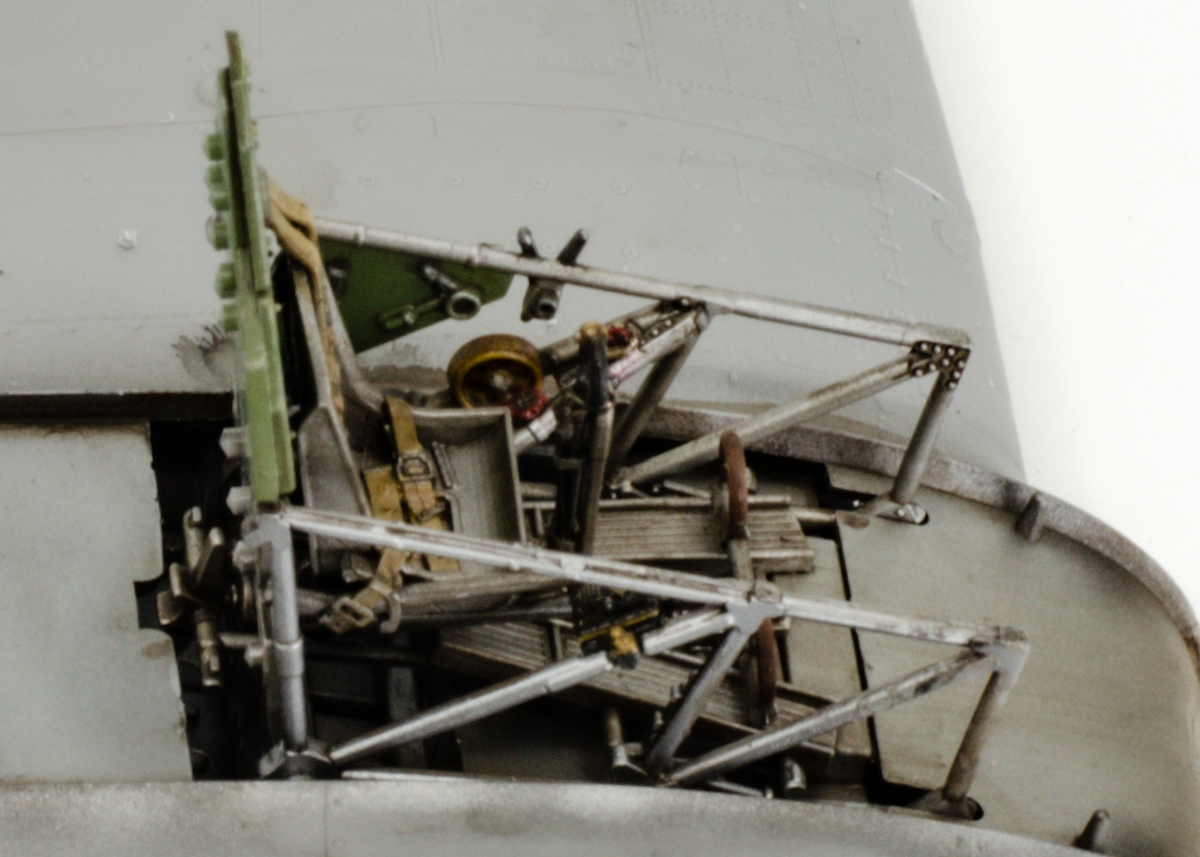
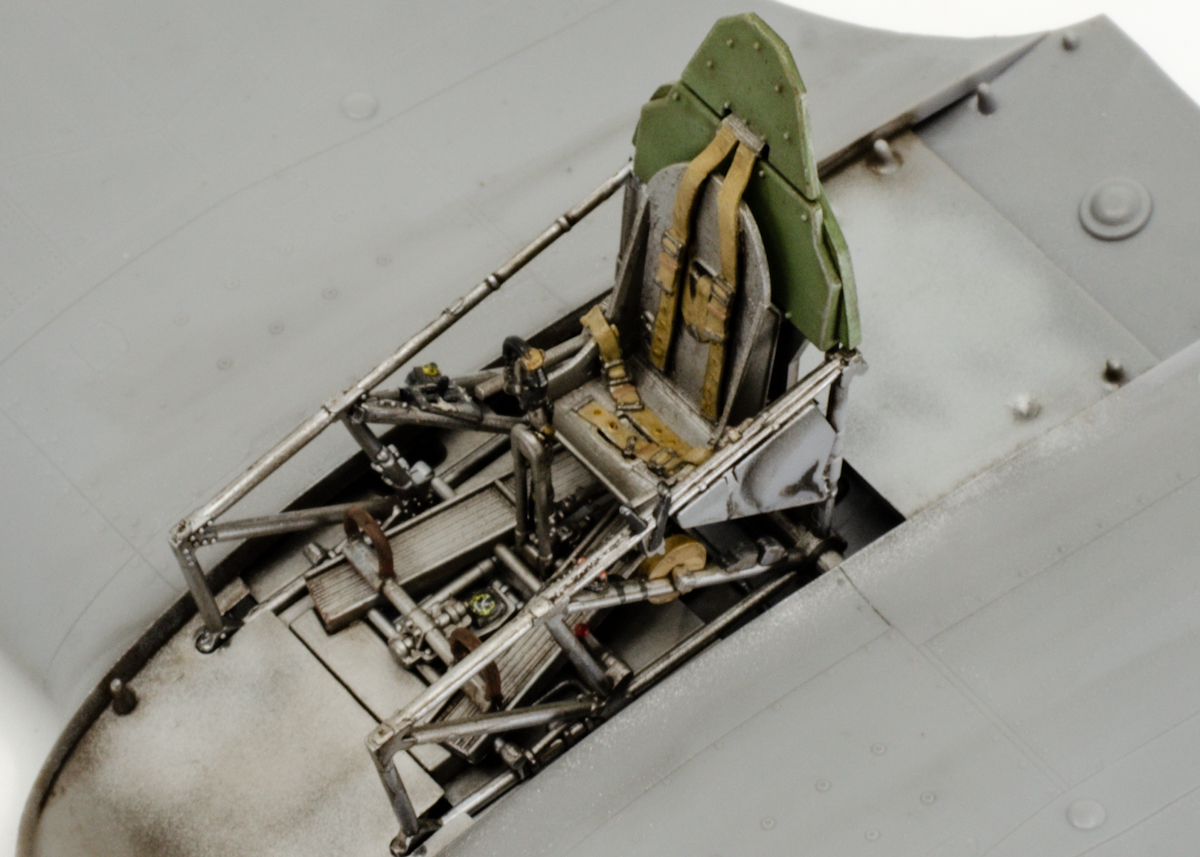
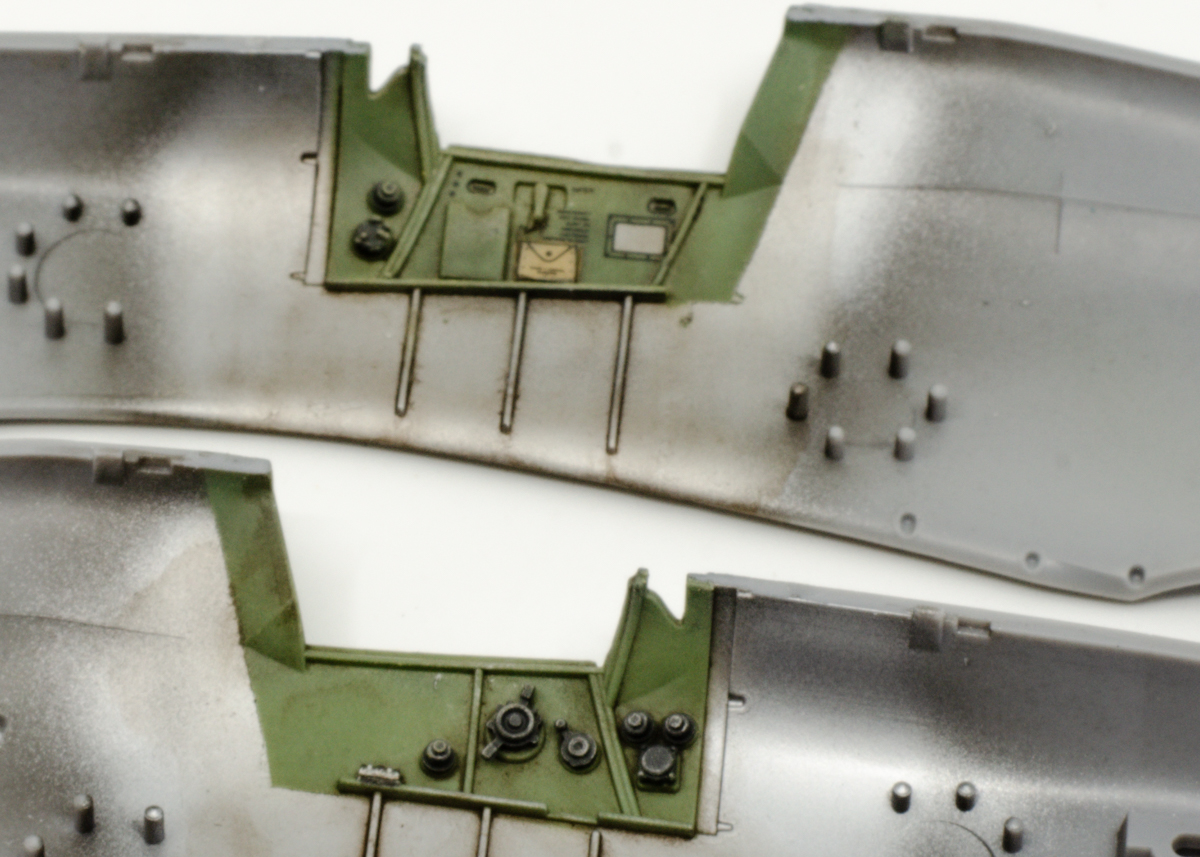
While assembling the cockpit interior, I followed Tomasz’s advice to glue the cockpit framework with CA glue. I fully agree with this approach – it prevents delicate joints from softening and ensures that all parts fit perfectly, which later pays off with flawless alignment of the fuselage, wings and cockpit interior.
To detail the cockpit, I used the preorder 3D printed parts included with the kit, along with additional details printed from Tomasz’s files available on pme.org.pl.
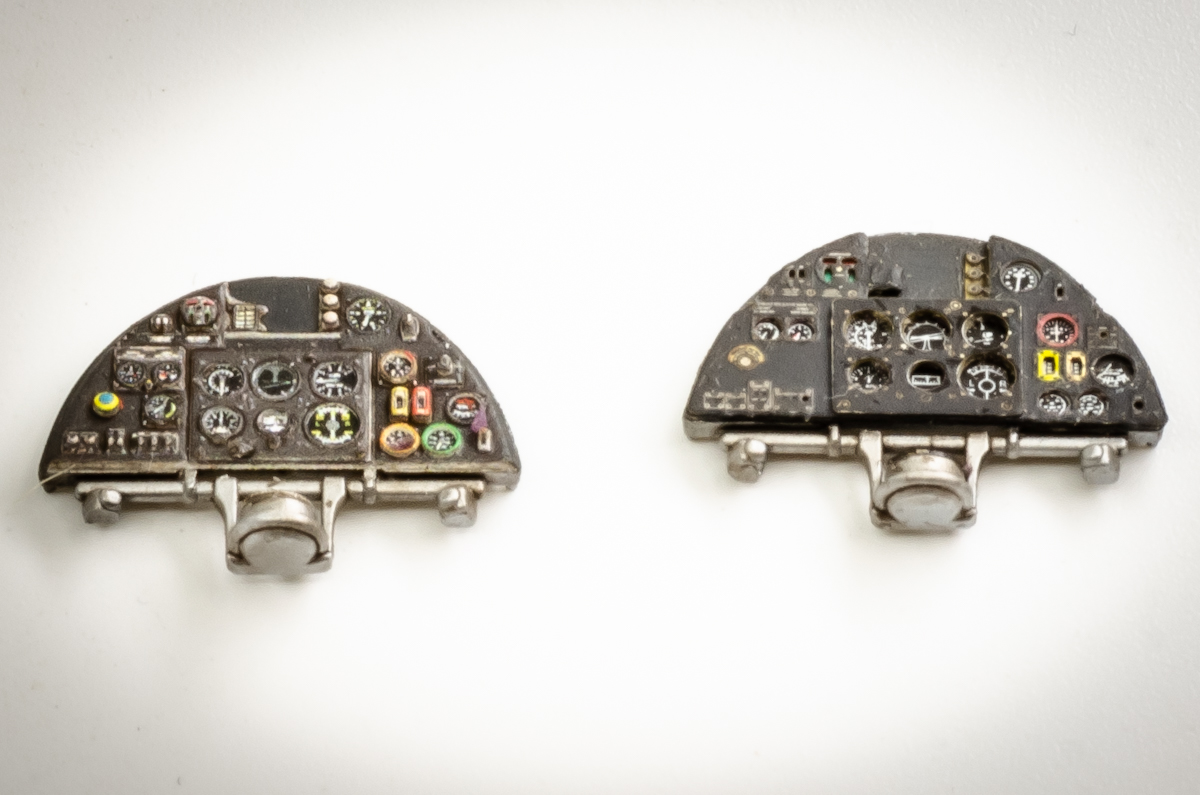
Unfortunately, I had to sand down the beautifully detailed kit instrument panel, because I am not particularly good at applying decals over raised details – I always end up with small alignment issues. Here I had the opportunity to test two aftermarket options: the Yahu Models instrument panel and Quinta Studio 3D decals. Both look excellent, but next time I will definitely choose the “good because it’s Polish” option – equally good and considerably cheaper.
Radiator, Dzus fasteners and small details
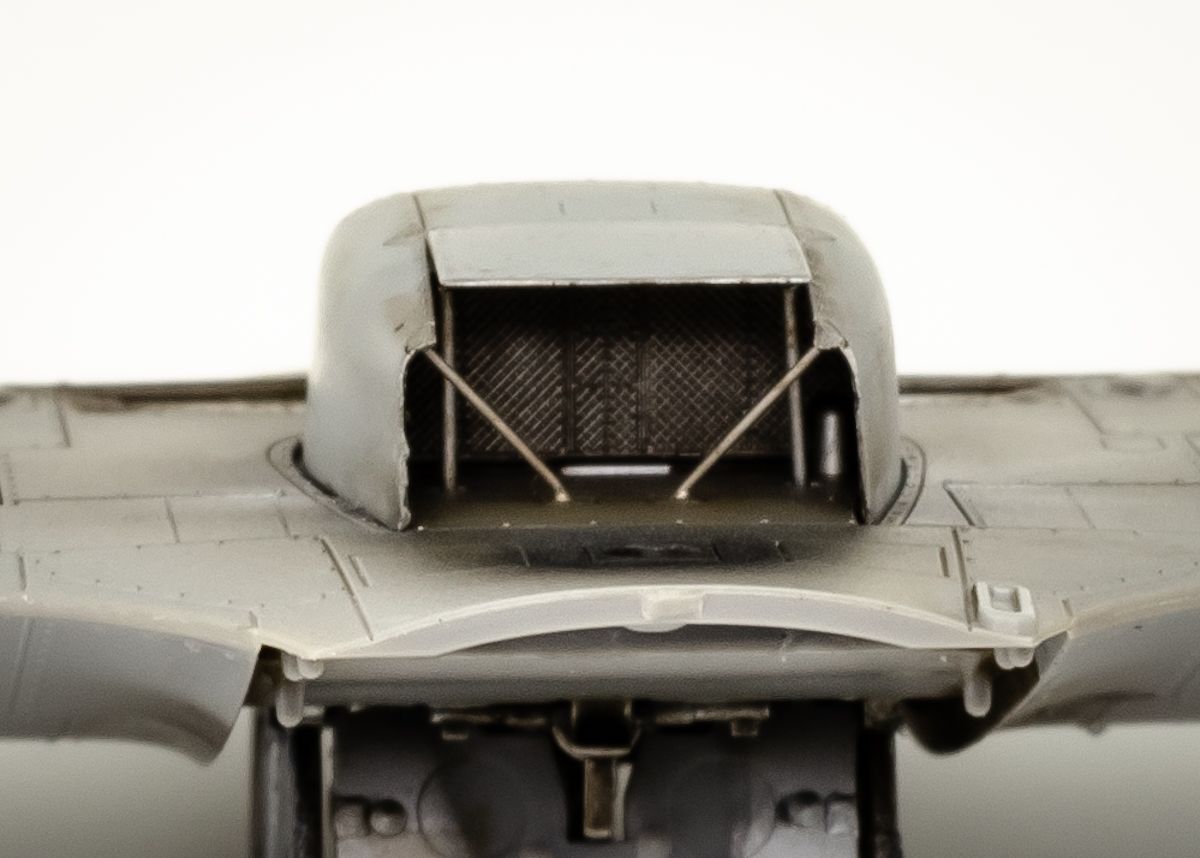
When building the Hurricane radiator, Wojtek Bułhak’s article “Simple details for the 1/48 Hurricane you can easily make yourself” proved extremely useful. For recreating the Dzus fasteners on the engine covers, having access to a 3D printer, I relied on Tomasz Gronczewski’s advice and STL files.
Battle with the 3D landing gear
After assembling the fuselage and wings, I moved on to the landing gear using the 3D files purchased from the Arma website. The landing gear itself is beautifully detailed, but it also caused me the most trouble. My 3D prints simply would not fit together where the wheel met the landing gear leg. I tried changing the printer exposure settings, but it did not help much. Eventually, I had to enlarge the holes in the wheel hubs and sand down the mounting points on the legs.
Because these resin parts are extremely delicate, several broken gear legs ended up in the trash before I finally managed to fit everything together correctly. In the end, the landing gear still came out slightly crooked – something I did not notice at that stage, but my reliable friends on Facebook certainly did. Mariusz, thanks again!
That left me with two options: print the landing gear once again or carefully snap the wheels off the legs and reglue them with CA glue. I chose the second solution, leaving the first one as a backup plan, and I must admit it felt almost like breaking my own bones while doing it. Fortunately, the CA glue bonded the reassembled parts very well and the models now stand firmly on their corrected “legs”. From what I know, Tomek is already working on a simplified and reinforced version of the landing gear, more modeller-friendly and hopefully less stressful to build in the future.
Painting RAF and Malta Hurricanes
I painted the models with MRP paints dedicated to RAF aircraft, using the references included in the instructions and Tomasz’s advice regarding Spitfire and Hurricane builds available on the previously mentioned website. As a side note, it is a pity that the instructions do not include direct references to MRP paints.
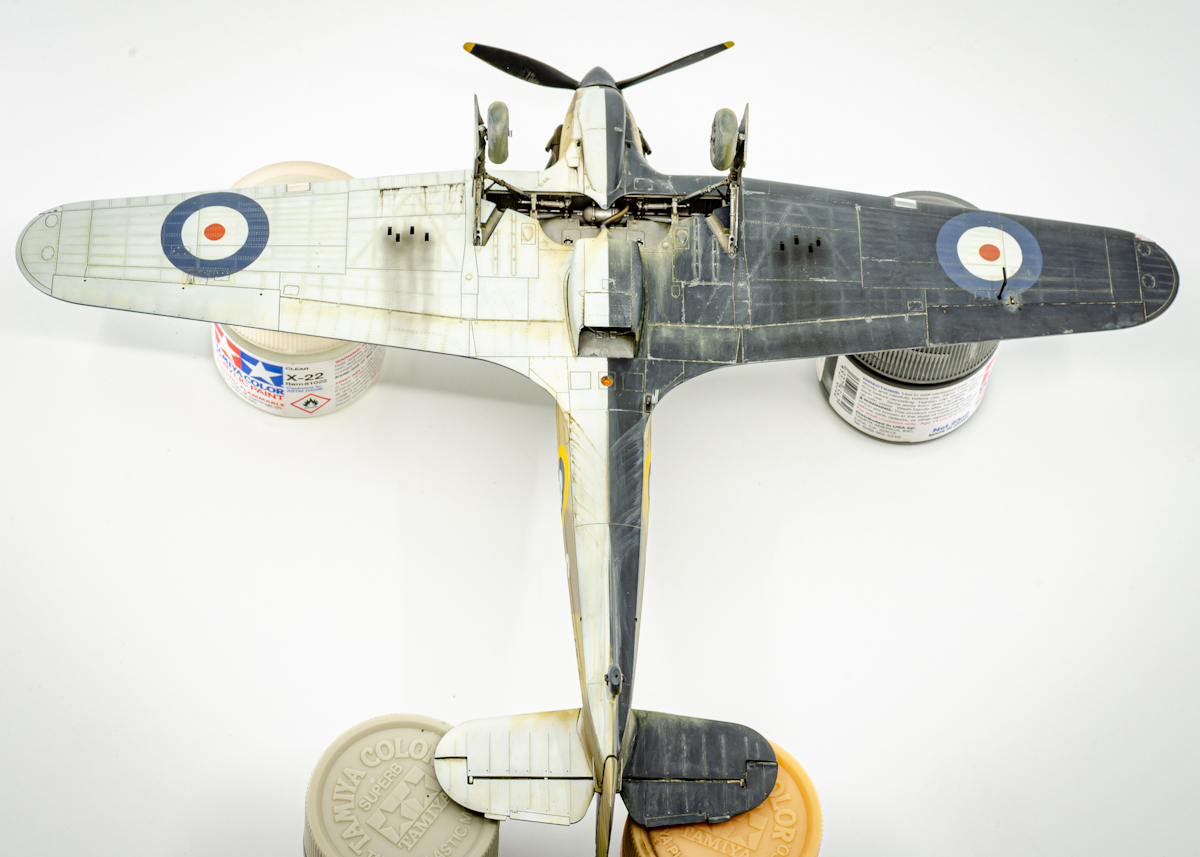
The camouflage was airbrushed freehand, without masks, Blu Tack rolls or similar aids, over a previously prepared “marbling” base made with black MRP Fine Surface Primer and white-beige marble-like squiggles. Looking at it now, however, I think that in the case of P3731/J, the demarcation lines visible in the only available photo appear sharper than on my model, so I probably should have used masks there.
For chips and scratches, I sprayed Tamiya Lacquer Paint LP-11 silver, sealed it with clear varnish and then applied Ammo Scratches Effect. This created subtle scratches in the next stage. To make them, I use a Vallejo Weathering Synthetic Brush M(6).
The squadron codes, serial numbers and roundels were painted using masks designed on the basis of the included decals and cut with a Silhouette Cameo 4 cutting plotter. The small stencils came from the kit decals – interestingly, the Techmod decals from the Mk I boxing settled better for me than the Cartograf decals from the Mk I Trop boxing. Cartograf, however, still wins in print quality.
https://armahobbynews.pl/en/blog/2019/04/11/hurricane-p3731-j-in-the-defence-of-malta-70021/
Wash, weathering and modelling magic
Returning to the painting process: after applying the paint, I sealed the model with MRP Super Clear Gloss Varnish. On this prepared surface I applied the decals and then sealed everything once again with gloss varnish.
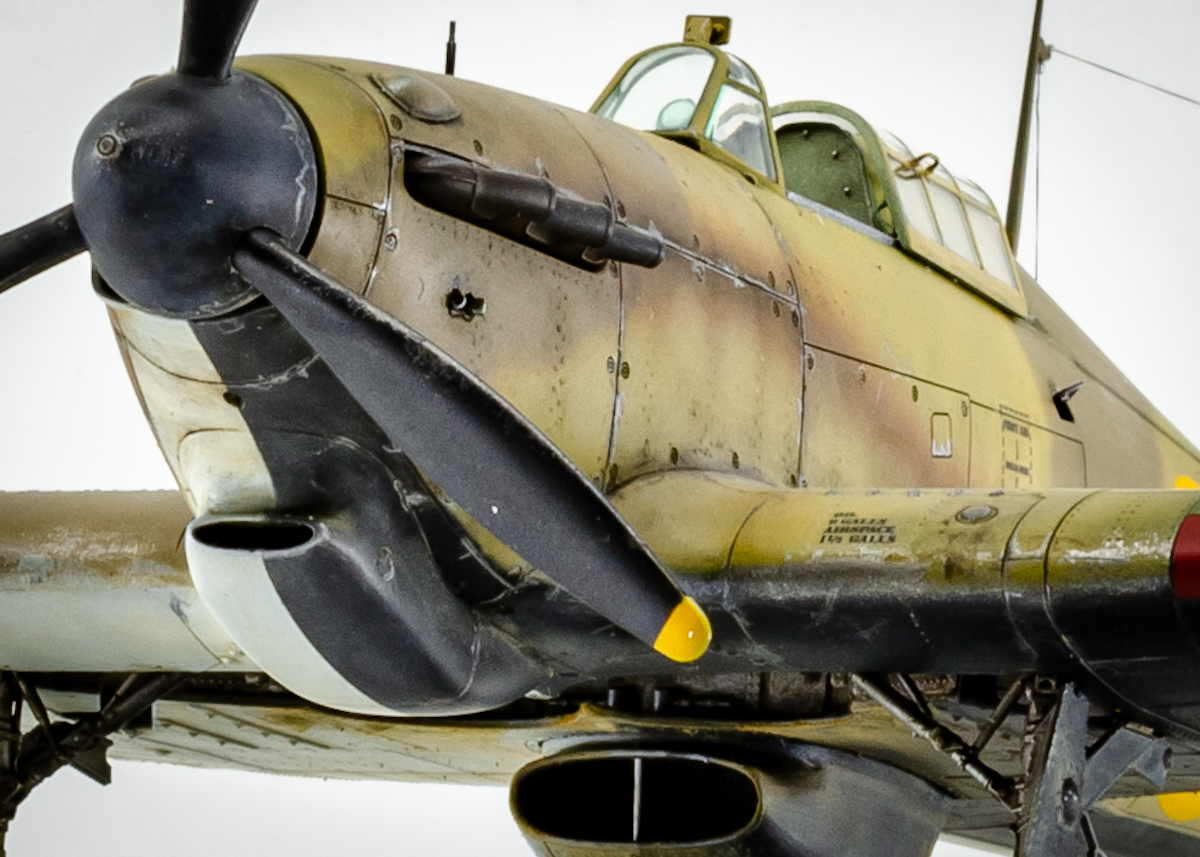
Then came the oil washes. For the Mk I Trop version I used Mig Productions Wash for Desert Sand Base, while for Tuck’s aircraft I used Ammo Mig Dark Brown Wash for Green Vehicles. This is where the real magic began – after the wash, all those previously mentioned subtle and barely visible surface details suddenly appeared in full glory. I am wondering whether next time I should limit myself only to subtle filters, because I feel I may have slightly overdone the washes.
I then sealed the finished model with my favourite acrylic varnish, Varnish HD Top Coats Satin, which beautifully mattes the surface and – most importantly – reduces the visibility of decal edges.
After the satin coat came the stage of recreating dirt and grime with oil paints. Instead of ready-made washes, I prefer using oil paints and White Spirit because they are easy to apply and correct. Finally, I used North Africa Dust and Dark Earth pigments along with a silver pencil for additional chips and wear effects – although I still need more practice refining this technique.
UV resin and transparent parts
I should also mention that this build was an opportunity to test UV-curing resin both as an adhesive for transparent parts and as a material for creating details – once again using Tomasz’s invaluable advice. I have to admit I am absolutely delighted with this material and cannot believe it took me so long to try it.
At the same time, I am tempted to test transparent self-adhesive Scotch tape for recreating the wing landing light covers, just as Wojtek described in the previously mentioned article with modelling tips.
See also:
👉 Hurricane kits in the shop: link
How I photographed the models
Finally, a few words about the equipment I use for photography: a Nikon 5100 DSLR with an AF-S Nikkor 50 mm 1:1.8G lens, a tripod and the foldable OrangeMonkie Foldio 3 portable photo studio. I edit the photos in the mobile version of Adobe Lightroom. When taking photos, I draw heavily from Jeff Bartelt’s excellent book Scale Model Art. A Guide to Photographing Scale Models.
Final thoughts
That would be all – as you can see, I am definitely better at building models than writing texts describing the process.
Photos of Hurricane Mk I DT-A
Photos of Hurricane Mk I Trop

Virtual Editor, guest post publisher. When blog authors fall asleep he works unnoticed to improve website content quality.
This post is also available in:
 polski