
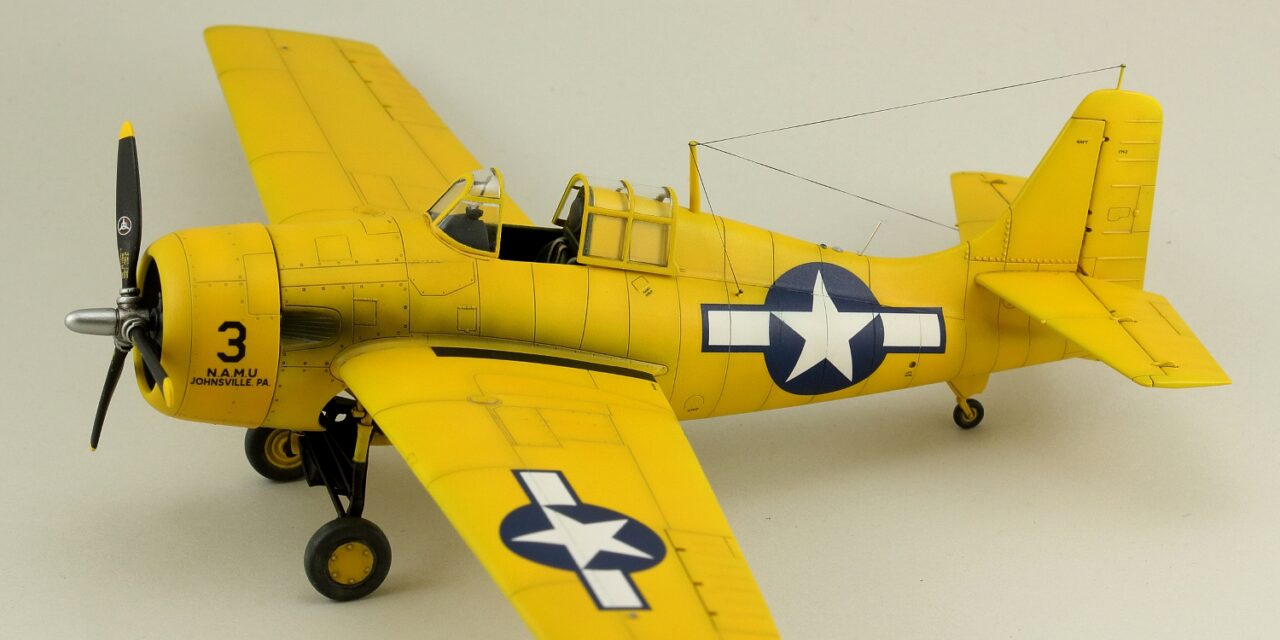
Robert Wójcik, our friend modeller, blogger, YouTuber and modelling Instagramer (author of the R-miniatures blog) built an Arma Hobby FM-2 Wildcat and … painted it yellow. What does it look like? Amazing! It’s a great model, we saw it live!
This is what Robert wrote about his build:
I really do love unusual planes. Structurally unusual, flying under a foreign flag, prototypical or experimental, or carrying an unusual paint scheme – and sometimes having all these features at once. Further, there are aircraft that, while they cannot be called beautiful, have something that catches the eye. And there are also models in which I appreciate the quality of workmanship and the solutions applied so much that I simply want to put them together, even though they are not fully in line with my mainstream interests. Arma Hobby’s Wildcat has a bit of all this, but although for some time I looked at the kit with unbridled interest, I postponed any decision to commence the project. The situation changed when I saw the box and an article dedicated to the colourful FM-2 on the company’s blog. What can I say? I looked at it, amazed and dumbfounded, and knew that I had to make a few of these models soon.
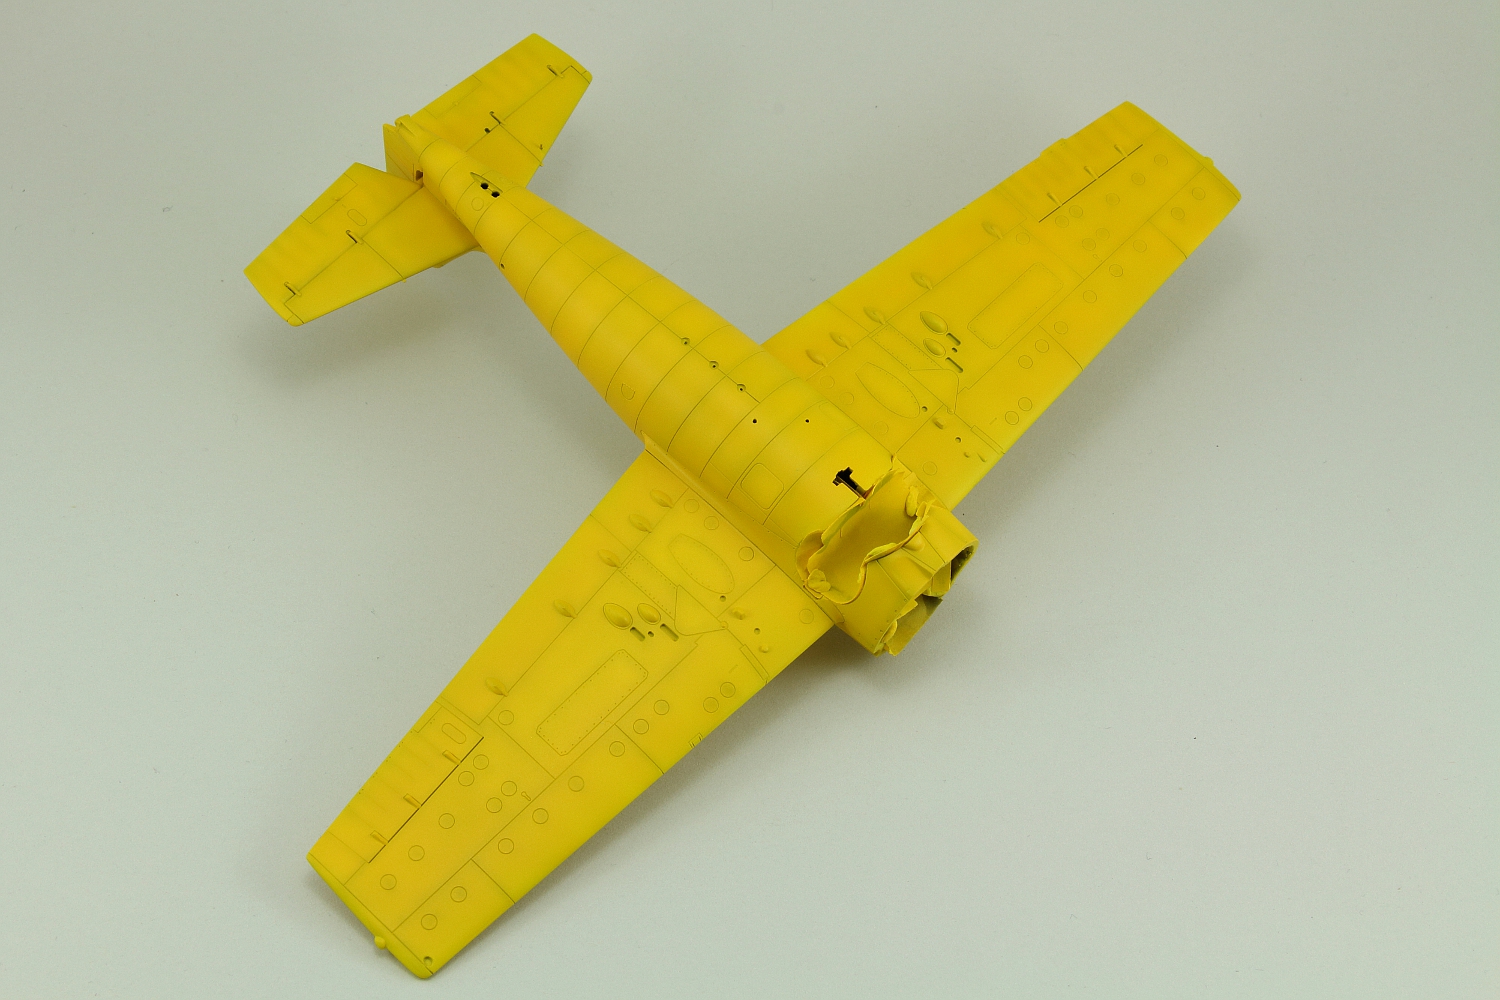
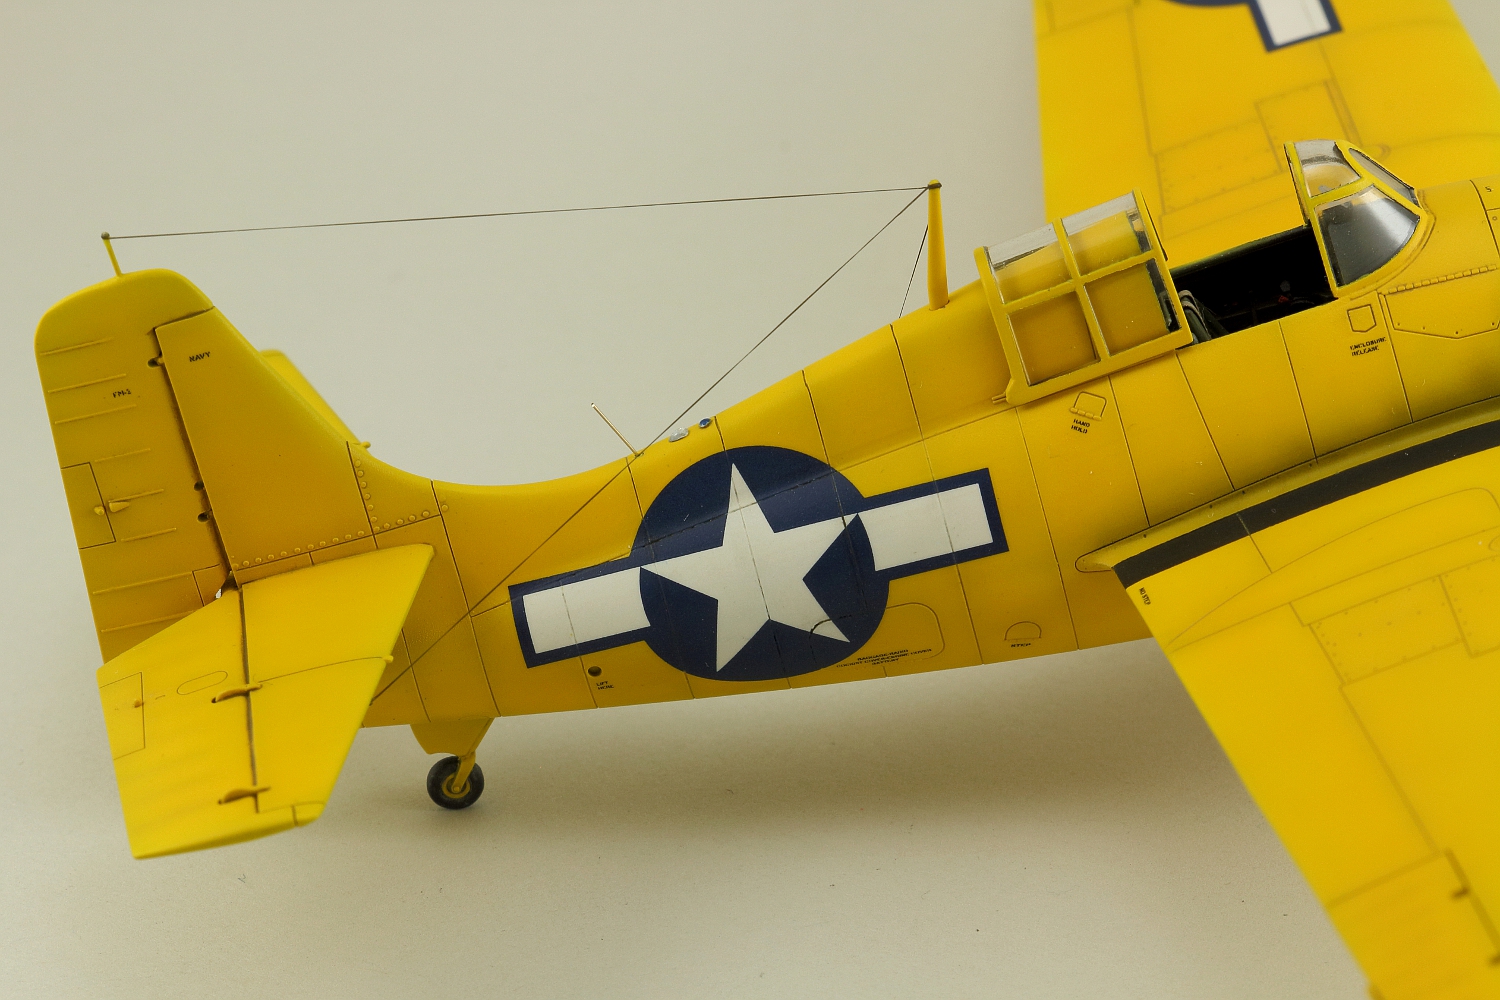
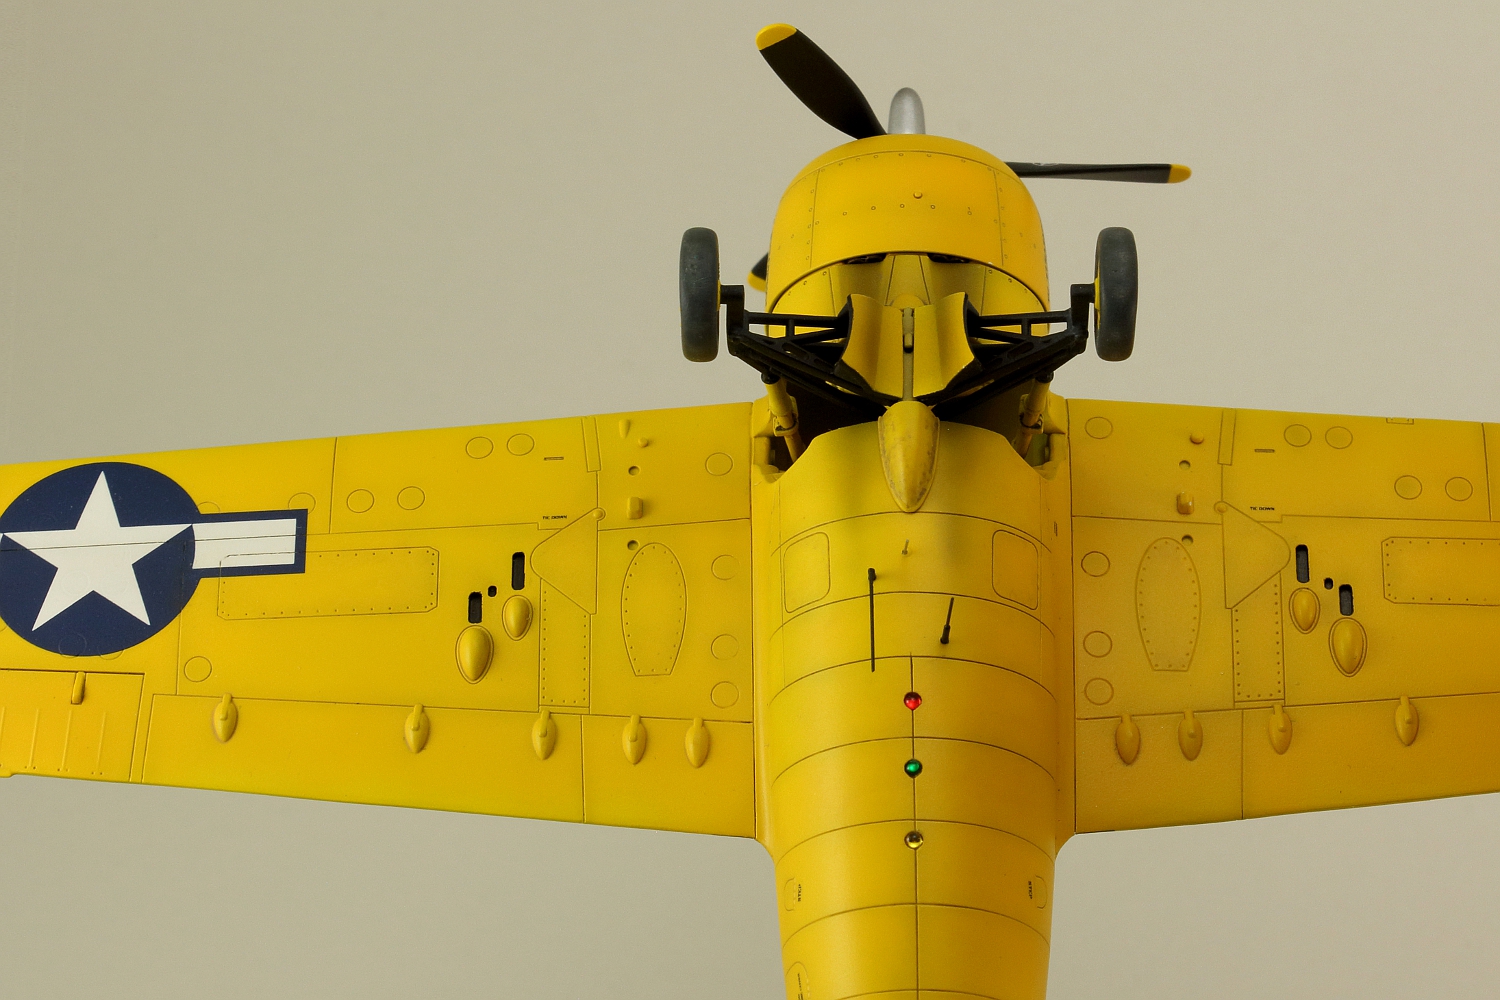
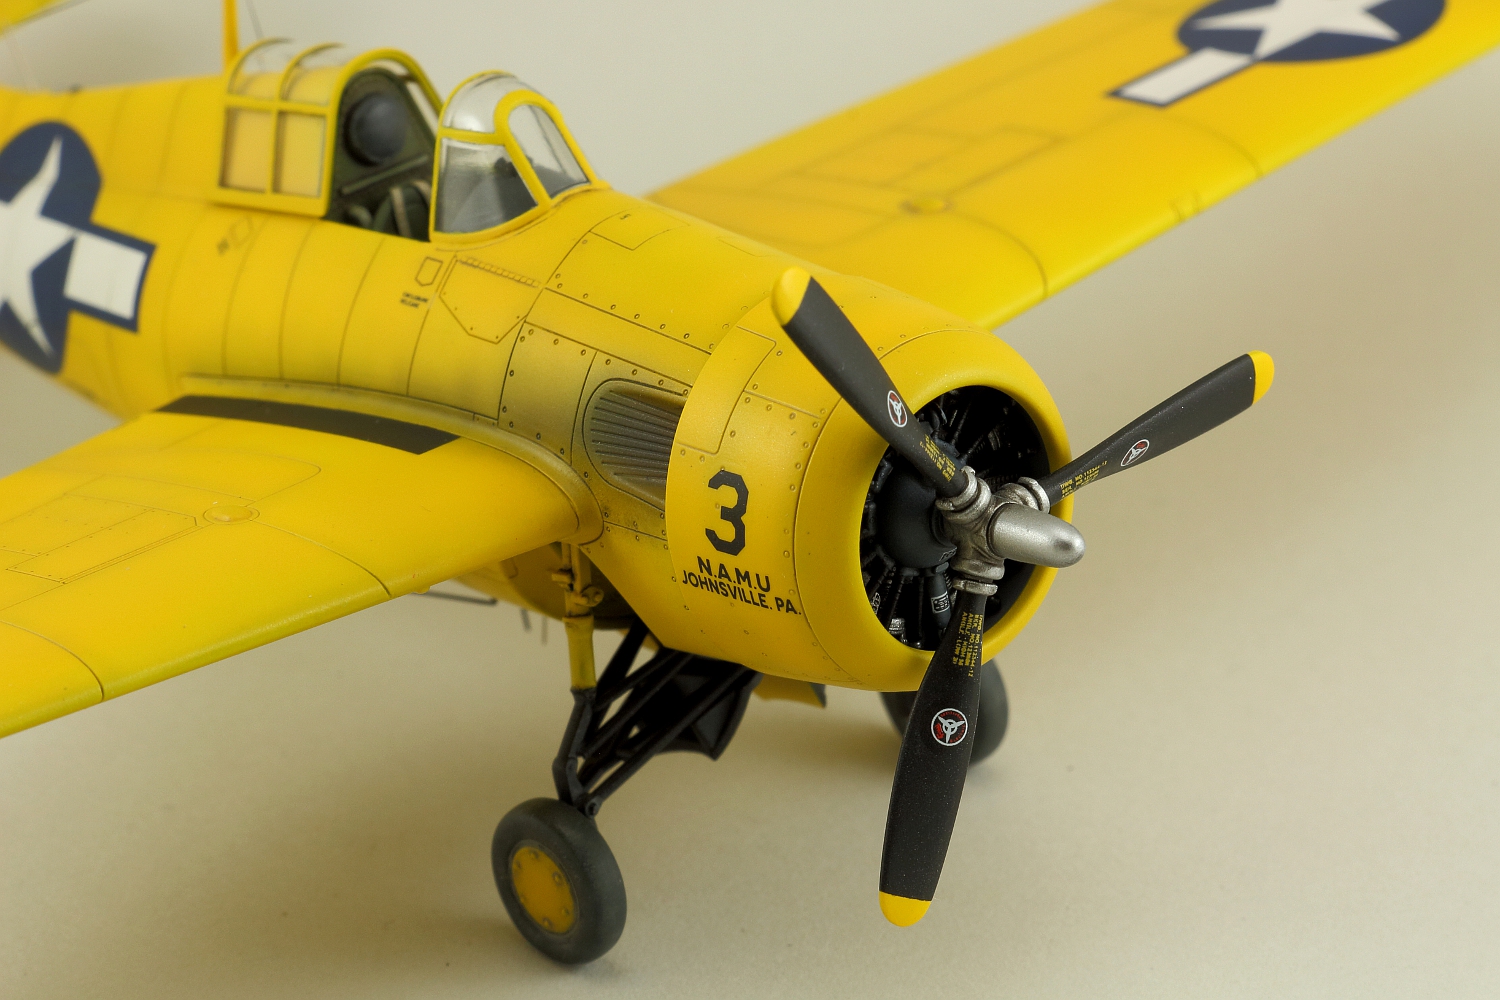
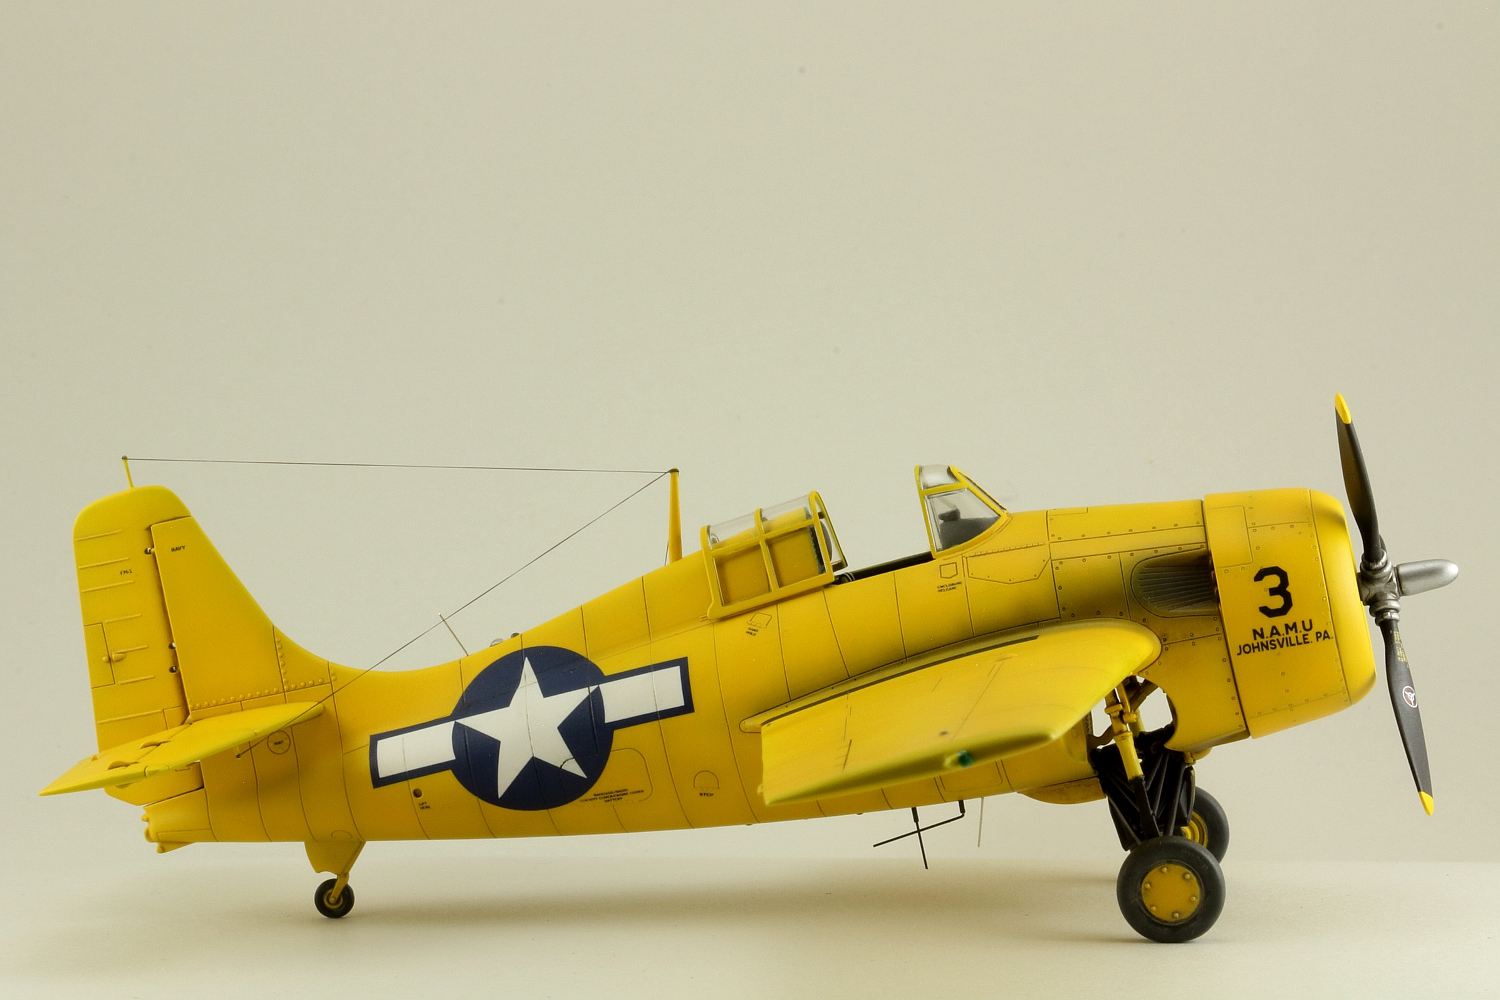
I started off with a most stunning version, adorned with the yellow “uniform” normally used by the Naval Aviation Modification Unit from Johnsville, where various modifications of Navy aircraft were tested. Compared to front-line aircraft, the model which I assembled has a few distinguishing features. First of all, it has a large number of antennas – both cables stretched along the fuselage, and additional antennas on the underside. It is not quite clear what the purpose of these additions was, nor how they were configured on aircraft number “3”, which I chose to assembly. I assumed that the configuration was similar to the one on the better photographed aeroplane with the number “1” (except for the lack of one antenna on the side of the fuselage). An additional nice touch for modellers are the blanked off wing machine gun muzzles (although the cartridge case ejectors are clearly visible). As far as the model itself is concerned, I made the antennas located under the fuselage using medical needles and metal rods connected telescopically. The antenna aerials are a ready-made product of AMMO MIG.
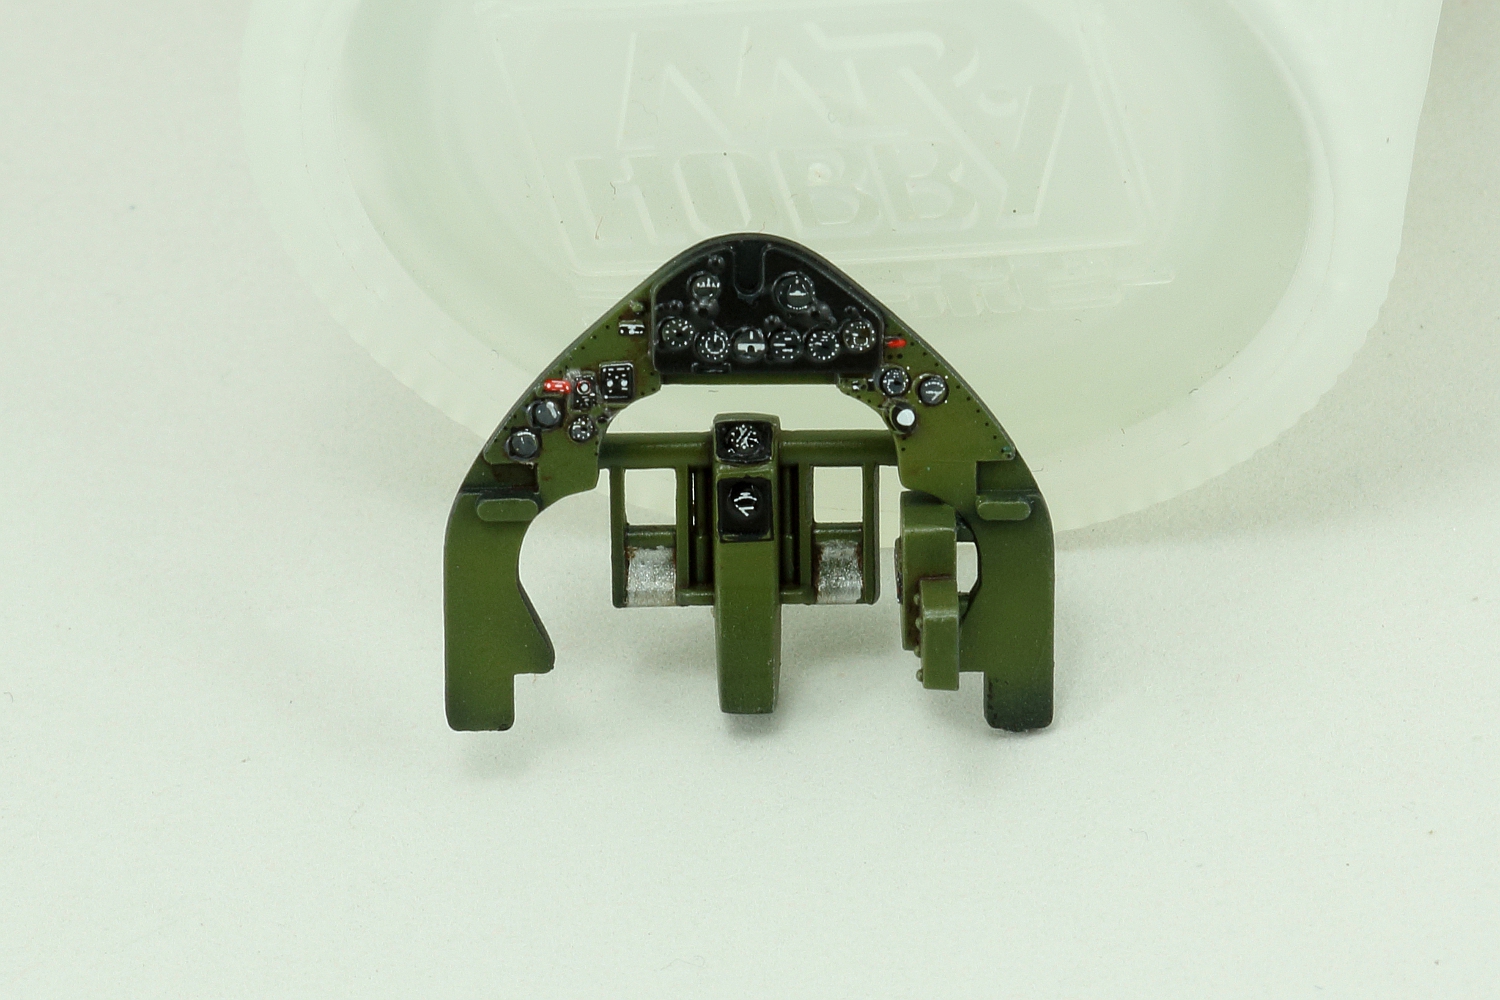
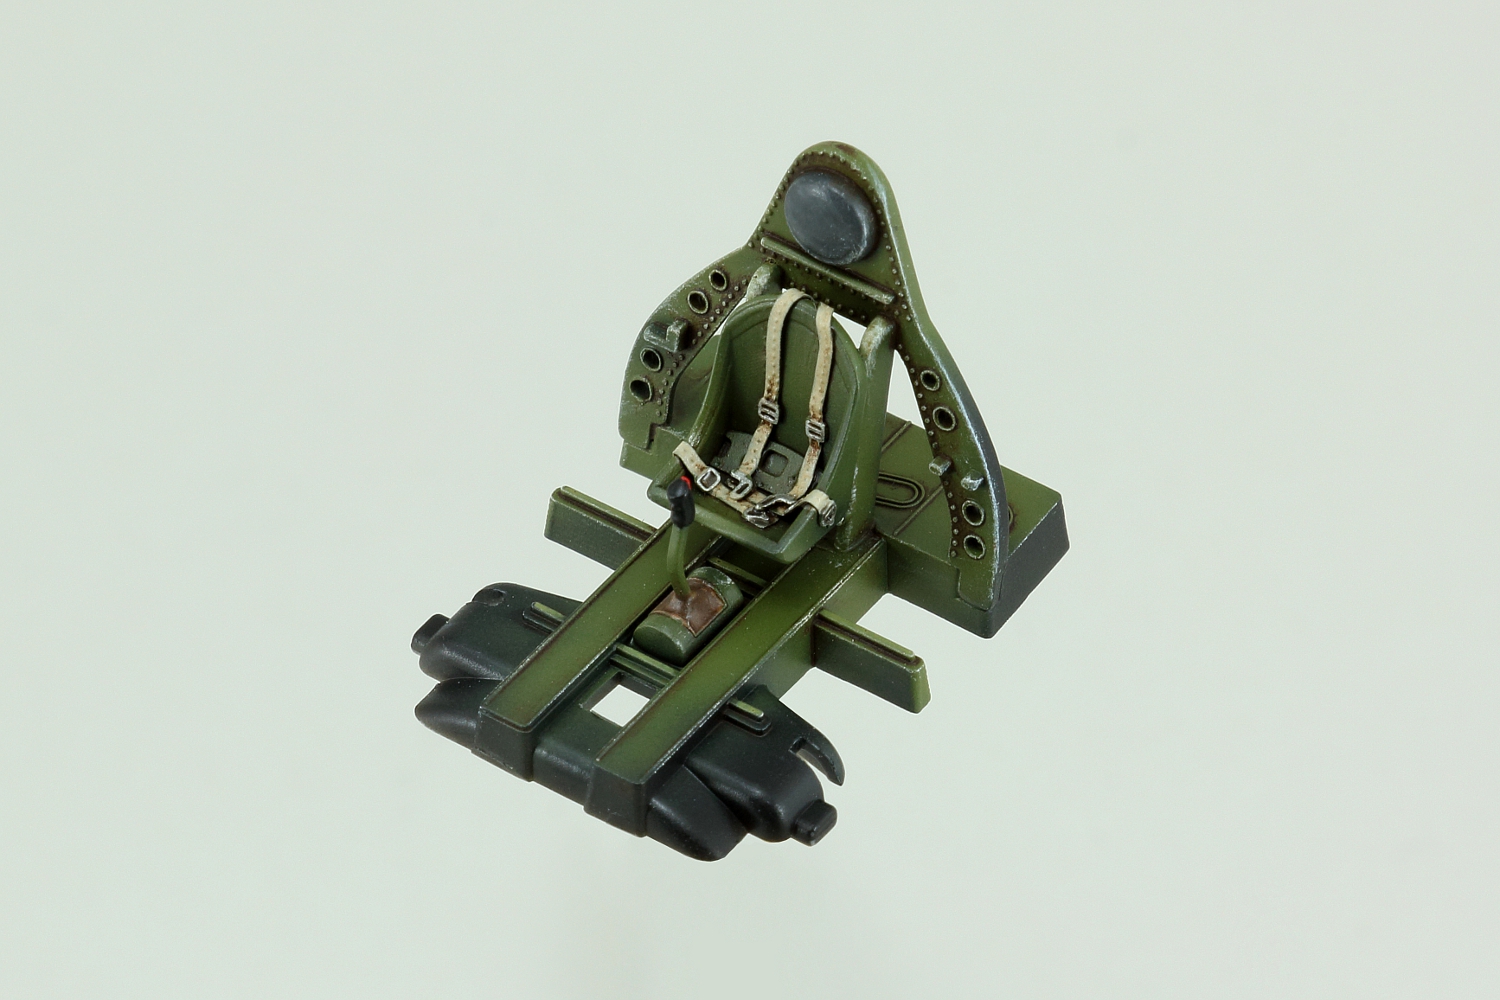
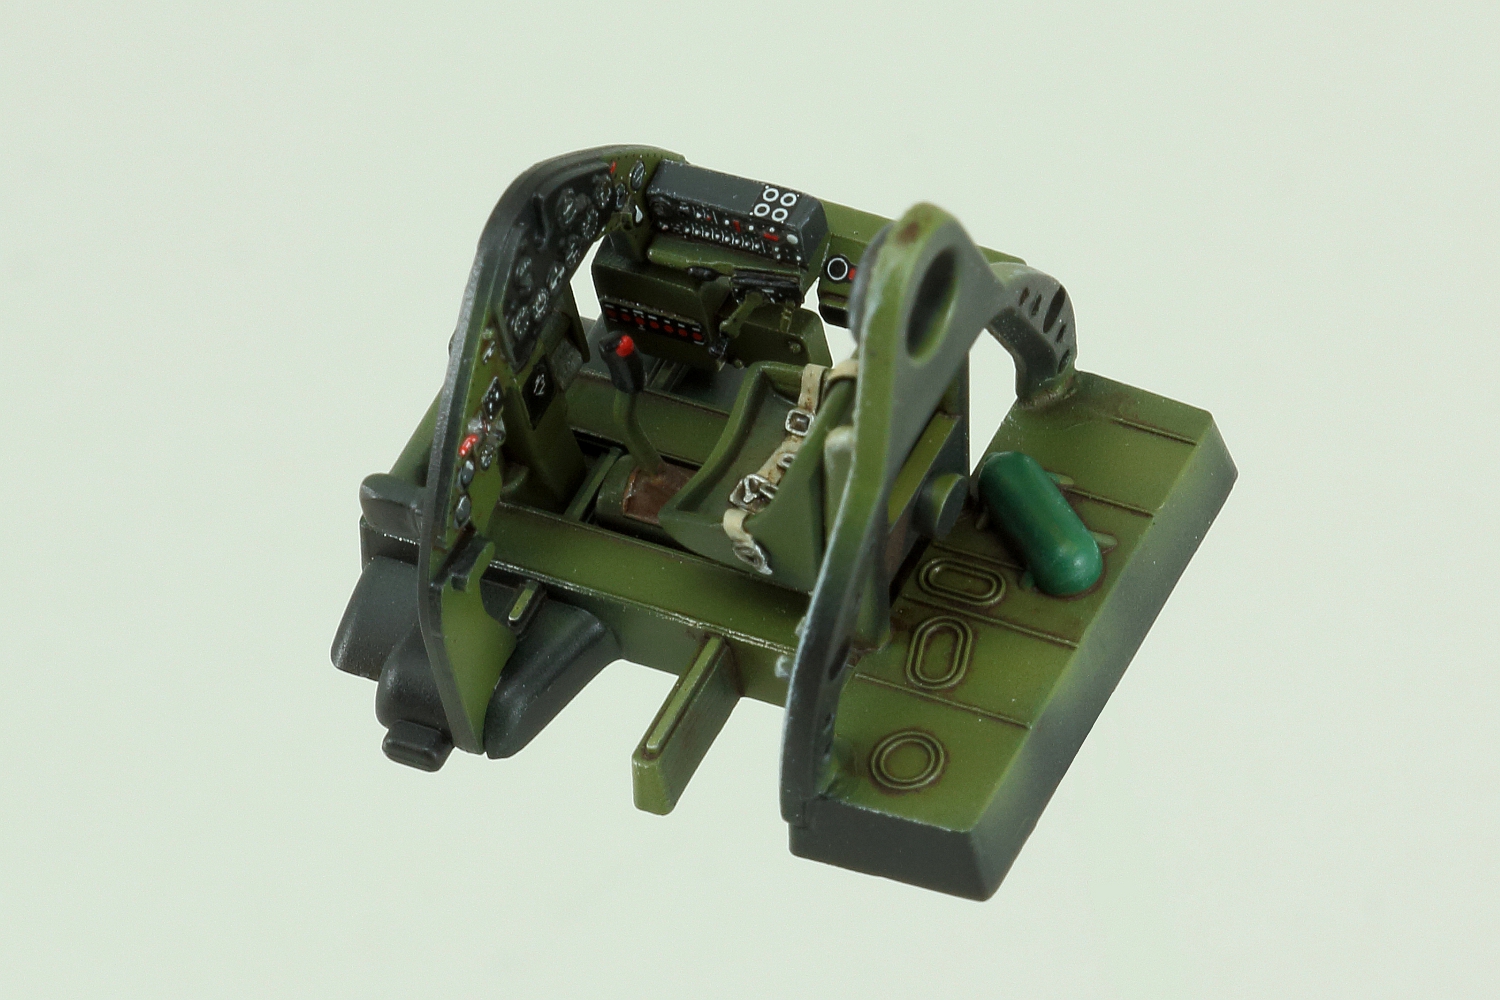
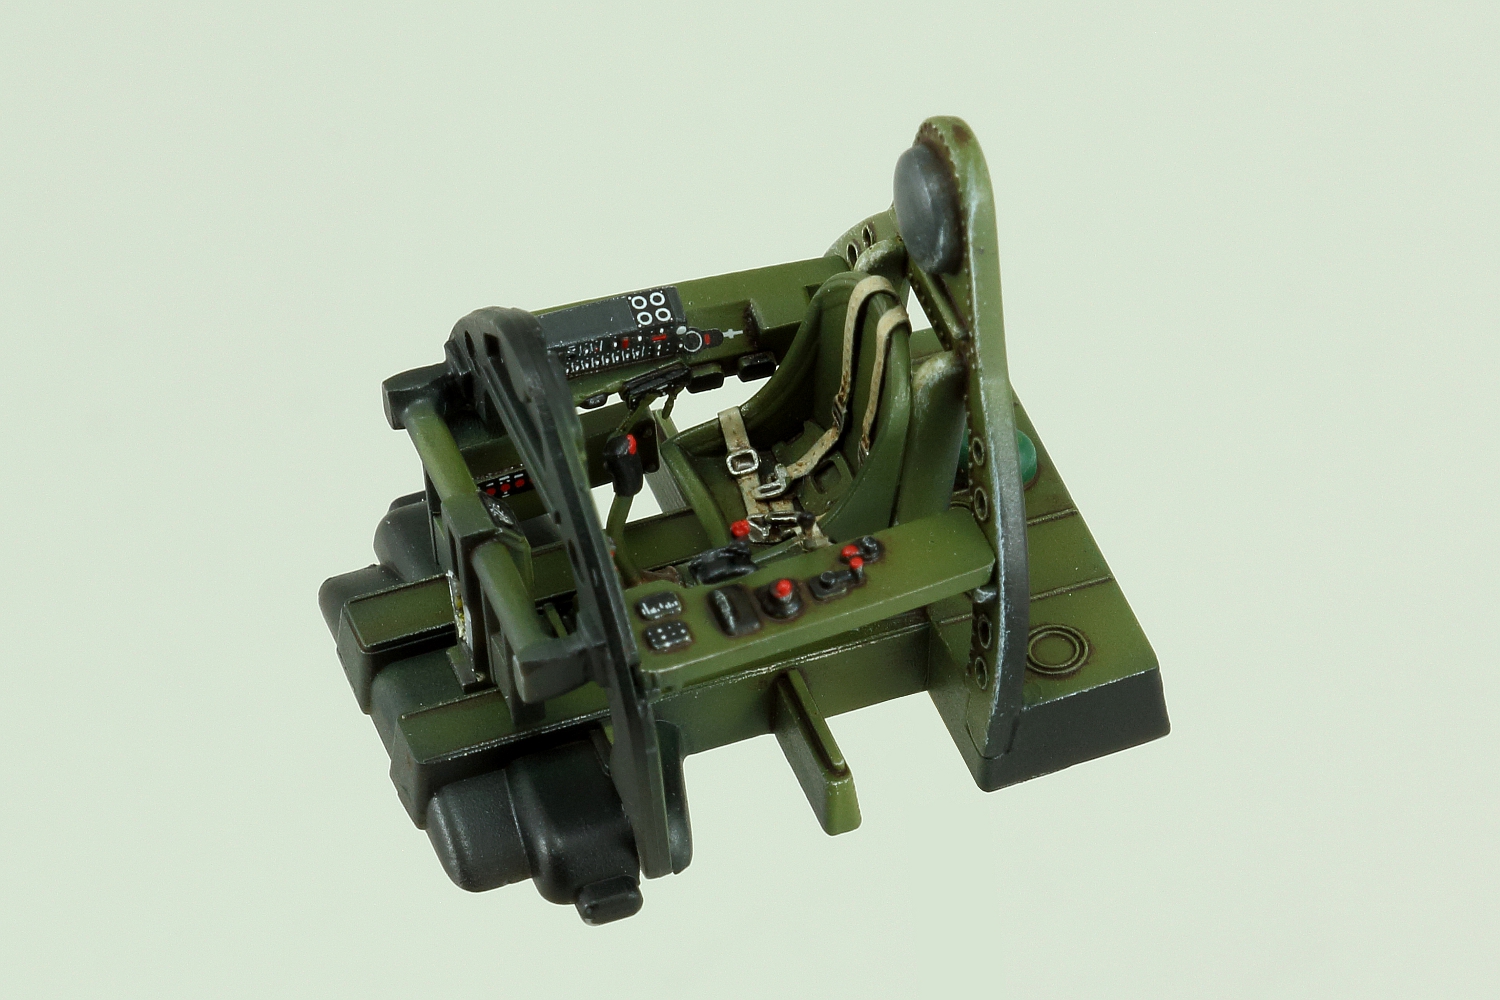
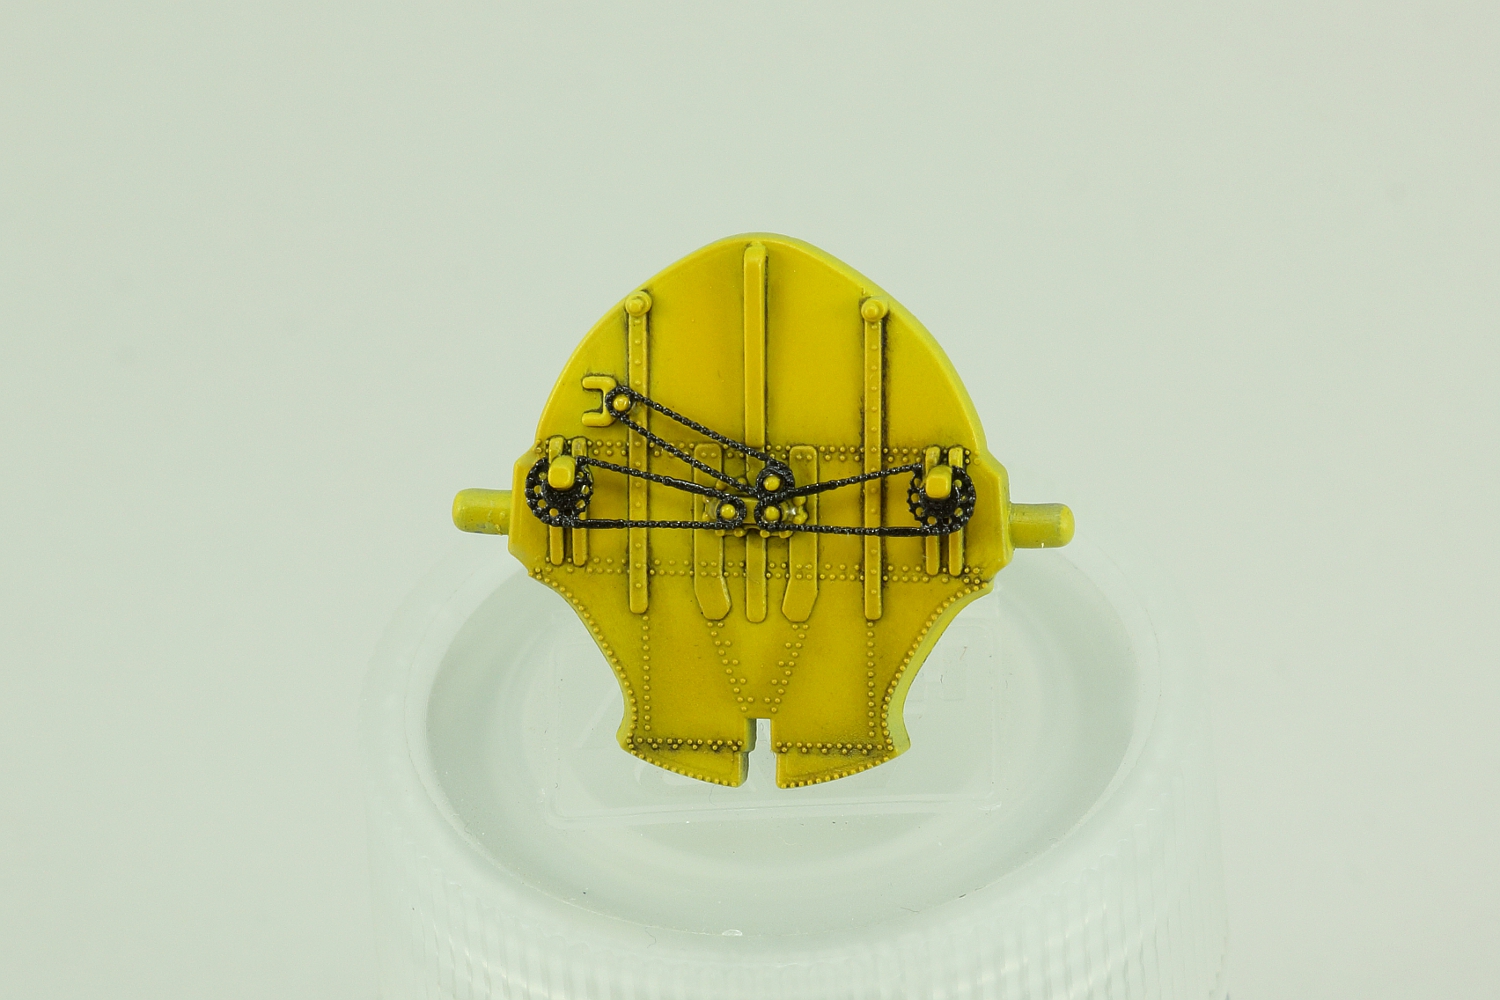
Cockpit interior
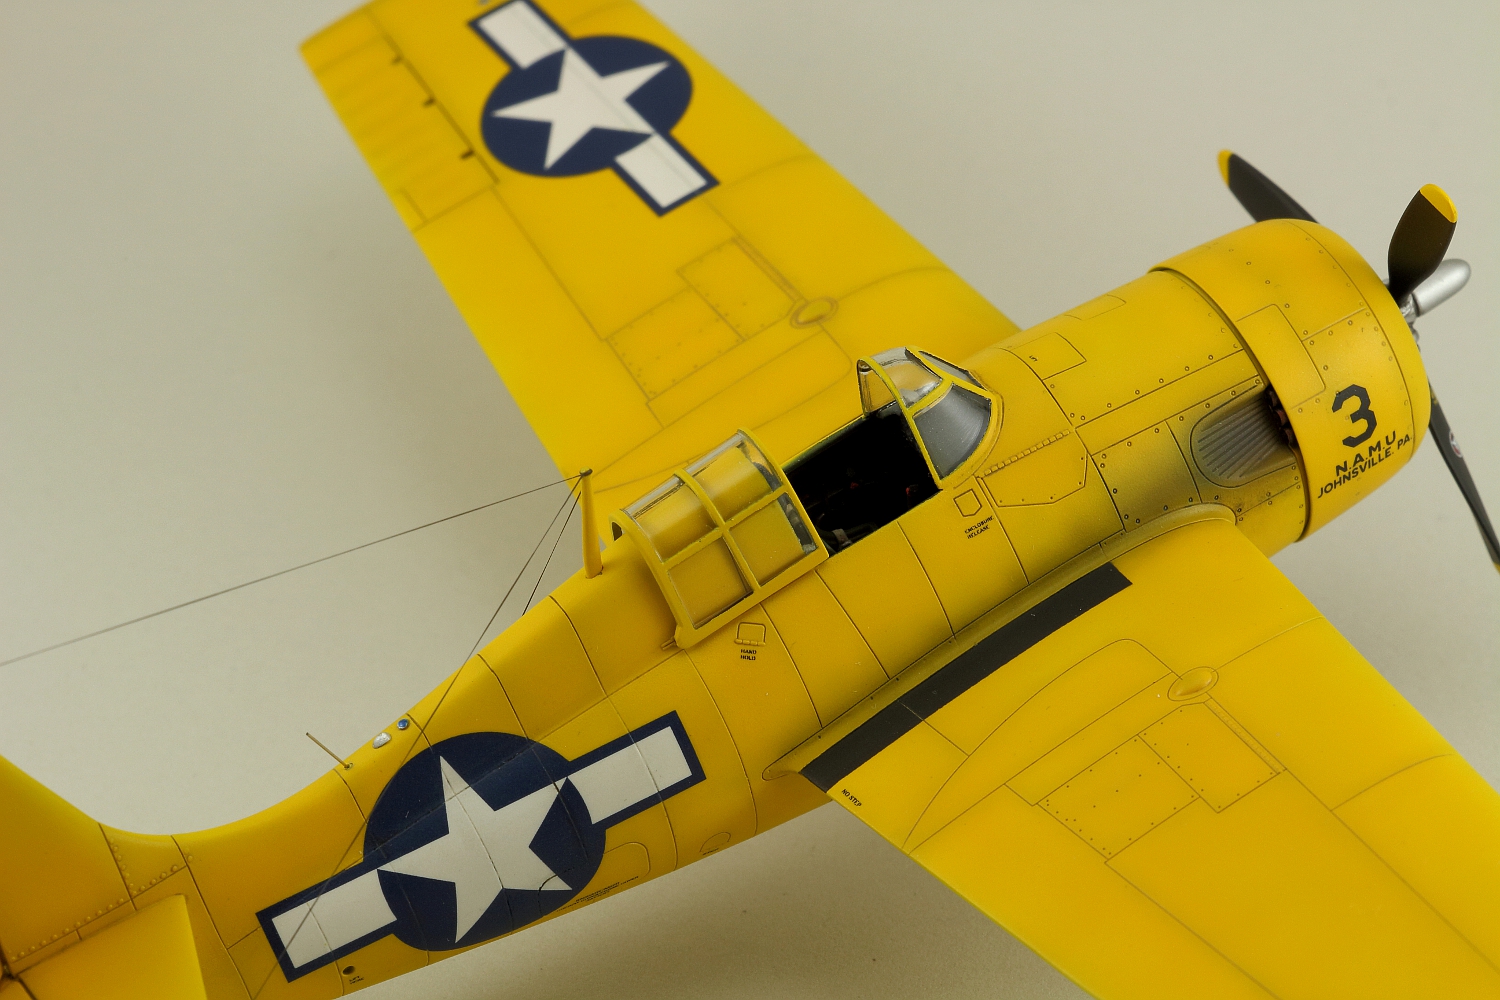
The Arma Hobby product presents a high level, and even if made straight from the box is simply stunning. As usual, I started work from the cabin, which has exceptional castings and decals, and borrowed only a few photo-etched parts from the Expert set. This is fully sufficient to achieve an impressive effect, although it requires considerable focus and precision. My only personal addition were the “glass” sights, which I cut from transparent plastic. When working on the interior, I decided not to use a single plate for the instrument panel and clocks, as I thought the plastic part was sufficiently good. I made the glass of the clocks using the AMMO MIG’s Crystal Glass preparation. In order to close the centre, I still had to prepare a wall with the undercarriage retraction mechanism and glue in the beautiful, photo-etched chains (another Expert metal plate). In my model, I slightly milled their mounting holes in order to make it easier to place them on the plastic pins.

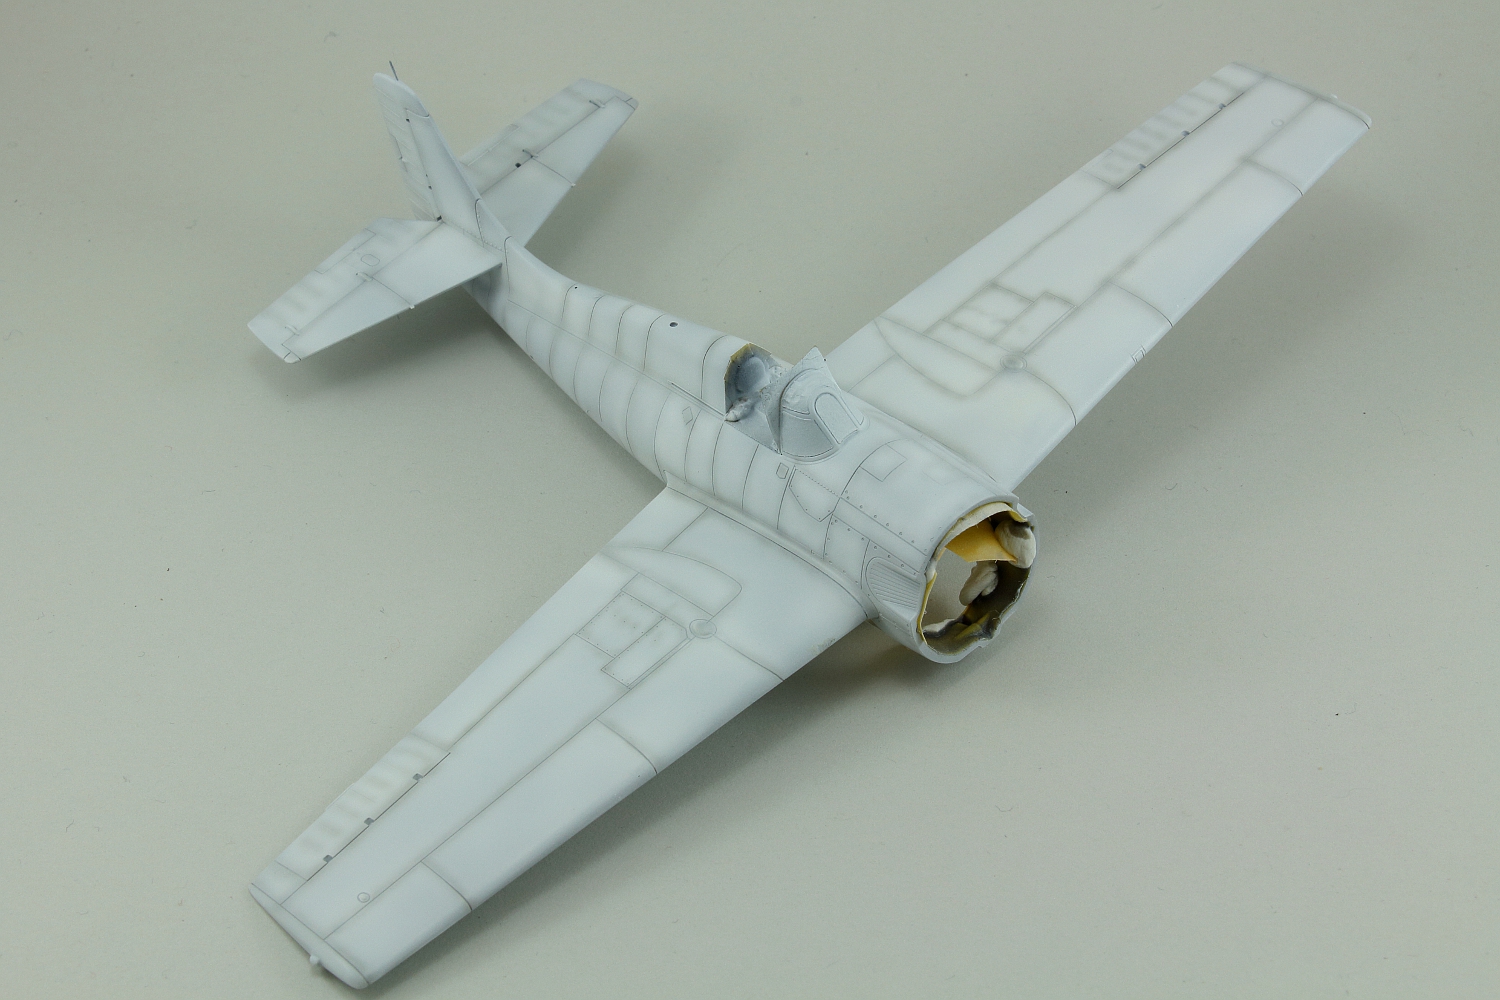
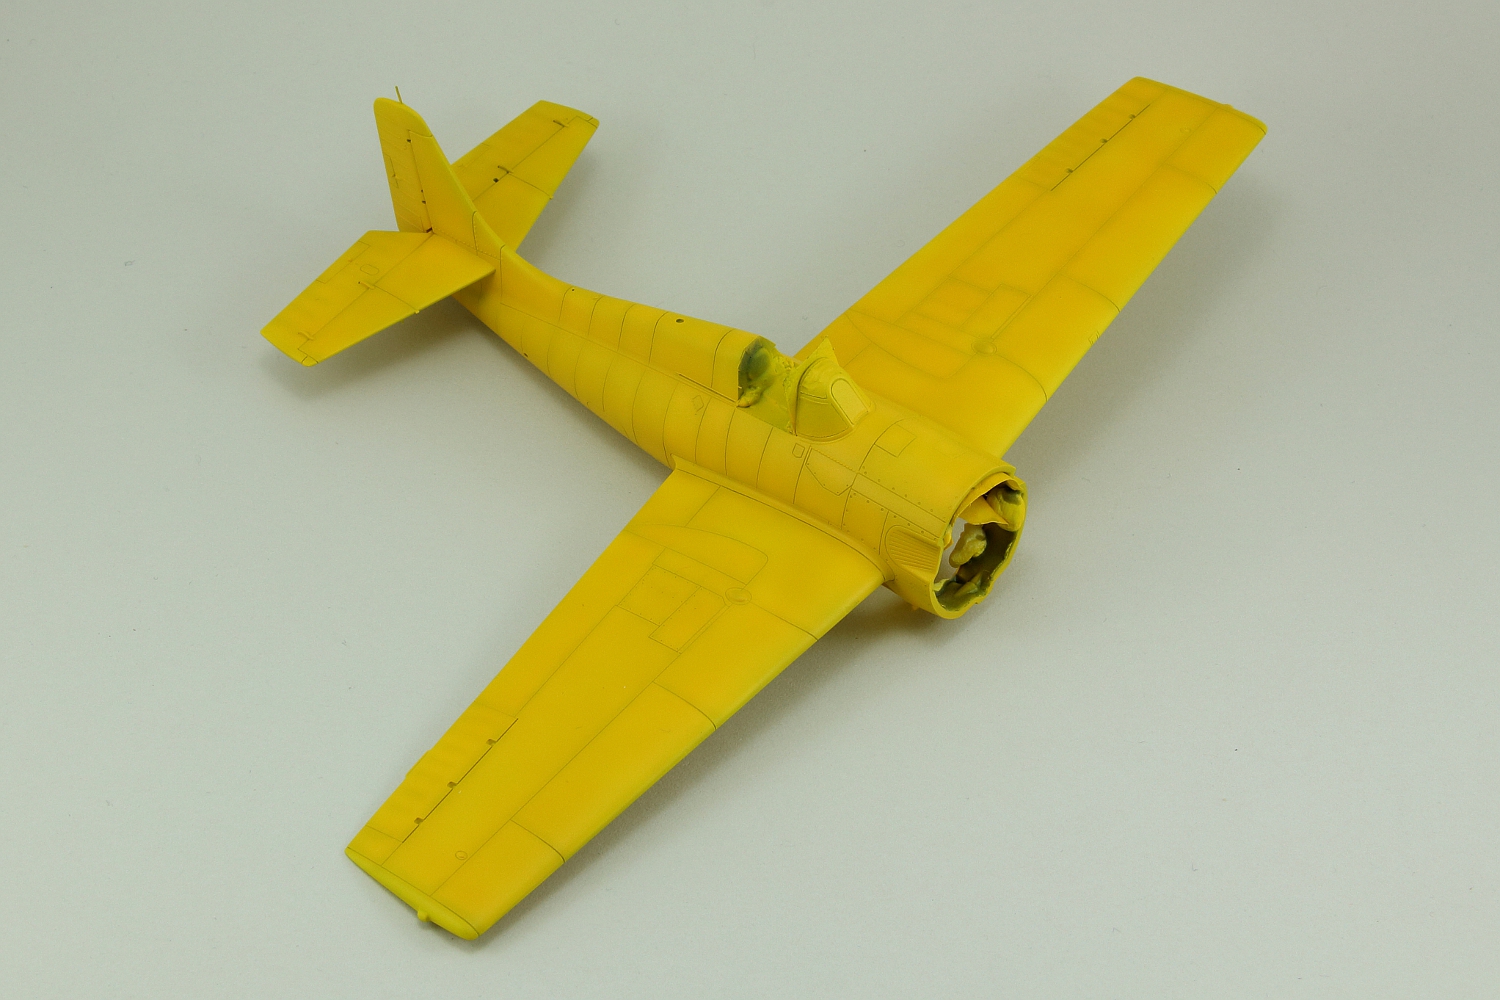
Assembly did not cause any major difficulties, although, seeing as the model is quite tightly fitted, it is worth removing the paint from the points of contact of individual parts. When closing the two halves of the fuselage, I deliberately did not follow the instructions and left out all the undercarriage and frame parts, deciding to glue them in only after the model was painted (parts A16, A17, B11, and the undercarriage legs). I also chose to minimize the risk of breaking something while moving the model around, even at the expense of making assembly more difficult (all in all, I would encourage everyone to try this method; with a good pair of tweezers, everything went smoothly, and frontal access to parts is very convenient).
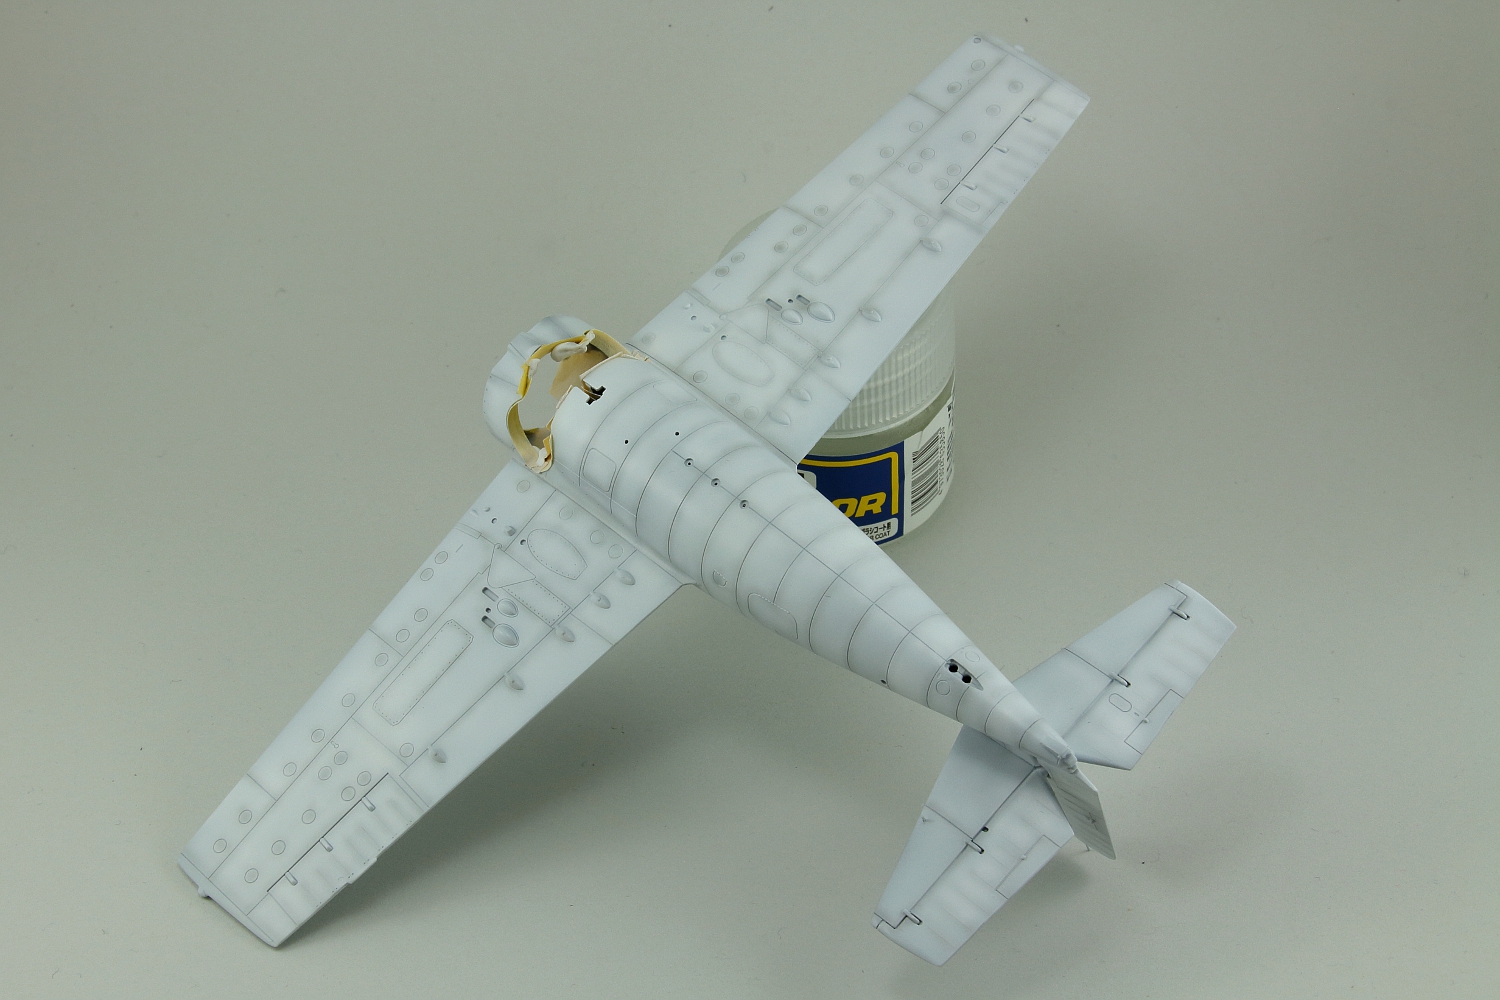
A minor modification of the model consisted in slight thinning its wings (on a flat sheet of sandpaper), according to the manufacturer’s own recommendations published on the company’s blog in the post about the F4F-4 version. This made the fit of the part exemplary. I recommend sanding down only the upper part of the wing, because there are no protruding mounting points there. When gluing the wings to the fuselage, it is worth making an effort to ensure symmetry and the correct degree of lift.
One of the last steps was gluing the windscreen, which fitted perfectly. Last of all, I prepared a few mounting points for the previously mentioned antennas, of which the aircraft had an abundance. I also decided to use the position lights from the AK Interactive set. For this purpose, I milled some recesses in the model, into which I will glue the ready lights at the very end. I removed the factory-fitted lights from the top of the fuselage and made them myself from a transparent piece of frame. Having the solid thus prepared, without the undercarriage and engine section, I could start planning paint work.
Yellow – difficult colour
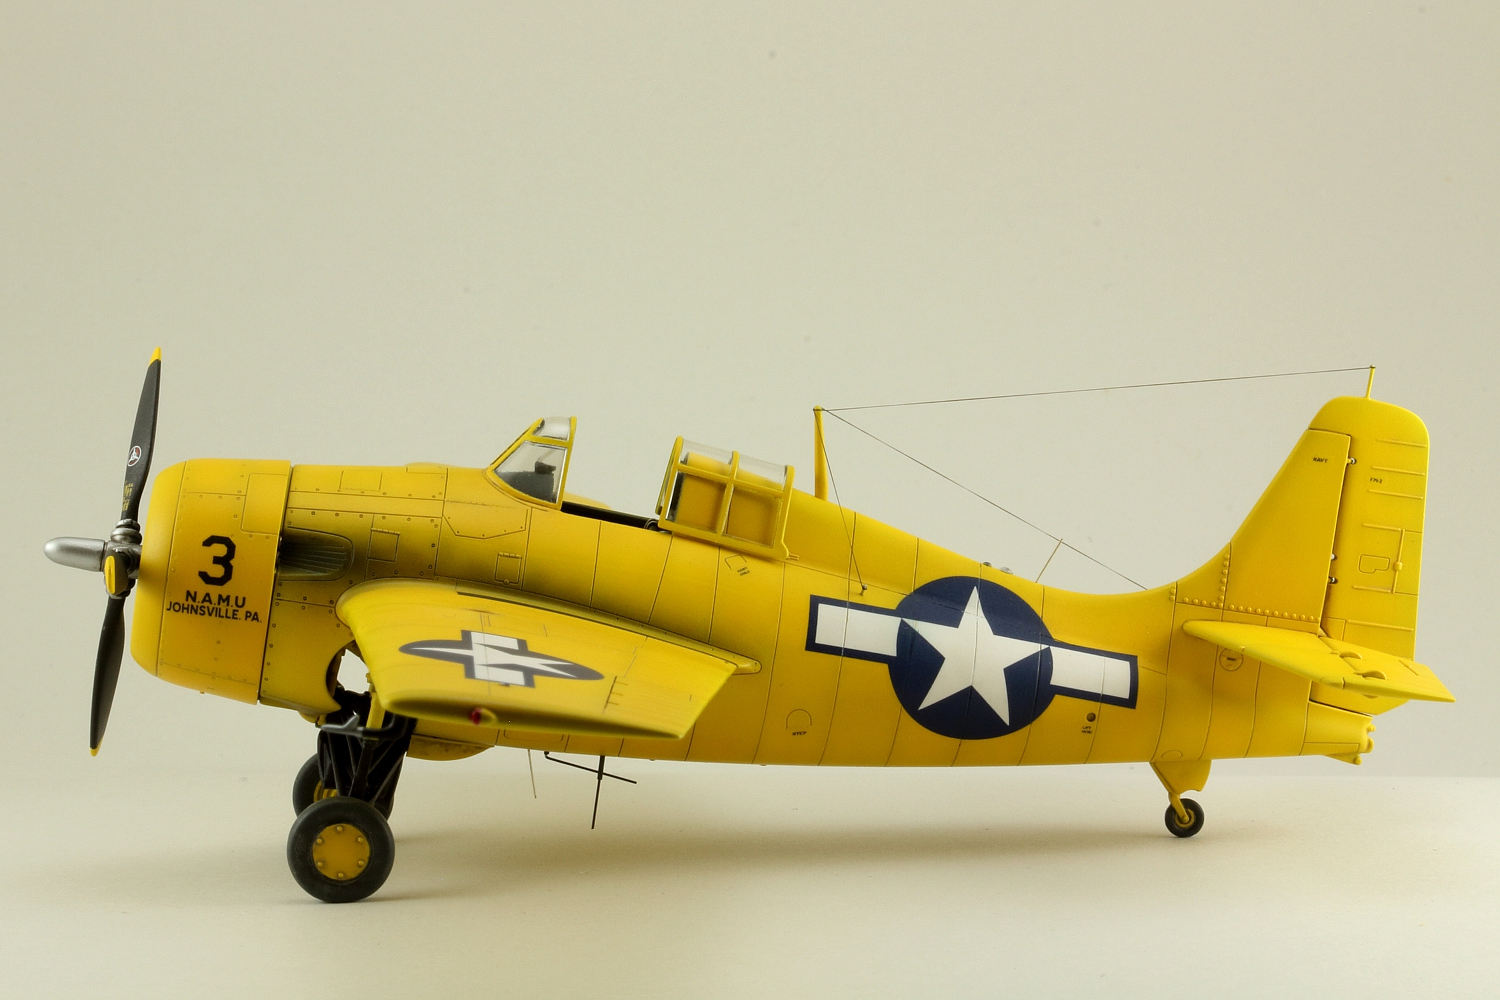
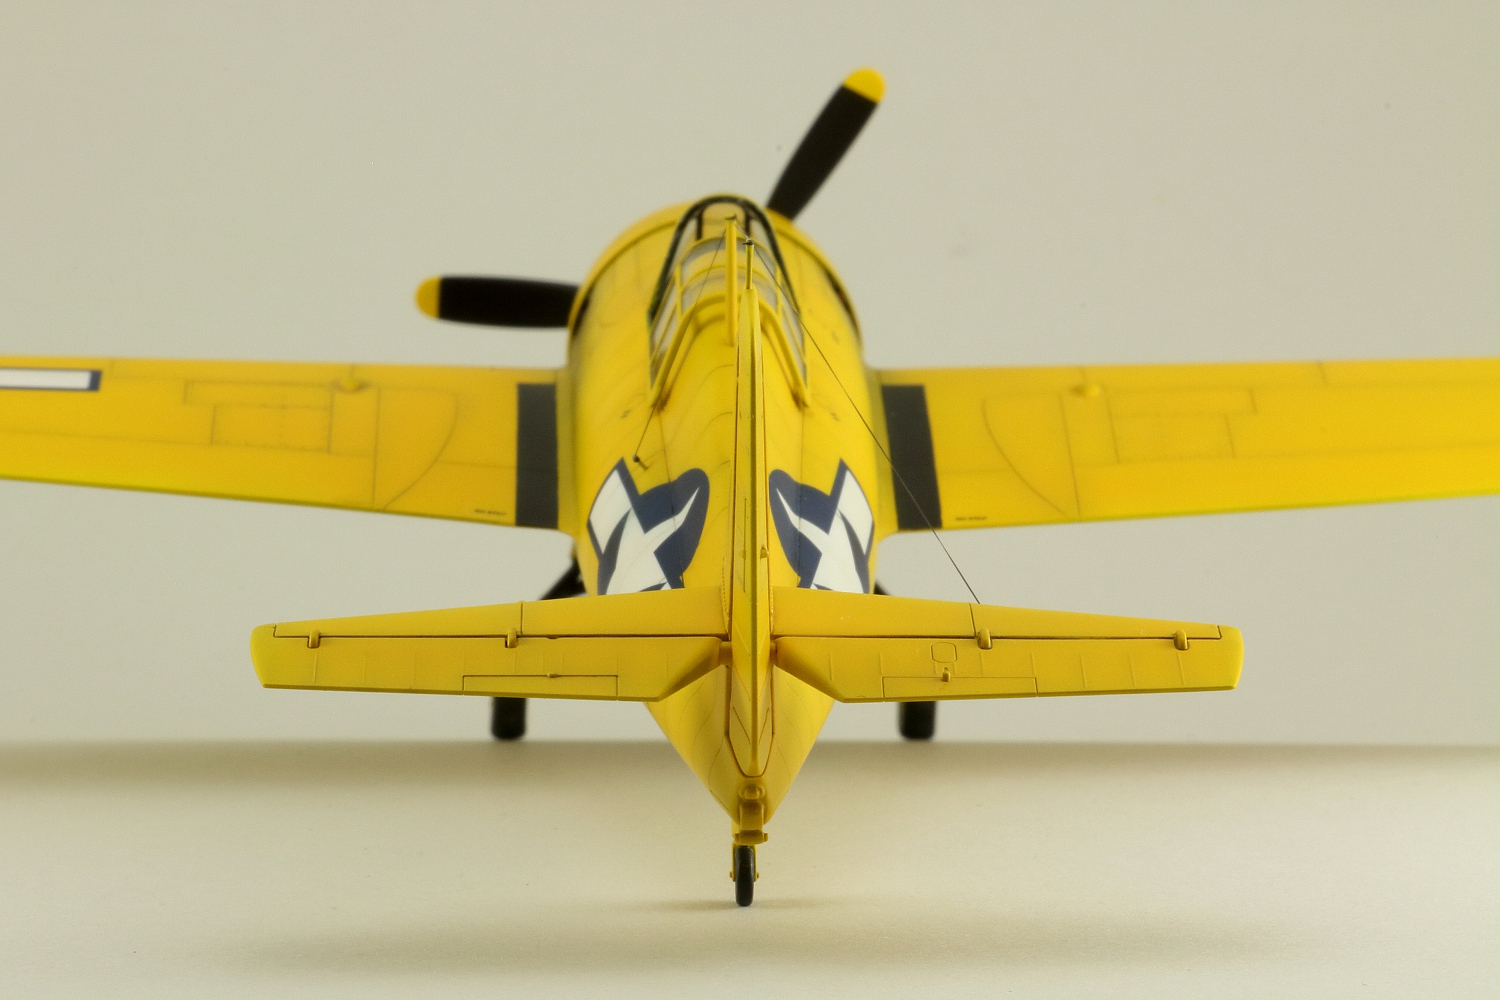
Painting a single-colour model is only seemingly simple, especially as yellow is – in my opinion at least – the most difficult colour to apply from the entire modeller’s palette. After some experimenting, I decided to paint and shade the model in grey and white, so that it more or less achieved its target appearance, and then cover this base with yellow (RLM 04 from Mr Hobby, no less), which provides only mildly effective cover. As expected, all the details of shading and pre-shading showed through beautifully, and there was nothing more that I could do with the yellow. Basing on photographs of the original, I added only some soot and black (in Smoke colour). I also painted walkways on the wings.
And although I have not always been a fan of Techmod decals, this time they were impeccable and worked very well with softeners. Locating the stars on the fuselage was not a simple task, both because of its specific shape and the size of the symbols themselves, but such is the aircraft’s charm. I helped myself by cutting the decal in a central position along the dividing line. As regards the inscriptions, I used most of them, but some – clearly not visible on the real plane – I discarded.
Application of the wash, in other models relatively routine, was another challenge, especially as I was keen to ensure that it did not dominate the yellow and thus look comic. Ultimately, I used beige (mixed with ochre and natural umber), while the ailerons, tail, underside and front of the aircraft received a somewhat darker mixture; the rest was painted in a lighter colour. I recreated sootiness using full black.
The final items of work on the model actually included a few separate elements. The undercarriage looks very detailed, although maintaining its symmetry is not the simplest of tasks. Not having any template, at the very beginning of work on the model I temporarily installed the undercarriage legs in the fuselage which was clamped together with Tamiya tape. When I was sure everything was placed as it should be and was straight, I glued all the undercarriage leg parts using Extra Thin adhesive and left them – stabilized in the fuselage – for the night. The next day I took out the finished undercarriage and once again disassembled the fuselage.
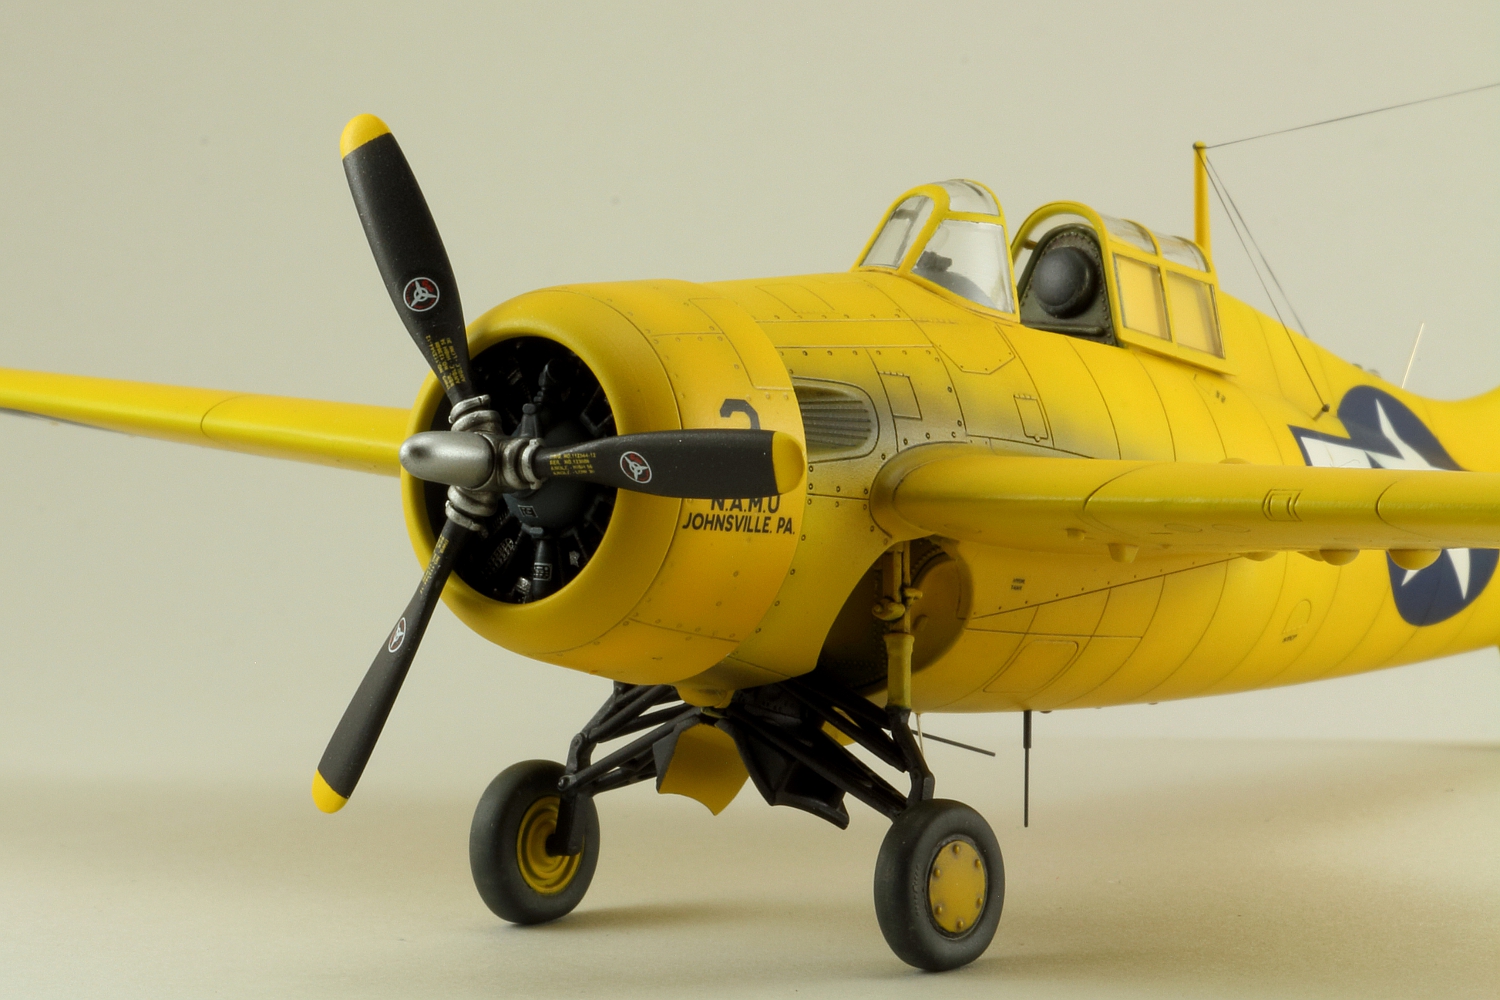


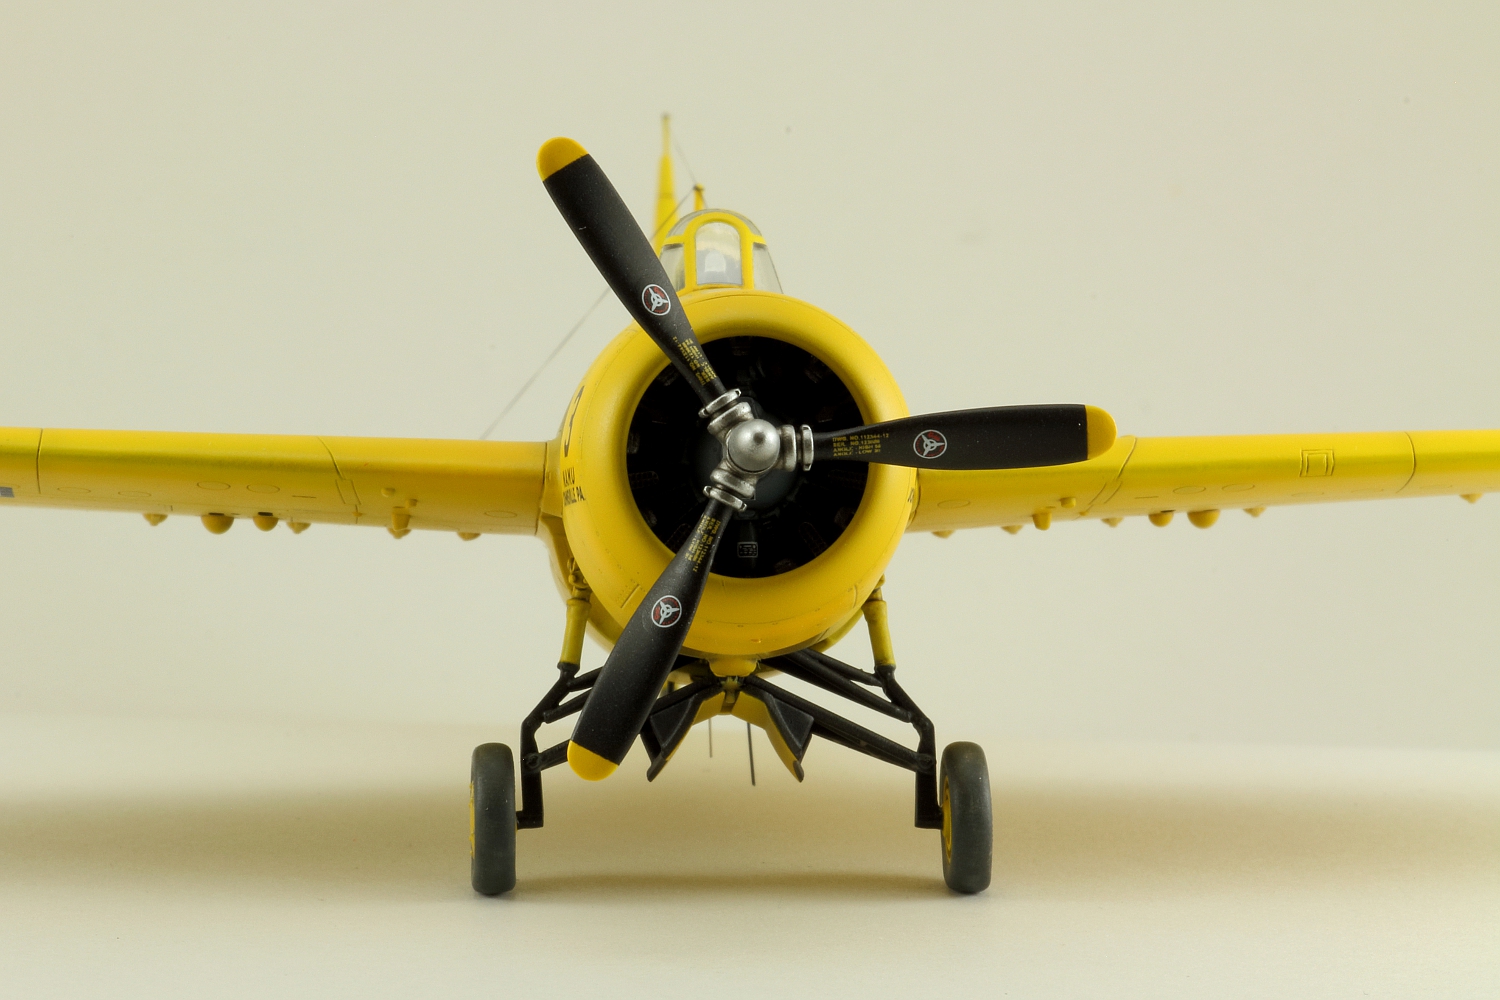
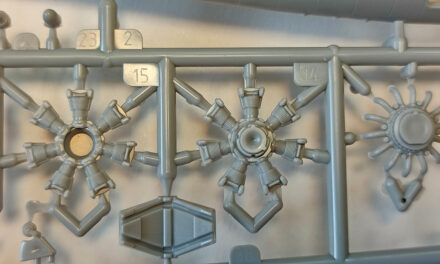
I also wanted the cowling to cover more of the fuselage, however I did not want to press it in with force. The solution was to shade the shank in part B11 so as to ensure a deeper placement of the star in the mount. This allows the cowling to slide perfectly onto the fuselage. The engine itself is flawlessly cast, while following the addition of metal plates (from the Expert version) and decals it looks fantastic.
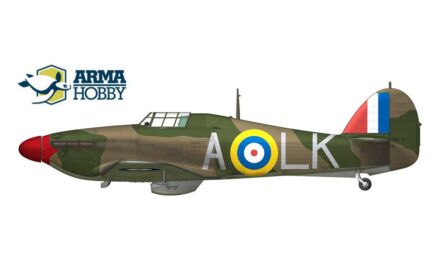
The final critical point was the retracting segment of the cockpit canopy, which has to be pressed down slightly in order to locate it at the requisite position in relation to the fuselage. The ideal solution would be a slightly wider replacement part for making the open cockpit – similarly to what was applied in the Hurricane, for example.

Final assembly proceeded without any surprises, although due to the untypical elements of my aircraft, as well as the order of work which I had specifically chosen, it was quite demanding. I glued most of the elements with Poxipol, a transparent two-component adhesive, and this gave me more time ensure the fit of individual elements than would have been the case if I had used cyanoacrylate adhesives. And I also managed not to break anything.
Robert Wójcik skleja Jak-1b w barwach Luftwaffe – krok po kroku
Work on the miniature took me about two months, however the result was definitely a reward for my effort. The model is simply stunning, and ideally complements my collection of untypical aircraft. It was certainly not the last Wildcat that I will build from an Arma Hobby set.
English translation by Maciek Zakrzewski
See also:


- FM-2 Wildcat Training Cats kit in the Arma Hobby webstore
Virtual Editor, guest post publisher. When blog authors fall asleep he works unnoticed to improve website content quality.
This post is also available in:
 polski