

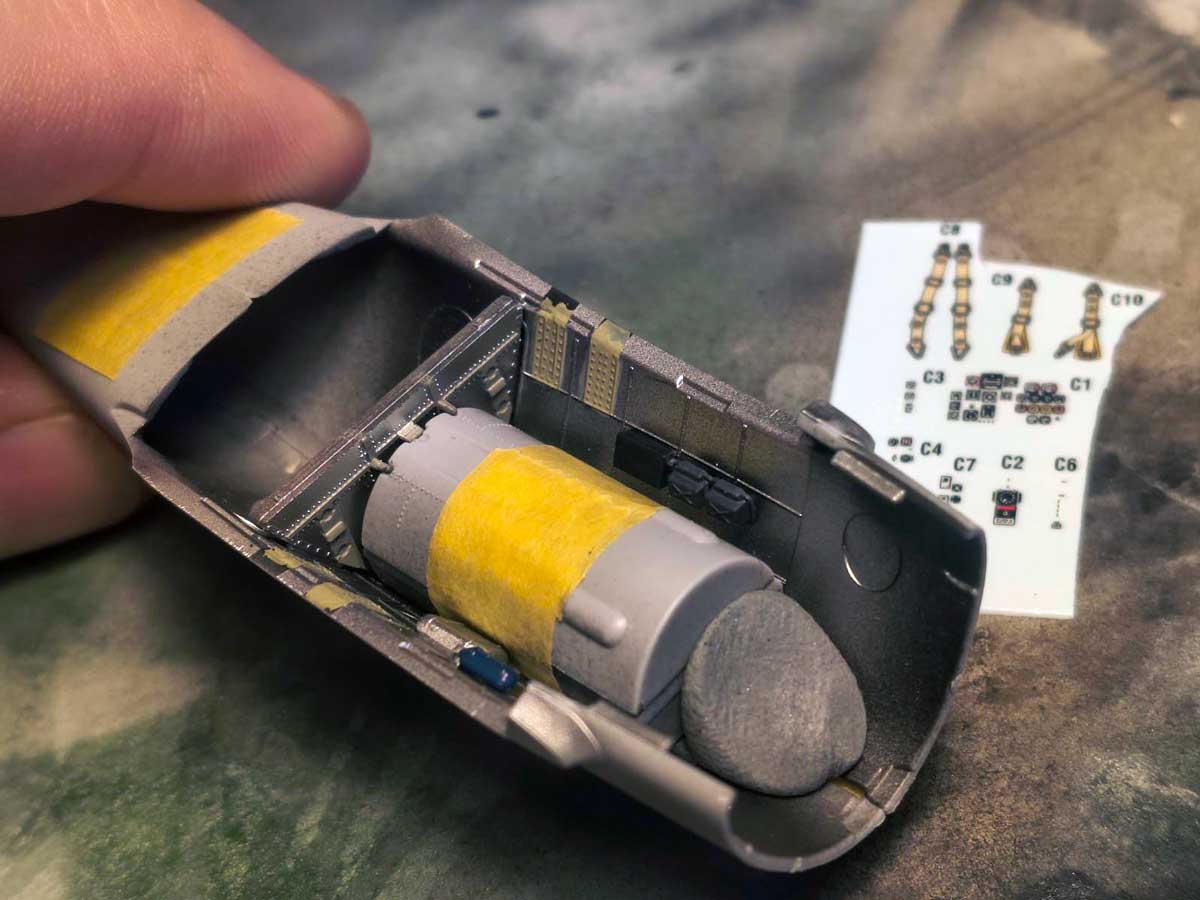
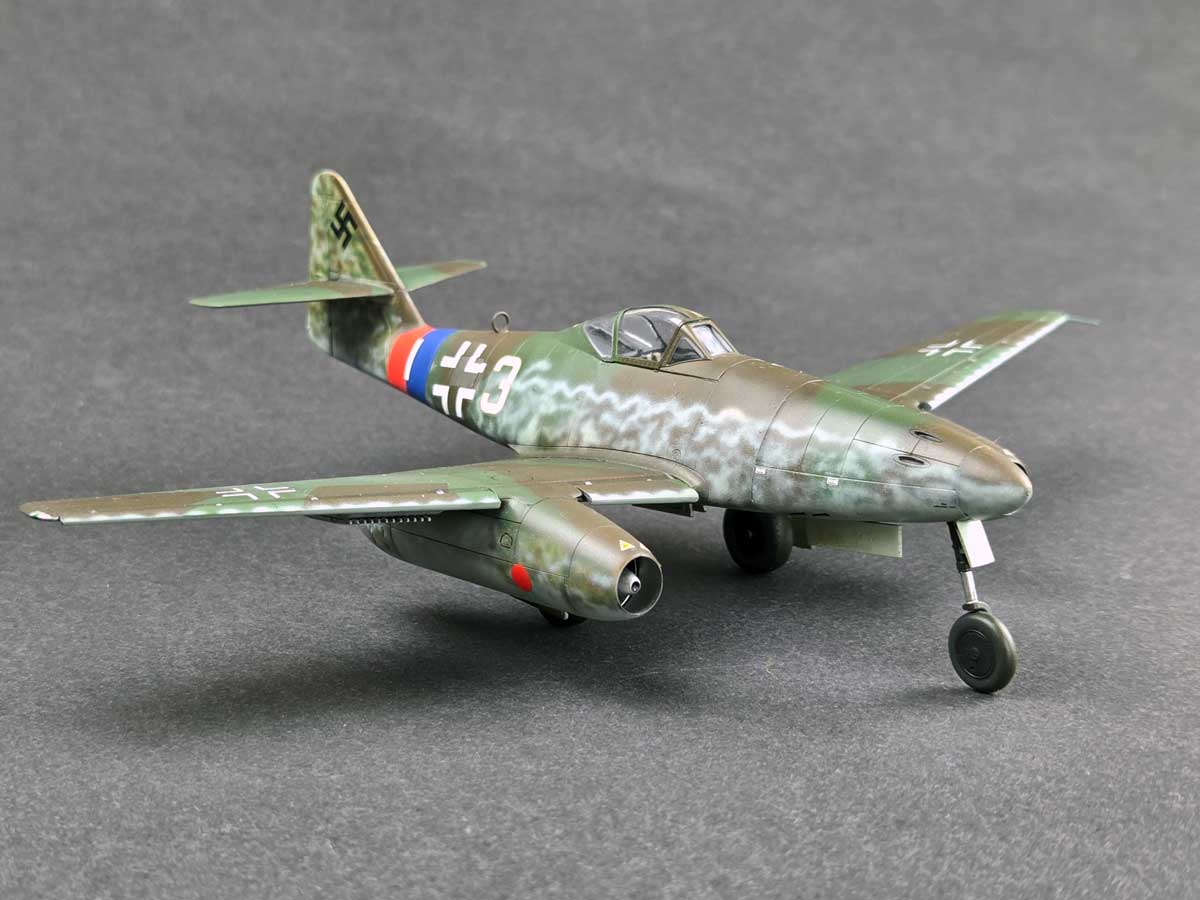
The Messerschmitt Me 262 A-1a model had been long awaited, but the actual build and painting went surprisingly quickly. Working straight out of the box definitely helped—with one exception. That exception was the 3D-printed cockpit from Arma Hobby, which noticeably enhances the final result.
Build concept
From the beginning, I wanted to keep the build simple and avoid overcomplicating things. I focused on what the kit offers, with the 3D cockpit as the only addition—treated as a complement rather than the centerpiece of the project.
Assembly – what to watch out for
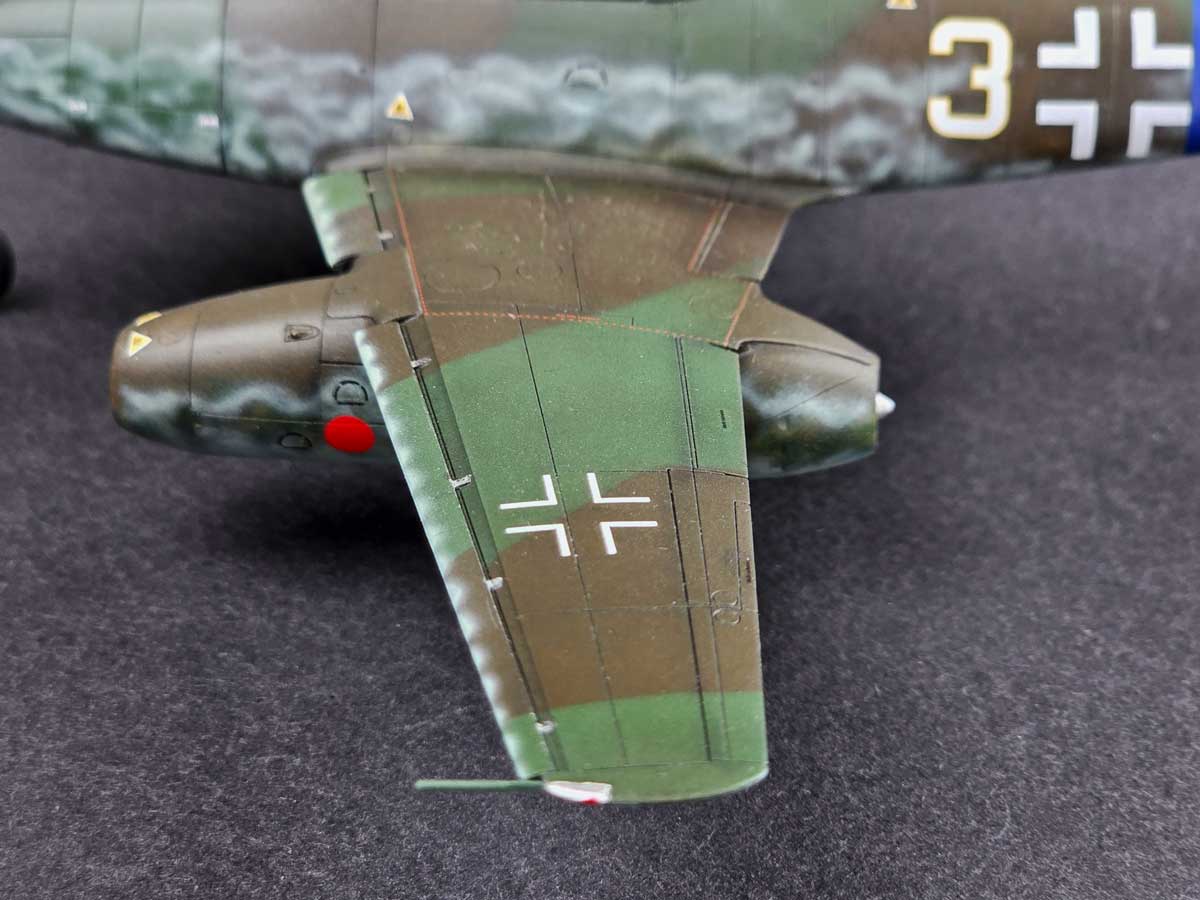
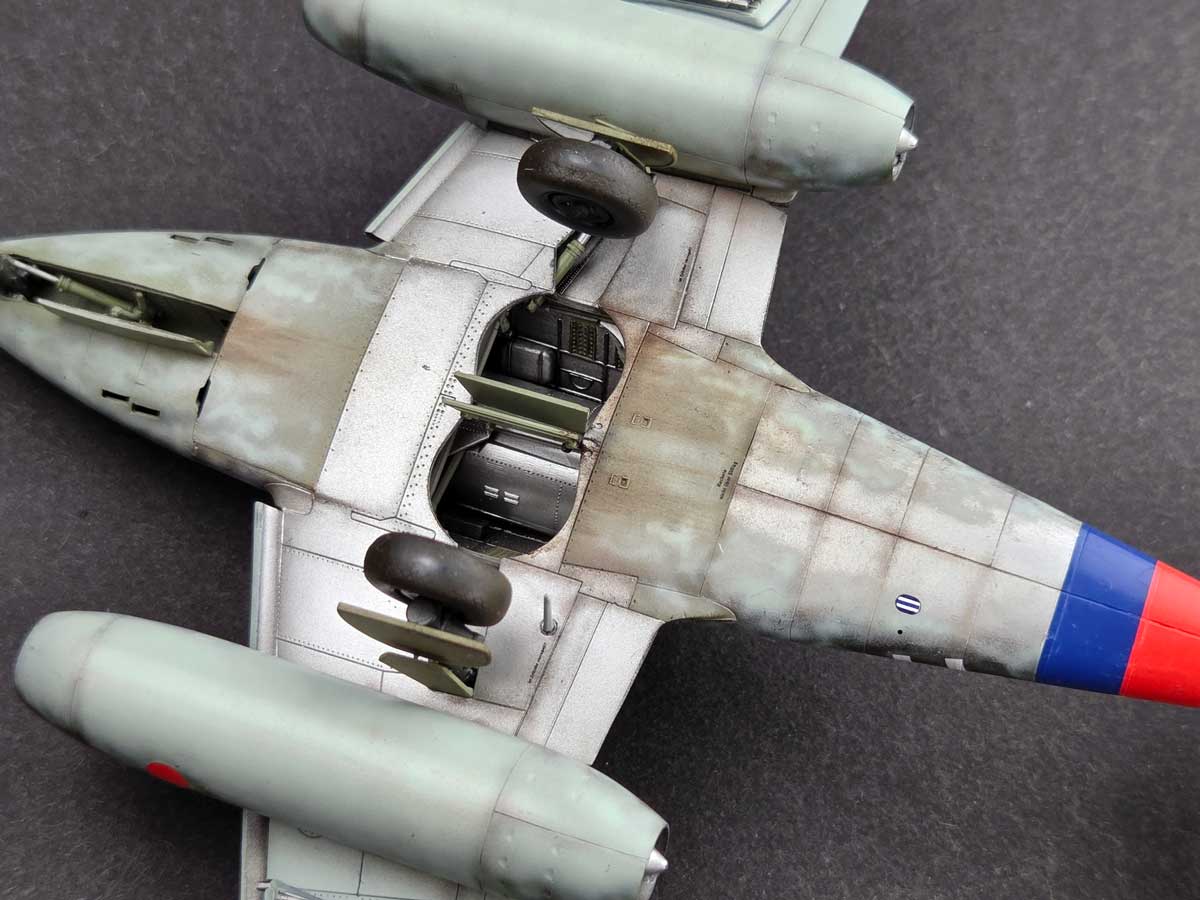
When working on the engine nacelles, it’s best to separate parts marked L and R right away to avoid confusion. After assembling the nacelles, but before attaching them to the wings, it’s worth securing both the front and rear fan firmly—using CA glue or resin, for example.

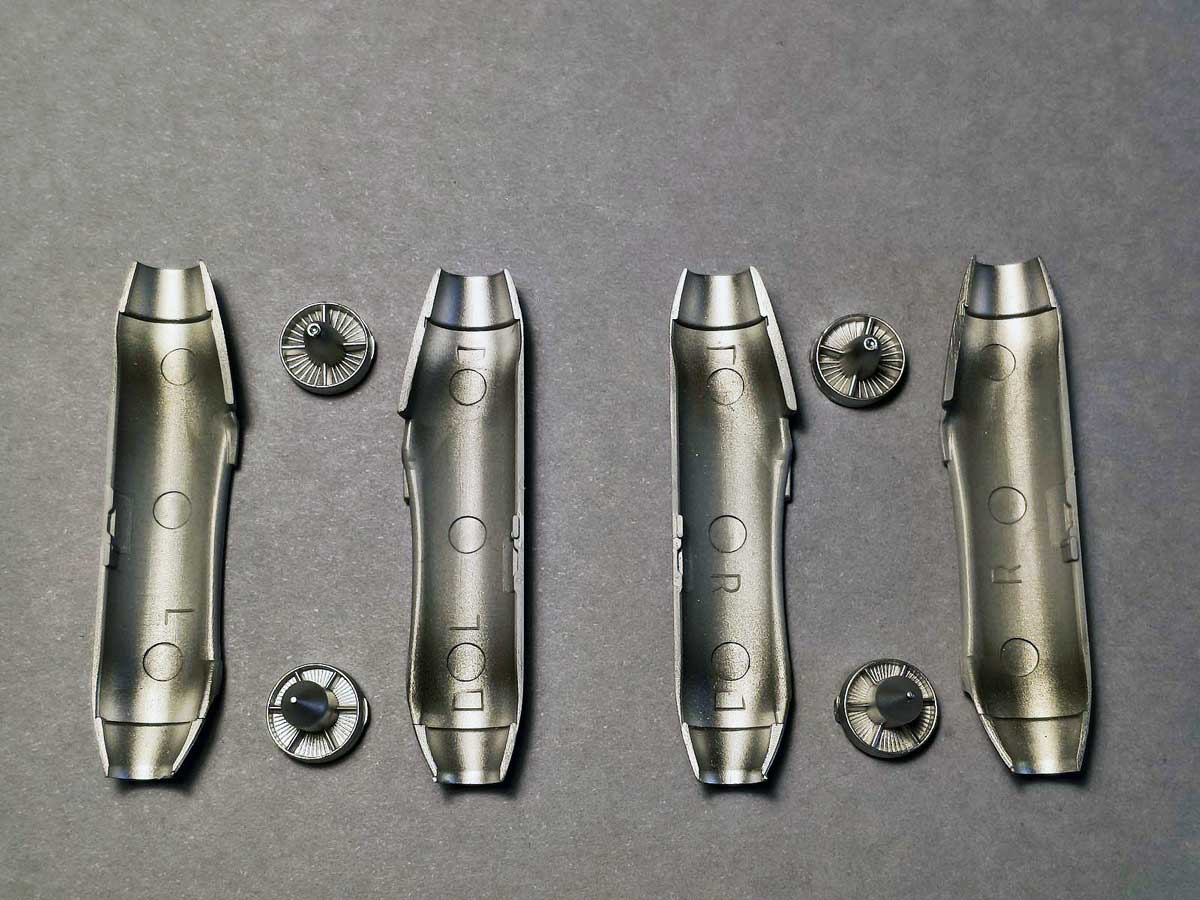
When joining the nacelle halves, pay close attention to the fit on the inside. Any imperfections on the outside are much easier to correct later.
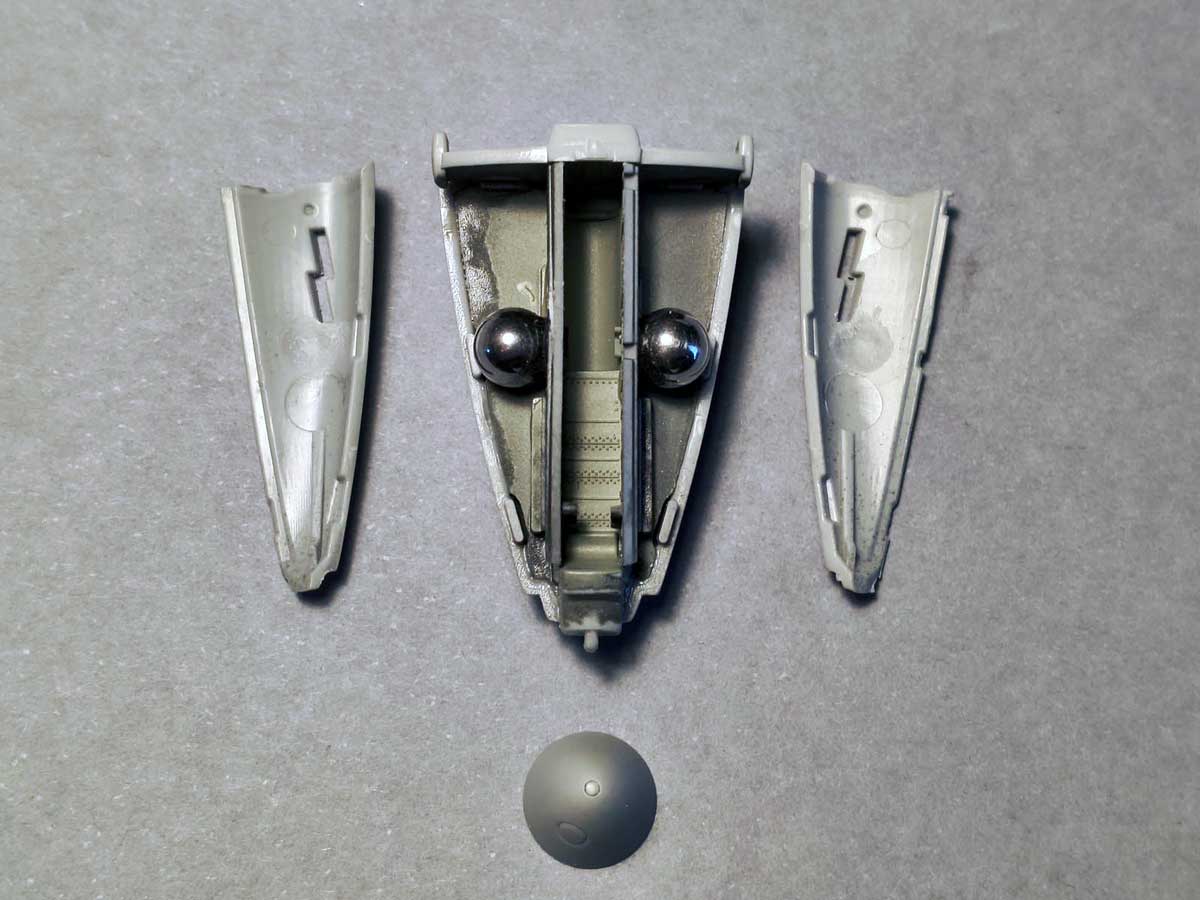
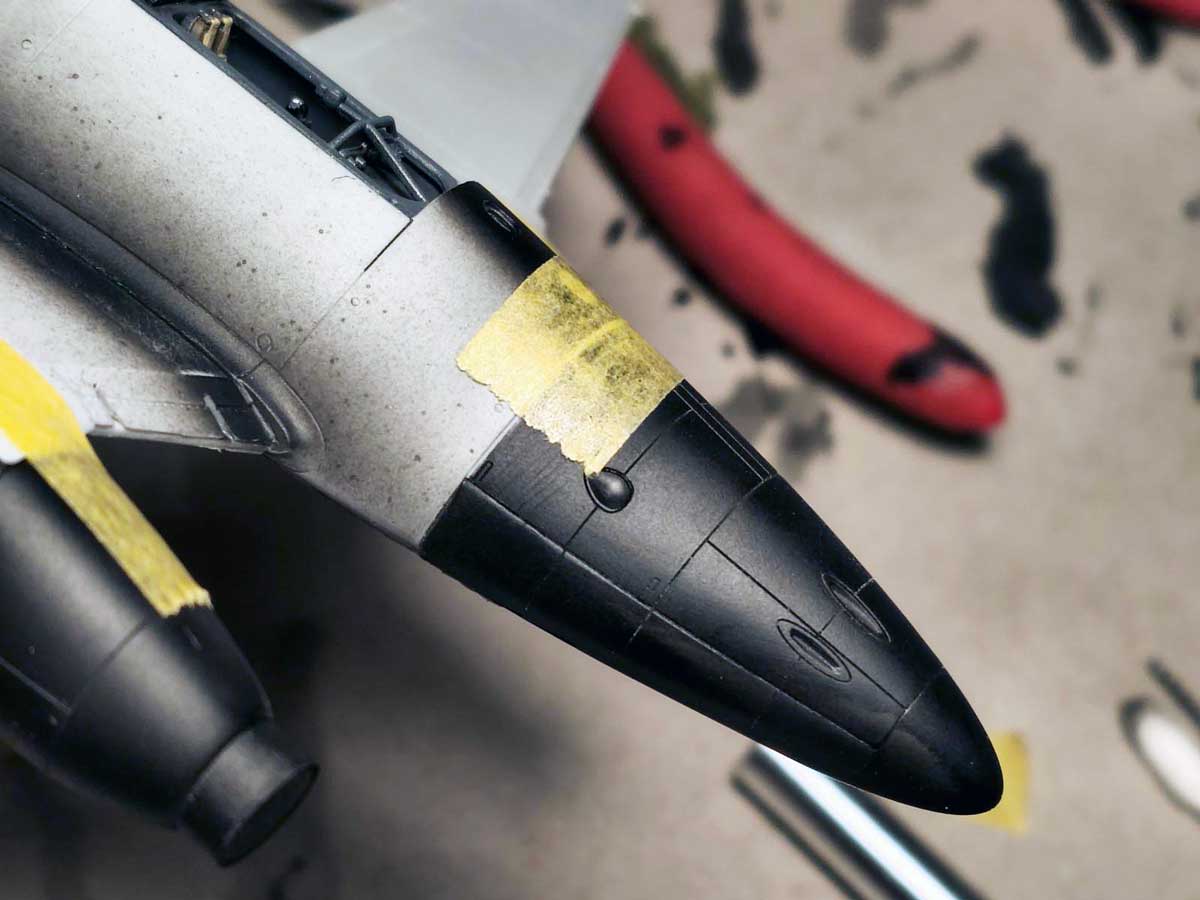
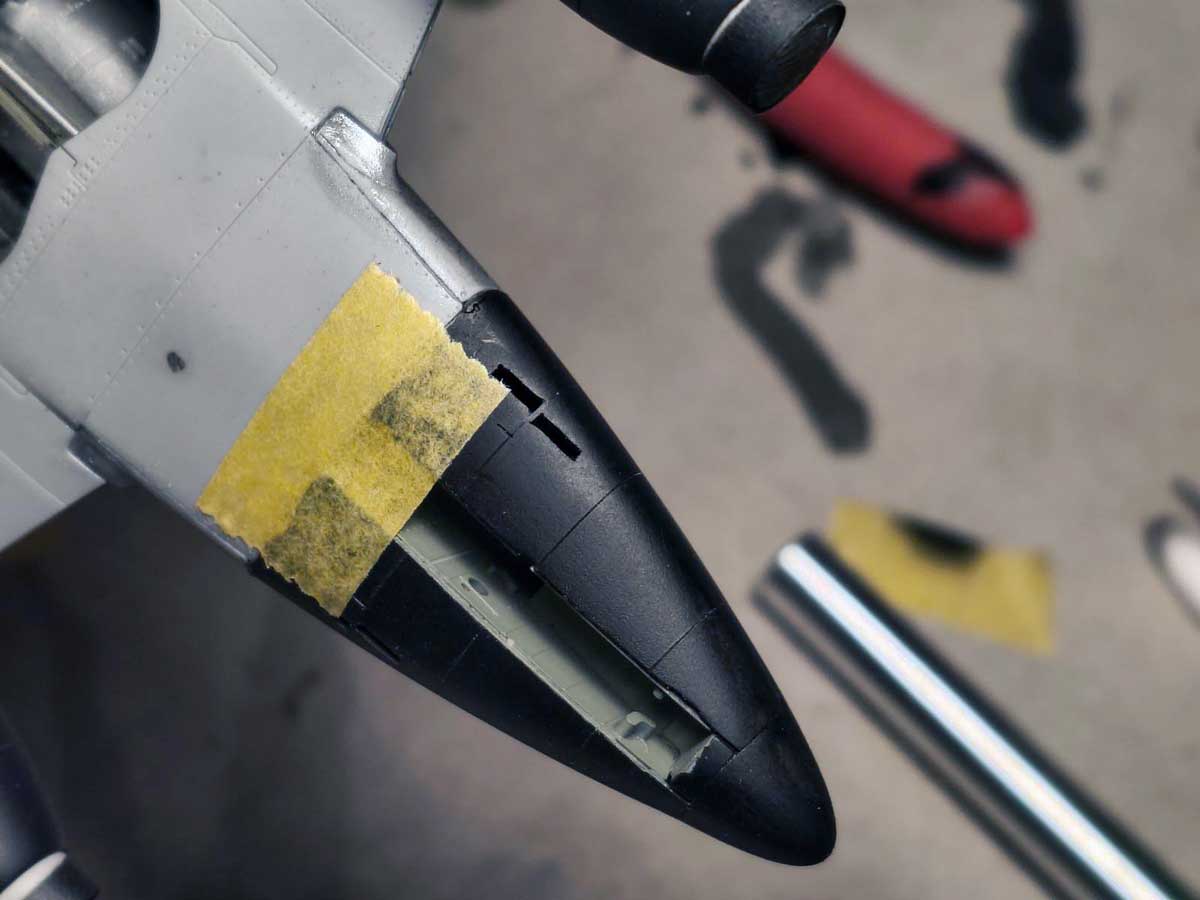
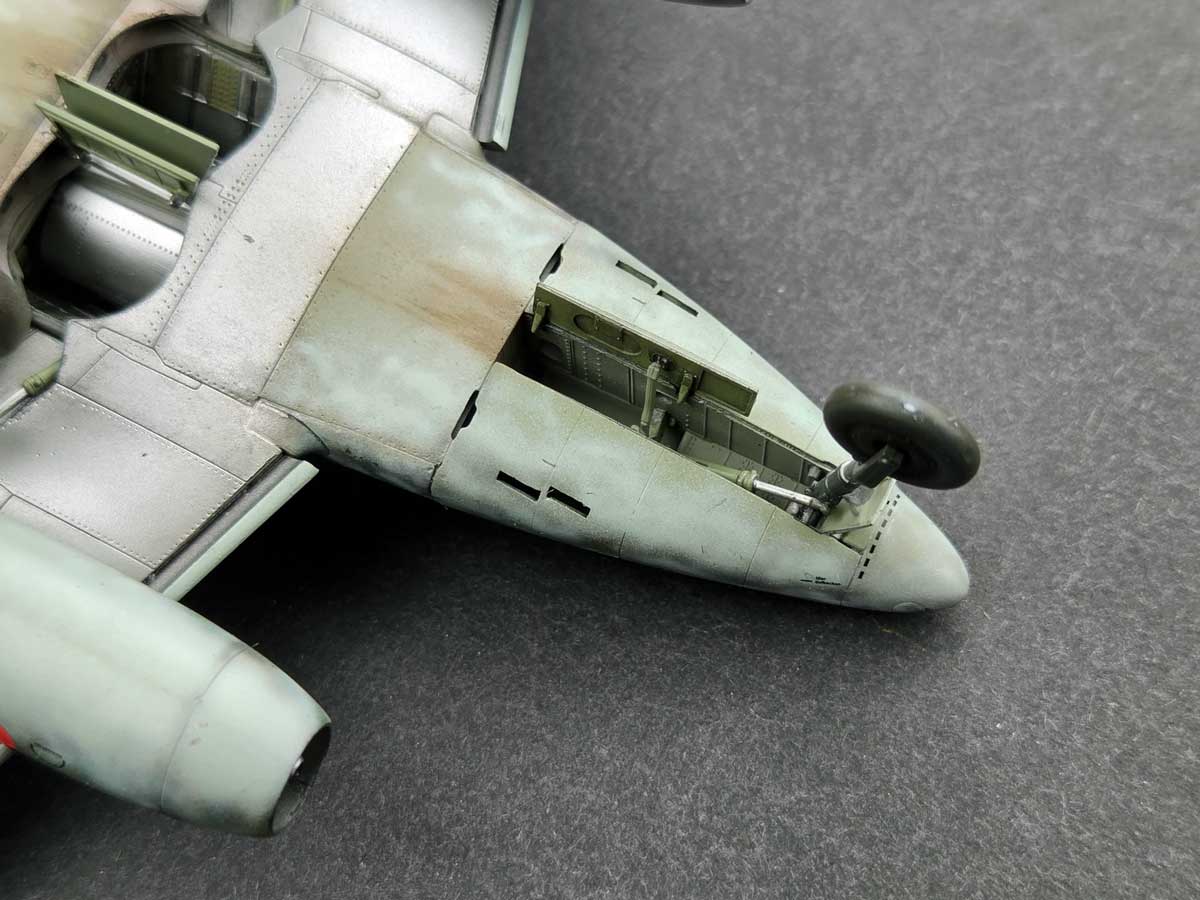
It’s also worth assembling the nose section in a slightly different order than shown in the instructions.
- nose gear bay
- weight
- closing the upper section
- then the nose cap and finally the side panels
This helps maintain proper geometry and allows the parts to come together more cleanly.

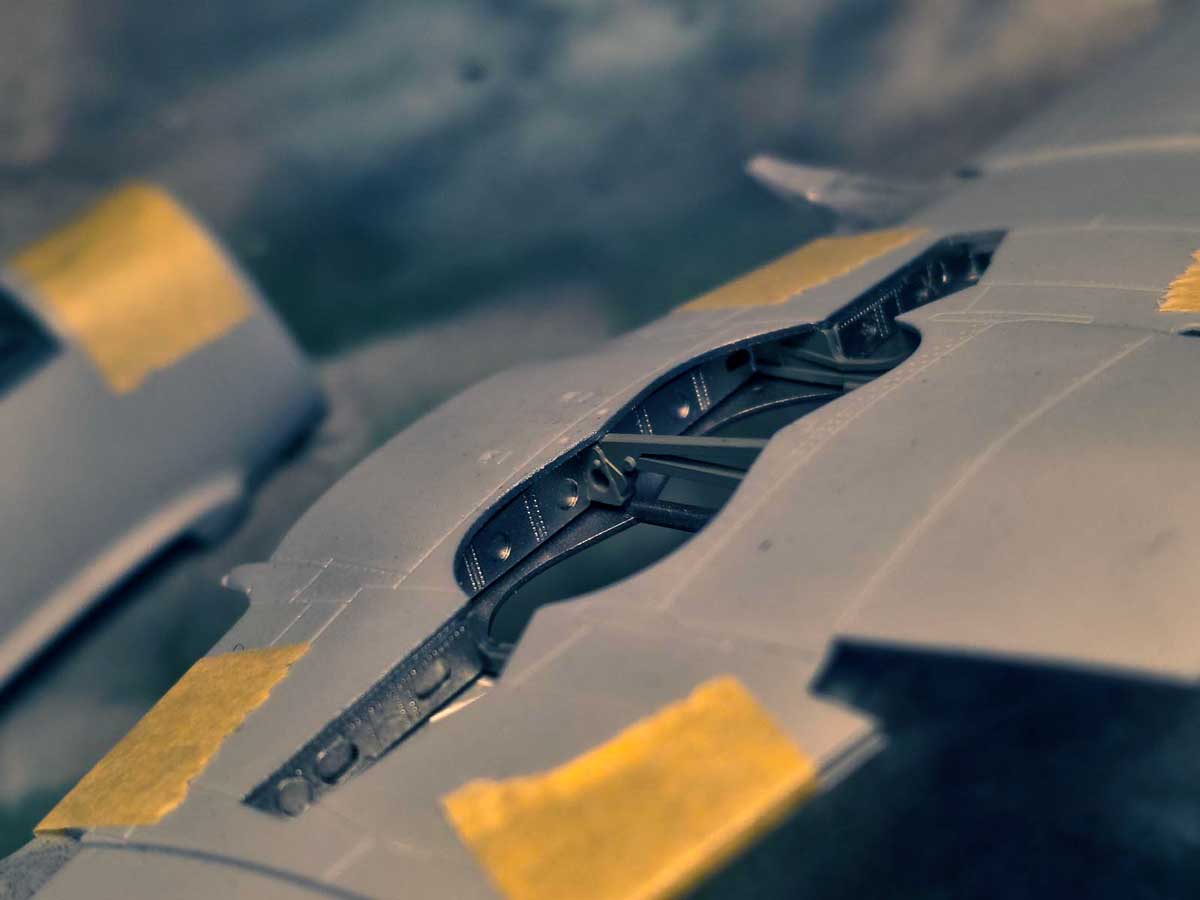
The underside and spine of the rear fuselage feature a panel line running exactly along the centerline. Before gluing, it’s worth slightly beveling the edge of one fuselage half. This results in a cleaner joint and eliminates the need to rescribe the panel line. A similar situation occurs on the underside of the rear section of the engine nacelles, where the same approach works well.
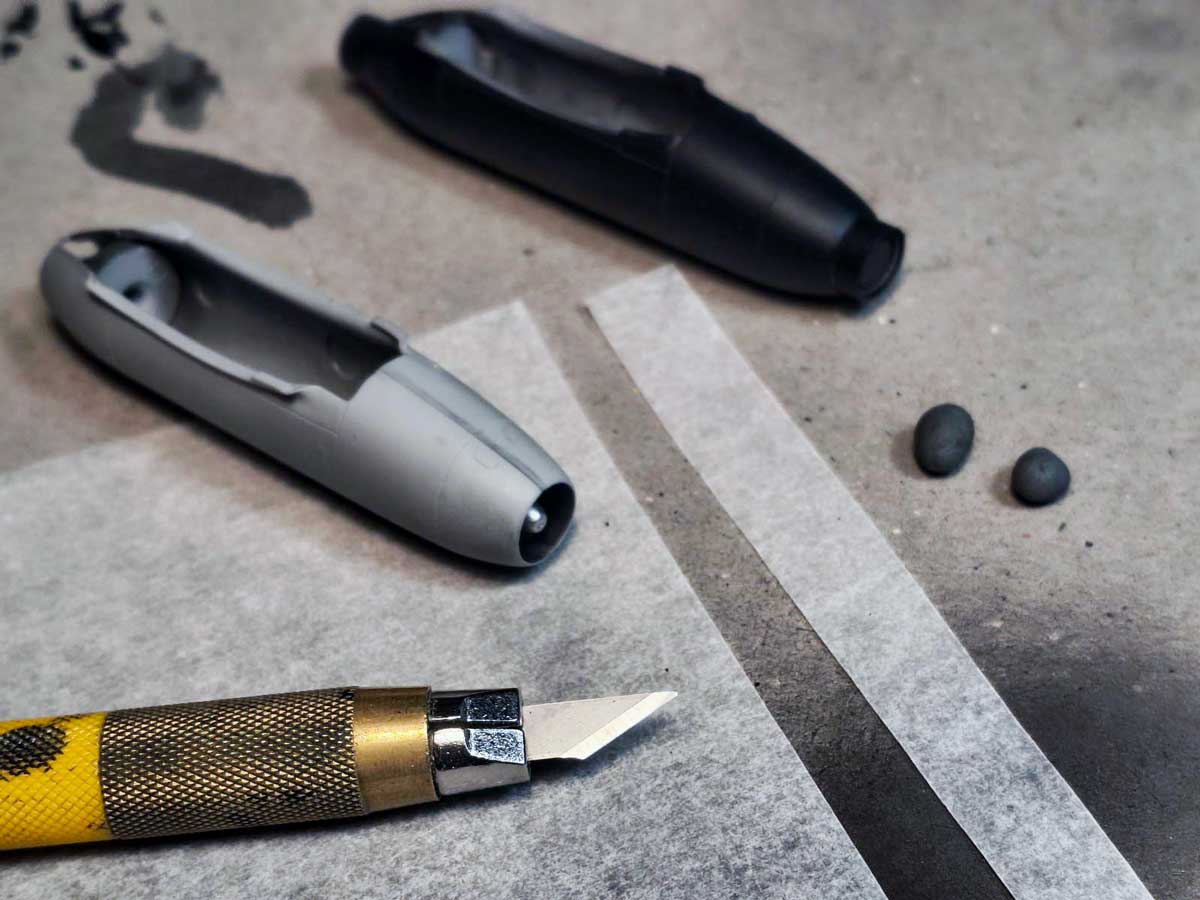
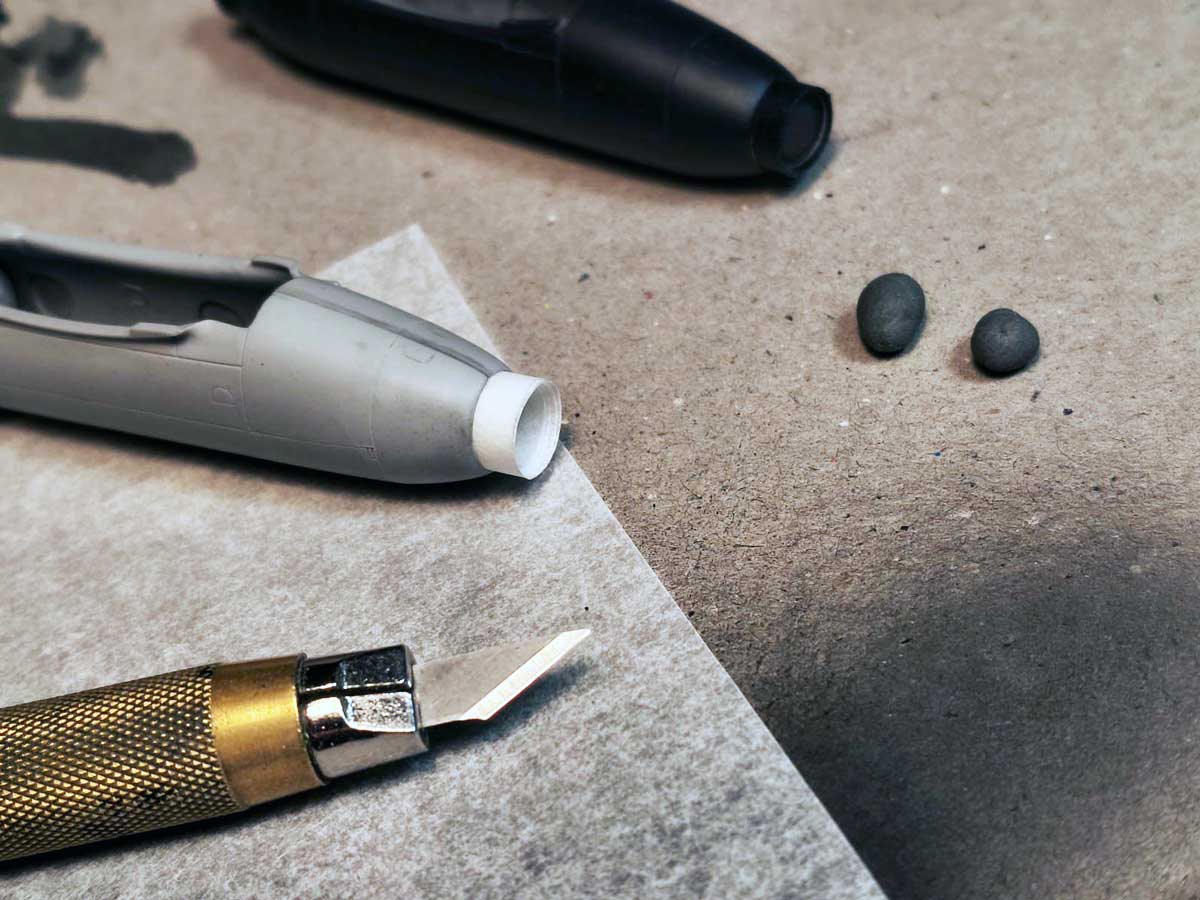
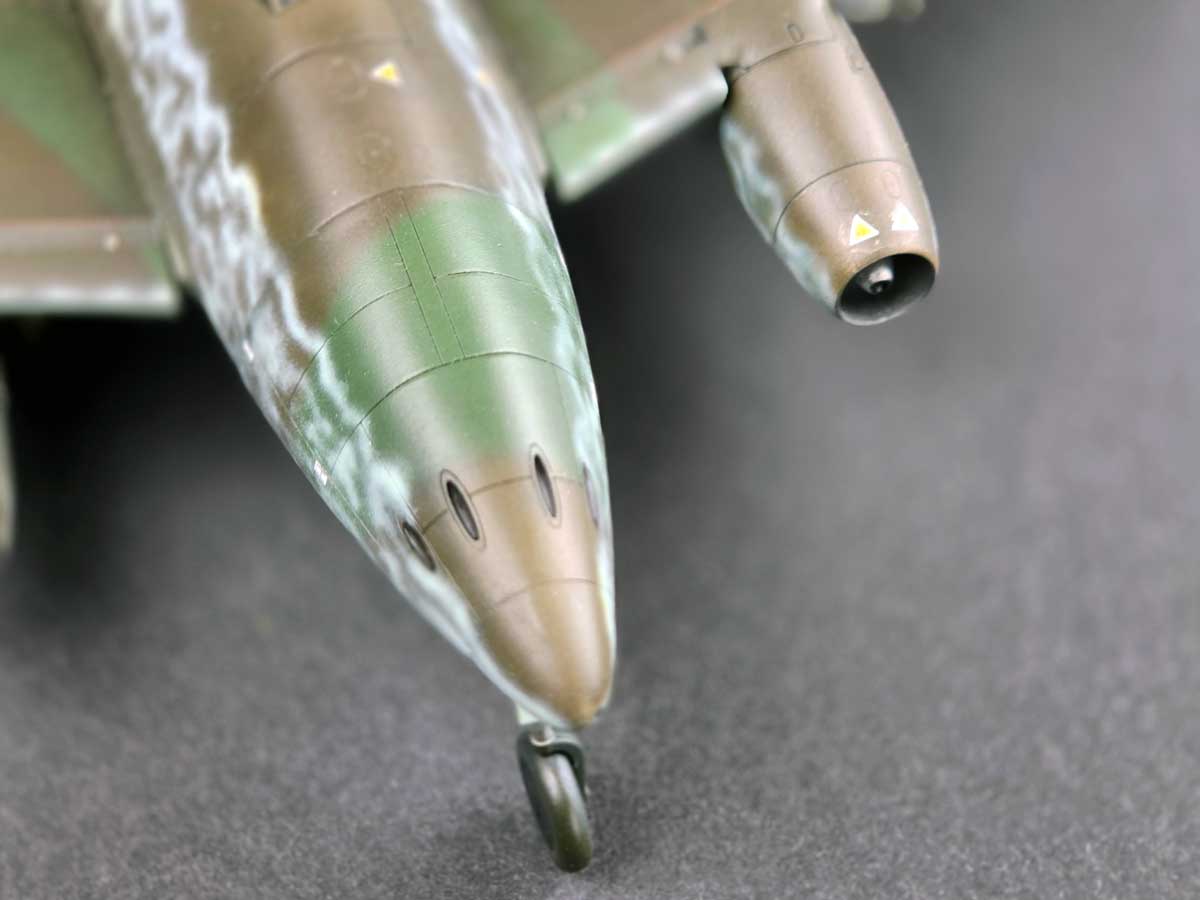
My method for masking the engine intakes and exhausts was a small roll made from the thin protective tissue used for decals.
Details
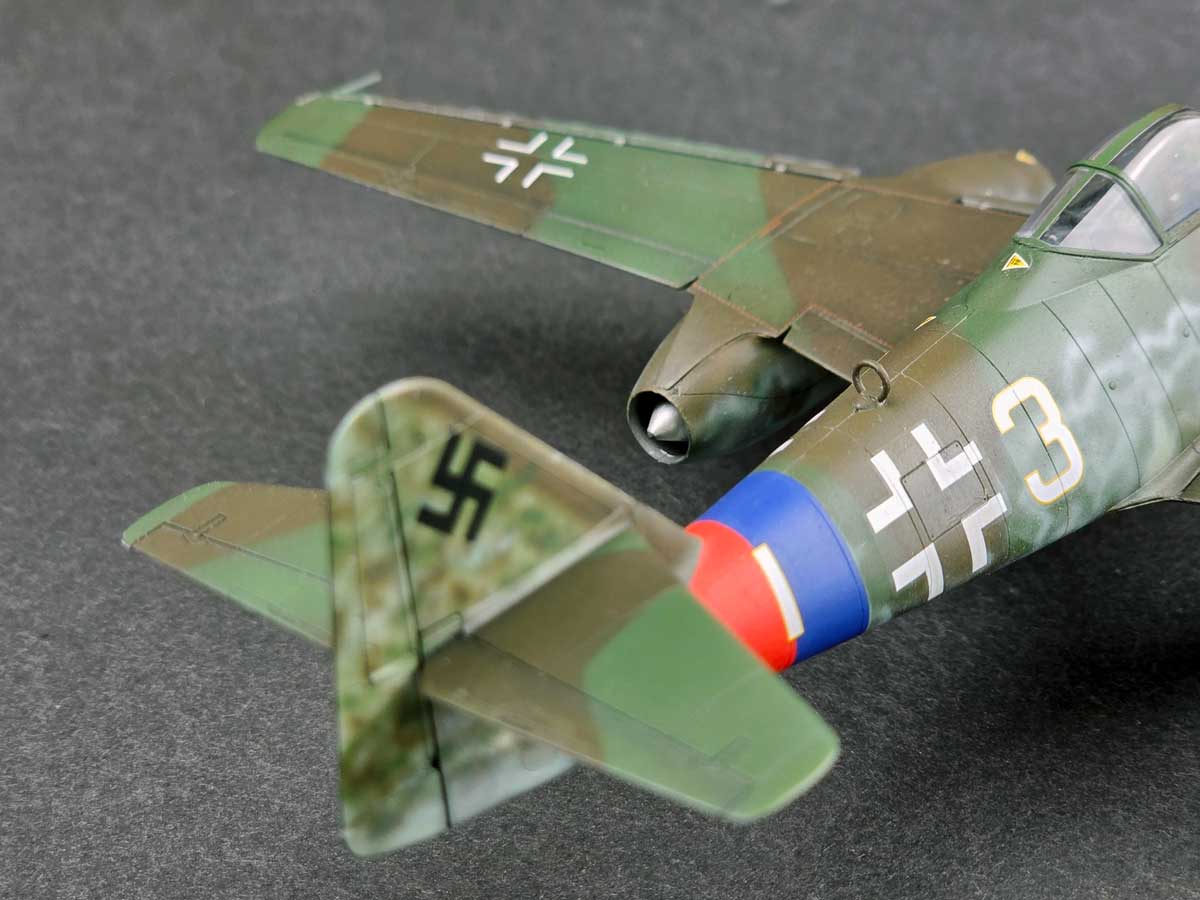
On the side panels, you can add a simple partition between the shell ejection chutes using a small piece of thin plastic card.
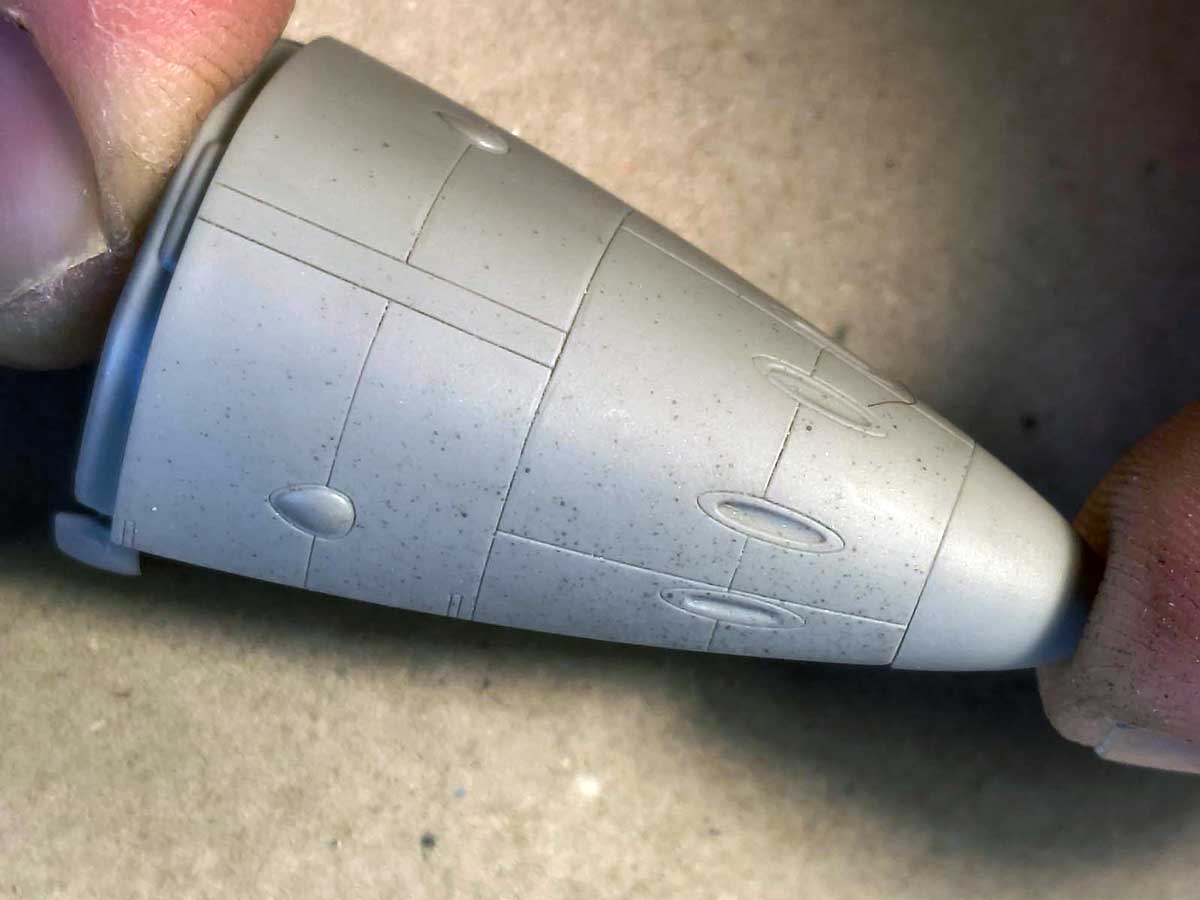
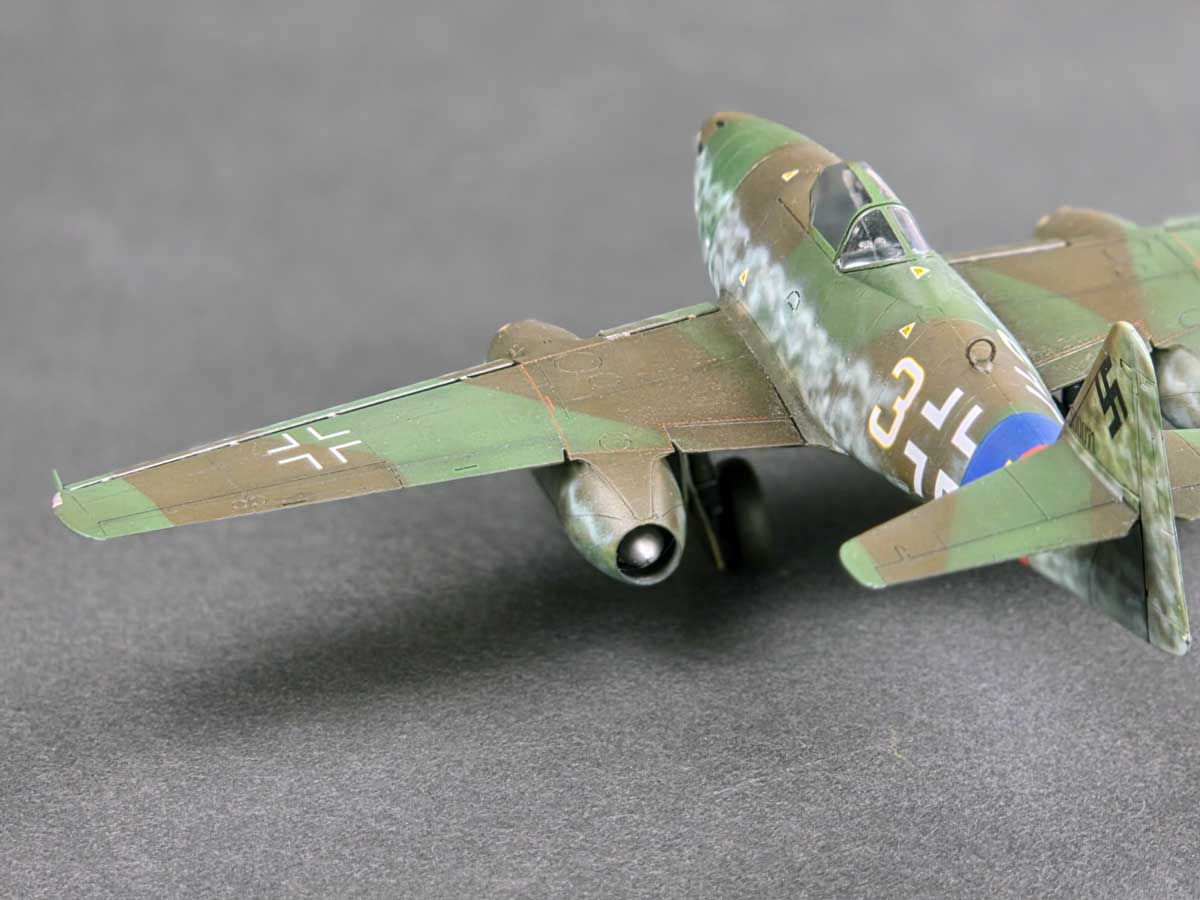
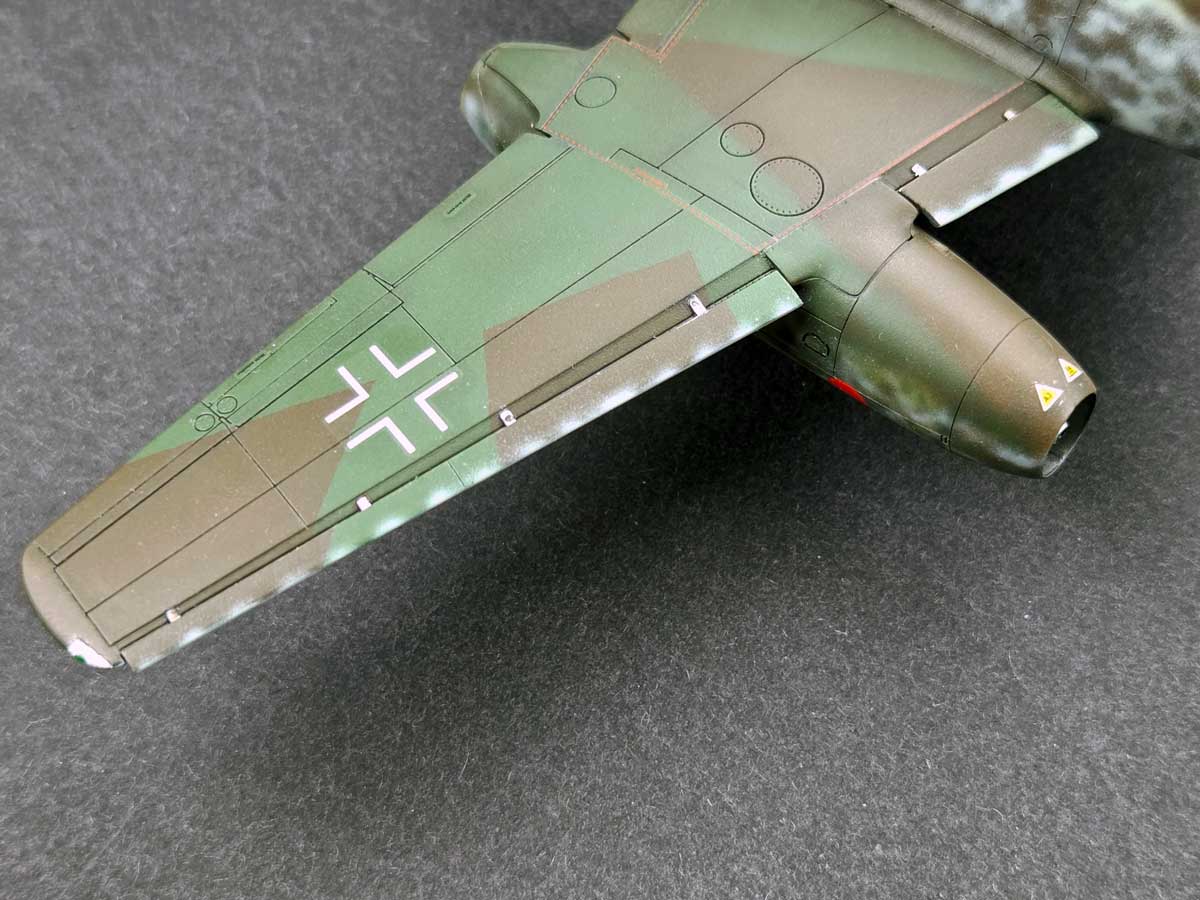
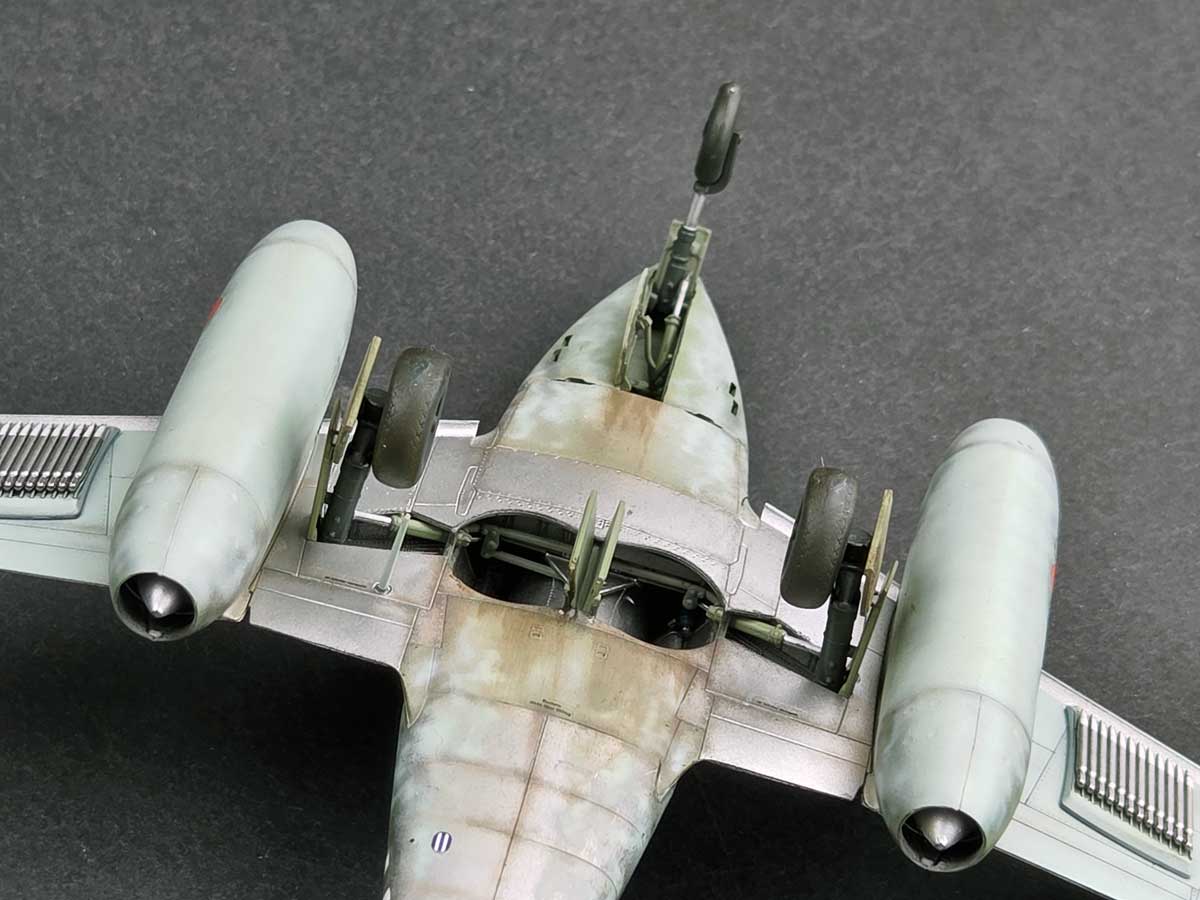
At the tip of the intake cone—the rotor axis nose—there is a subtle hole on tip. It’s worth carefully drilling it out for a more realistic look. I skipped this step, as I was concerned about damaging the part later and pushing it inside the nacelle. Instead, I emphasized the detail with a black wash.
Mistakes and things to improve
Not everything went perfectly. It’s worth checking the instructions—they really do help. I didn’t, and ended up correcting issues on an already partially painted model, including removing imperfections on the gun cover panels. I also chose not to drill out the intake details, which I would definitely do differently next time.
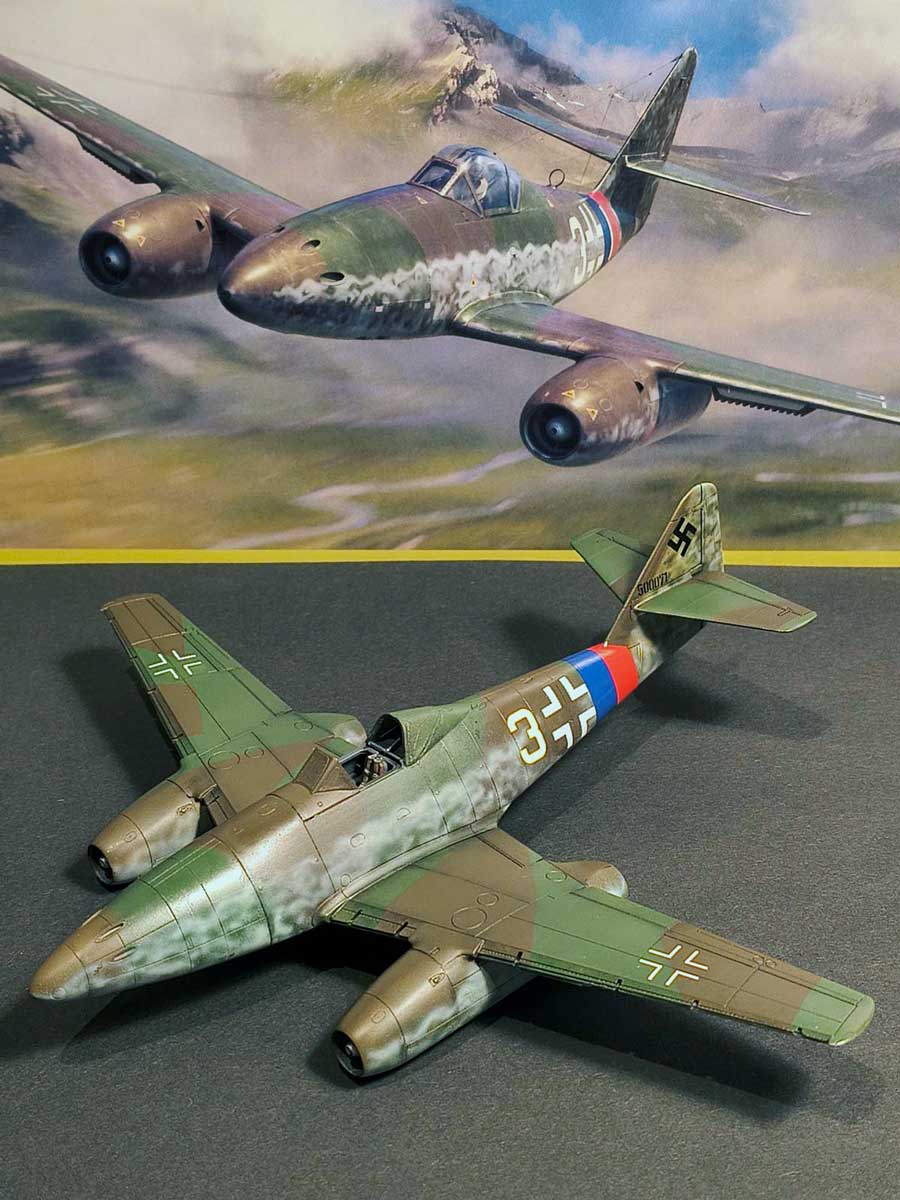
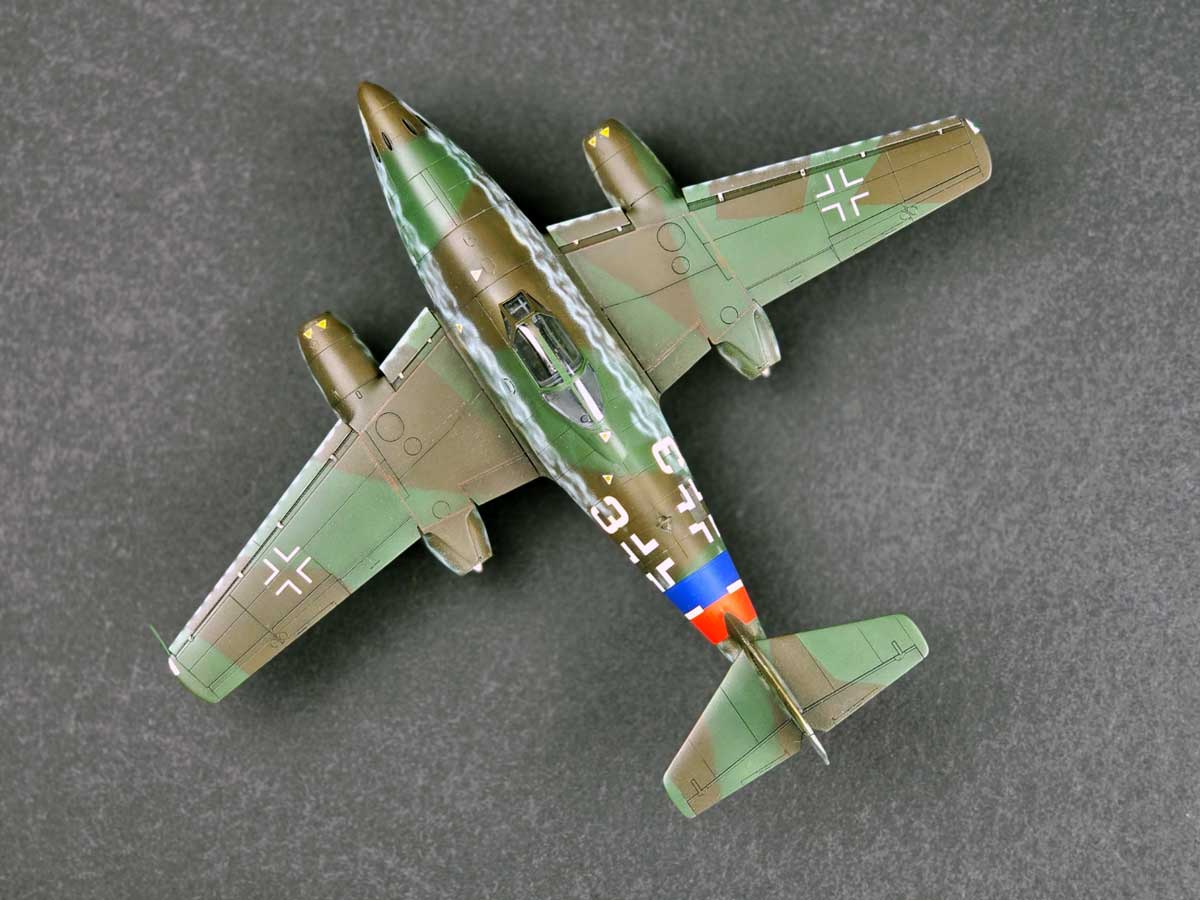
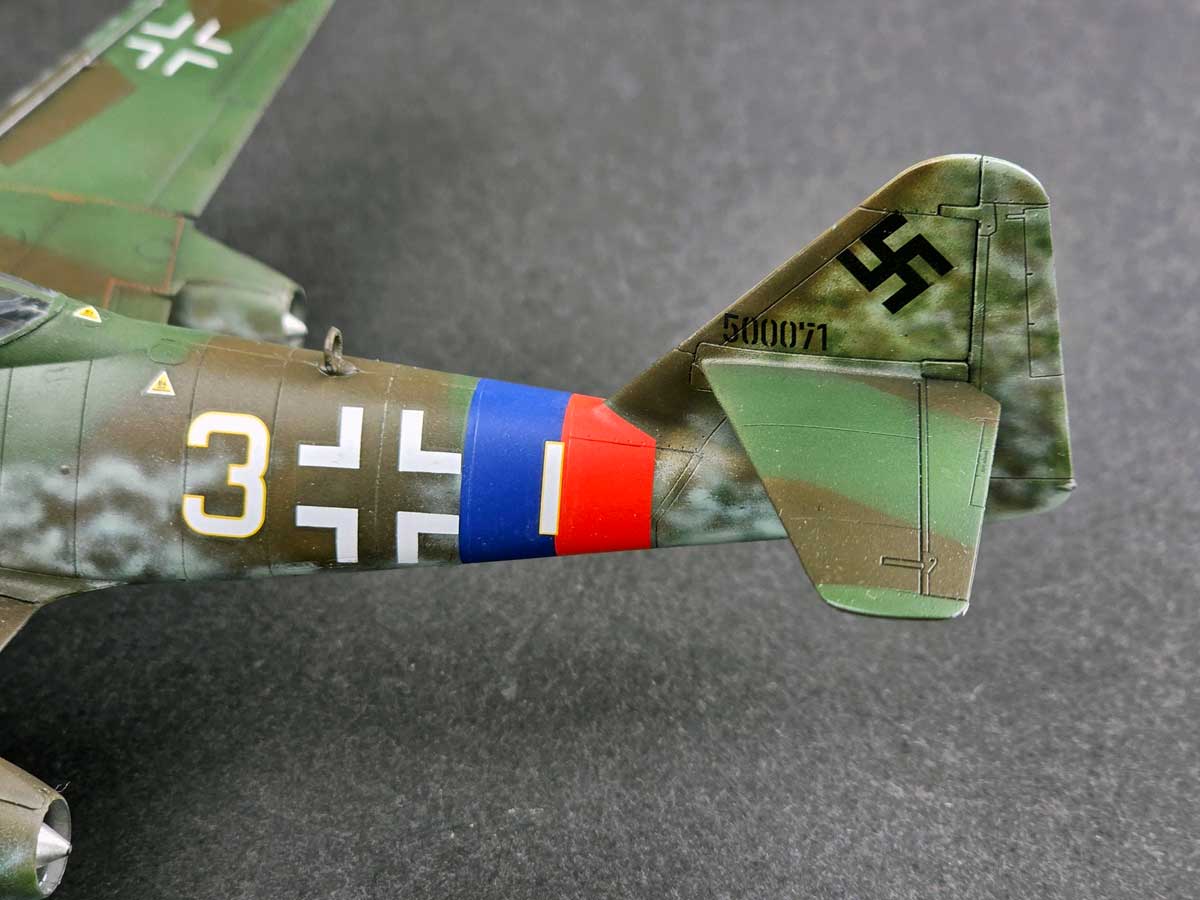
Messerschmitt Me 262 A-1a WNr 500071 – historia, malowanie i ostatni lot
Painting
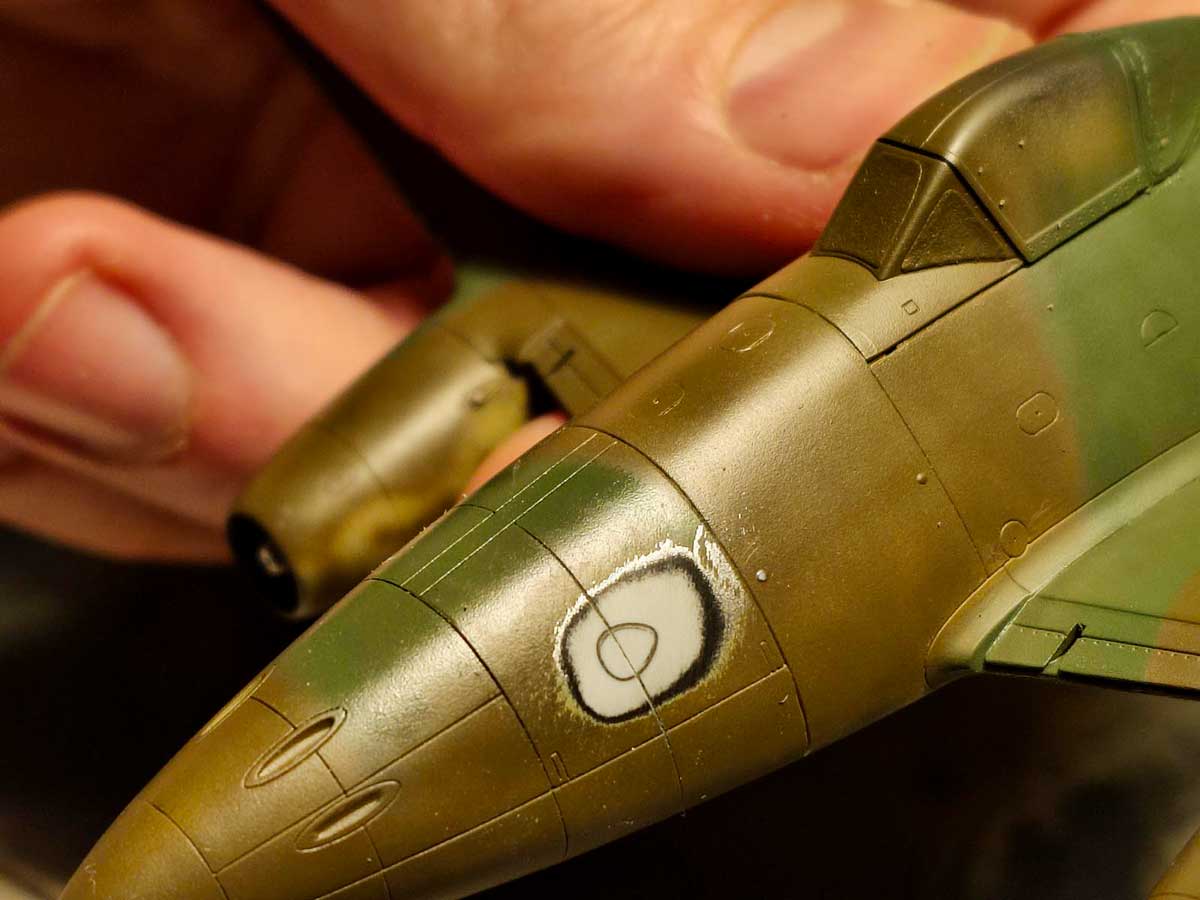
I chose—or rather, had chosen for me—the most challenging scheme in the box. My colleagues said, “come on, you can handle it,” and that settled it.
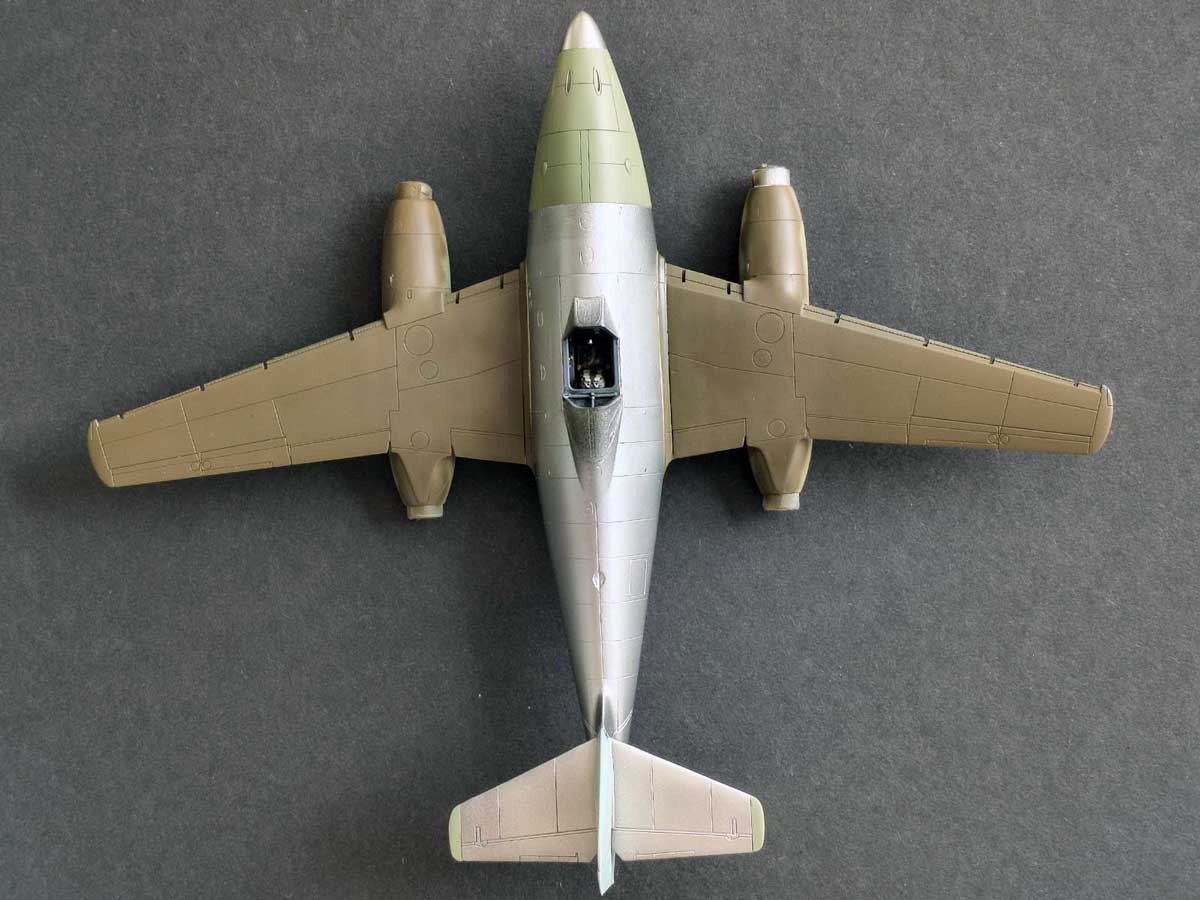
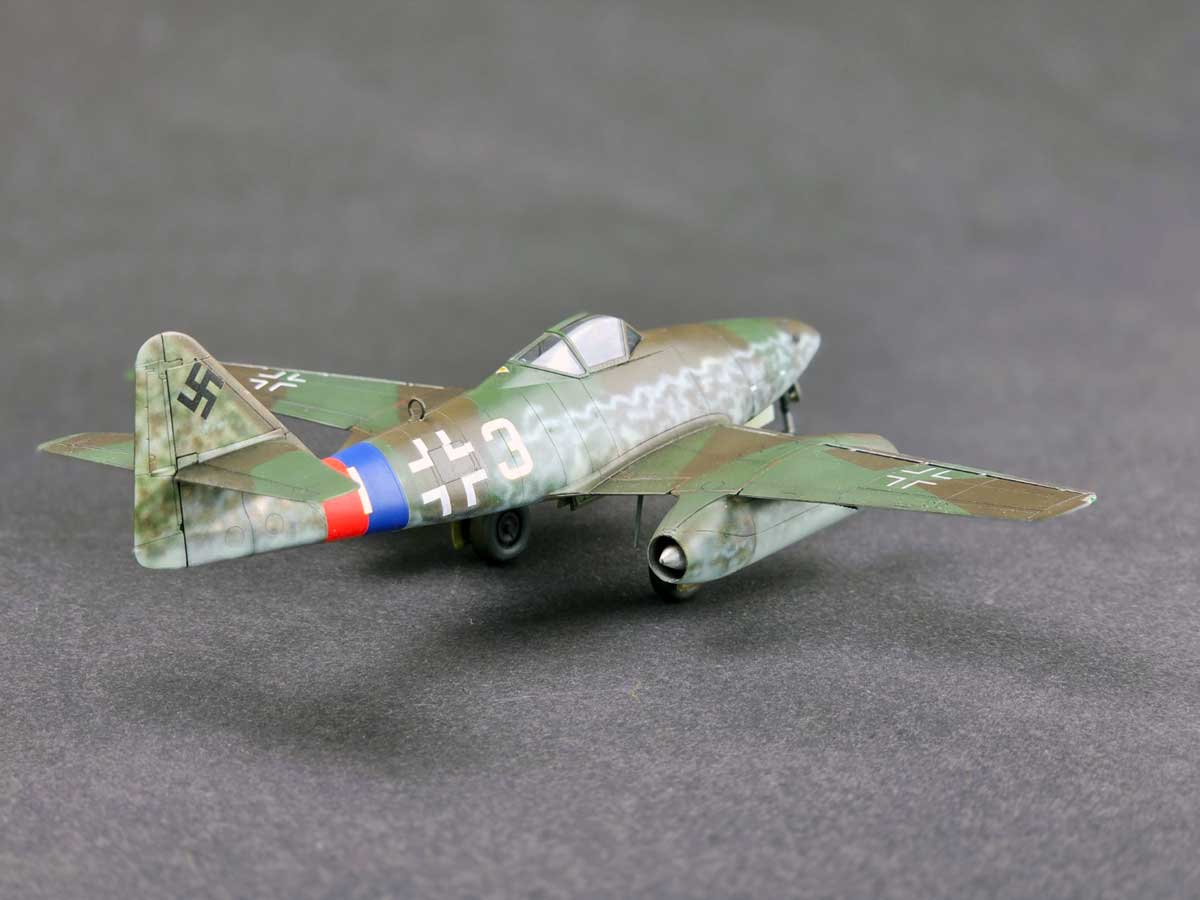
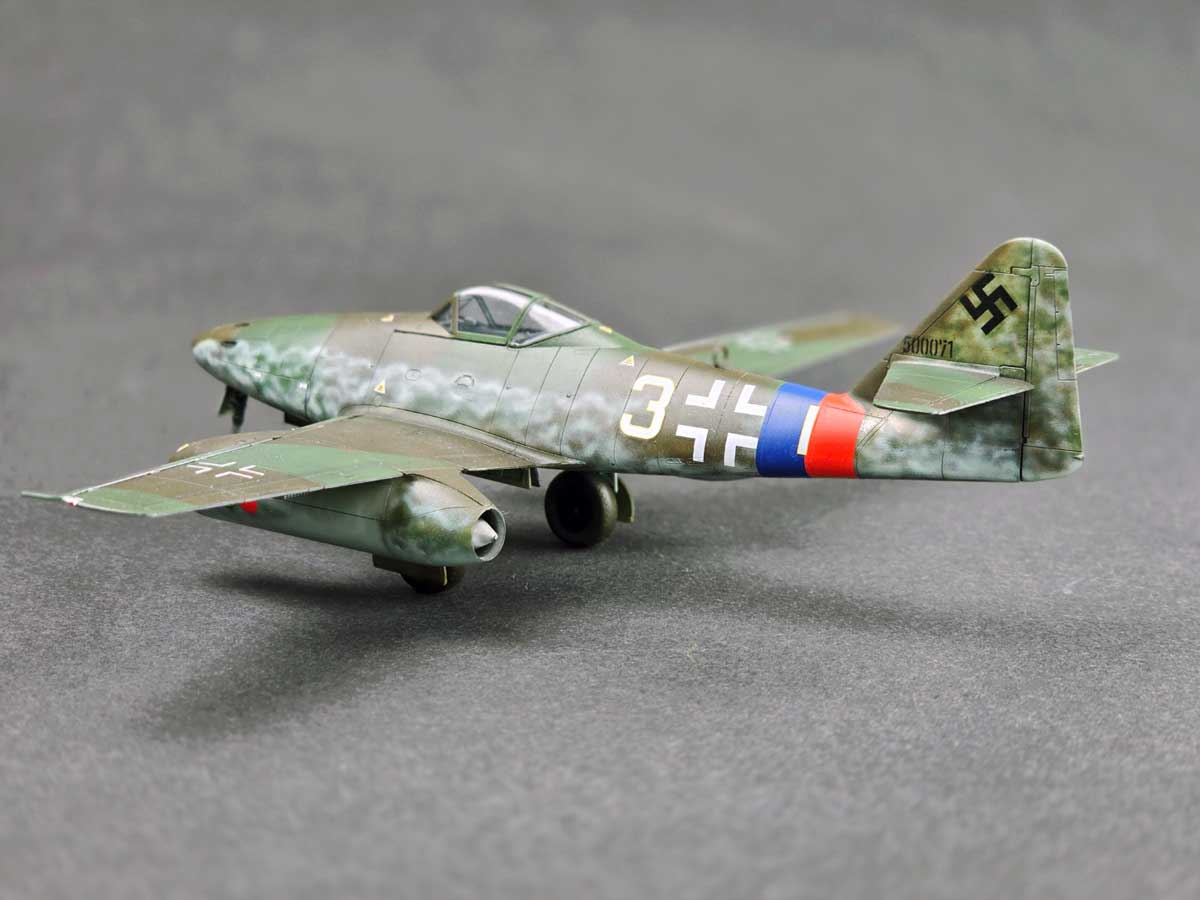
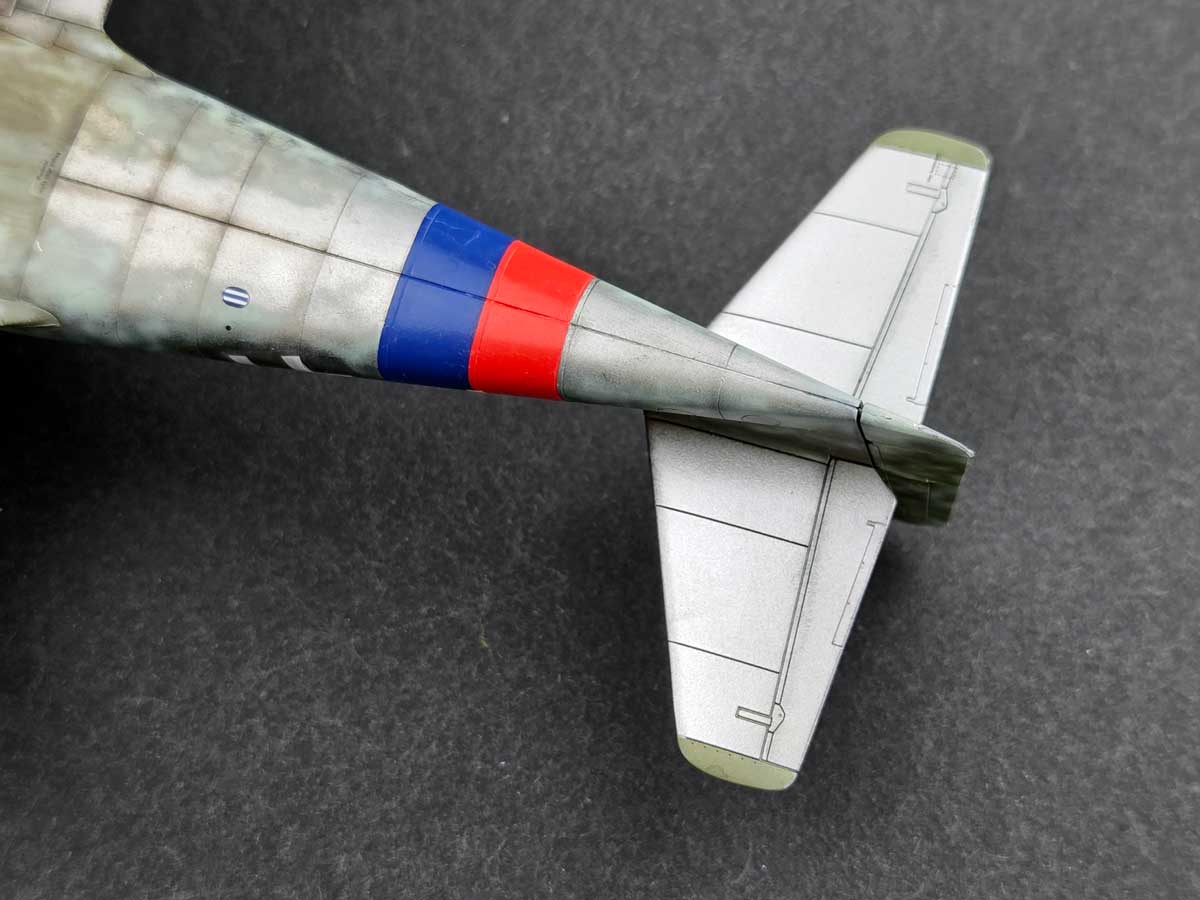
I painted the model in stages, trying to replicate the way the camouflage was applied on the original aircraft.
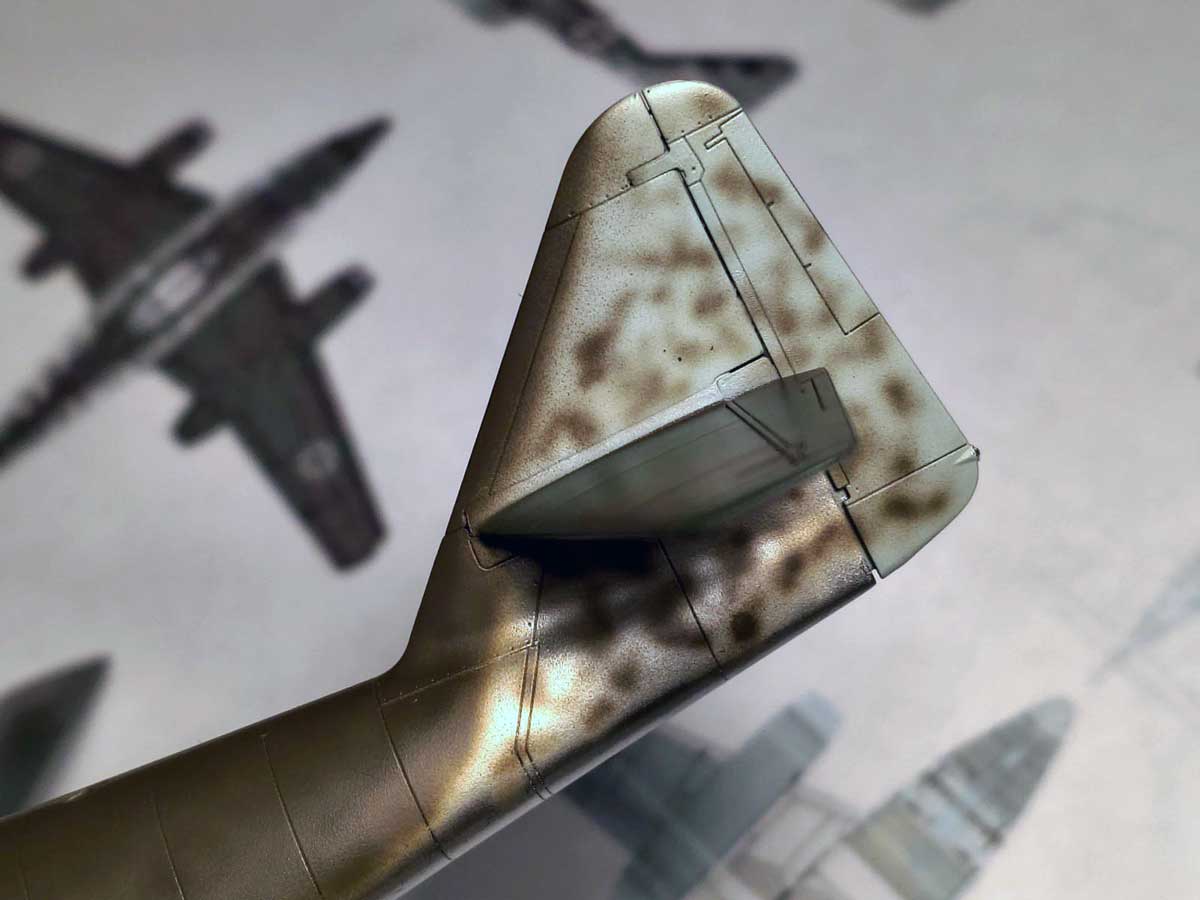
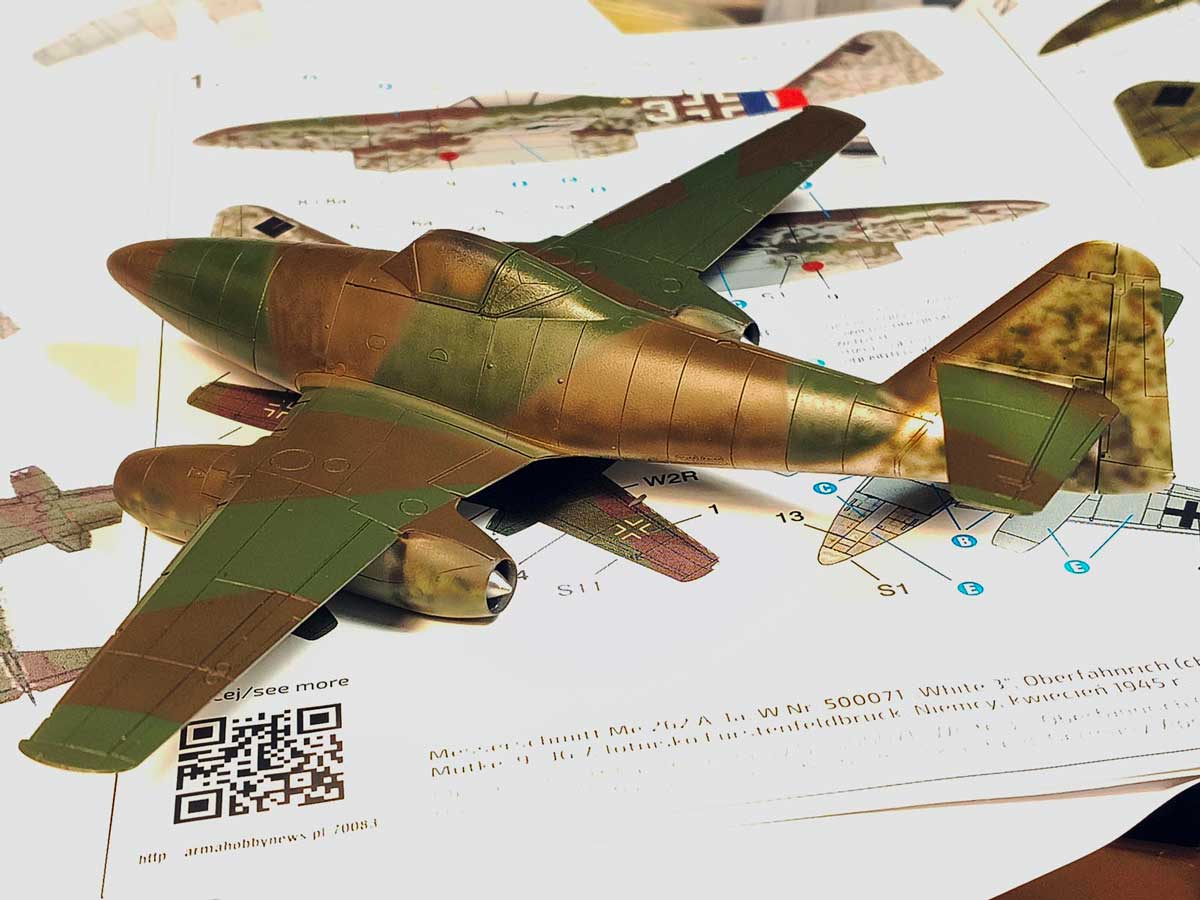

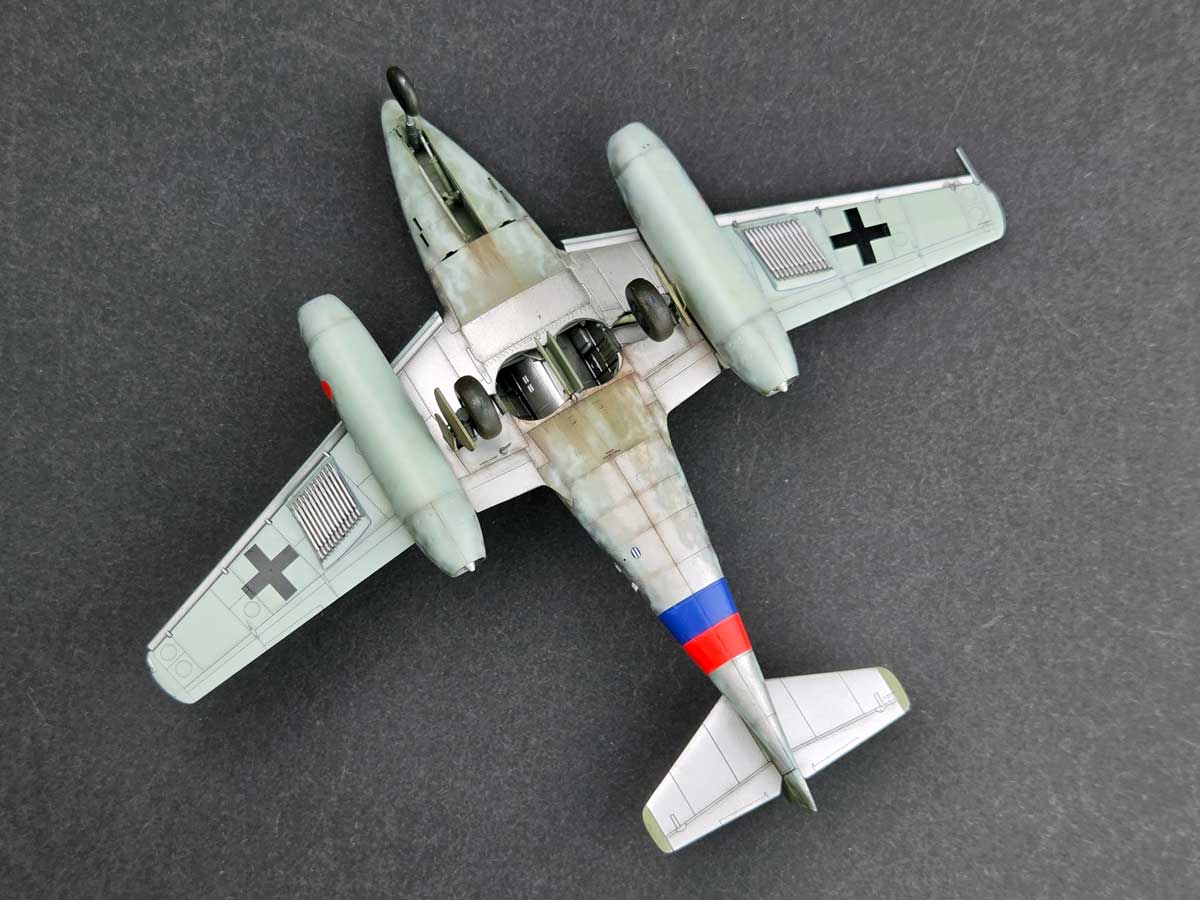
For the camouflage, I used AK Real Colors. The aluminium finish is Gunze Super Metalizer, and RLM 02 is a different Gunze shade than the AK version. I’m very satisfied with the final result, although it was the most demanding part of the entire build.
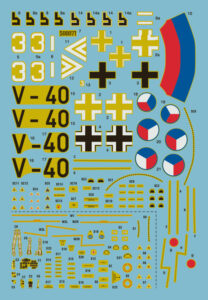
Decals
The new Cartograf decals are noticeably more flexible than the previous Techmod ones. That’s a big advantage, but they require a slightly different approach. You need to be careful not to stretch or fold them during application.
Summary
The build was quick and enjoyable, and the model goes together smoothly from start to finish. The most rewarding part is the painting—it’s demanding, but very effective visually.
If I were to build it again, I would check the instructions more often and spend more time refining the engine details.
I’m also planning a small display base as a finishing touch.
Order the model in our store
- Buy now link in the Arma Hobby model store.
Photos of the Me 262 A-1a model
Me 262 i późno wojenne kolory RLM – próba uporządkowania tematu


Wanted to be Philanthropist, statesman and patron of the arts. Temporarily focused on developing scale model production in Poland. Co-founder of Arma Hobby. Designer of kits: TS-11 Iskra, PZL P.7a, Fokker E.V, PZL P.11c, Hawker Hurricane, Yak-1b, Wildcat, P-51B/C/D Mustang and 1/48 Hurricane.
This post is also available in:
 polski
