

Every model design has its secrets and details worth paying more attention to. Let me present to you in a few points my suggestions about building the P-51B Mustang™ from Arma Hobby. I’ve already made a few of them, finishing the second one painted.

In the assembly instruction, the attachment point for part No in the first stage. B9 is wrongly marked. The holes for this part are back to the position suggested by instruction.
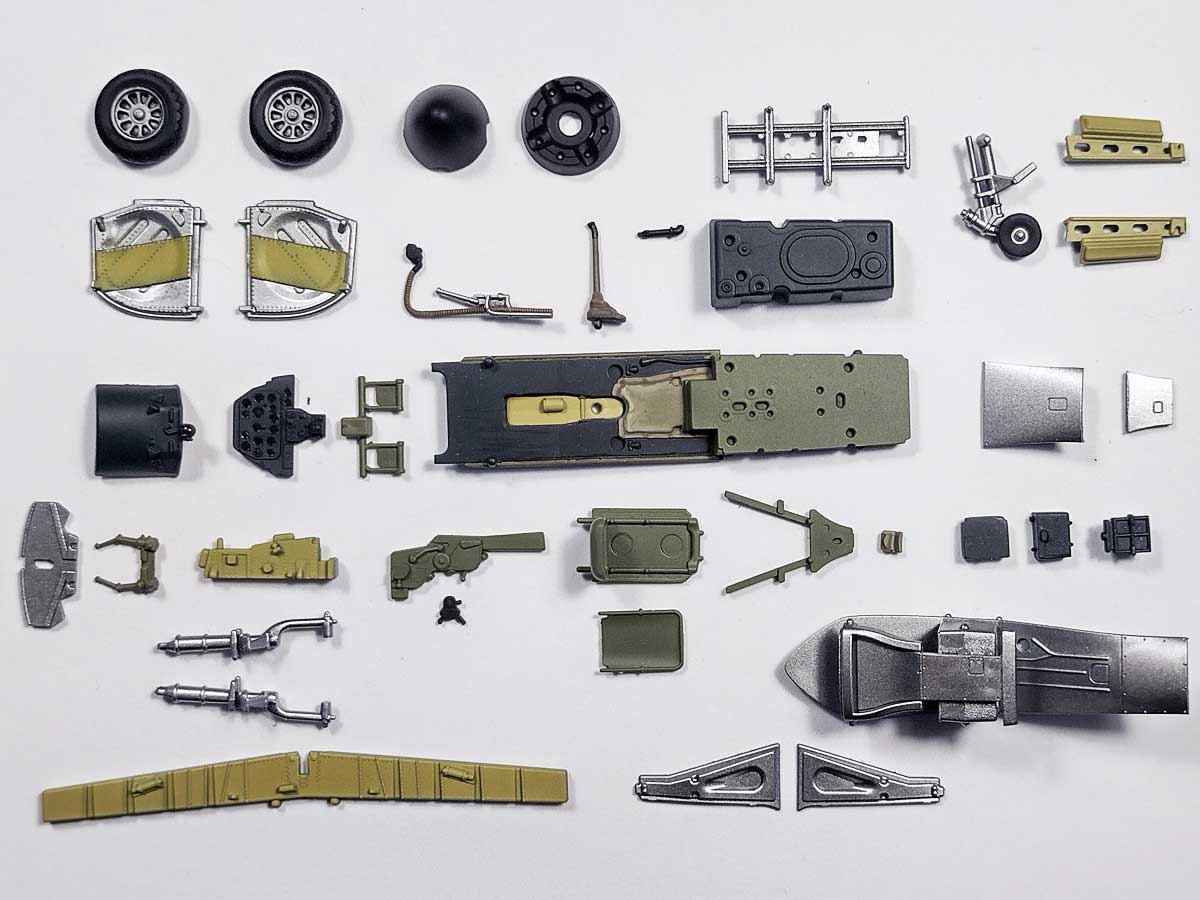
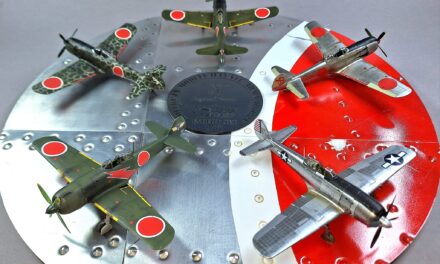
Colour photos of my model building may help you understand where to use the different paint colours.
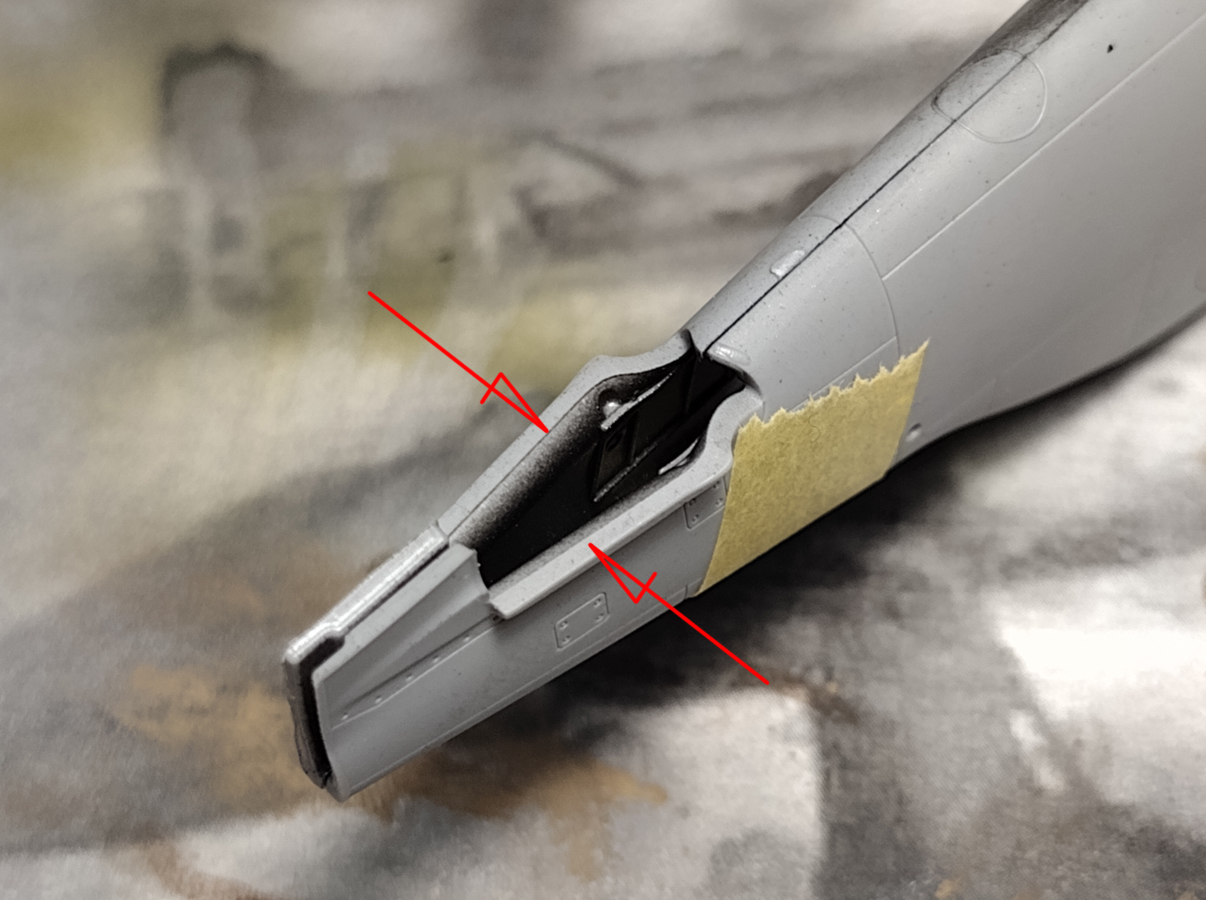
There can be many ways to paint the landing gear bay, and mine you can see below.
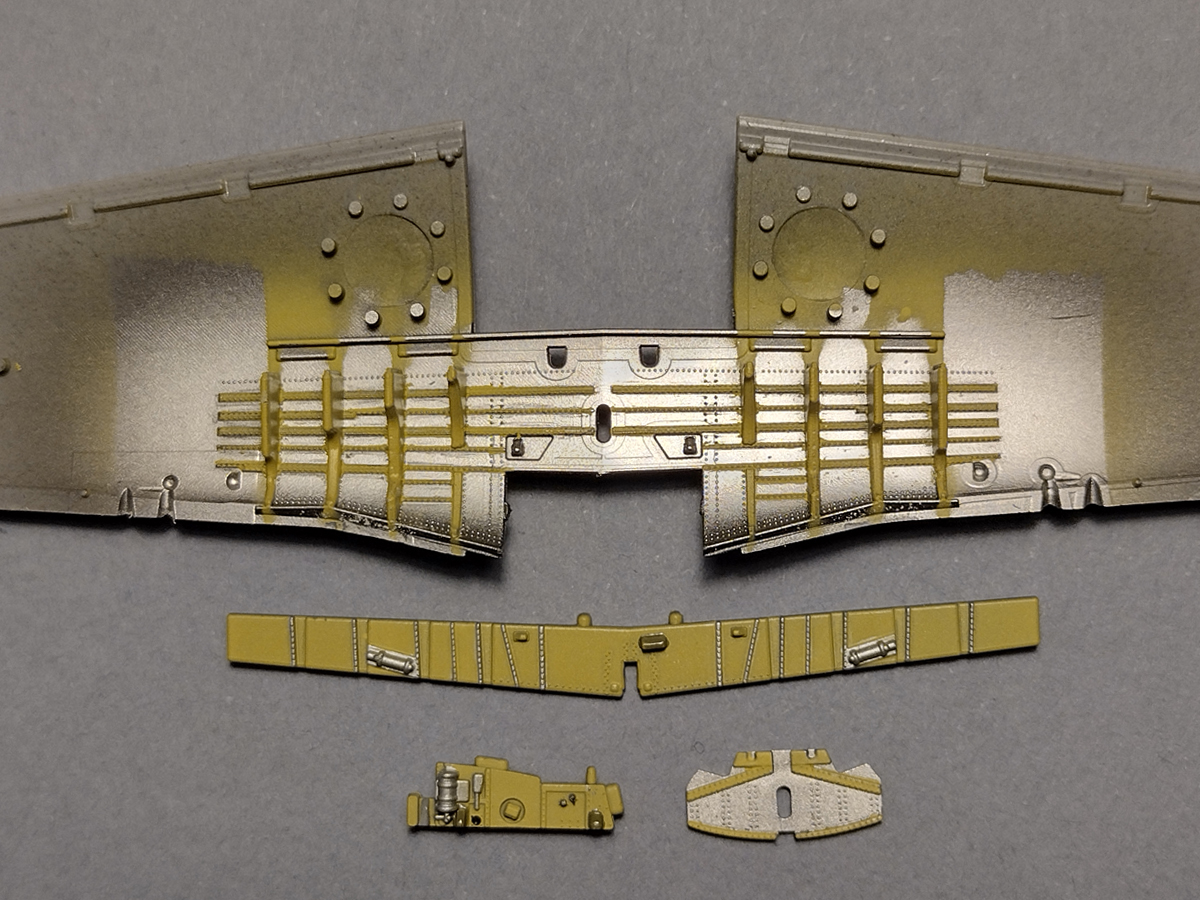
First, I paint the whole thing with silver cellulose paint (Gunze C or Hataka C). Then I mask everything except the ribs with the masking tape and paint them with Zinc Chromate colour. At this stage, I also use cellulose paint (Gunze C). After removing the masks, I paint the reinforcements, running perpendicular to the ribs, with the same colour. However, I am using a trick. I painted them with a brush with acrylic paint. After drying, you can correct the edges of colour by scraping off the excess with a sharpened toothpick.
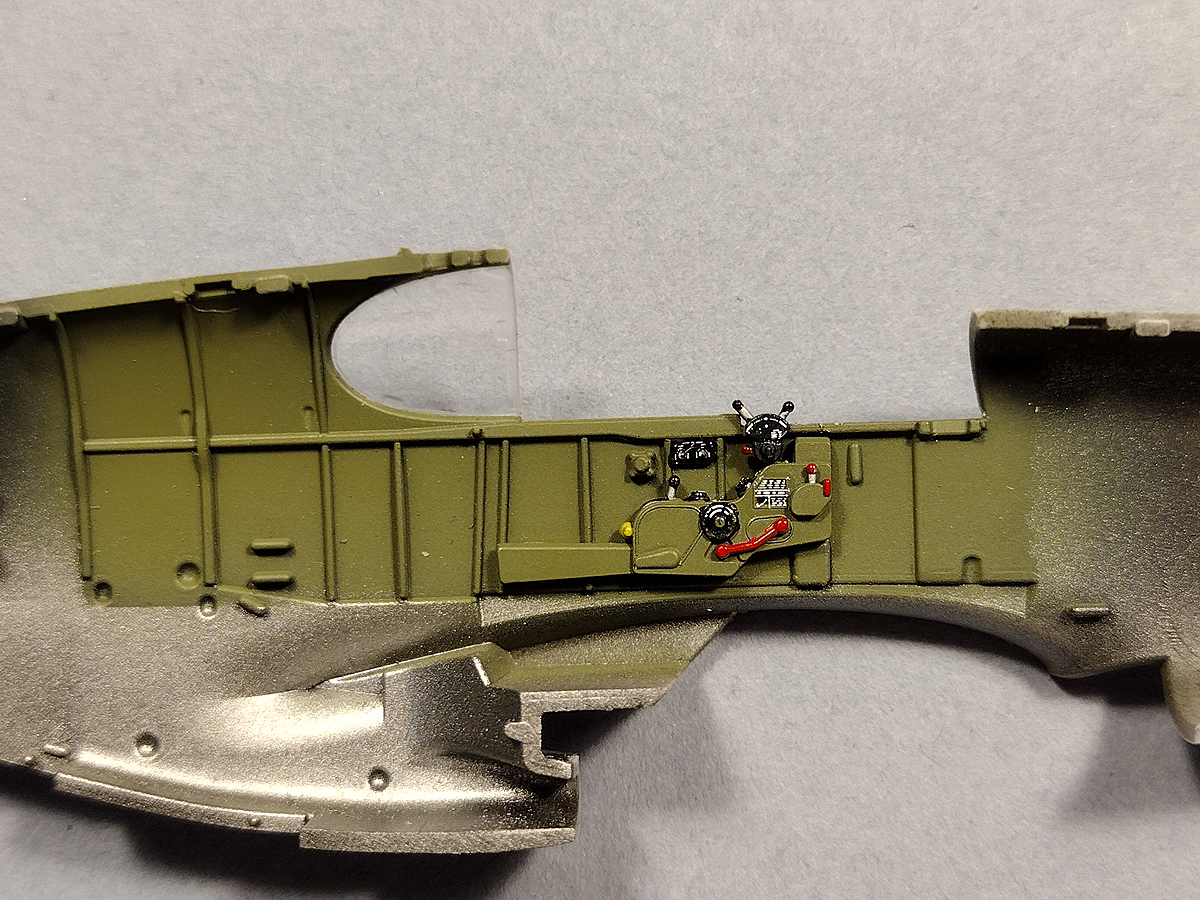

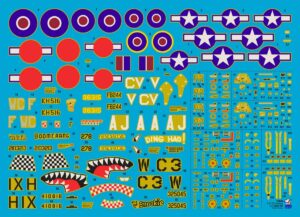
It is easiest to transfer small interior decals to the model using sharp tweezers.
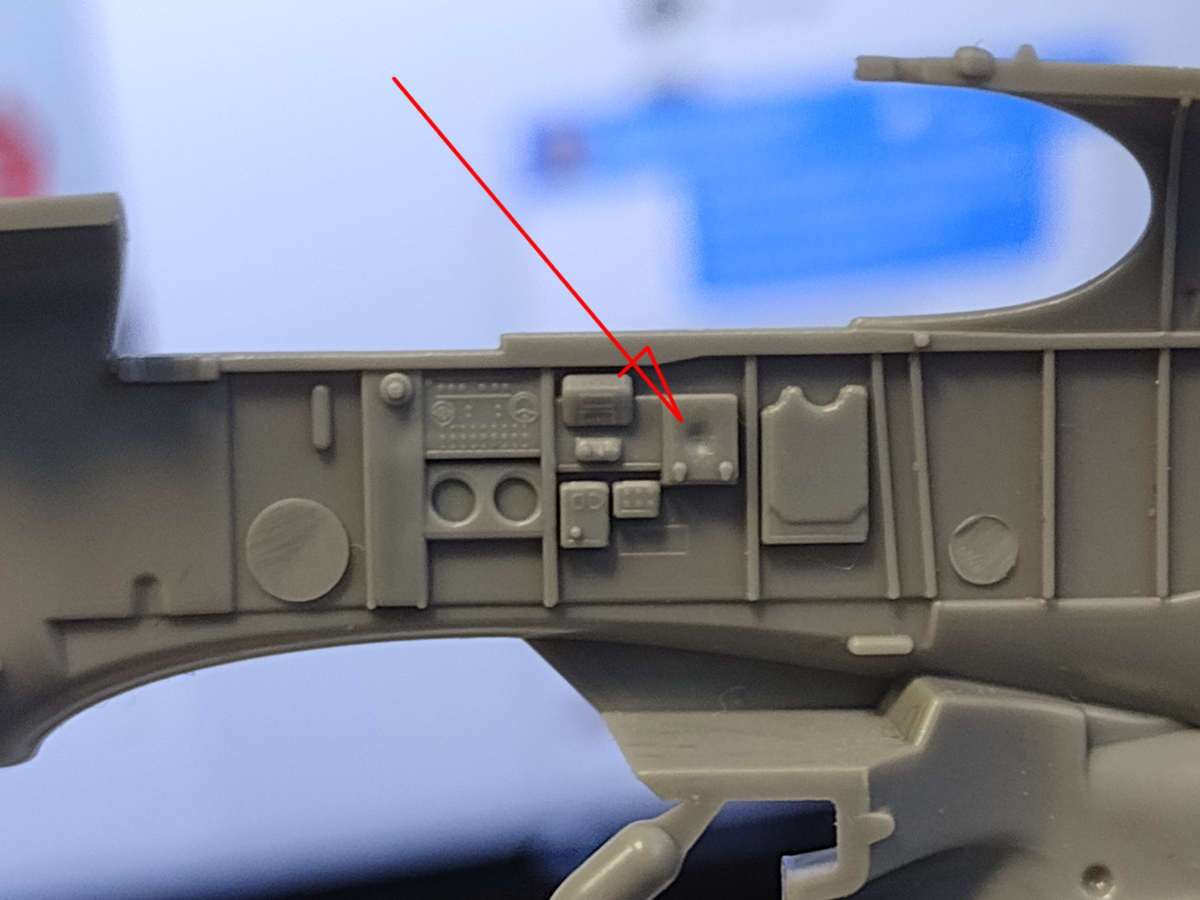
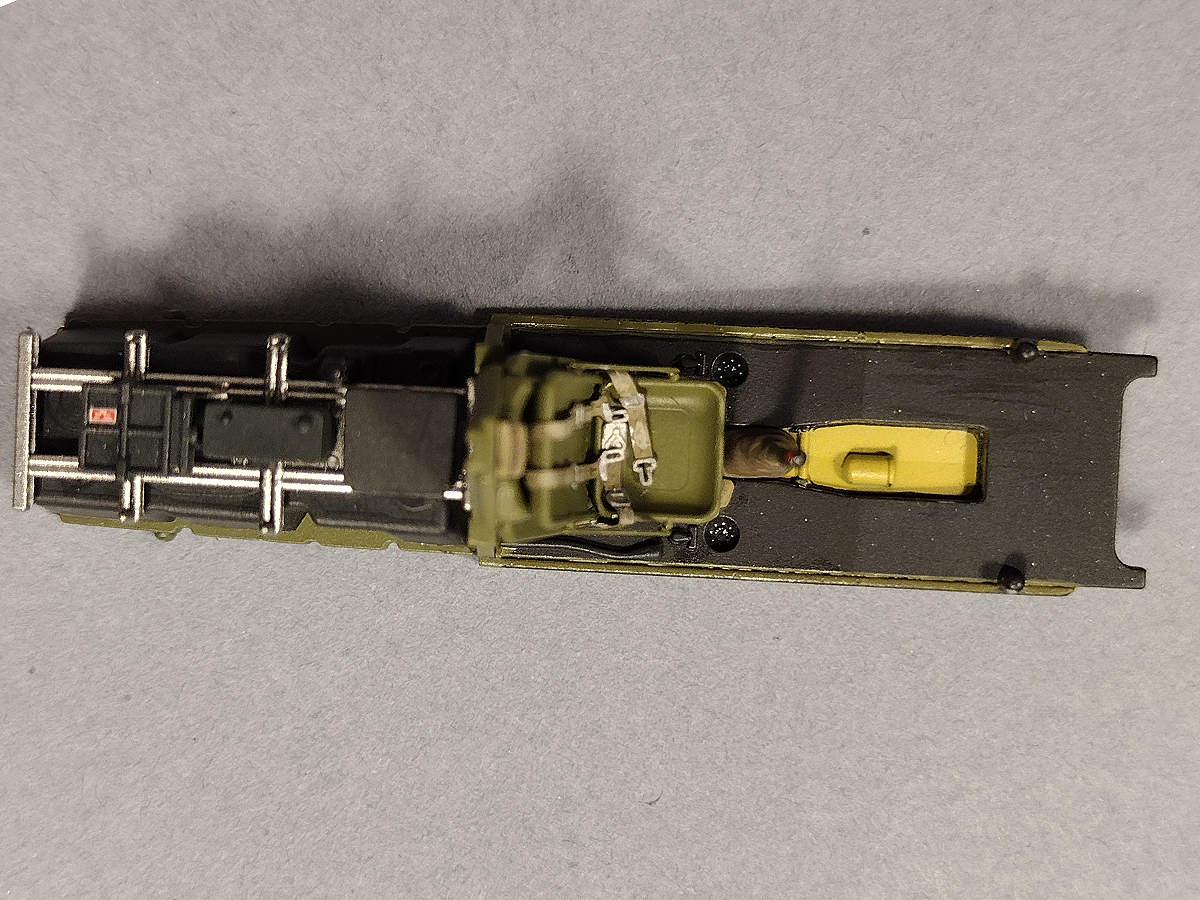
An easy way to deal with the sinkhole in one of the radio boxes is to fill it with a two-component putty/epoxy or an ordinary putty. It is worth masking around the box with masking tape beforehand to avoid messing with other details.

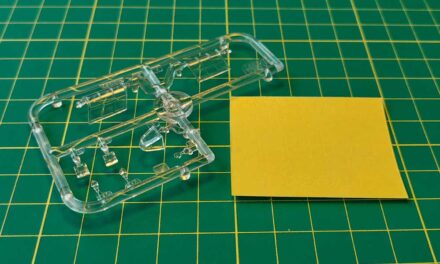
It is essential to remove the seam of joining the mould halves in parts of the fuselage B01, B02; the kit parts under the windscreen and the cockpit canopy T01 T04. I recommend testing fit these parts before assembling the fuselage halves. Please check if the instrument panel with its upper part (B06 and B07) went deep before glueing them. If the installation is too shallow, they will push the T01 fairing upwards, and it won’t be easy to receive the continuity of the fuselage in front of the cockpit. The same applies to the area on the fuselage halves under the tailplane

Before glueing, it is a good idea to lightly sand the upper edge of both halves of the fuselage in front of the cockpit. Thanks to this, you will have the engine hood panel line on the upper axis of the plane after glueing

Pay attention to the outer landing gear cover plates; it is easy to swap these parts unintentionally.

Remember that in Malcolm Hoods, only the bottom edge was made of metal. There was no metal frame on the front and rear of the canopy sliding part. The metal frame remained in the natural metal colour or was painted in the colour of camouflage.
That’s all for now. I am working on a silver Evalina Mustang™ right now. I am close to the finals, so stay tuned for the gallery soon.
See also:
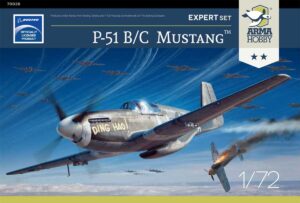
- P-51 B/C Mustang™ model kits in Arma Hobby link
Wszystko co chcecie wiedzieć o Mustangu z Arma Hobby i nie boicie się pytać
Wanted to be Philanthropist, statesman and patron of the arts. Temporarily focused on developing scale model production in Poland. Co-founder of Arma Hobby. Designer of kits: TS-11 Iskra, PZL P.7a, Fokker E.V, PZL P.11c, Hawker Hurricane, Yak-1b, Wildcat, P-51B/C/D Mustang and 1/48 Hurricane.
This post is also available in:
 polski


Being mostly interested in those multipopular subjects (as many others seems to be, too) has guided me to your latest international products, such as the Hurricane, FM-2, Wildcat, and now the P-51. The main reason for this, is very much, the availability of information on the mentioned subjects. As we all know, the approvable result, depends a great deal on the info at hand!!
An important habit of your firm, is how you care about the customer. Those, most interesting background stories and tips of yours, are really welcome as bonus to the product itself. They will help and wakes your interest in those small, but often so important and useful details, which makes the hobby even more worth dealing with.
Seldom, there is too much info at hand, on any chosen subject, so thanks a lot for the supplied bonus material. I appreciate them much and wish you guys, at Arma Hobby, a productive and happily lasting year.
PS. As I understand it, Arma has plans on a F4F-3 & a P-51D. Thumb up for those ideas.