
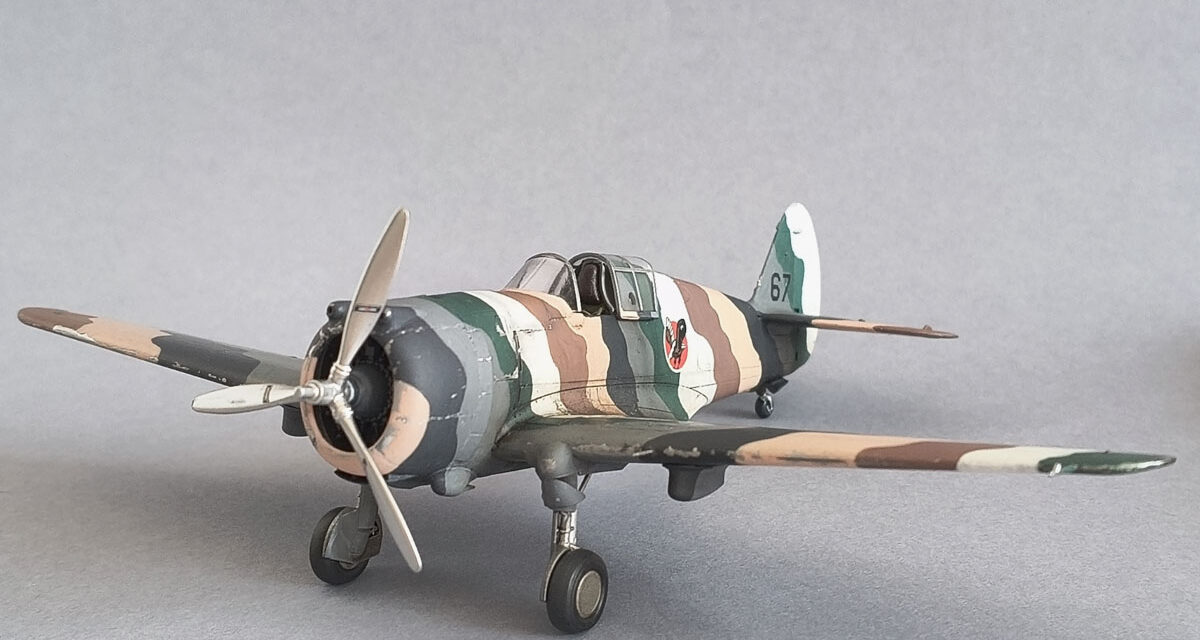
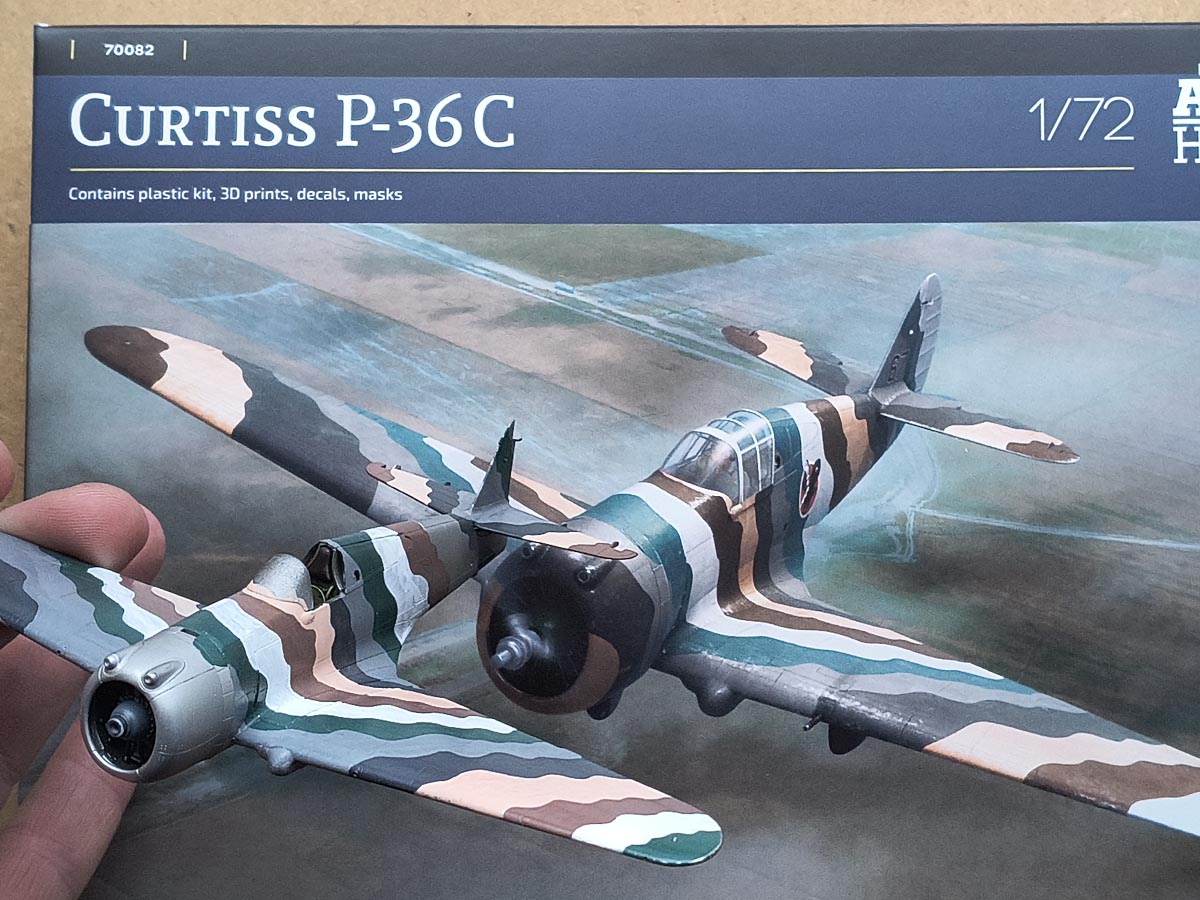
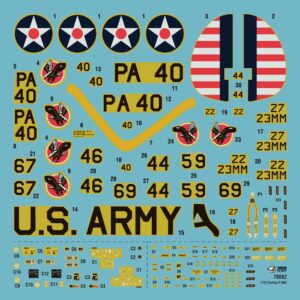
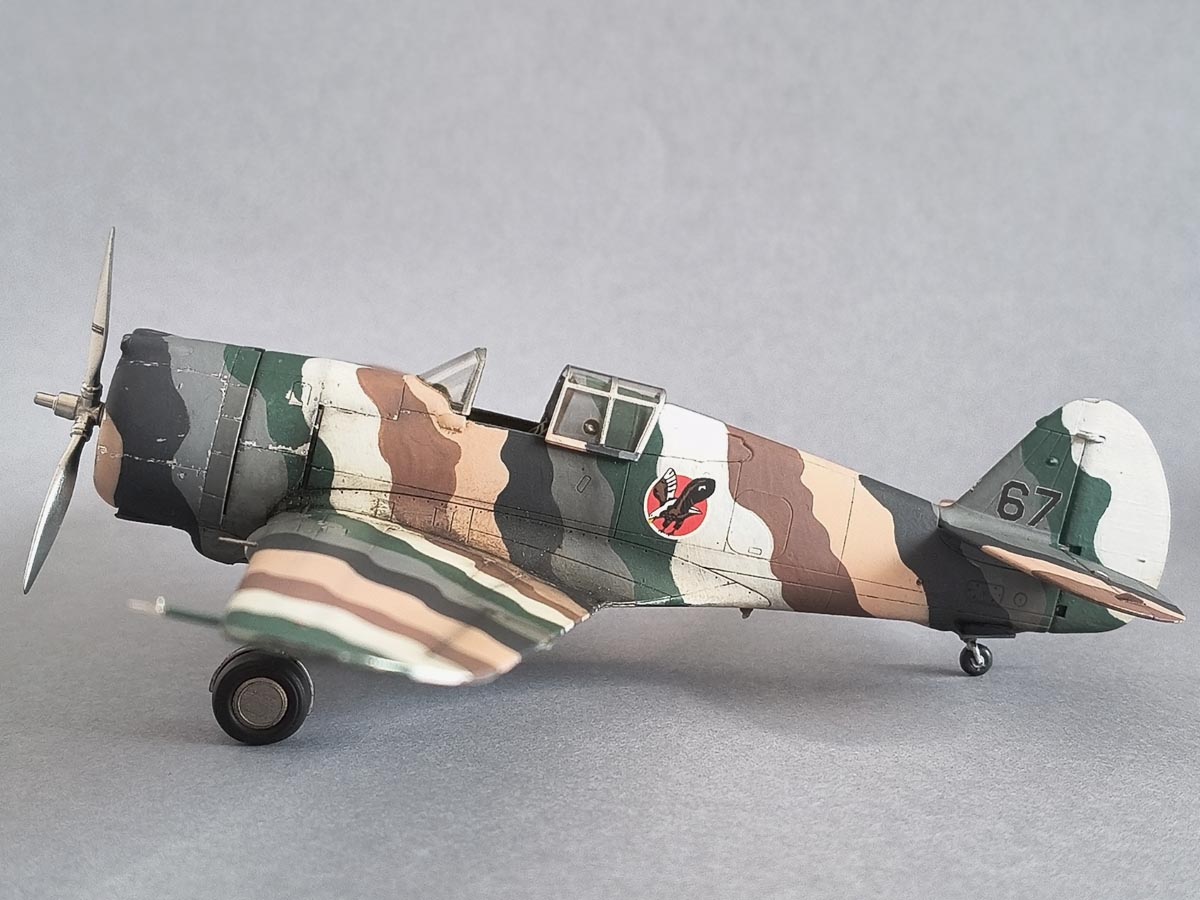
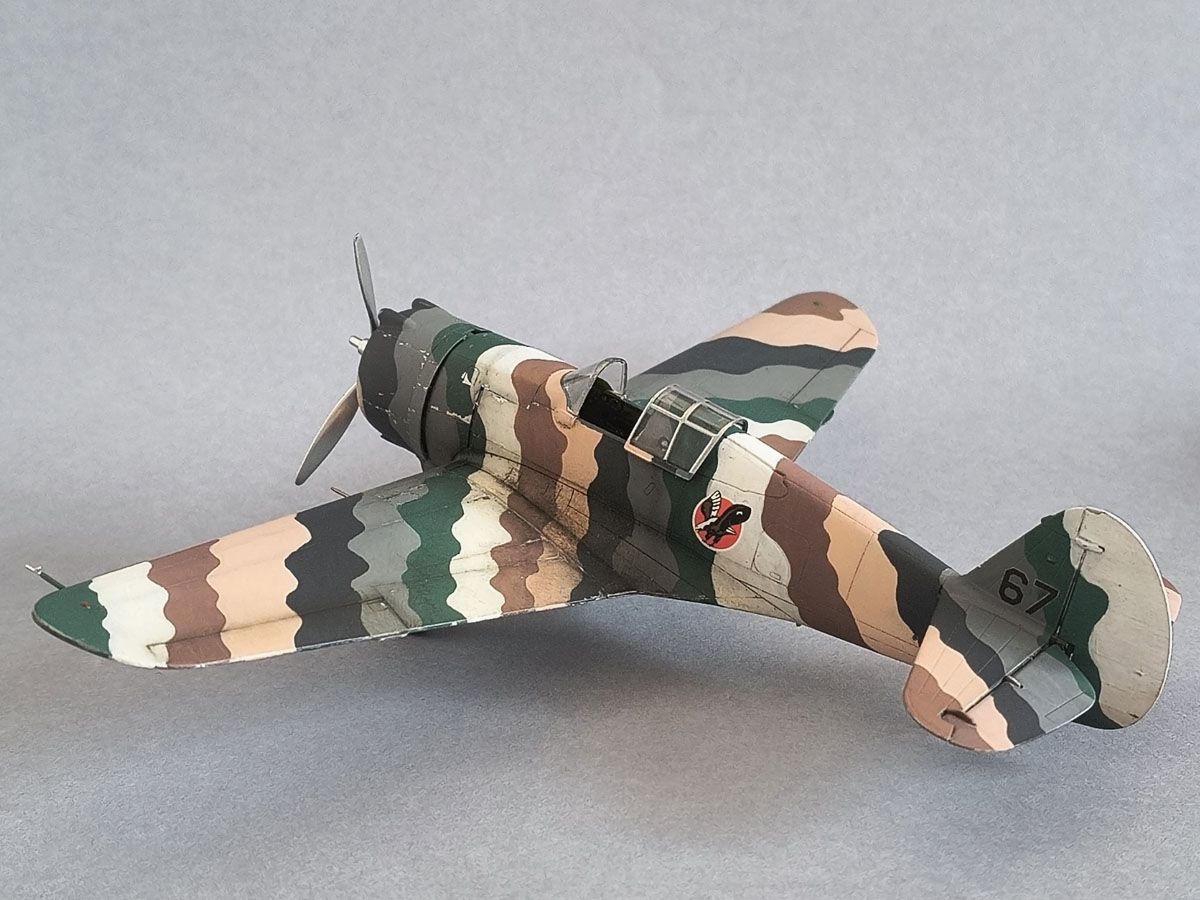
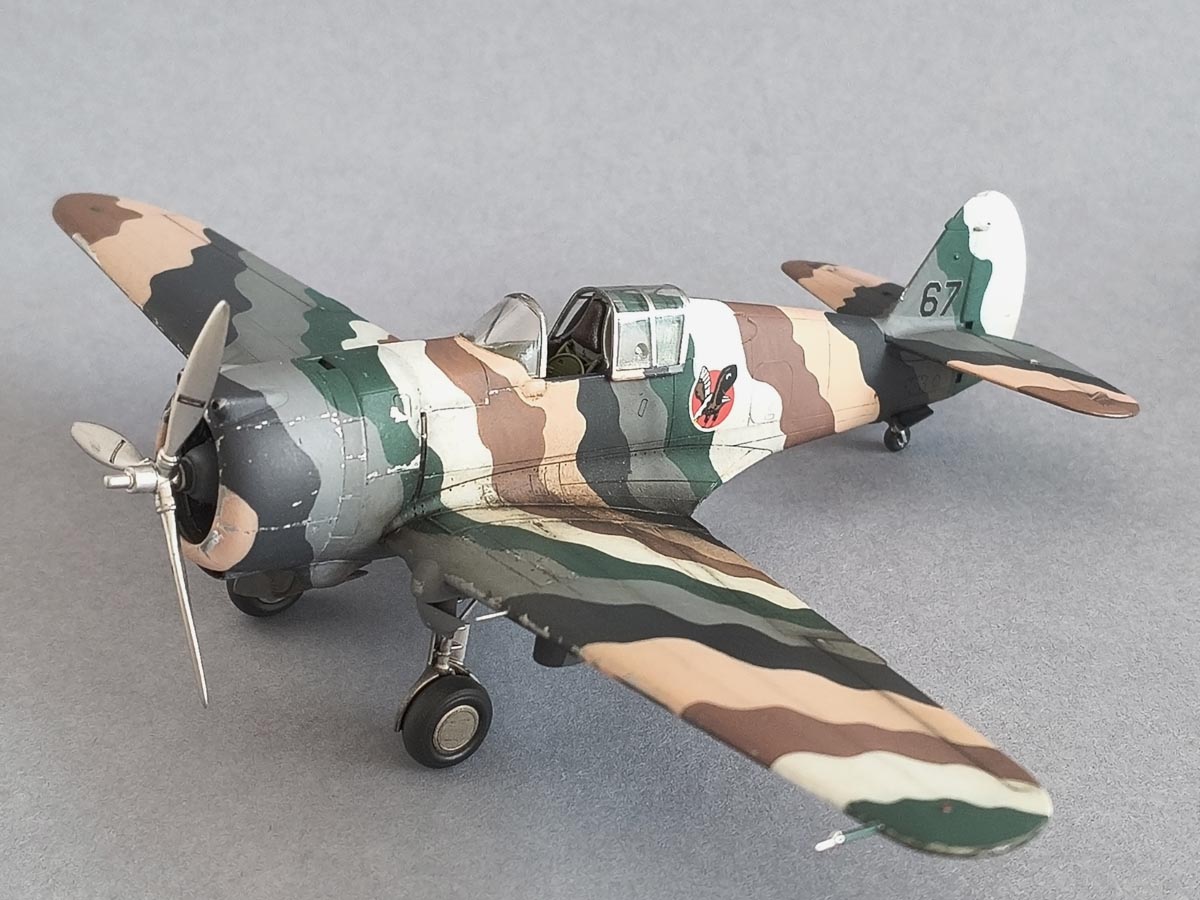
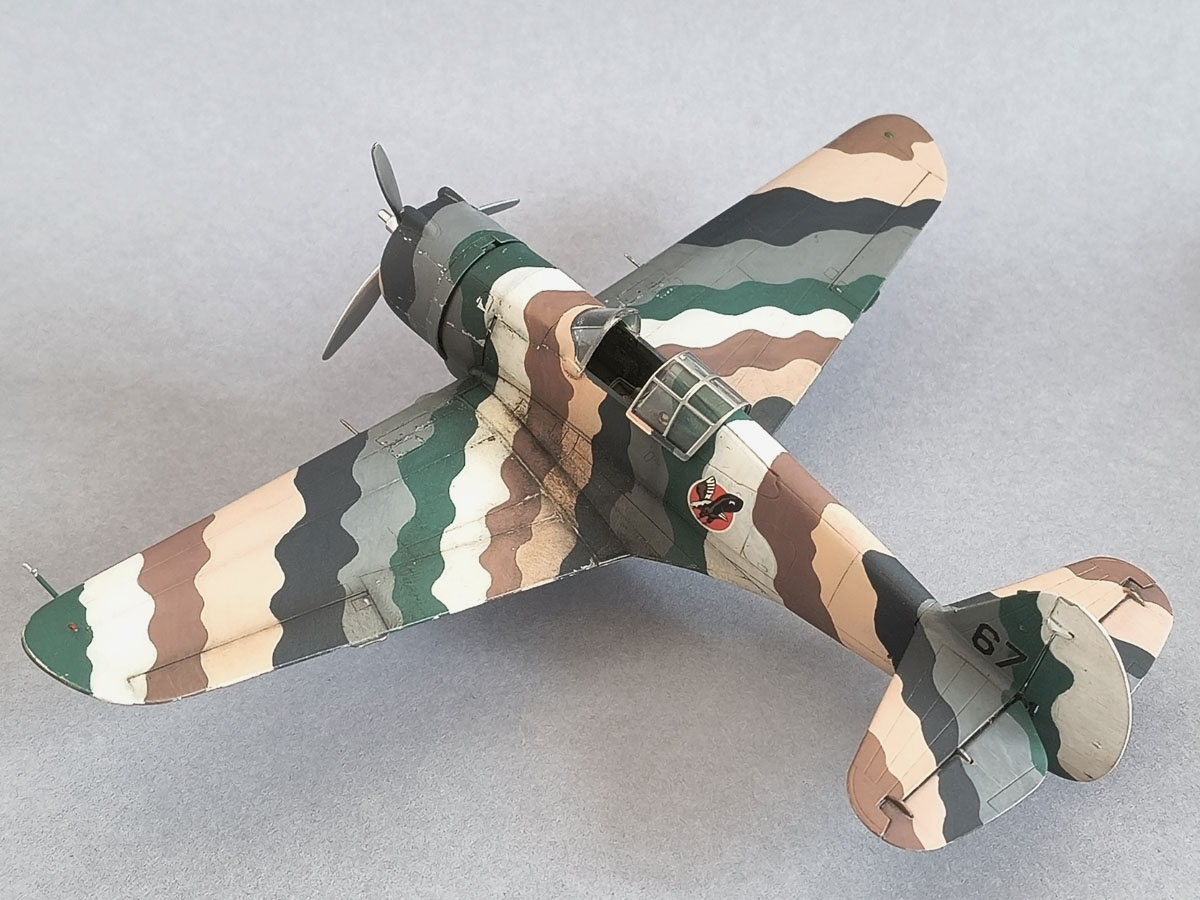
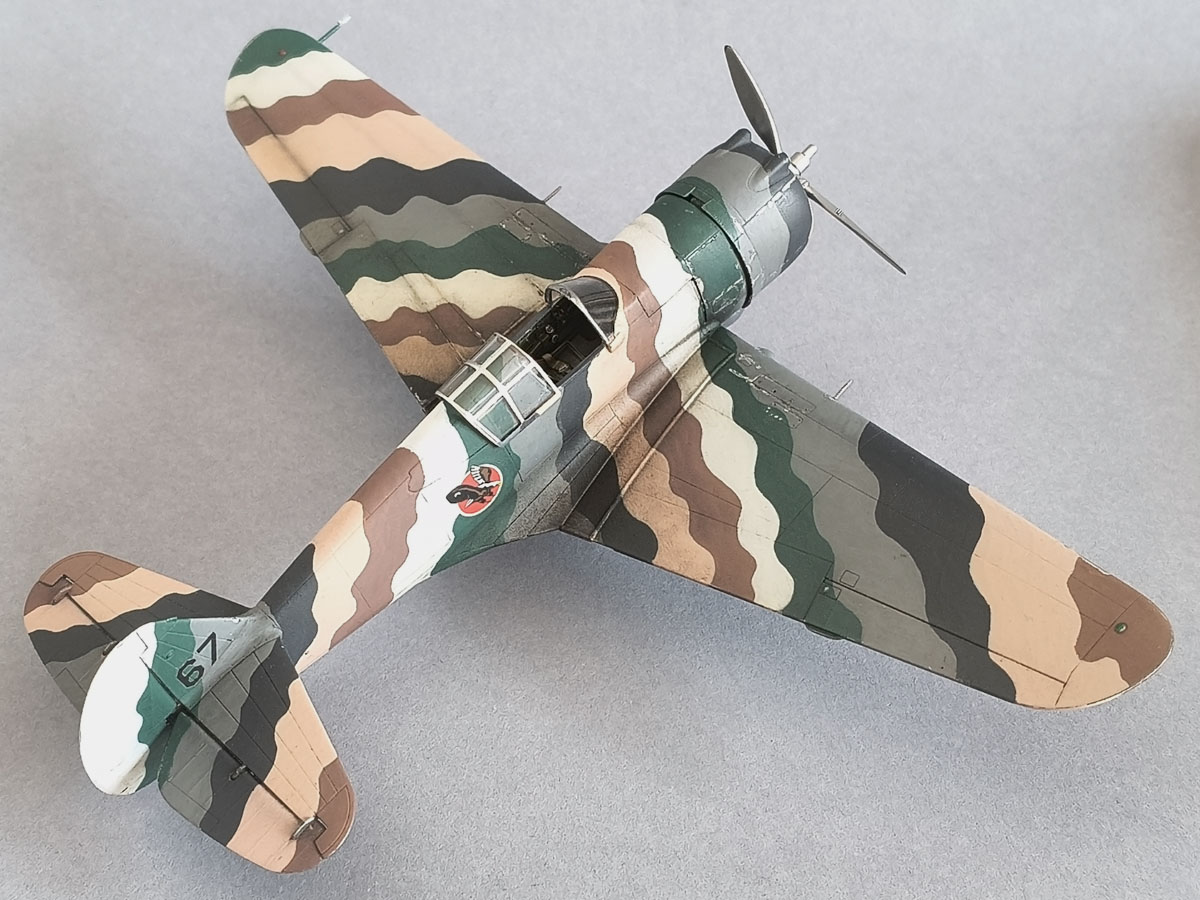
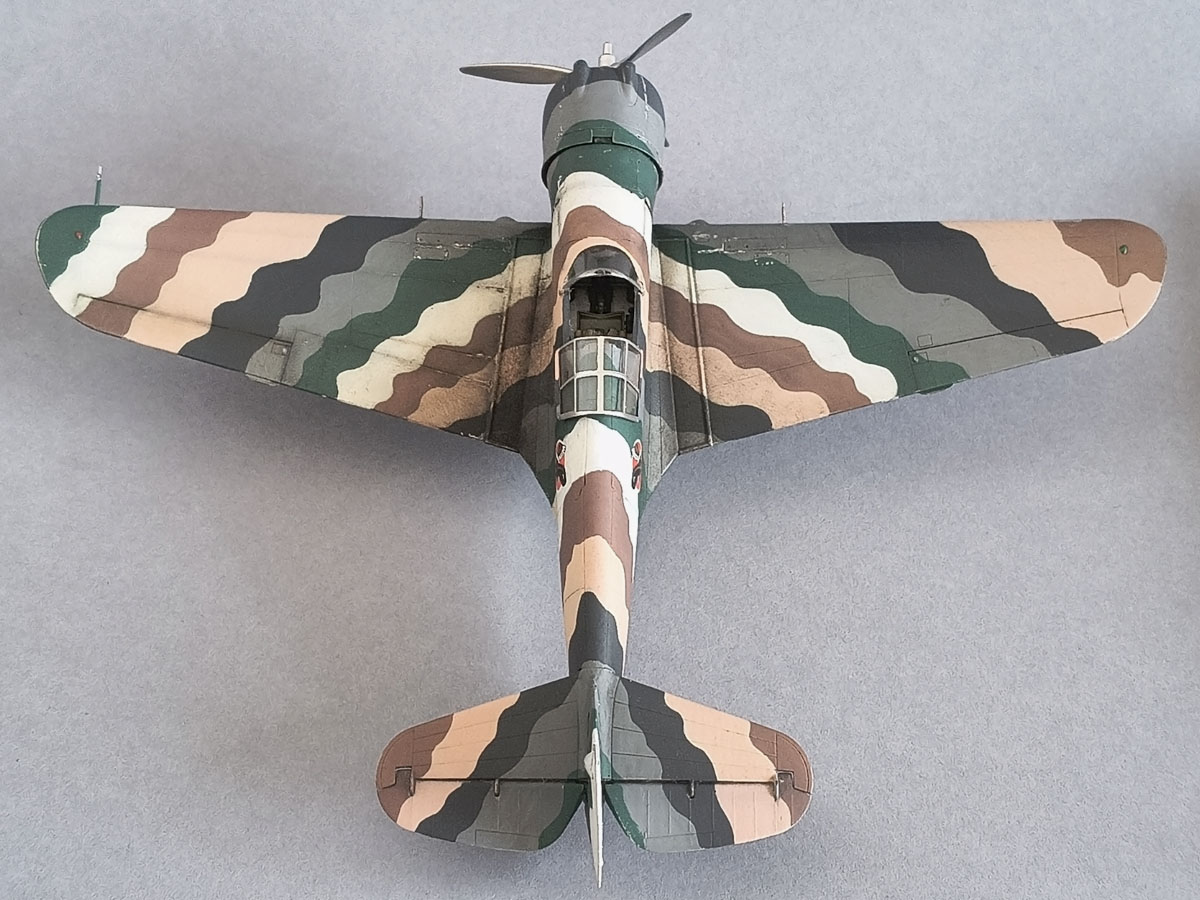
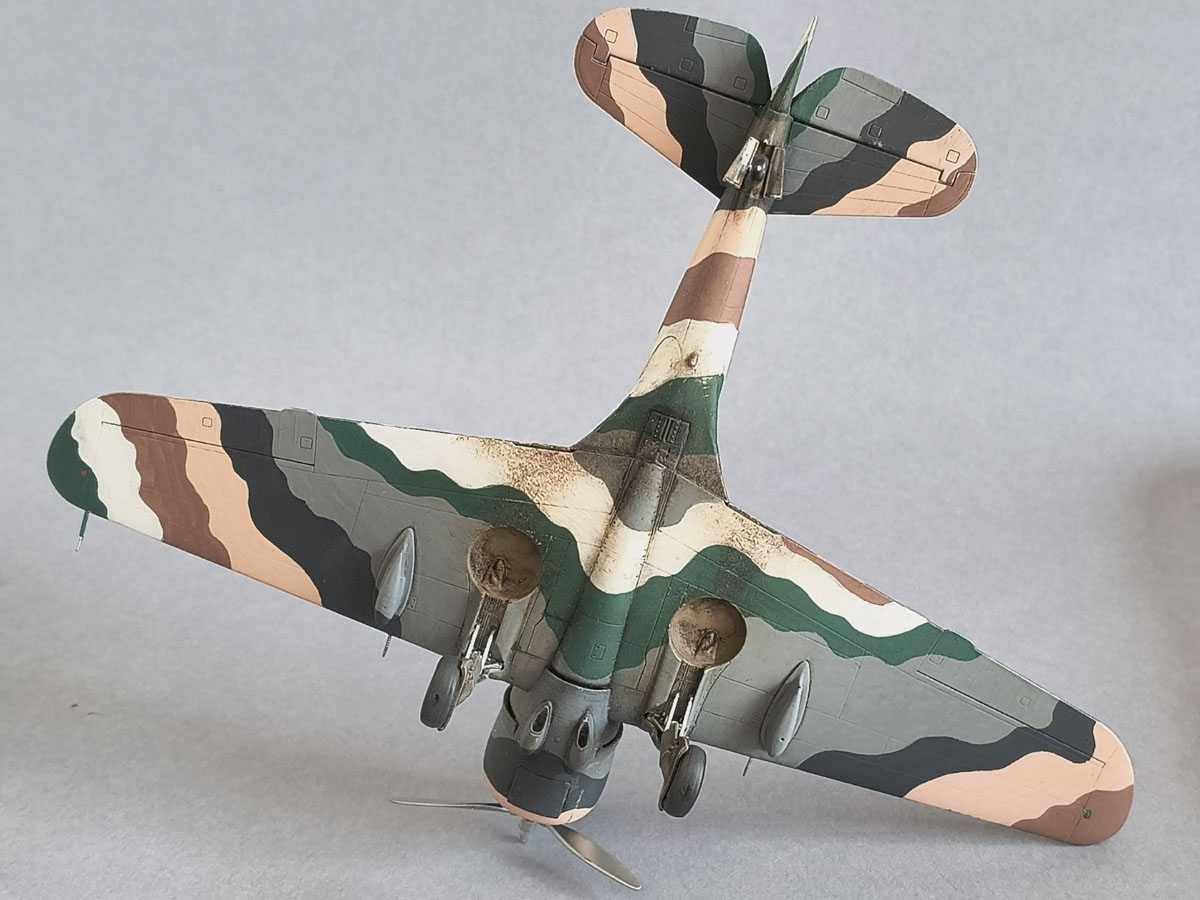
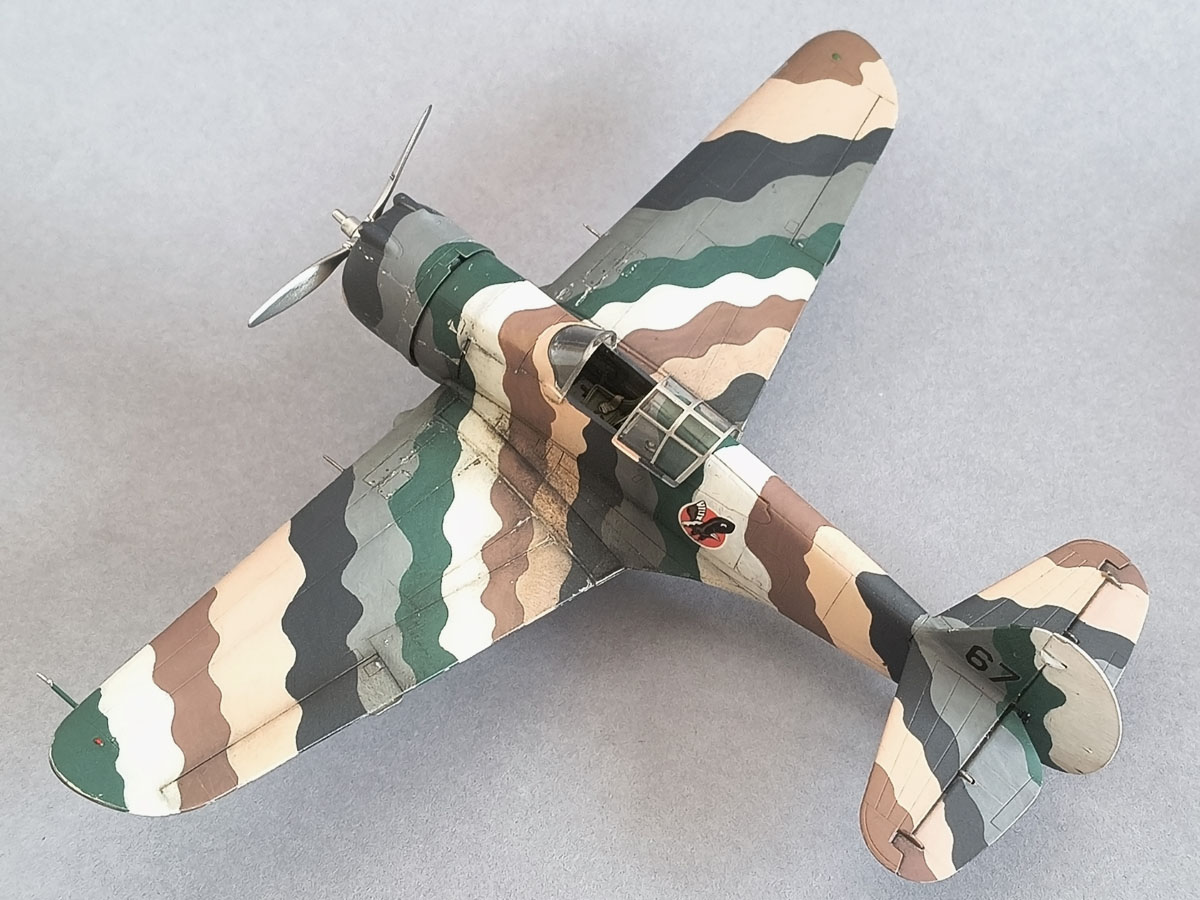
The boxart Curtiss P-36C catches the eye straight away. It is one of those models that tempts you with an unusual paint scheme, while at the same time putting you off with the very thought of masking it. Characteristic wavy lines, plenty of colours and a lot of work – sounds familiar?
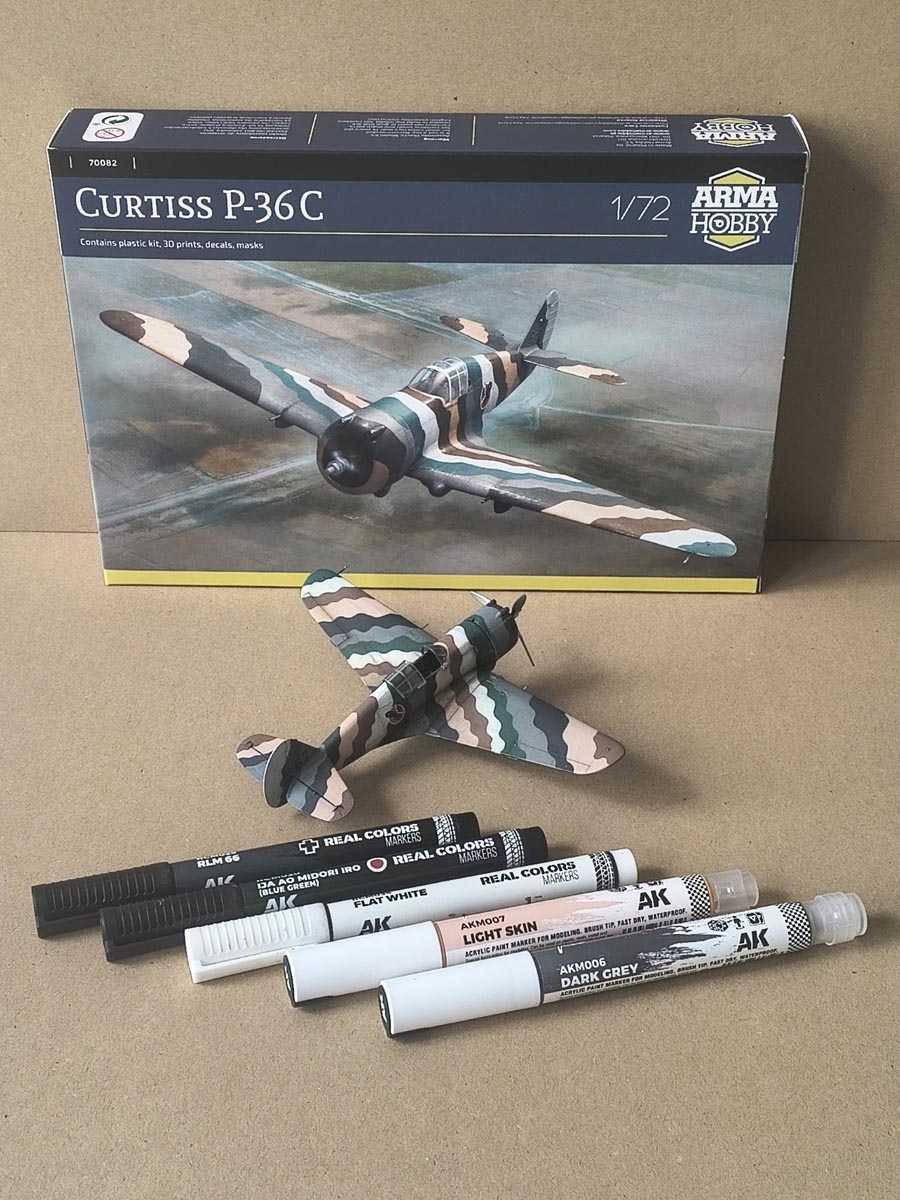
I really liked the model, but I had no desire to spend hours working with masking tape. So what to do? The answer came naturally when I looked over my workbench and noticed AK acrylic markers.
Markers instead of an airbrush?
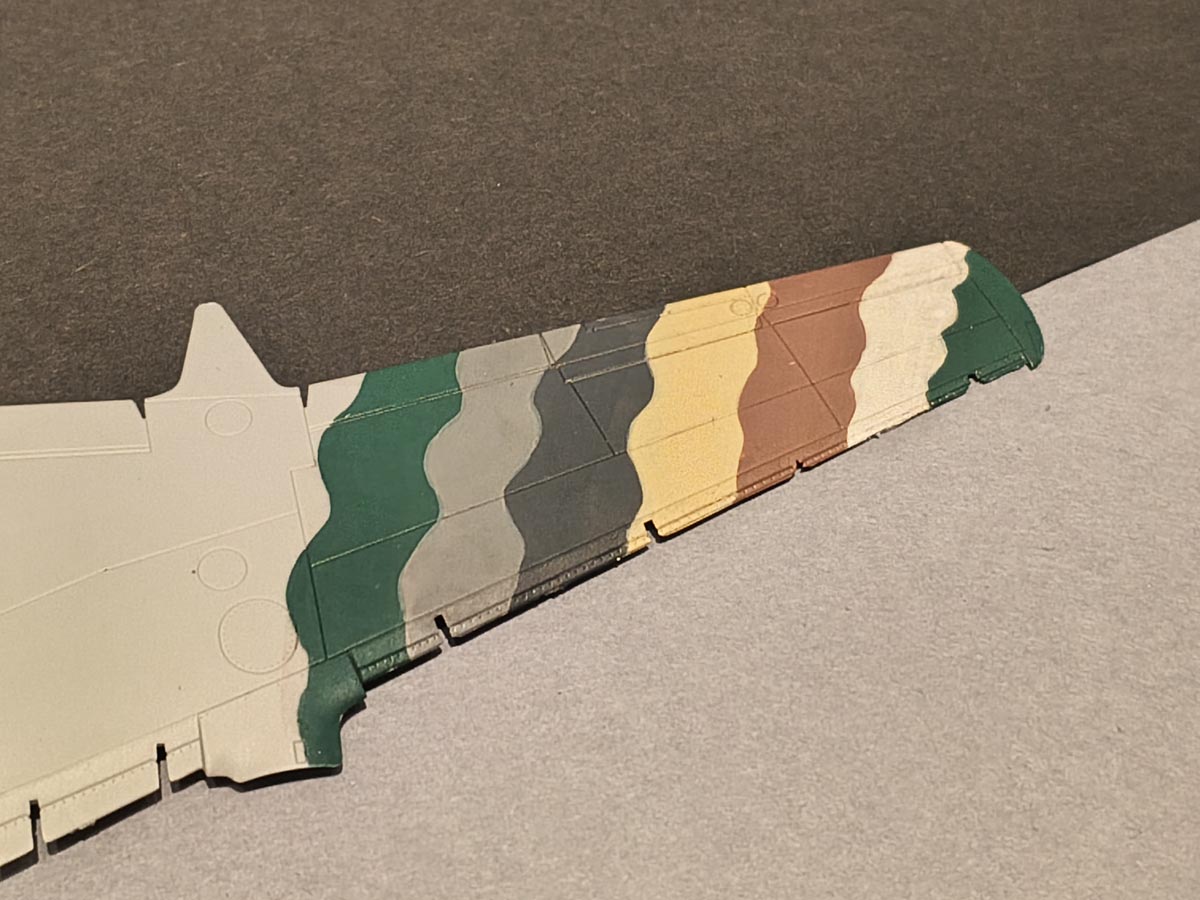
Both the Real Colors markers and the brush-tip Playmarkers leave visible stroke marks. You simply cannot achieve the perfectly smooth finish you get with an airbrush. But that is the trade-off. Since painting the model this way is much easier, I decided to give it a try.
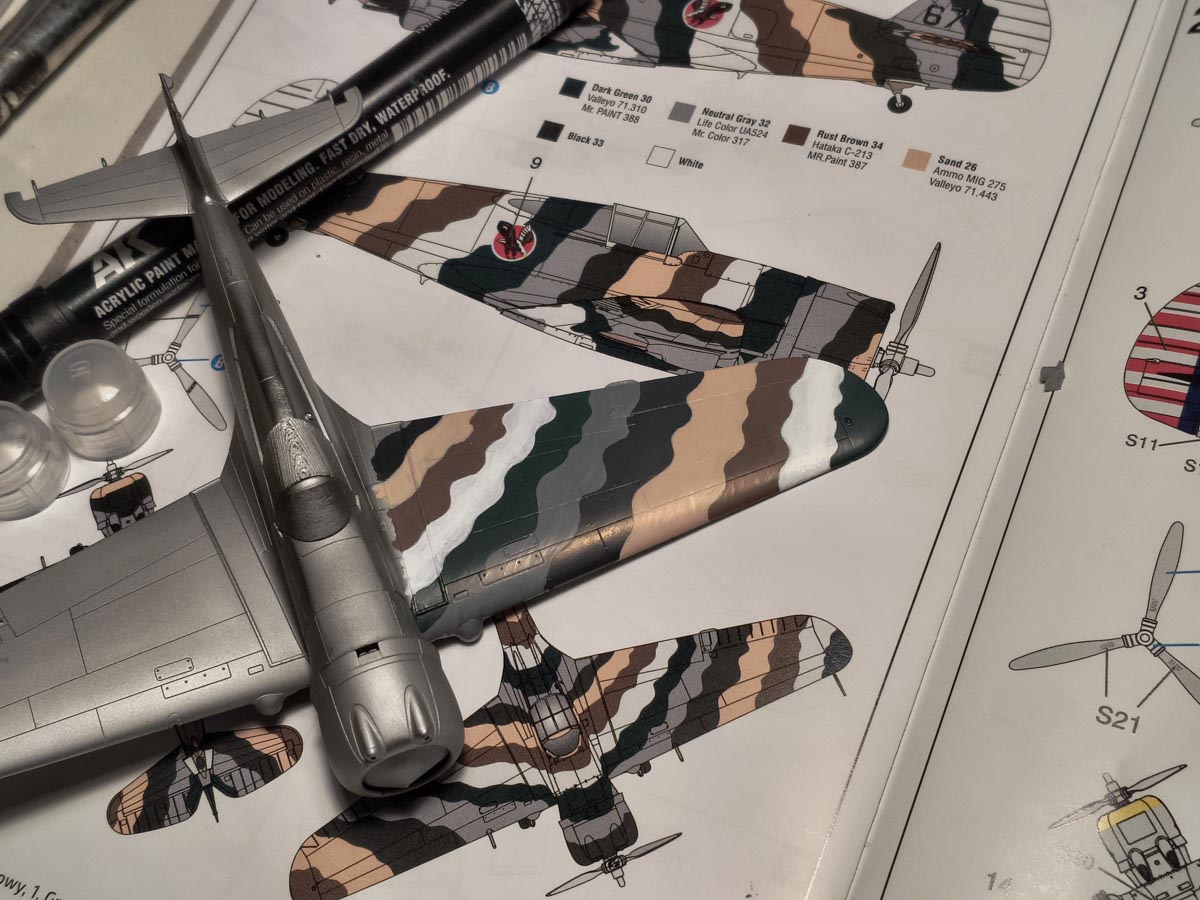
First, you need to match the colours. Unfortunately, that is not easy, because the colours shown online and on the packaging often look nothing like they do in actual use. You need to buy a few and match them by trial and error. From my tests, these turned out to be the best fit:
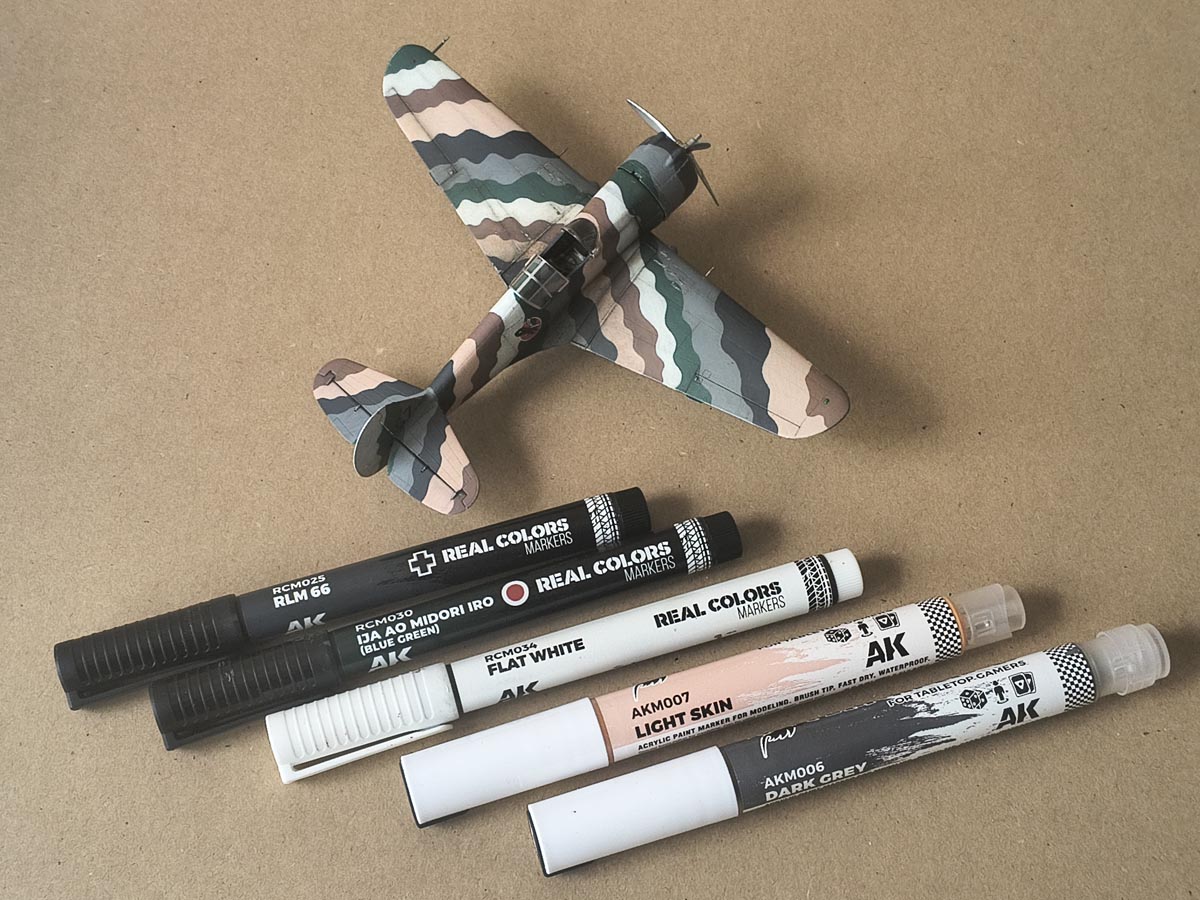
- very dark grey (almost black) – RLM66 RCM025
- dark green – IJA AO Midori Iro RCM030
- white – Flat White RCM034
- grey – Dark Grey AKM006
- sandy/orange tone – Light Skin AKM007
These colours are very close to the original. They have the right saturation, tone and balance between them.
What is it like to paint this way?
The second issue is surface smoothness. The Real Colors series uses sponge-tip markers and leaves less noticeable stroke marks. Overall, they produce a thinner coat, although it does take several layers to cover the model properly. Playmarkers have a brush tip and are really just acrylic paint in a different container. They cover well, but the layer is a bit thicker and leaves more visible brush marks.
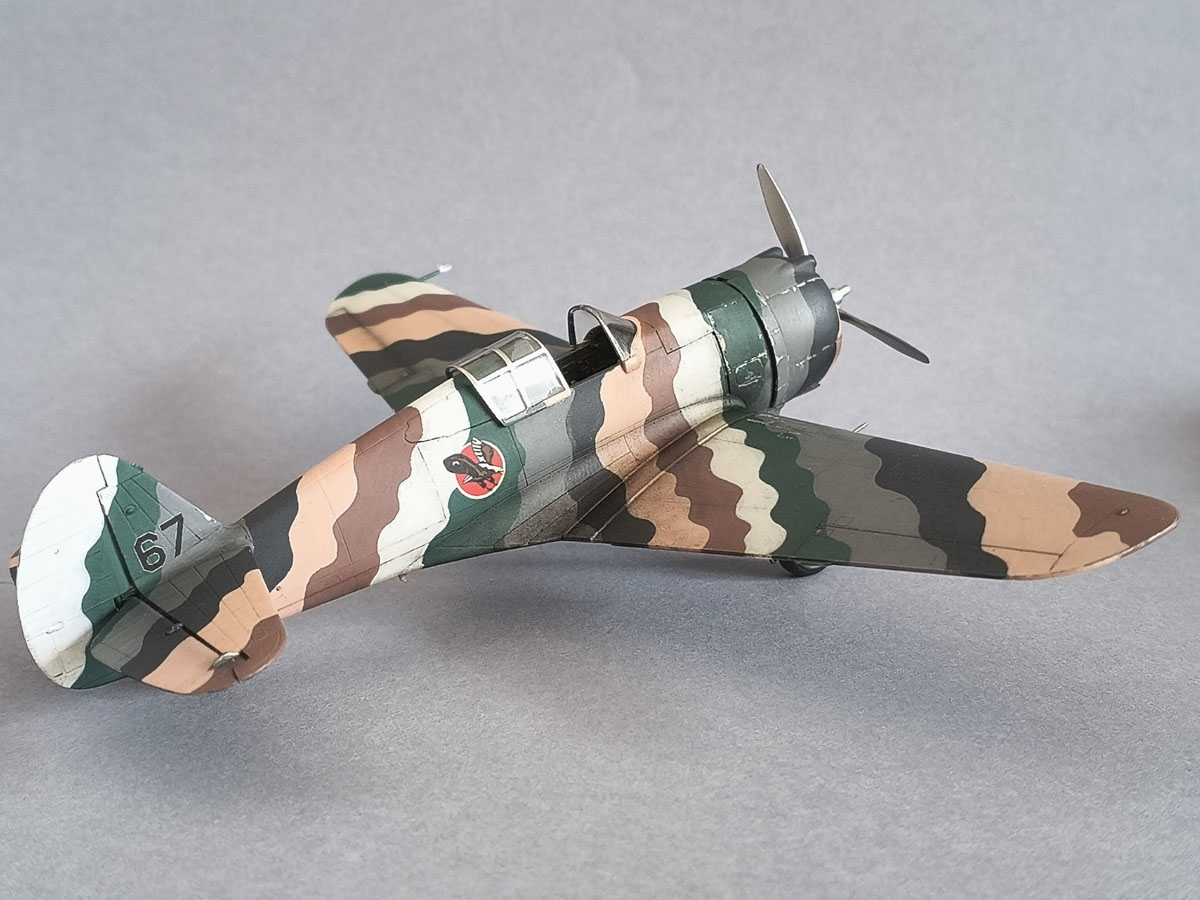
Building the model itself was quick. In two evenings I had the airframe ready for painting. I used black Gunze Surfacer 1500 as the primer, followed by Hataka gloss clear. The boxart inspired me to add chipped areas to the experimental camouflage, so my first layer was aluminium from the Gunze Super Metallic range. I then matted the whole surface down with Hataka varnish so that the marker paint would grip properly.
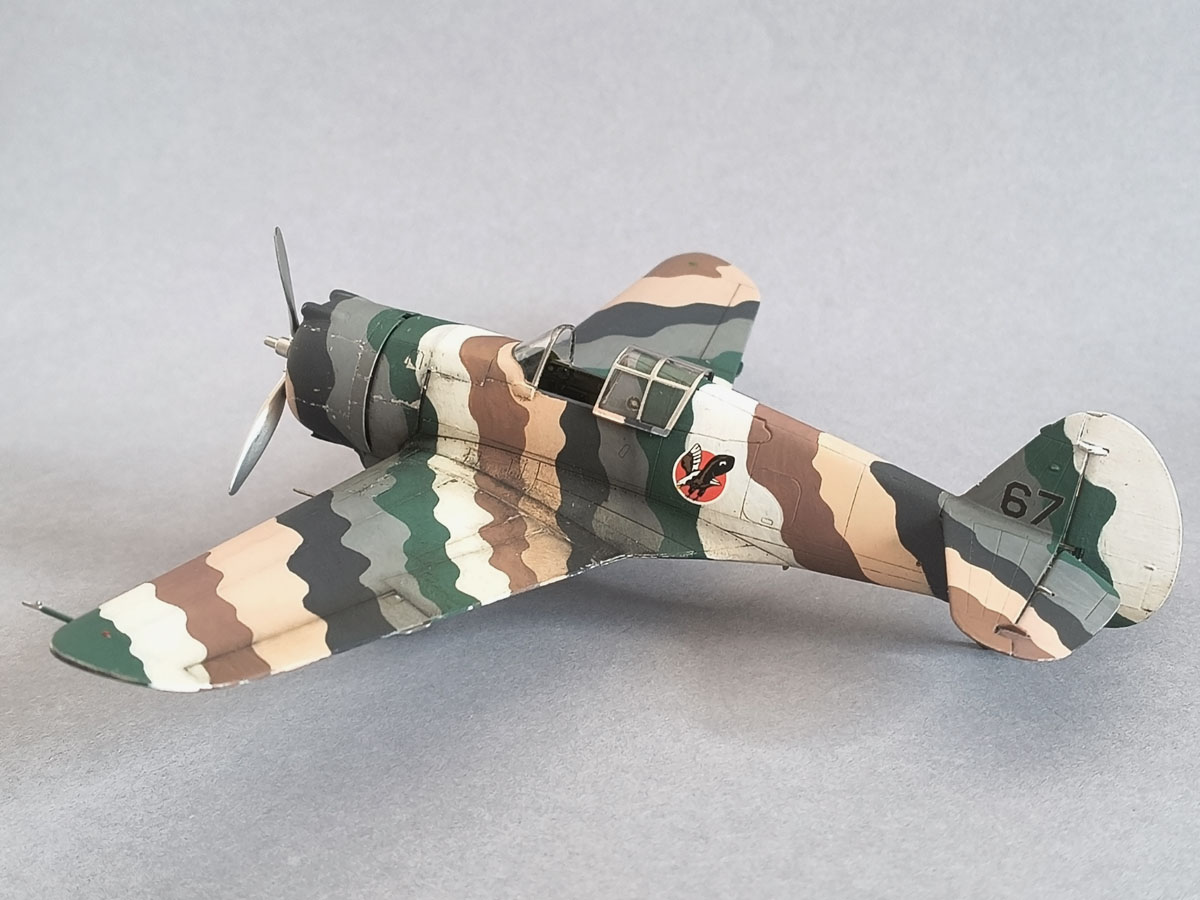
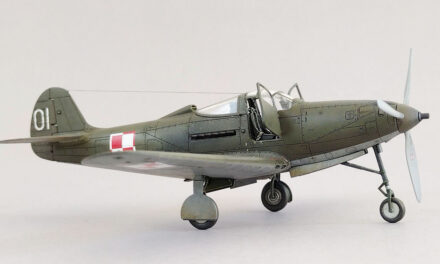
Curtissy z Cleveland 1939. Eksperymentalne kamuflaże 27th Pursuit Squadron
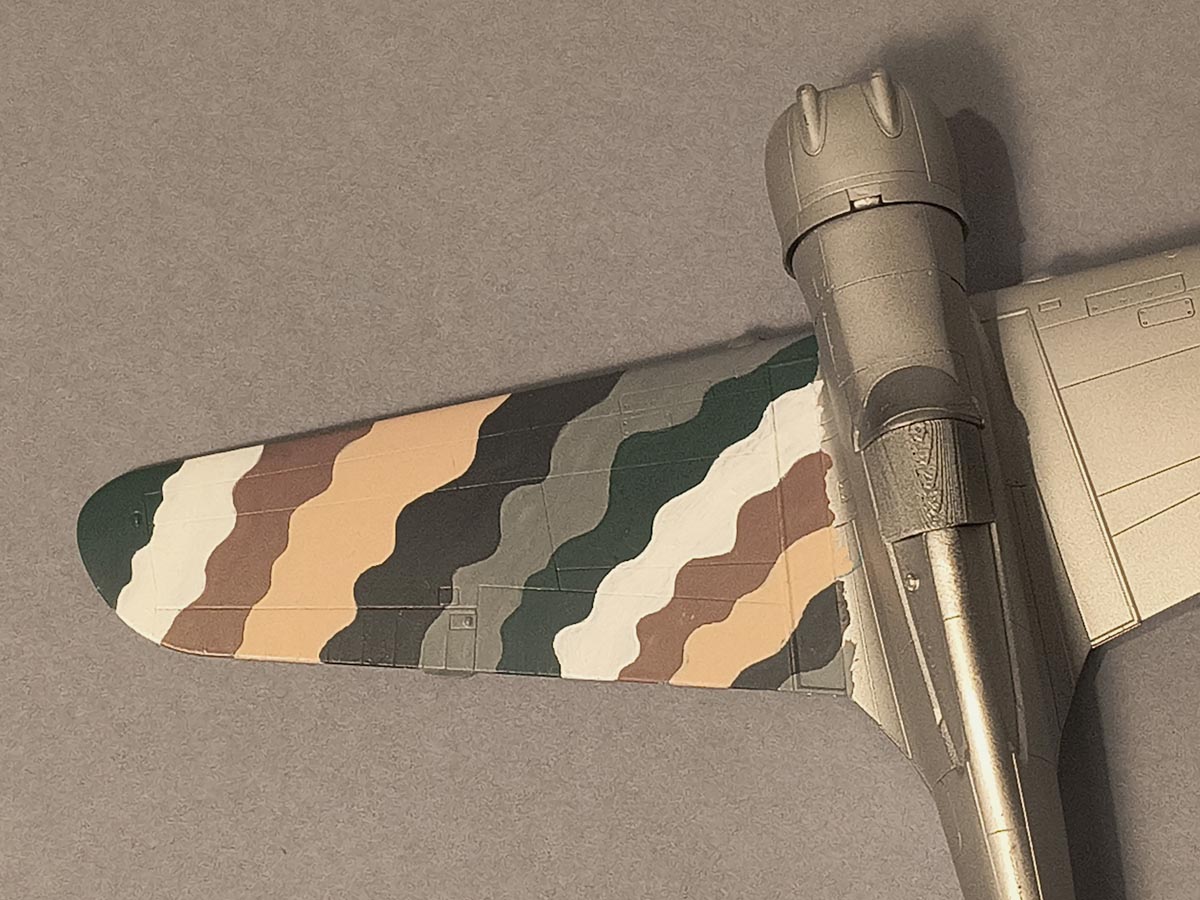
Painting with markers is a completely different kind of work from using an airbrush. You can do it in short sessions, there is no smell, you can switch colours quickly and correct each stage with ease. The most difficult colour was white. Unfortunately, it had poor coverage and needed more layers, which resulted in heavy visible brush marks.
Despite those advantages, the painting stage still took quite a bit of time. Probably about as long as masking and painting with an airbrush. So in the end, the time involved is similar, but the nature of the work is completely different.
The final result
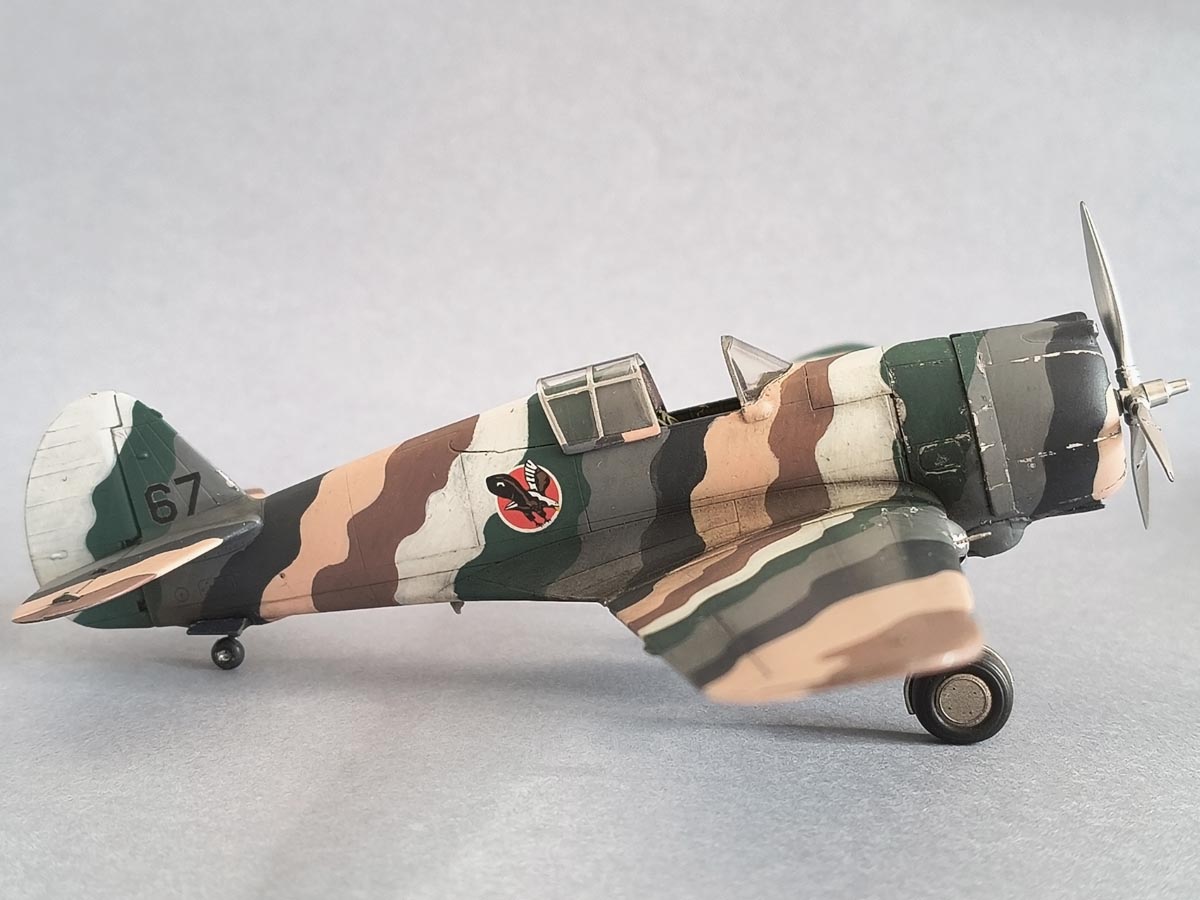
Once the entire camouflage was painted, I covered the model with Hataka gloss varnish. At that point, the brush marks stood out very strongly – everything looked several times more visible than before. Still, I was not discouraged at that stage. I had expected it, and I accepted that as part of the experiment.
Instead of worrying about it, I added a light black post-shading along the panel lines, some grime with oil paints (browns and blacks), and then applied four decals. Not many, quick to do, and with a good result.
I sealed everything again with gloss clear varnish (several heavy coats) and then sanded it with abrasive cloths. After that came a matt coat and another light sanding of the surface. Finally, one last matt coat.
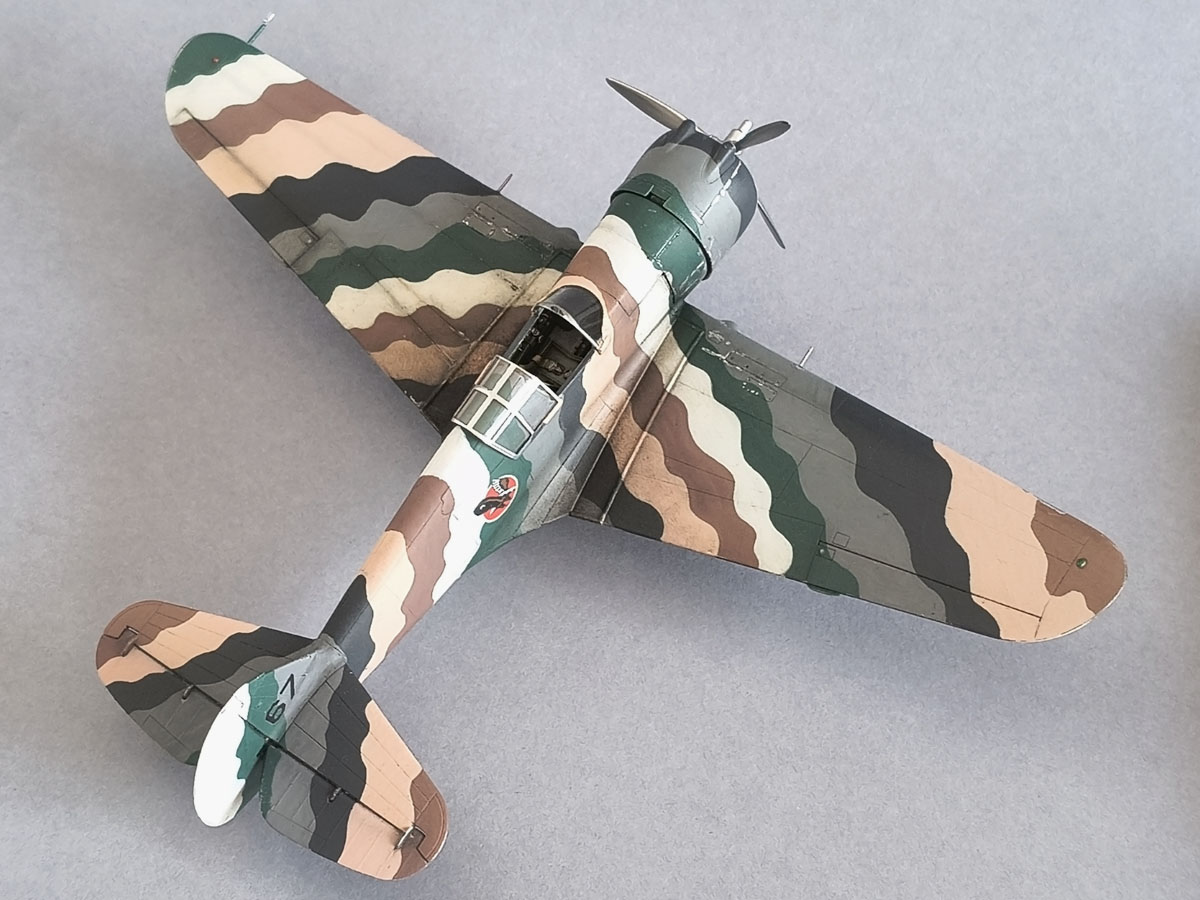
And what turned out? The model is actually quite smooth. It may not be a master-level finish like a really good airbrushed surface, but it still looks very pleasing. Besides, the original aircraft was also painted quickly and you can see brush marks on it, so I am perfectly fine with colours that are not absolutely smooth.
What matters is that I managed to get rid of all the unevenness of the surface.
And what about chipping? Here I am not entirely satisfied. The marker paint created quite a thick layer, which turned out to be a drawback. Chipping was difficult to control, and the paint came off in flakes that were too large for 1/72 scale. That is why I only chipped the engine cowling and the wing leading edge.
It is worth trying
I finished this model, built with a technique different from my usual one, in a very short time. It also reminded me just how enjoyable and quick to build our Curtiss is. I tried something new, and I am very pleased with the result of the experiment.
I would definitely recommend experimenting in our hobby from time to time, even if you are not sure what the final result will be. Very often, that is exactly where the most satisfaction comes from.
Have you tried painting with markers or any other unusual technique yet? If so, be sure to let us know in the comments. You can see the results in the gallery below.
Will you try this scheme?
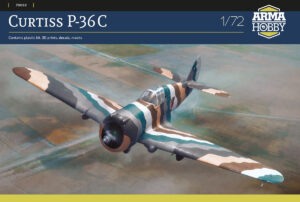
- Curtiss P-36C in the Arma Hobby store
Photo Gallery
Wanted to be Philanthropist, statesman and patron of the arts. Temporarily focused on developing scale model production in Poland. Co-founder of Arma Hobby. Designer of kits: TS-11 Iskra, PZL P.7a, Fokker E.V, PZL P.11c, Hawker Hurricane, Yak-1b, Wildcat, P-51B/C/D Mustang and 1/48 Hurricane.
This post is also available in:
 polski

Hello,
Thank you for the article.I have not yet decided if I will try to mask the sections and use an airbrush, or use these markers. I already have some of them, but regarding Rust Brown 34, the writer forgot to mention what marker was used, so that would be important to know if I order some markers.