Arma Hobby has been offering kits of the Grumman “Cat” since 2020, although until now the F4F-4, FM-1 and FM-2 versions, including their British equivalents, have prevailed. The early version with fixed wings was not released until the middle of this year. Somewhat unexpectedly, the manufacturer did not simply add a new wing and additional parts, but instead decided to redesign the kit.
This prompted me to return to an earlier plan: building one of the 30 aircraft originally intended for Greece. Following the country’s fall in the spring of 1941, they were redirected to the British RAF and Royal Navy and served under the new designation Martlet Mk.III with No. 805 Squadron FAA in the Western Desert.
Parts for the conversion
In this build, “conversion” simply means using the alternative parts already included on the F4F-3 kit’s sprues to build a Martlet Mk.III. All the parts needed for these variant-specific changes are in the box; no separate conversion set is required. Compared with a standard F4F-3 build, the following parts and details are needed:
- The Pratt & Whitney R-1830-90 Twin Wasp engine was fitted with a single-stage, two-speed supercharger. It therefore did not have intercoolers in the wheel bay, while its reduction gear did not feature protruding ignition magnetos. We will therefore use the smooth-type reduction gearbox.
- The engine cowling had one control flap on each side. The front ring had a carburettor air intake at the 12 o’clock position and no side air intakes for the intercoolers. Again, these parts are included on the sprues.
- The straight-type pitot tube.
- The large-type tailwheel.

Assembly
When assembling the cockpit, I followed the instructions and then test-fitted the entire interior between the fuselage halves. Everything went together smoothly, without any interference.

I also painted the subassemblies separately, using Grumman Green as the base cockpit colour, as correctly stated in the instructions. From my own stock, I added a British-style Sutton harness of the type fitted to the British aircraft upon delivery.

I then glued the fuselage halves together and prepared the other main assemblies, such as the wings and tail surfaces. Once again, everything fitted perfectly, and only a small amount of super-thin cement was needed to secure the parts in place.

The engine cowling also went together smoothly, although I had to enlarge the mounting holes for the front ring with a flat file. After that, everything fitted perfectly.
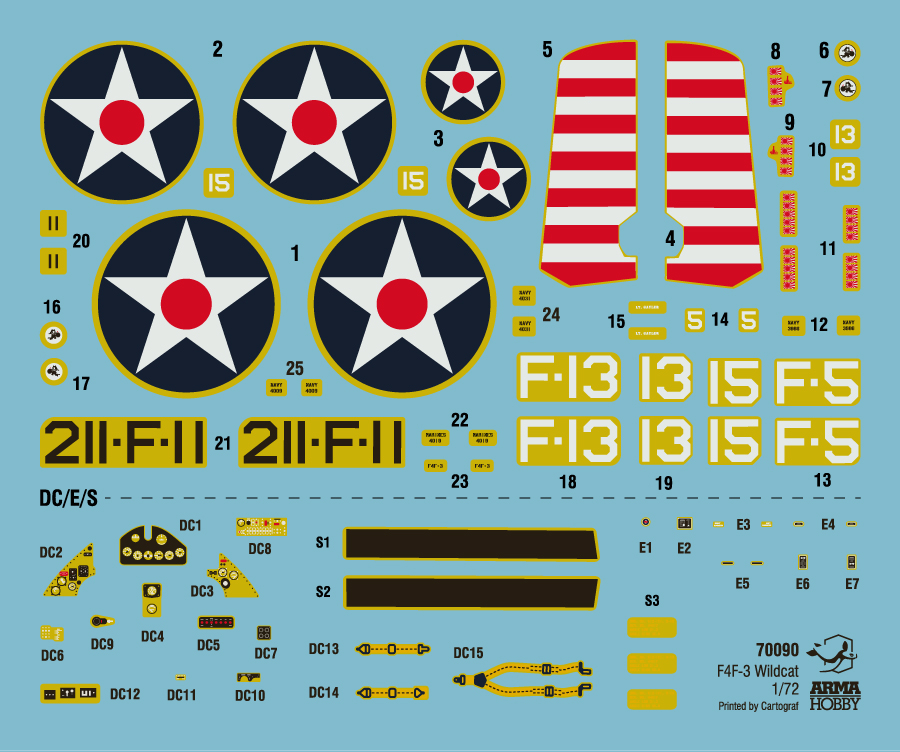
I fitted the engine with ignition wiring made from brass wire and used decals from the kit’s decal sheet for the manufacturer’s labels on the reduction gear. Once painted, the whole assembly looked very convincing.
Painting and markings
After fitting the canopy, I masked it with the supplied masks. With the model mounted on a stand, I first airbrushed the framing in the interior colour and then continued with the camouflage colours.

The camouflage of the African Martlets underwent many changes and would deserve an article of its own. I based my model on a photograph published in the April 2008 issue of Model Aircraft Monthly. Among other material, the magazine included a fine photograph of aircraft AX733, coded K, which became my choice.
Its upper-surface camouflage was clearly two-tone, probably using Dark Earth and Middle Stone, while the undersides were apparently left in the original US Non-Specular Light Grey in which the aircraft had been delivered. I used corresponding shades from the Gunze Sangyo range, subtly adjusted to my own taste.

In the period photograph, the aircraft appears quite worn, with numerous fluid streaks and a layer of dust. I reproduced these effects using an airbrush and various weathering products.
I assembled the markings from generic Xtradecal sets for the roundels and fin flash, while the fuselage code and serial number came from a custom-printed set that a fellow modeller had once given me.

Final assembly
Adding the remaining details caused no trouble at all. Unlike in the previous kits, the landing-gear struts have been redesigned to make the modeller’s job easier. Contrary to the instructions, however, I first glued the strut assembly together with the centre struts and added the lower ones only at the very end.

Conclusion
This early version of the Wildcat builds just as nicely as the previous Arma Hobby kits I have had the chance to work on. I particularly like how the manufacturer has successfully addressed the complexity of the landing-gear design, which modellers had occasionally pointed out. We now have the definitive kit of an early-series Wildcat, allowing us to fill more gaps in our collections. Personally, I am really looking forward to future releases based on this kit.
See also
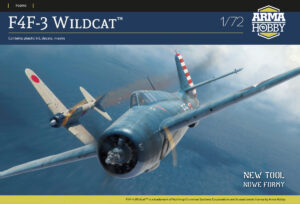
- See the Grumman F4F-3 Wildcat model kit in the Arma Hobby store



Aviation fan with degree in aeronautical engineering. 1/72 scale modeler with preference on WWII, but occasionally dealing with modern stuff as well. Contributor to modelling magazines and book publishers.
This post is also available in:
 polski