
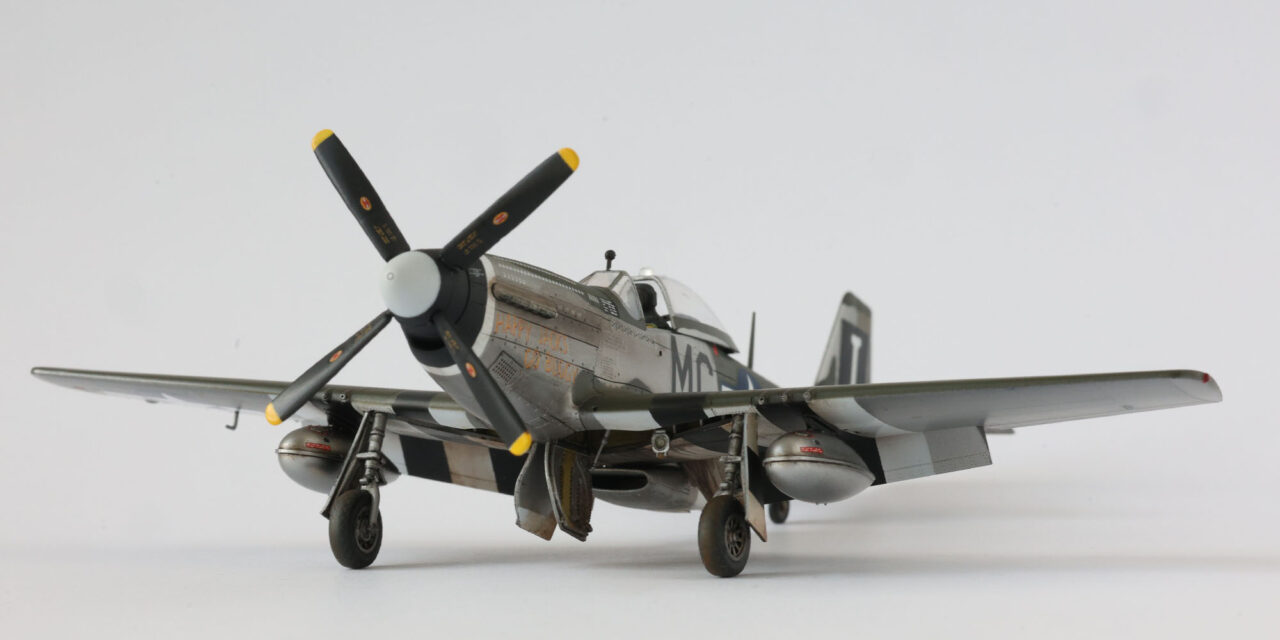
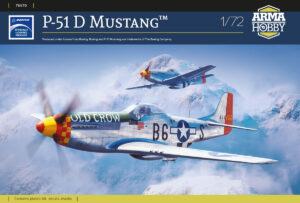
First time I built the new Arma Hobby P-51D Mustang as an ordinary modeller, not as the designer. I wanted to check how the kit behaves “clean” – without shortcuts and special treatment. The result? A smooth, satisfying build full of useful techniques and tricks, with zero moments that break the flow.
Choosing the paint scheme
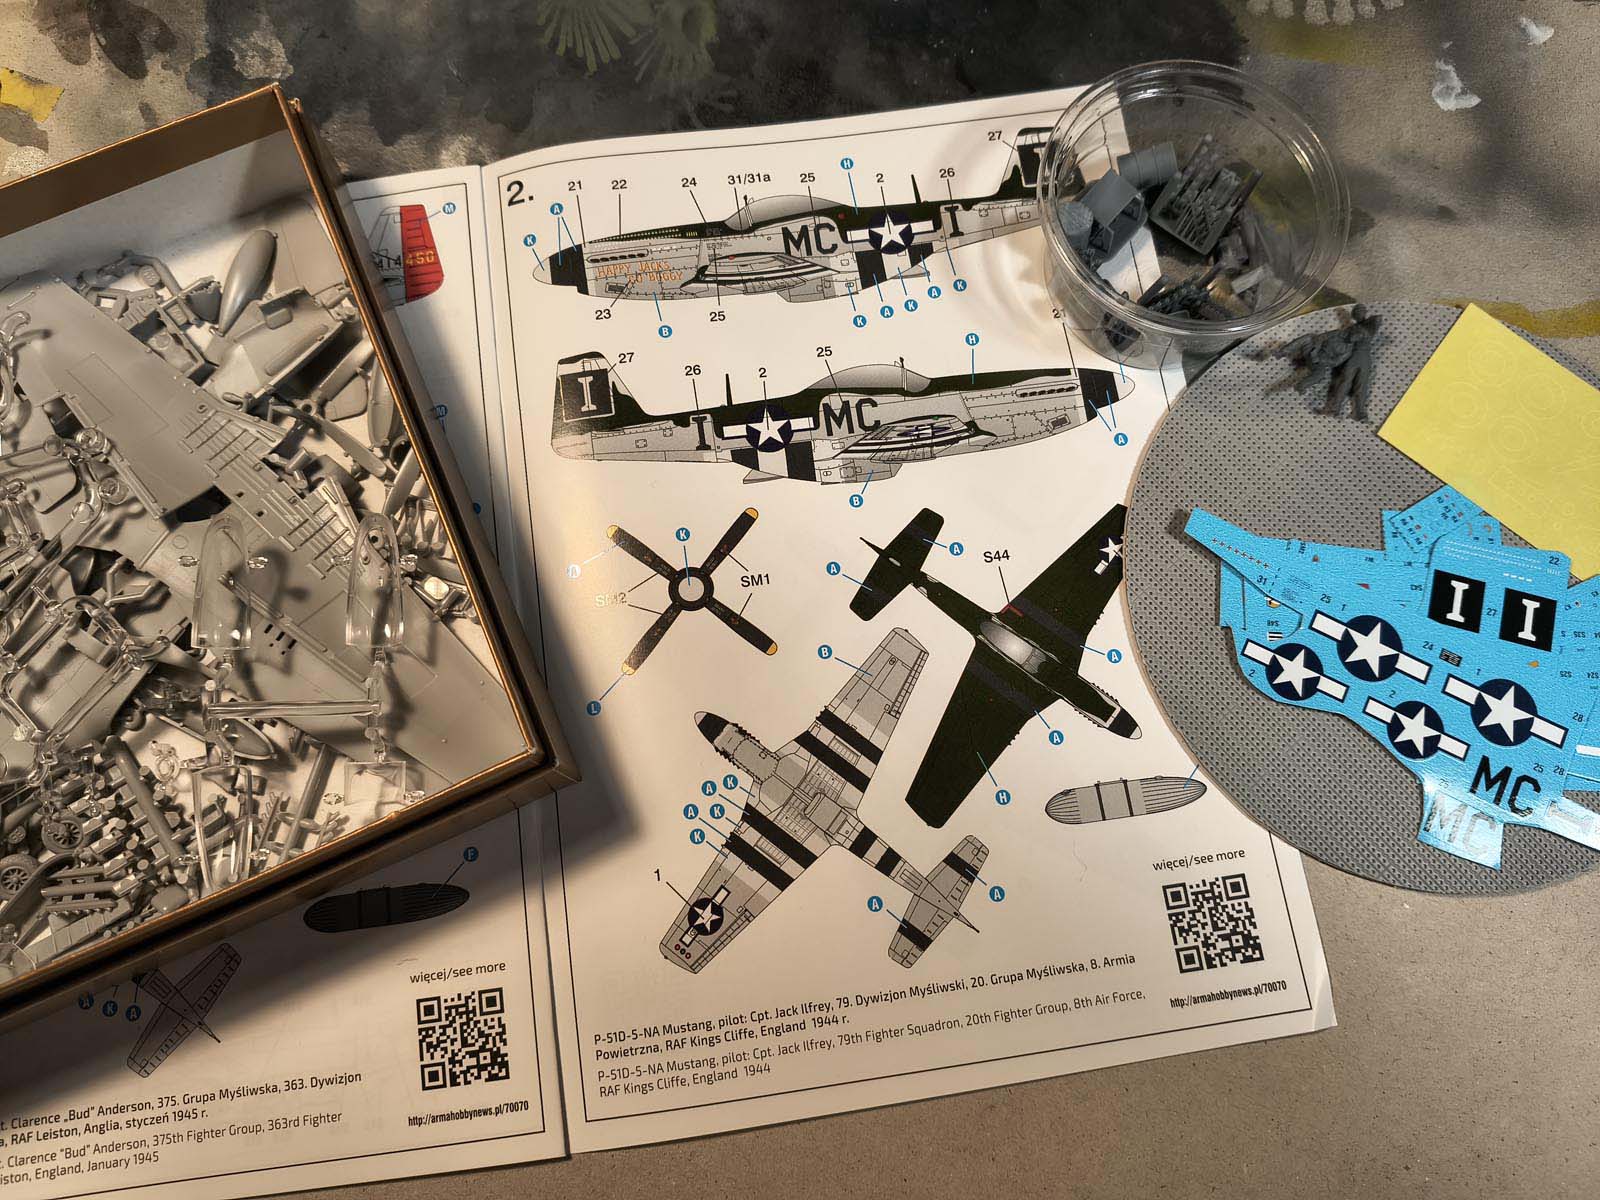
Two weeks ago I sat down to my first full build of the new Arma Hobby P-51D Mustang. It’s my project, so there was a little stage fright, but also curiosity: how does the build “flow” in real life?
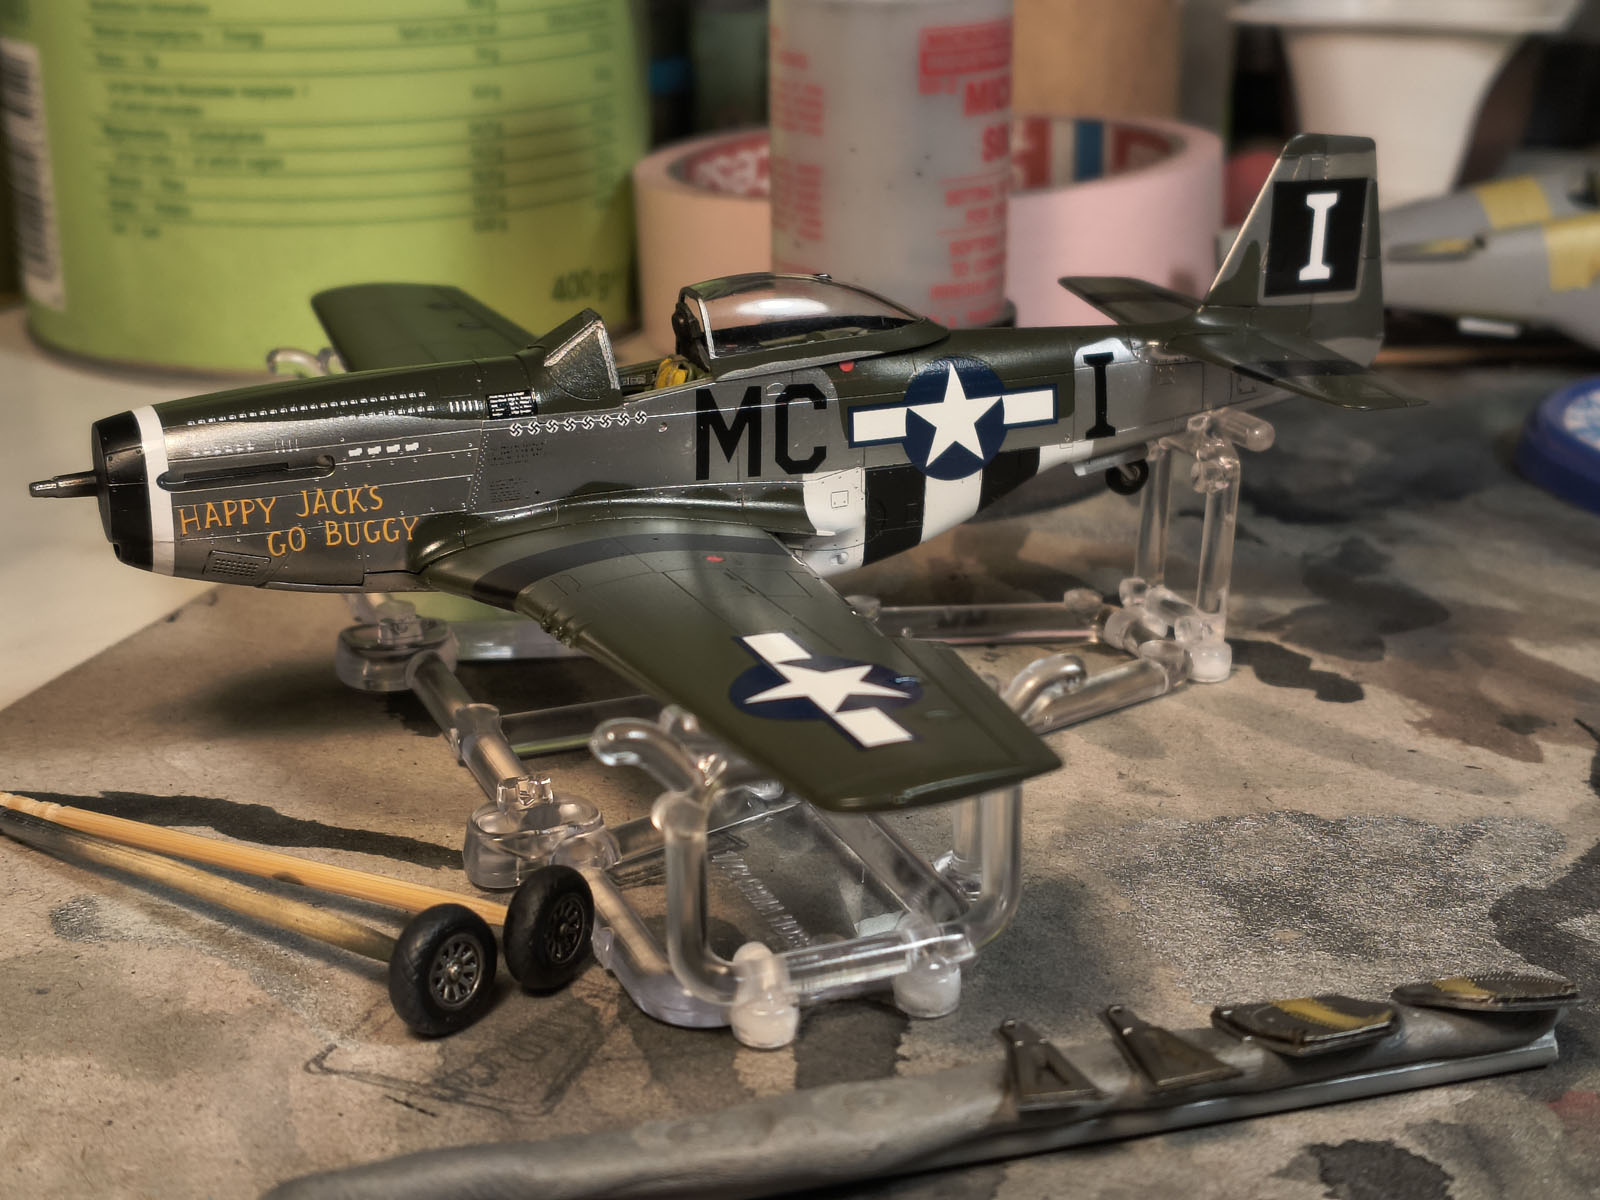
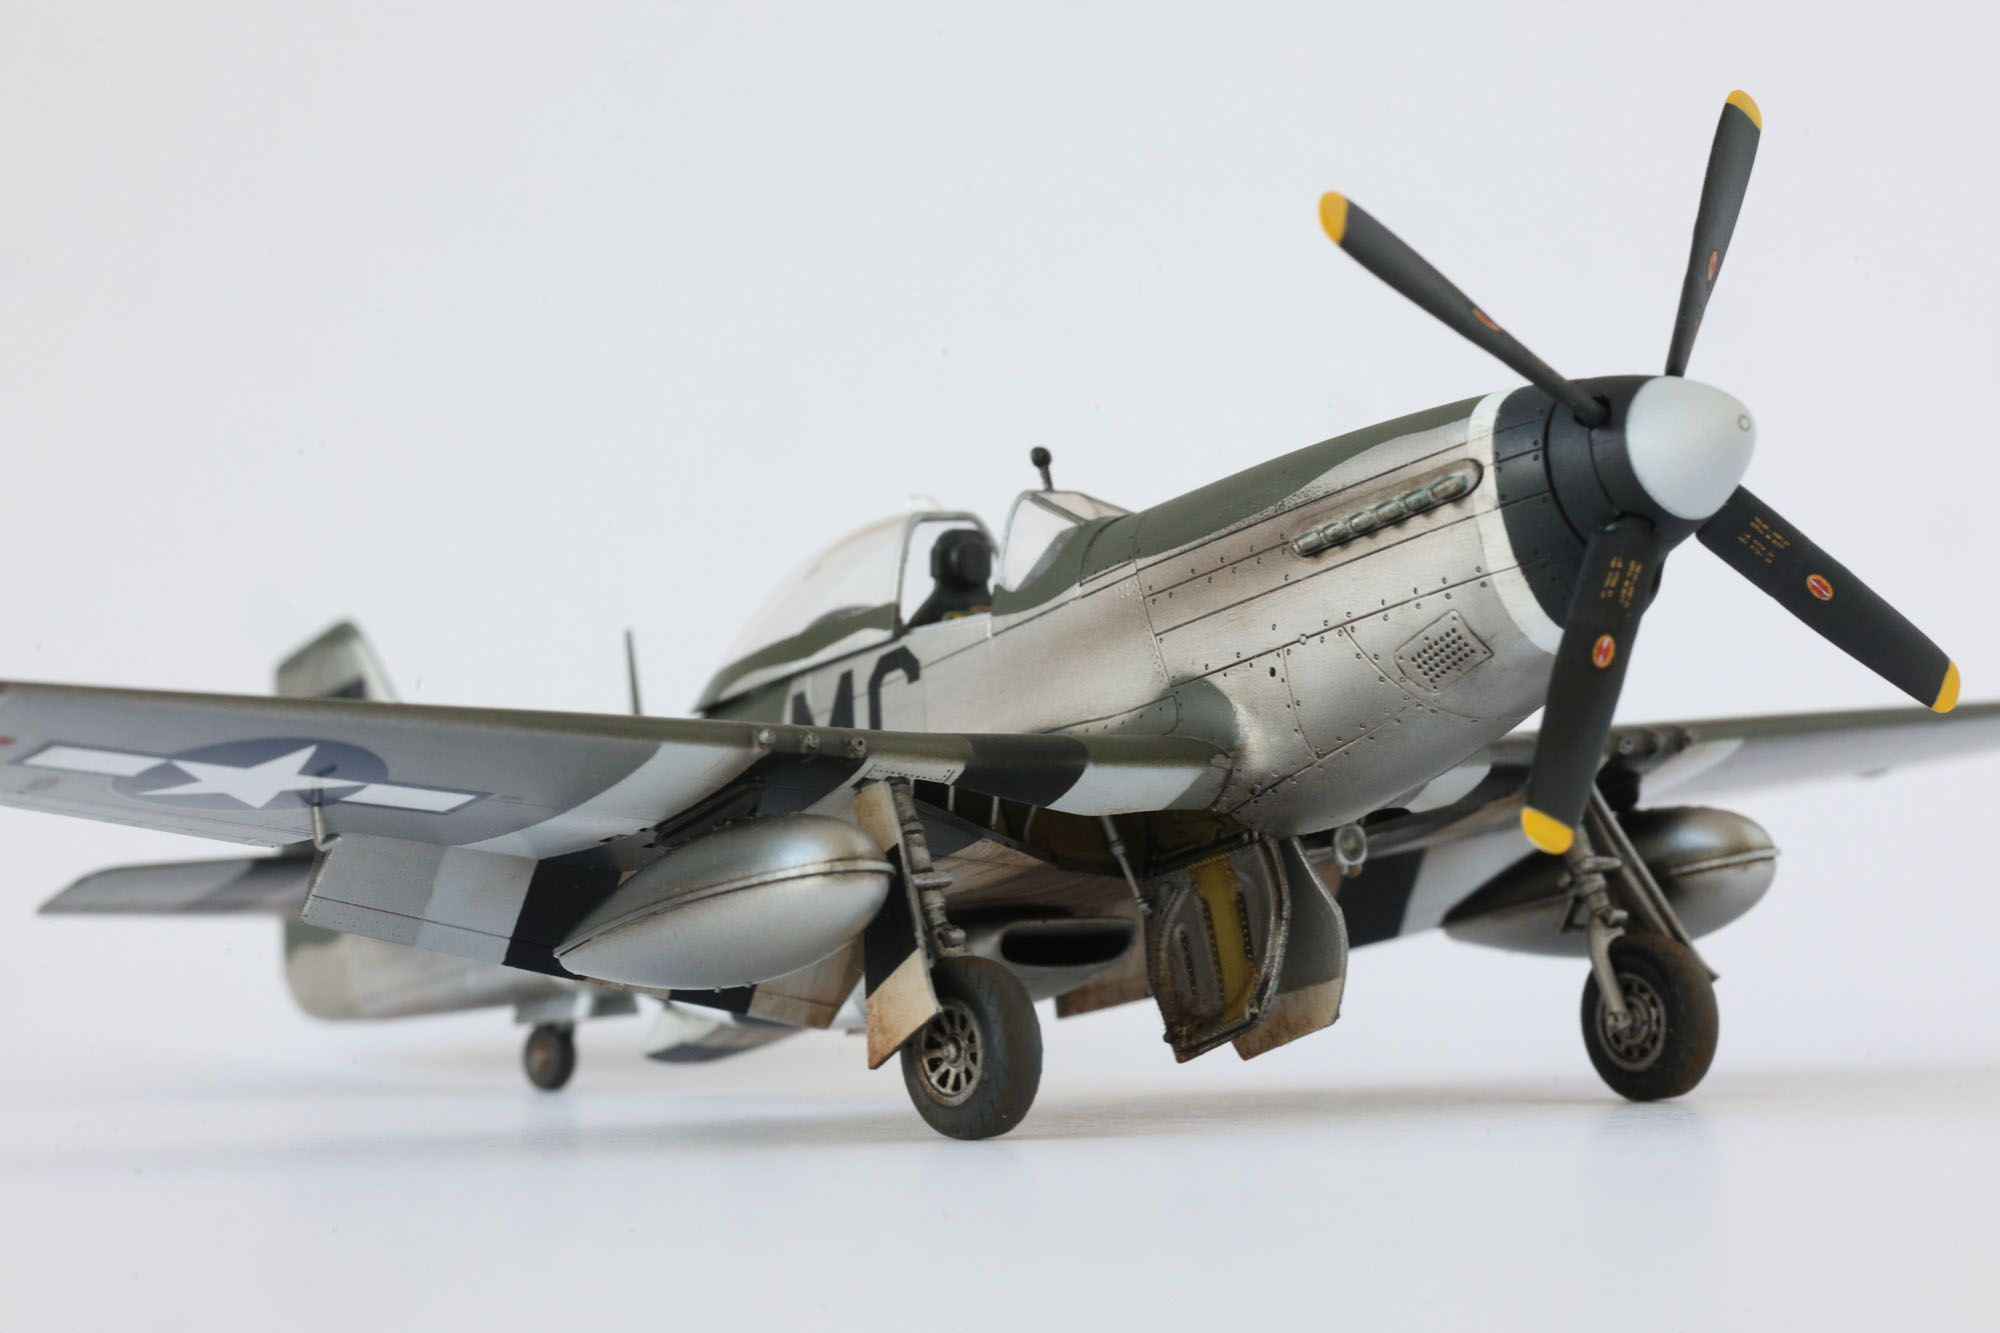
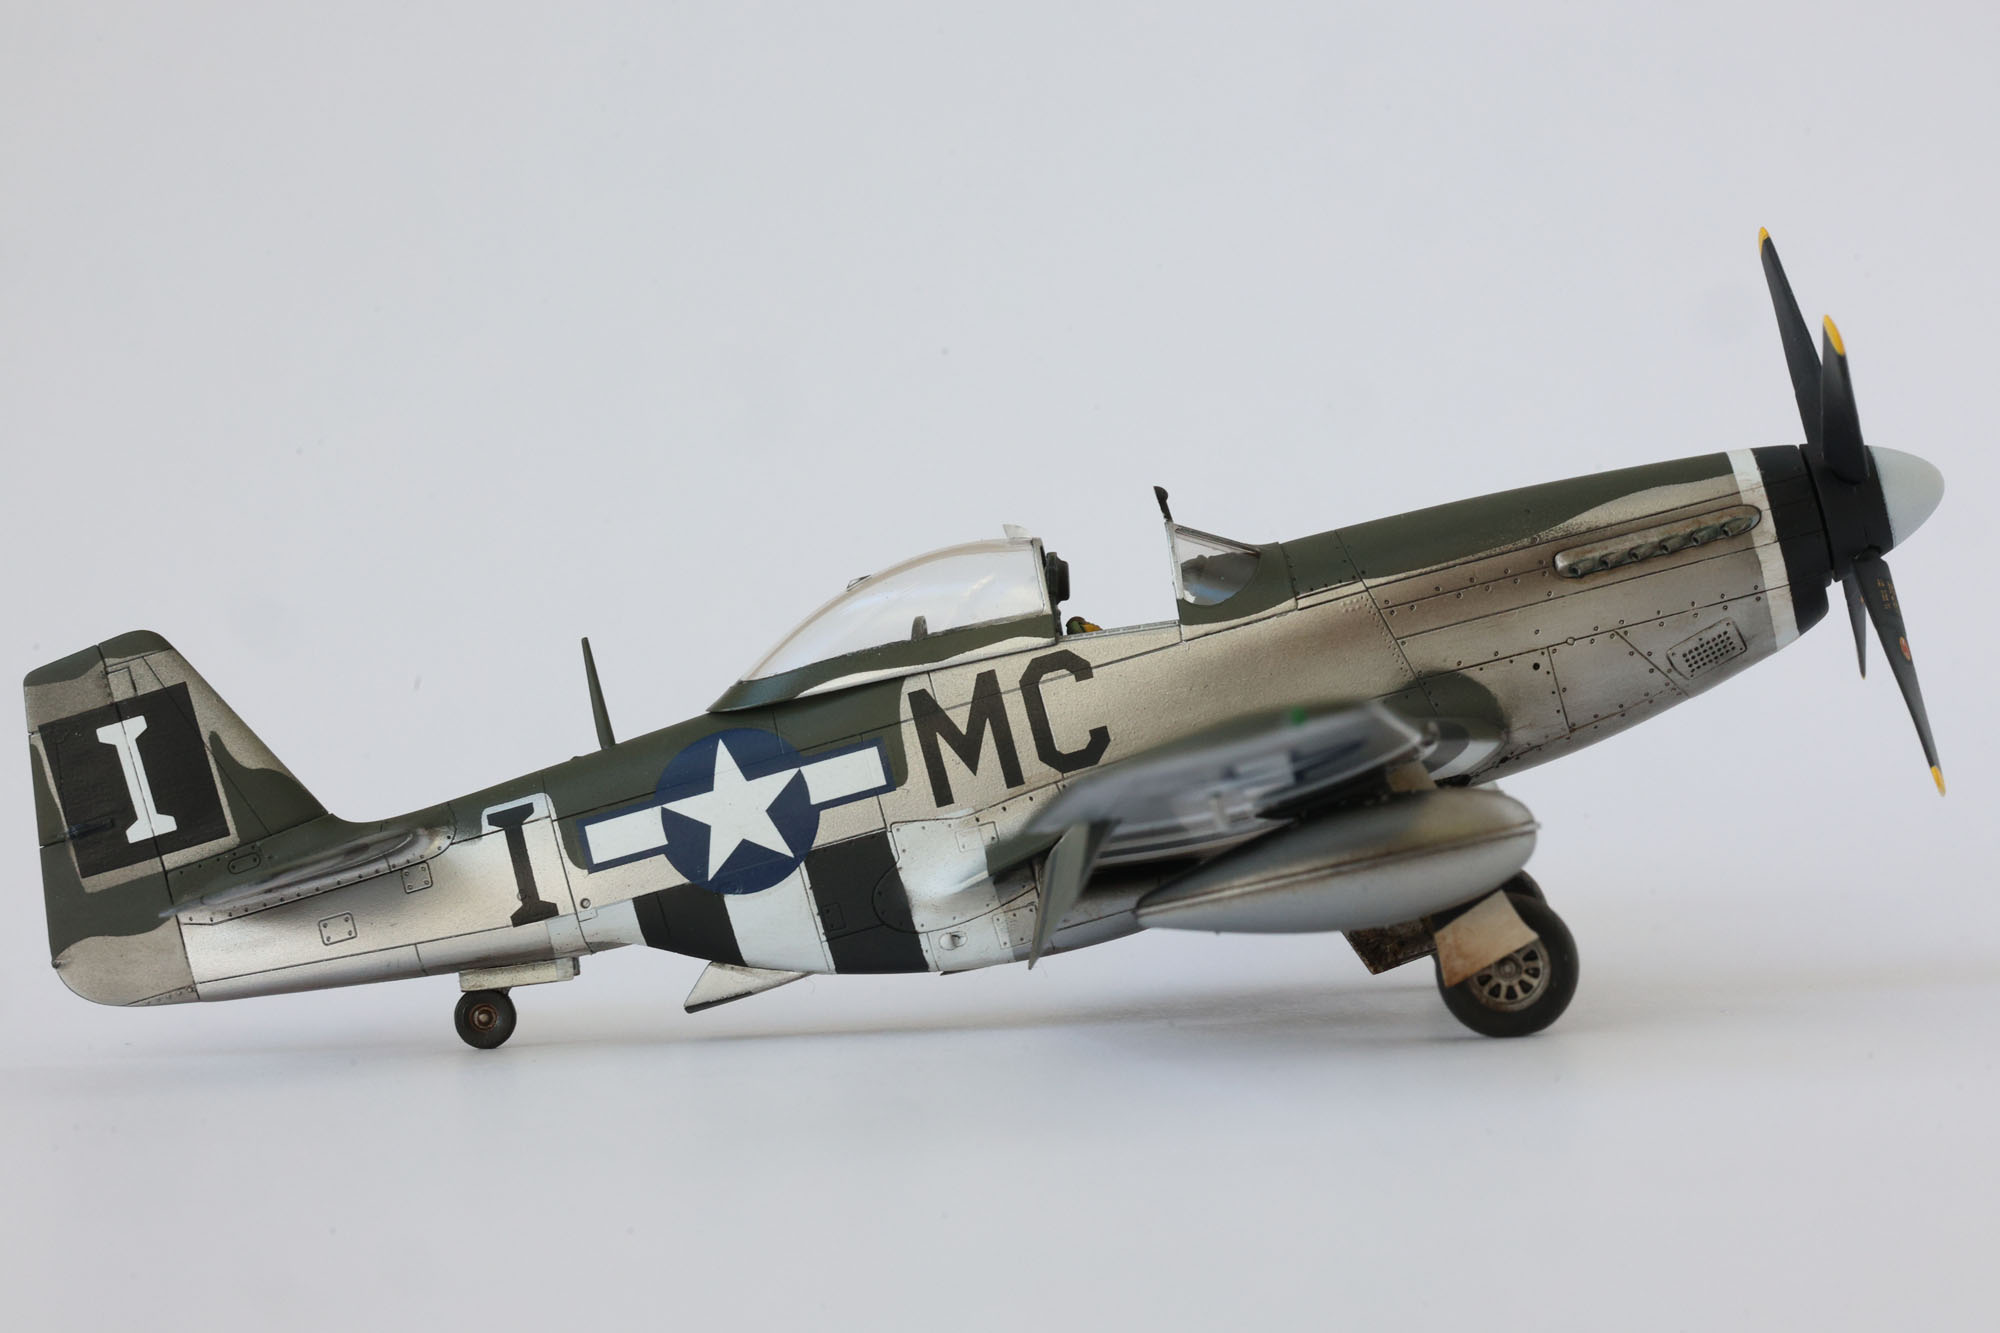
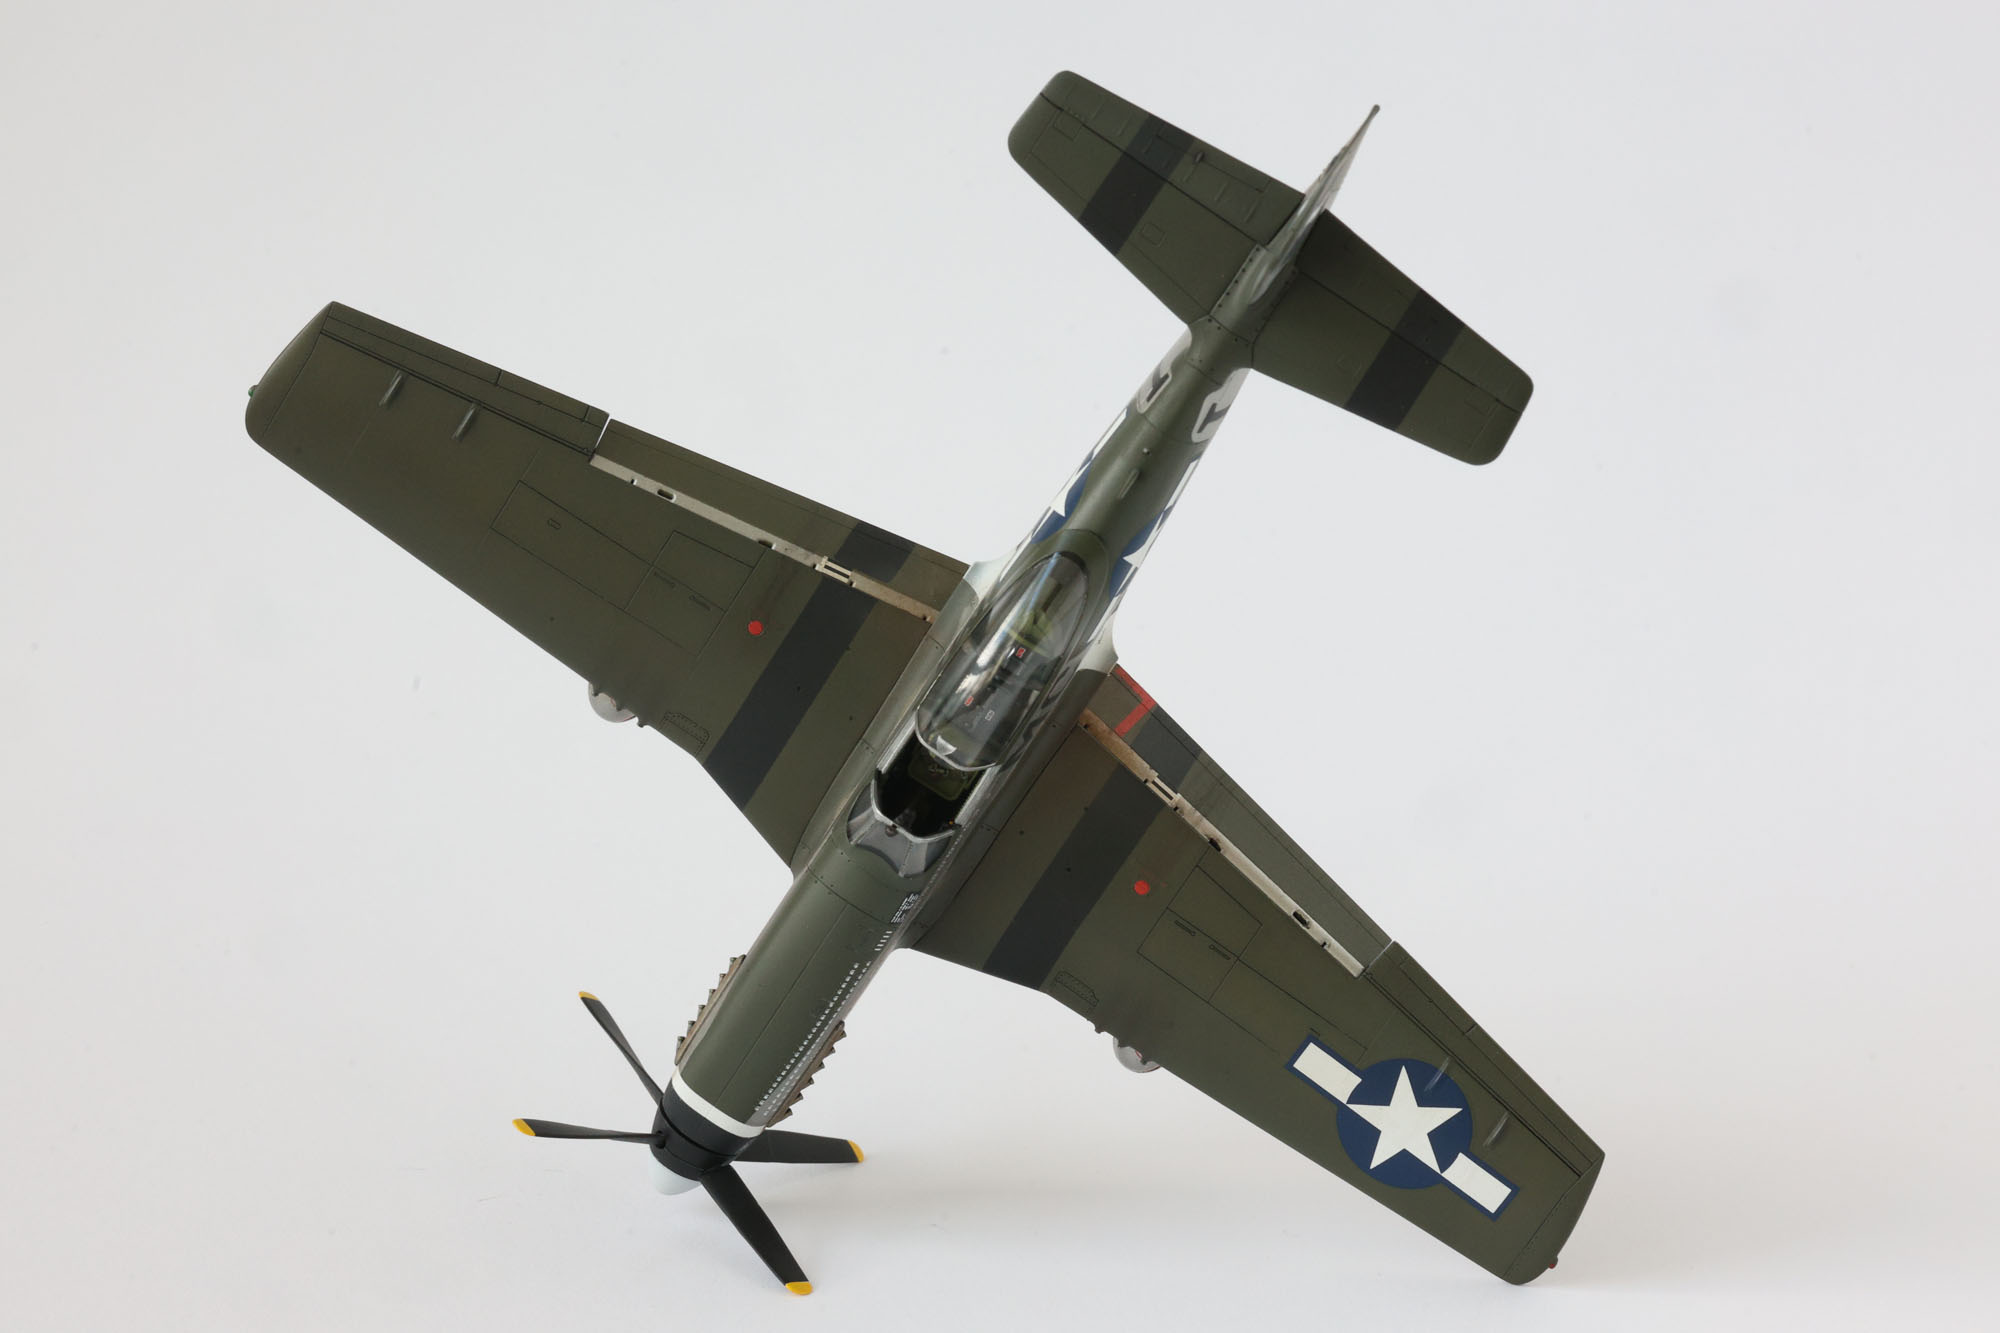
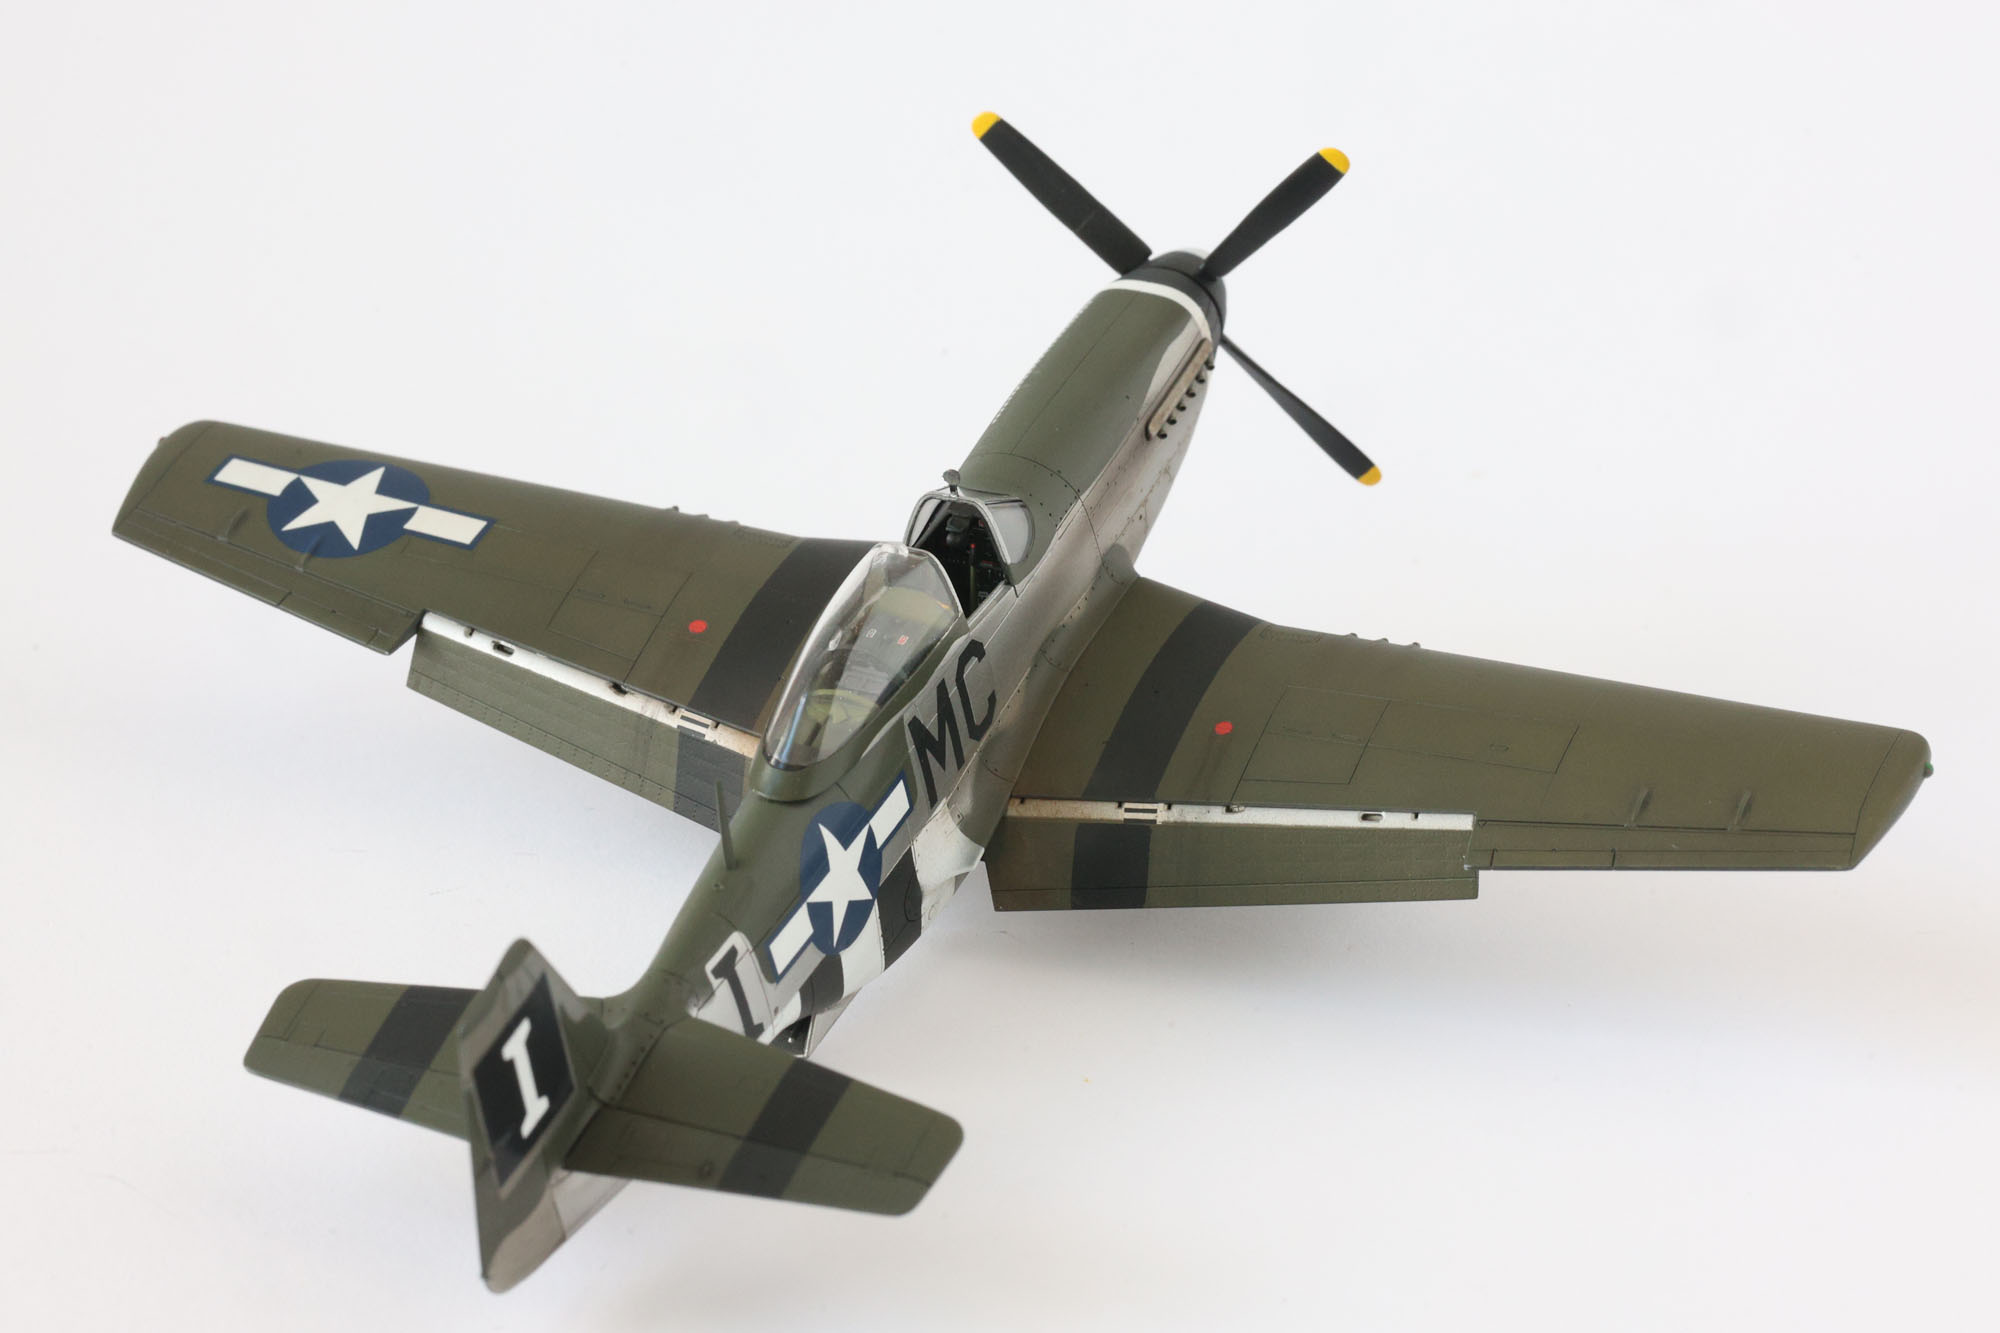
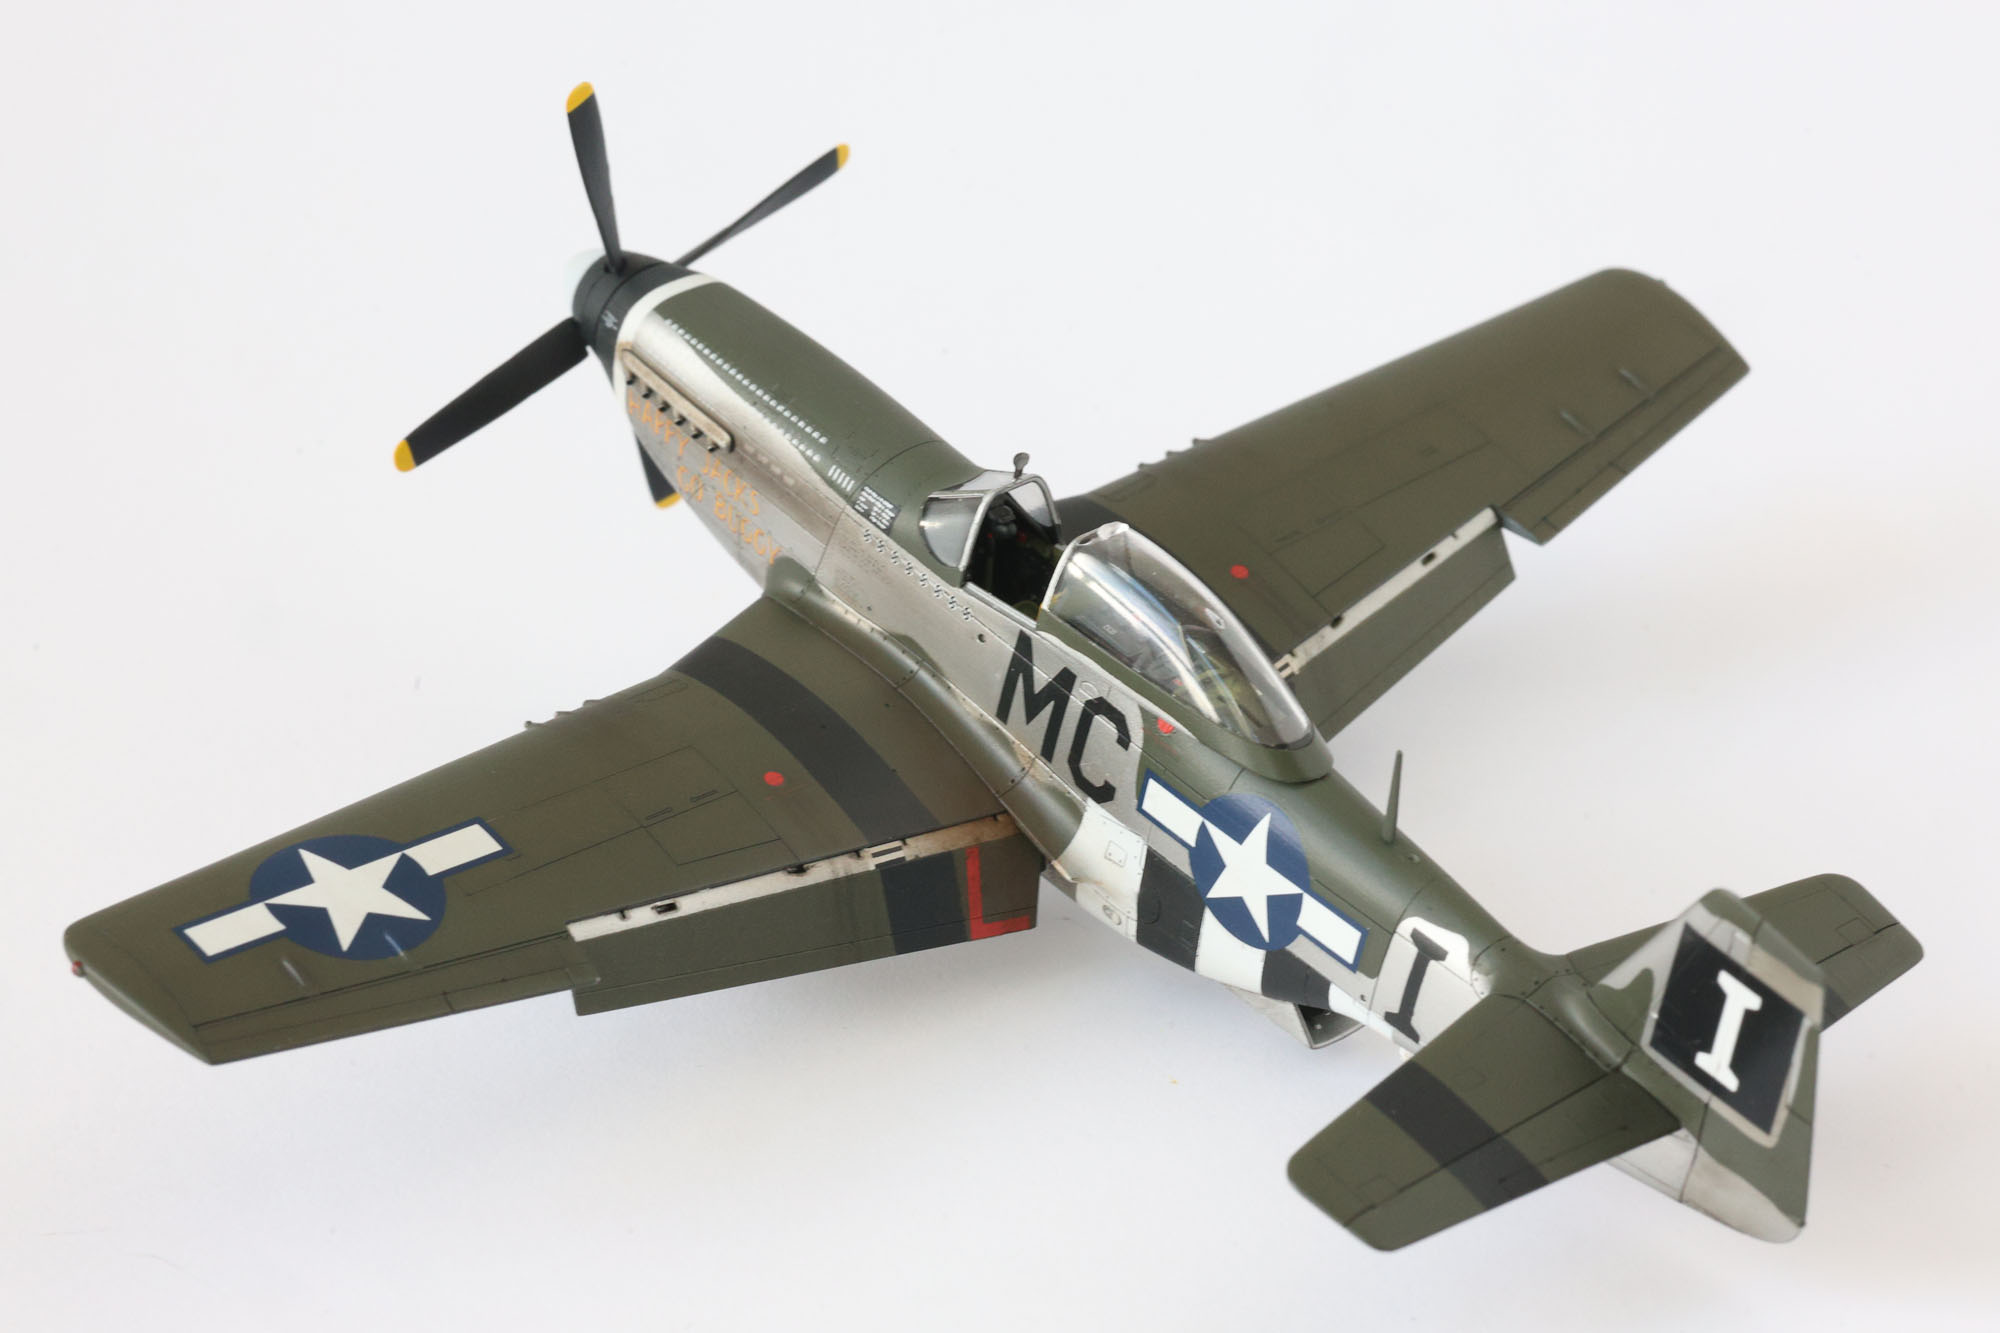
The first decision was the paint scheme. Wojtek reserved “Old Crow” and “RF-M”, so I went with “MC-I” – which, given my initials, felt just right.
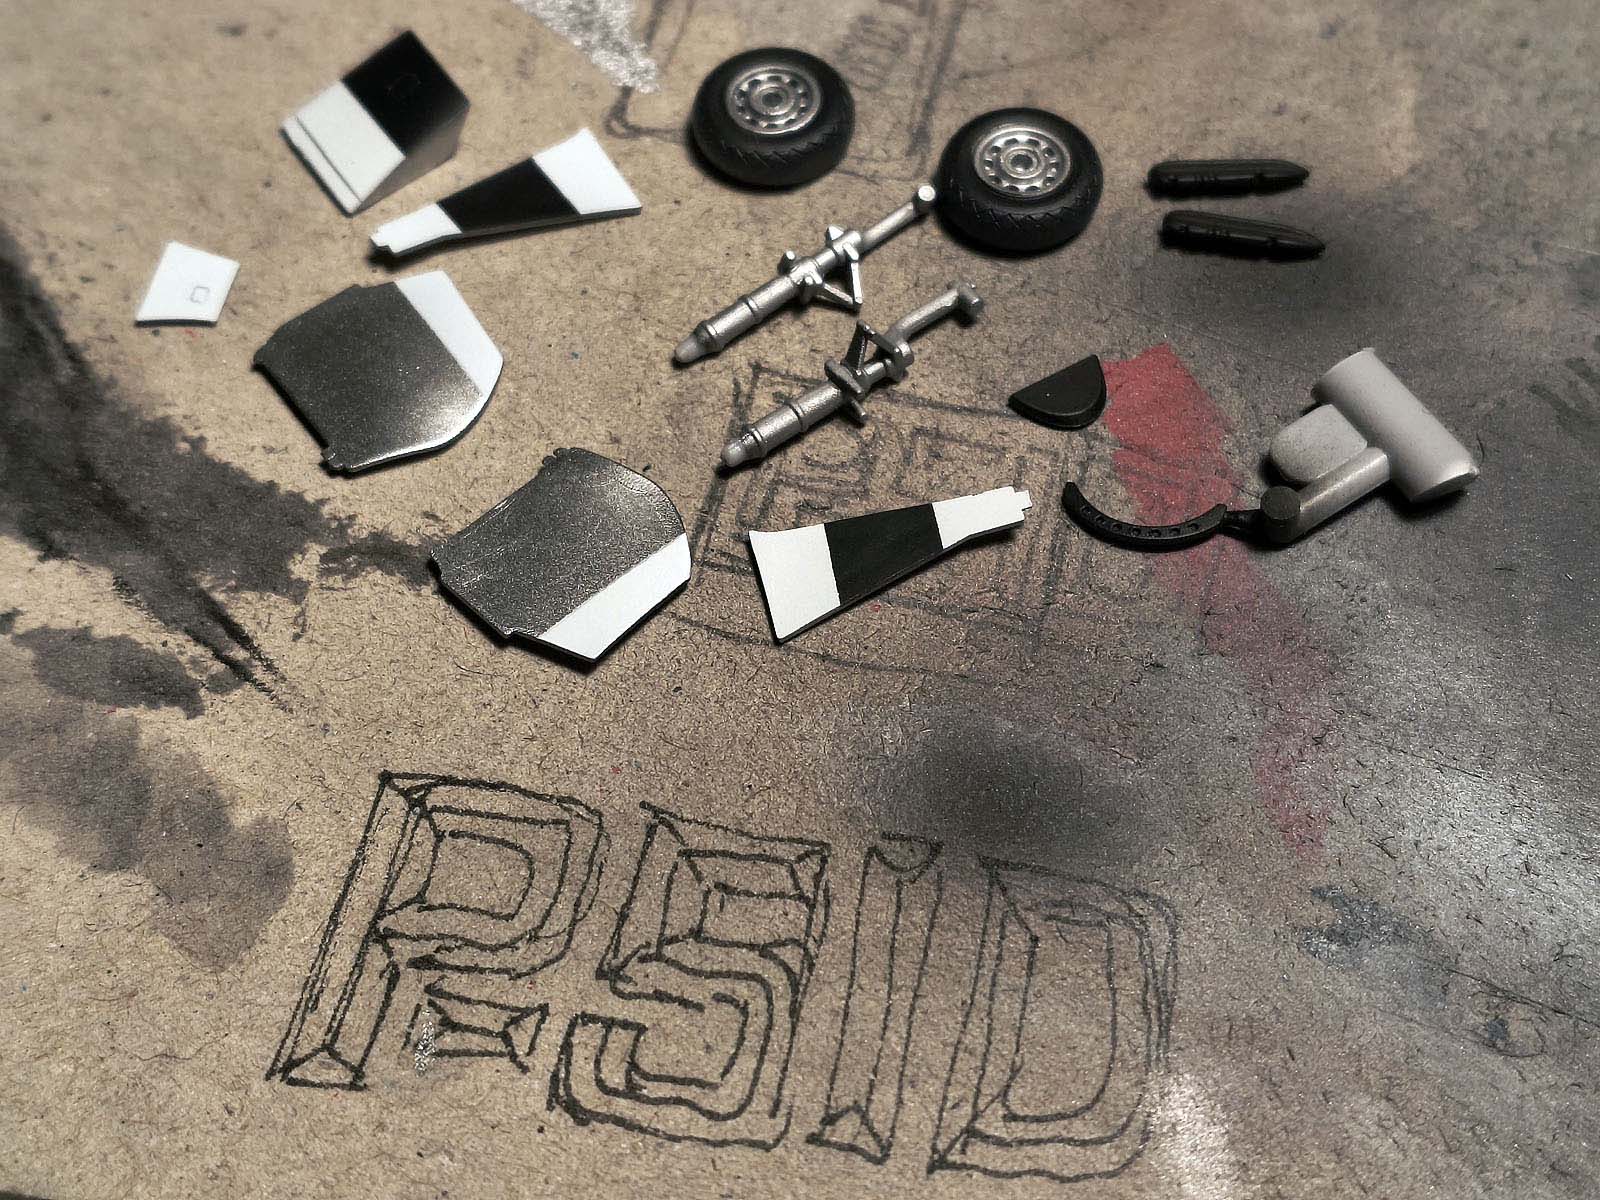
Inventory and plan
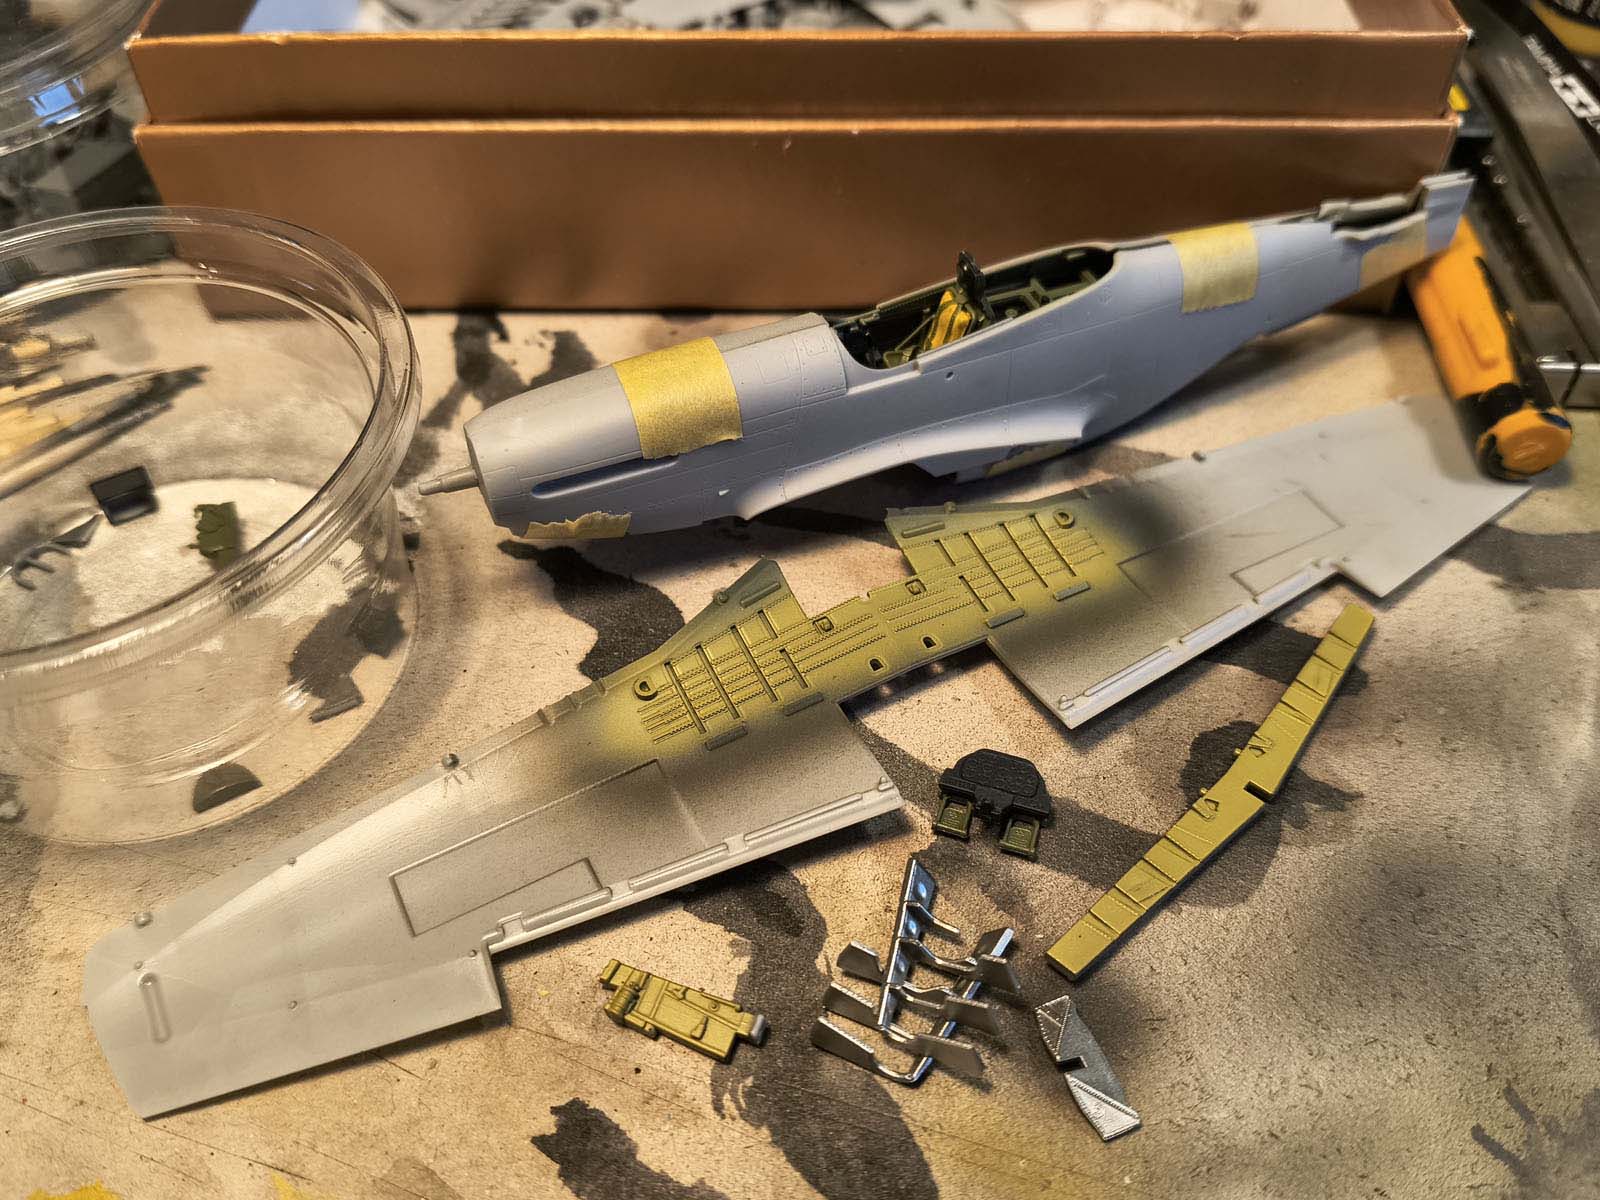
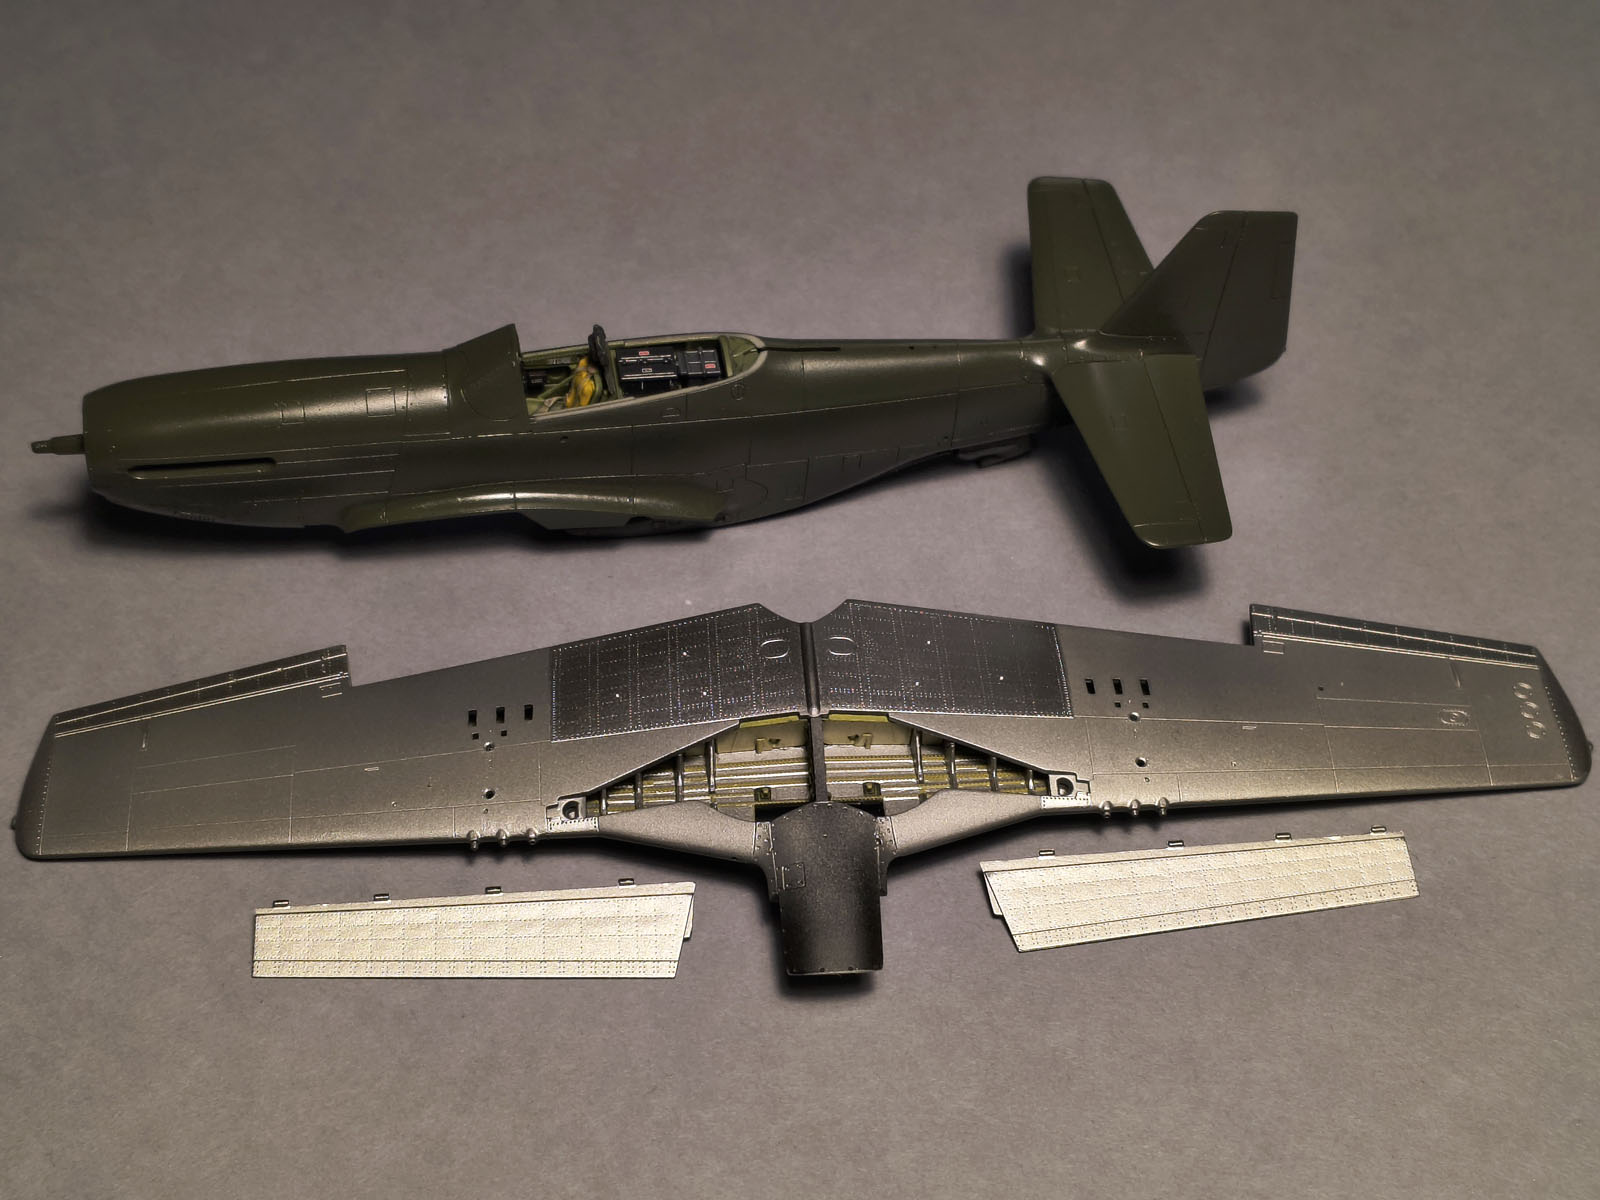
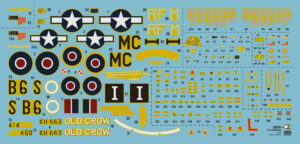
I cut all the parts out and took a souvenir photo. Besides the plastic and decals, I’ll also use resin parts (from the pre-order) and our PSP plate base. I’ll make a small vignette from it – but that’s a topic for another post.
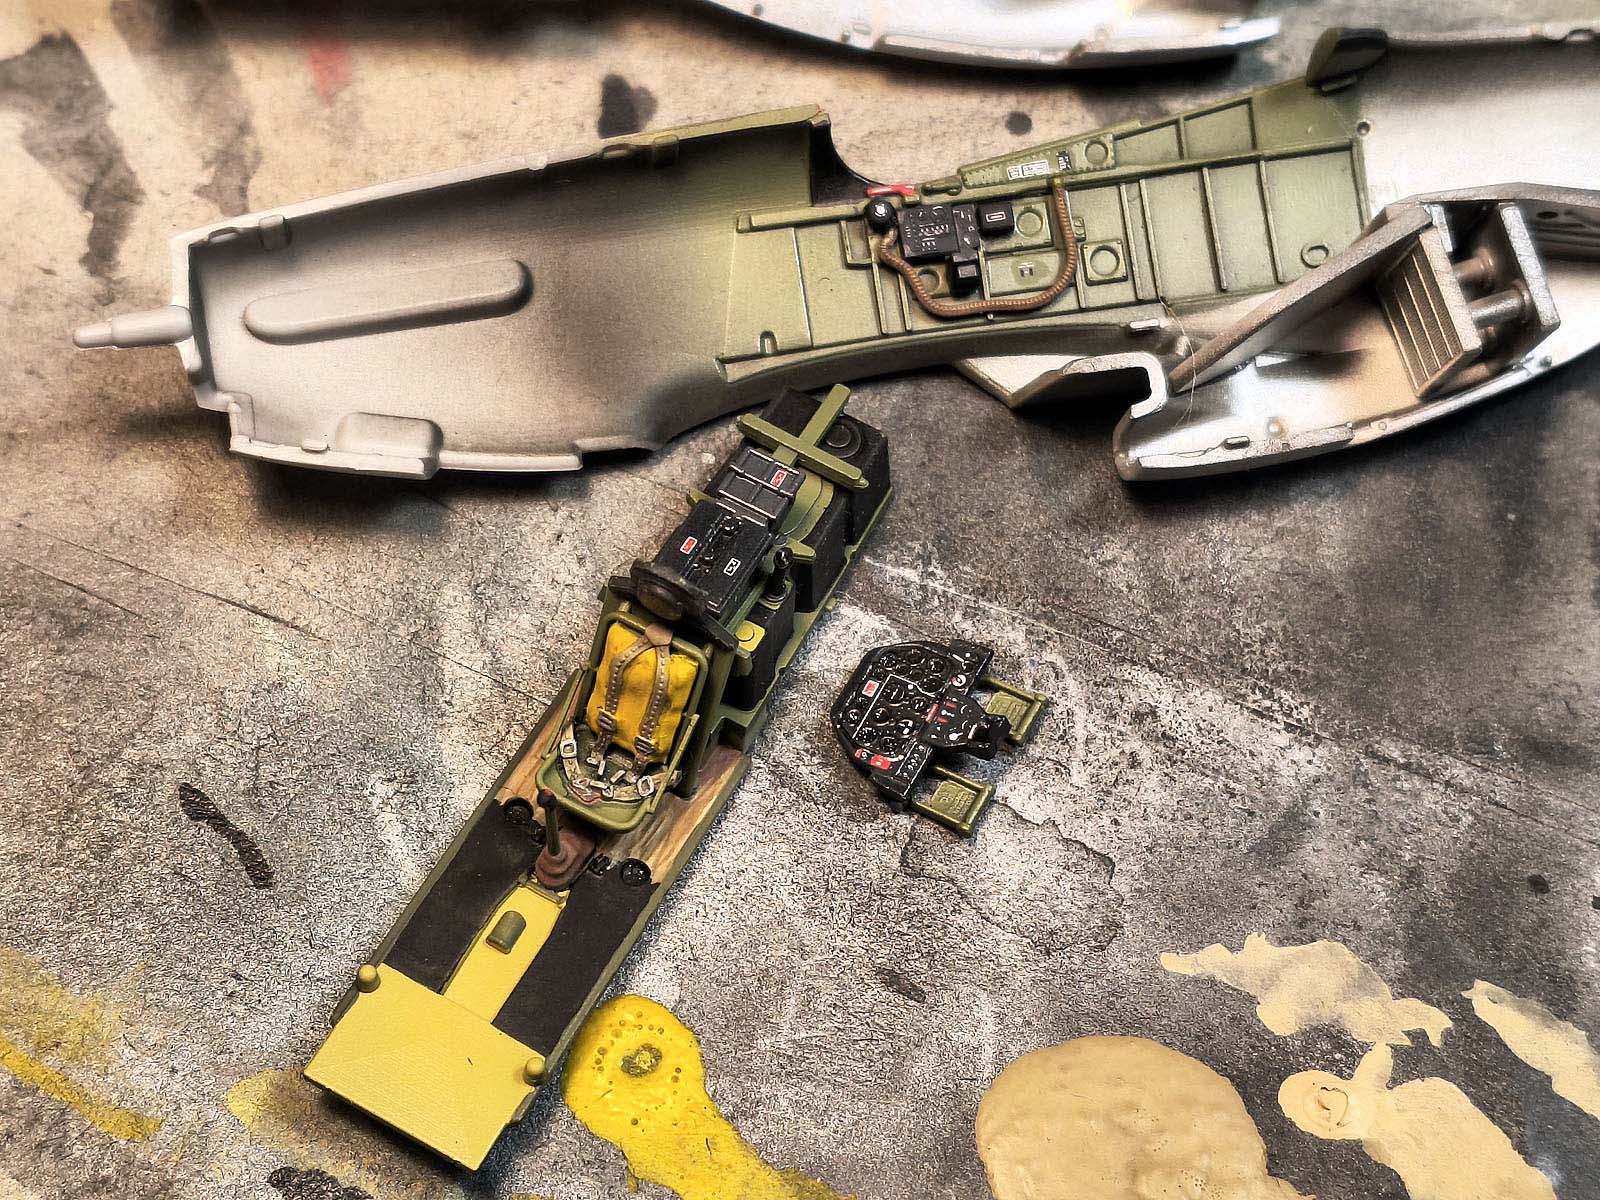
Interior details – colour grouping
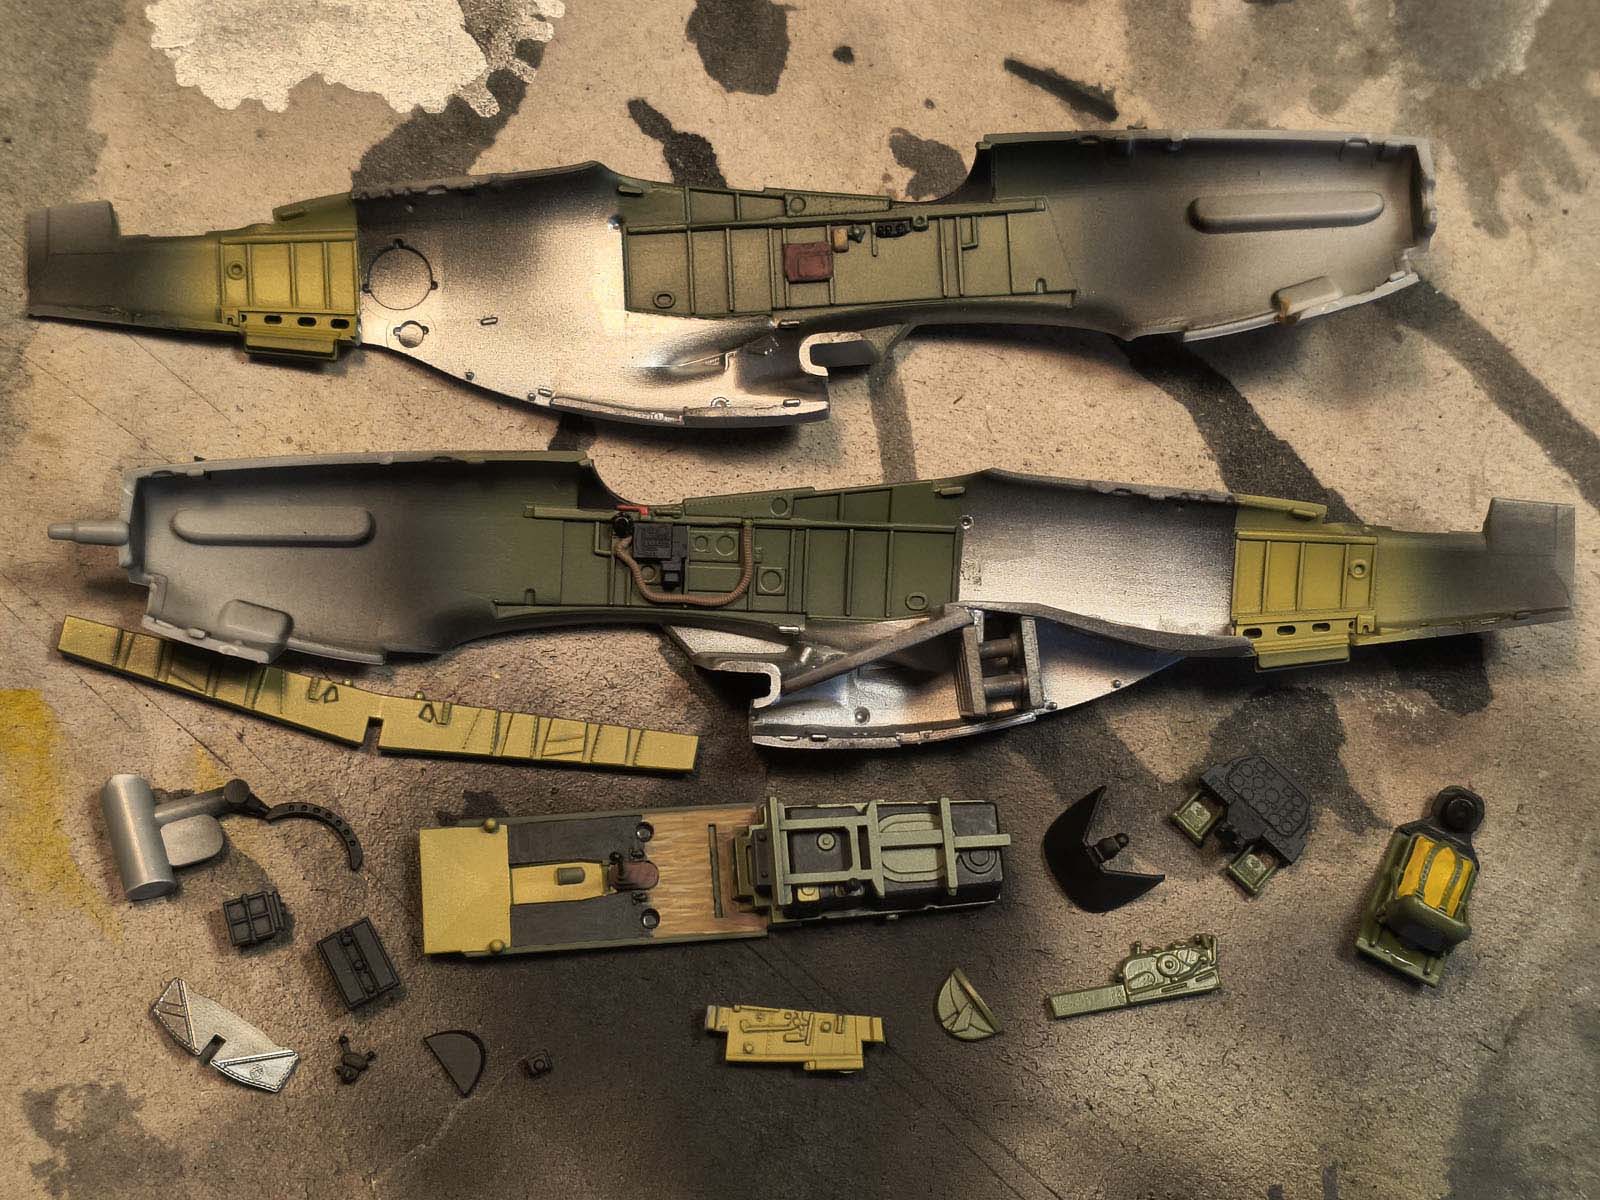
To start, I painted interior details. I grouped parts by colour so I’d change paint in the airbrush less often. The floor under the seat (wood imitation) I brushed with acrylics. The interior also includes the wheel wells – don’t forget them at this stage.
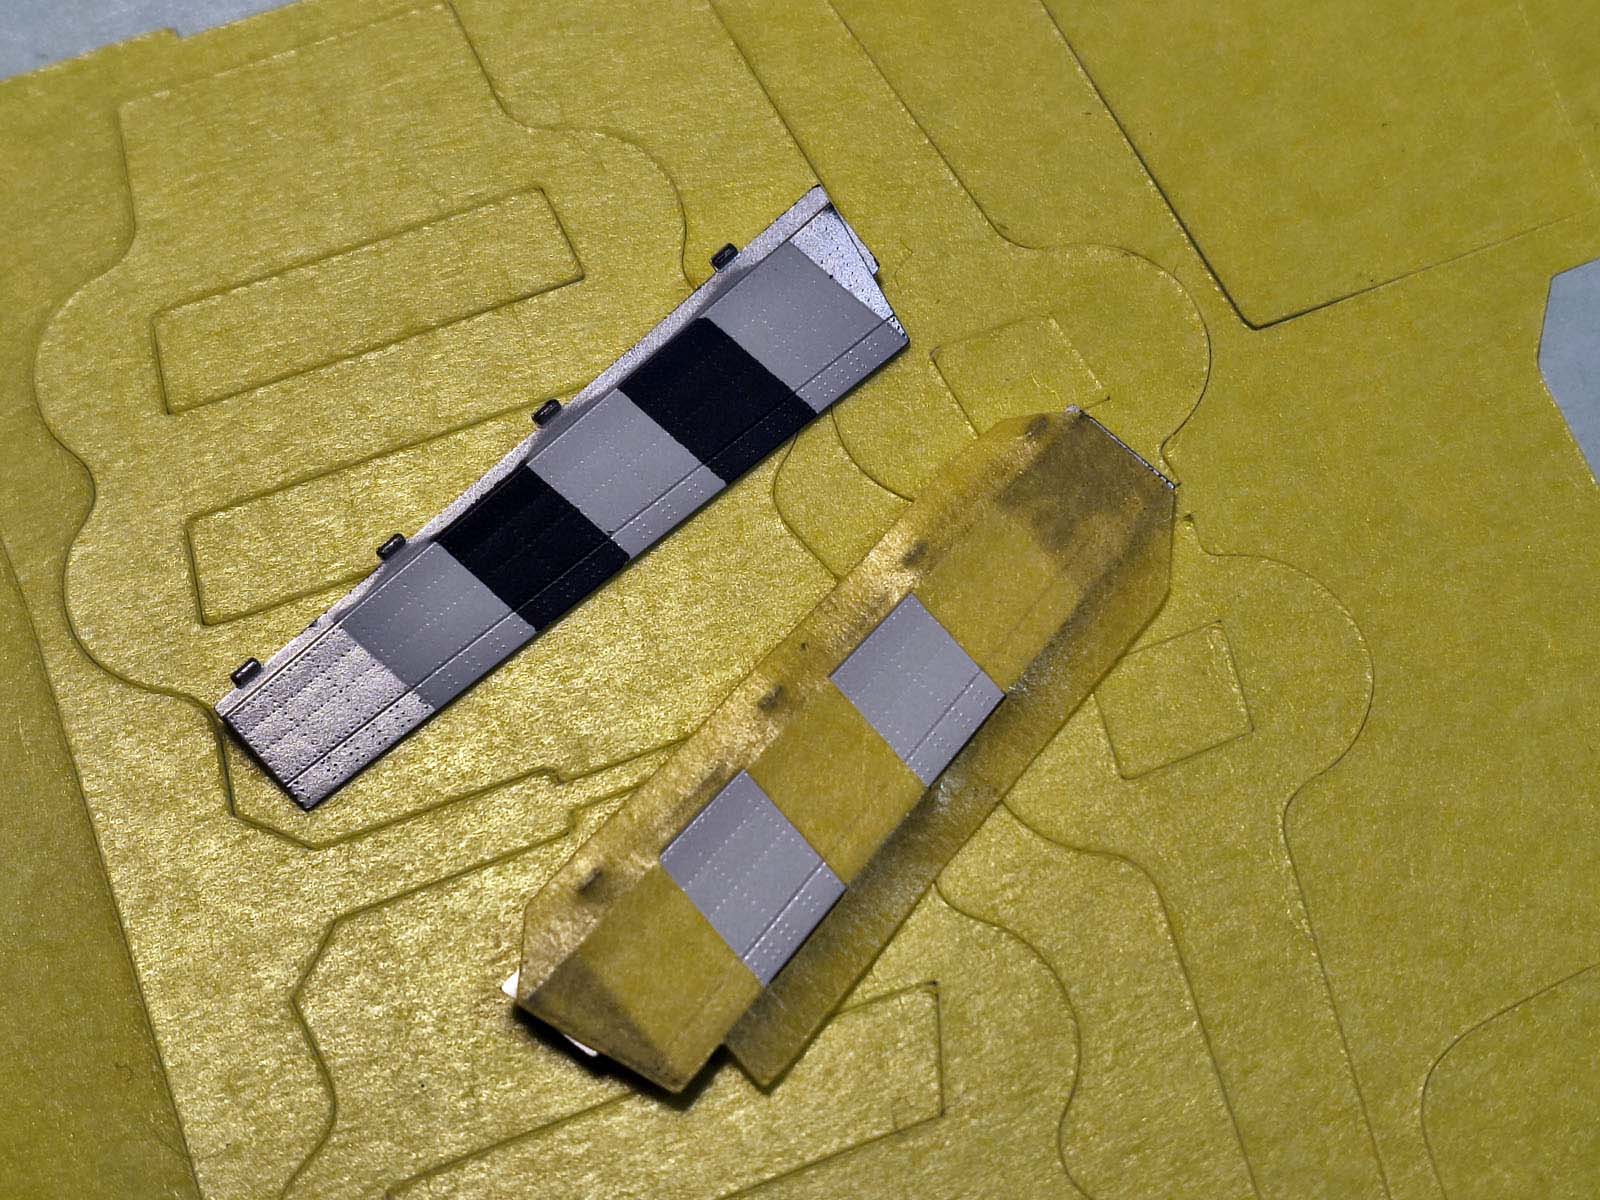
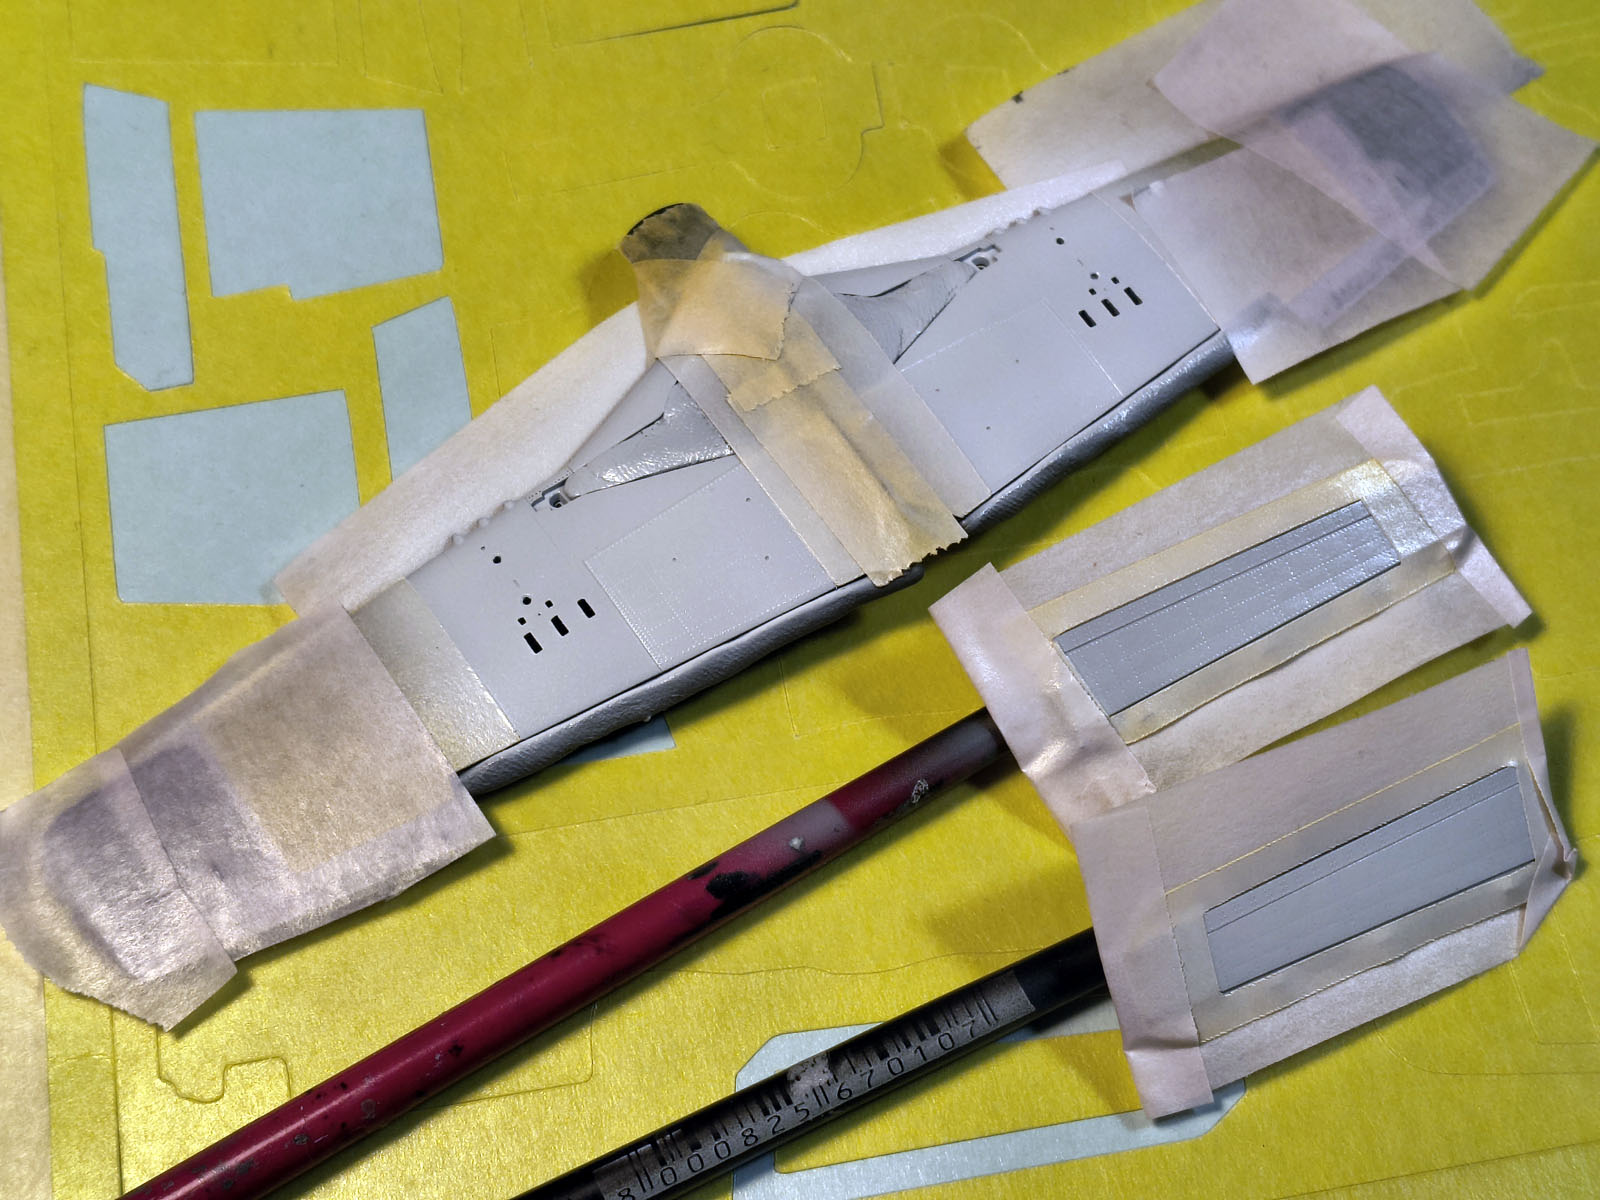
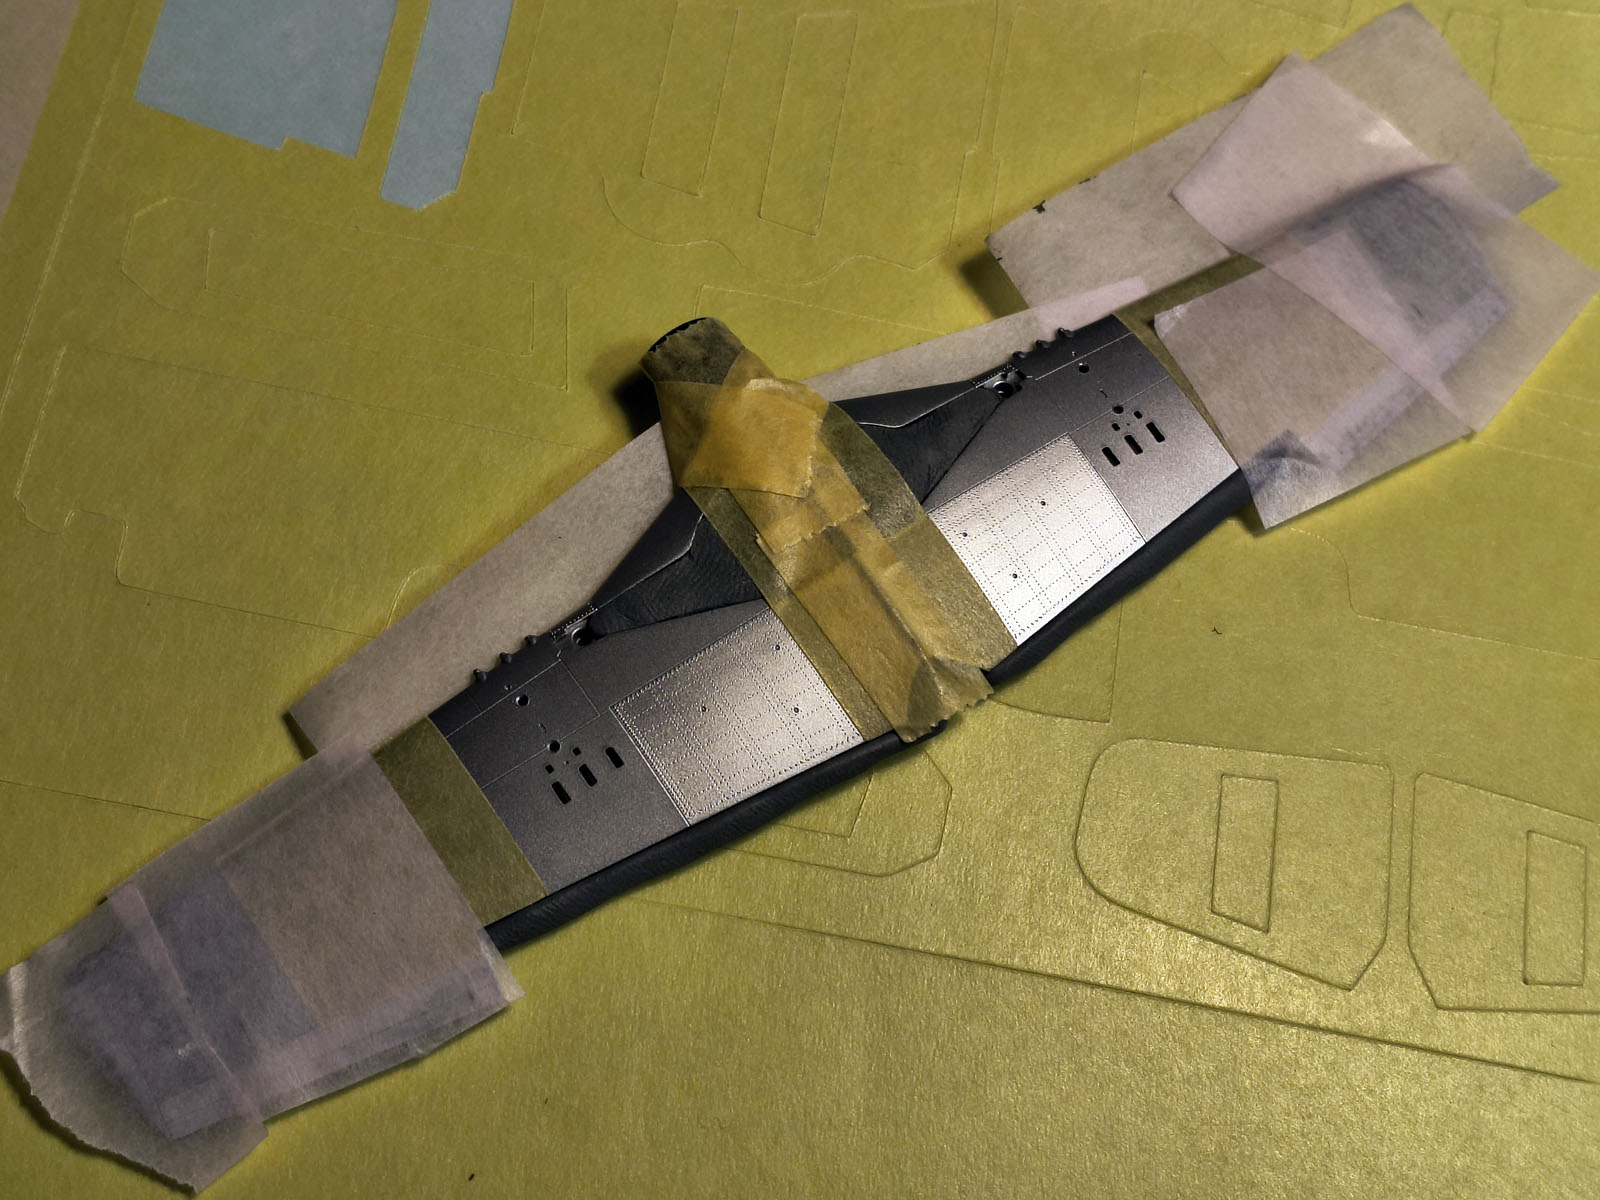
Wheel-well “ceiling” – faster with decals
My trick for the well “ceiling”: after an overall yellow primer I apply silver decals. On the right you see the “before”, on the left the “after”.
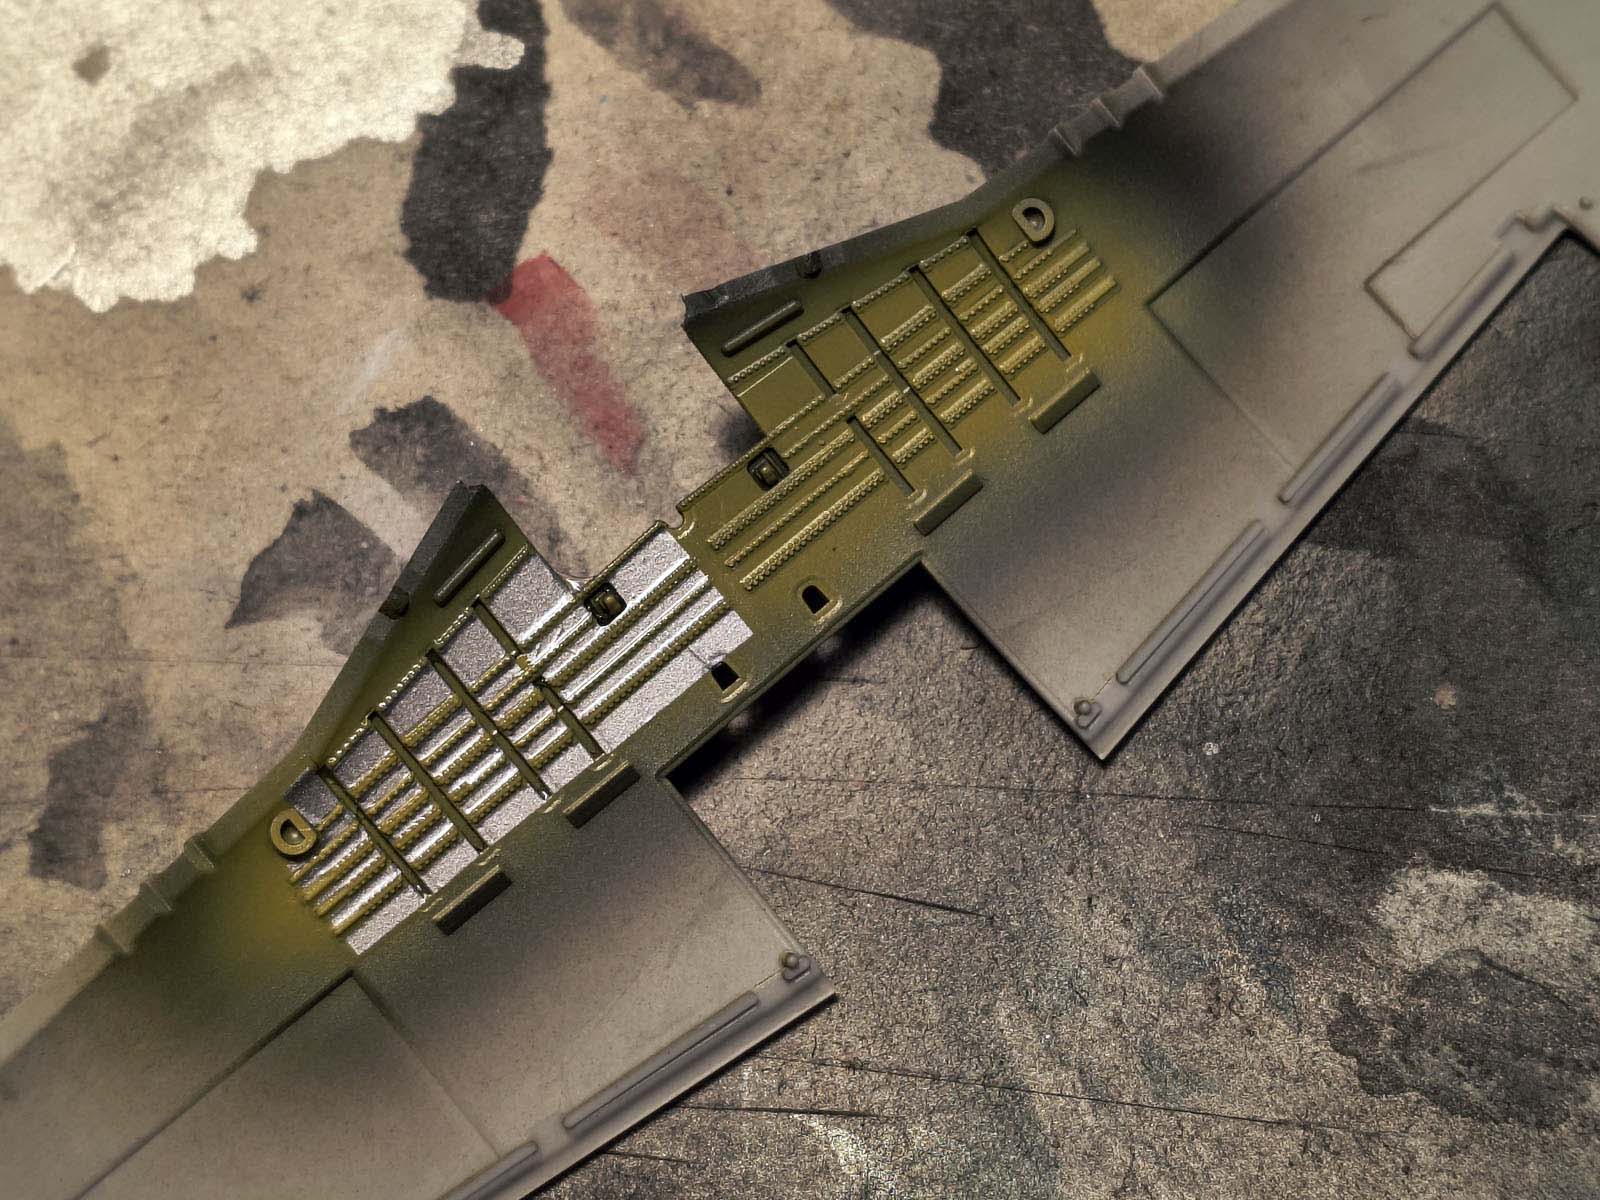
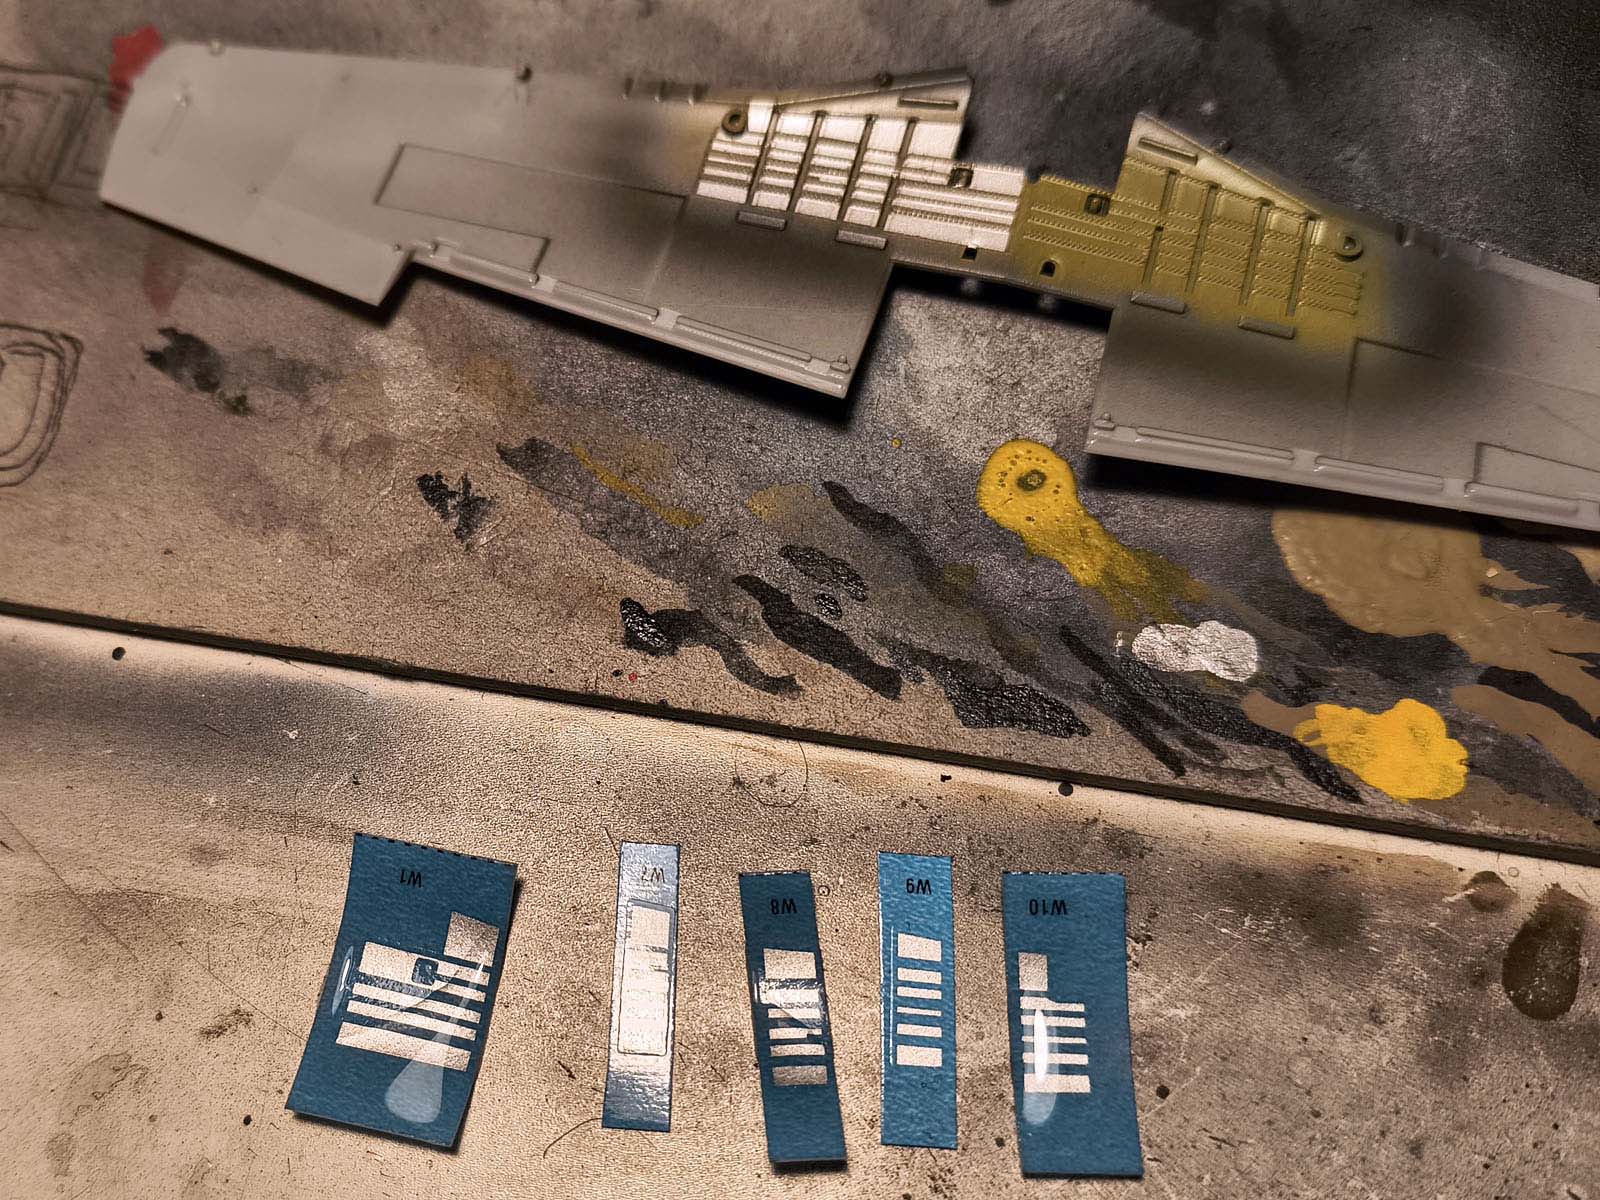
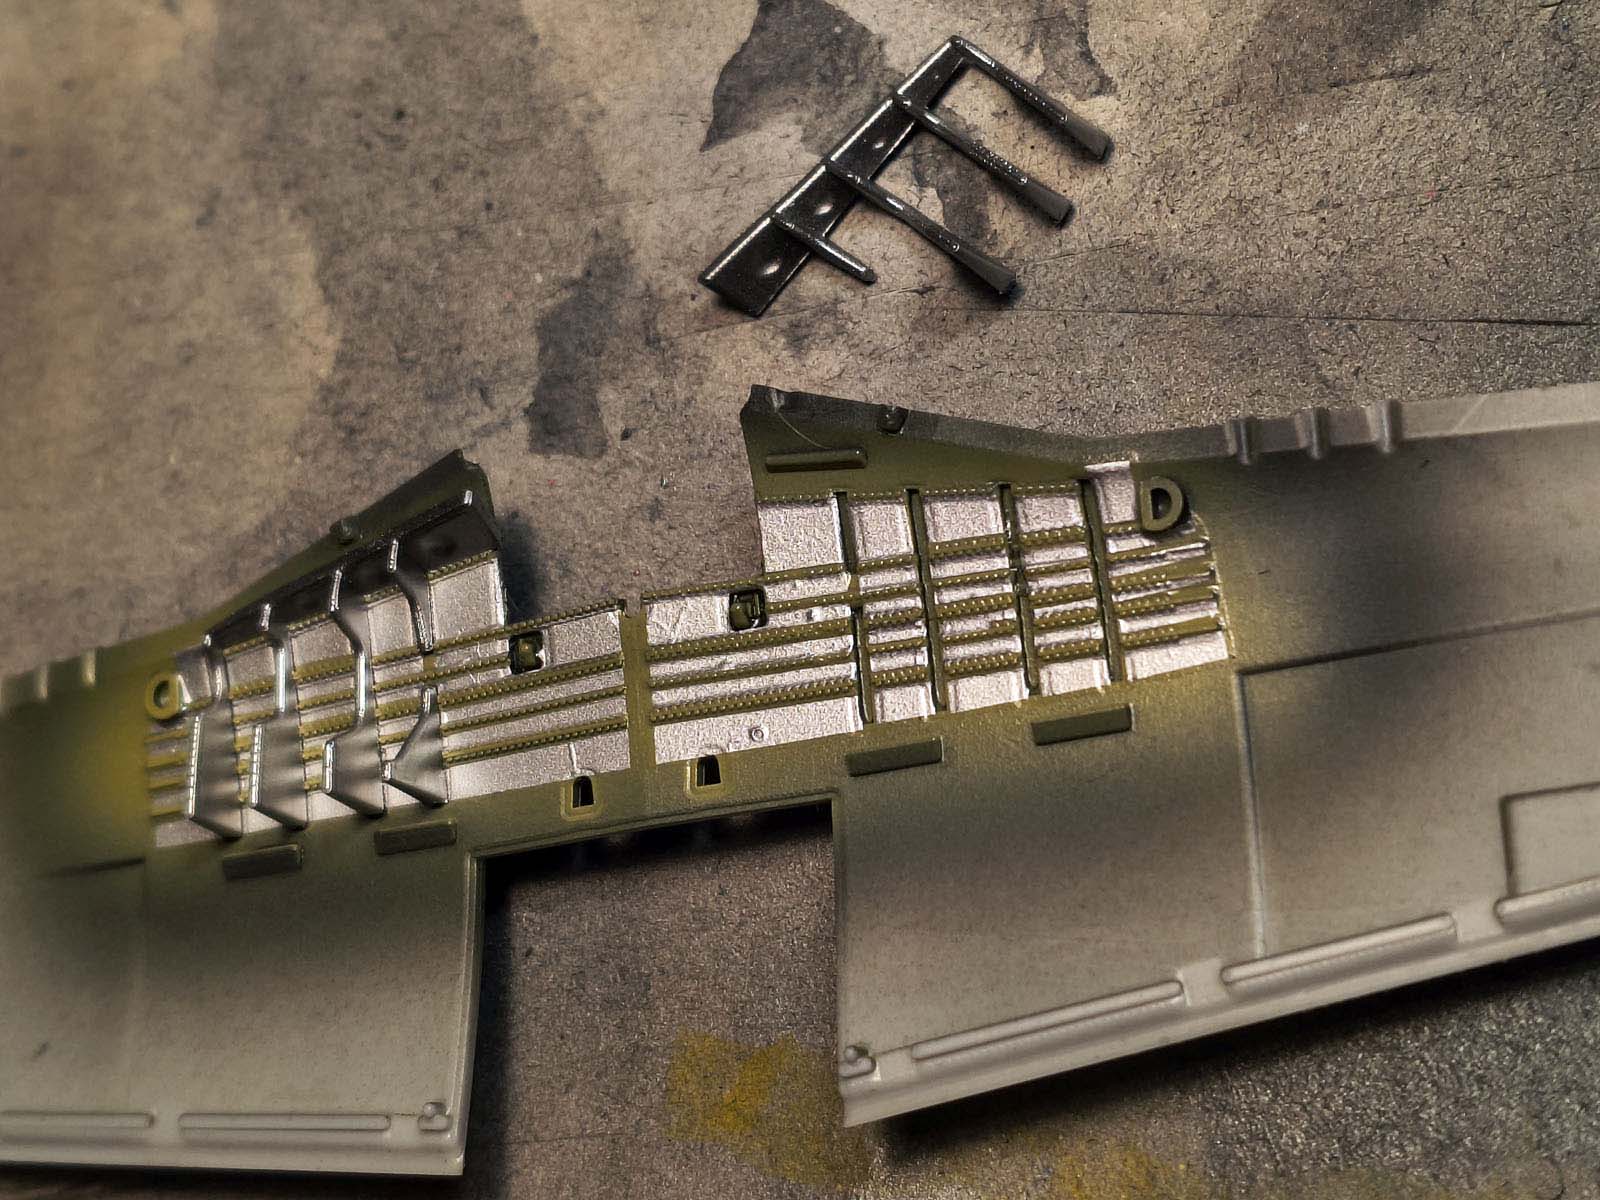
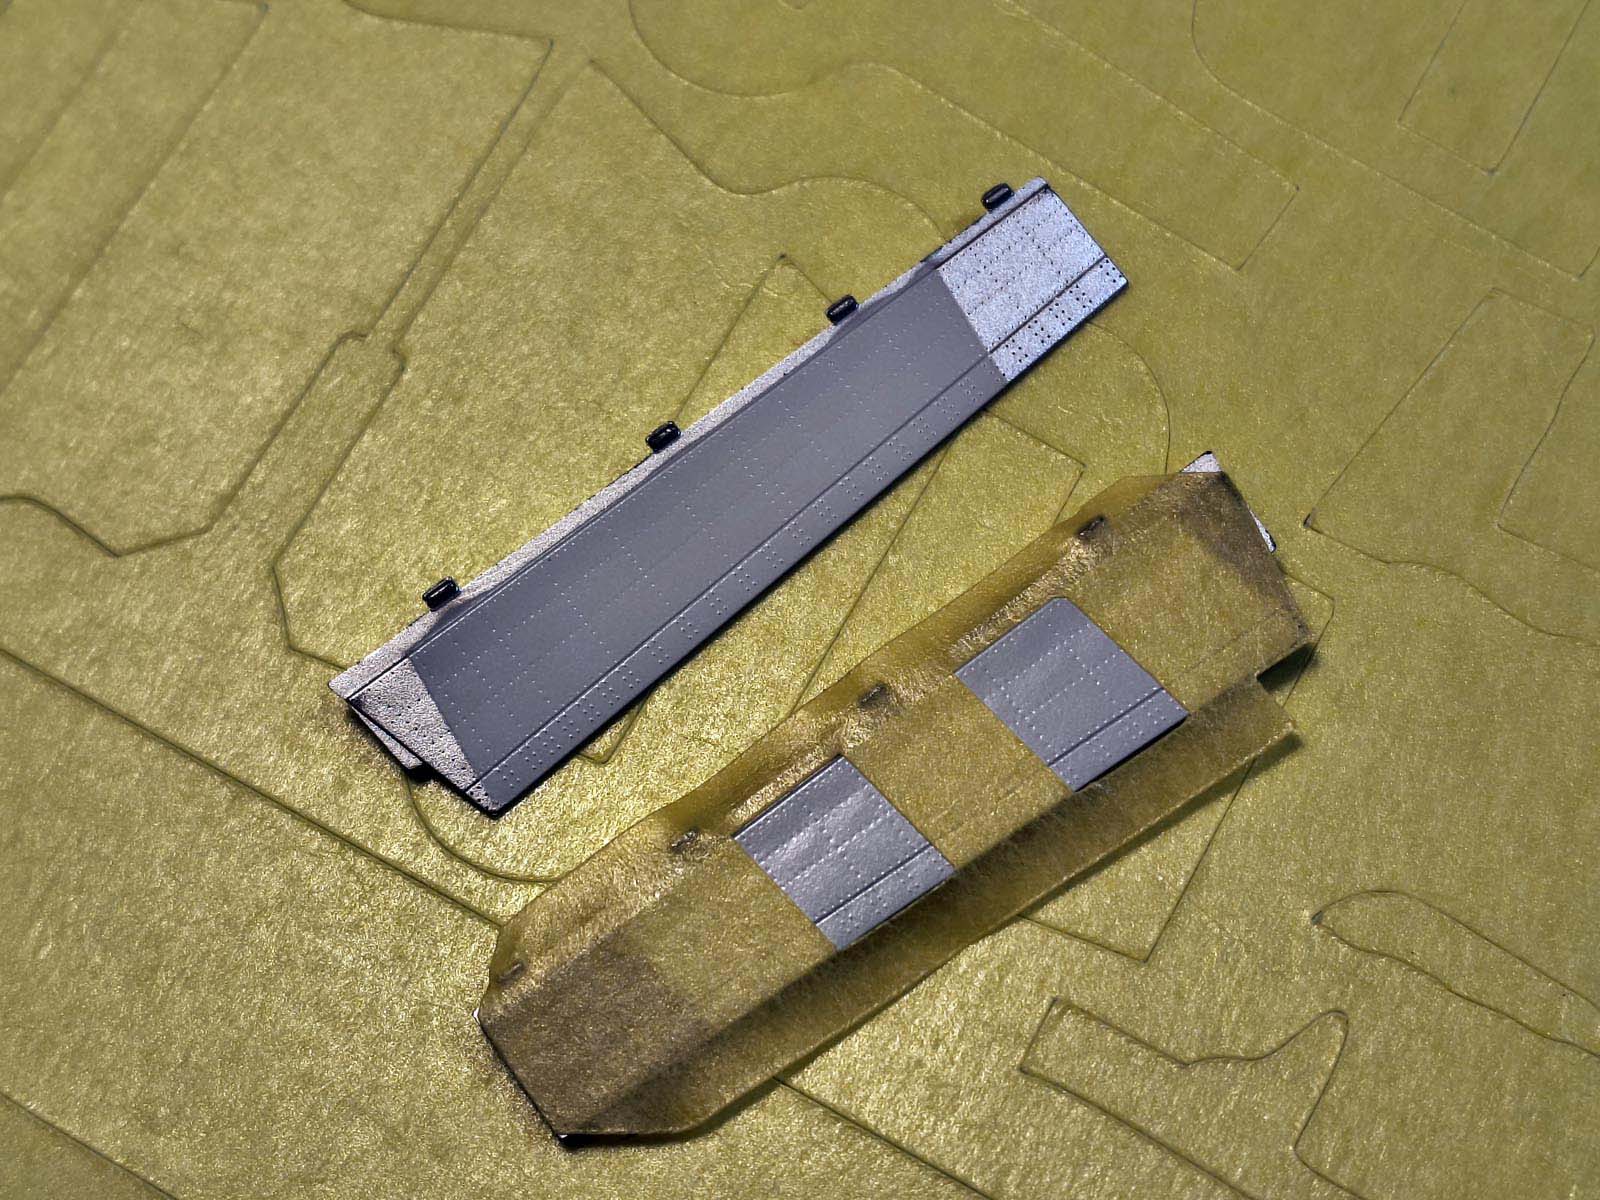
After the first batch dries, apply the remaining ones. The silver panels are seemingly too long – the excess sits on transparent “bridges” between panels so they settle into the detail without stretching. Place the silver panels between the stringers that should stay yellow. Here’s the final look.
Wnęki podwozia w P-51D Mustang – jak poradzić sobie z trudnym malowaniem?
Cockpit – moving into the office
Still on decals – let’s enter the cockpit.
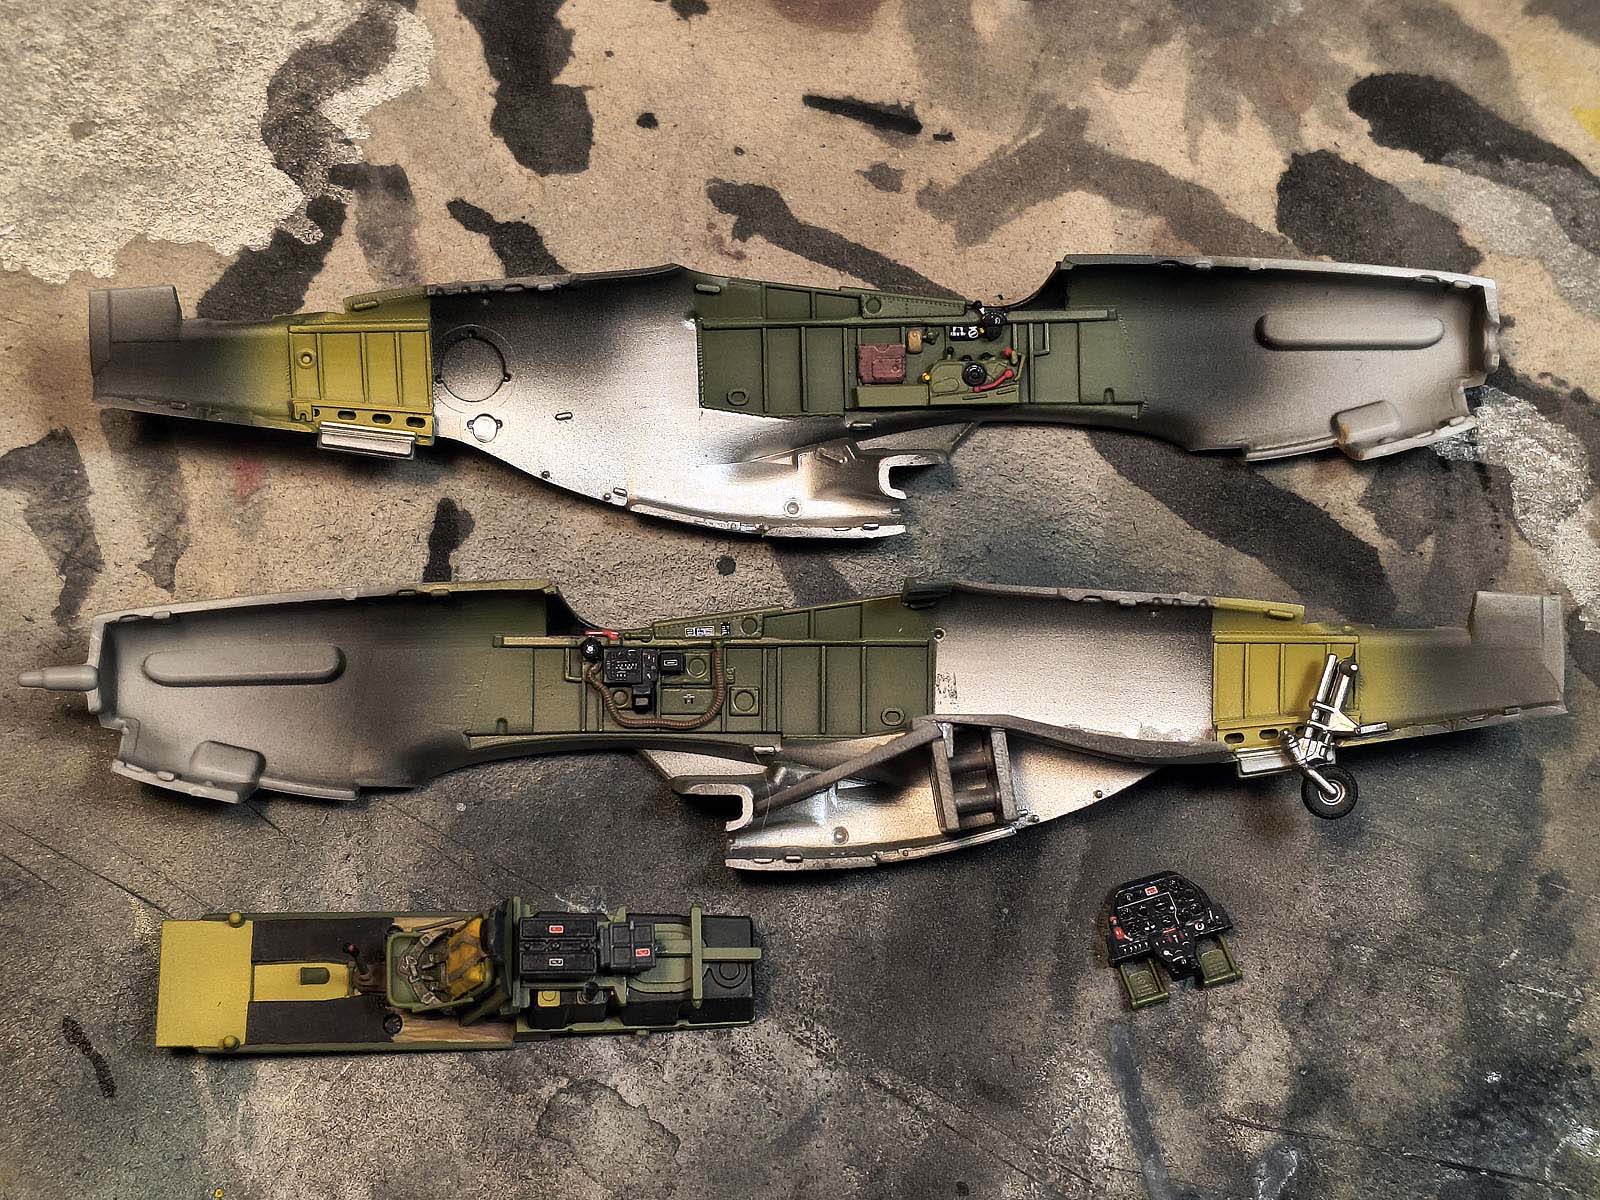
Assembly tip of the day
The lower fuselage panel ahead of the wing is best glued to the lower wing half. The later assembly goes noticeably easier. We’ll add this order to the next instruction update.

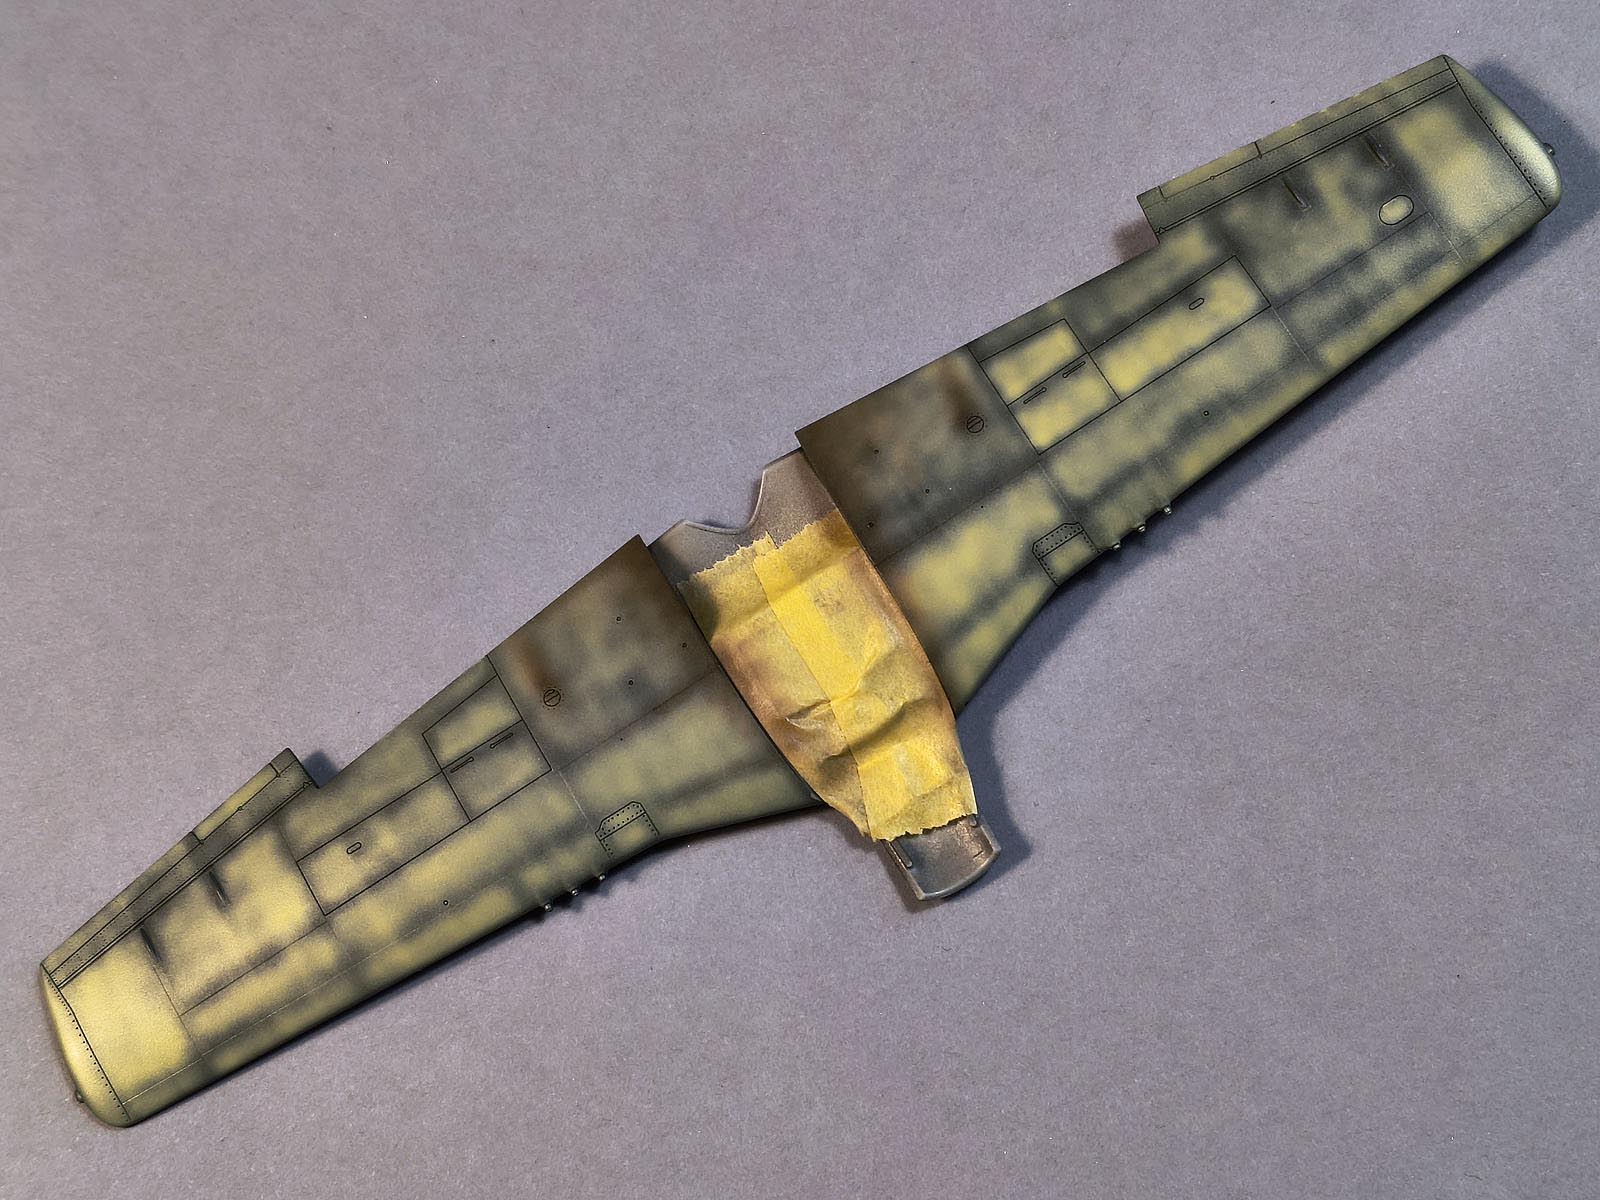
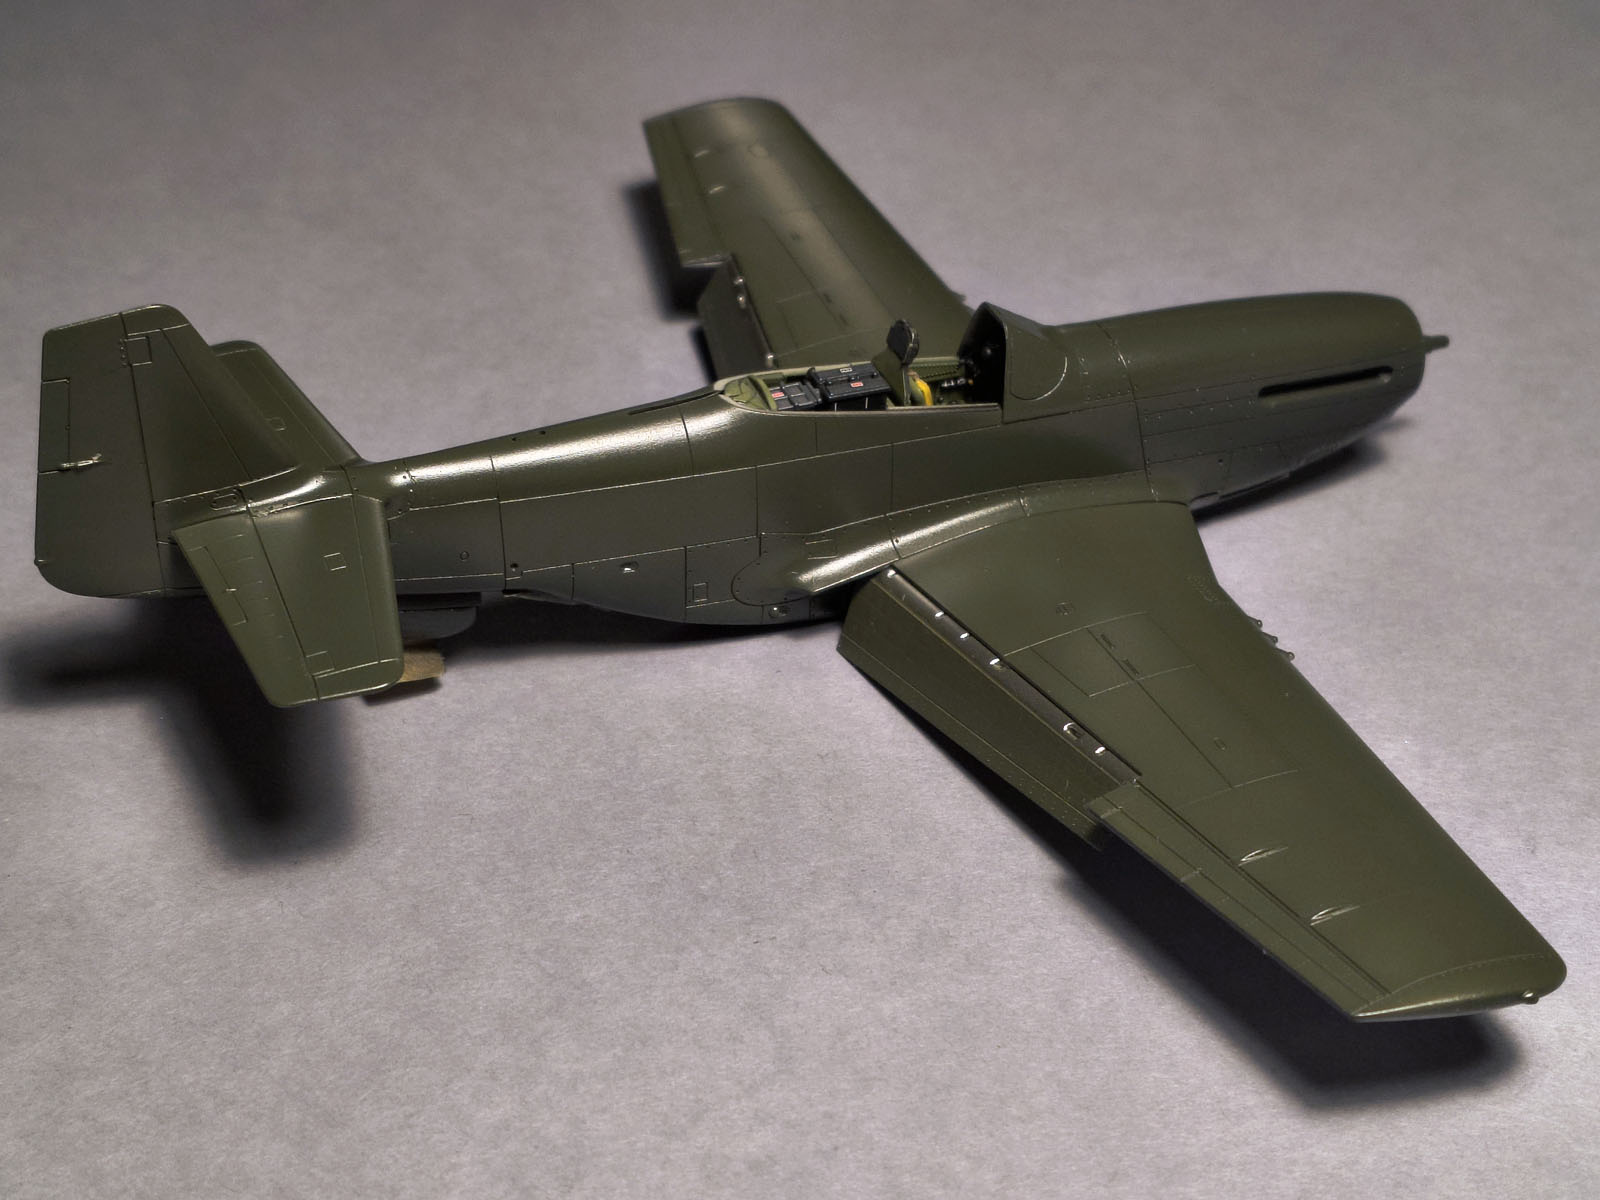
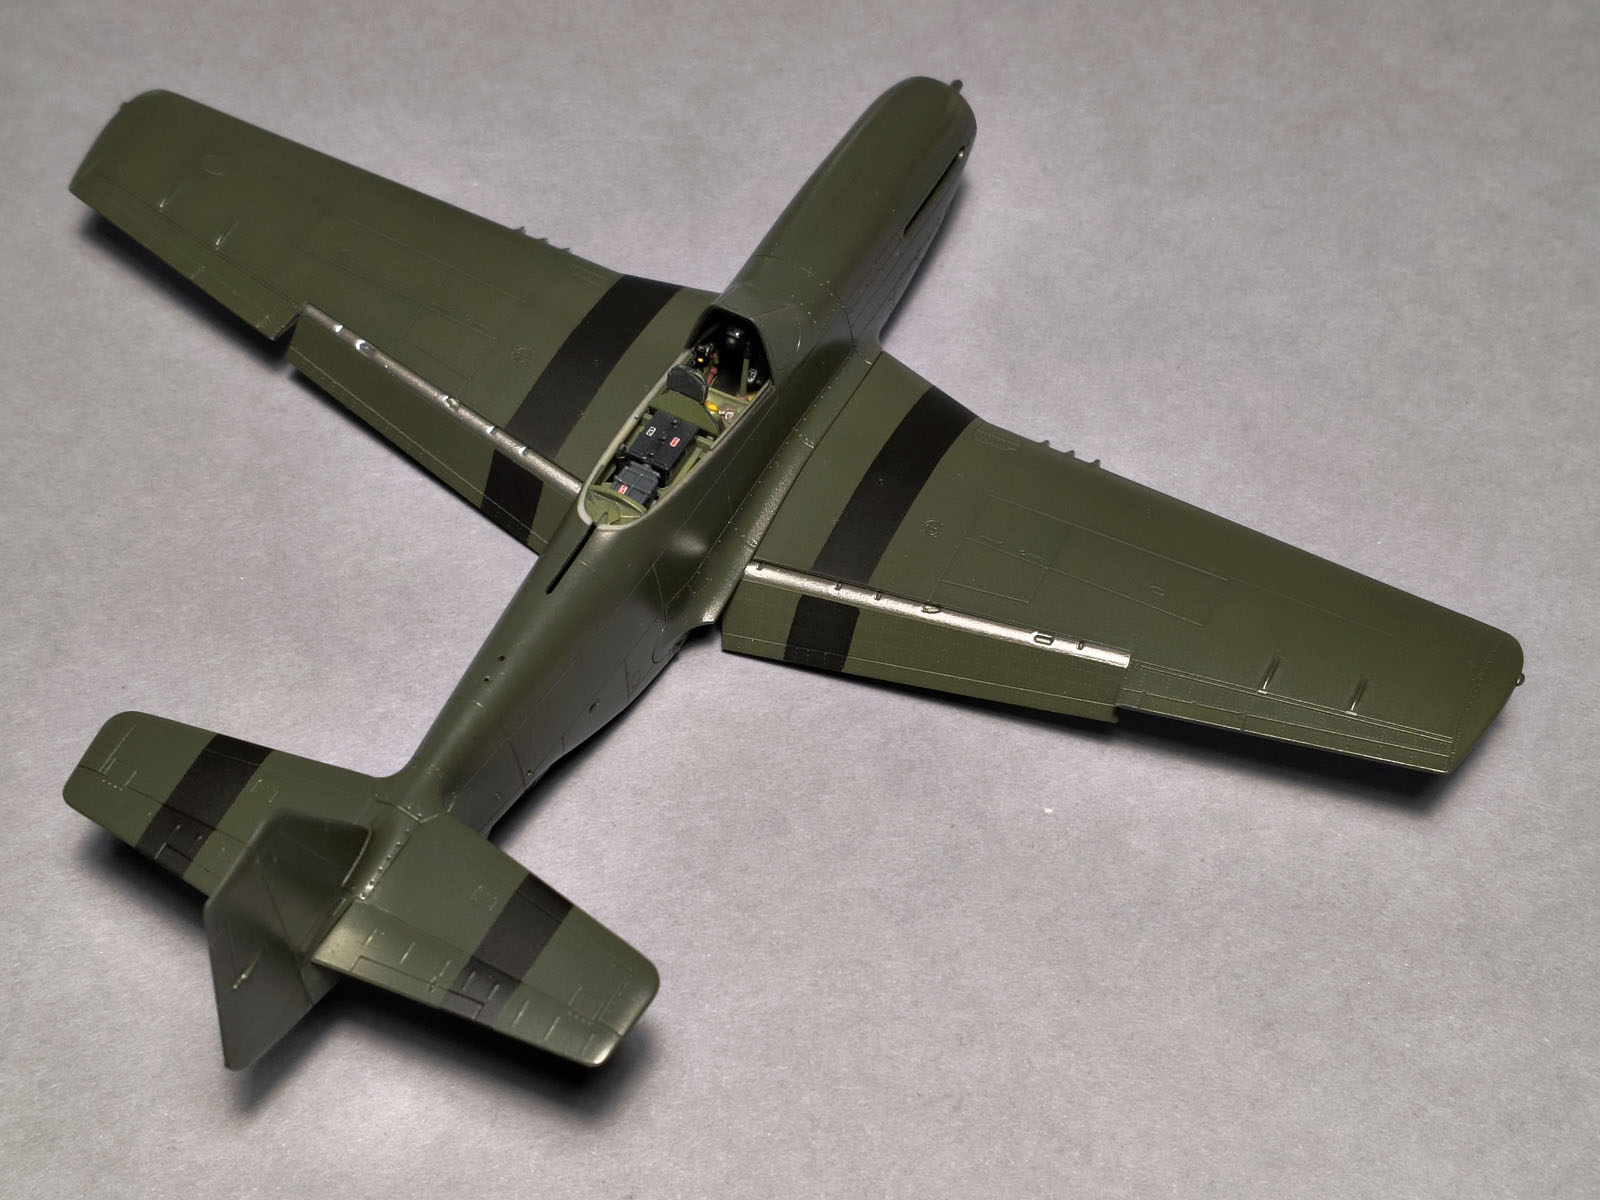
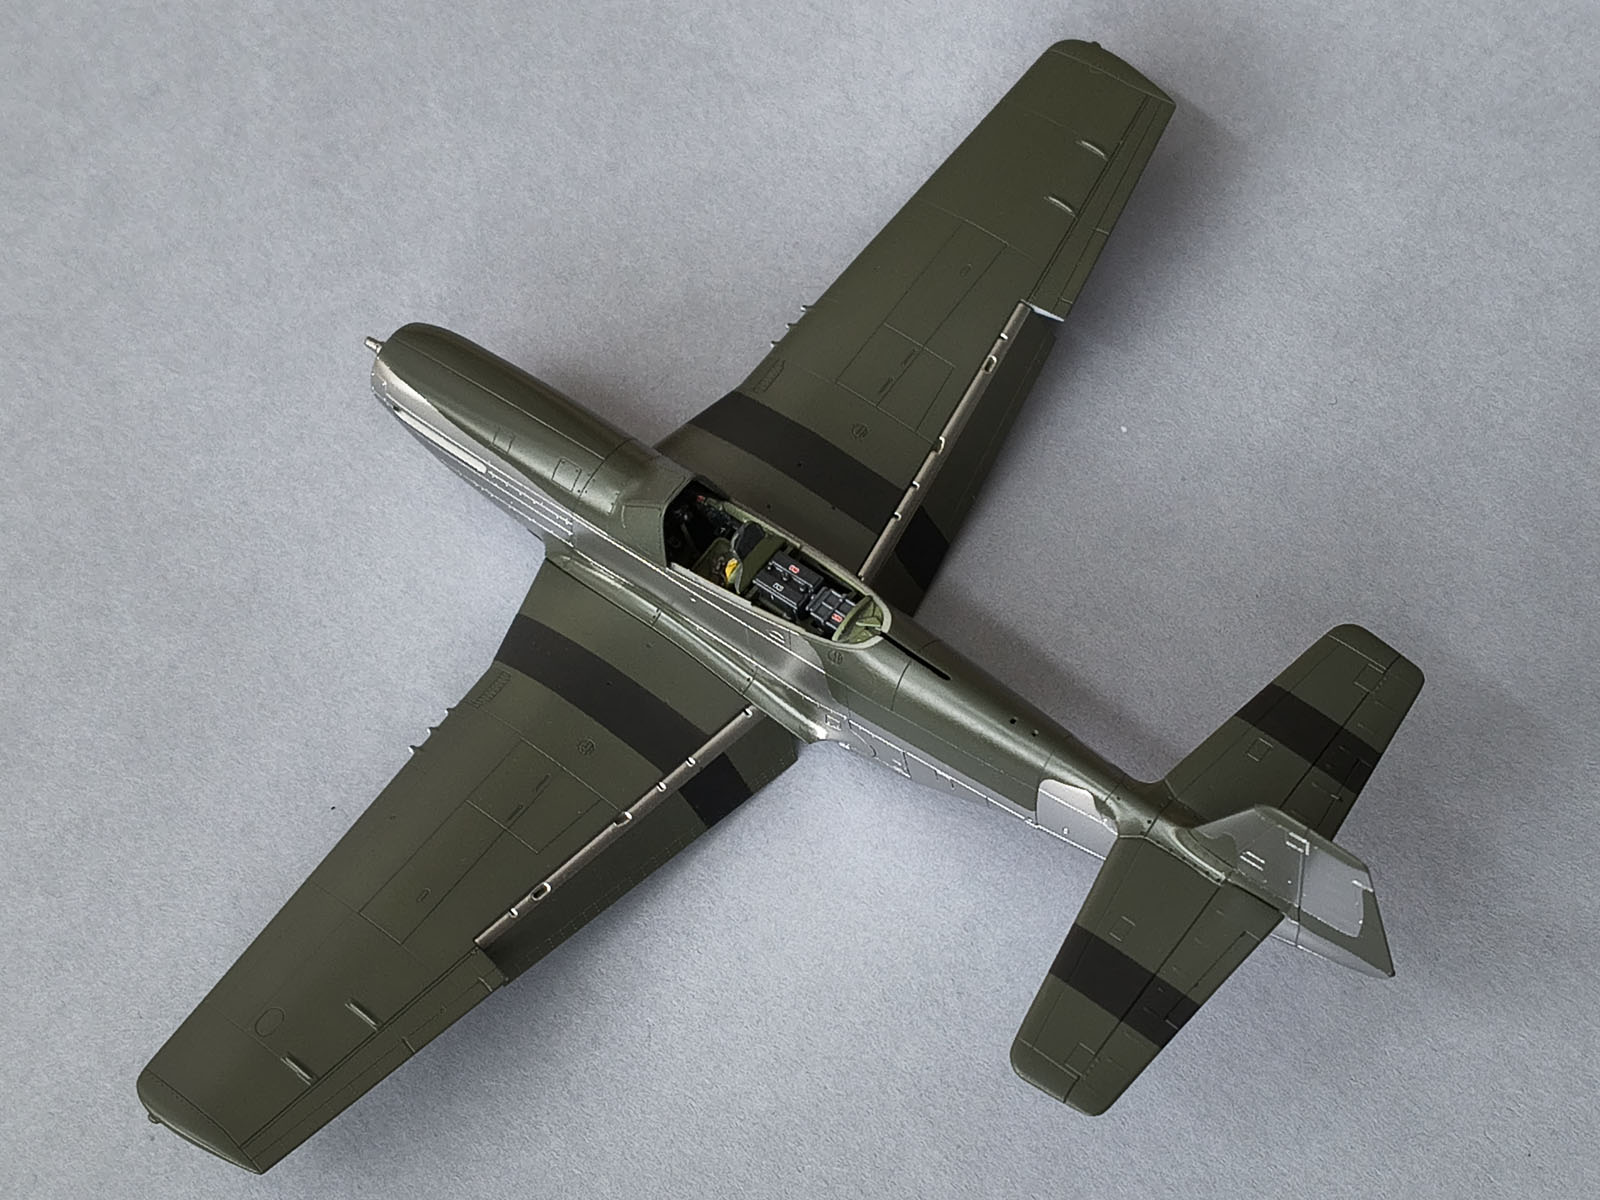
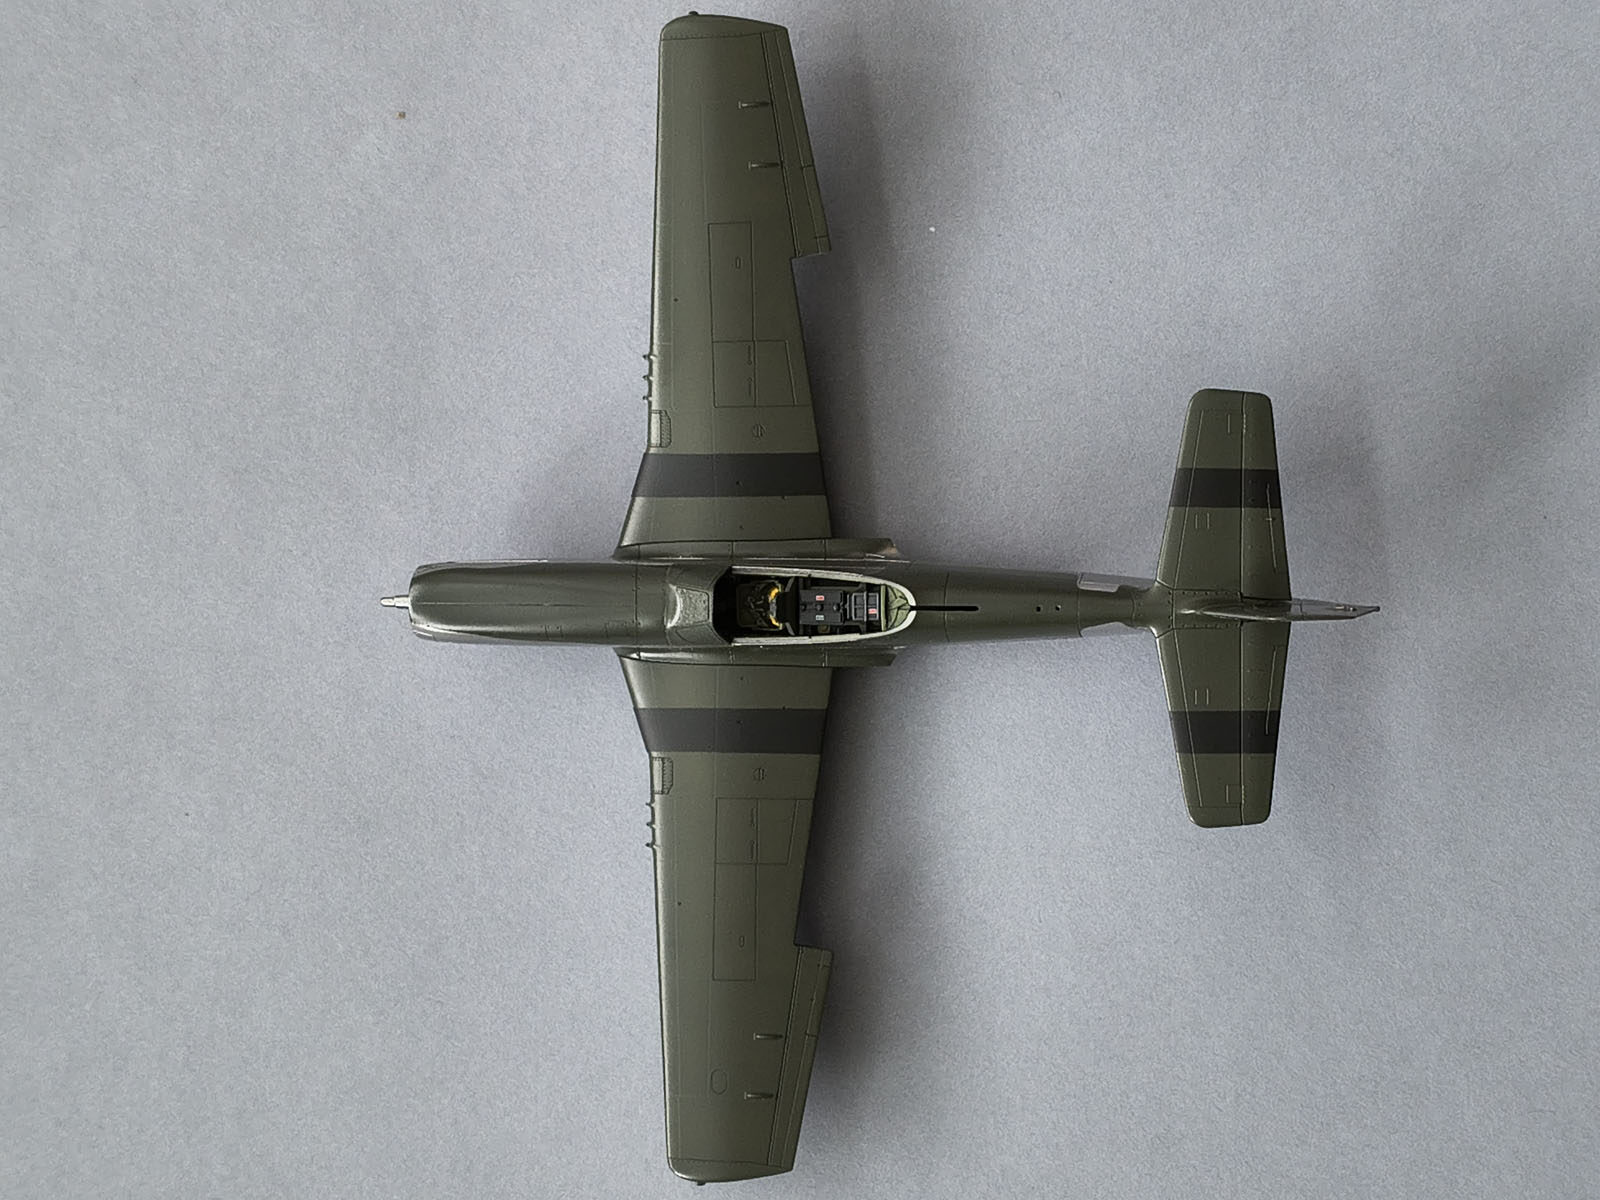
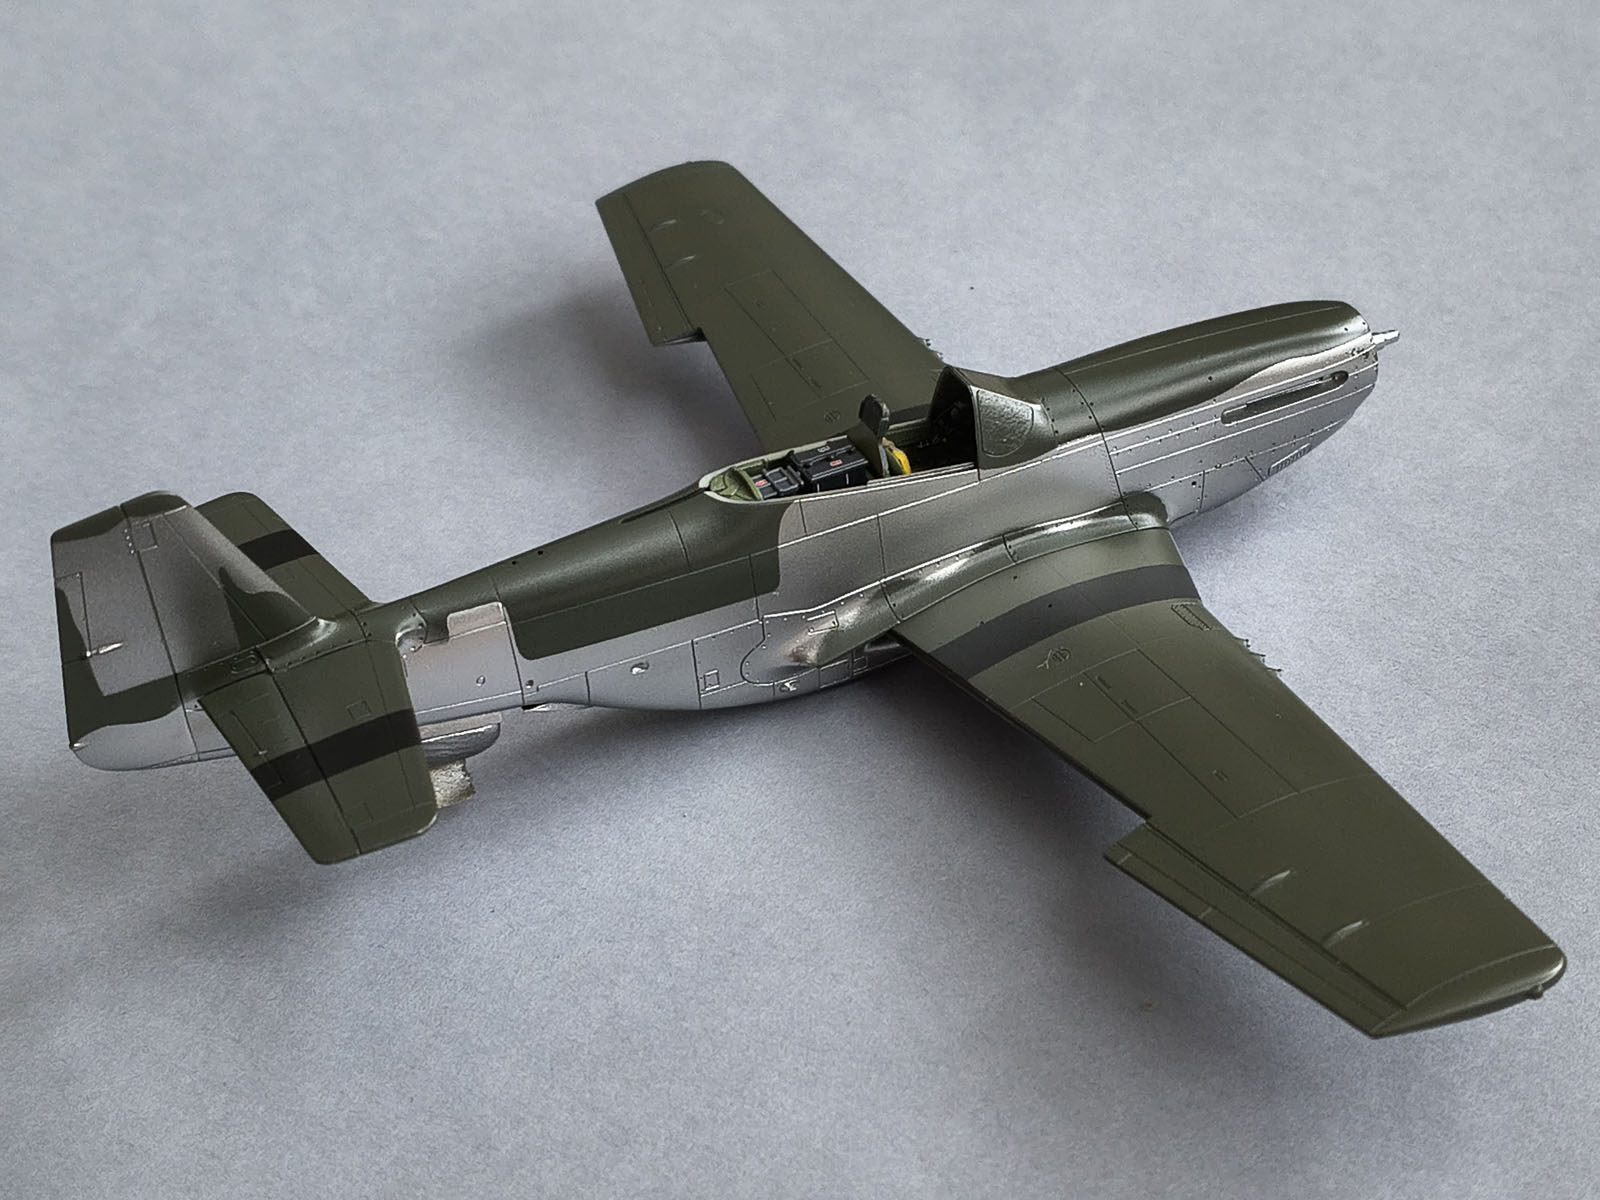
Black-basing test on the wing top
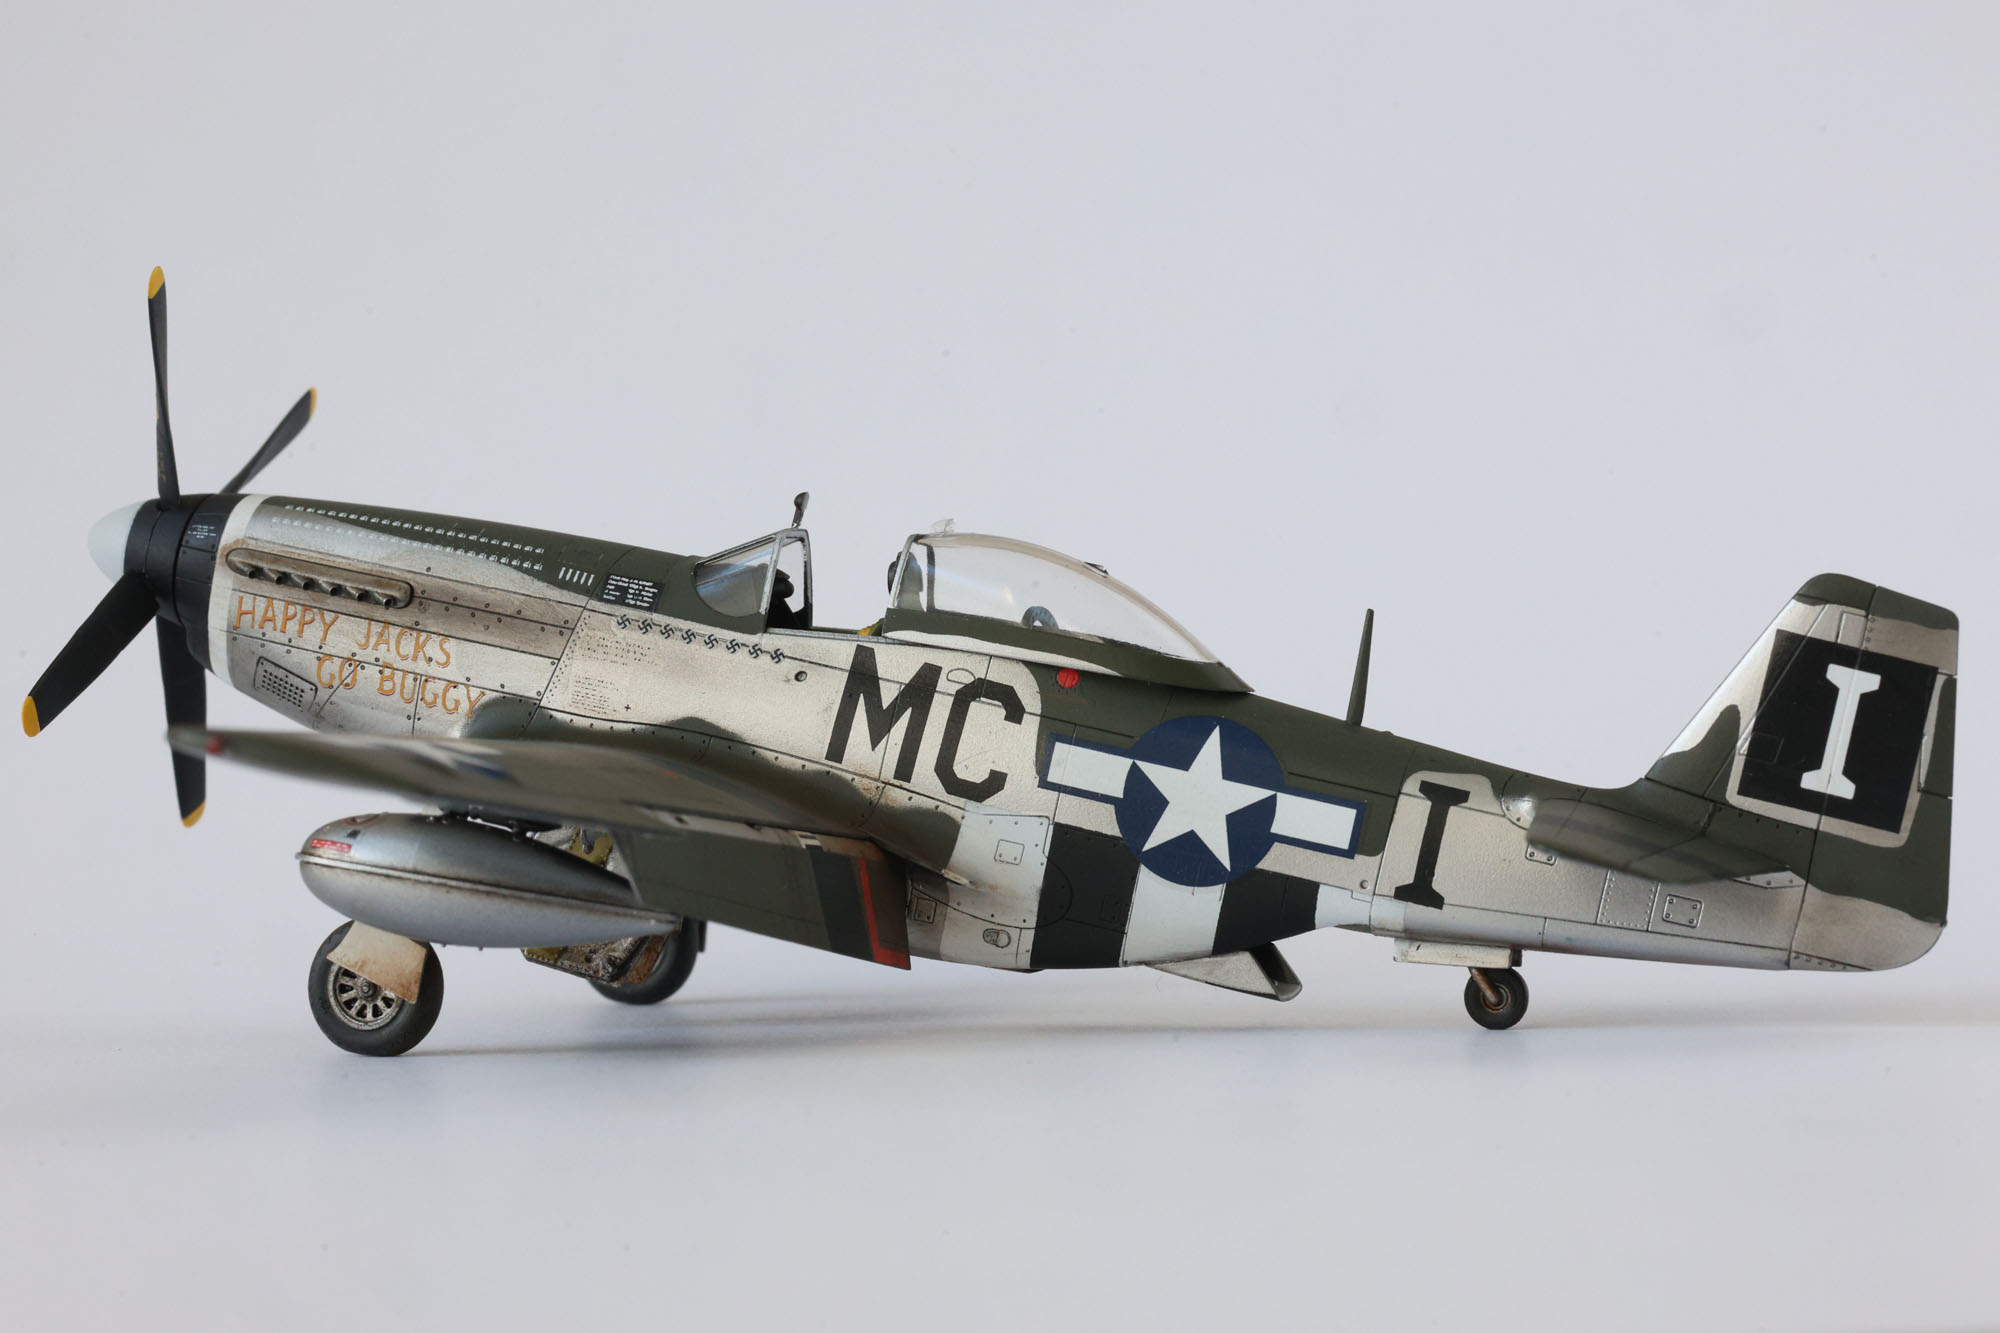
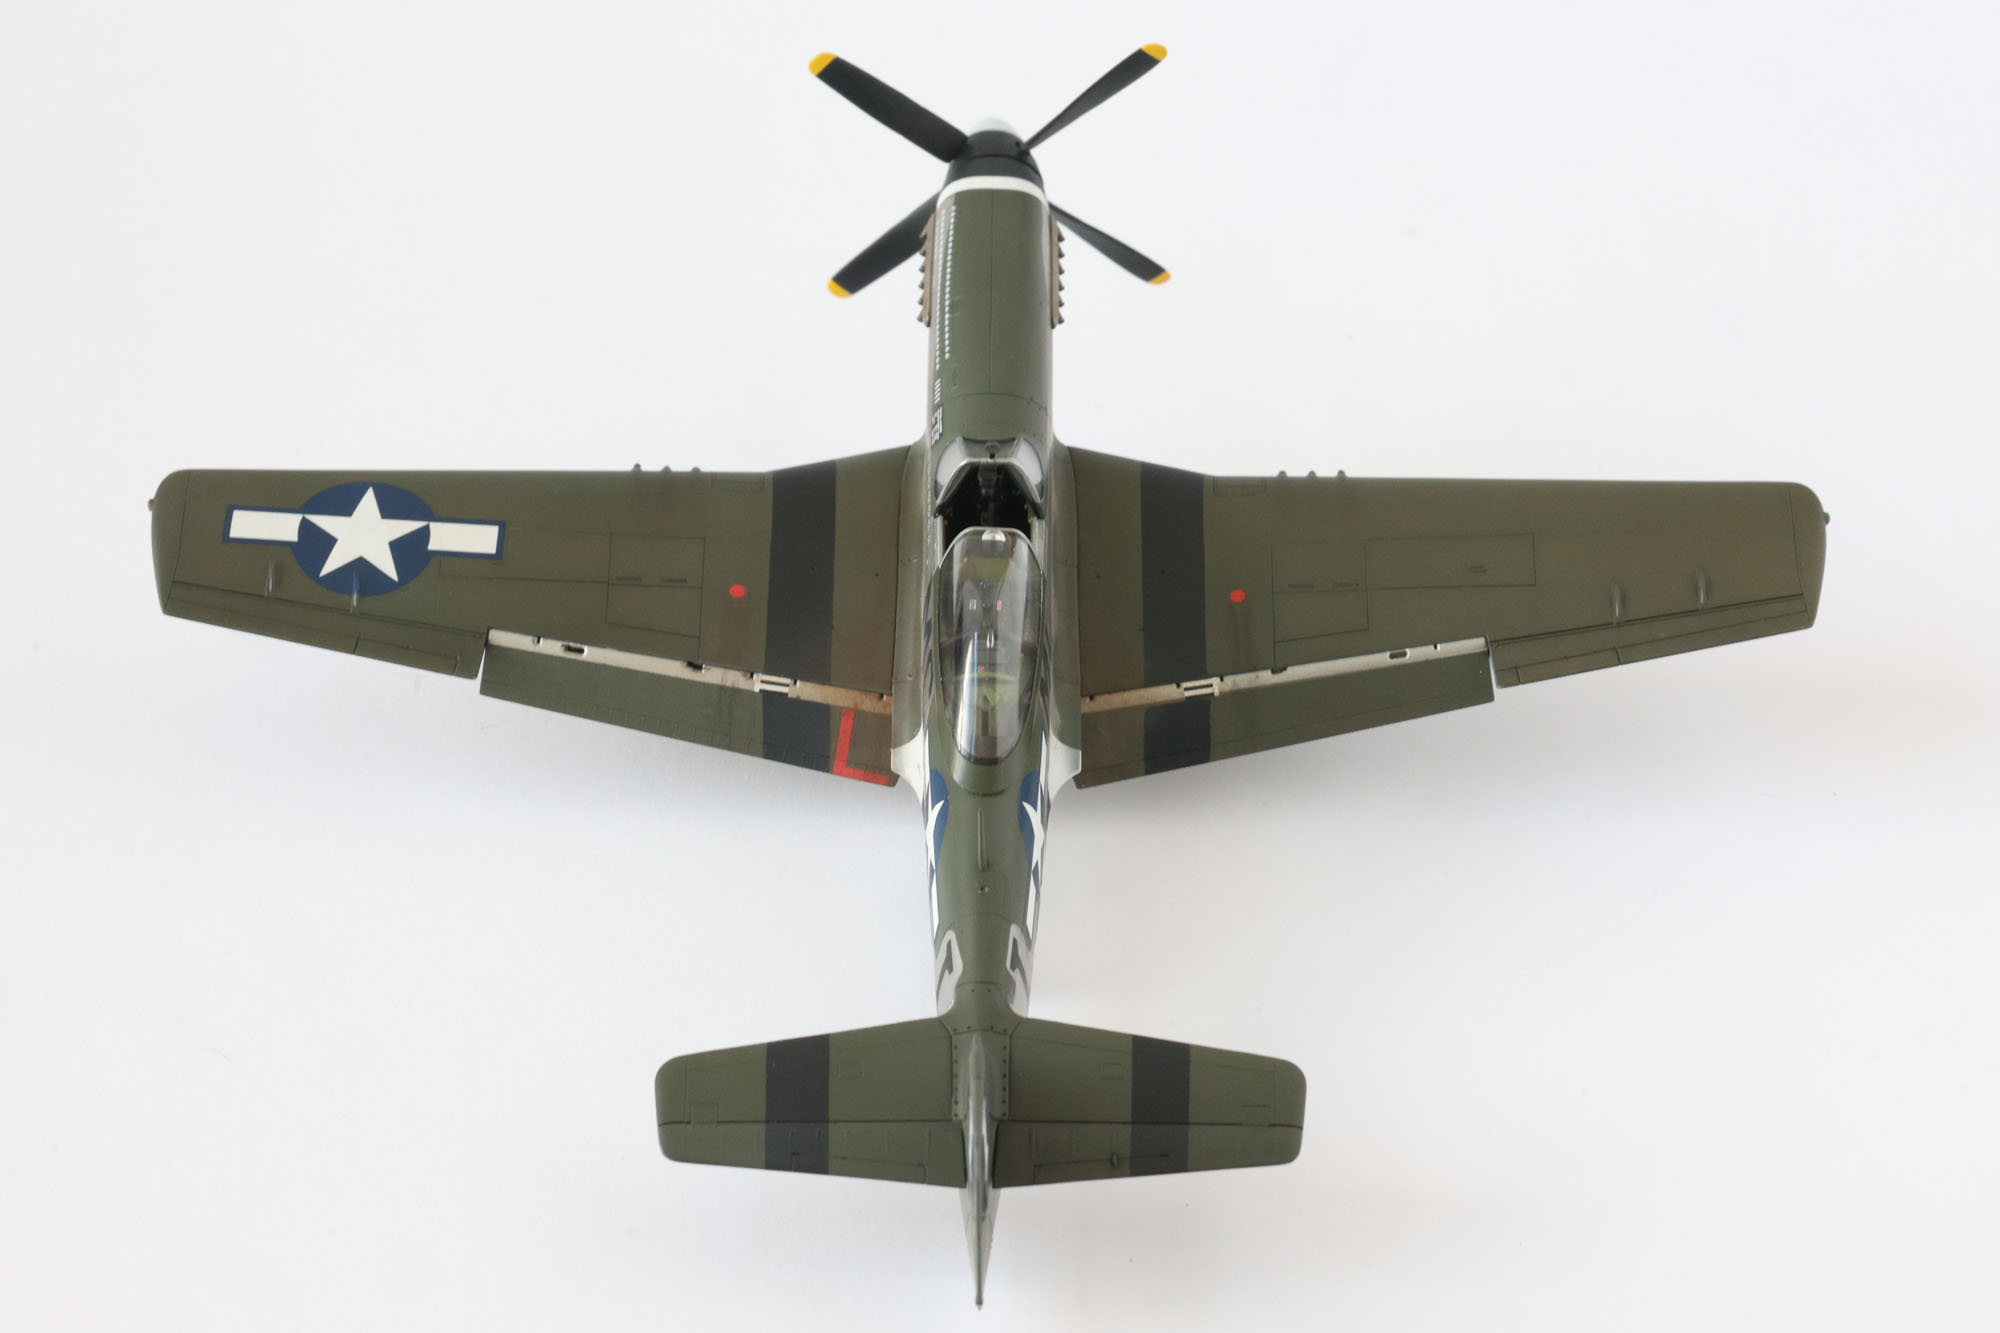
As a warm-up I tried a mini black-basing on the wing top. Final colour – RAF Dark Green. Over a black primer I sprayed some panels in Yellow Zinc Chromate and “dirtied” the root with dark brown. Subtle in the final model, but the photo is eye-catching.
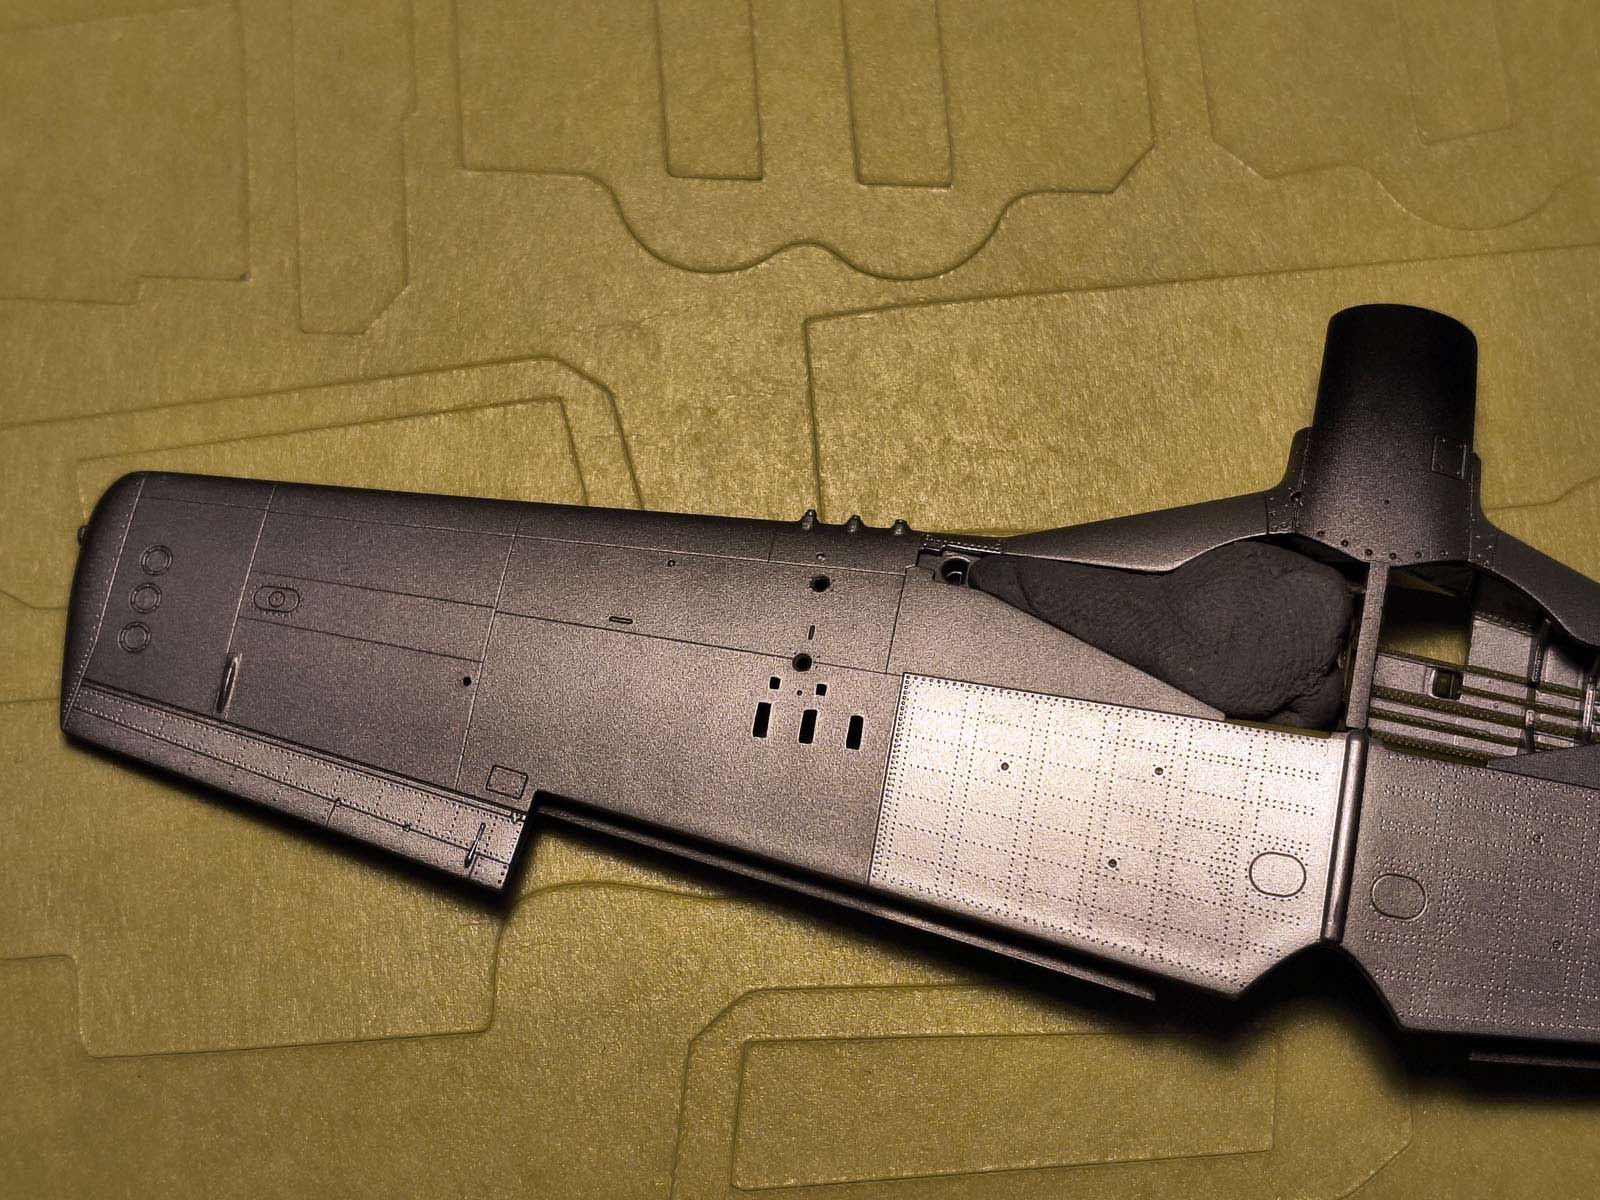
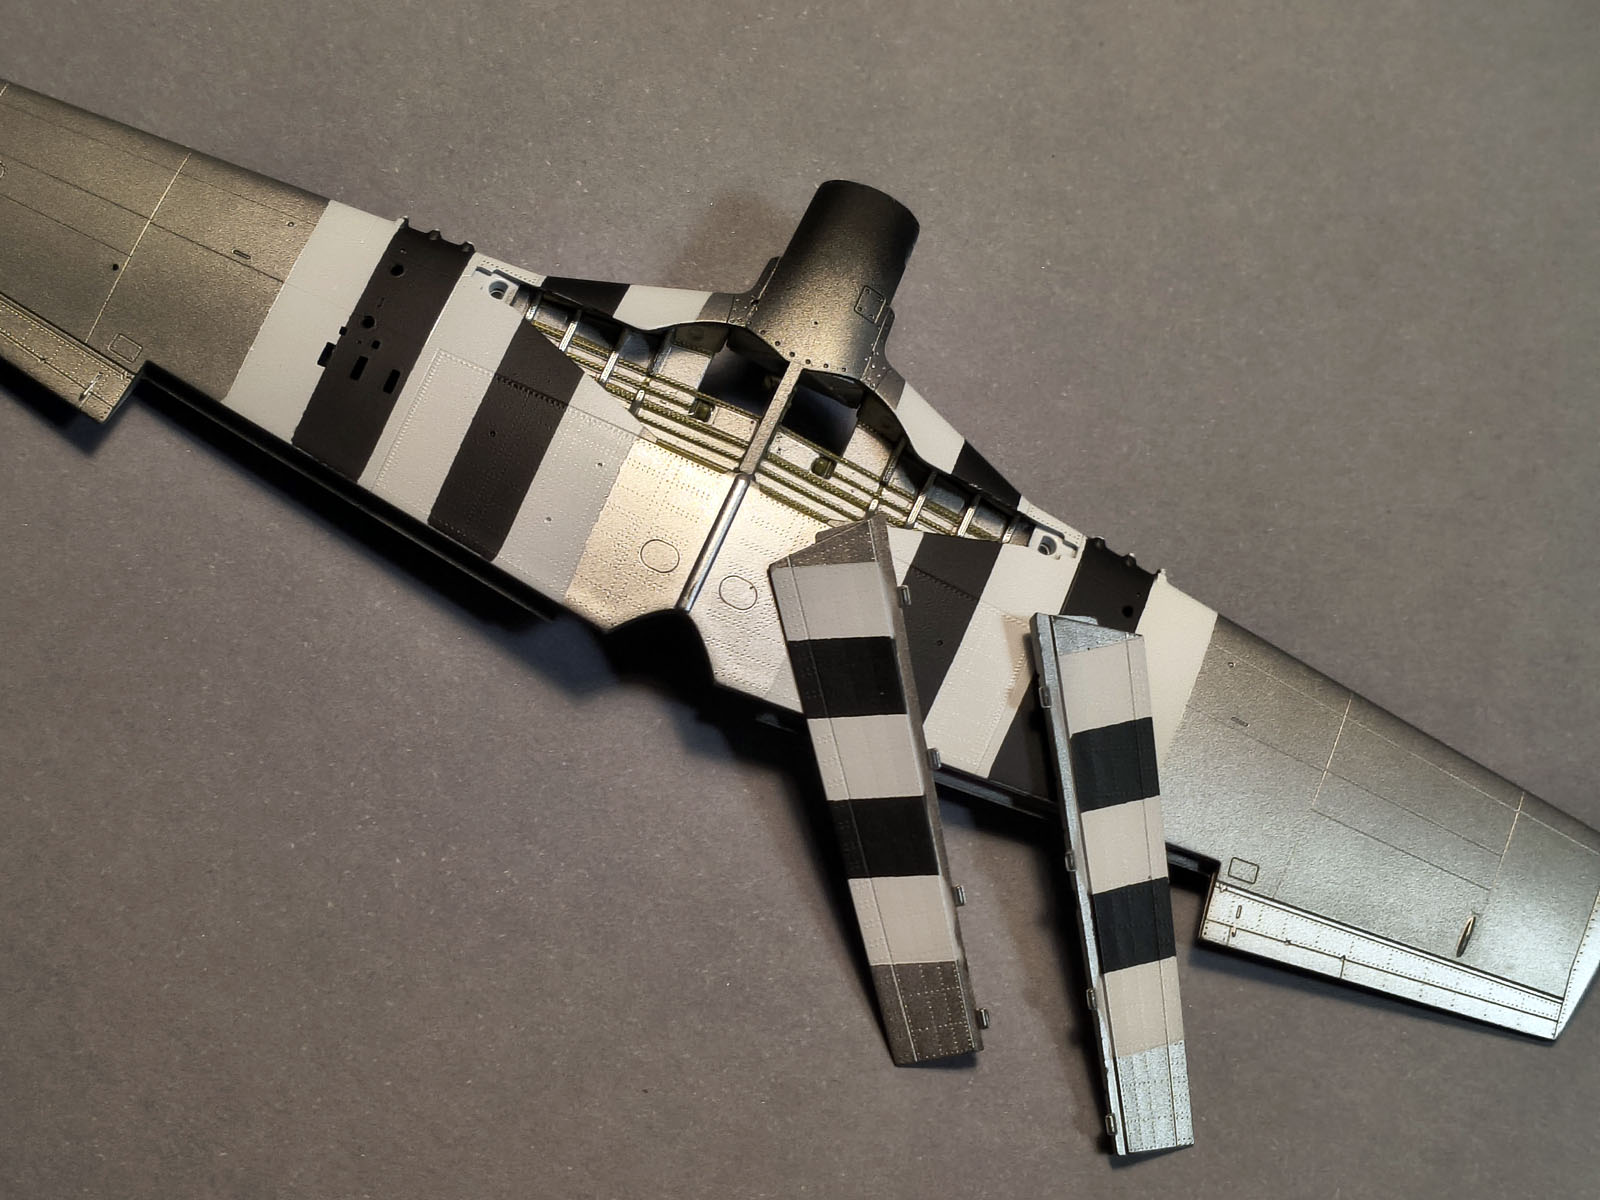
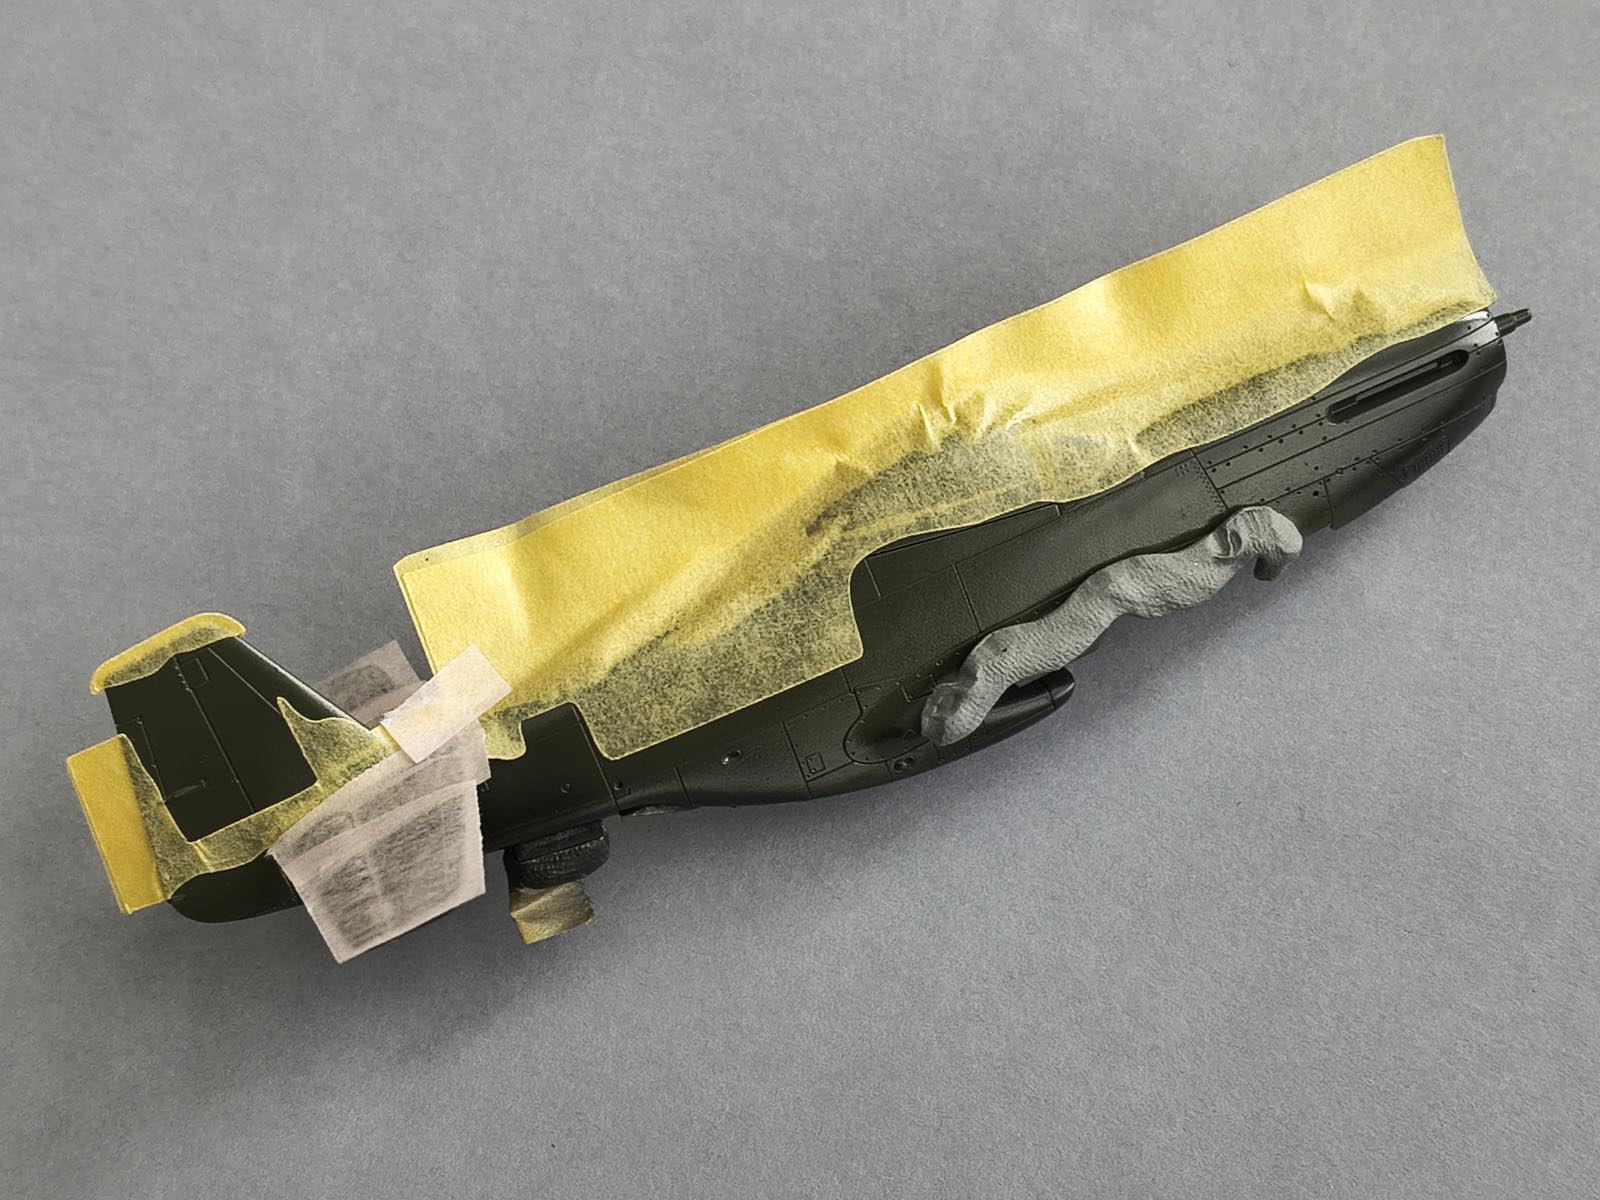
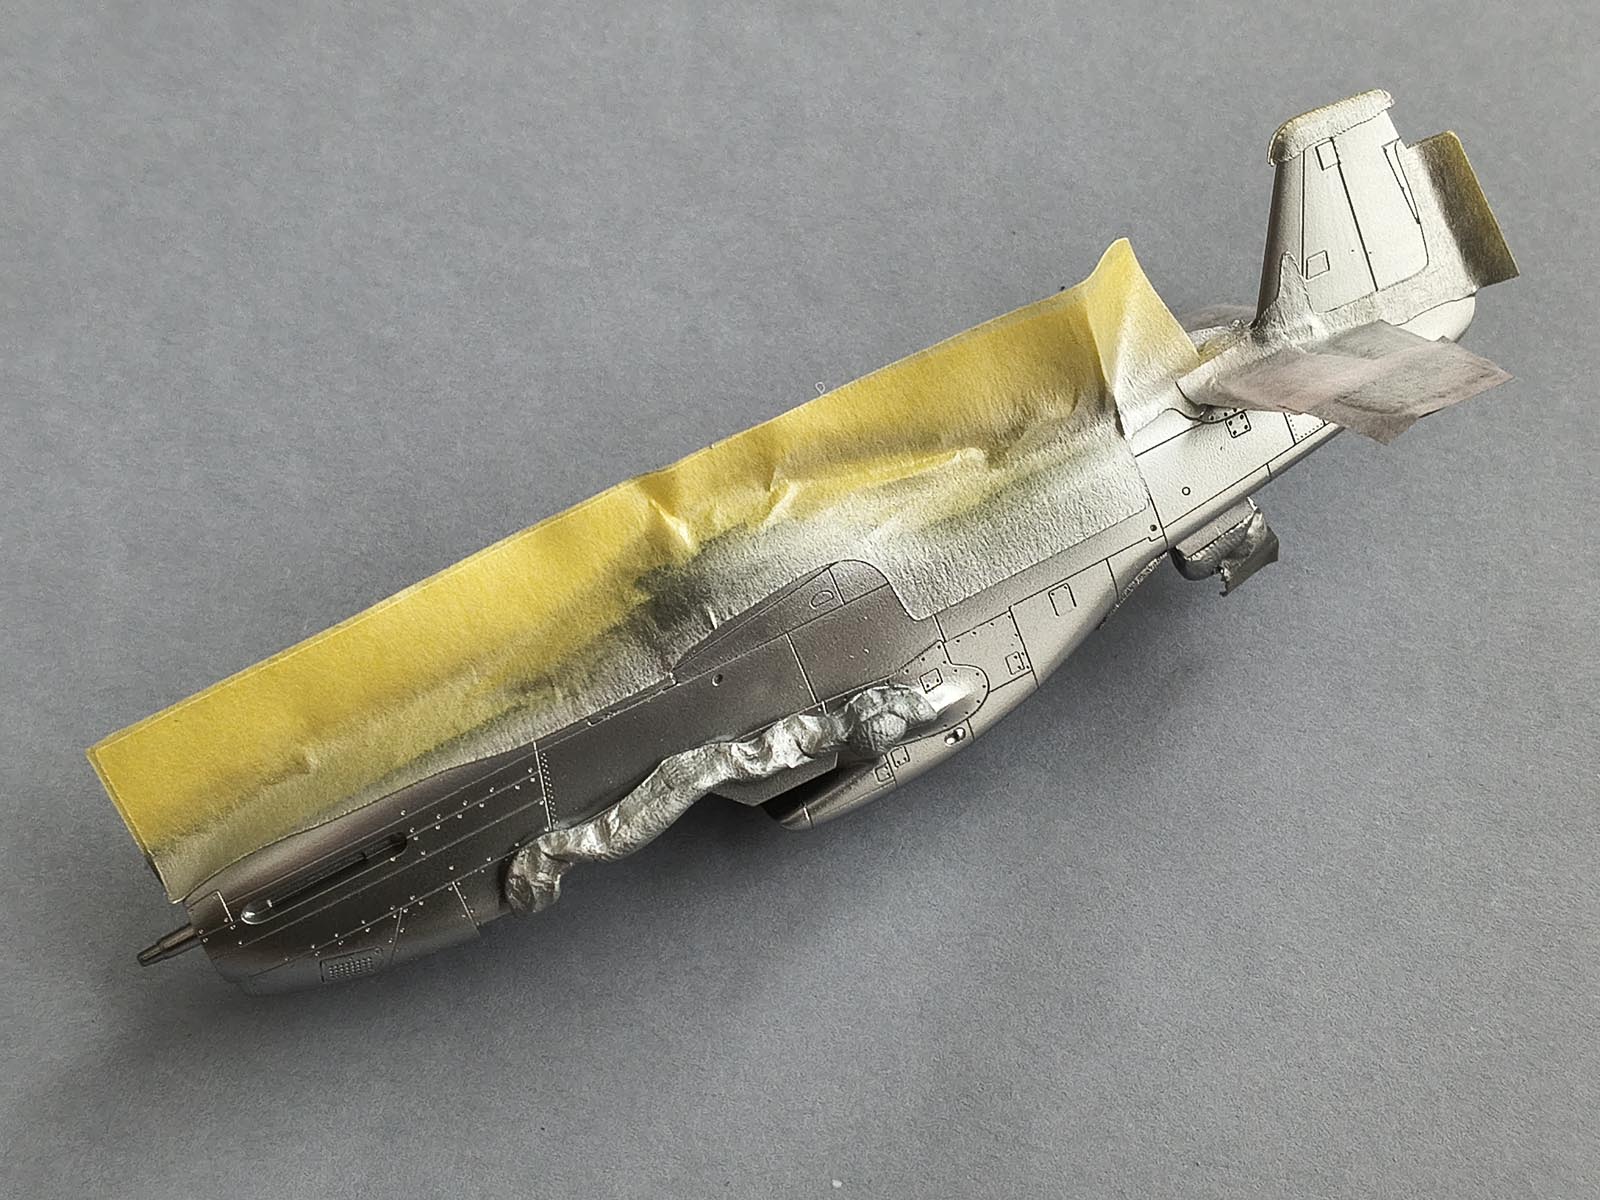
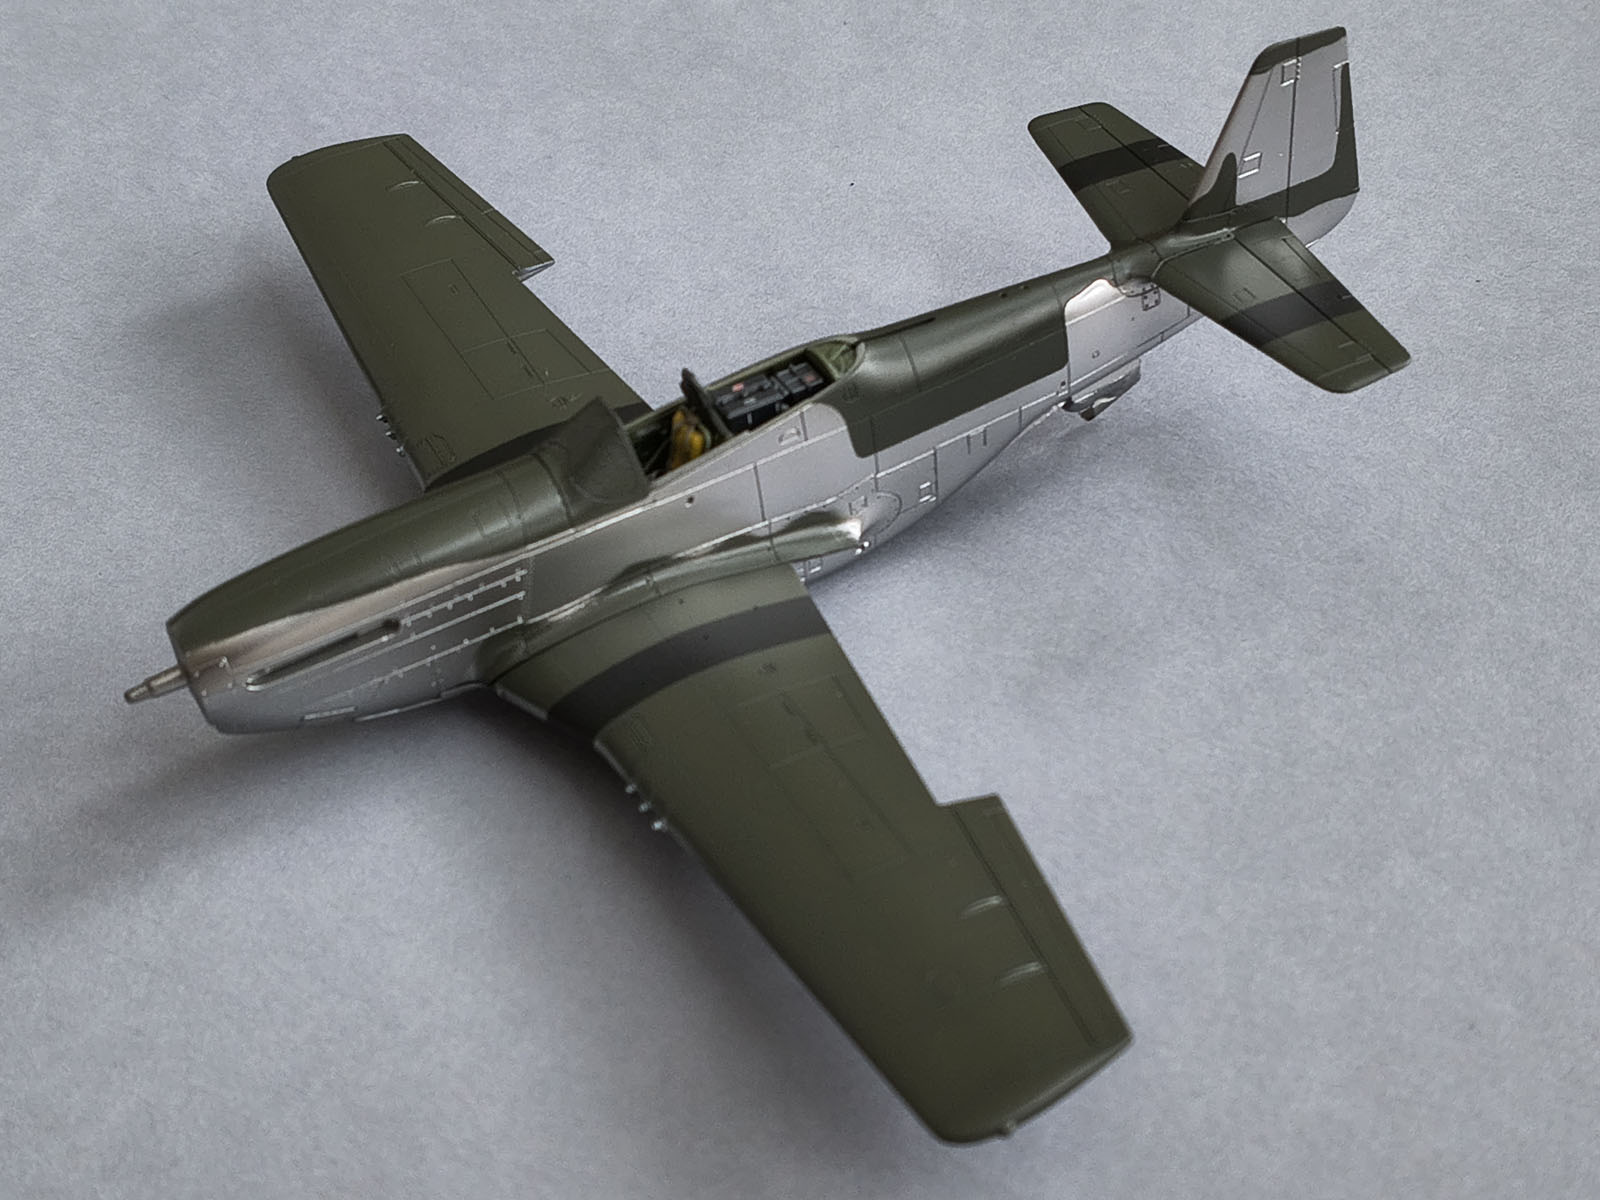
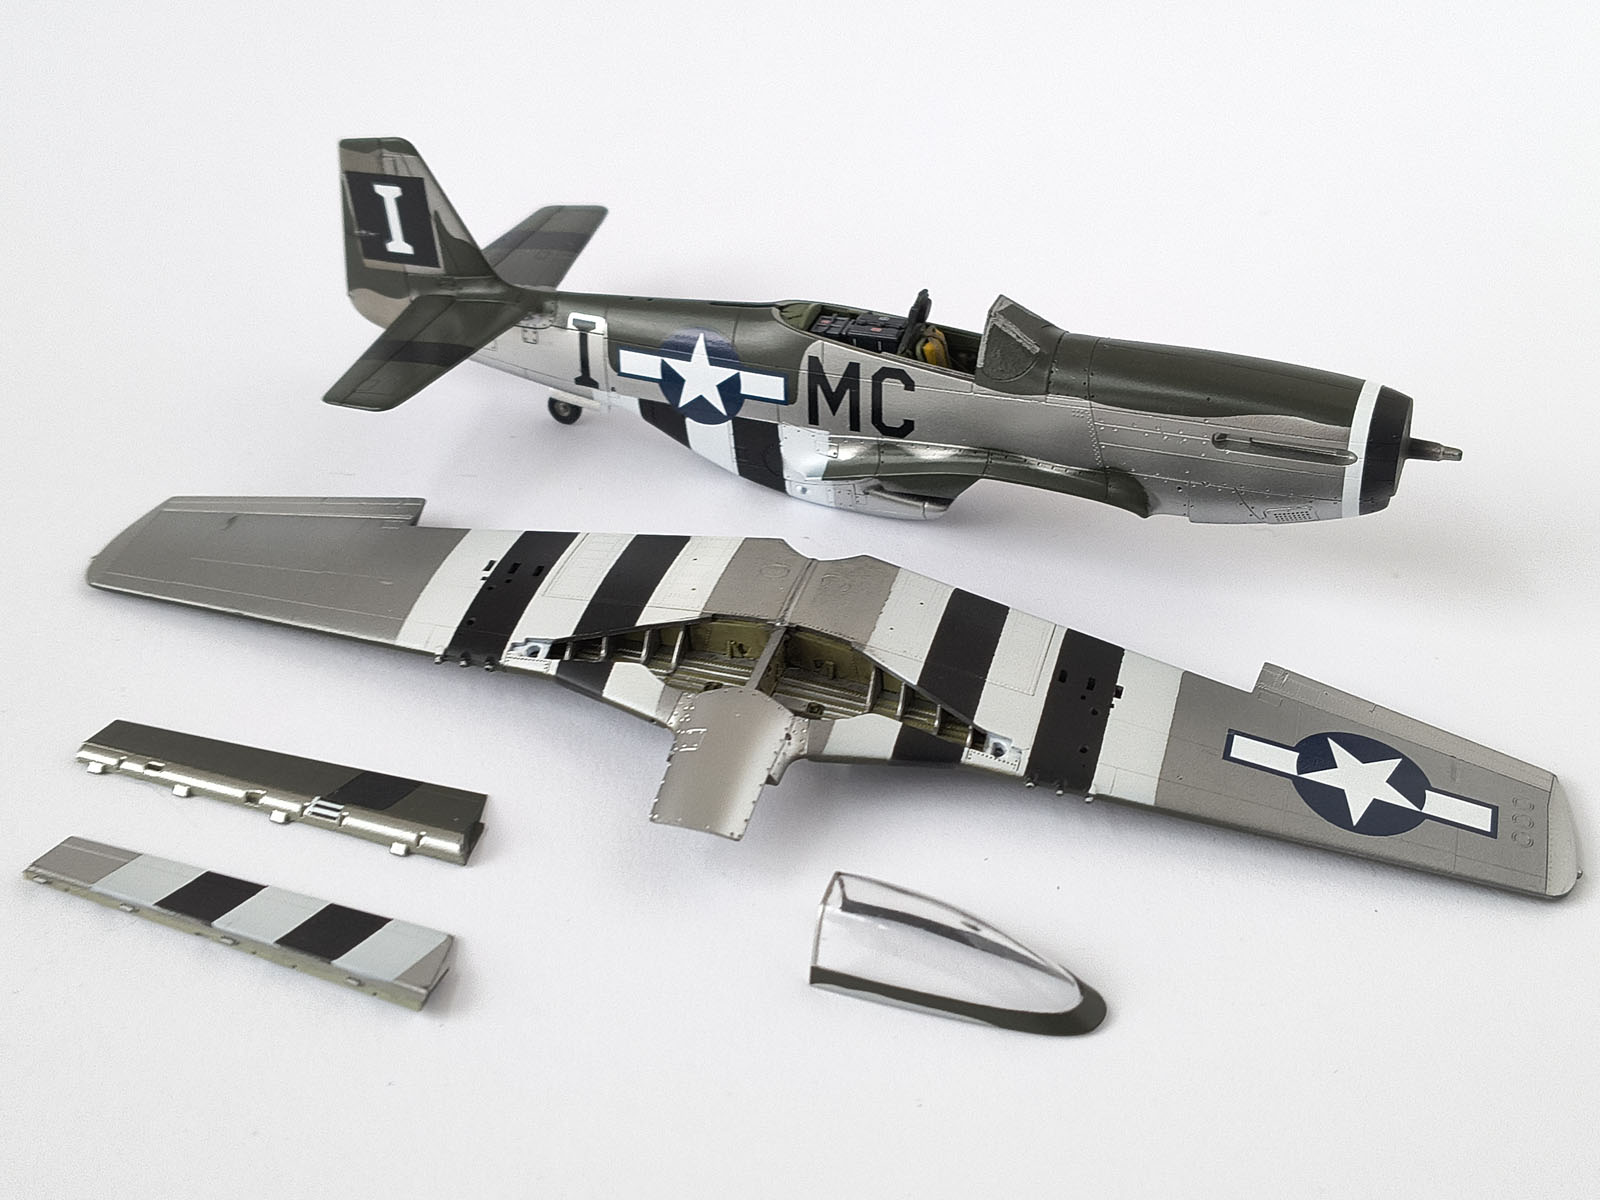
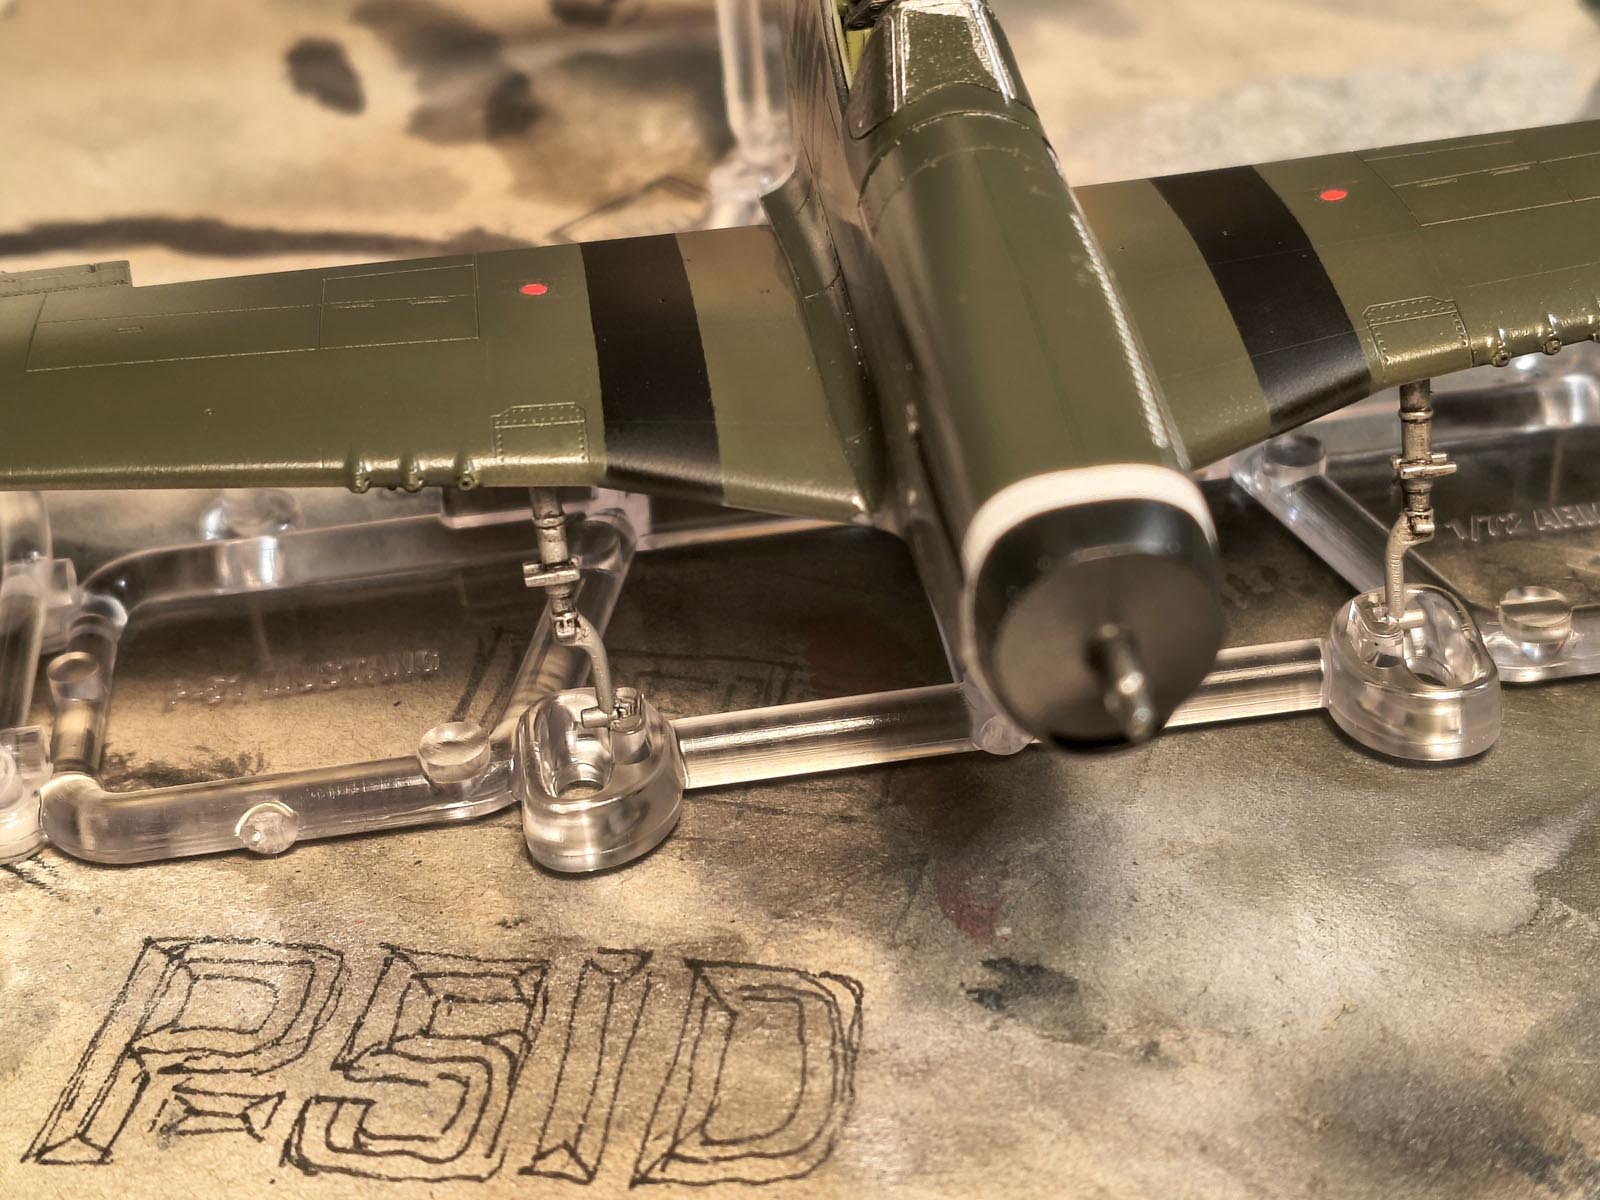
Underside: filled vs natural metal
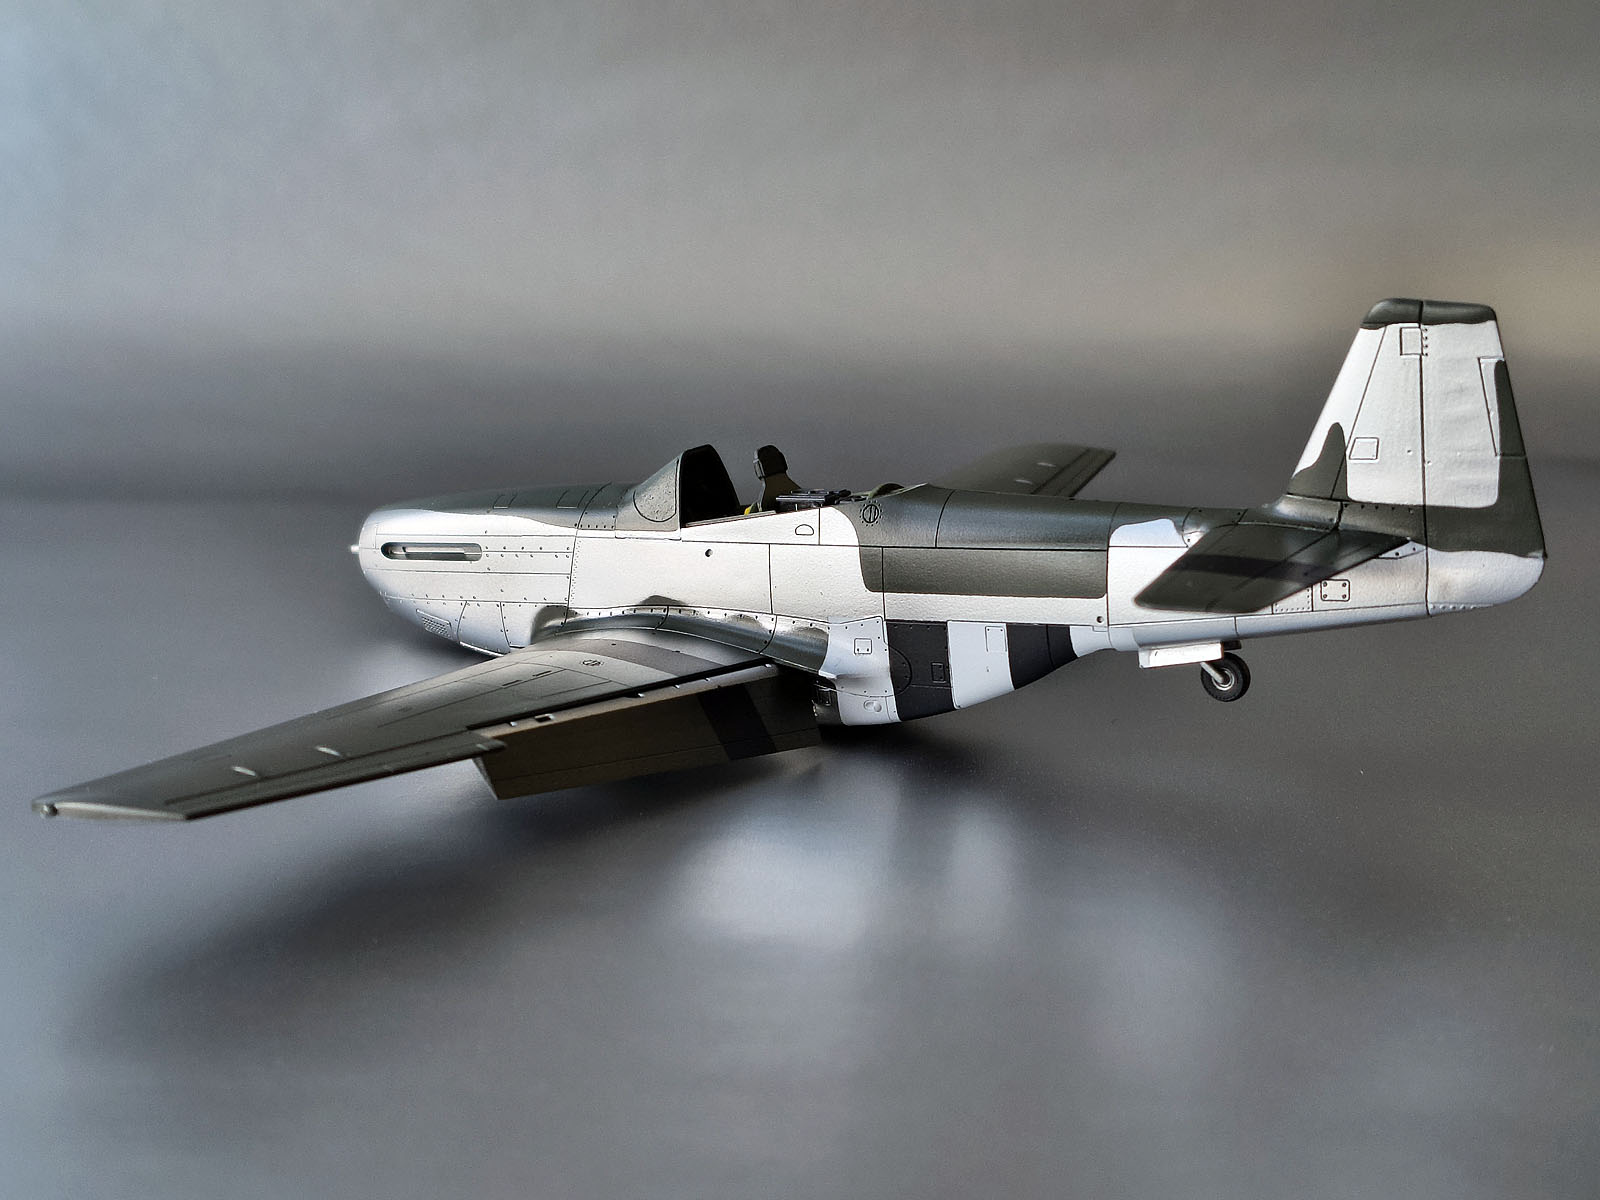
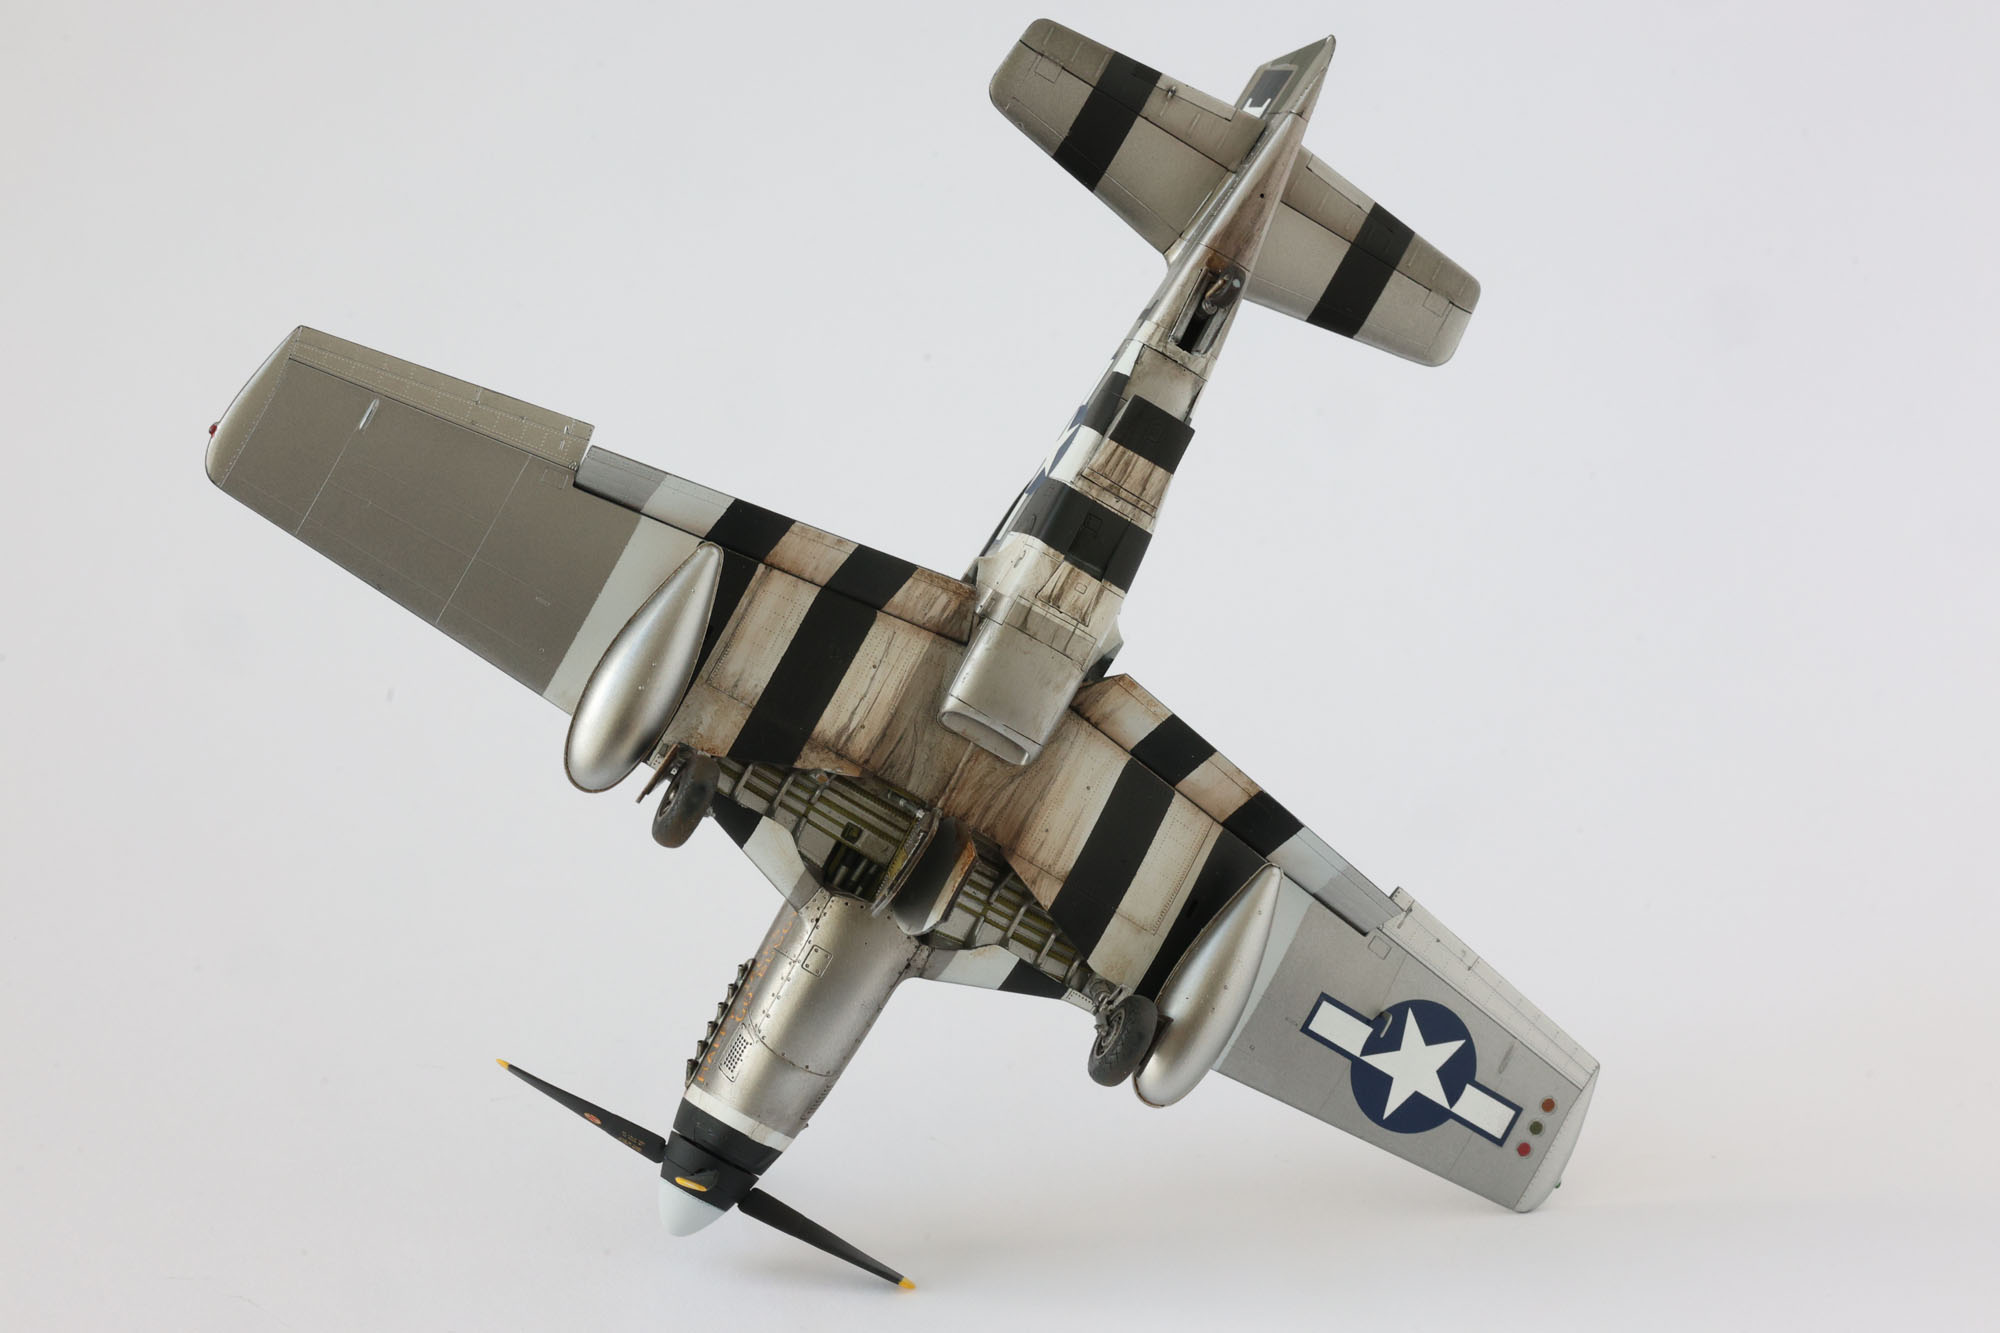
Underside of the wing: two shades of “silver”. Areas that were filled on the real thing – I paint with a grey-tinted metalizer. Natural metal – Gunze Super Metallic (Dural). The rest of the airframe – dark green.
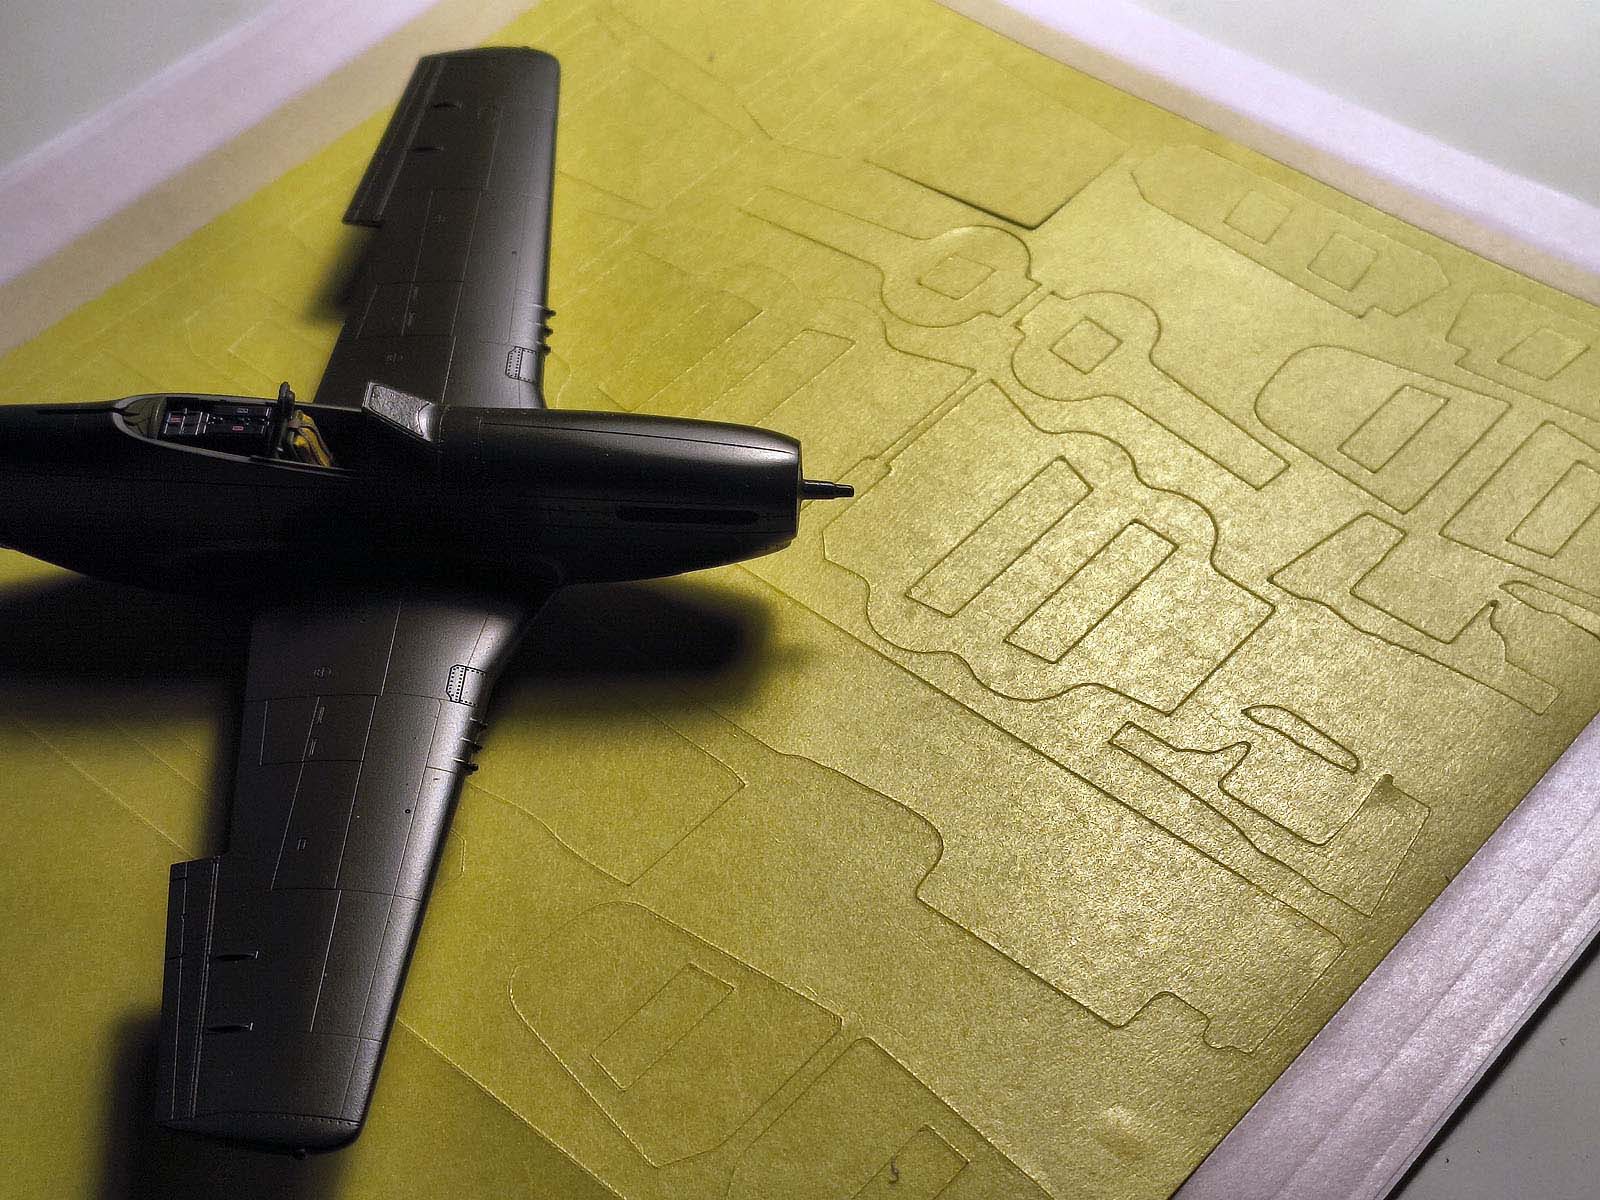
Masking and paint plan
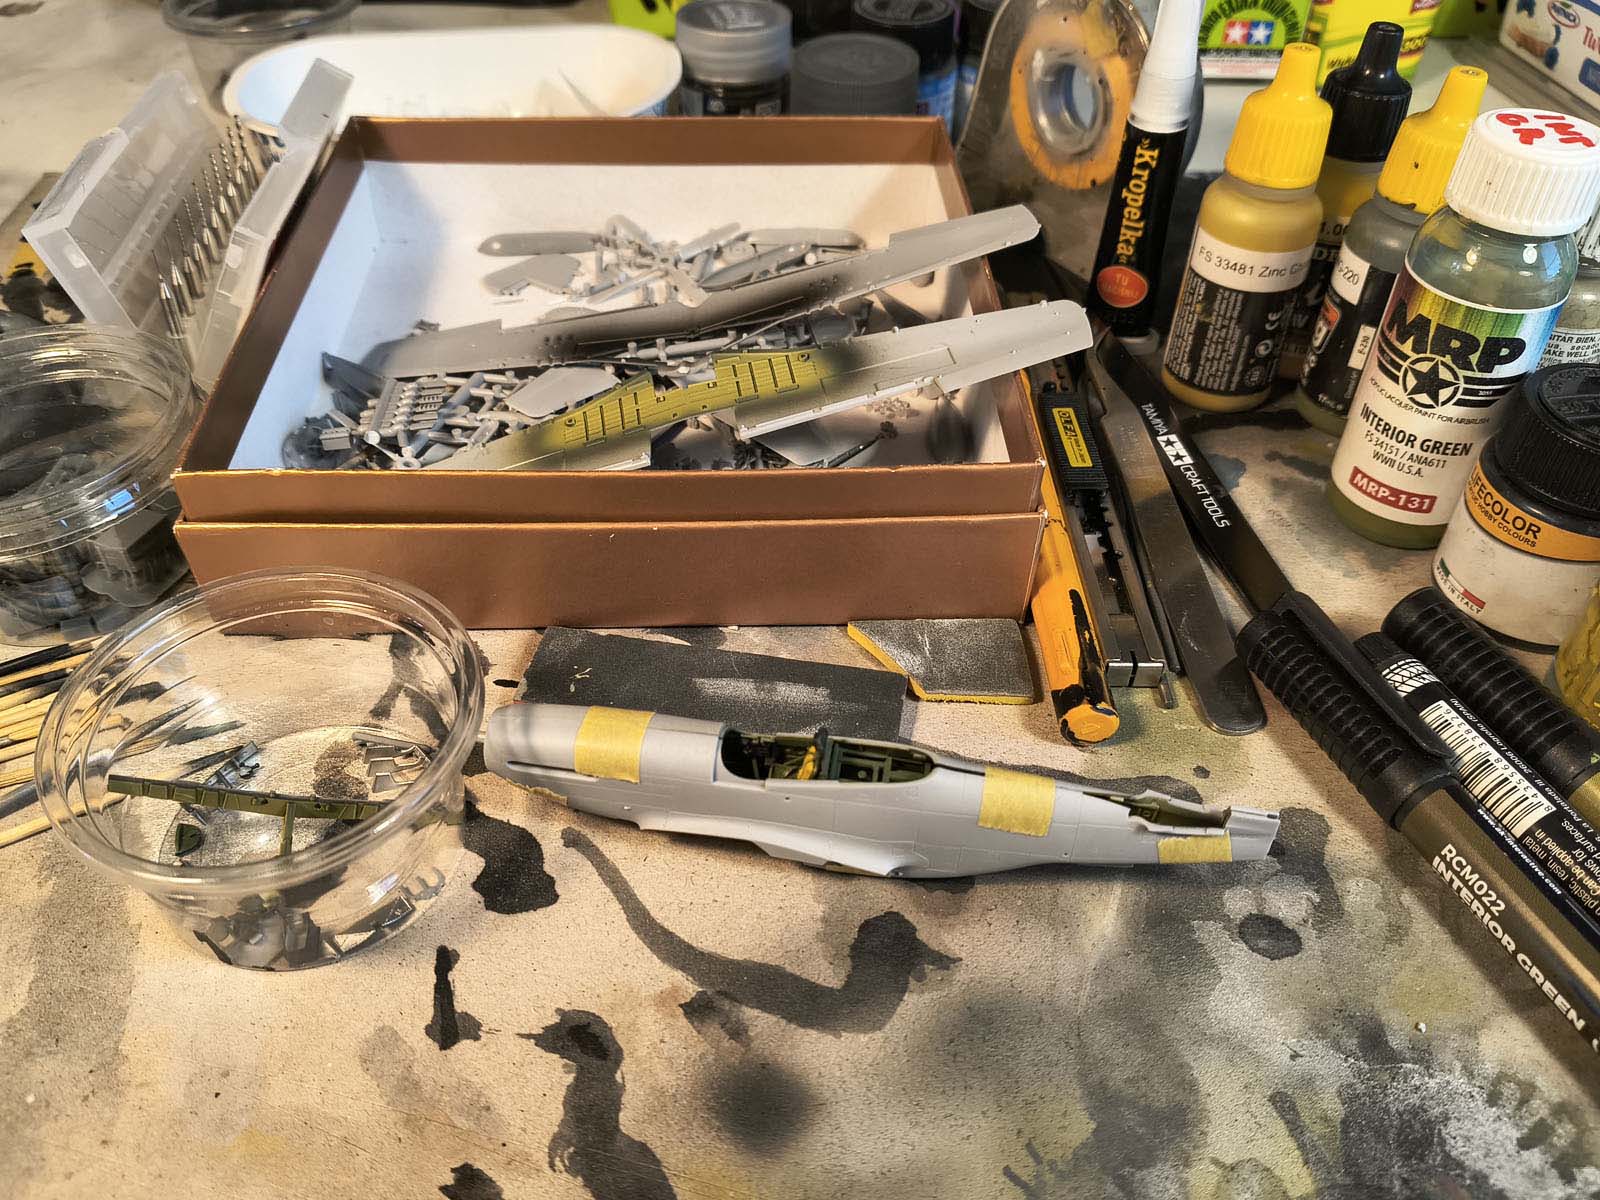
With the model prepared I start masking to paint the remaining metal areas. I keep the airframe partly assembled, which makes masking/painting easier. Matching the camouflage blotches to decals and the invasion stripes pushed me to design my own masks. A free mask template for plotter or laser printer is available in the shop (order for 0.00 EUR and you’ll receive the files by email) – link.
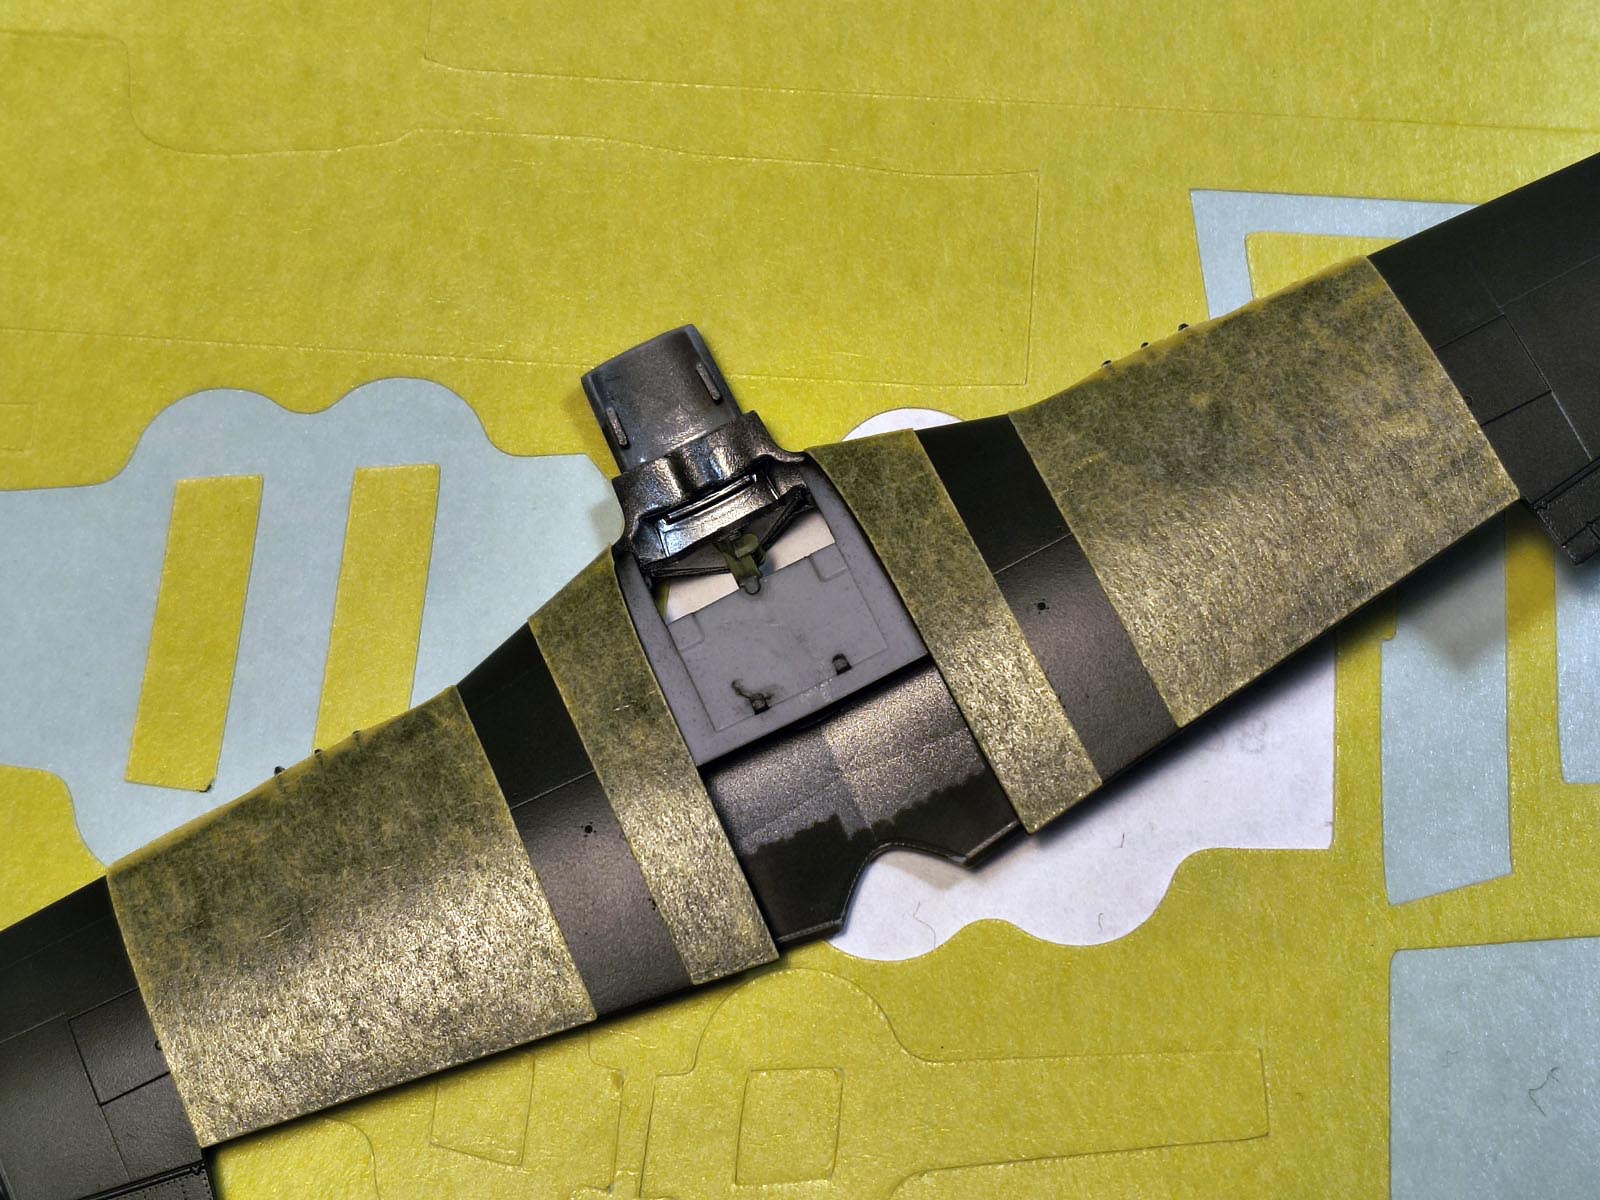
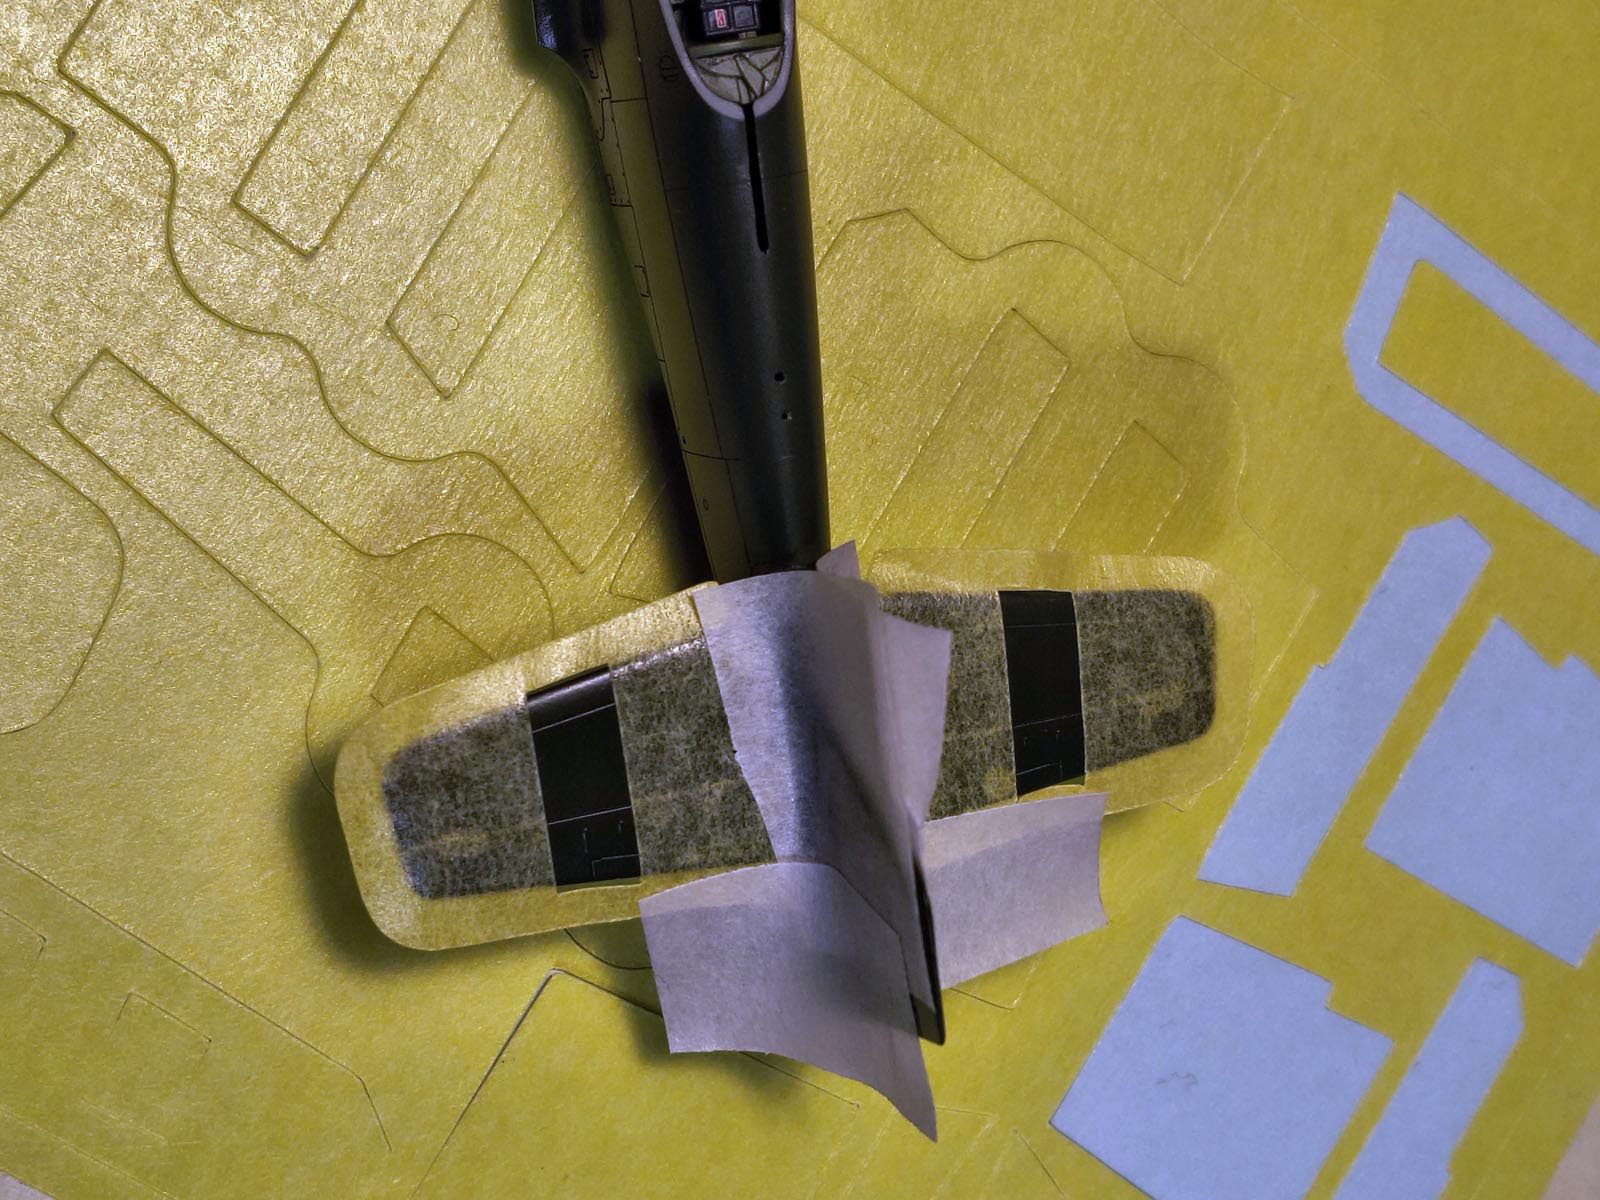
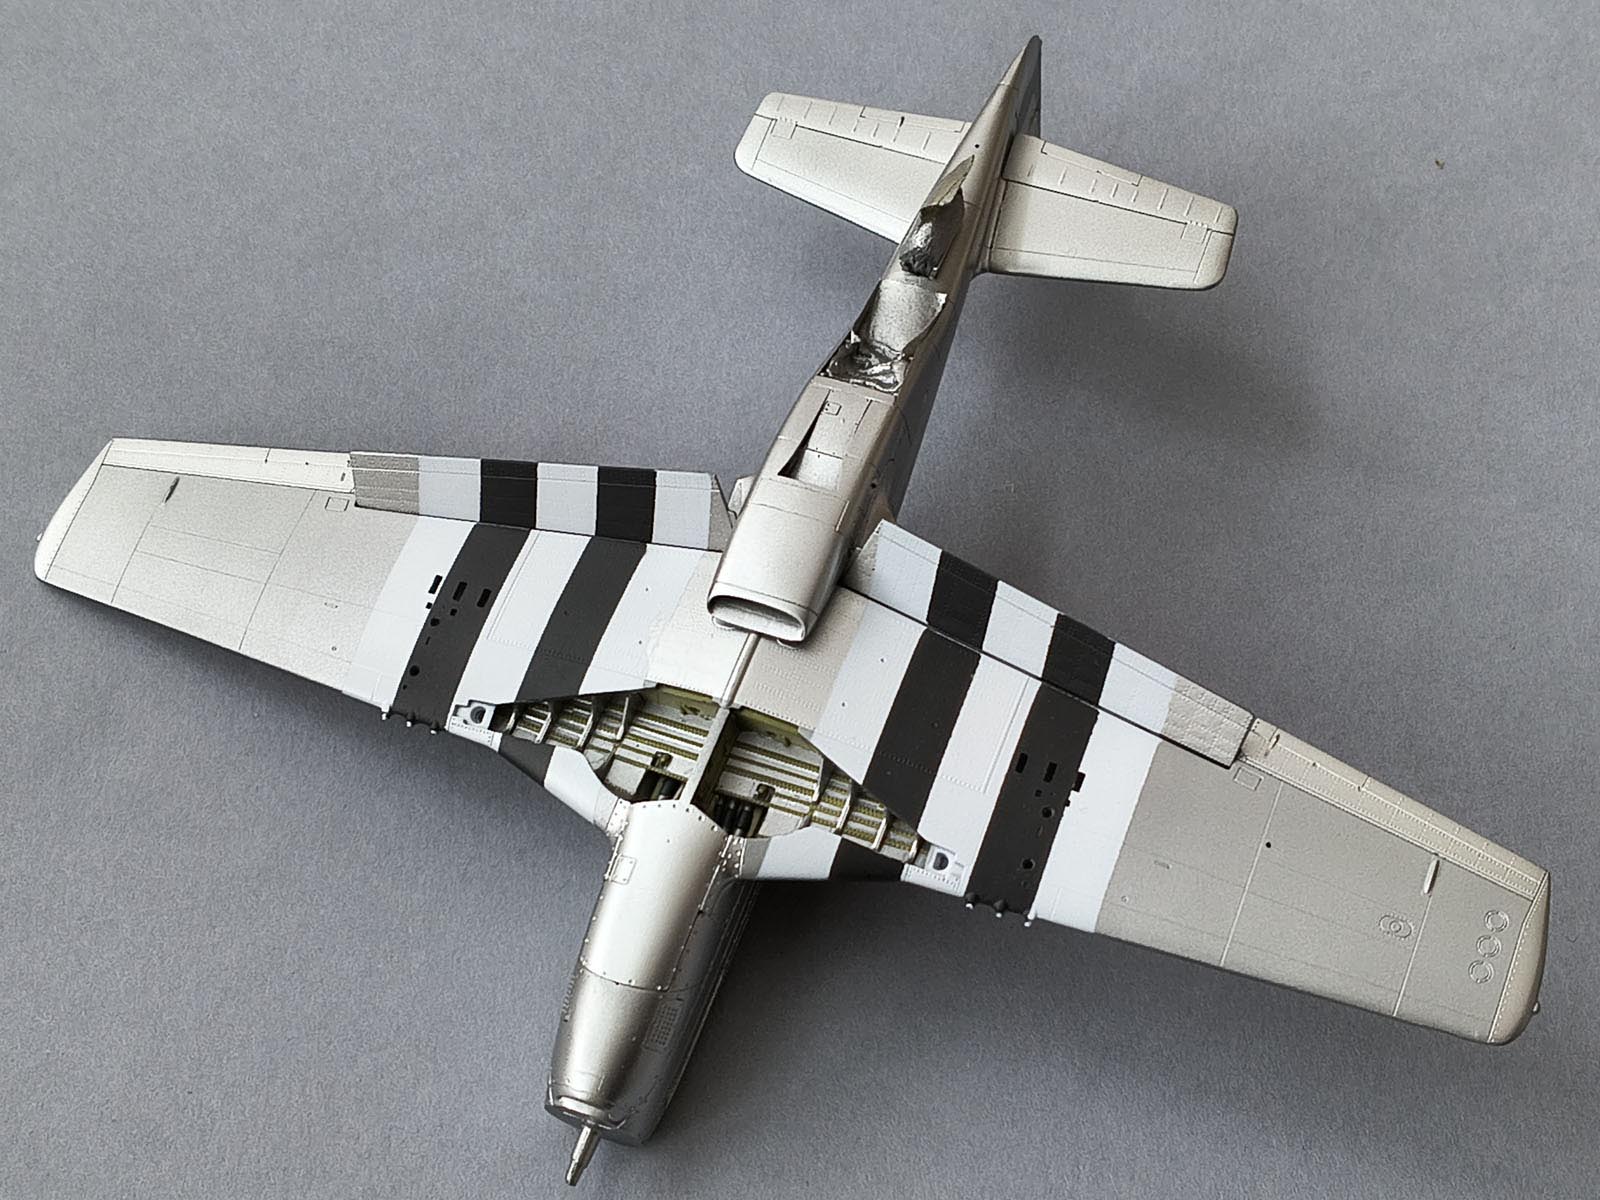
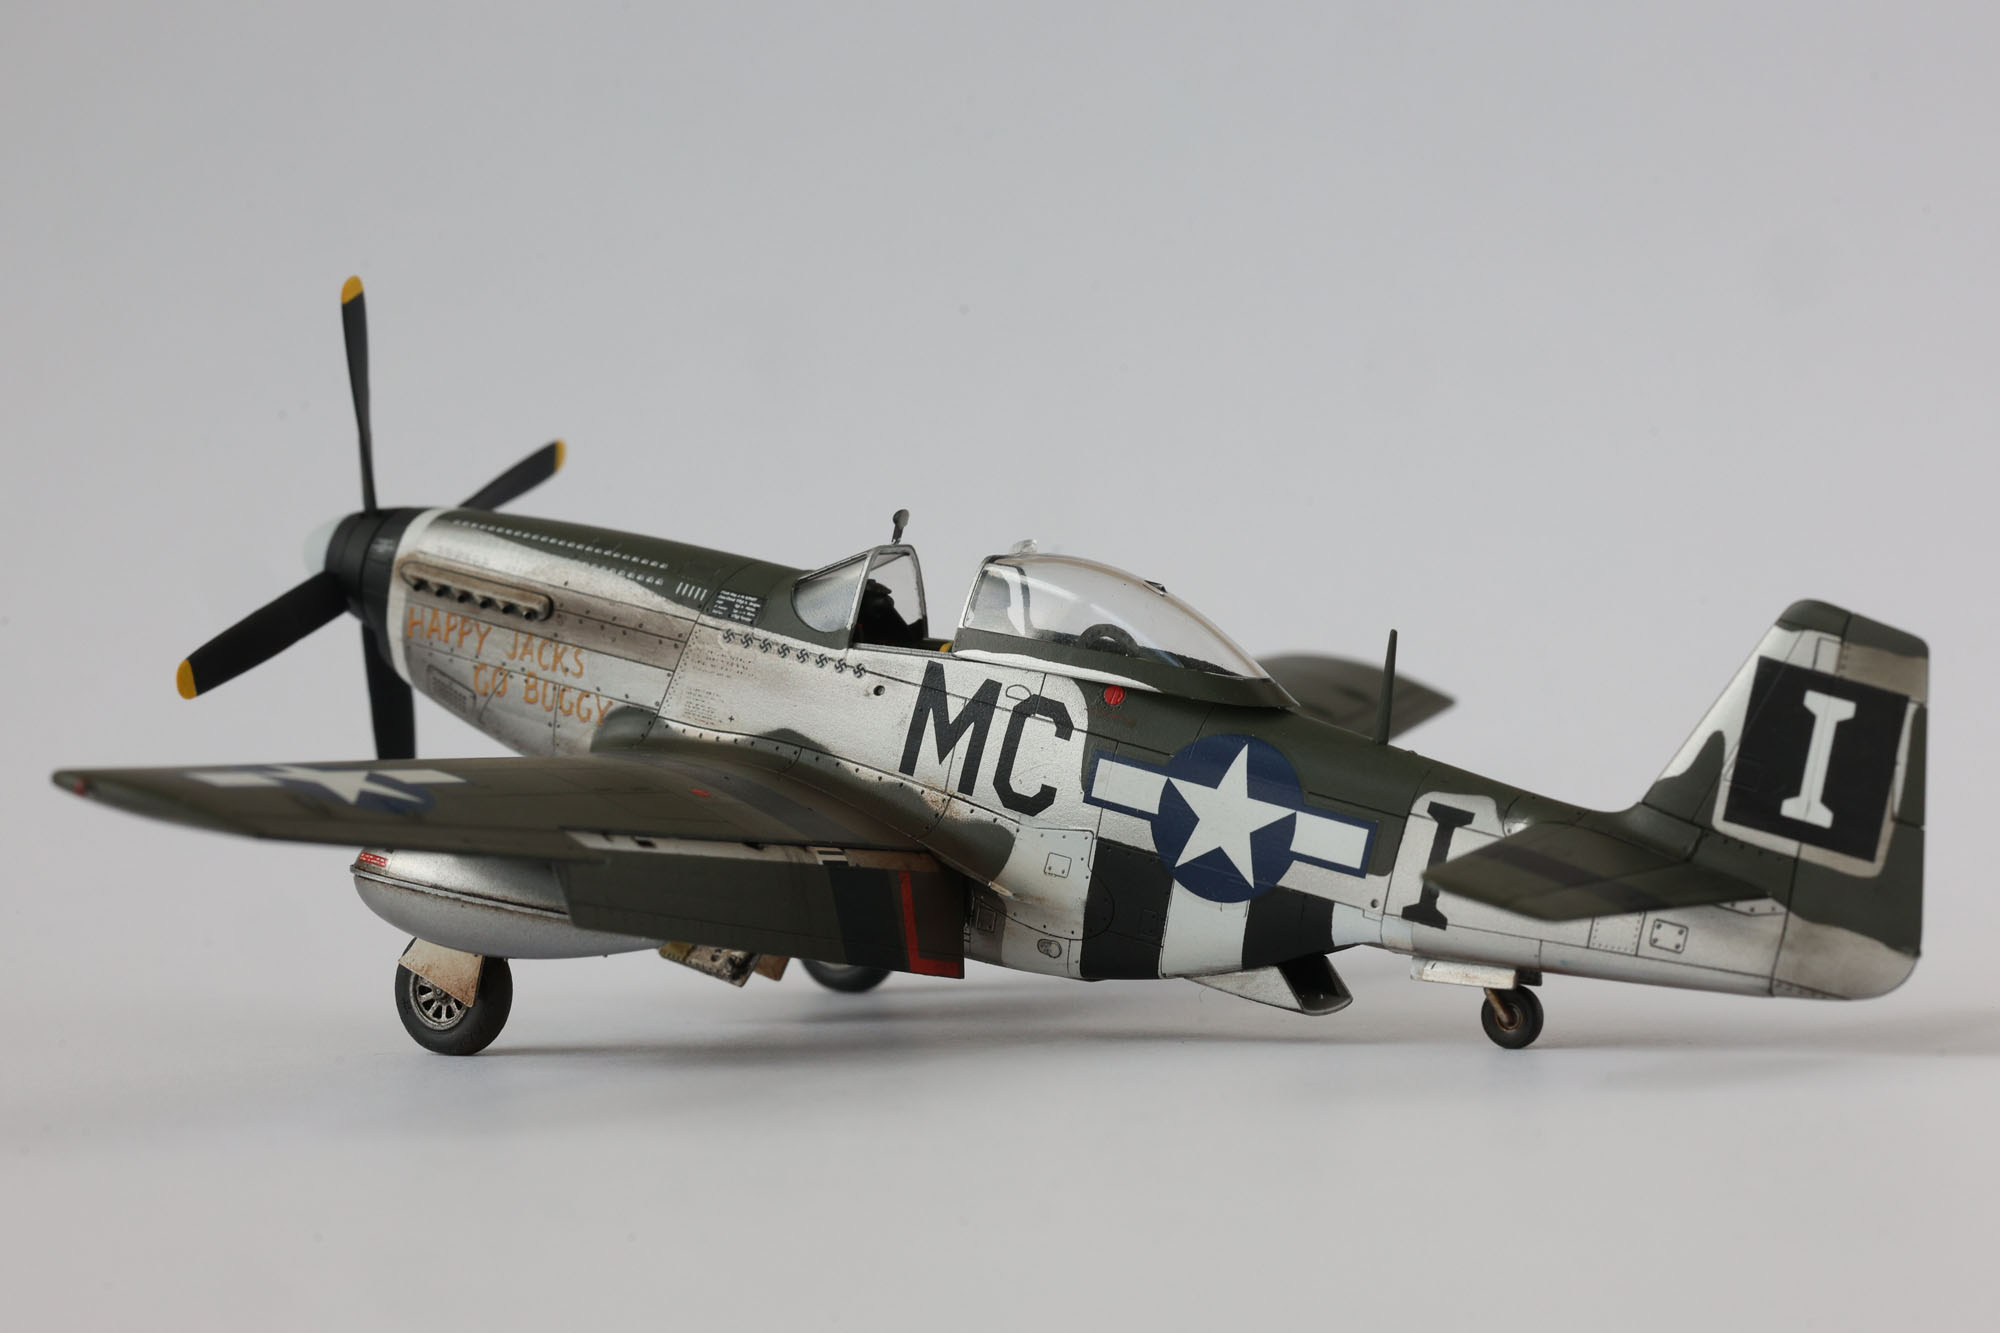
Invasion stripes – underside
I start with the invasion stripes on the underside. Besides my masks I use delicate painter’s tape (TESA). First white, then black. I design the masks so that 2–3 edges always help position them precisely.
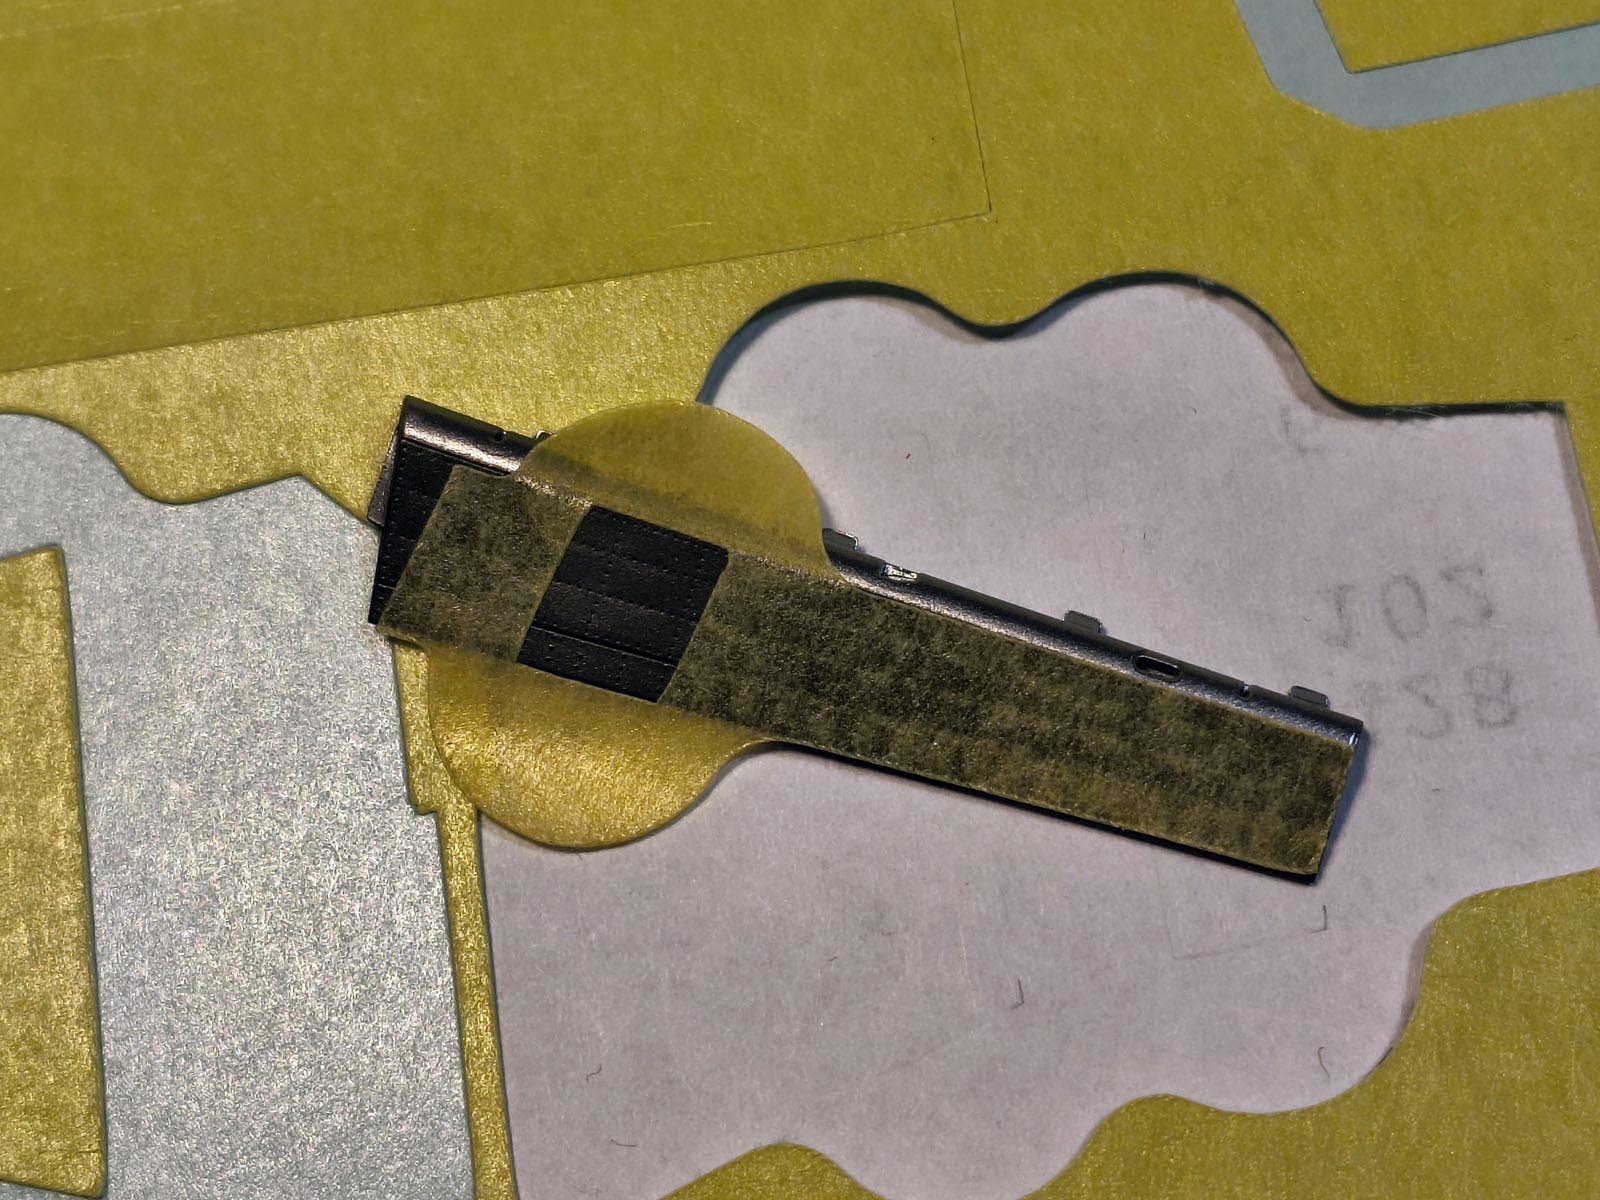
Quick Invasion stripes – topside
Now the quick identification stripes on the wing tops and tailplanes.
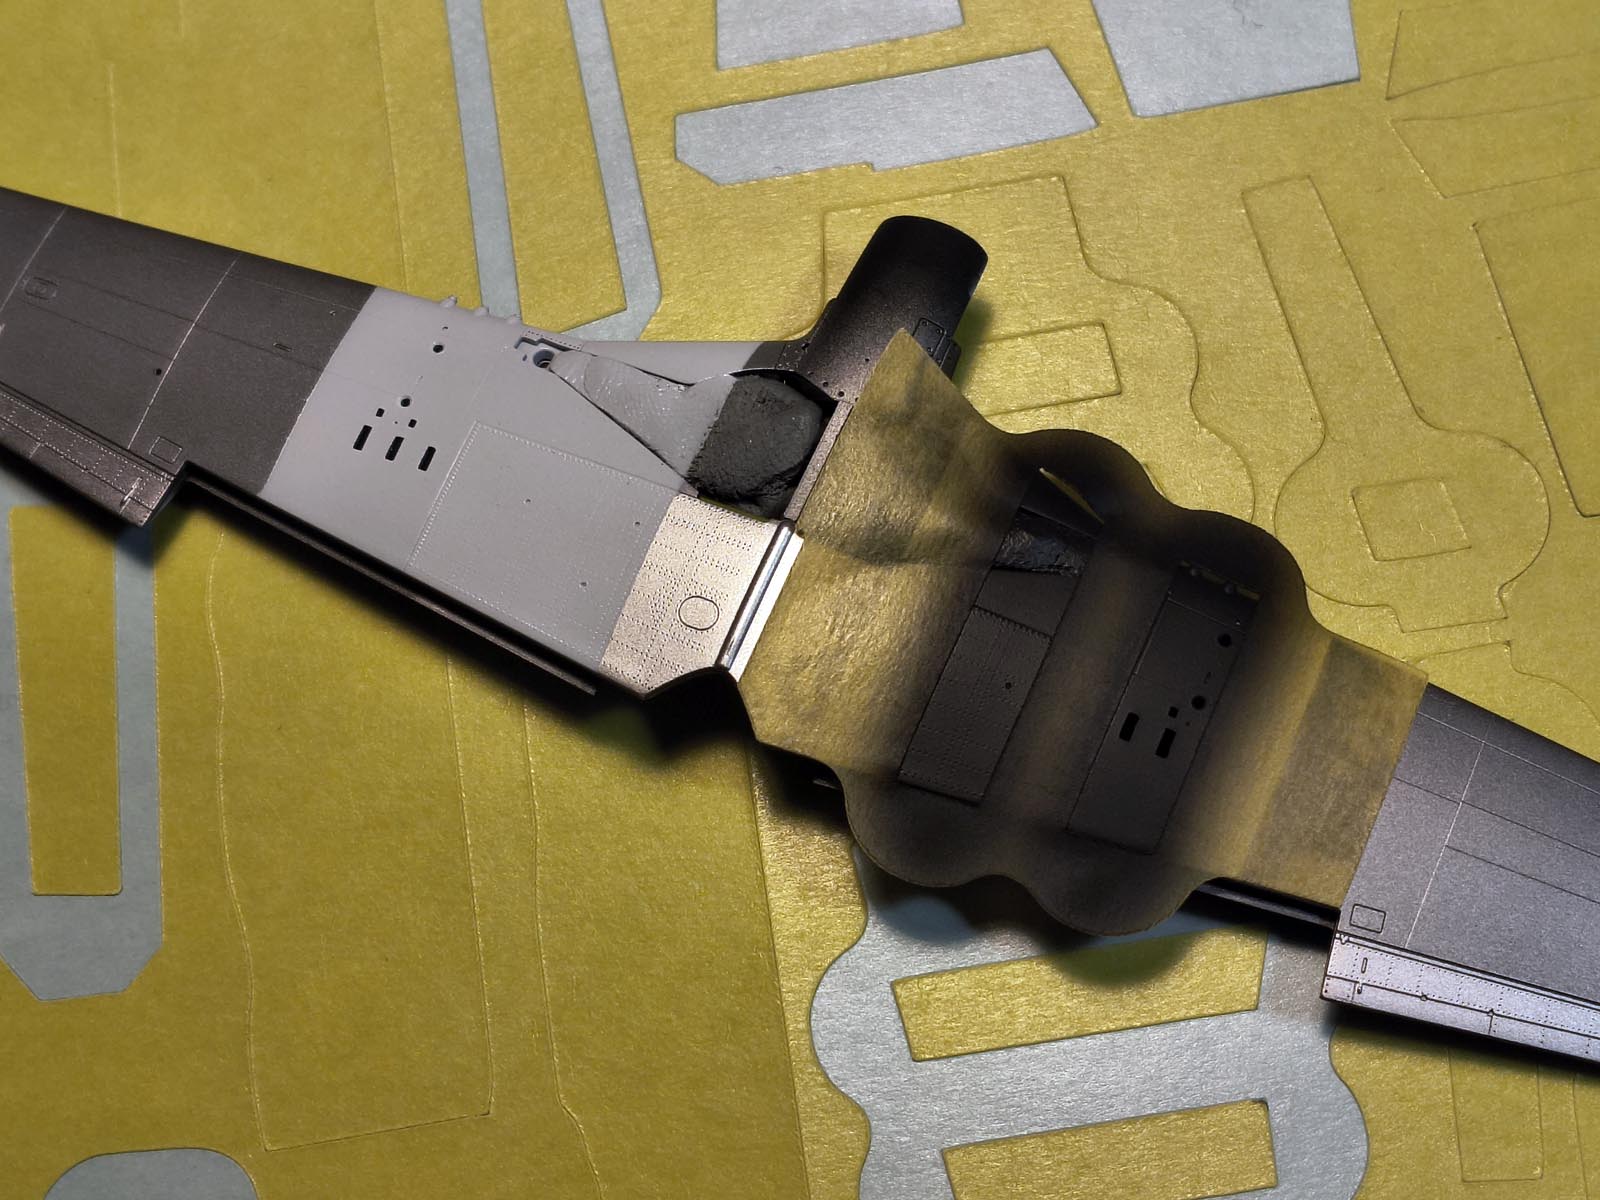
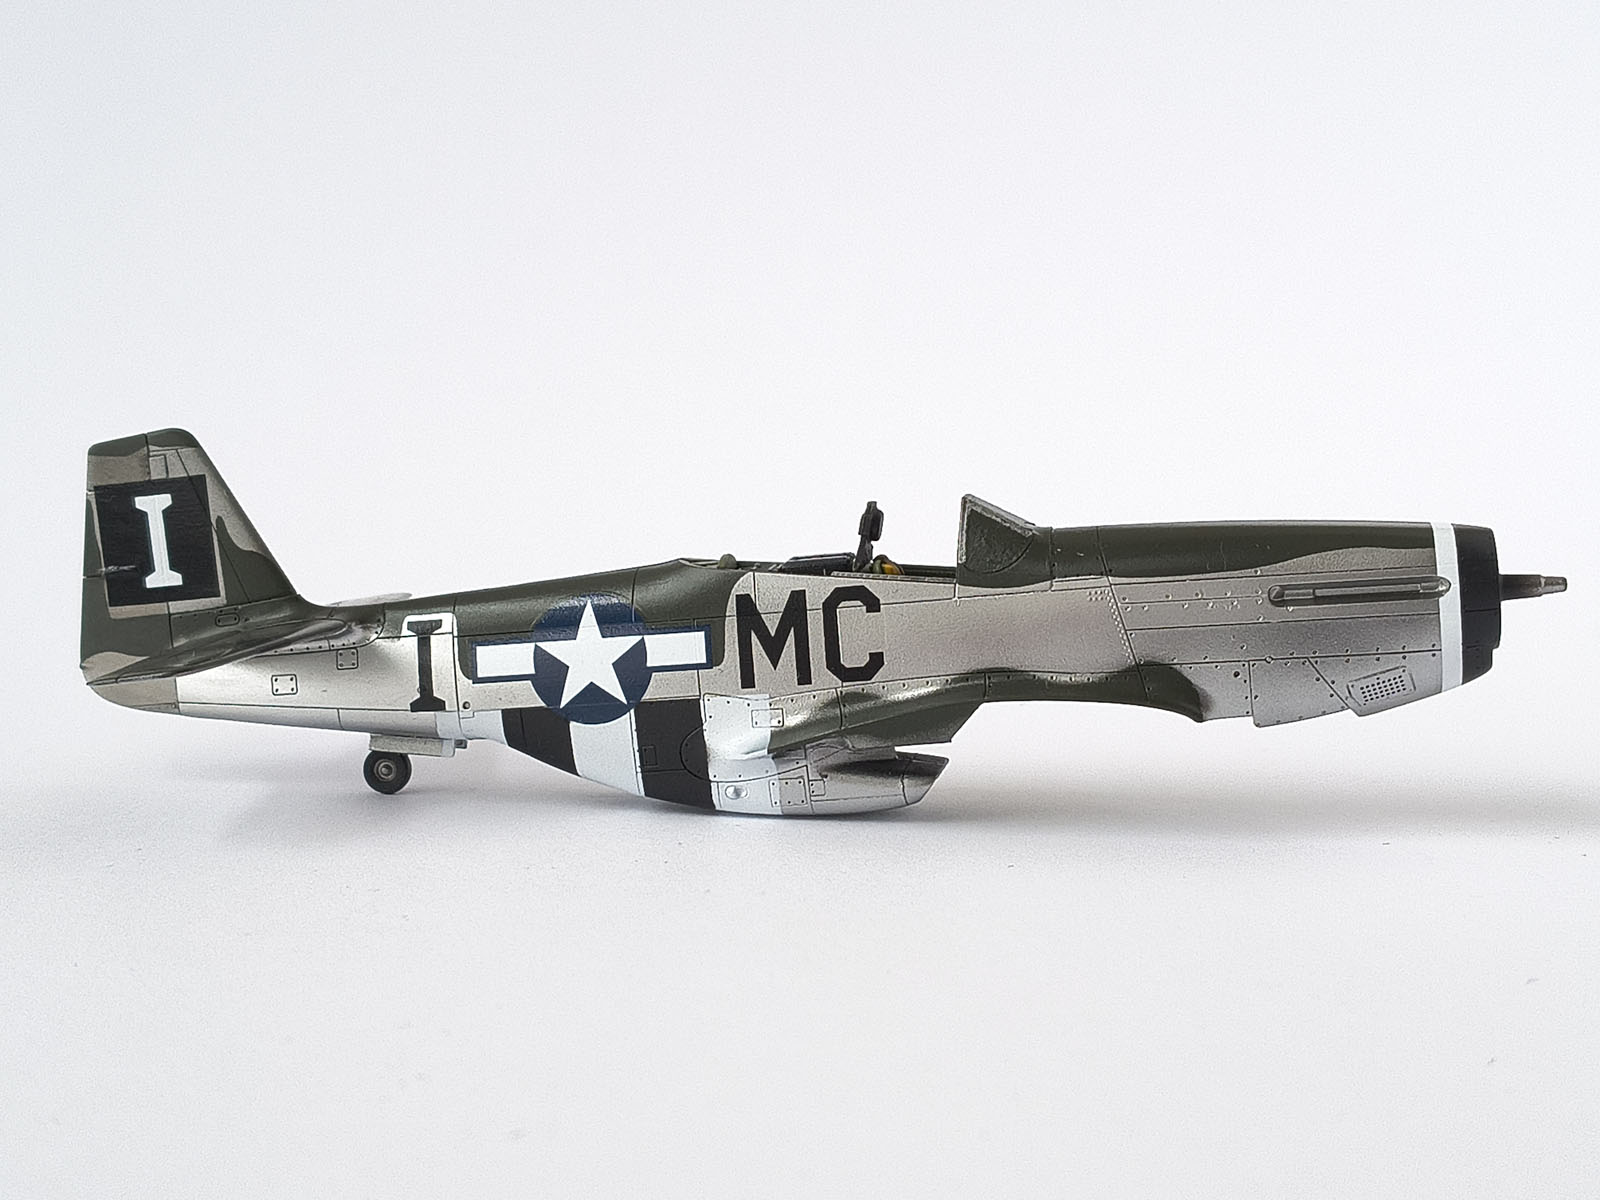
Fuselage – soft edges with patafix
I mask the fuselage with patafix – perfect for the soft wing–fuselage transition and compound surfaces where paper masks struggle.

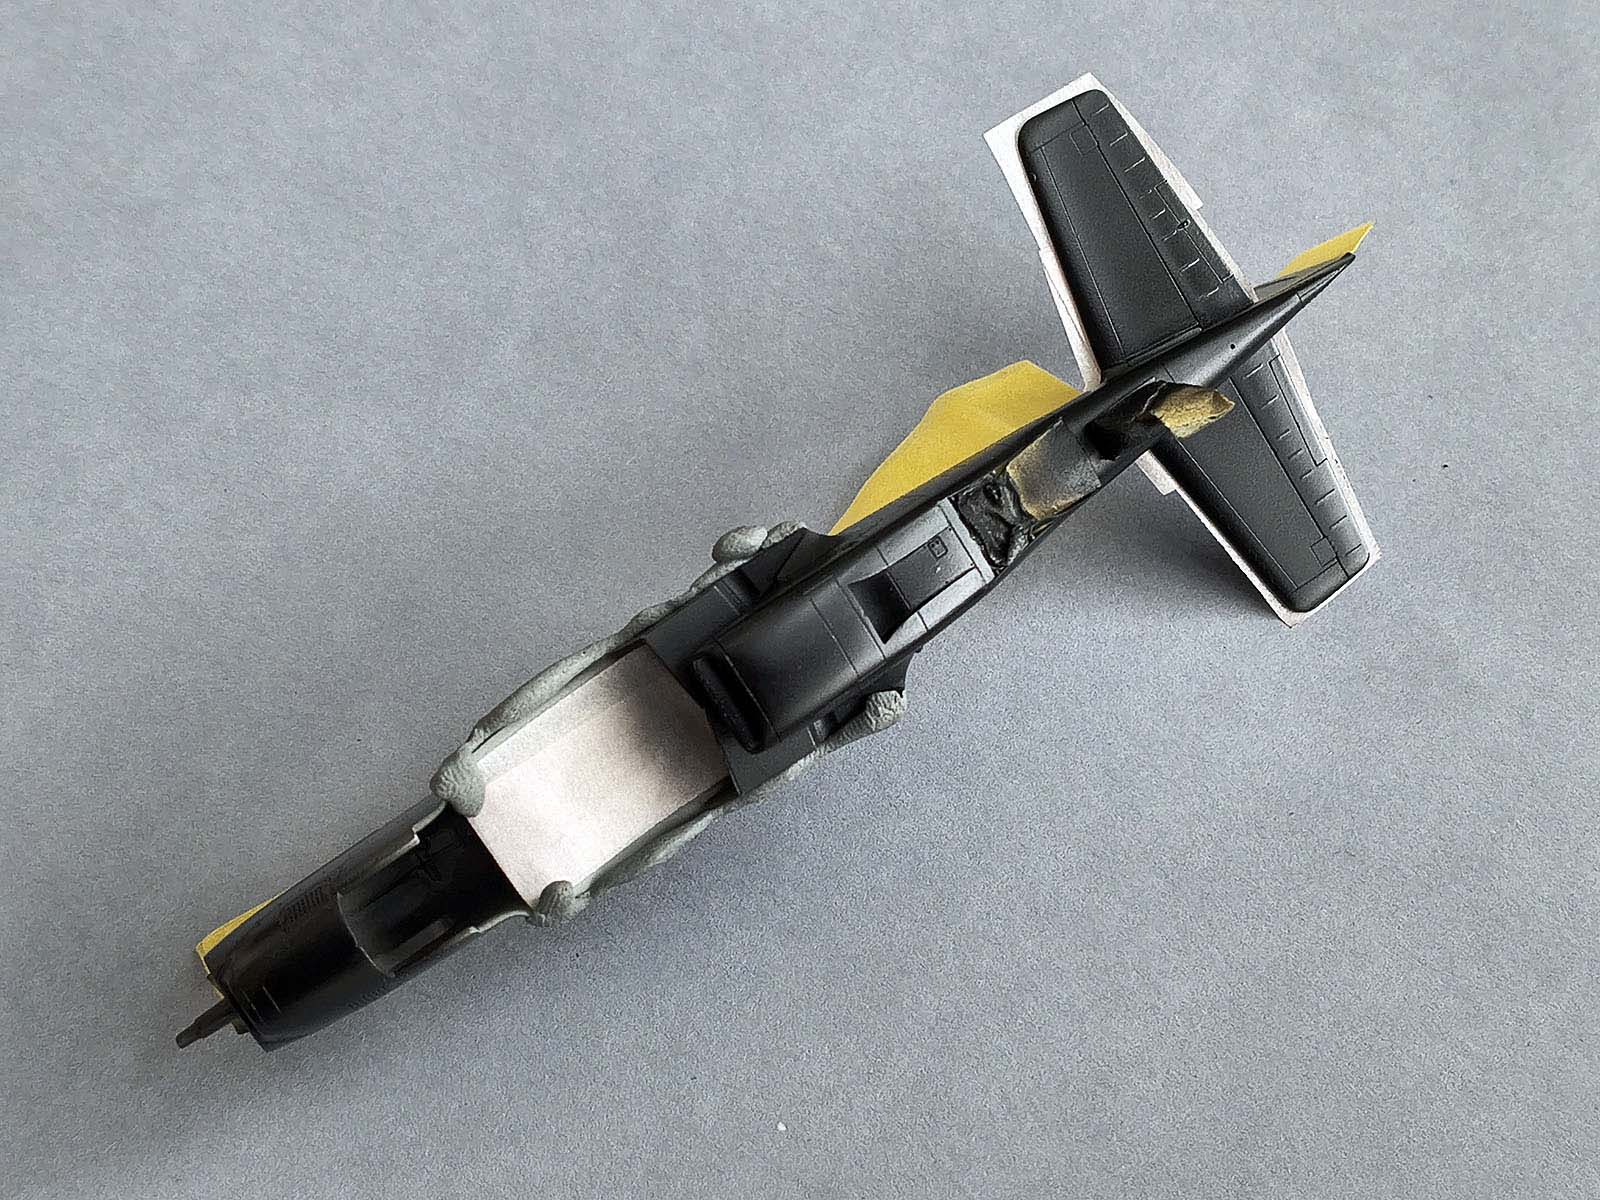
Metal on the fuselage: again Gunze SM Dural.
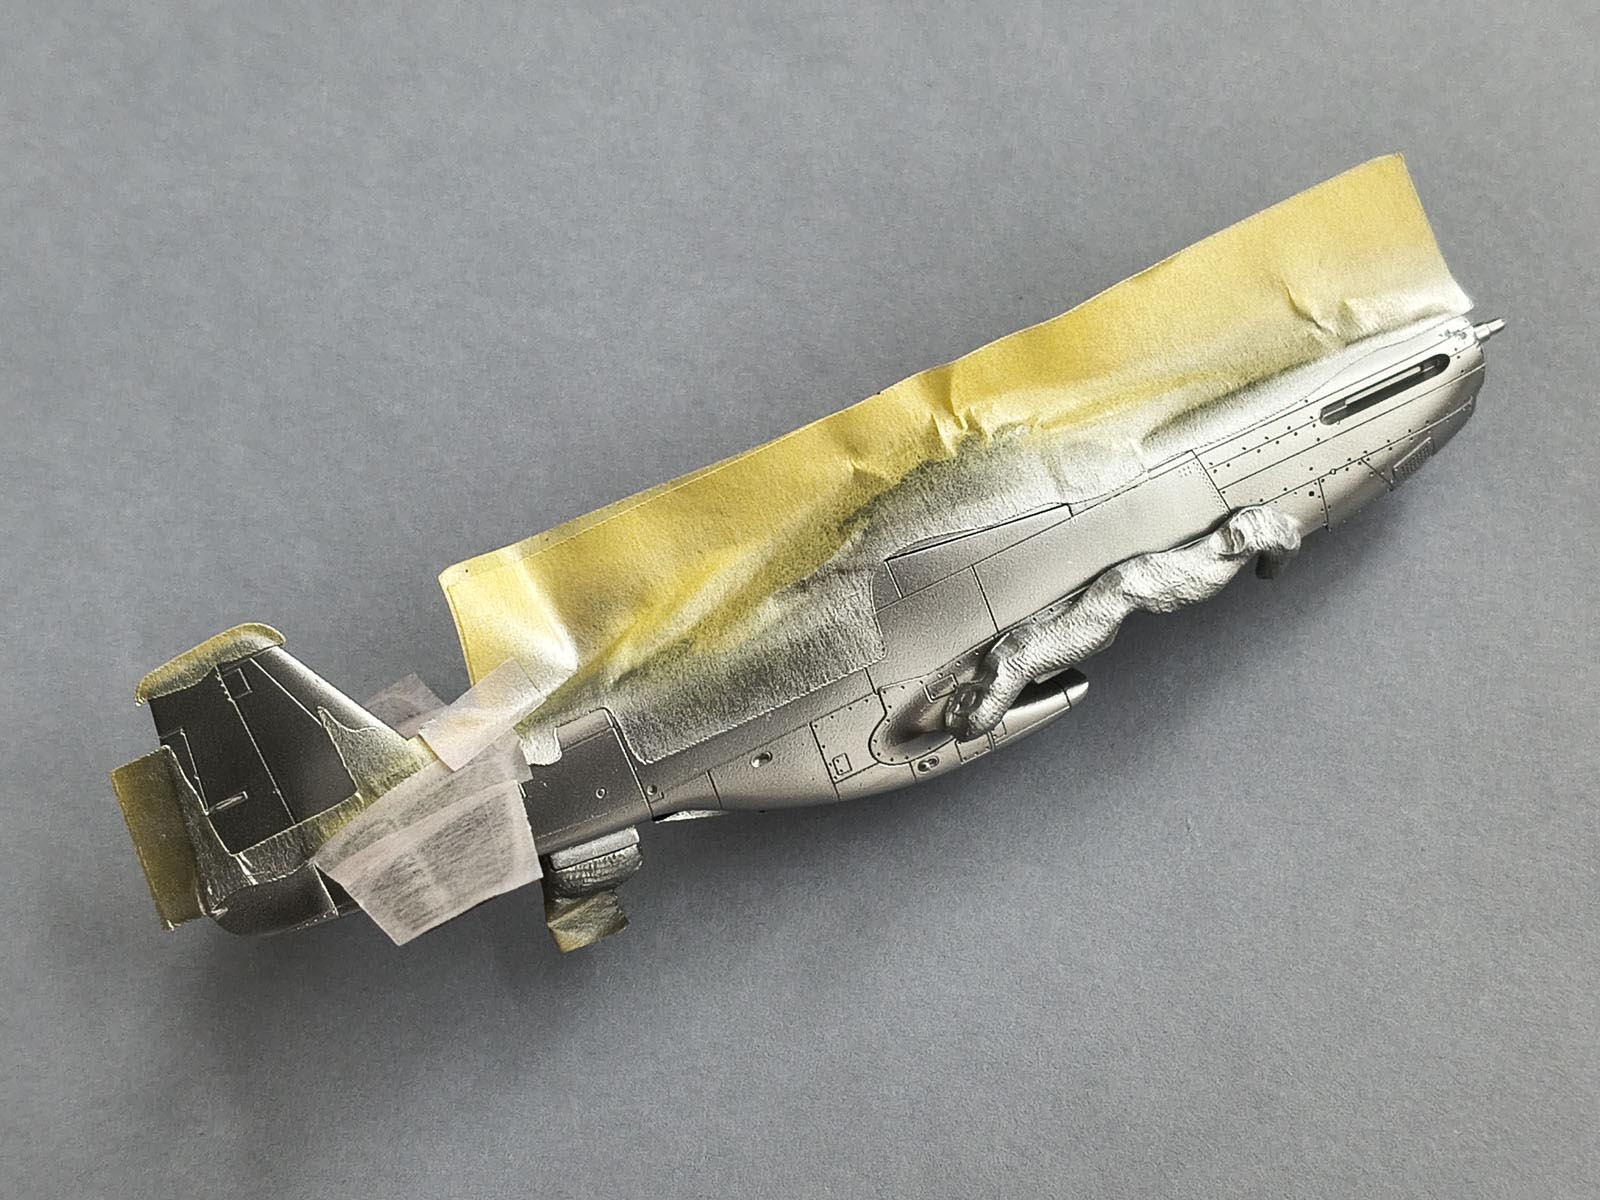
Masks off – crisp, high-contrast, no bleed-through.
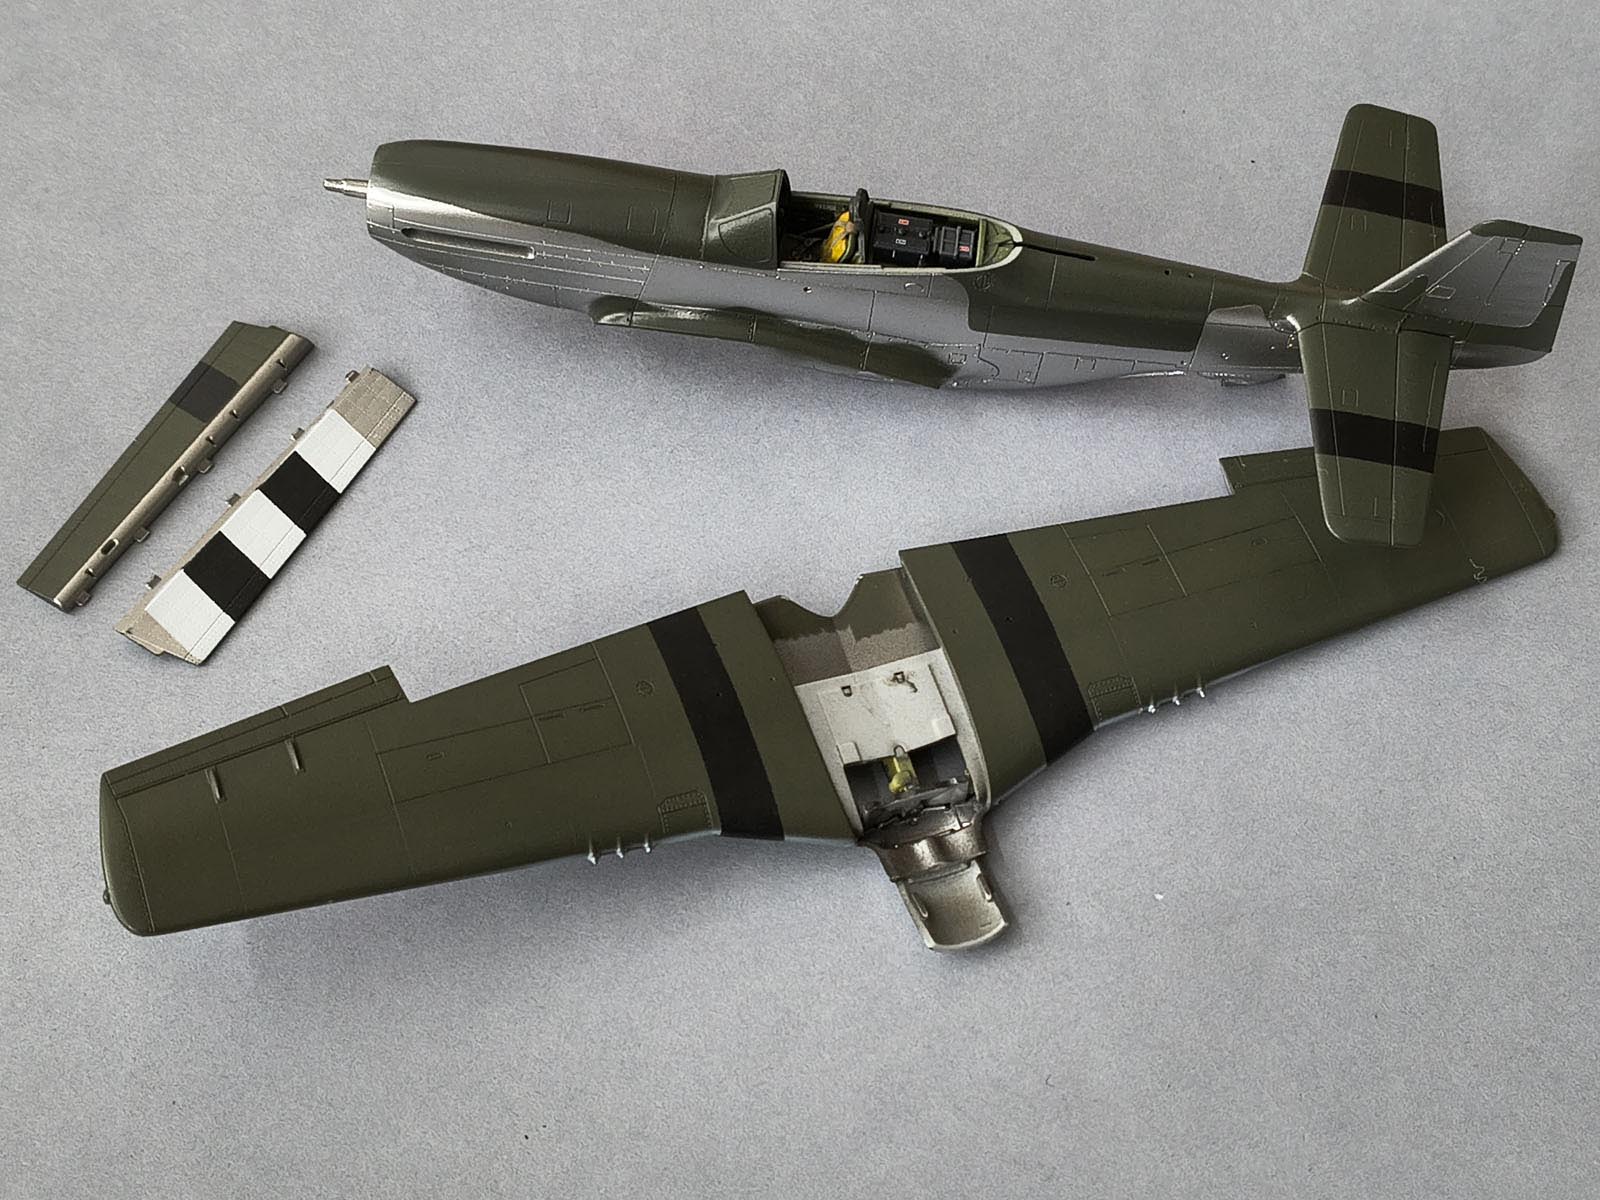
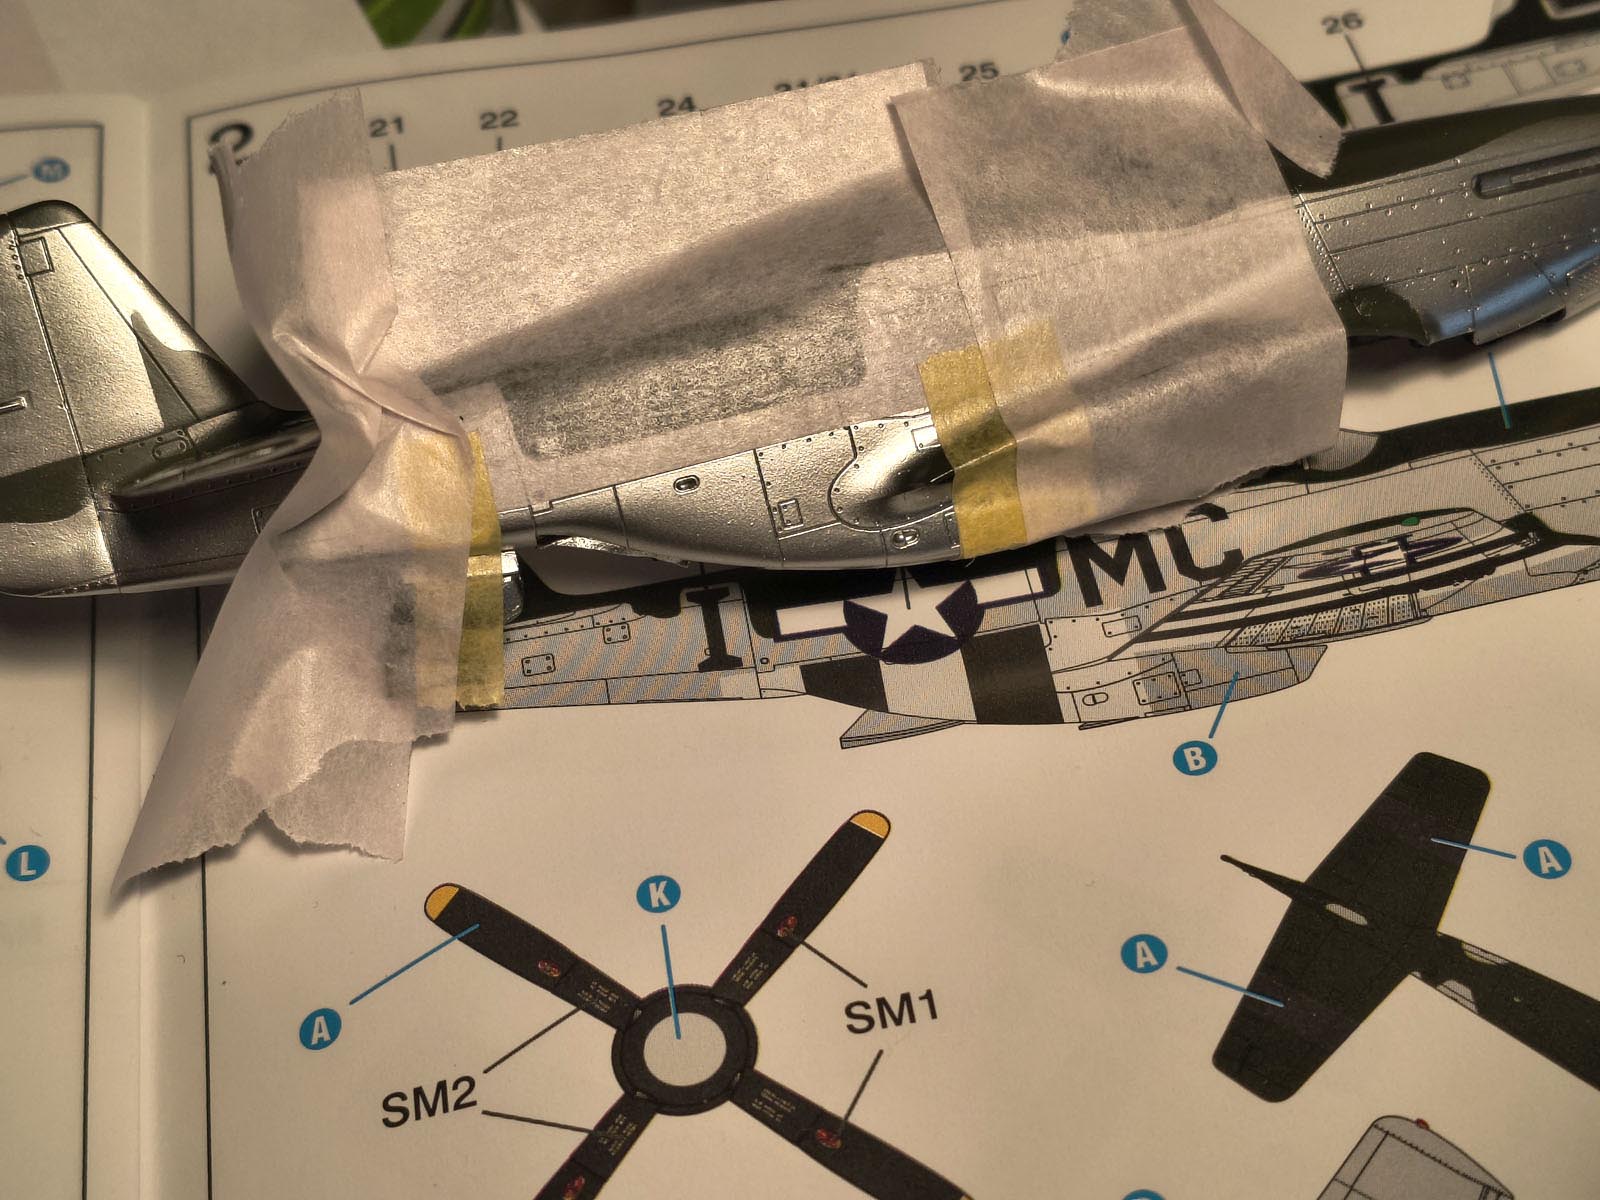
Fuselage stripes – faster without a template
I painted the fuselage stripes over the silver. I skipped 3D templates – manual masking turned out quicker and more reliable.
Meanwhile I painted the small bits.
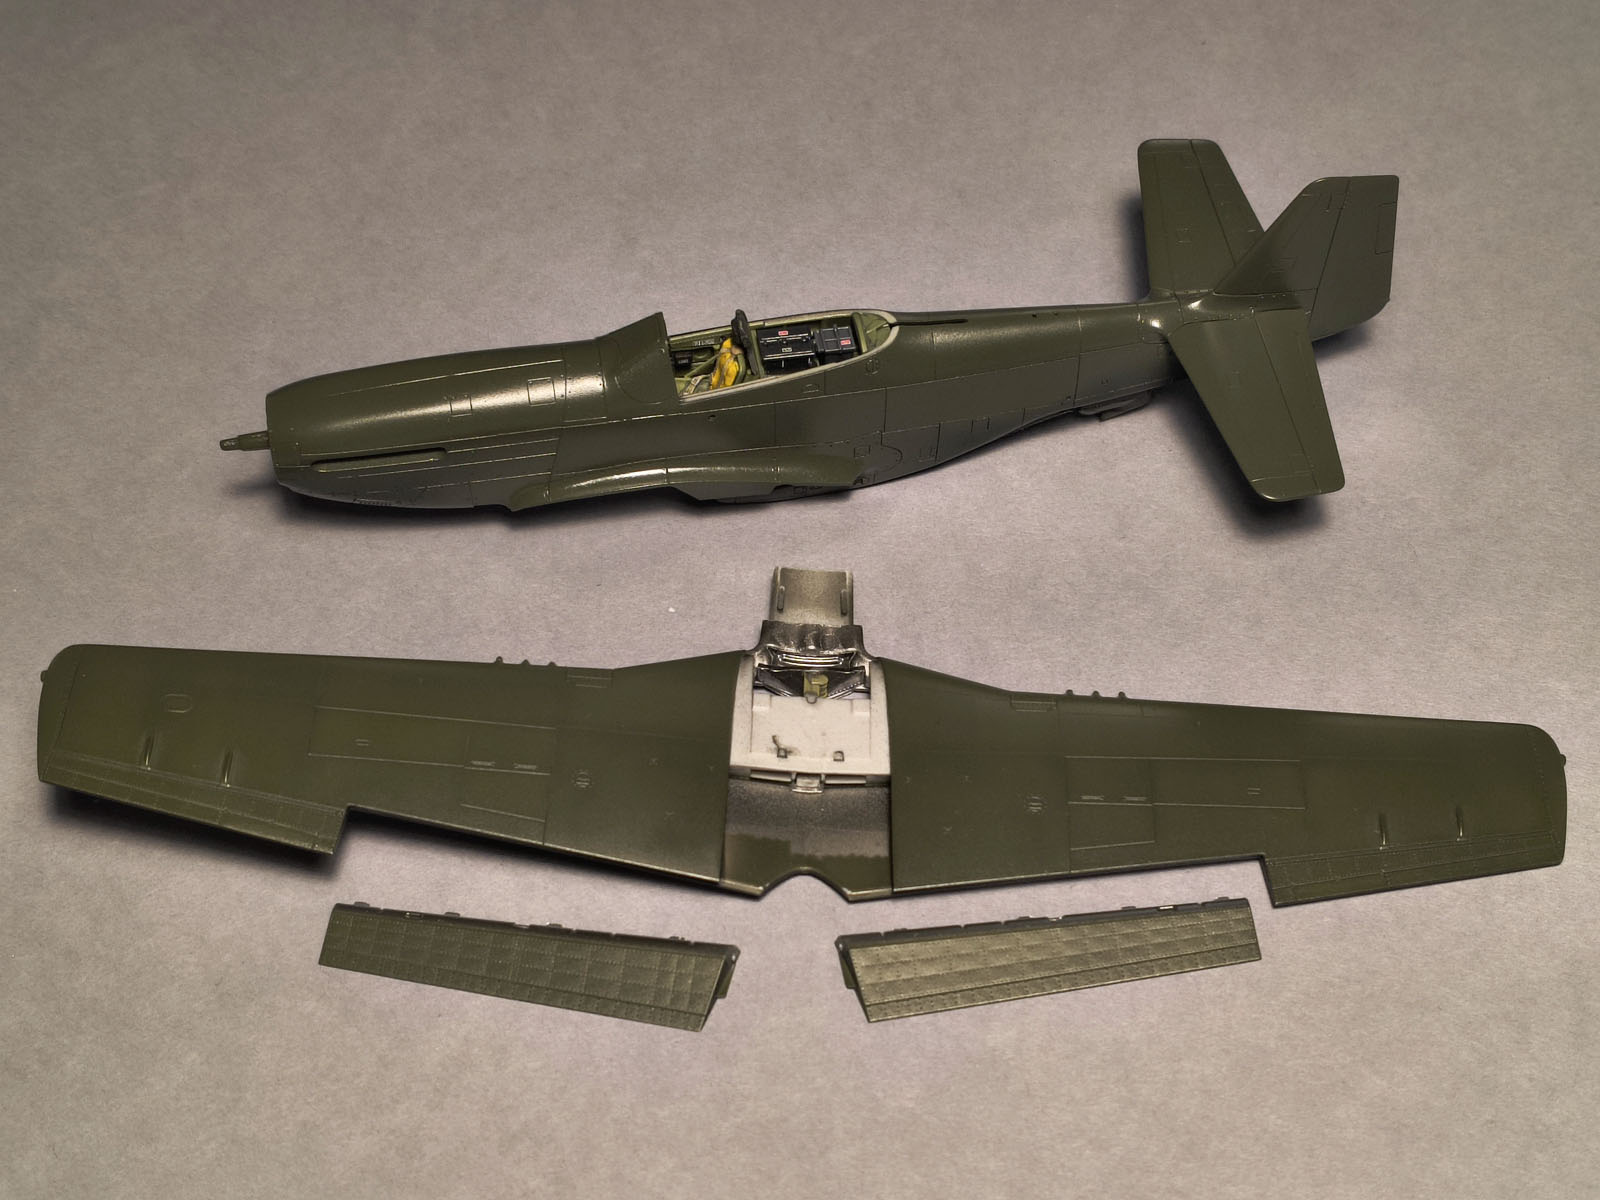
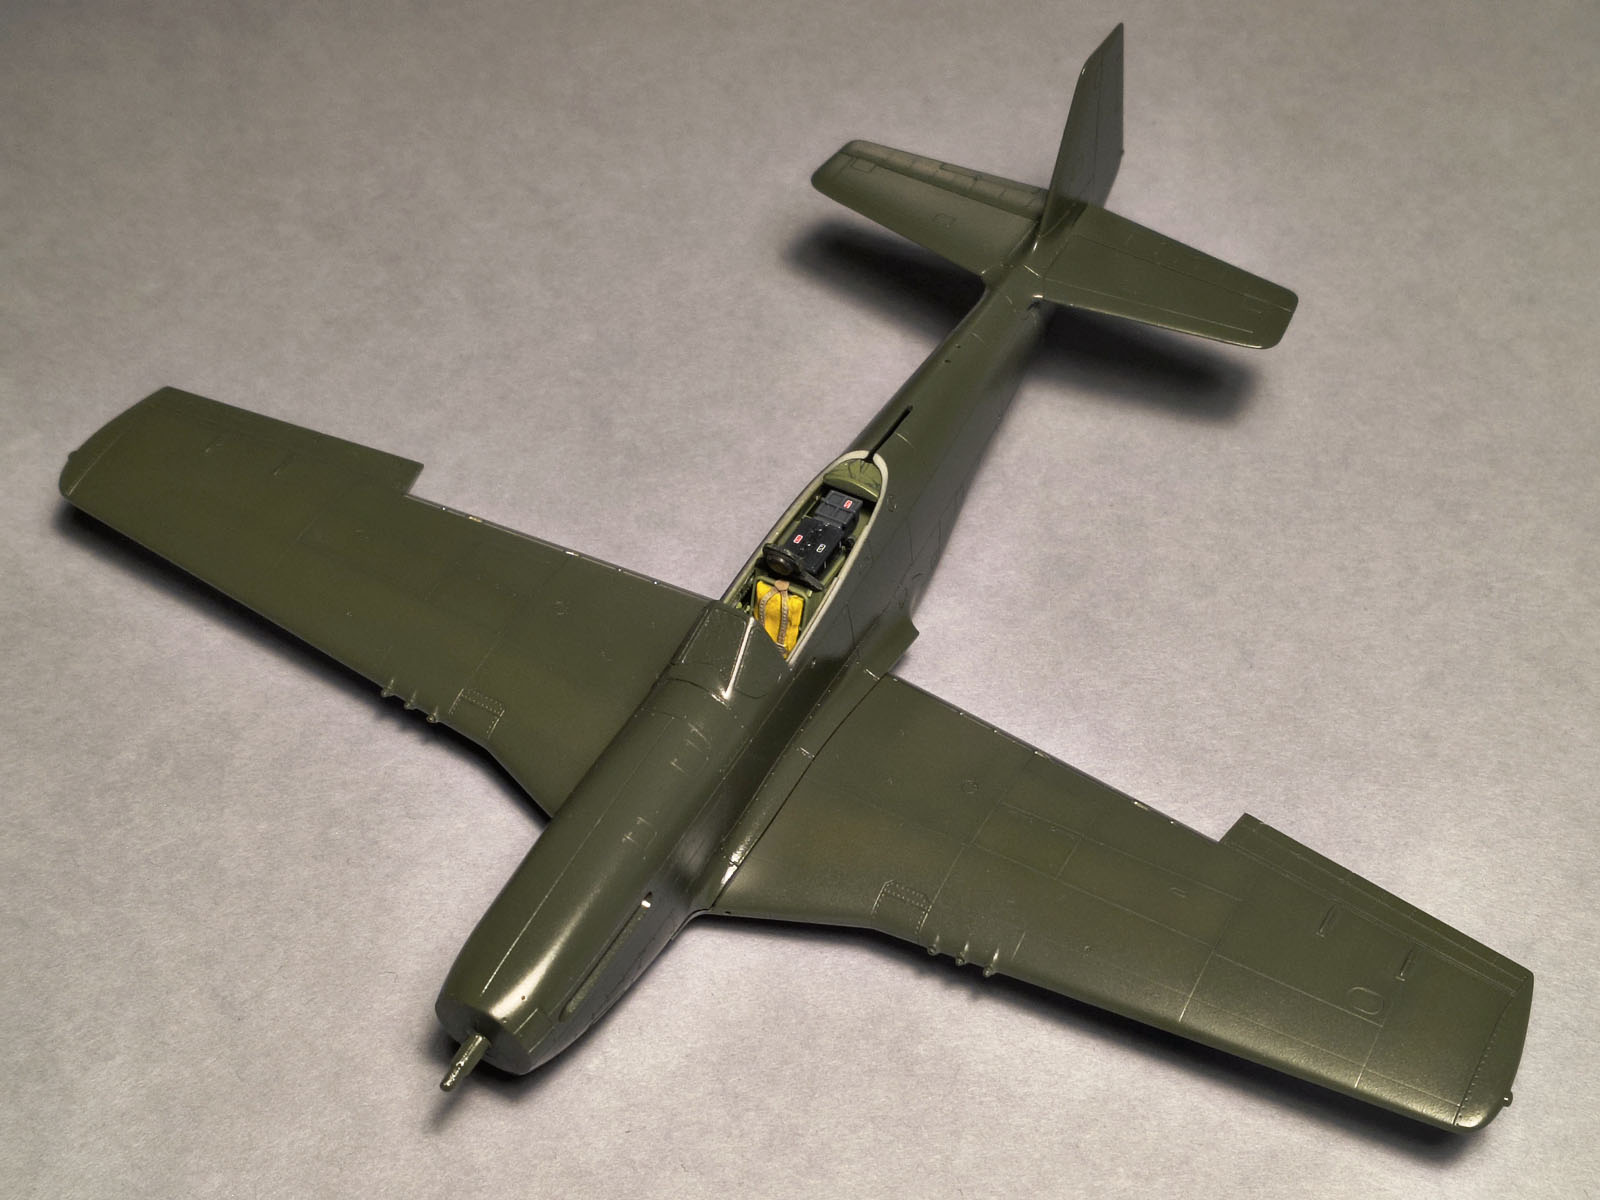
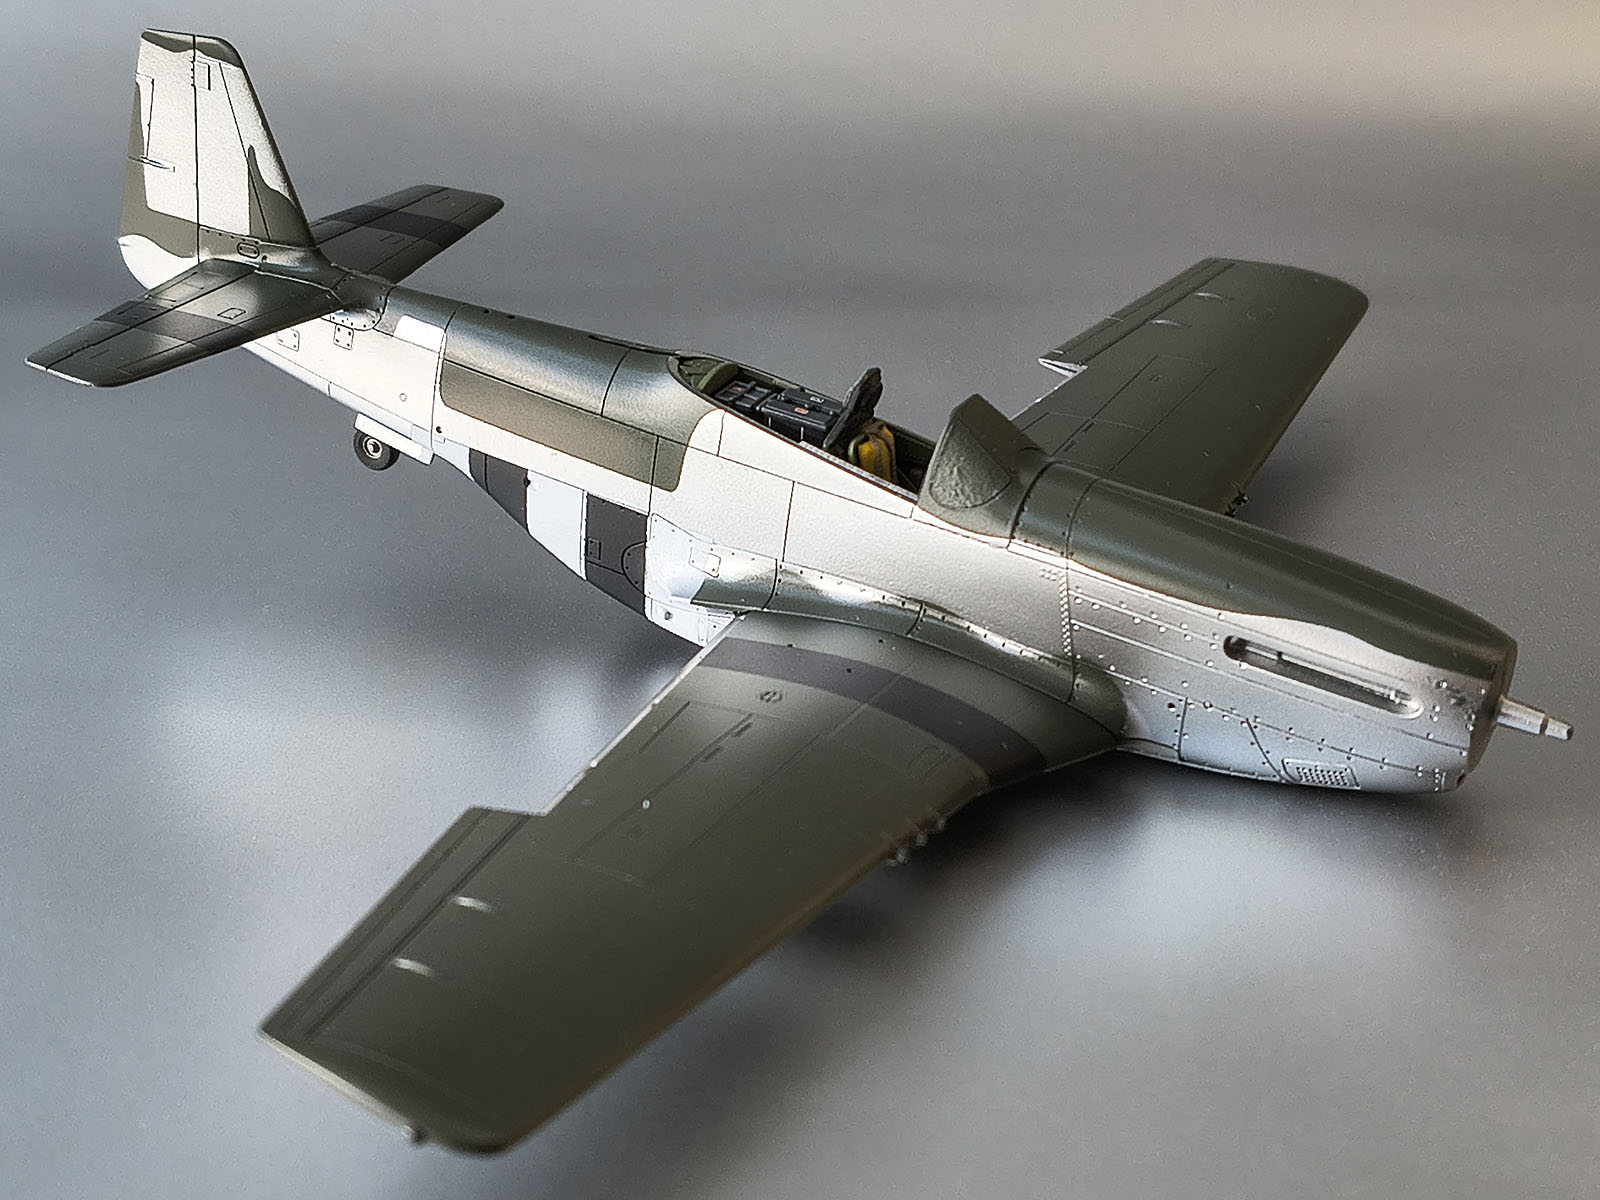
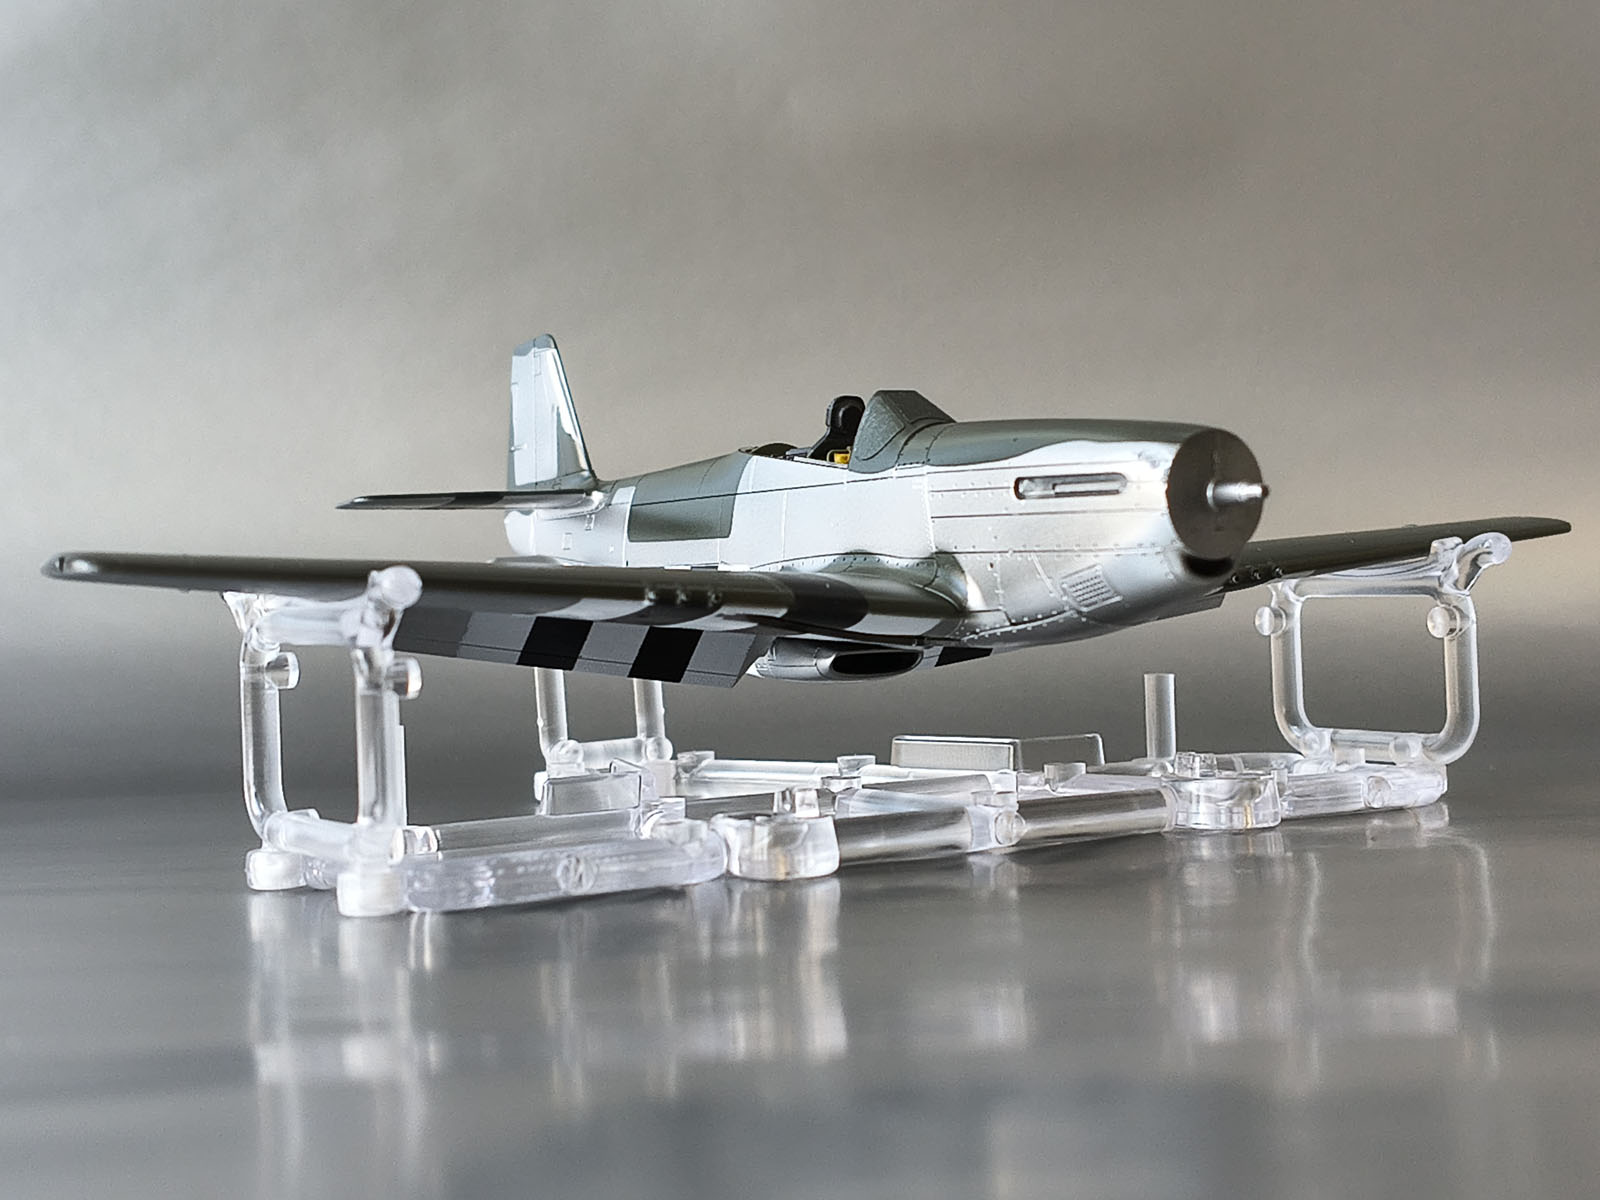
Dry fit after unmasking + Arma Jig
After removing the masks I did a quick dry fit – always the most satisfying moment. I also tried the Arma Jig for the first time.
Decals without extra gloss
I didn’t spray an additional gloss coat before decals – the colours used so far are glossy enough to avoid silvering.

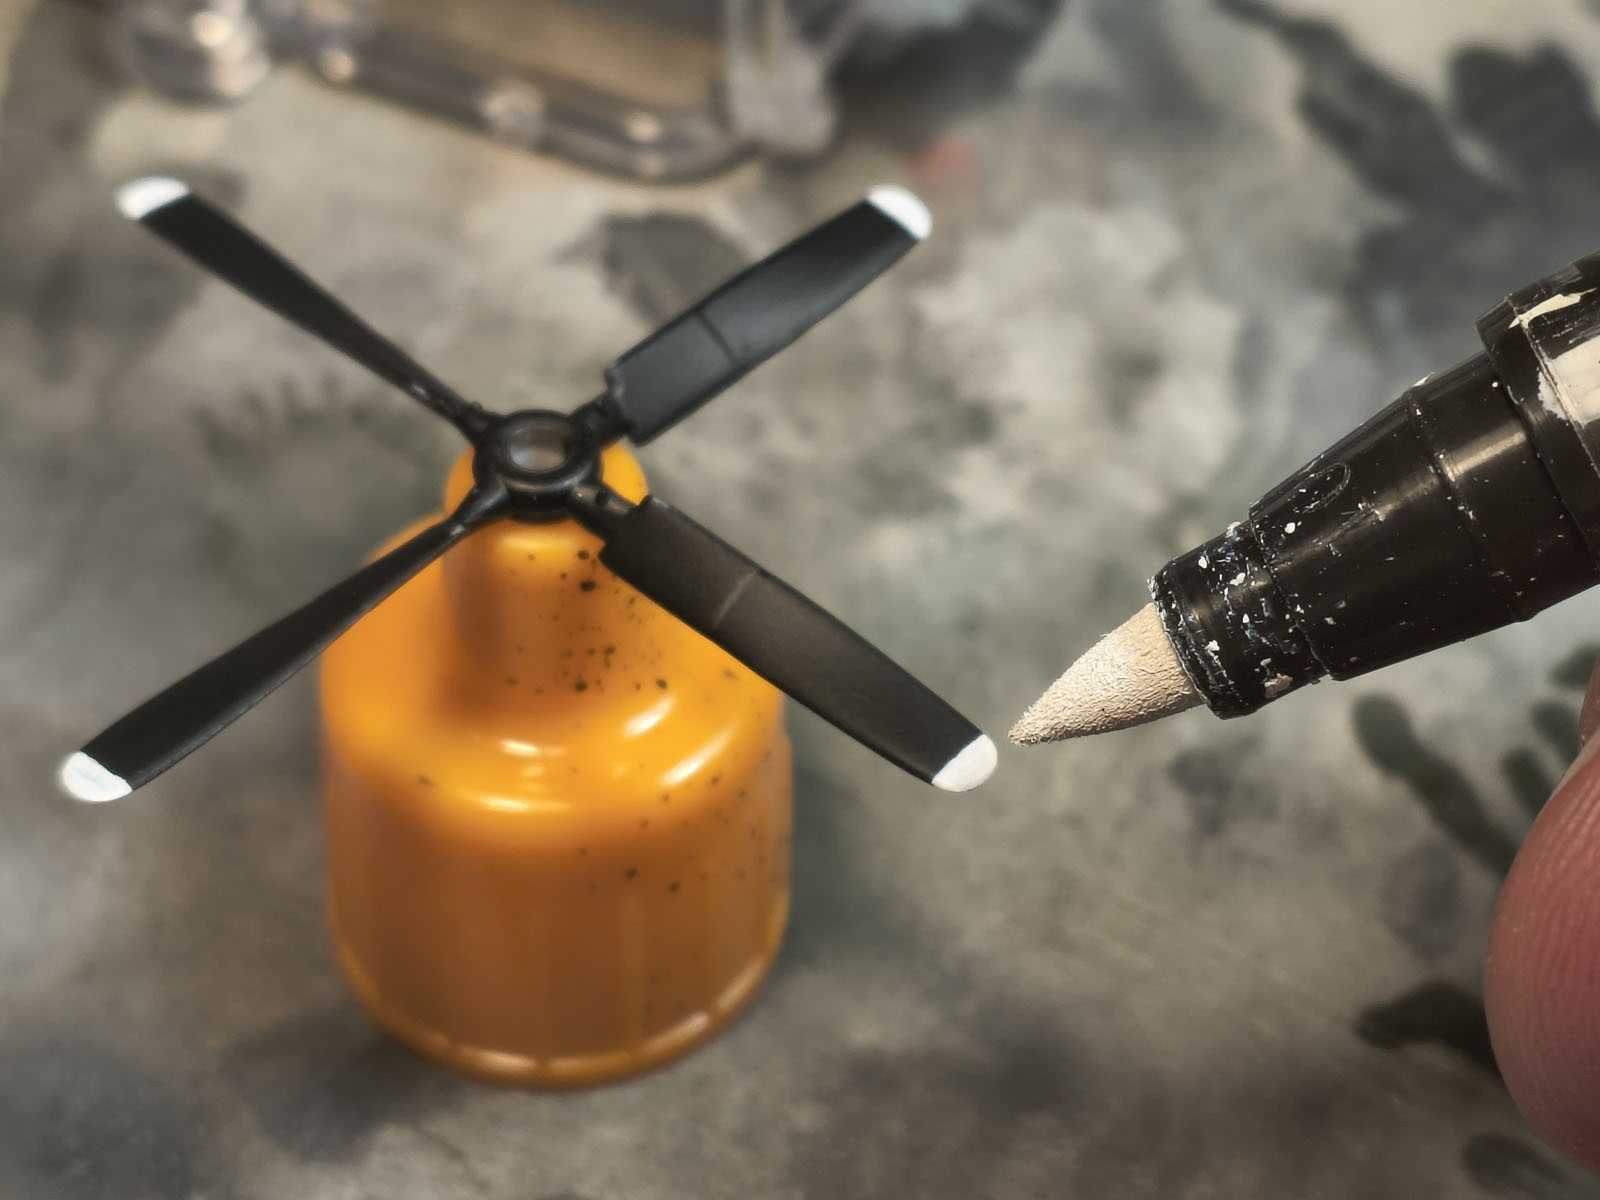
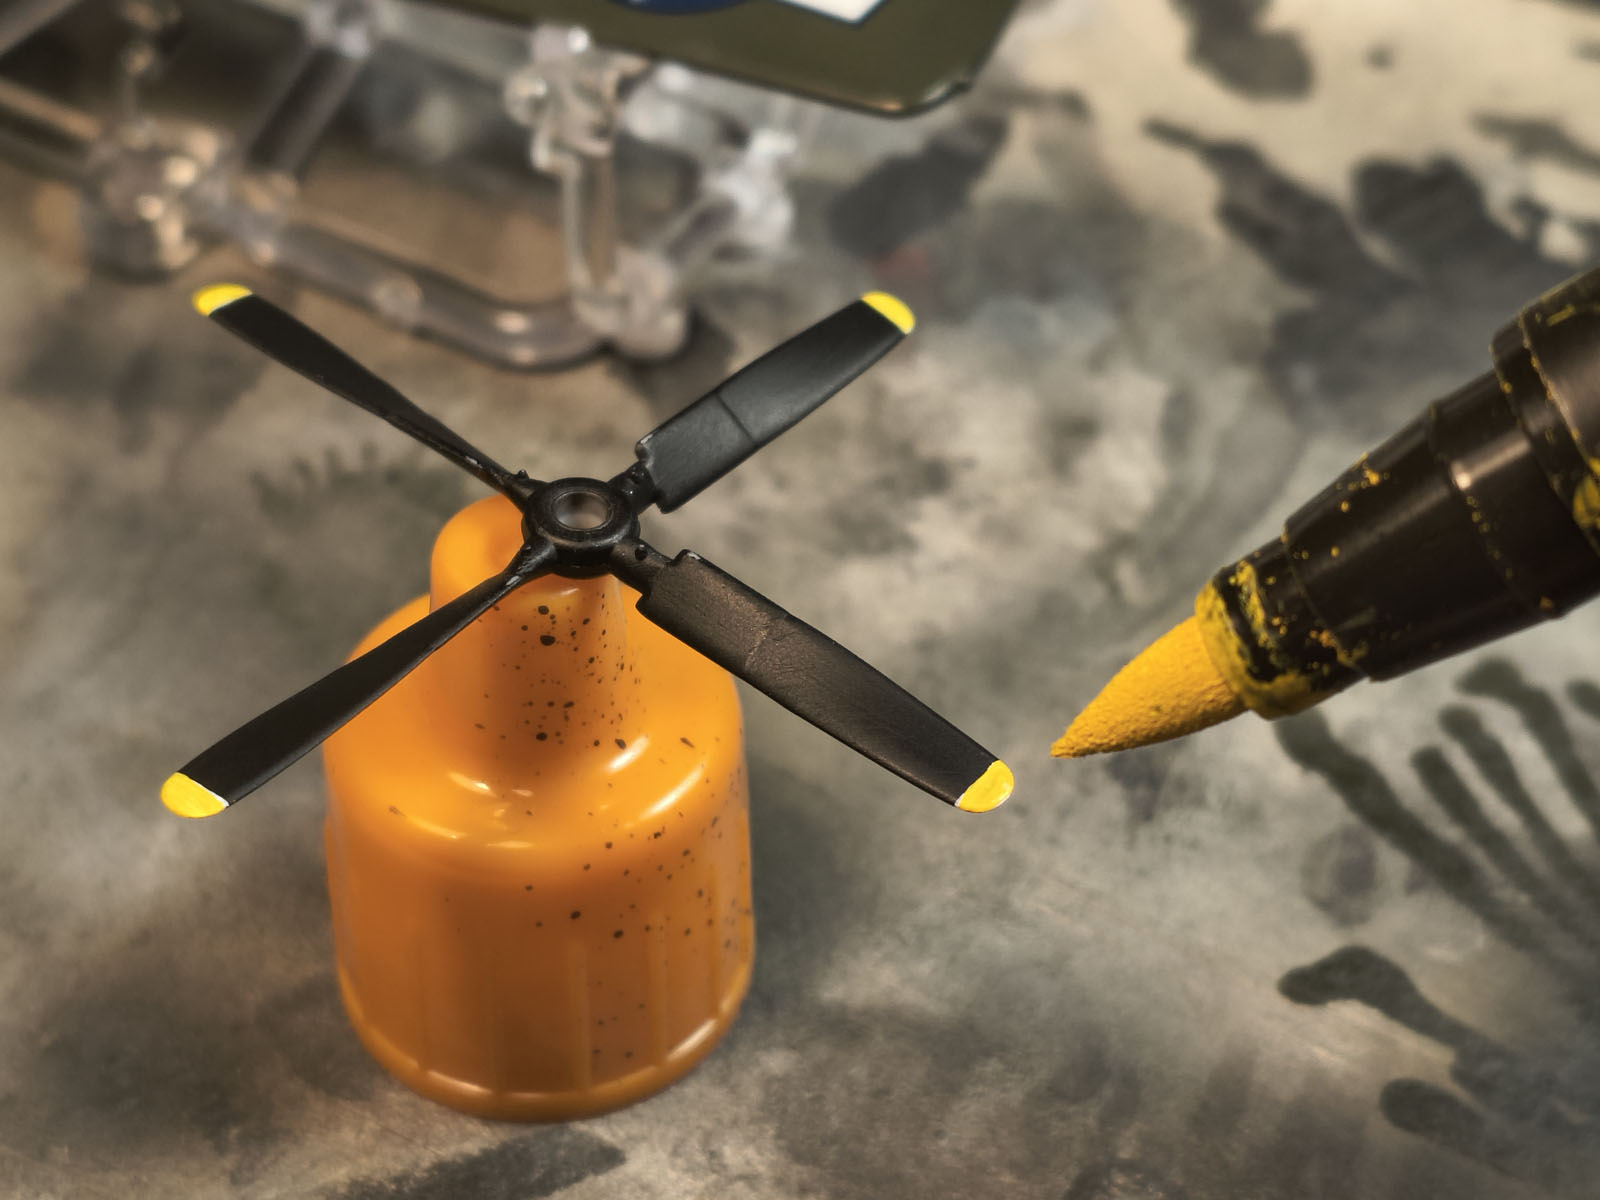
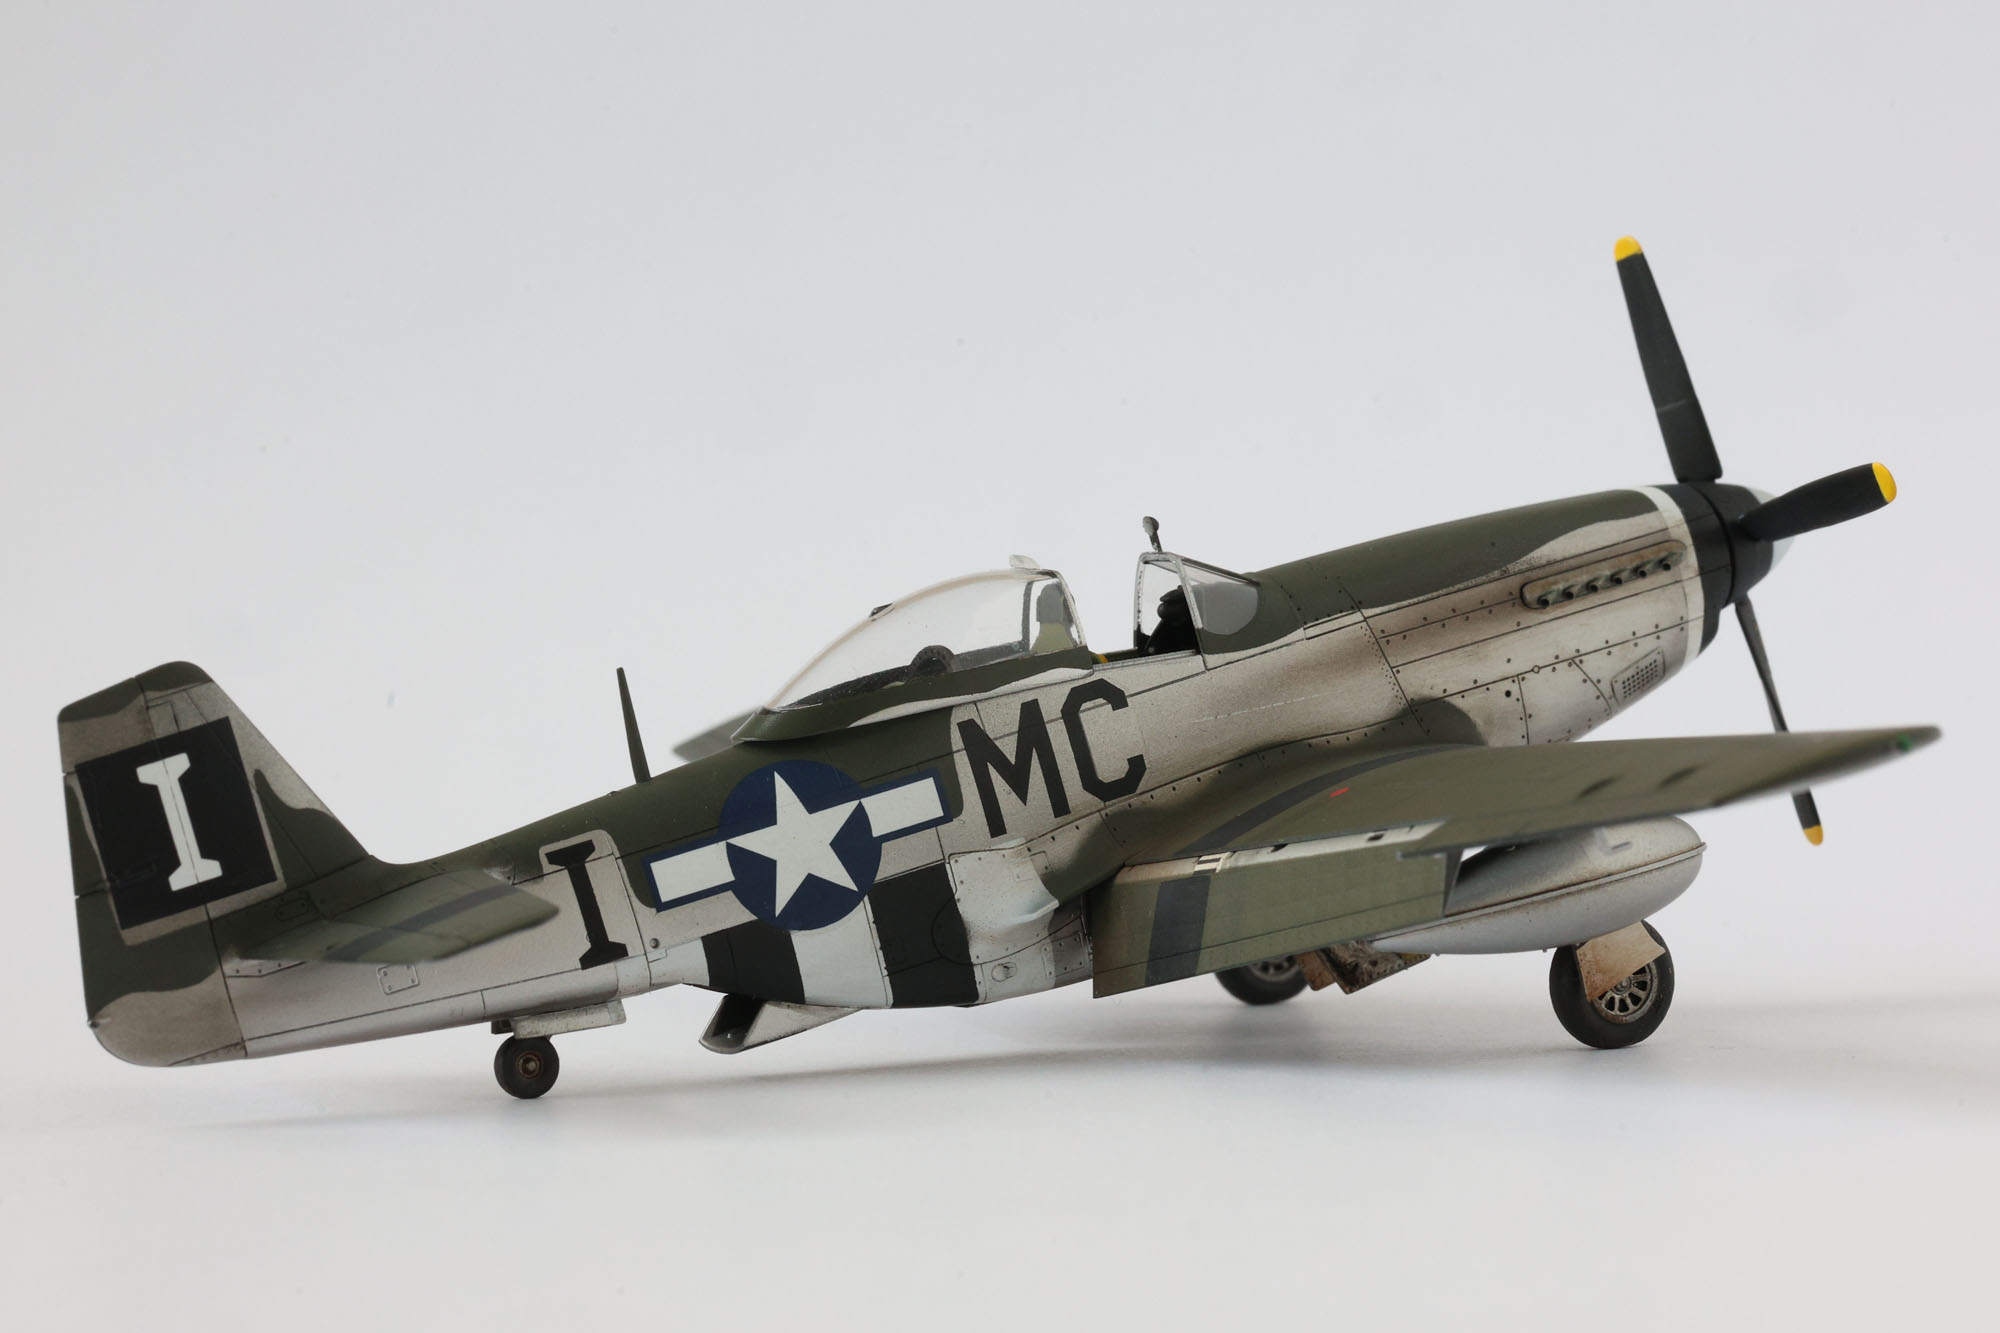
Prop tips – markers instead of airbrush
On the prop I tested a new method for yellow tips: instead of masking and airbrushing (white → yellow), I used AK-Interactive acrylic markers. For me – a direct hit.
Joining the wing and fuselage – one trap
After decals I mated the wing and fuselage. On the first panel the seam must disappear – I managed it just about; the nearby personal marking made a perfect finish tricky. The Arma Jig confirmed the landing-gear legs sit spot-on.
Final: small parts, varnish and last touches
The last stretch: a few stencils, matte varnish on the green areas, attaching the small parts and tidying up.
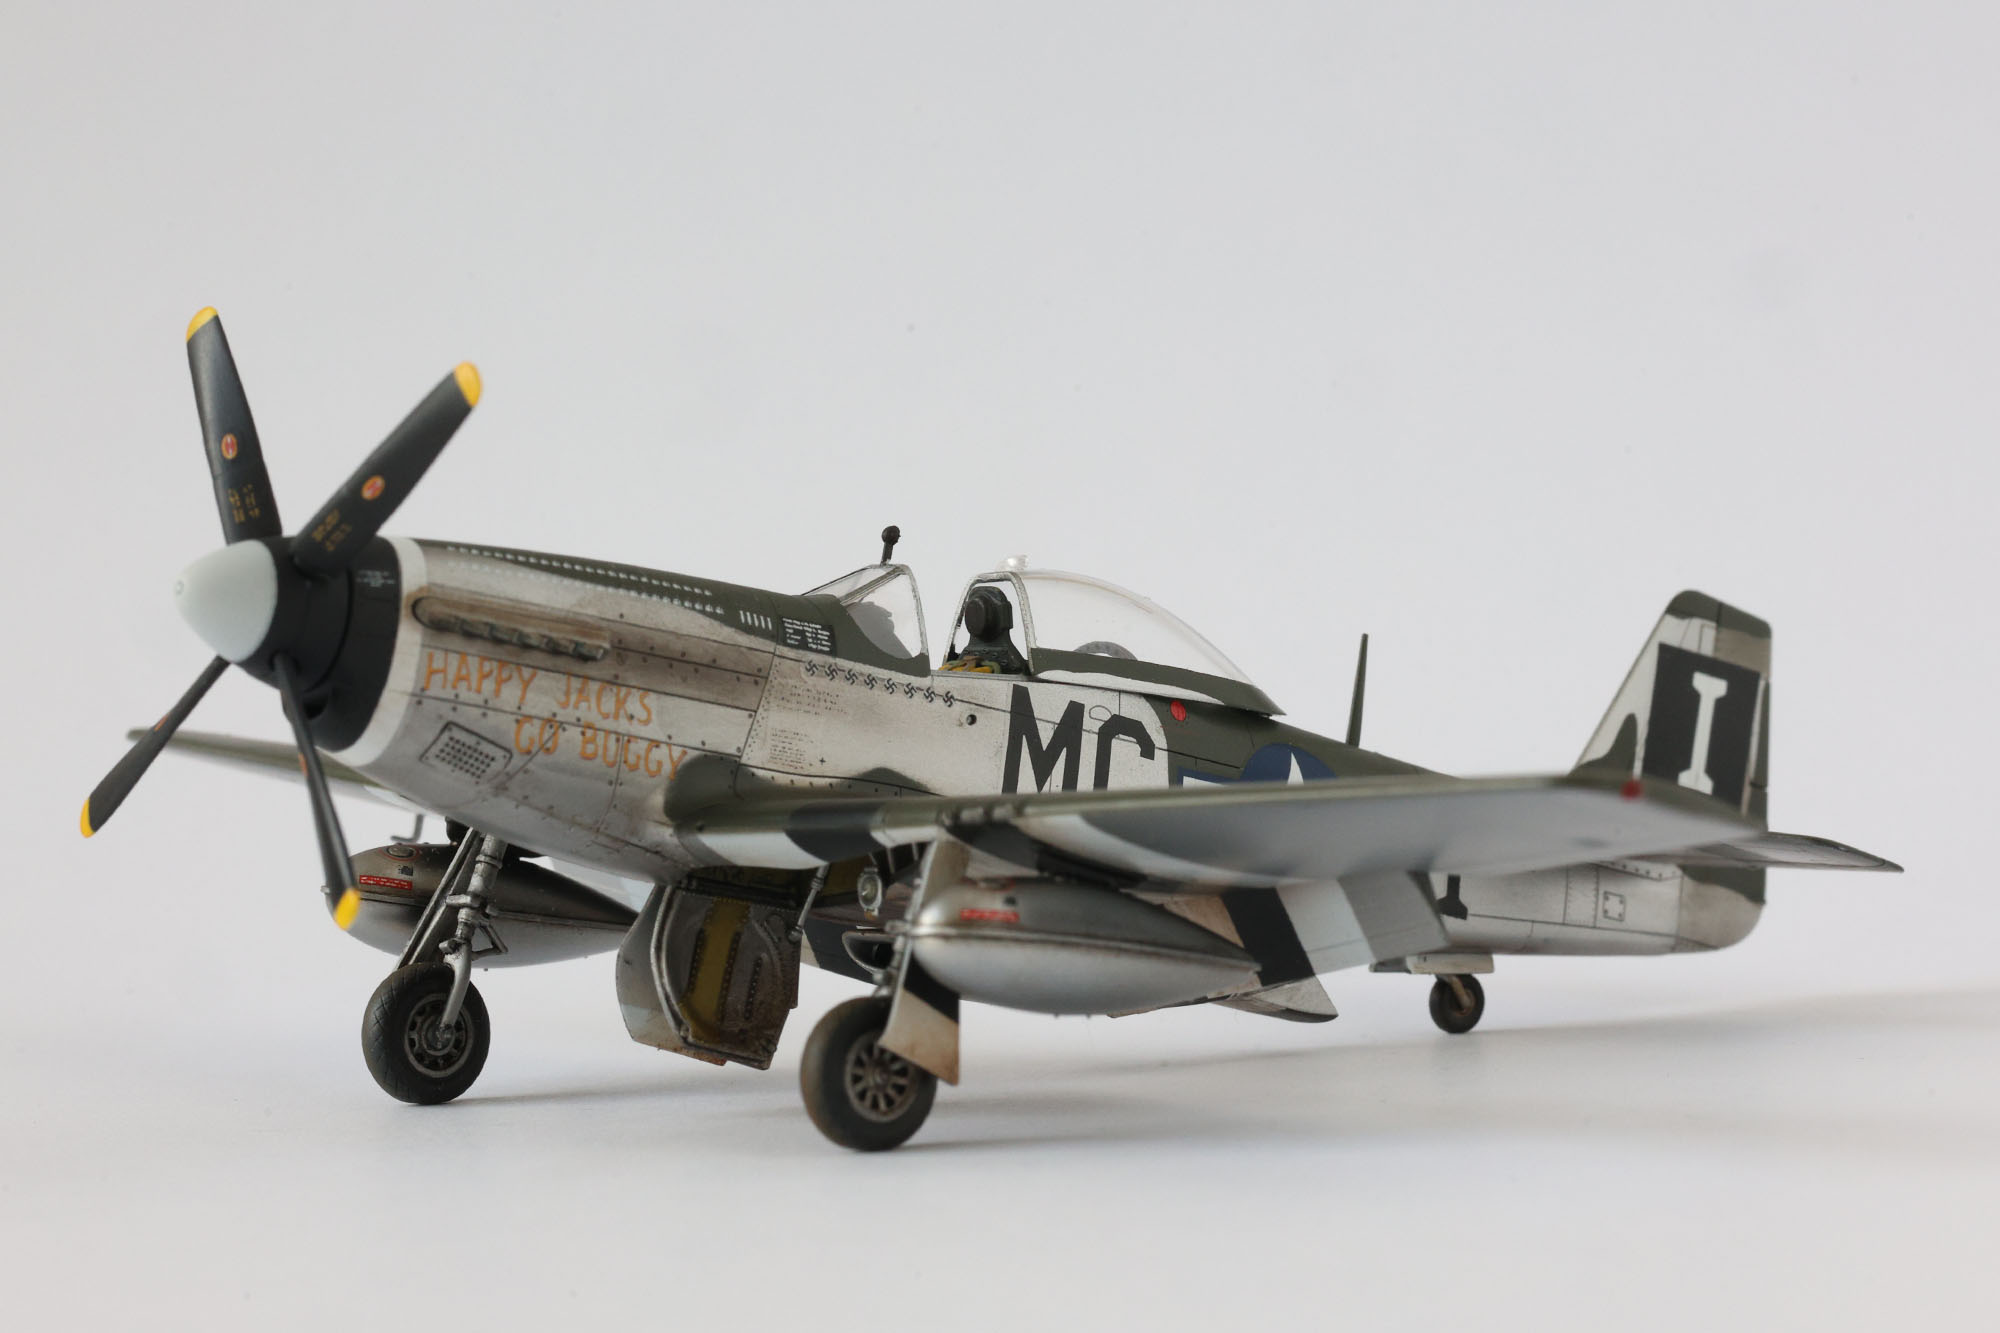

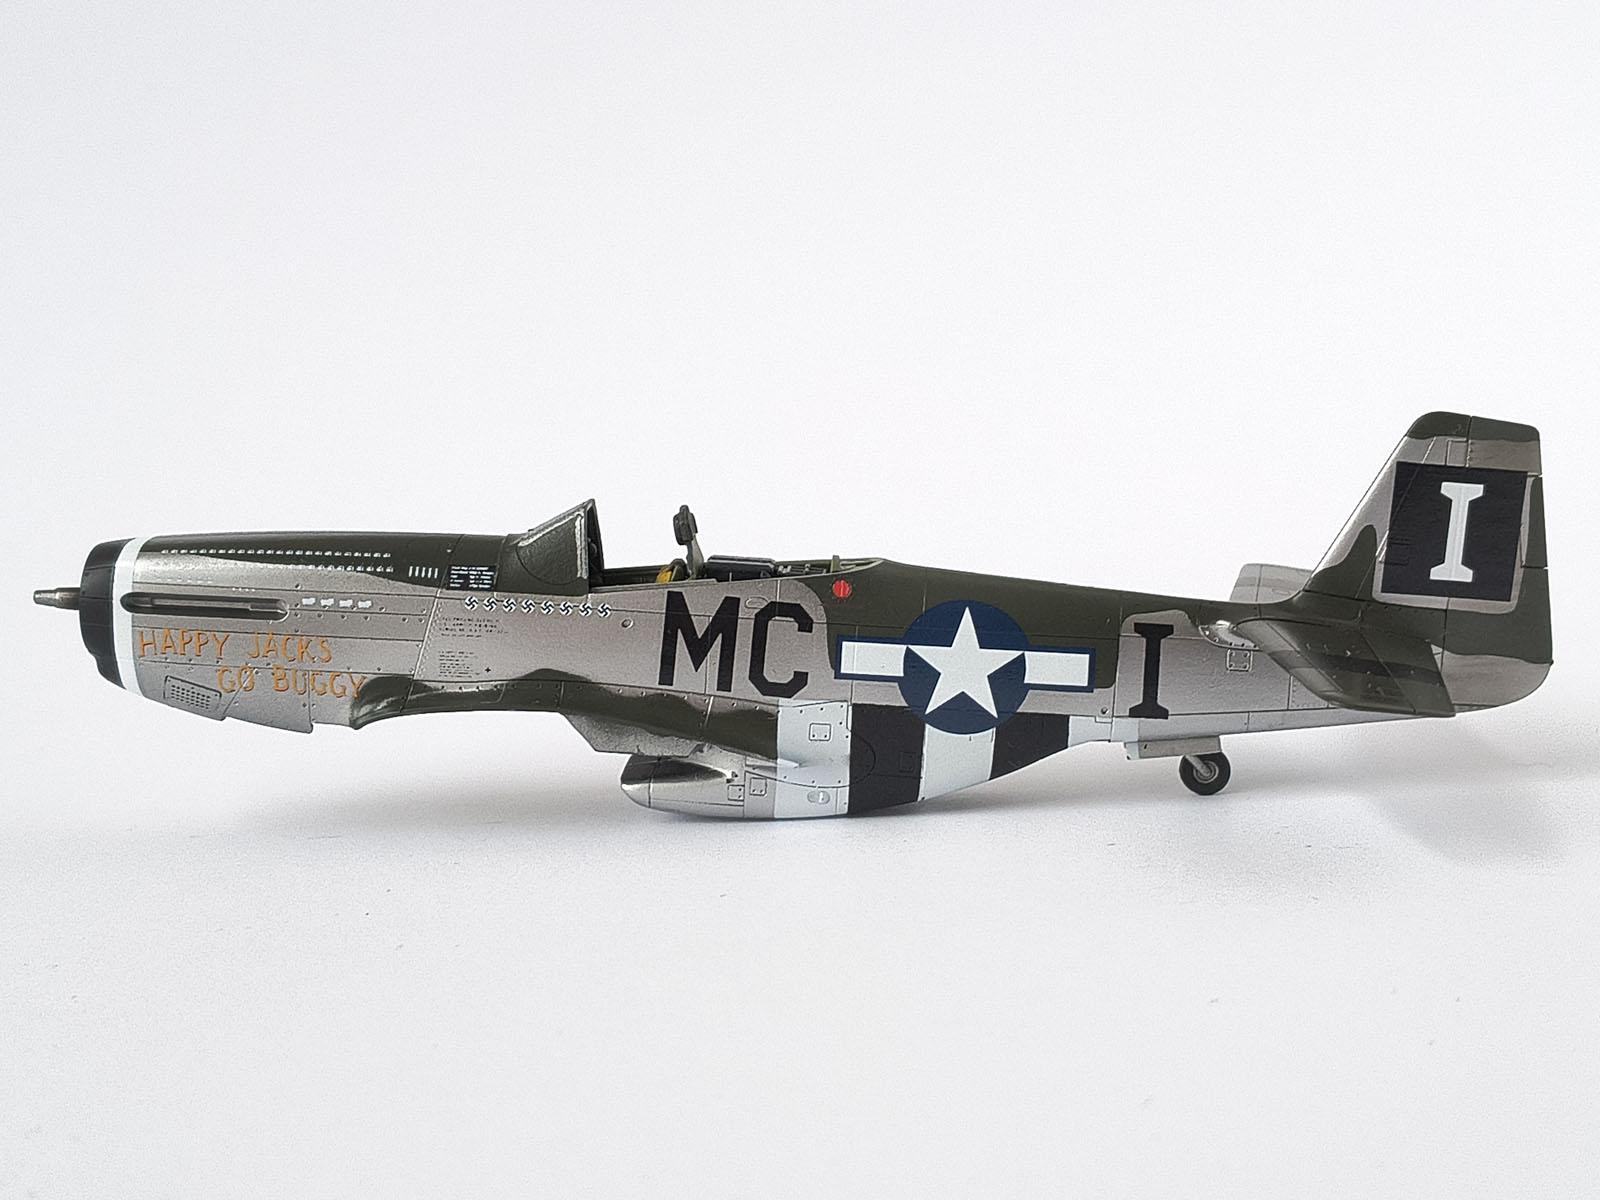
Takeaways after the first full build
I’m not objective – it’s my project – but this build has a really nice flow. Nothing fought back; there wasn’t a single moment that slowed the work down. The fit and the logic of the breakdown let you focus on the fun of the bench time.
Two practical notes to finish:
- Glue the canopy details with clear varnish / acrylic glue / PVA – the super-clear canopy really rewards clean work.
- Glue the lower fuselage panel to the lower wing half – the whole assembly then goes in a natural rhythm.
Now over to you: How do you like the newest Mustang – mine and Arma Hobby’s? Any questions about techniques, masks, or metal shades? Drop a comment – I’ll be happy to help and clarify.
You may also like:
P-51 Mustang kits in the Arma Hobby store: link
TOP 5 PRO TIPS
- PRO TIP #1: Apply every other decal in the wheel wells – you’ll avoid damage when using softening solutions.
- PRO TIP #2: Glue the lower fuselage panel to the lower wing half – the later assembly goes smoothly and without a fight.
- PRO TIP #3: Partly assemble the model before painting (e.g., wing to fuselage) – easier masking, more convenient airbrushing and no overspray on neighboring areas. For decals, you may prefer a fully assembled airframe – up to you.
- PRO TIP #4: For soft camouflage transitions and tricky surfaces use patafix instead of tape – it conforms better and gives natural edges.
- PRO TIP #5: Yellow prop tips? Use an acrylic marker (e.g., AK) instead of the airbrush – faster, cleaner, no masking and a perfect result.
Wanted to be Philanthropist, statesman and patron of the arts. Temporarily focused on developing scale model production in Poland. Co-founder of Arma Hobby. Designer of kits: TS-11 Iskra, PZL P.7a, Fokker E.V, PZL P.11c, Hawker Hurricane, Yak-1b, Wildcat, P-51B/C/D Mustang and 1/48 Hurricane.
This post is also available in:
 polski
Great job on the kit, Marcin.