
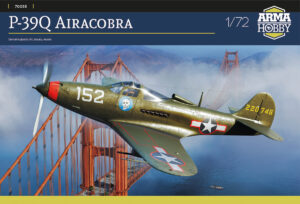
The P-39Q Airacobra model can be built in a week. It took a bit of discipline to get the job done and a slight change of way of doing things. Only that, and the achieved effect is more than satisfactory.
I usually assemble models so that I try to do something every day. For example, one day, I mask the surfaces, and the next day I paint and clean the airbrush. Such small steps result in many completed models per year. In the case of Airacobra, I sped up the process by working 2-4 hours a day for a week. Let’s see how the model building process proceeded.
Model kit assembly
Time was running out for me, so I decided to paint the model in subassemblies, and that determined the order of the assembly process. I assembled the wings and the fuselage with the tail separately. I attached small details to the toothpicks to paint them at once. After painting these subassemblies, I assembled the model.
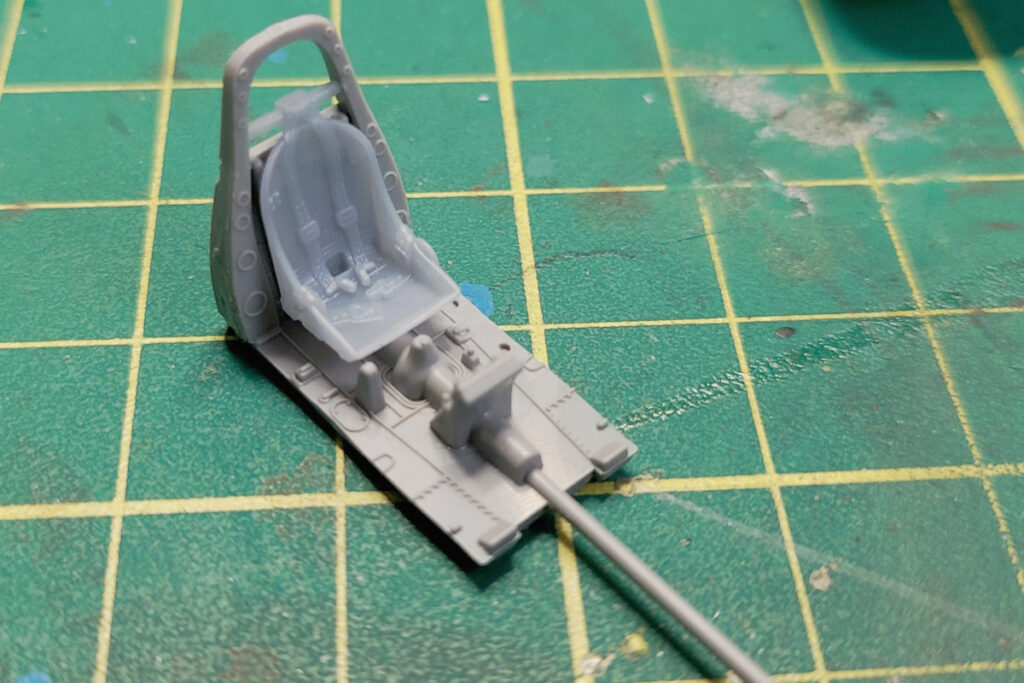
The model cockpit contains additional 3D printed parts that were available as a pre-order bonus for the model kit. The pilot’s seat with belts and other details almost clicks into place.

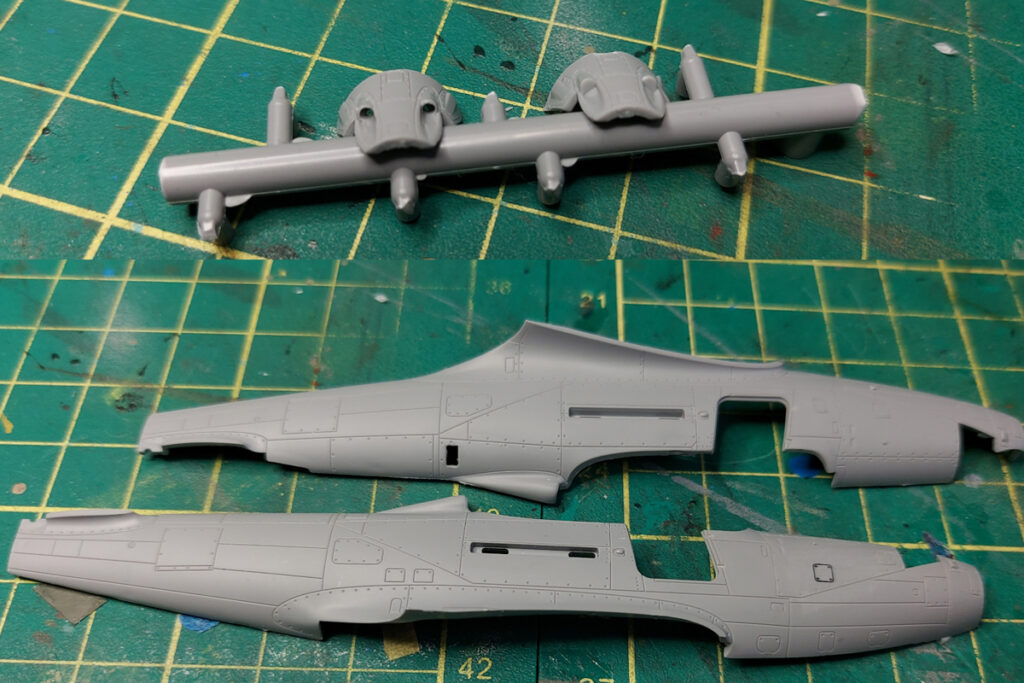
Glued wing. I couldn’t help but show the photo with the surface detail.

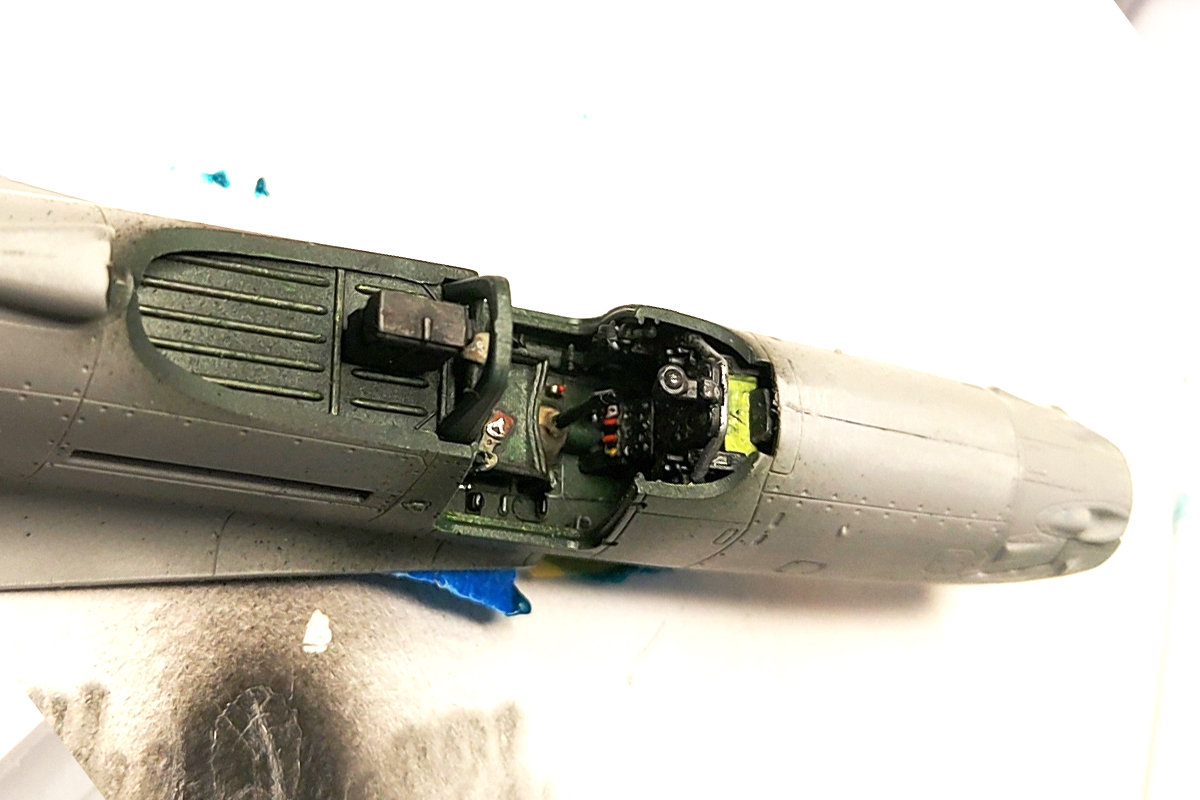
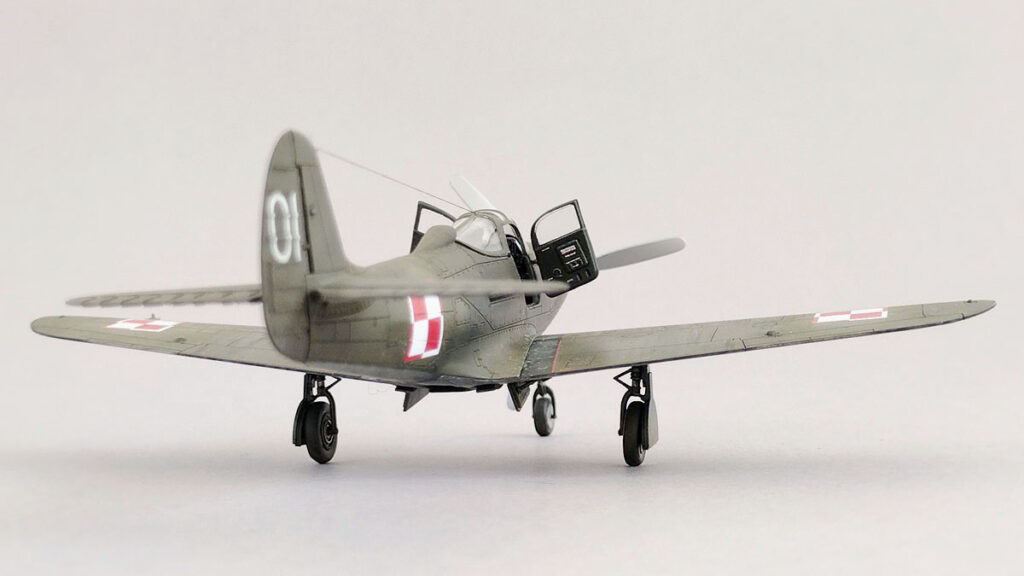
The cockpit interior begged to be opened. From a 0.25mm plastic card, I made hinges, on which I was to attach the door to the fuselage. In the card, I cut out hinges with a spacing matching the indents in the fuselage and tried them on the door on a strip of masking paper positioning the place of their attachment. After sticking it with super glue, I sanded it to the door’s shape.
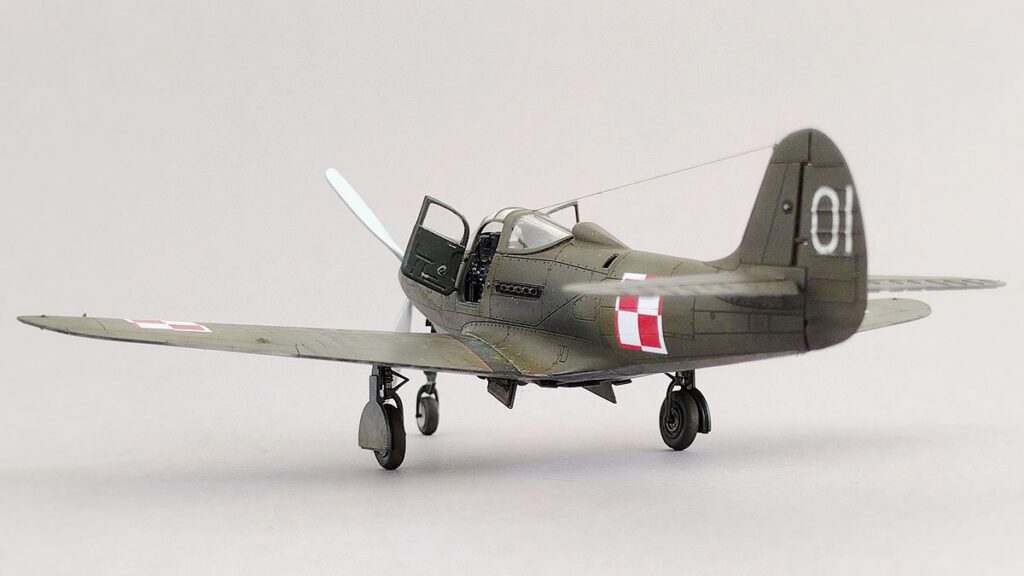
I drilled holes in the machine gun covers and a small panel in the back of the fuselage, which on many P-39Q aircraft (and on the scheme I chose) remained open.
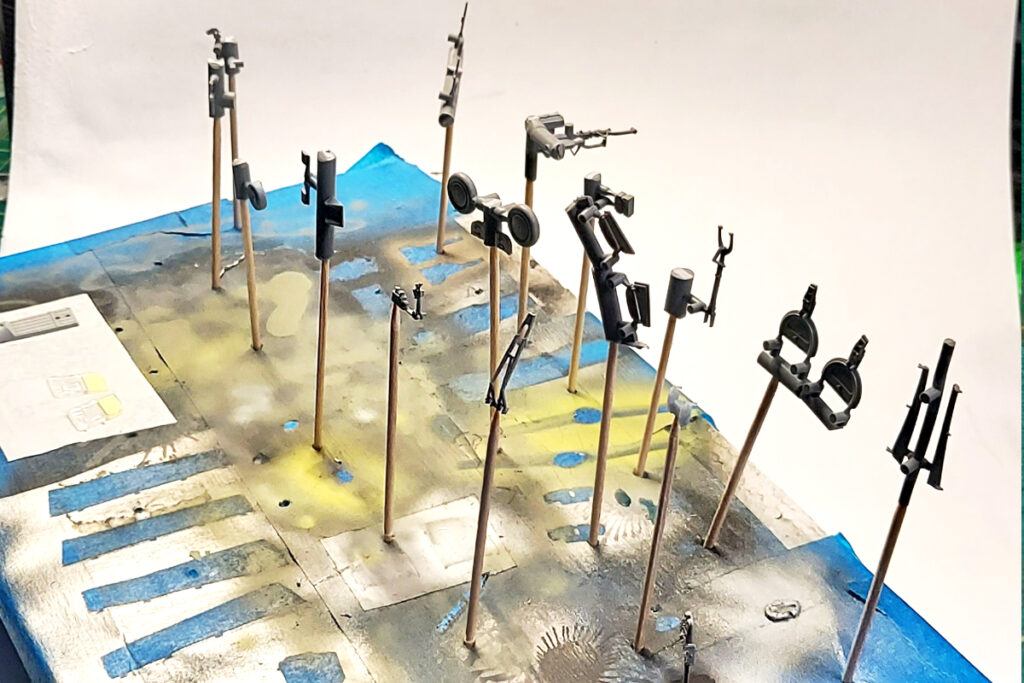
Small details ready for painting.
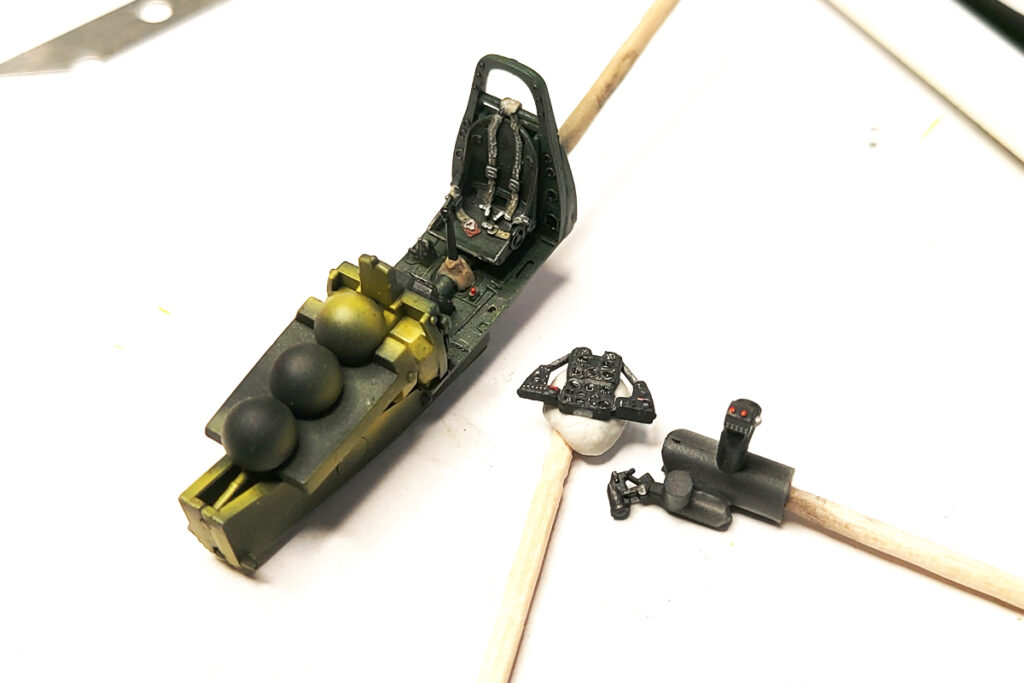
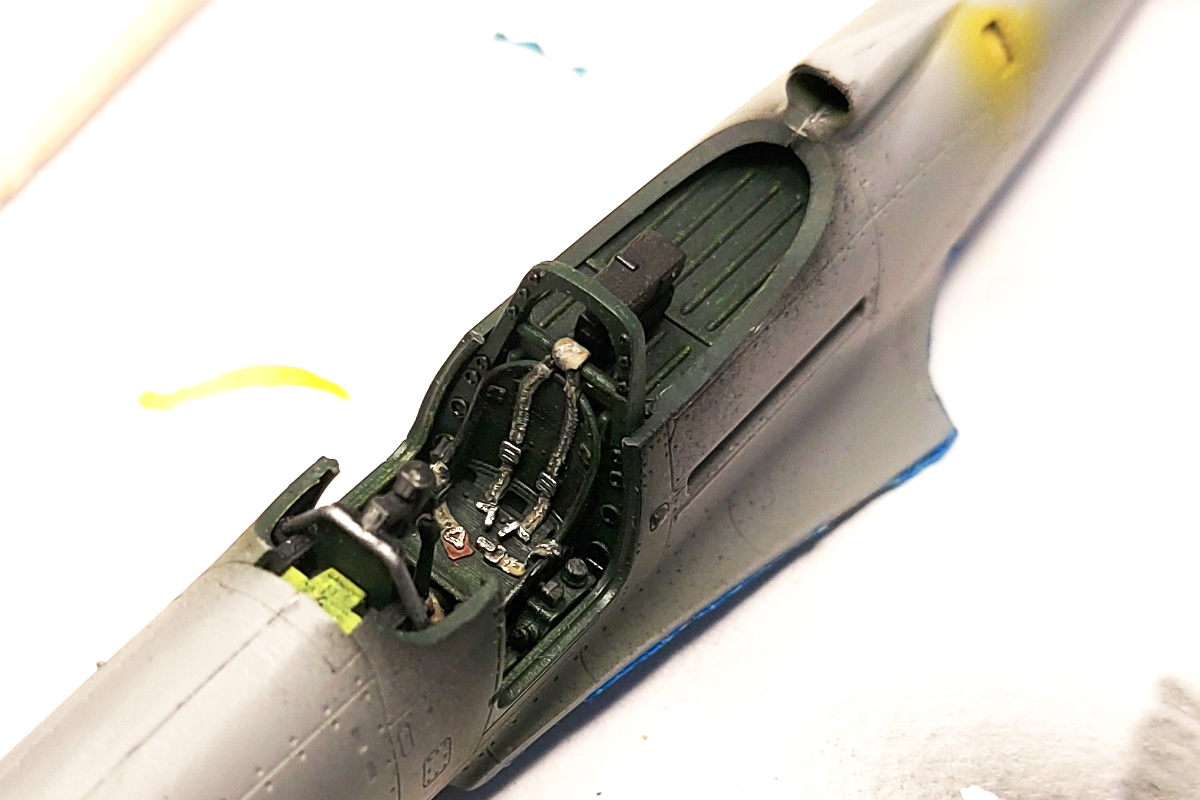
The cockpit interior I painted with Medium Green 42 (Hataka), I didn’t have the original Bell Green used on Cobras, but paint chosen by me is very similar.
Painting of the model
I primed the model with the black Surfacerem 1500 and painted with Hataka HTK-CS04.2 US Army Air Force paint set.

I masked the cockpit interior with masking tape and sealed it with a maskol. Usual filling – blotting paper or sponge – would break small details like the control stick and sight.
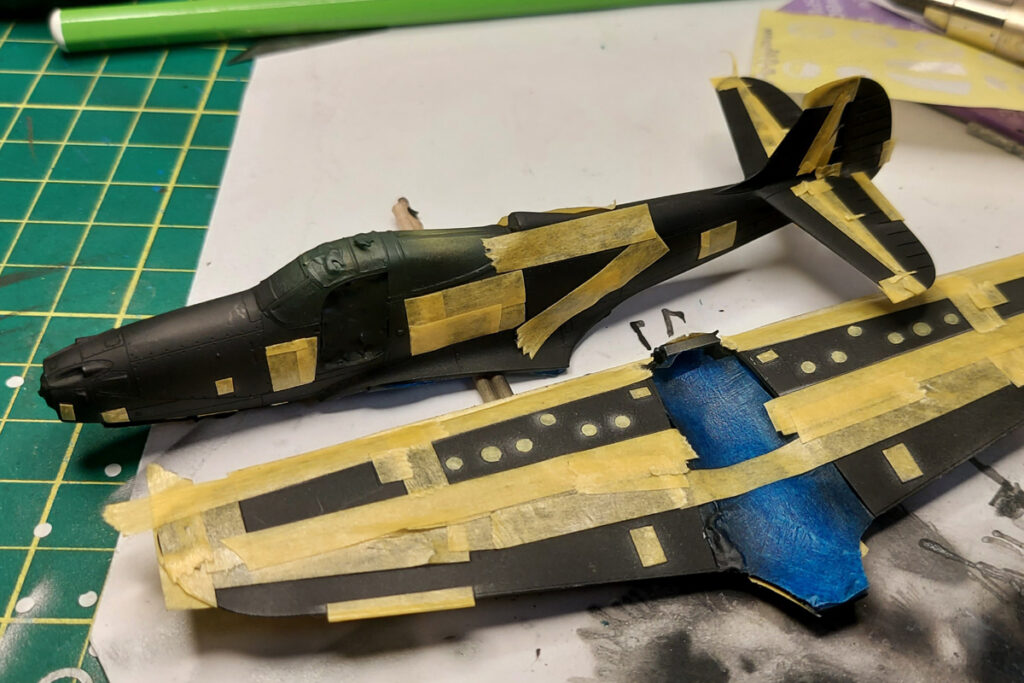
I decided to visually differentiate the panels with pre-shading in different colours over black base, so I started masking with kabuki tape. I cut the masks for the round panels with the “punch and die” tool. I cut small panels to shape. If something was not quite even – I accepted it – the end result will be good anyway.

I sprayed various colours through a template from Ushi. It has its edge cut intentionally to avoid a sharp, unnatural line after painting.
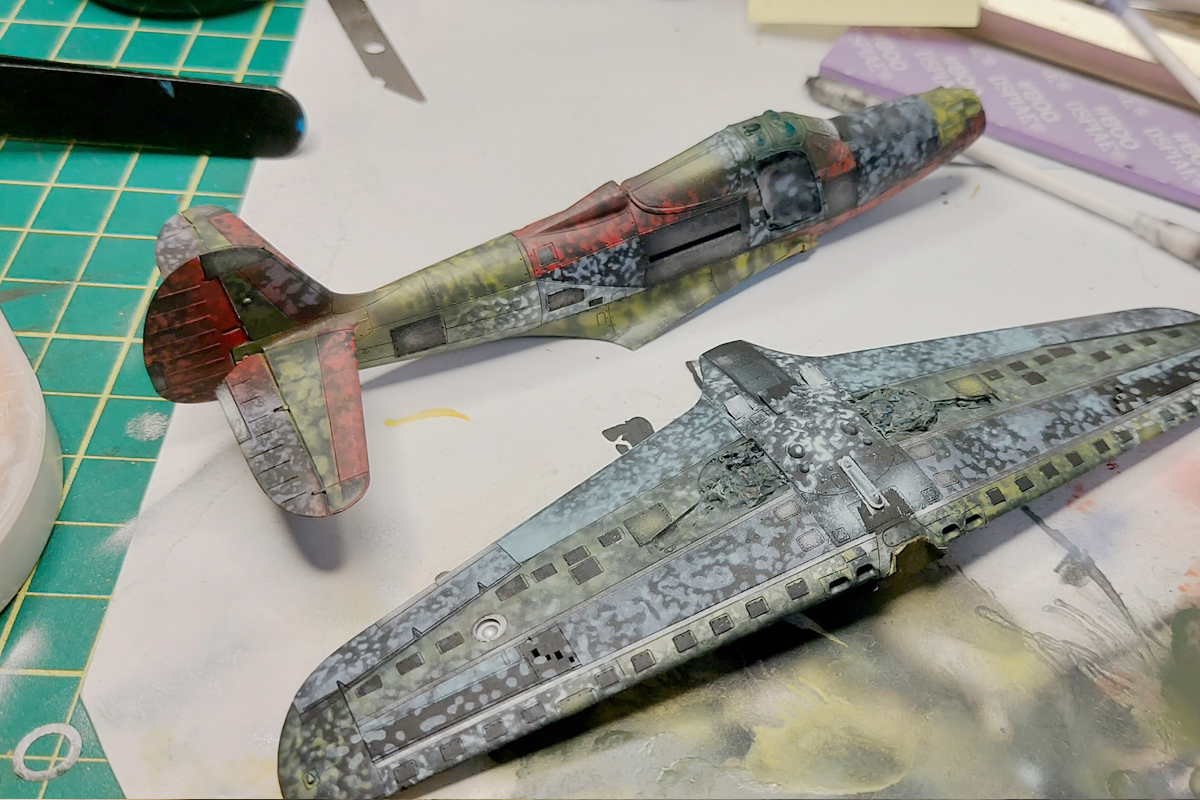
This is what a full colour pre-shading of the model looks like. After painting with poorly covering colours, such as yellow or red, I realized that the paint layer was a little too thick. This can be easily corrected after applying the camouflage by sanding it with 1200-grit paper. Next time I will use different colours.

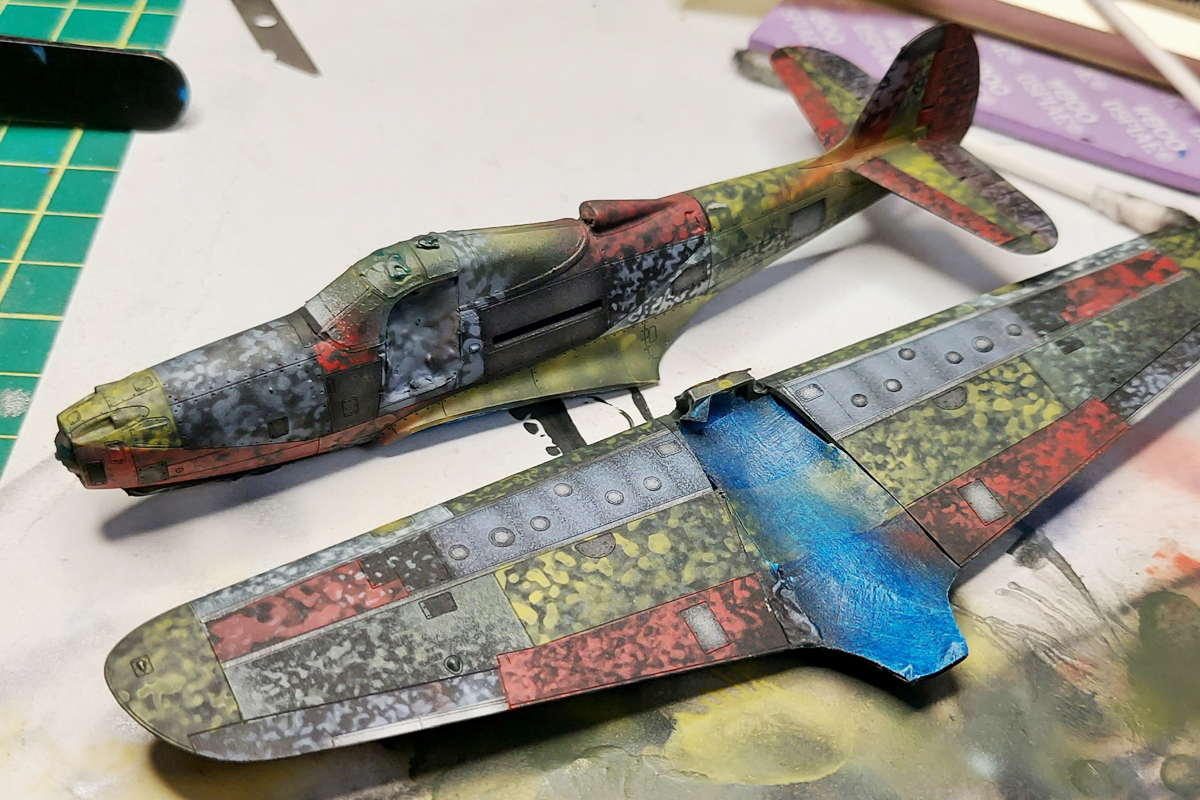
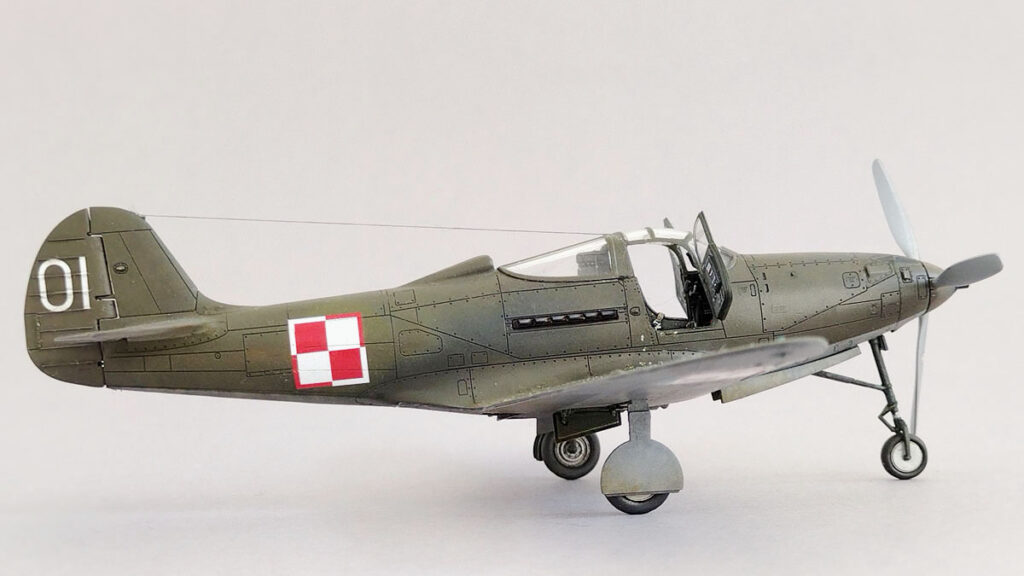
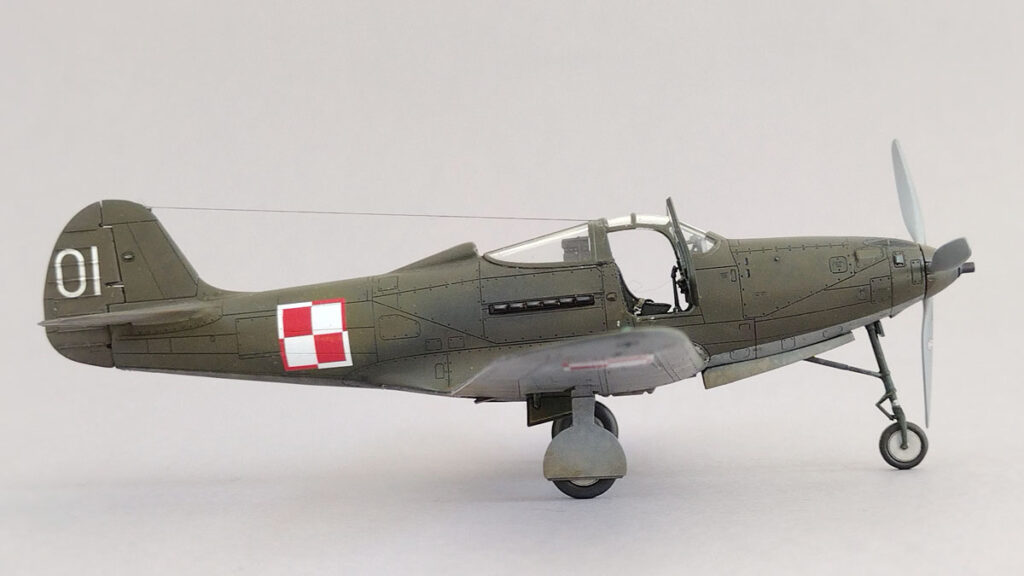
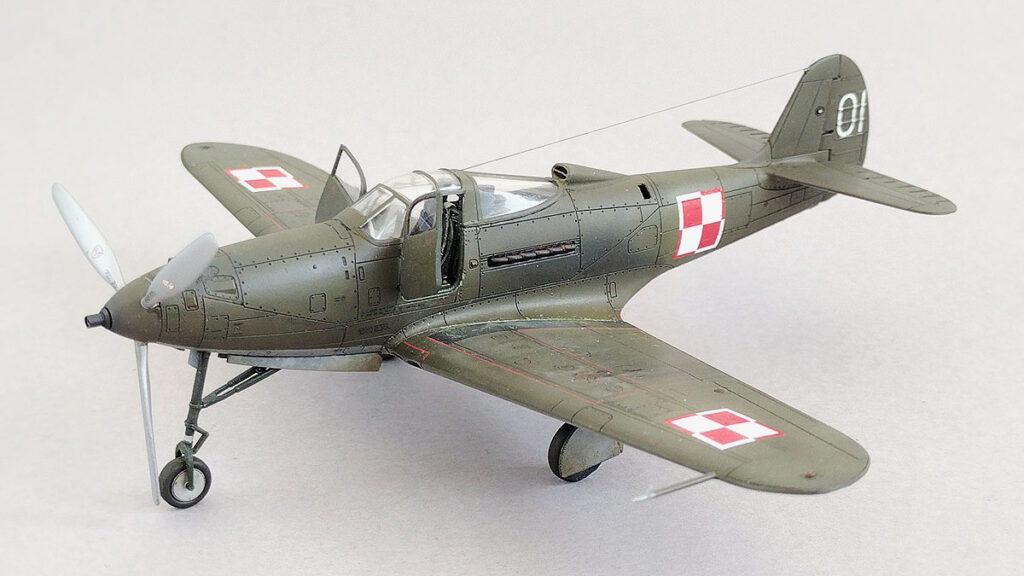
After applying the camouflage, the panels have different shades of the basic colour and a slightly differentiated surface, the intended effect was achieved. I further weathered the surface with the “Industrial dirt” wash from Modellings World and liquid pigments and Dirty Effects Leaking and Stains from Lifecolor.
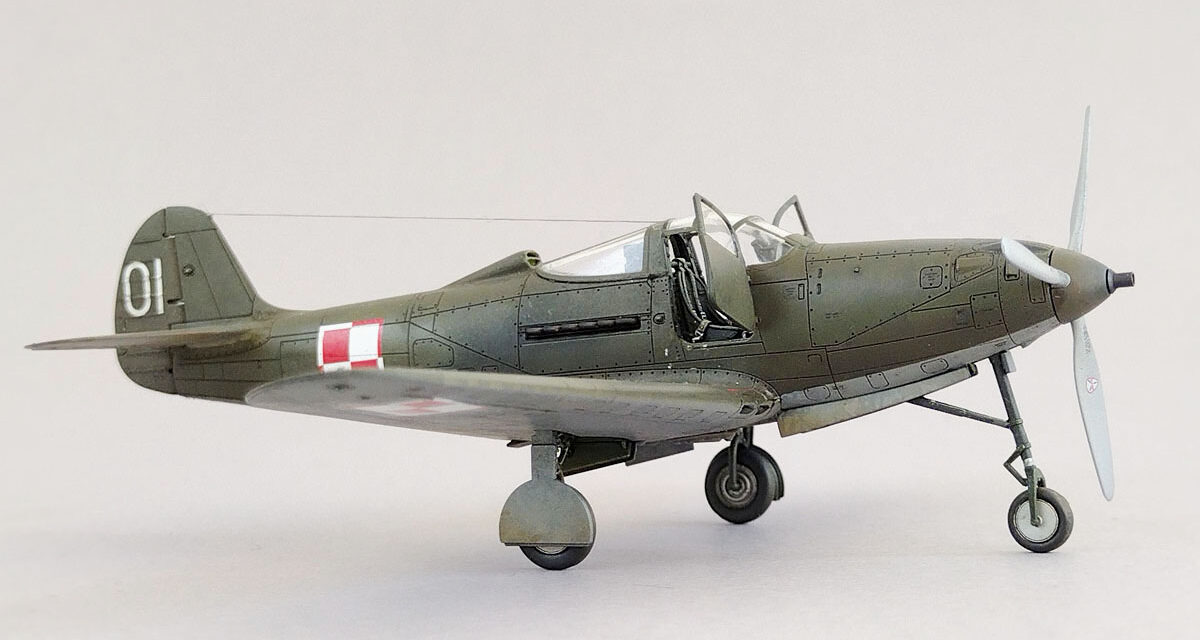
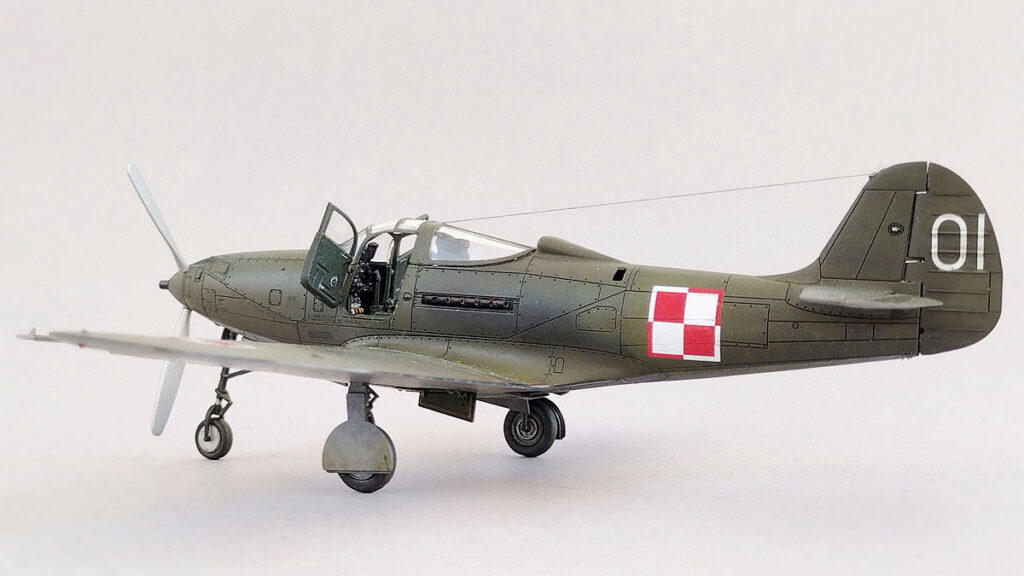
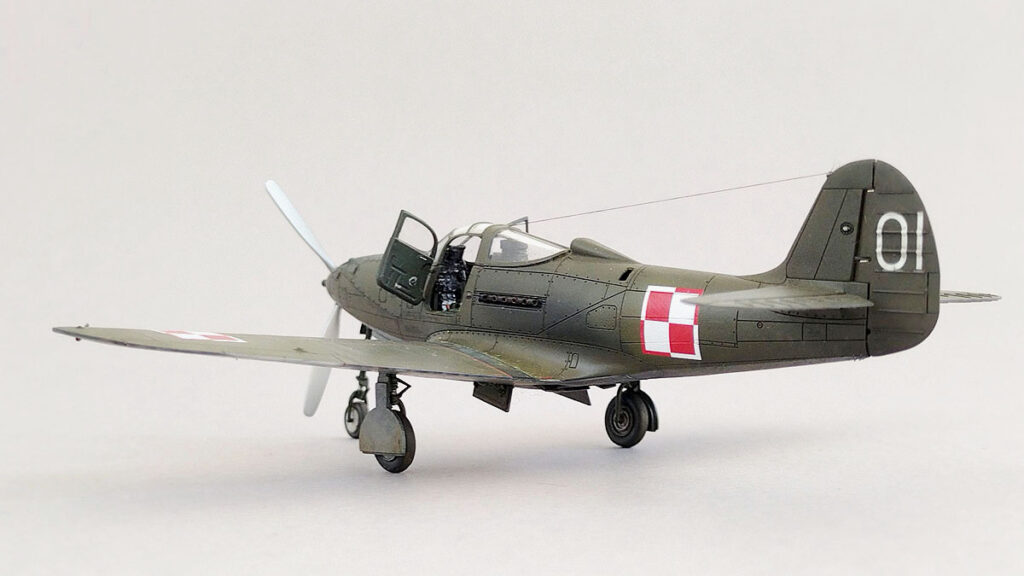
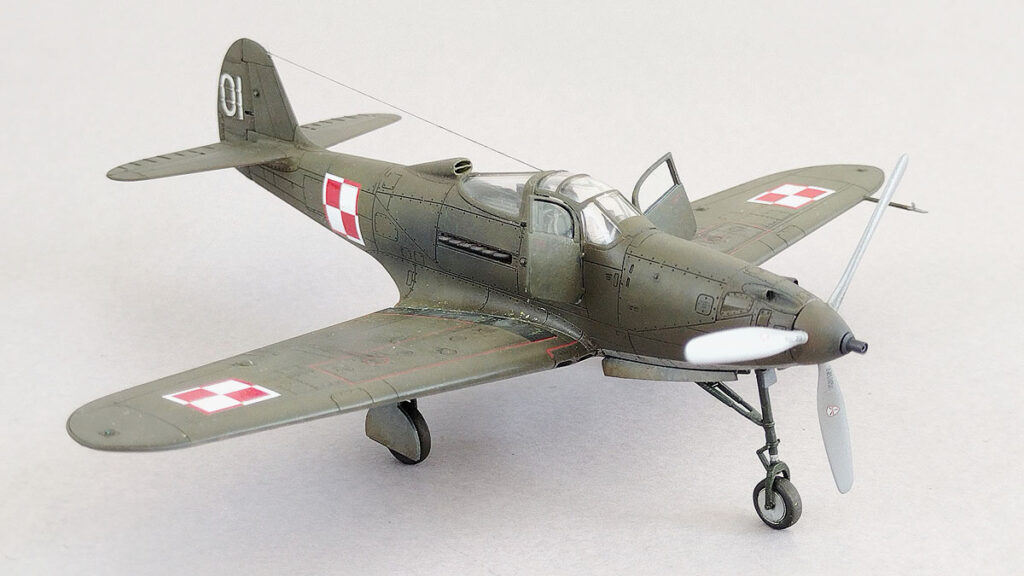
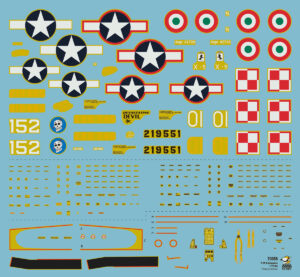
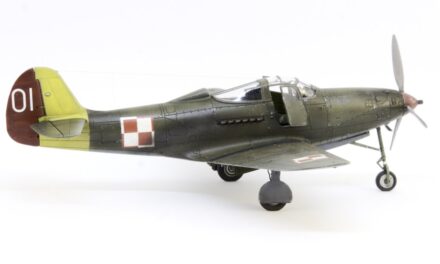
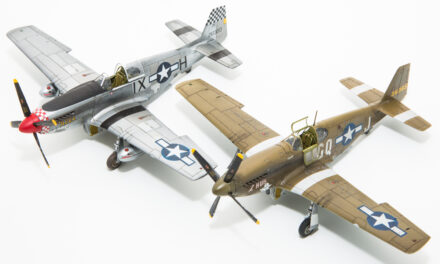
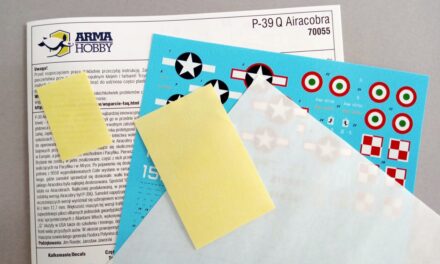
The model was painted as an aeroplane of General Fyodor Polynin, the commander of the “people’s” Polish Aviation in 1945. the plane changed its appearance over the course of service. I applied the checkerboard decals after weathering to show the plane just after the markings were changed and before the progressive wear effects. We will write more about the history of this machine at armahobbynews.pl. Before applying the decal, I cut the film margin with the new Olfa blade to avoid silvering.
Notes after assembly
Putting the model together was a lot of fun. I went through all the stages one by one, the work was so enjoyable that sometimes I completely lost track of the passing time. The following notes will help you repeat this process and enjoy your finished model soon.
- It is worth cutting the decal for the bottom panel in the cockpit (34) in the place of the protruding handles, it will be easier to apply it on the part number 9.
- The 3D printed machine guns’ butts in the cockpit have a very tight fit. It is worth scraping the mating surfaces from paint before final assembly.
- During the front undercarriage leg assembly, its support is difficult to enter the tight well. The best idea is to sand the sides of the support base lightly and it goes almost with a click (assembly may be blocked by the paint layer and possibly lack of cleaning of the injection channel remains).
- Main landing gear wheels – numbers of the right and left are swapped in the instructions.
- As a final touch, I added a thin bar in the air intake behind the cabin.
Model gallery
Ki-84 Hayate – galeria premierowa – Wojtek Bułhak i Marcin Ciepierski

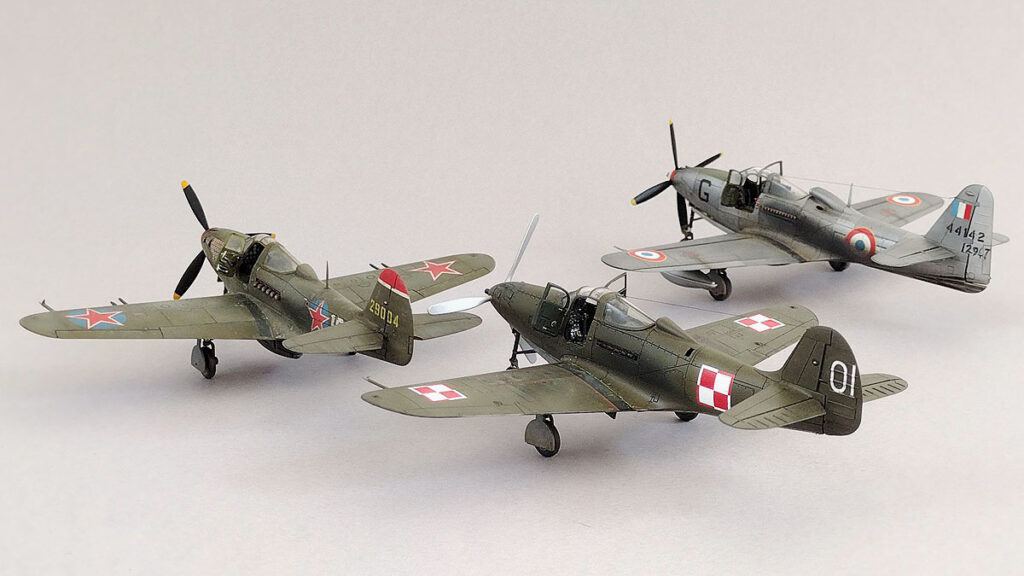
My three “cobras” 1/72: P-39N Academy, P-39Q Arma Hobby and P-63C Dora Wings.
See also:
Order Airacobra model kits in the Arma Hobby online store: link
Modeller happy enough to work in his hobby. Seems to be a quiet Aspie but you were warned. Enjoys talking about modelling, conspiracy theories, Grand Duchy of Lithuania and internet marketing. Co-founder of Arma Hobby. Builds and paints figurines, aeroplane and armour kits, mostly Polish subject and naval aviation.
This post is also available in:
 polski
too bad you don’t have high resolution photos
great finish – well done. TC