
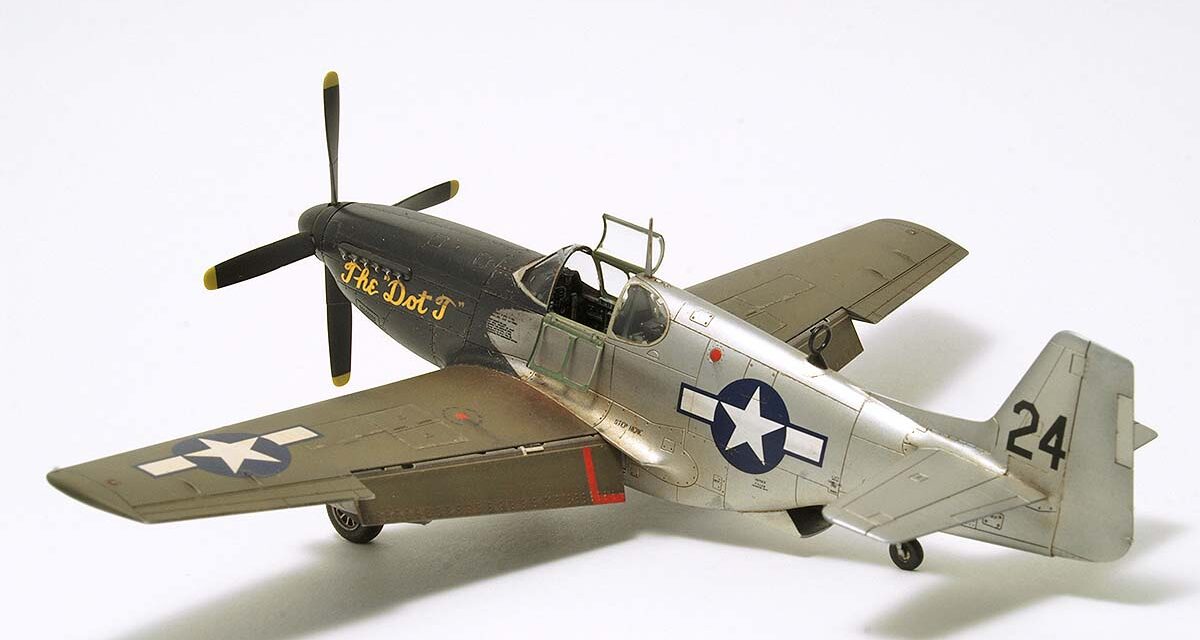
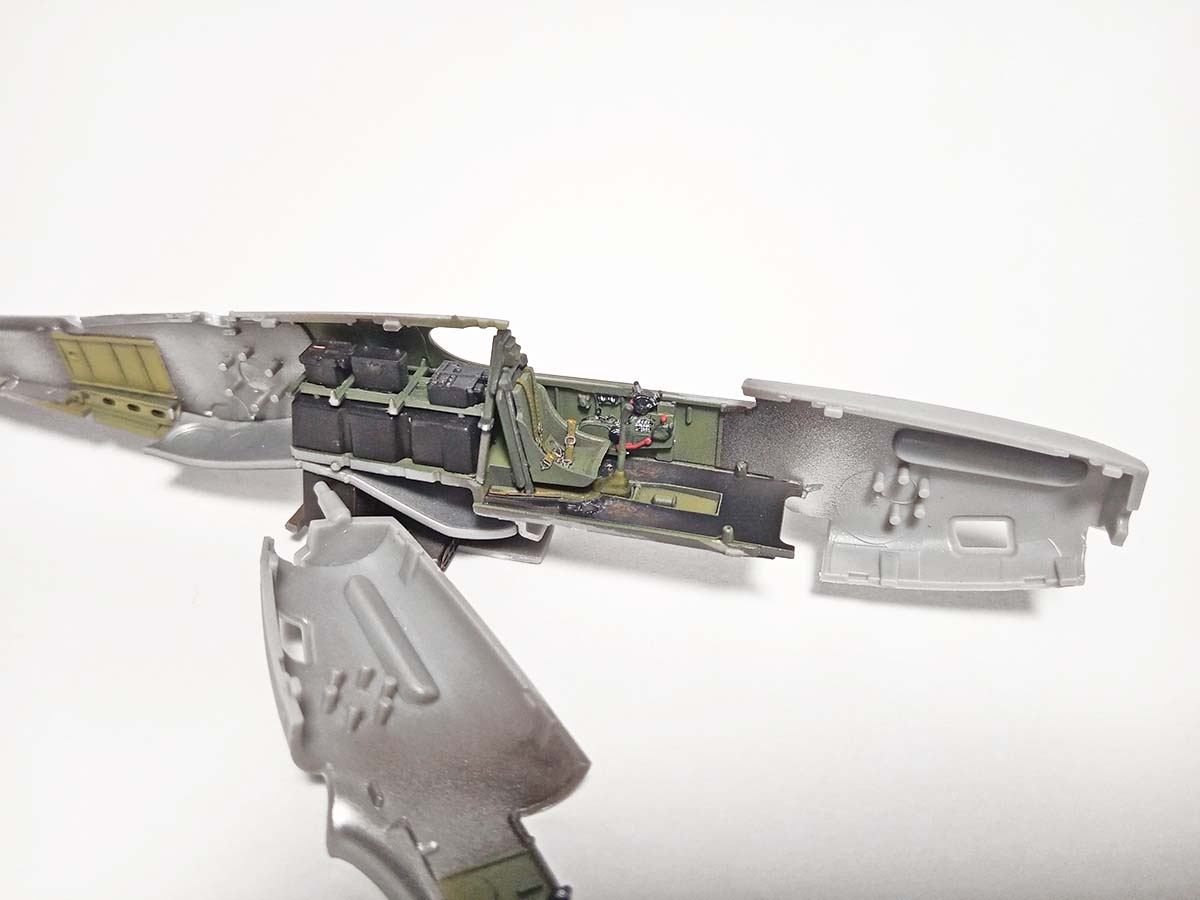
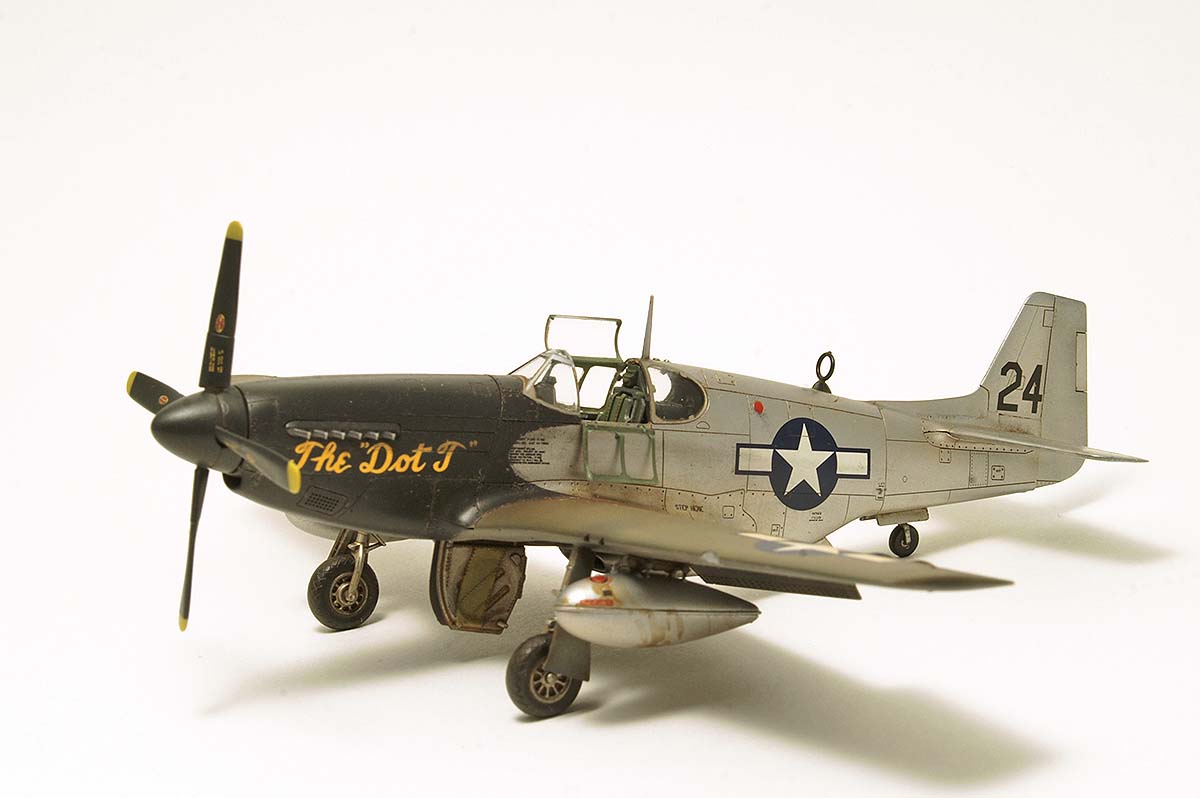
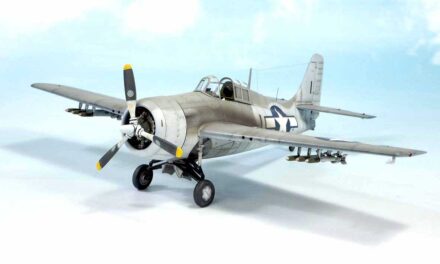
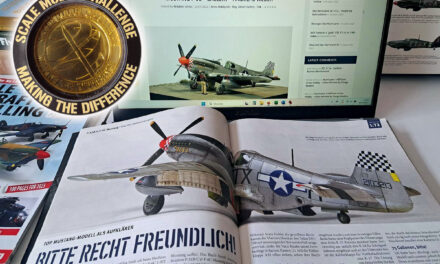
I present the latest model of the Warsaw company Arma Hobby. There is already quite a lot of information about the excellent quality of this model, so I will not write too much about it. I can only confirm: this is the best Mustang on the market. The wealth of details both in the body and in the interior. A huge amount of small decals, the application of which inside the cockpit causes the stunning effect of a complete cockpit of a real plane – though it requires a certain amount of patience.With this model, I adopted a strategy of painting as many parts as possible on the injection frame. Is this a good method? For some, yes, for others, probably not. It was more convenient for me to put such a large number of cockpit decals on the parts firmly attached to a sturdy large frame. For large parts, such as fuselage halves, this works well. With smaller ones, unfortunately, it will be required, after cutting the parts, to re-paint the areas that have been attached to the sprues and so left unpainted. As you like … 😎


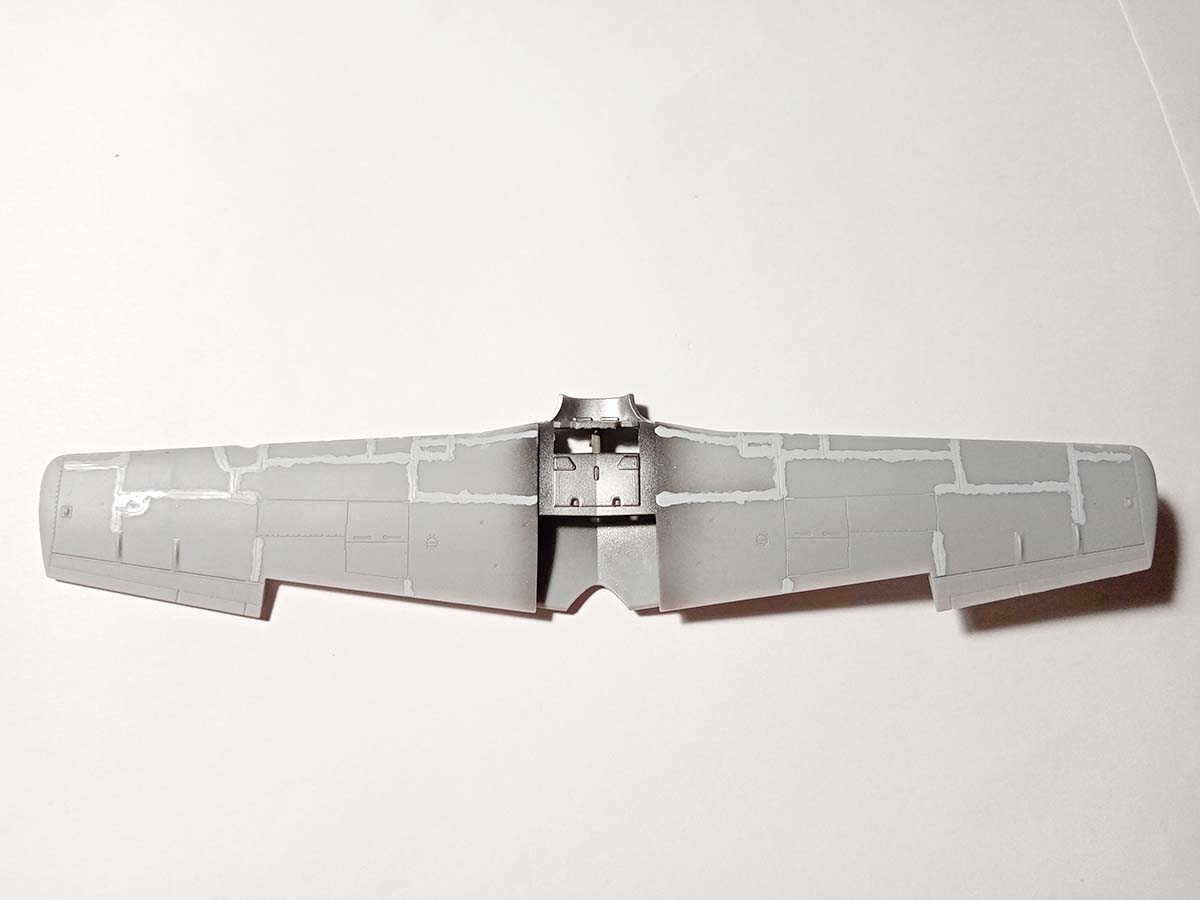
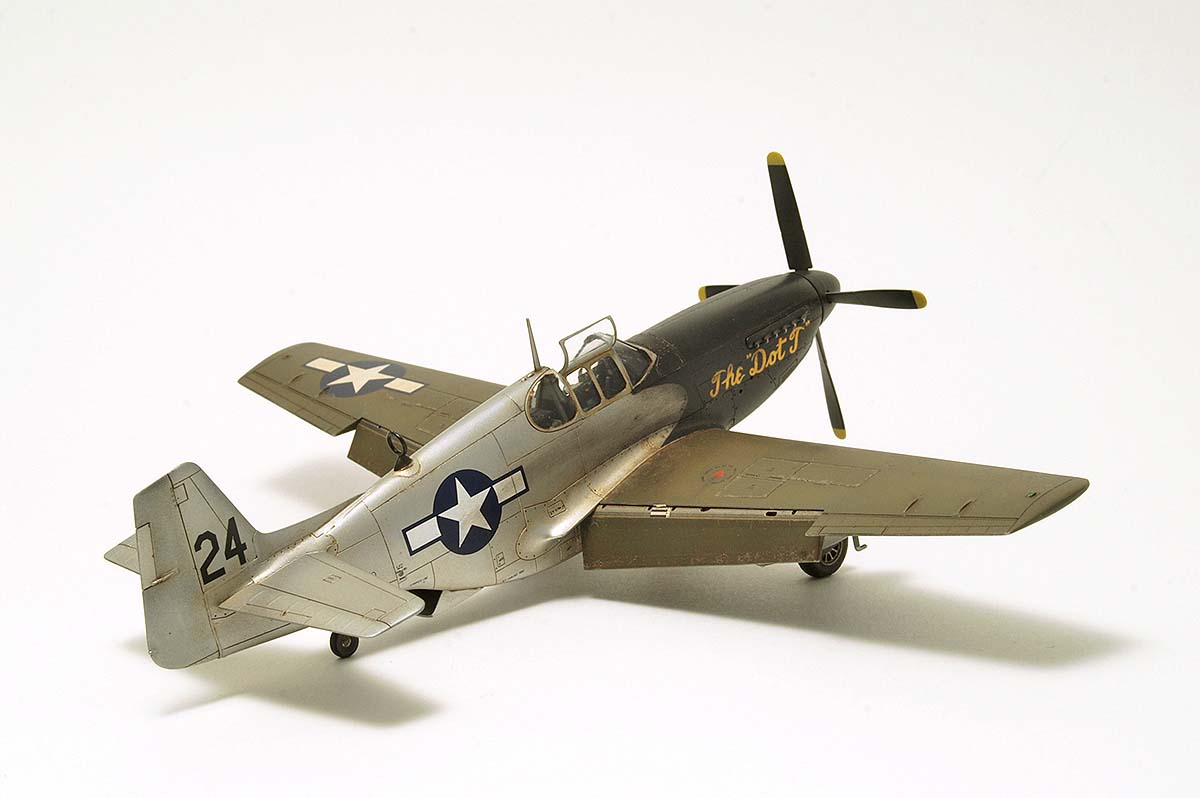
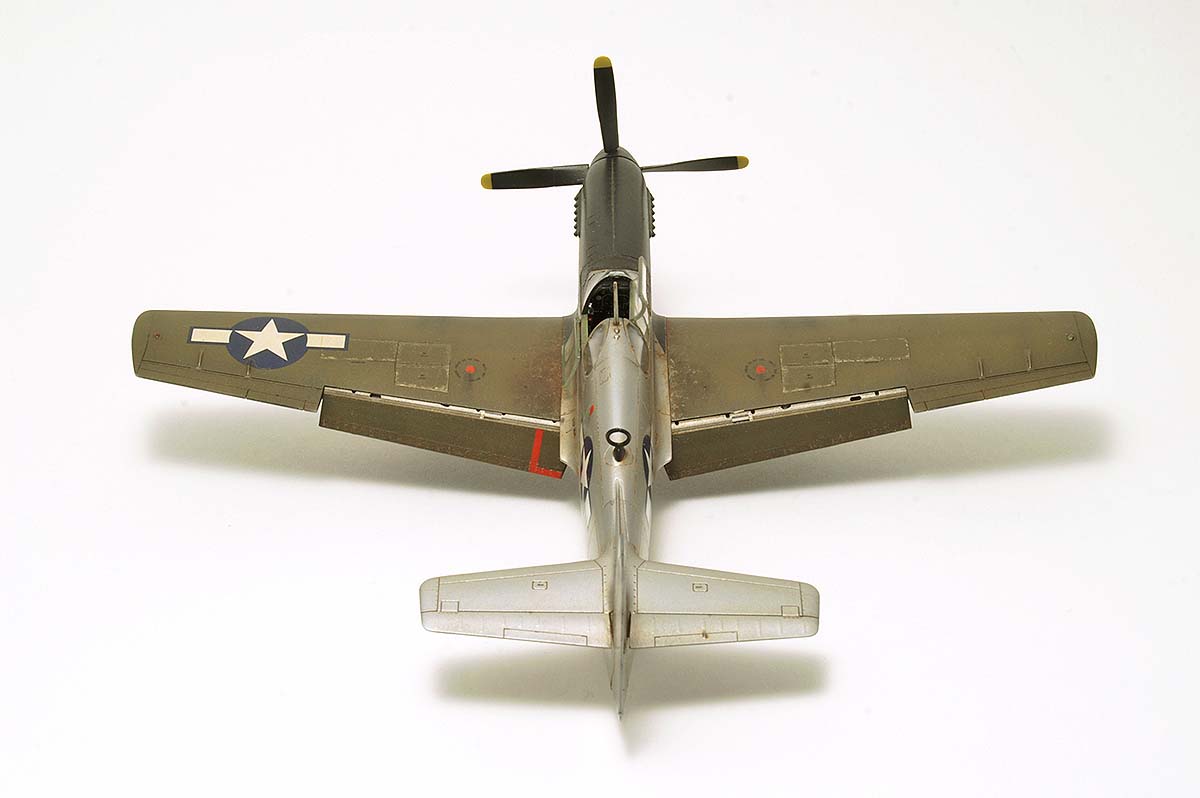
At a later stage of assembly, I moved on to the wings. After painting the internal structure of the wing (the landing gear bays and other details glued there), I put it all together and proceeded to the next activity that required a lot of patience – filling the panel lines on the wing. This operation is not required, I have seen the photos where the lines on some B/C Mustangs had not been filled. However, I am not afraid of such challenges. I used the Surfacer 1500 (because it was the only one I had), although any with a lower number would be better. If I remember correctly, I also used the “white” liquid putty offered by Gunze. I wanted the slight trace of the panel line to remain, and I more or less got it.

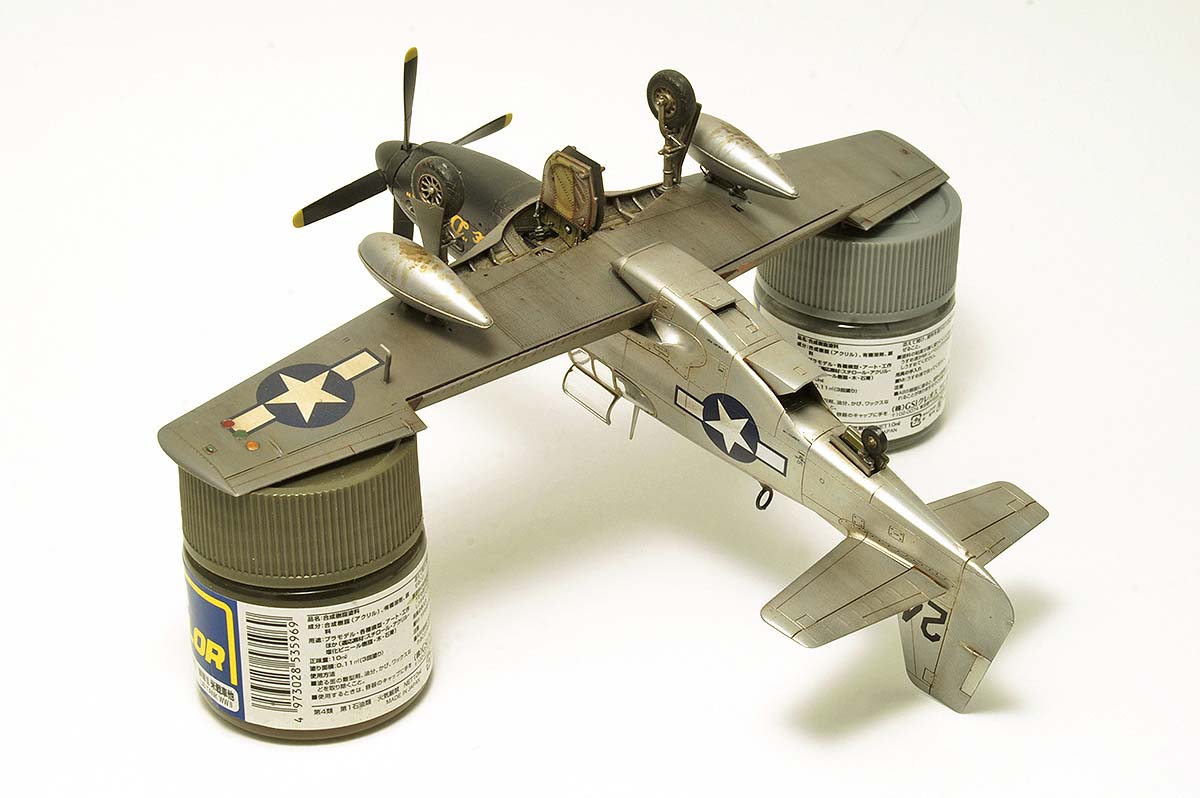
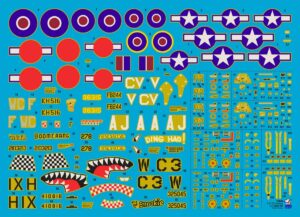
Then I applied varnish, decals, and weathering. The marking I chose comes directly from my interest – the conflict in the Pacific area and the CBI (China-Burma-India).I used a set of decals from DK Decals which fared very well. For weathering, I used dry pastels and products from the Polish company Modellers World. I tried to make the earthy colors of the wash slightly red because that was the color of the Chinese soil where my Mustang was stationed. The last step was to cover the wings and fuselage from the top with a slightly reddened MiG “Rainmark” with a special emphasis on the wingtips. This is to simulate the general “dustiness” of an airplane in Far East conditions. Then I sprayed the whole thing with glossy Gunze GX 100 varnish mixed with matt UV CUT varnish (non-yellowing under the influence of UV radiation).

See also:
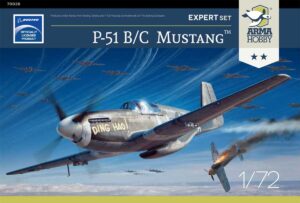
- Buy P-51 B/C Mustang™ models in Arma Hobby link
Wszystko co chcecie wiedzieć o Mustangu z Arma Hobby i nie boicie się pytać
A computer graphic artist with a passion for modeling. Only the correct 1/72 scale, planes, Pacific WW2.
This post is also available in:
 polski