

Step 1 – Separation of parts
At the beginning, you need to carefully separate the main parts from the sprues, considering the thickness of the sprue gates. On the one hand it is nice to see less gates and their more subtle dimensions compared to earlier kits, on the other hand they still touch the surface of the parts; the gate on the fin, for instance, is quite huge, so work carefully here. I recommend using modelling pliers and separating the part with about 1 mm overlap, which you then clean up with a scalpel blade and sanding stick. If you try to separate the part as close to the surface of the part as possible, the material may break off and you would need to repair the area with filler.
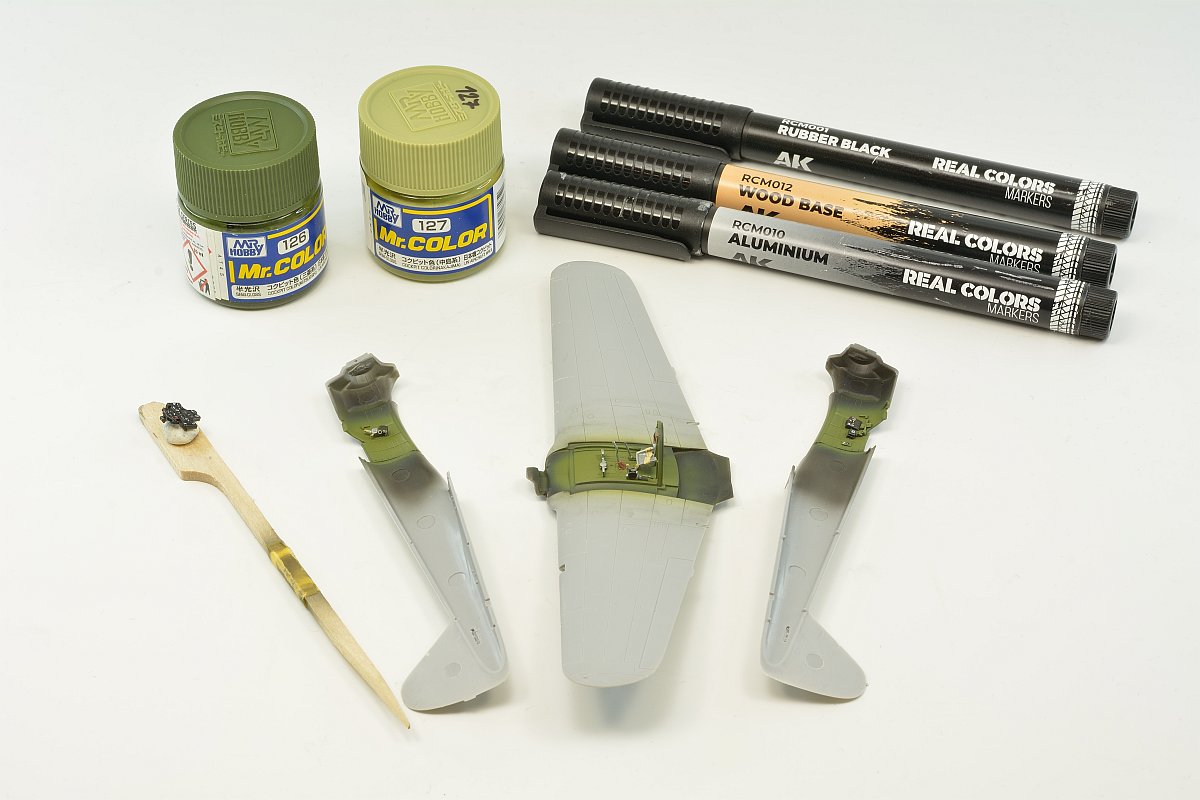
Step 2 – interior assembly
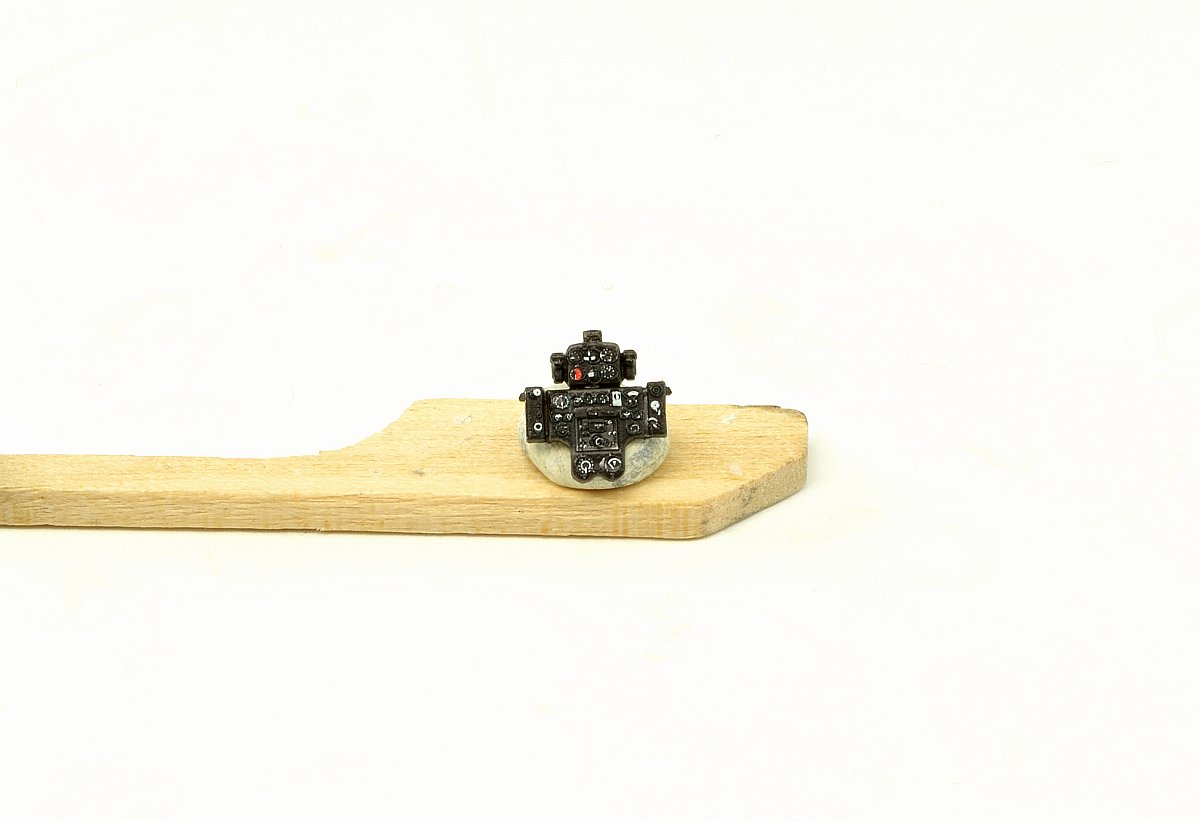
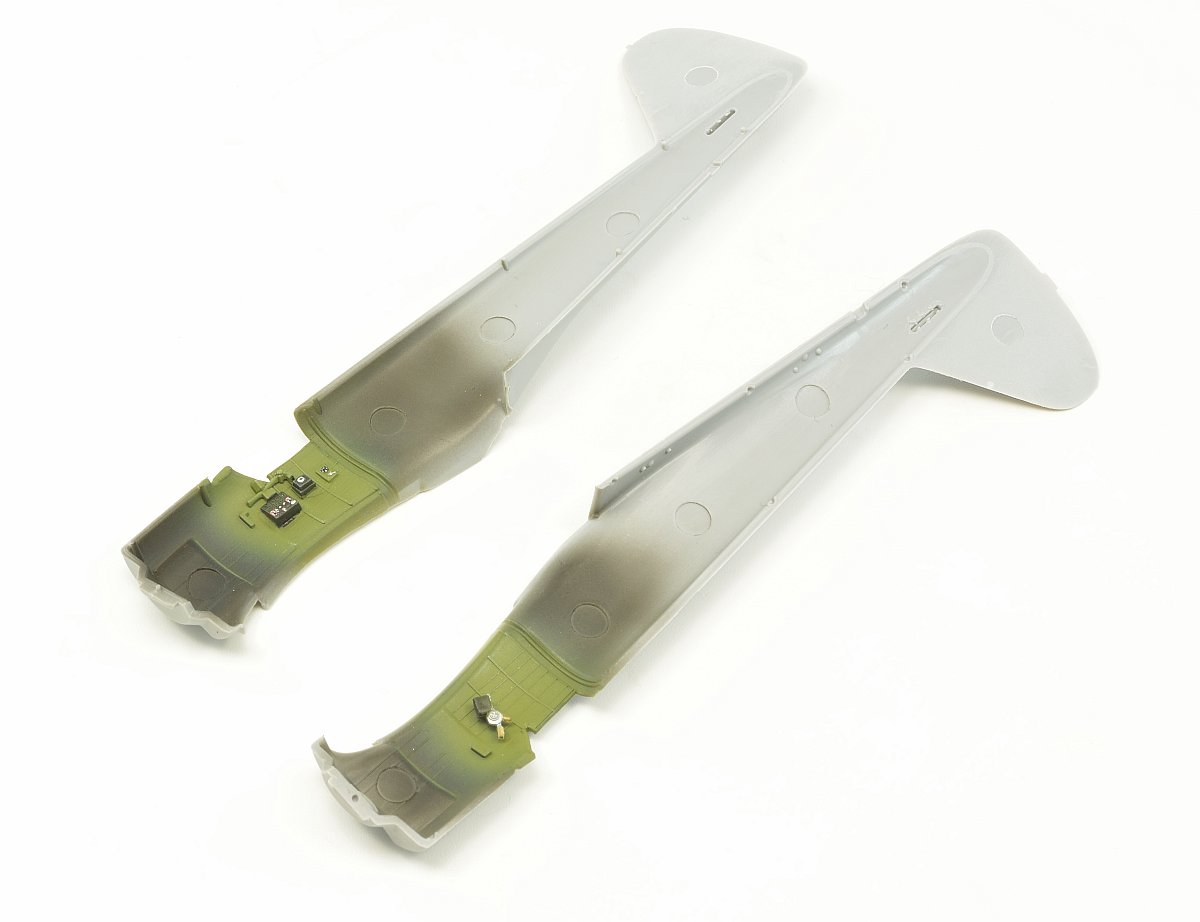
I mixed the base shade of the interior colour from Mr.Color 126 Cockpit colour (Mitsubishi) and Mr.Color 127 Cockpit Colour (Nakajima) in approximately 1:1 ratio. I painted the small parts with AK Interactive markers, as well as the instrument panel, on which I then applied a decal with the instrument dials.

Step 3 – airframe assembly
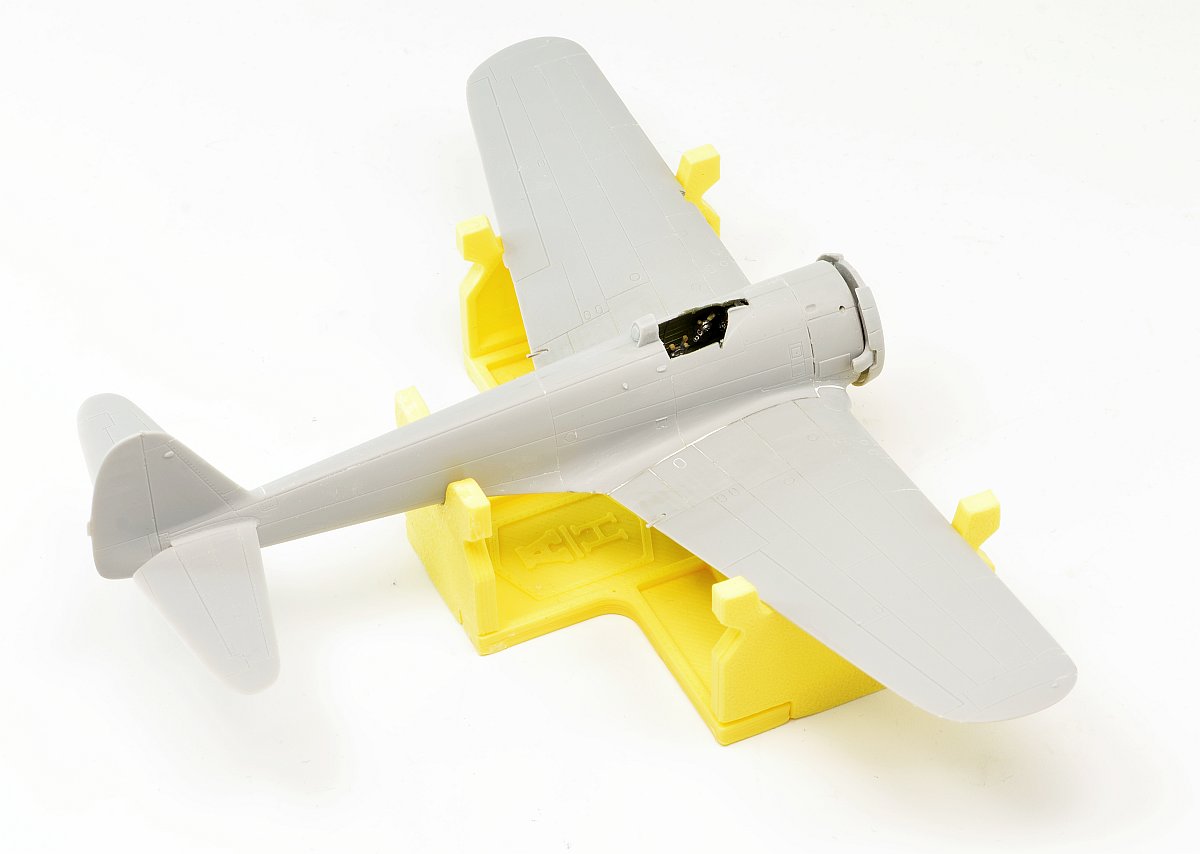
I glued the prepared main parts together using extra thin Mr.Cement S. A little bit of putty was needed on the bottom surface of the centre plane in the transition area to the fuselage, otherwise the overall fit was practically flawless.
Step 4 – Engine
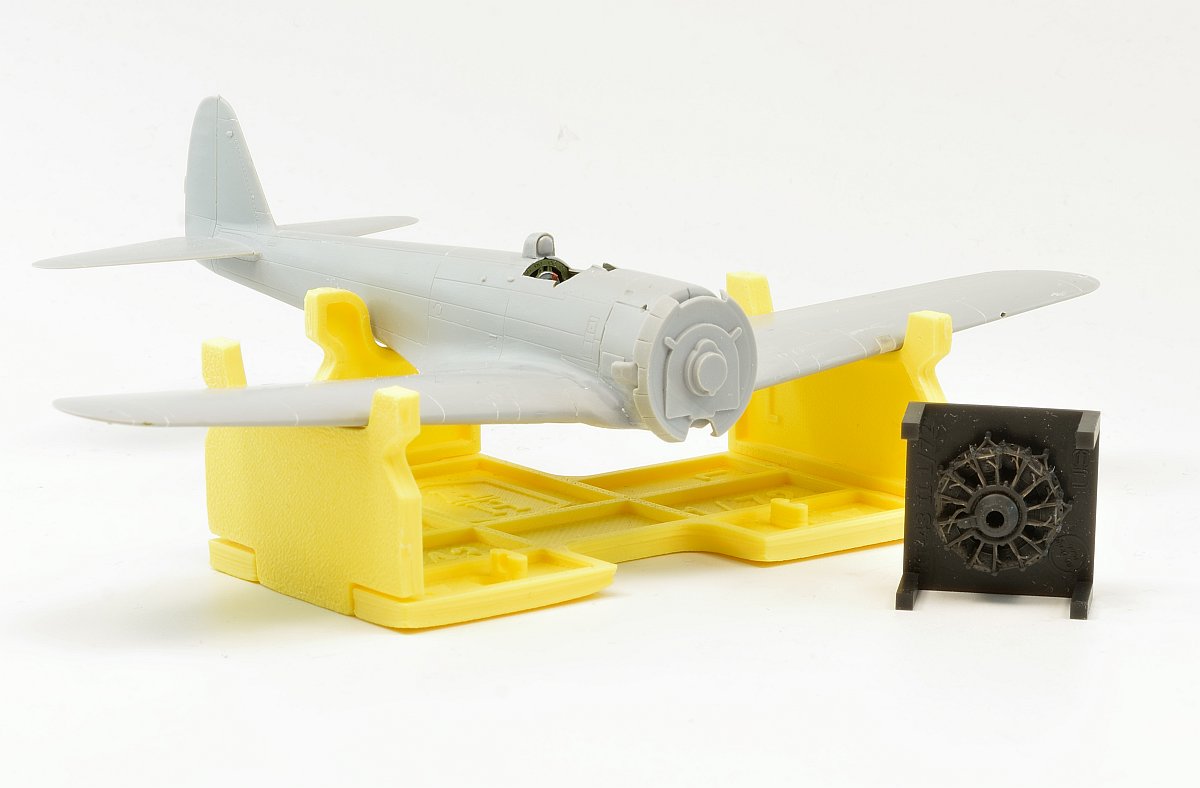
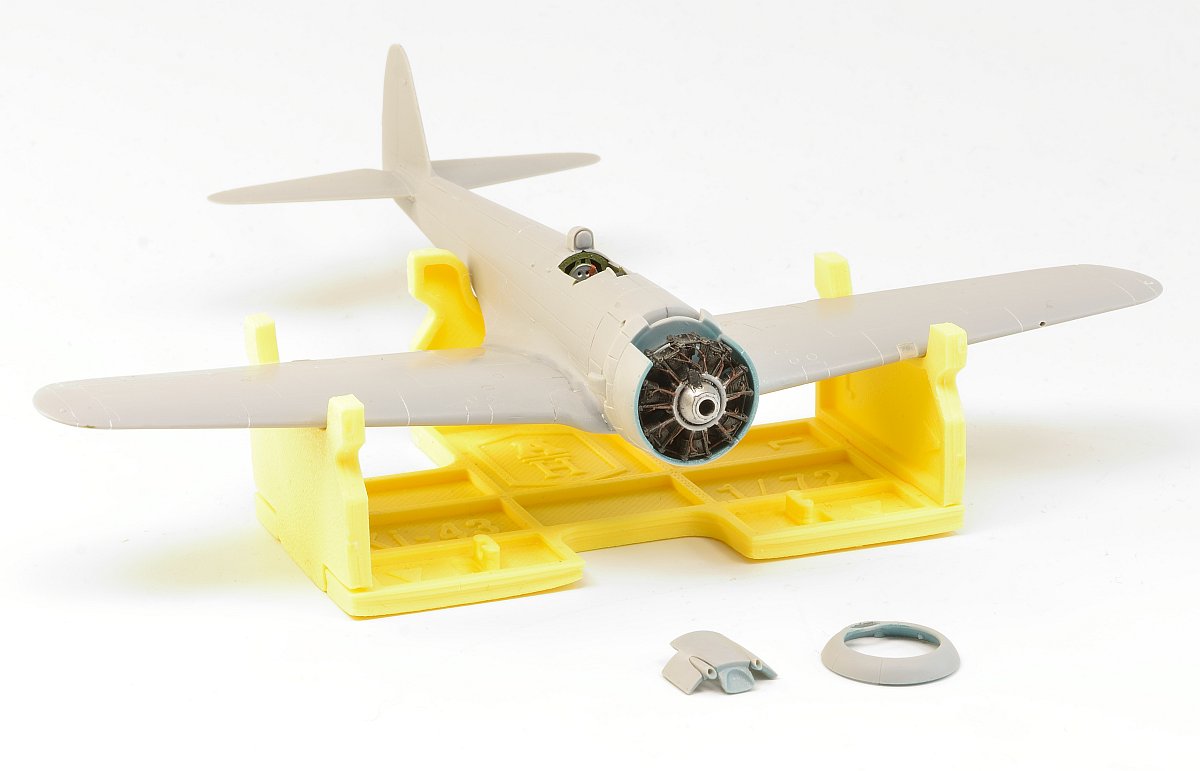
The engine from the kit consisting of two separate rows is usable, but with vaguely moulded cooling fins on the valves. I ended up replacing it with a 3D printed part from Dead Design, which is much more detailed, including indications of spark plugs wiring and other fine details. Then I attached the engine into the cowling made up of individual panels. Again, the parts fit together very well and there was no need for filler.
Step 5 – rivets
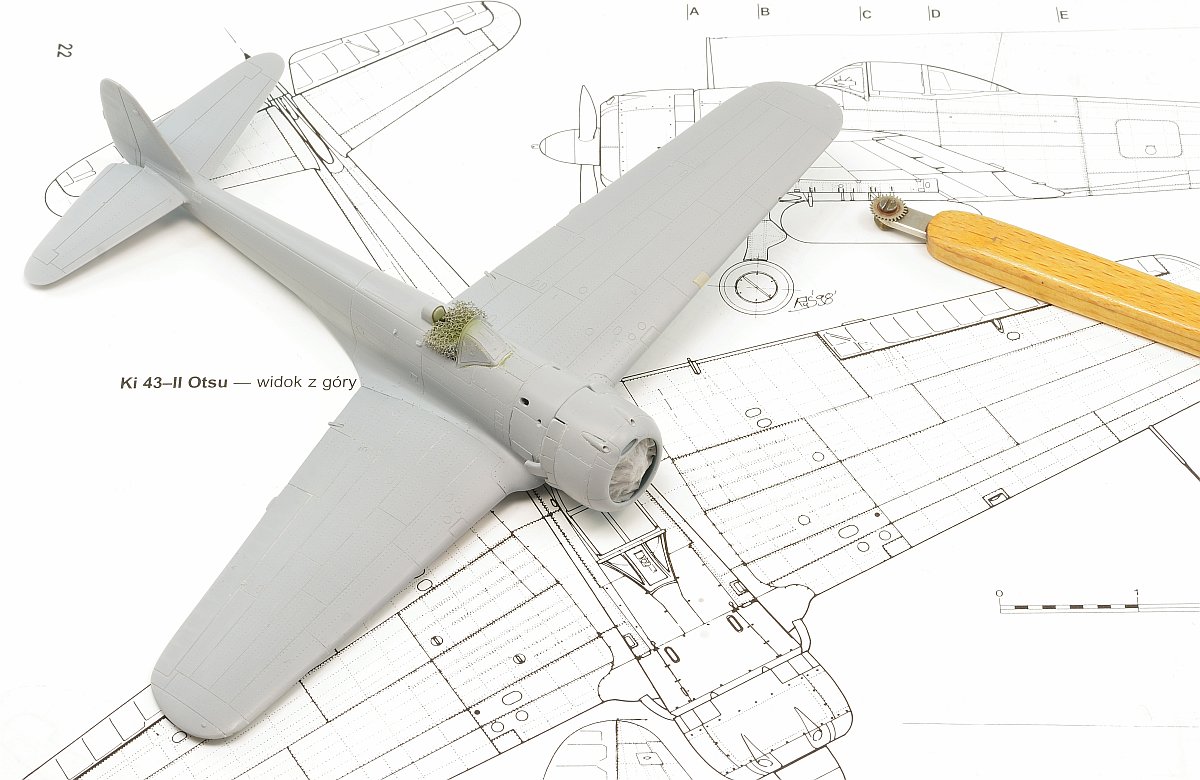
After gluing on the headrest and other small parts, and finally the windshield masked off with canopy masks provided in the kit, I sprayed the model with a base coat of Mr.Surfacer 1000. Into this layer I then carefully added the rivet lines using a Rosie the Riveter rivet wheel according to a scale drawing, sanded the surface with fine grit 2000 grit sandpaper and re-polished all once again.
Step 6 – colouring and marking
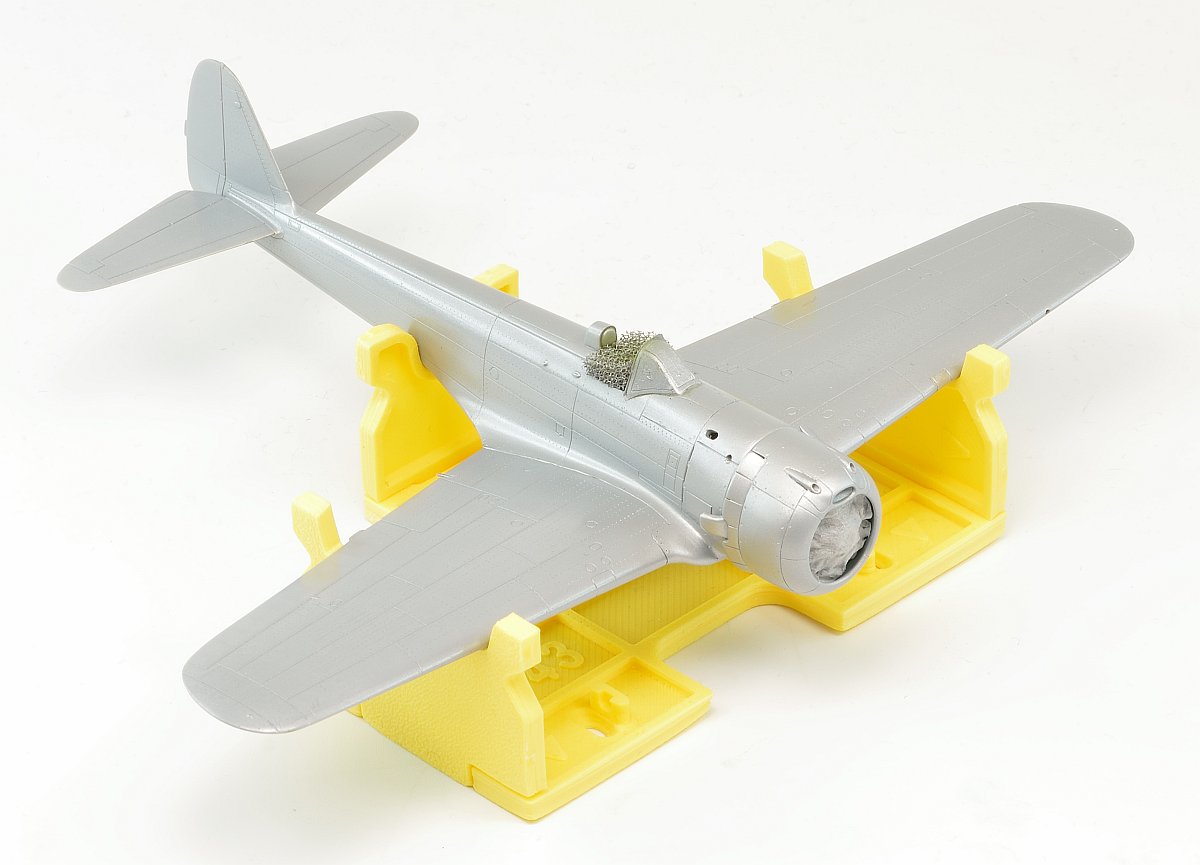
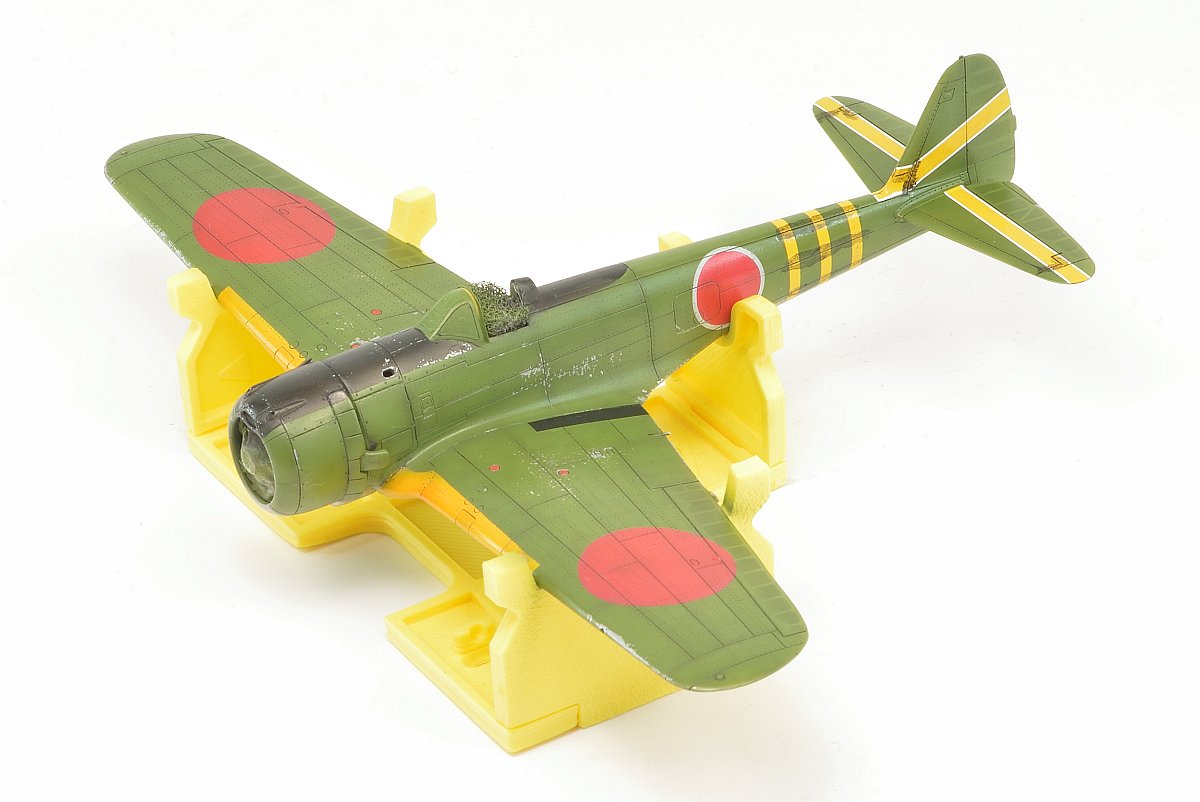
First, I sprayed the surface with Alclad II ALC-102 Aluminium as a base colour underneath and as the basis for the subsequent paint scratches and weathering on the upper surfaces.
I used a slightly lightened shade of Mr.Color 129 Dark Green (Nakajima) for the upper surfaces and then optically broke up the surface with a darker shade using post-shading.
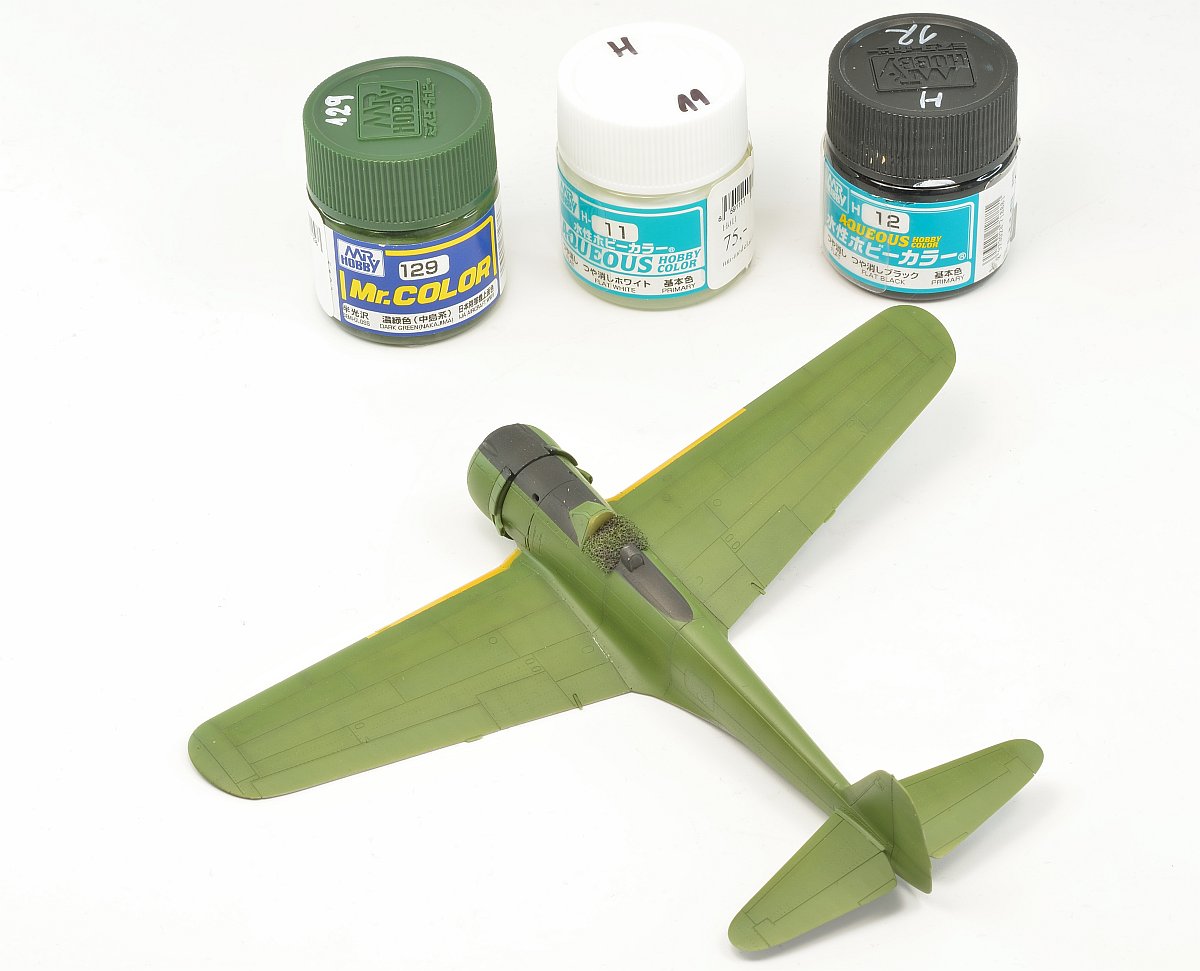
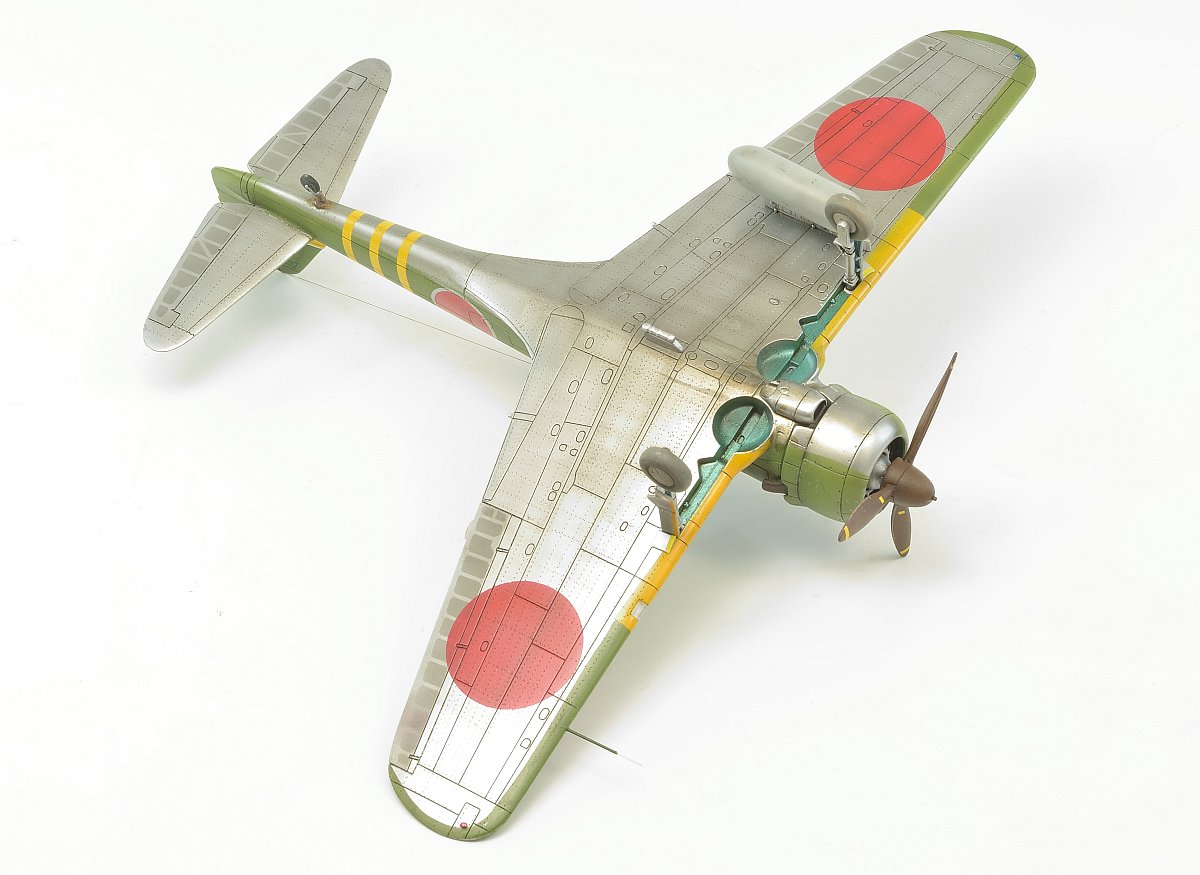
To visually accentuate the fabric covered control surfaces, I used Dead Design masks, which I airbrushed over with a slightly darker shade of the base colour after applying it to the surface. I also used masks from the same manufacturer for the national insignia, with the red shade for the hinomaru coming from the Gunze Aqueous H327.

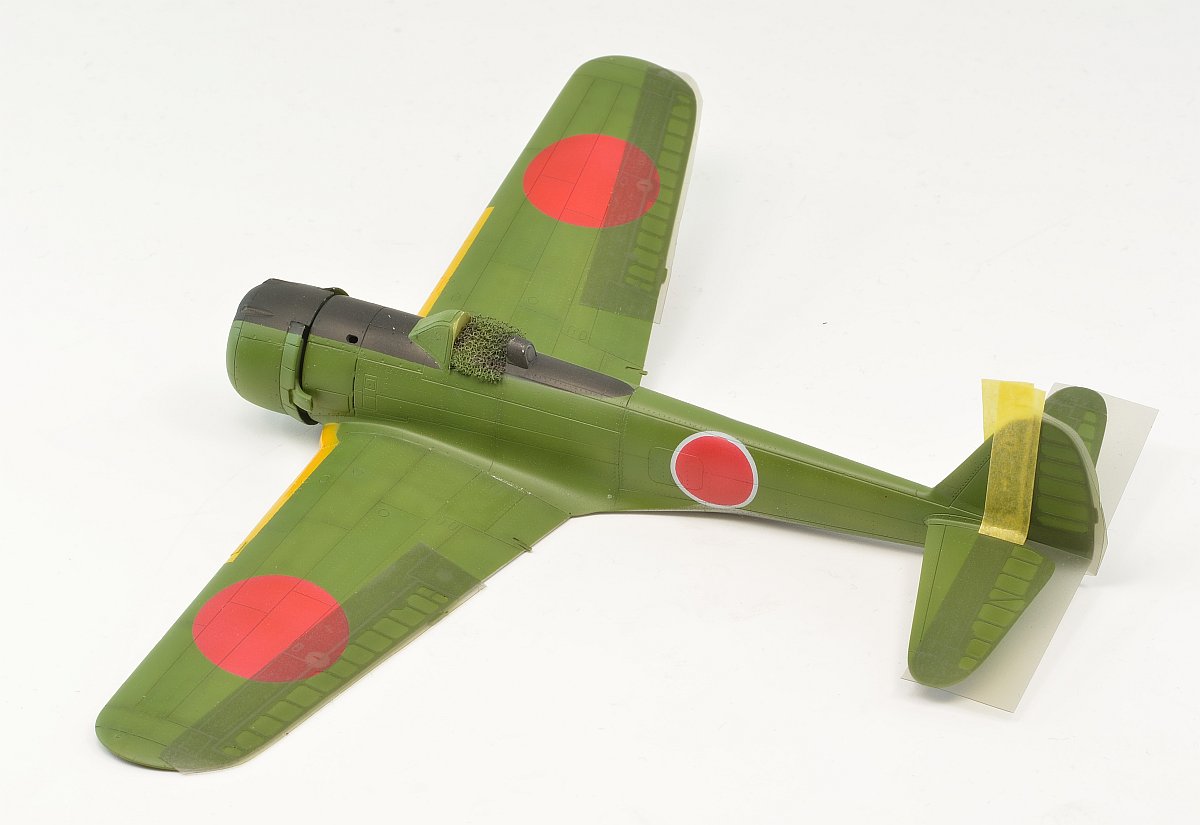
The rest of the markings then came from the kit decals – these are beautifully printed and were easy to work with. Finally, I used the tip of a toothpick to carefully scratched the camouflage colour down to the aluminium paint in the background layer.
Step 7 – Final assembly
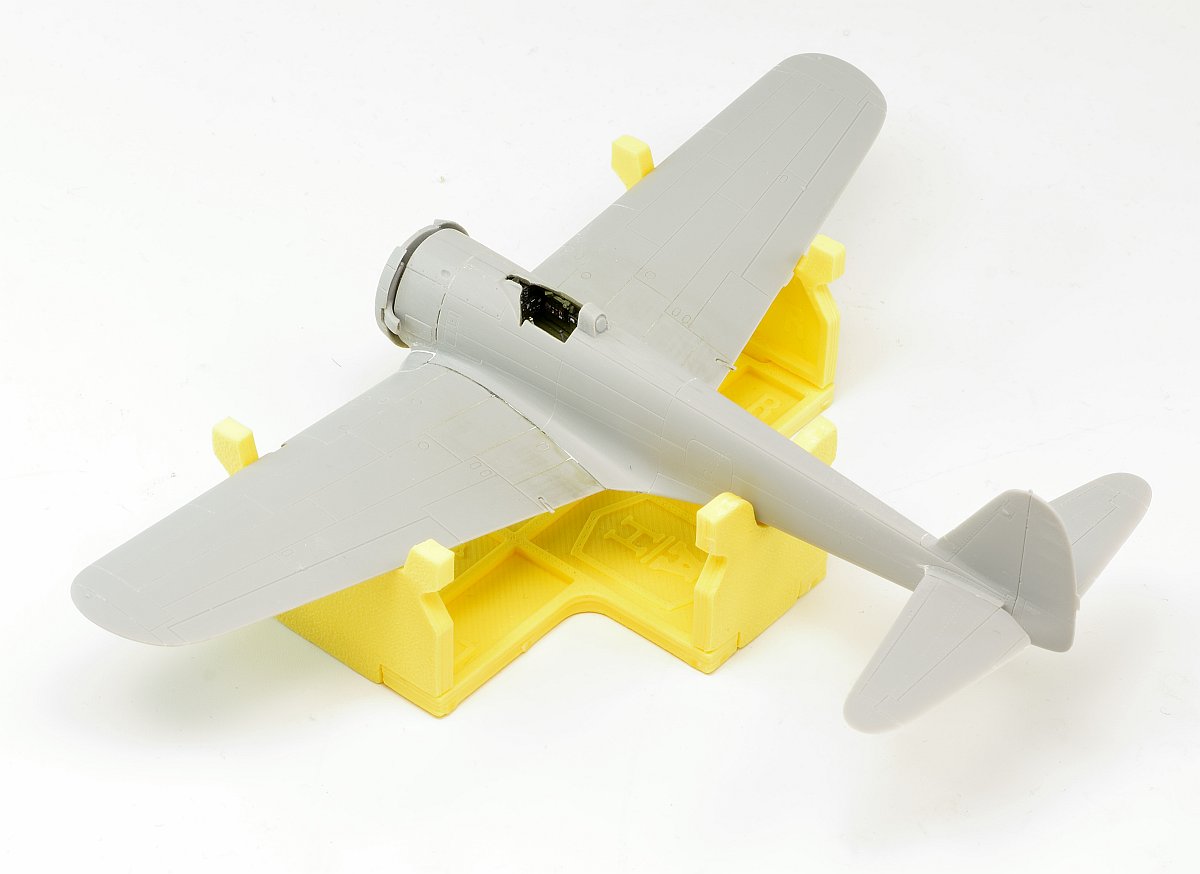
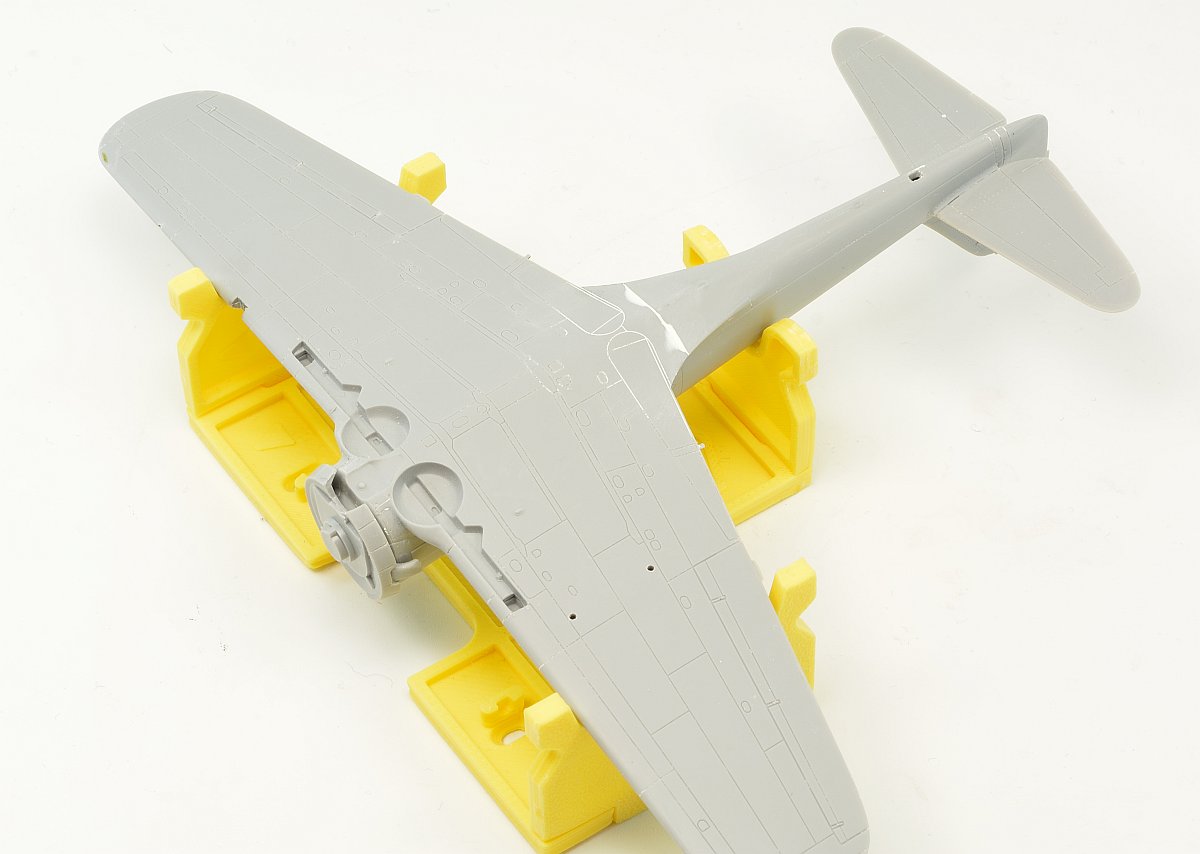
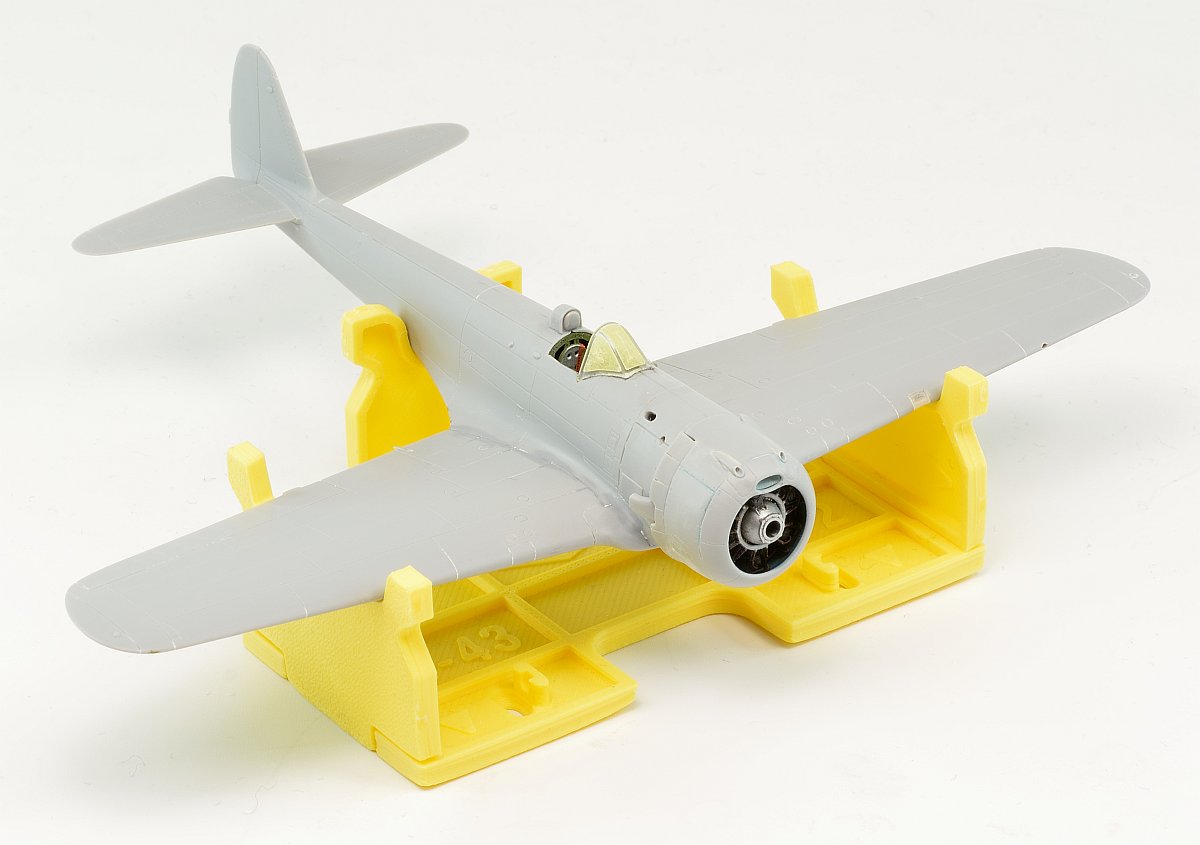
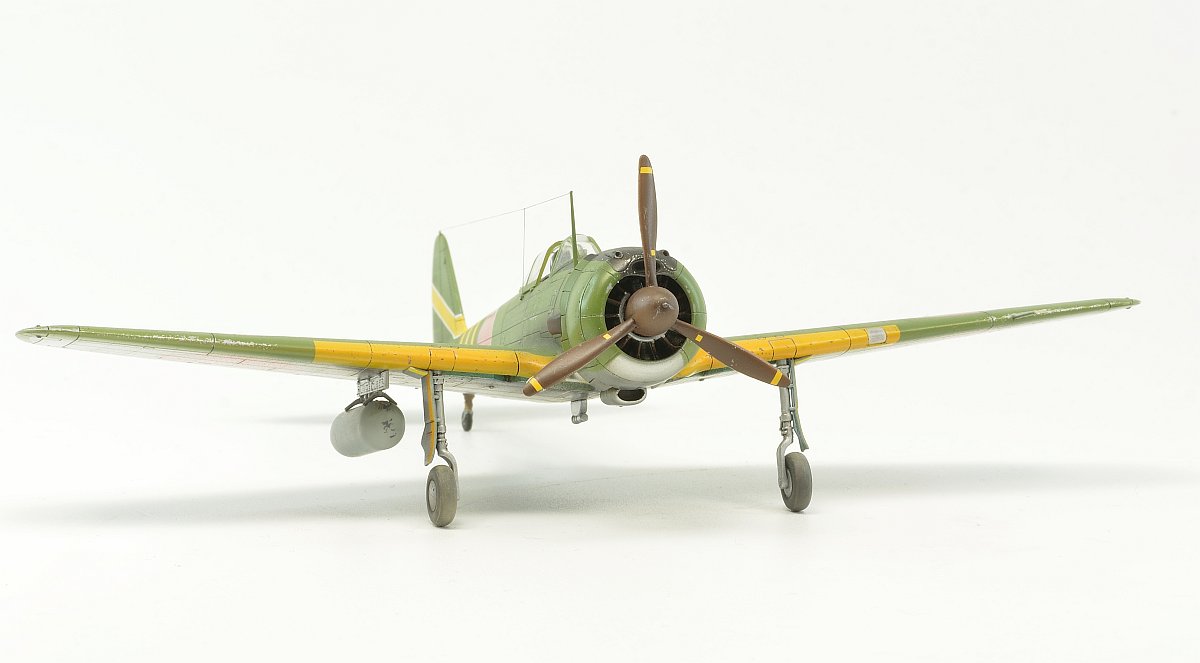
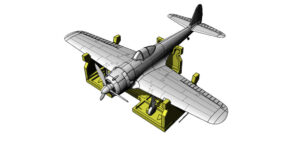
All that was left now was to add the undercarriage components, for which I used the Arma Hobby own 3D printed jig to help set up the geometry. By the way, I used it throughout all construction steps, not only for painting, and also for general handling of the model. I can recommend it as really useful tool. At the end I added remaining bits as aerial mast and propeller.

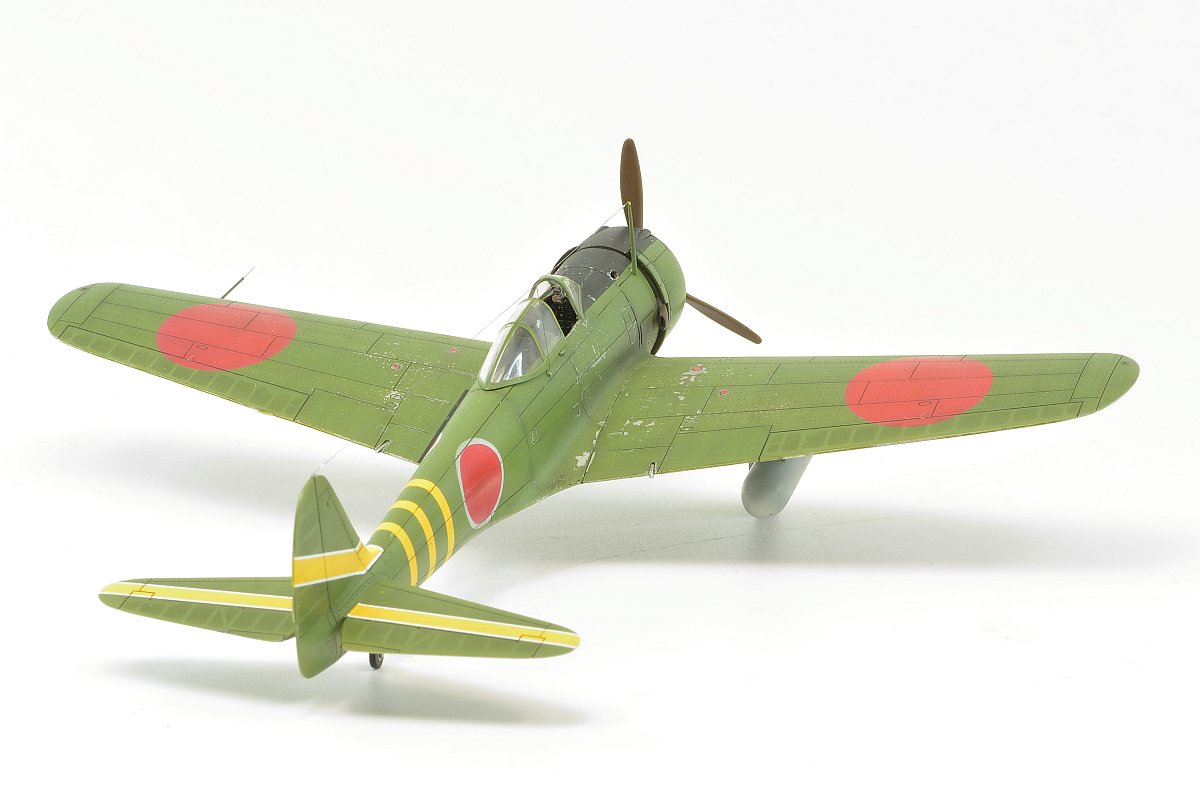
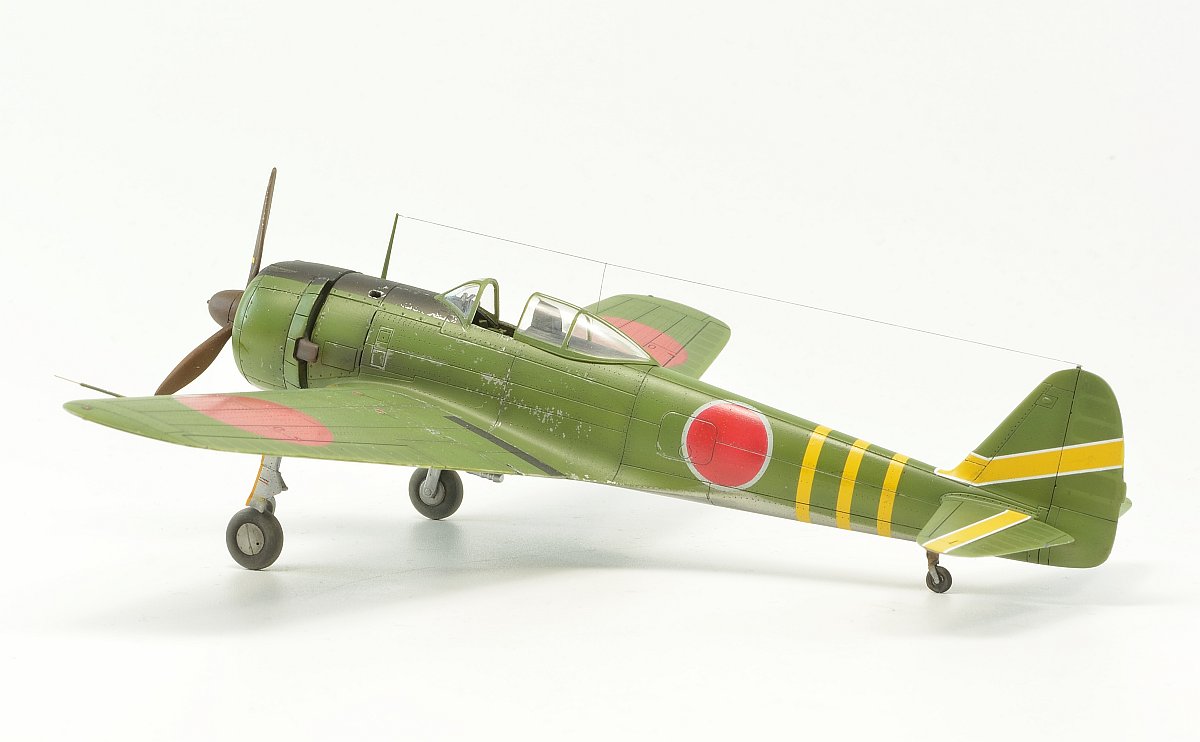
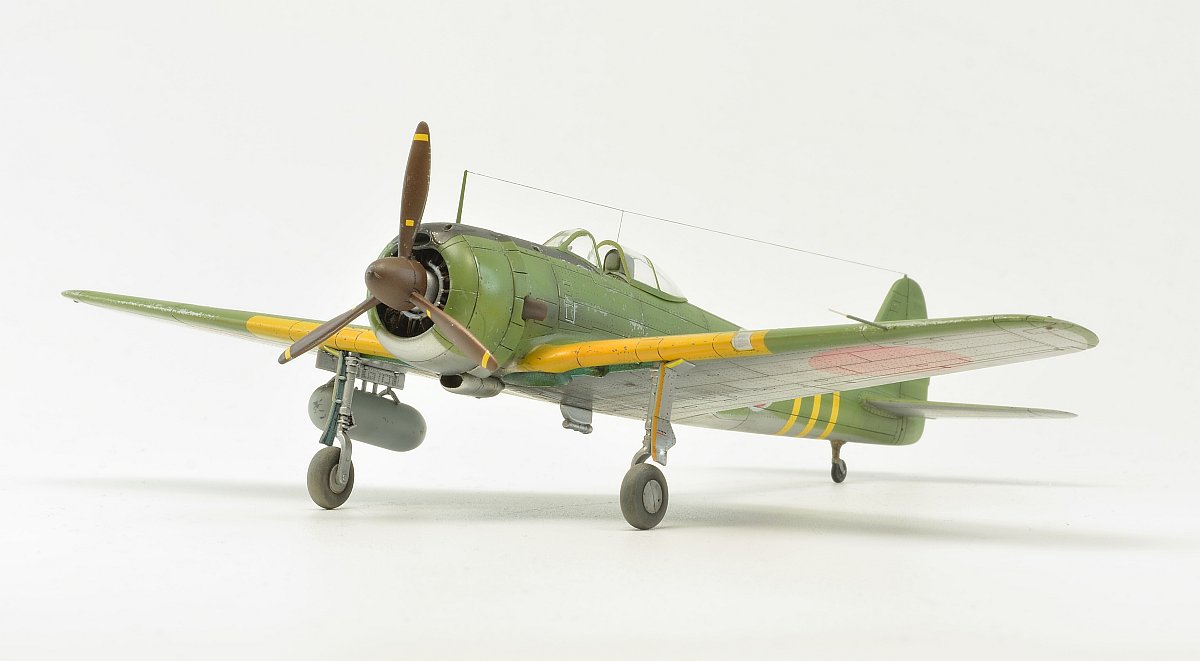
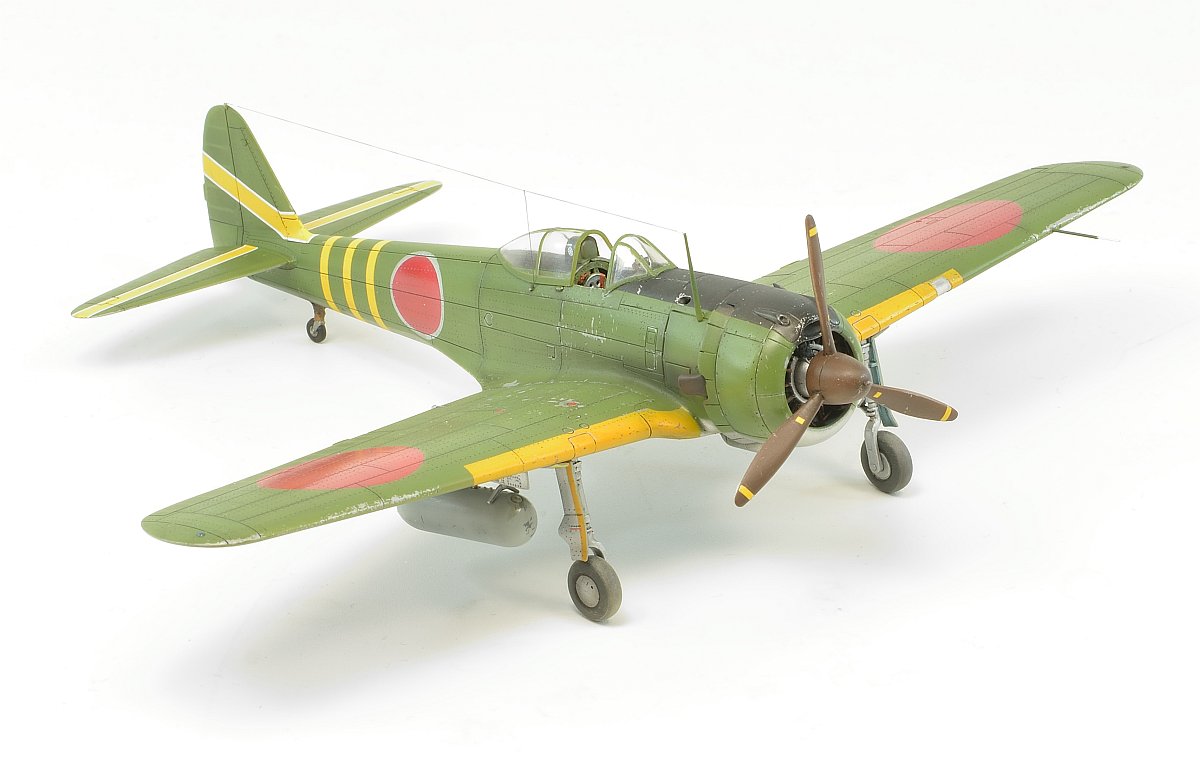
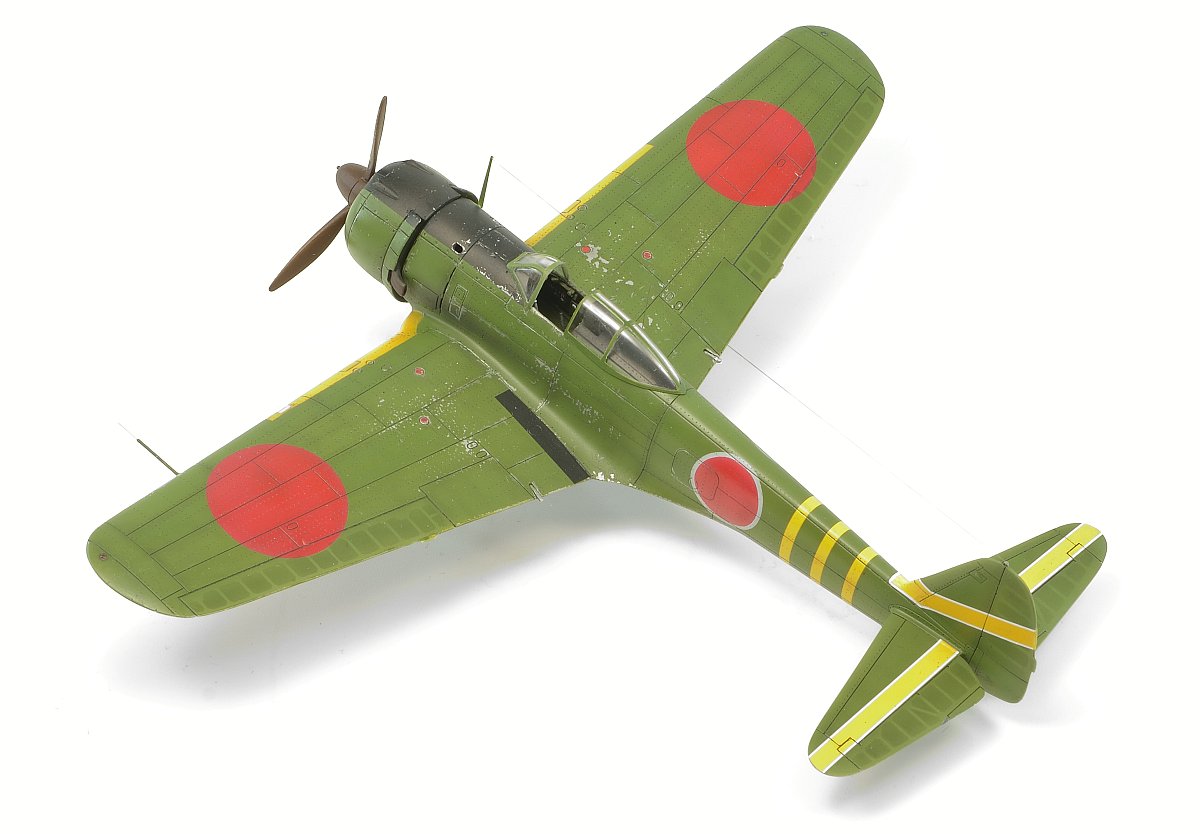
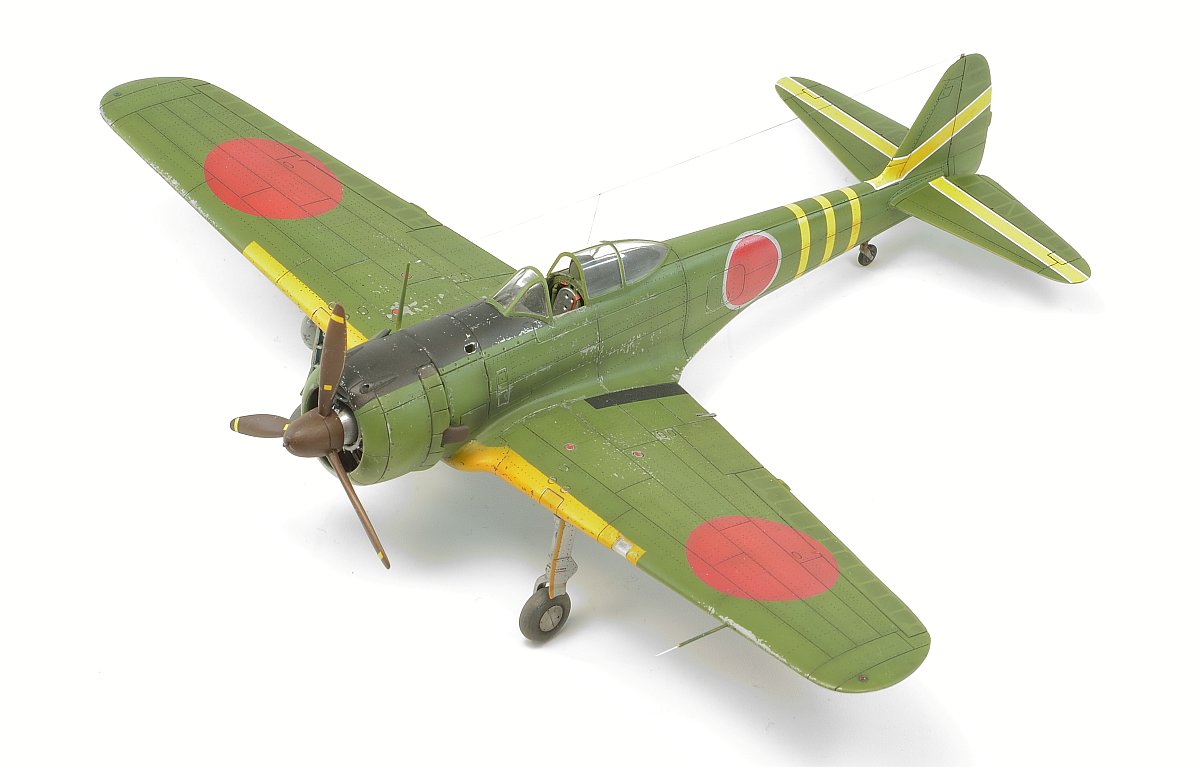
Finished model

Conclusion
Personally, I appreciate the overall high quality of the kit and subtle rendition of many details; the only minor flaw is the greater amount of flash on some parts not previously seen on Arma Hobby earlier kits. Despite this, this is a great successor to the earlier kits of this important fighter of Japanese Air Force during the WWII.
Check also:
Ki-43 II Hayabusa w skali 1/72 – zawartość pudełka modelu 70078
Aviation fan with degree in aeronautical engineering. 1/72 scale modeler with preference on WWII, but occasionally dealing with modern stuff as well. Contributor to modelling magazines and book publishers.
This post is also available in:
 polski

