
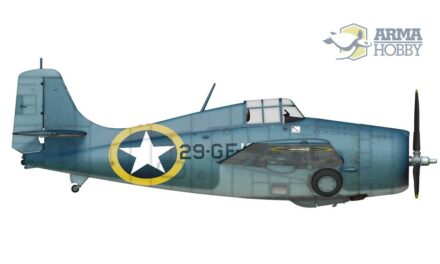
The FM-1 & FM-2 Wildcat set offers, apart from two models, also two aircraft carrier decks made of laser-engraved plywood. They allow for an exciting presentation of the model on a base stand, a diorama. A few simple super-detailing tricks will allow you to make the decks in an even more effective way. Painting is also not particularly difficult. See how easy it is to get great results with the Arma Hobby set.
This tutorial shows how I made prototype decks. The production version has been improved and supplemented with additional details.
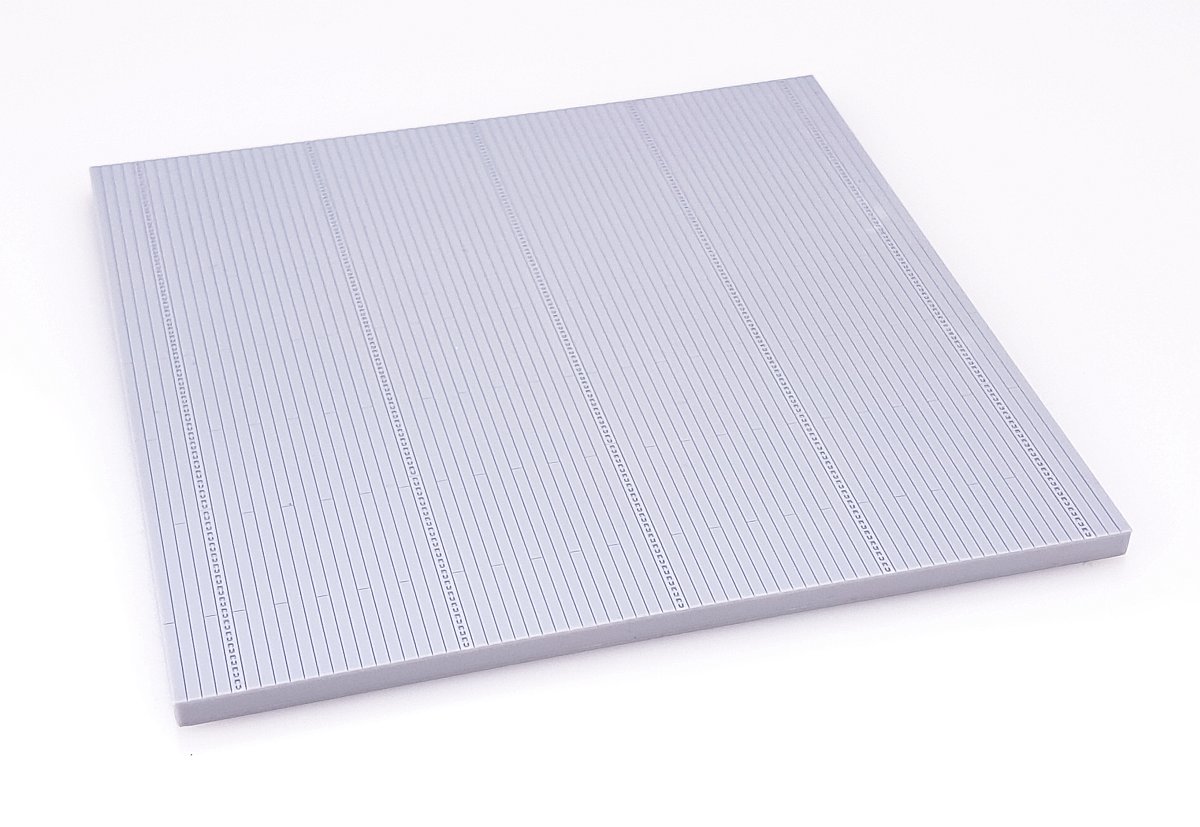
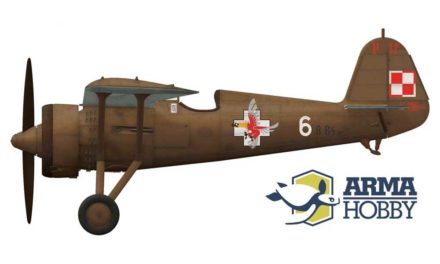
The 1/72 FM-1 & FM-2 Wildcat double kit with wooden aircraft carrier decks was so popular that it has long since sold out. However, now bases for 1/72 scale models reproducing the deck of an Allied escort aircraft carrier are available again – as plastic injection-moulded squares with 152 mm (6′) sides. Their accurate detailing and crisp texture make it easy for even the intermediate modeller to make a very impressive base for most Allied WWII carrier-based aircraft.
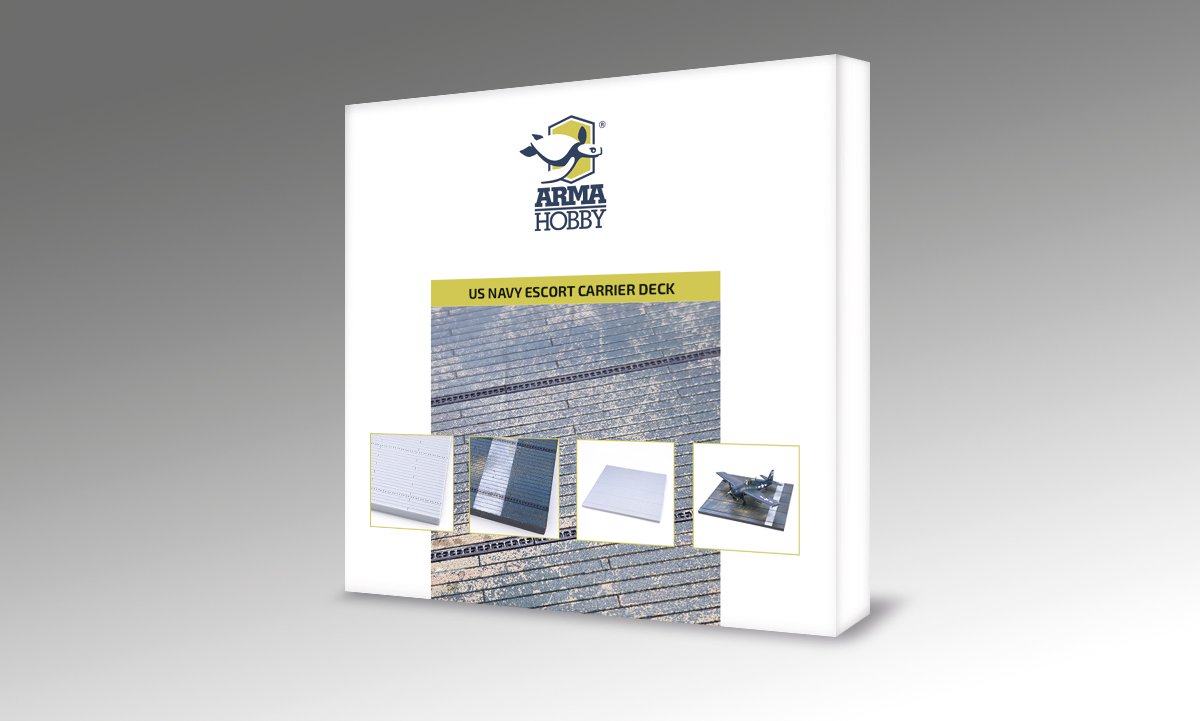
- Buy 1/72 diorama base USN/RN Escort Carrier Deck at Armahobby.com!
Where to start?
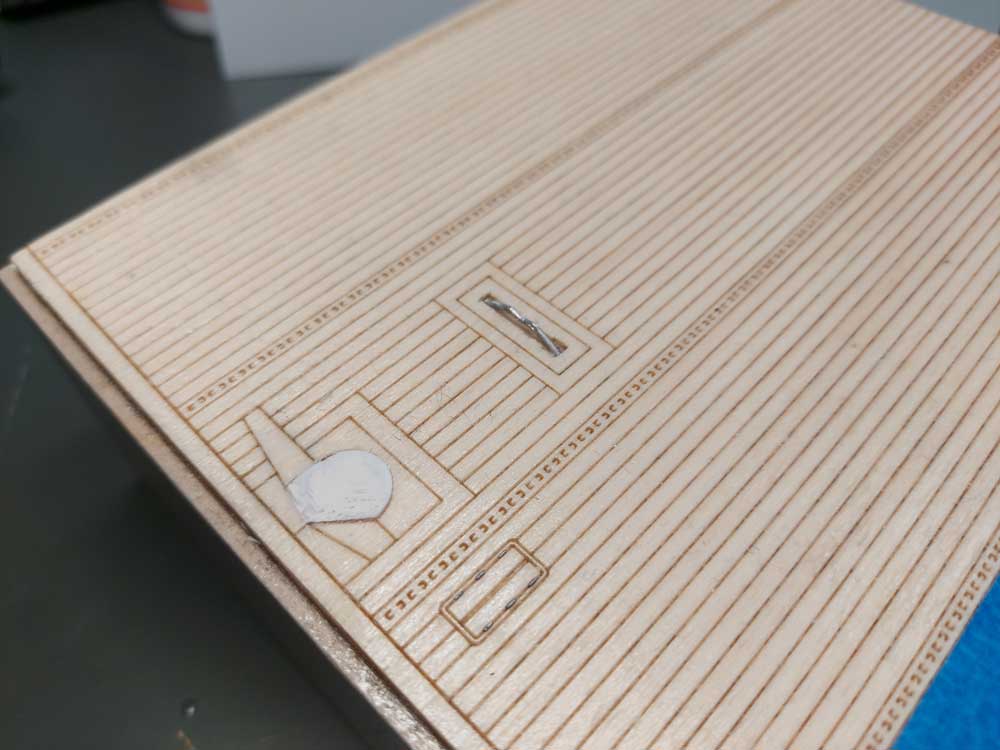
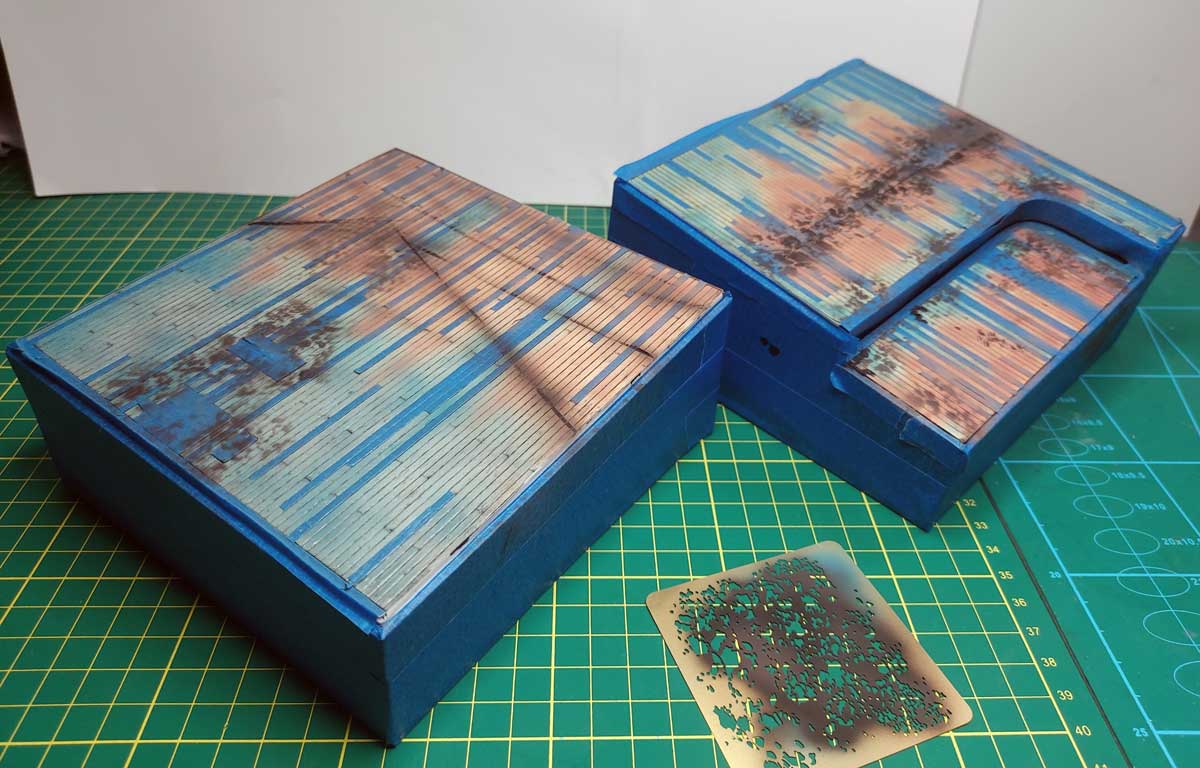
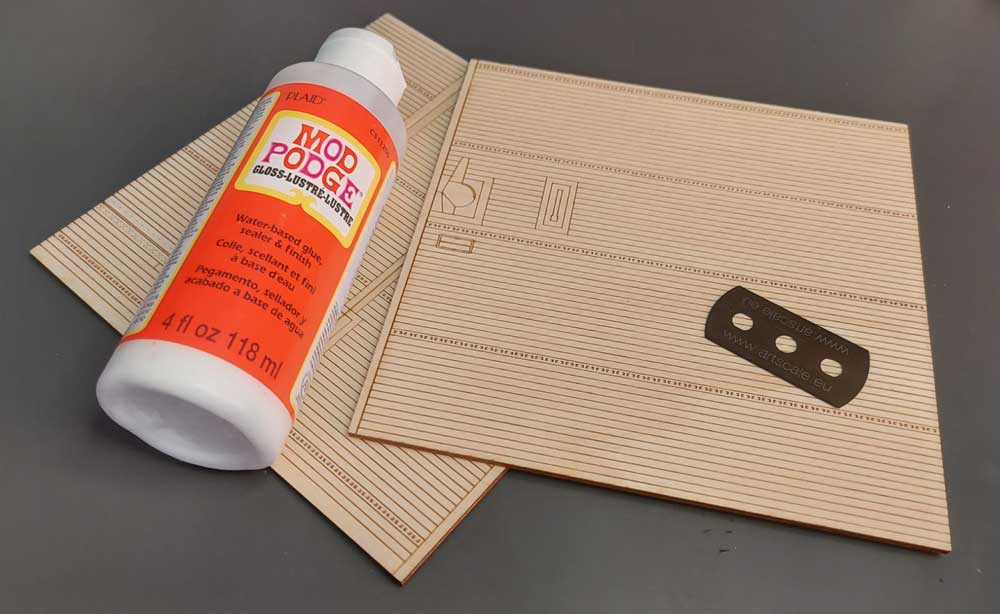 The material from which the decks are made is soft and easy to process with modelling tools. For a good start, it is worth protecting it against damage or distortion. I recommend glueing it to a rigid base: styrofoam, other plywood or placing it in a picture frame. The wooden surface perfectly resembles the planks covering the decks of US Navy aircraft carriers. However, it must be impregnated at the beginning so that it does not absorb paint unnecessarily. I used a diluted Mod Podge, which I applied in two layers with a wide brush. After drying, I rubbed the plywood with 000-grade steel wool to remove delicate chips from the surface.
Aircraft carrier deck super-detailing
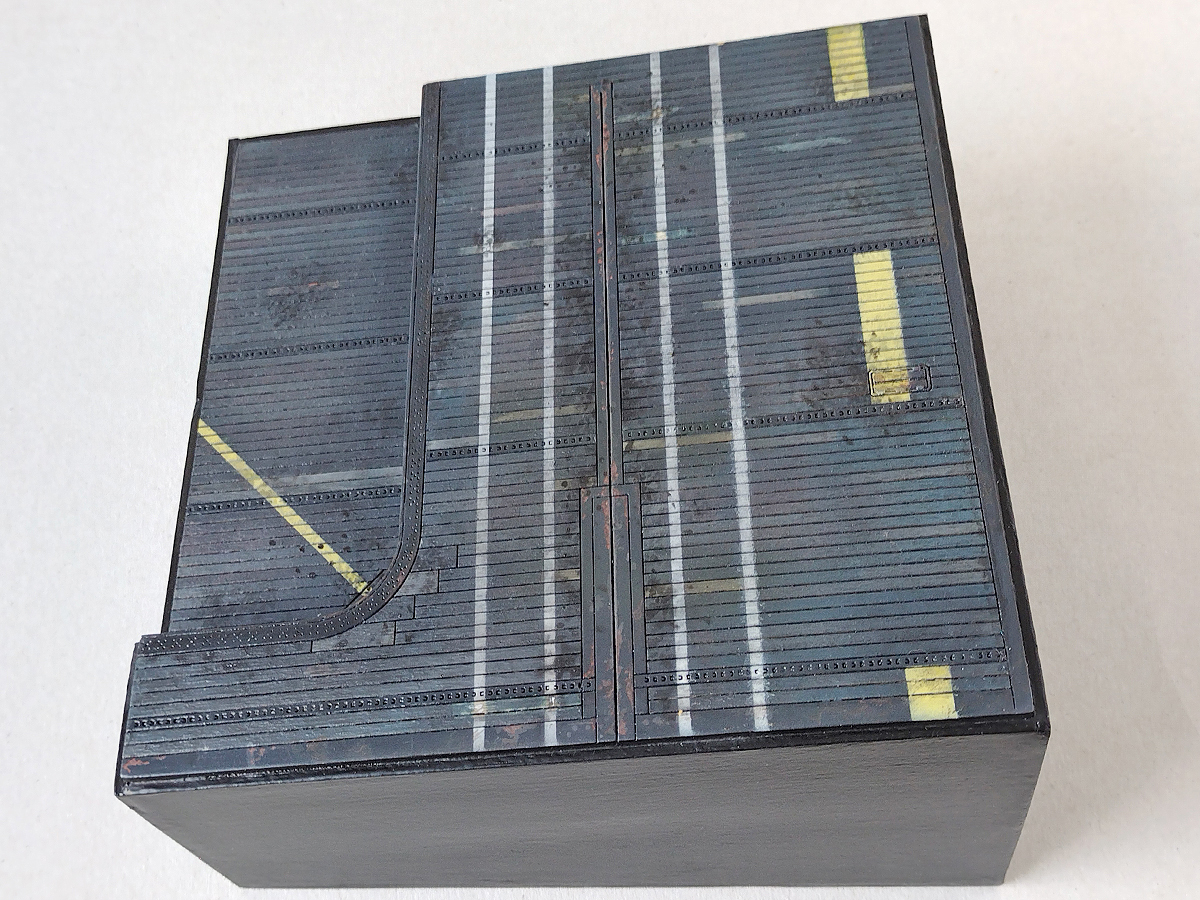
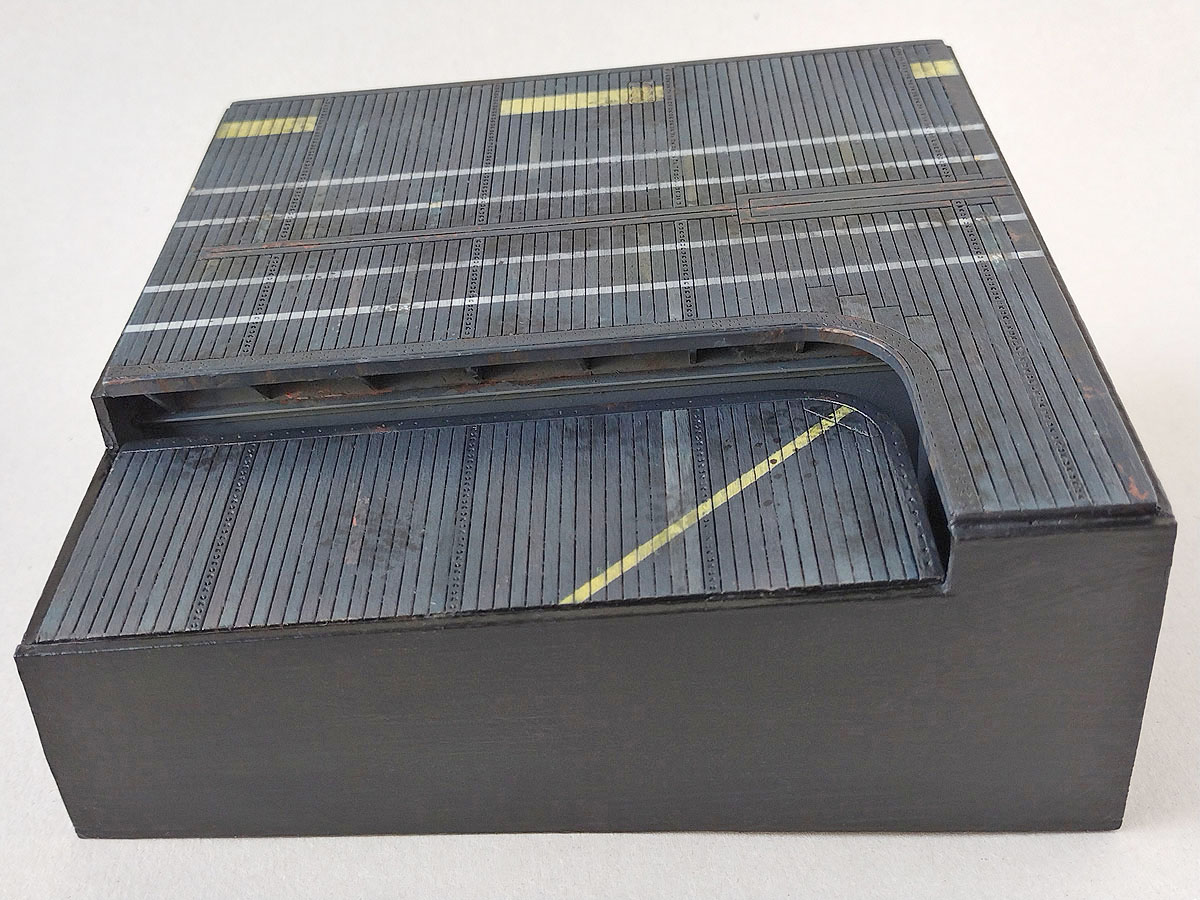
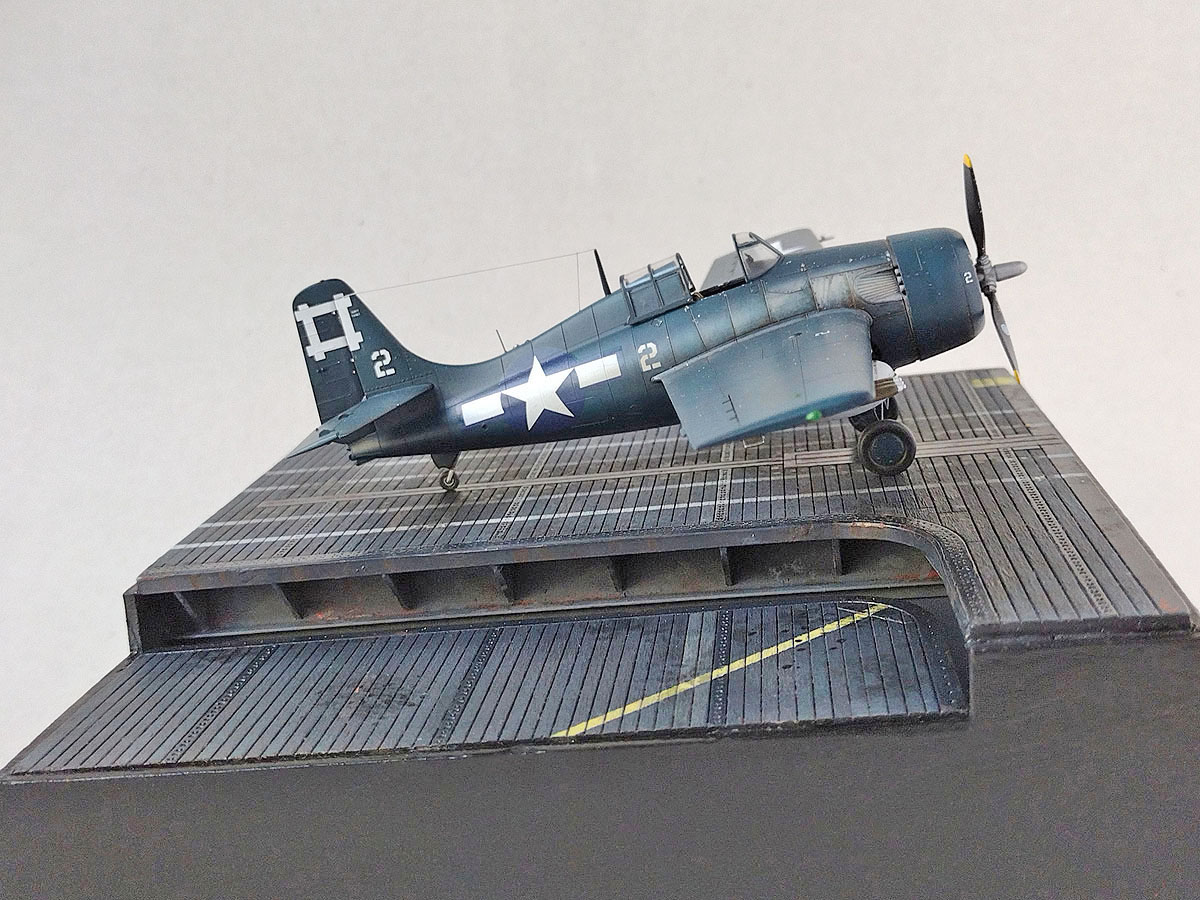
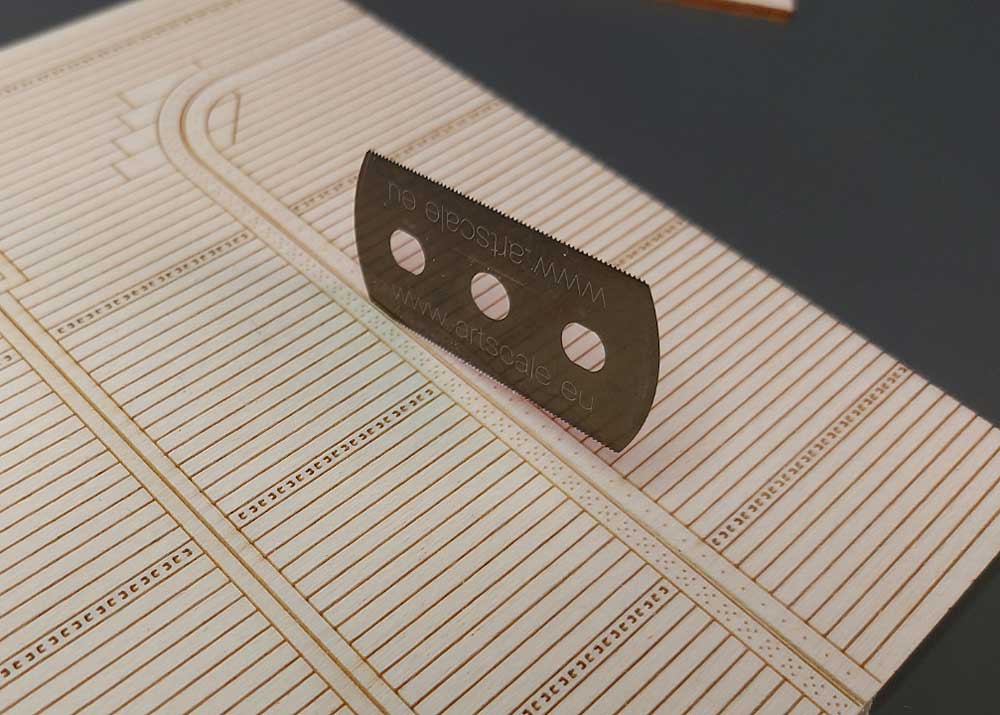 I would not be myself if I did not add a few details to enrich the model. In the case of the middle section of the deck, it is a pulled cable for braking aeroplanes (you can easily use the deck with a coiled rope and a hidden mechanism, as in the model). In the second case, the forward section is a slightly moved down elevator to the hangar. I started my work by cutting out an elevator part of the deck. I cut straight lines with a Czech saw, delicately notching again and again. I cut the rounding in the angle of the elevator with the blade of an Olfa knife, pushing it with the tip into the slot (strokes could damage the rim). Then I cut the underside along the line marked by the cuts of the blade and broke it off gently.

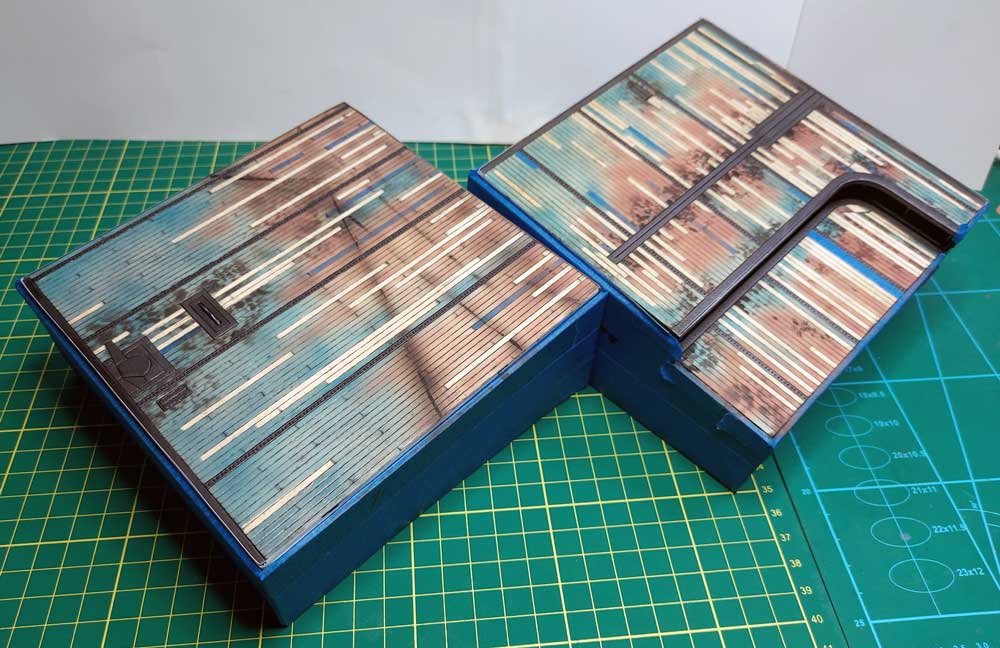
I glued the decks to styrofoam, setting them at an angle, like when an aircraft carrier floats in the waves. I covered the whole with 2mm thick strips of balsa. I strengthened the edge of the deck at the elevator with a thin plastic strip and filled the chipped places with poxipol epoxy. I added imitations of structures on the walls made of plastic sheets and the brass profile from Albion Alloys. I did not have explicit photos of the front linkage, and these parts are just a guess.


The arresting cable mechanism was made of a plastic card and wire, which I placed in places carved with a knife. On both decks, I added wire hinges on the landing light covers,
Painting the deck of an aircraft carrier in a 1/72 scale
Before painting, I masked the wooden parts of the deck and tweaked the delicate rivets with a needle. Then I thoroughly primed the metal parts with the black surfacer 1200 and sanded them after drying. After repeating these steps, I was ready to paint with a metallizer.

The masking process was remarkably easy. I masked the entire deck surface with blue masking tape from a DIY store. Then Tape was easily marked on the pattern with a toothpick or even a fingernail. The panel lines for planks and other elements are deep enough to guide the blade of the Olfa knife well.
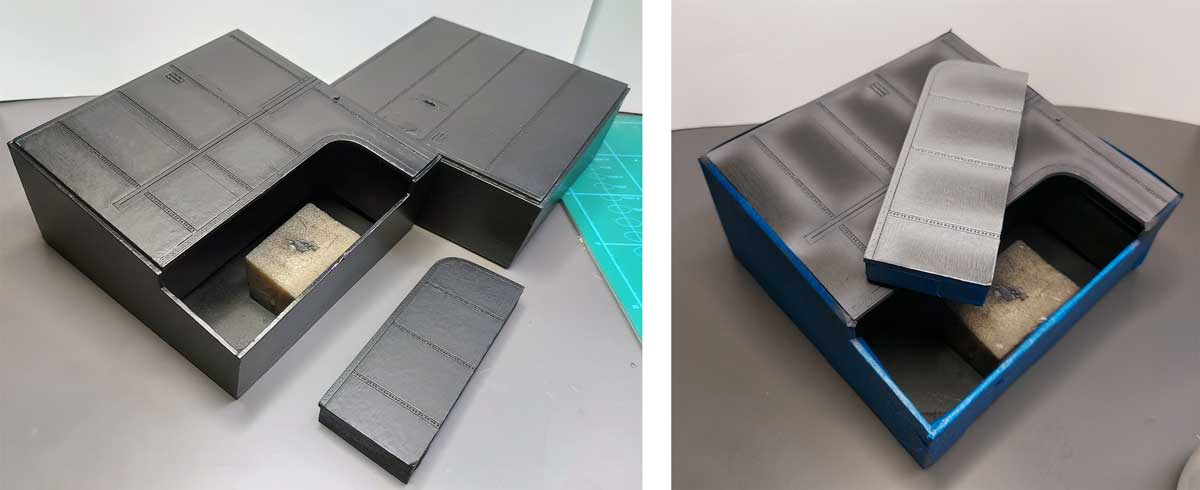
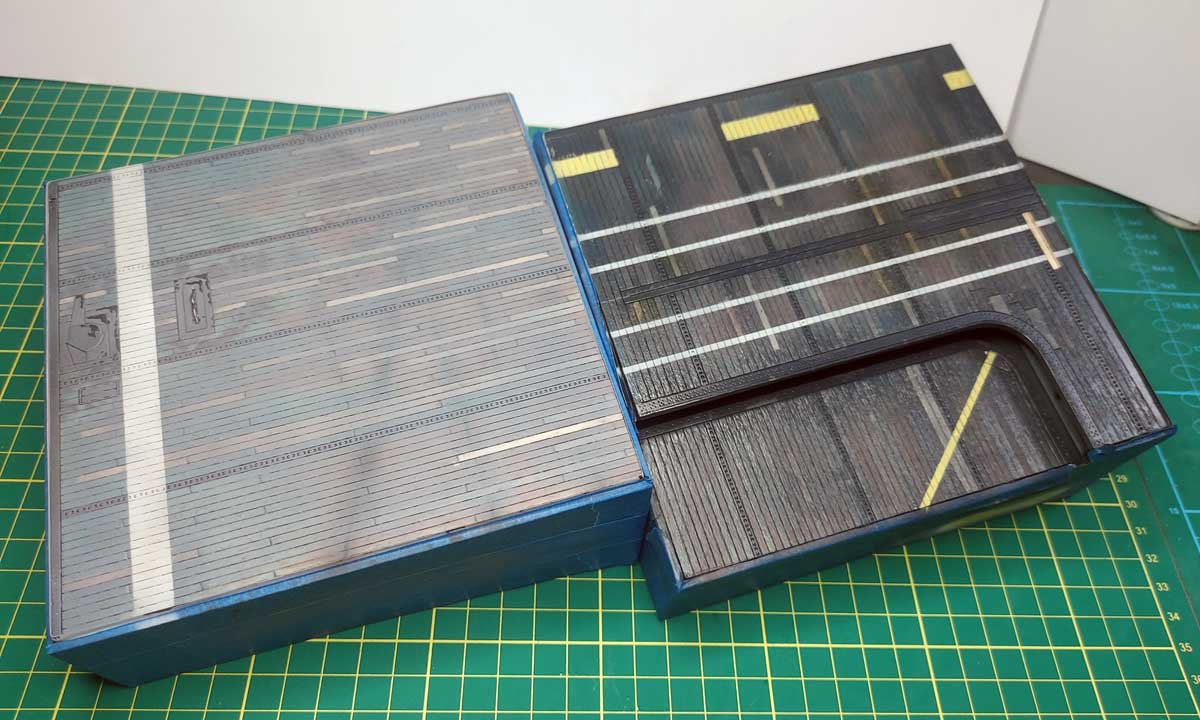
I painted the whole dioramas, including the sidewalls of the base, with a black semi-matt DIY spray from a can. After masking the sides, I painted the base elements with Polished Steel Humbrol Metal Cote from old stocks.
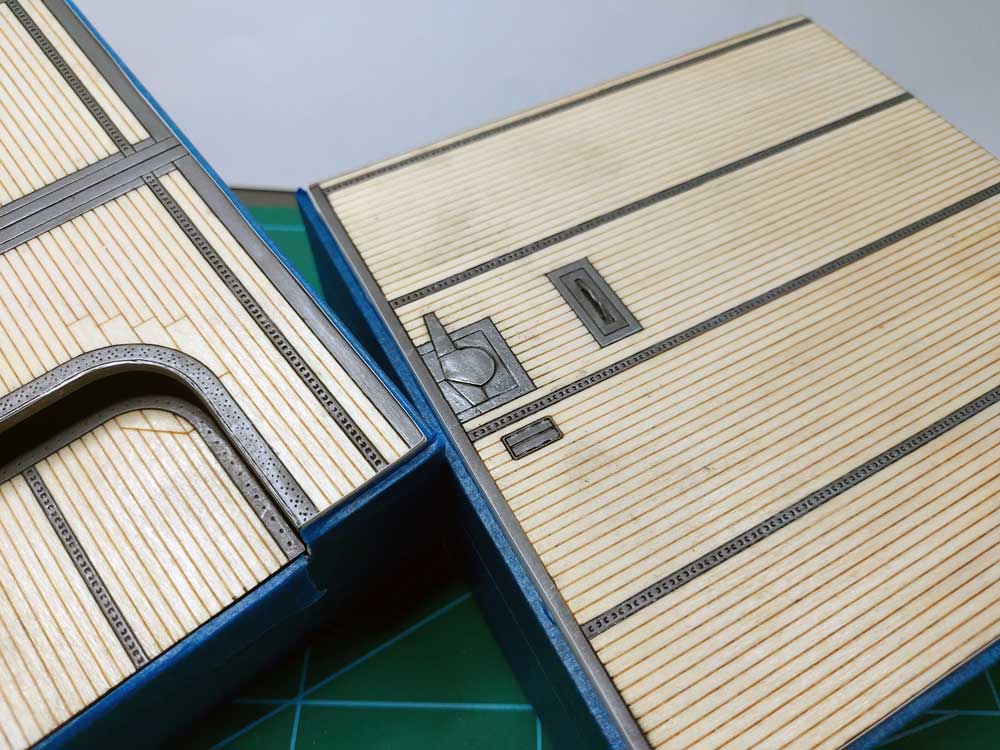
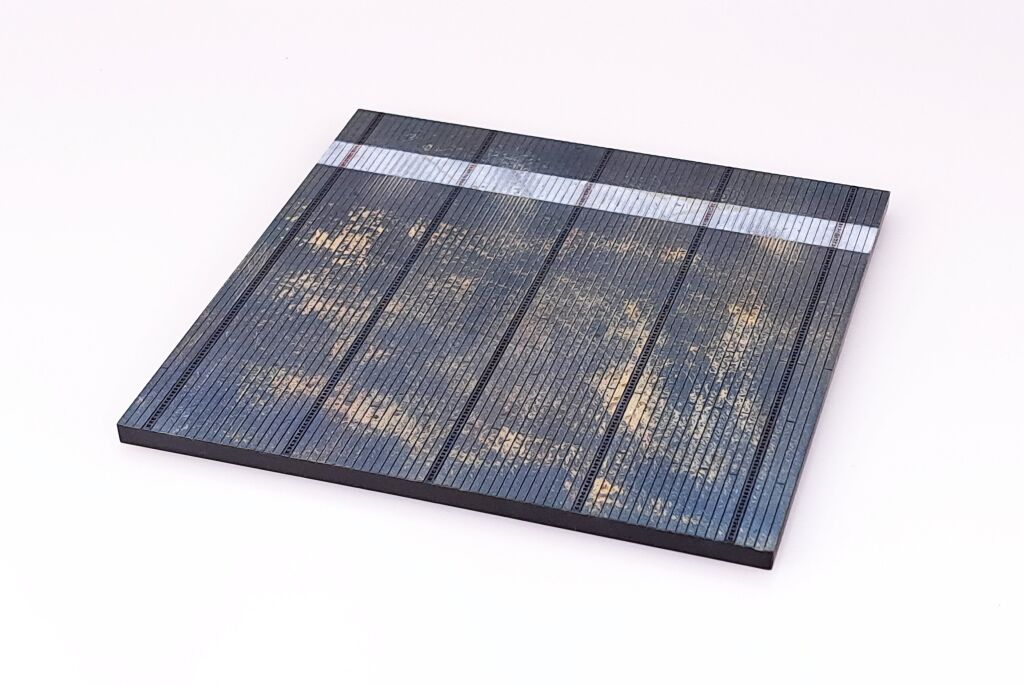
After polishing with a DIY brush and removing the masks, I got this look of the decks. I fixed the whole thing with the Hataka C series glossy varnish.


It’s time to highlight the planks. In the first of the decks, I did it with Tamiya’s panel wash and in the second with oil paints. Wash penetrated the surface relief better, but the oils made a more exciting colour impression.
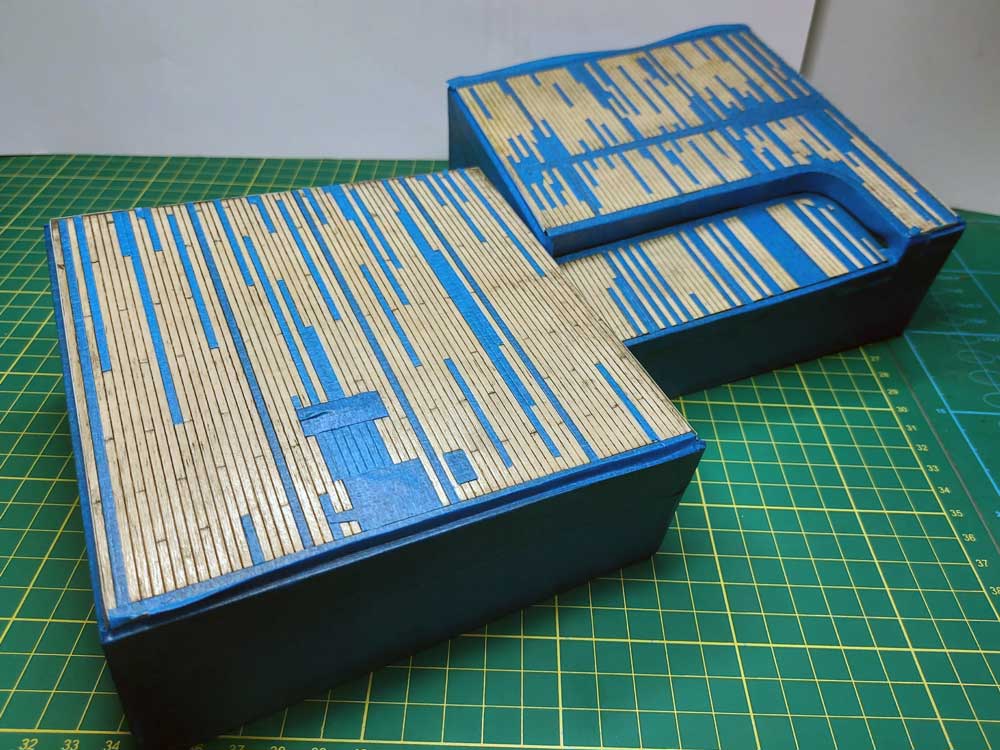
The next step was to mask the selected deck planks. I taped the masking tape over the deck again, marked the boards with a toothpick, and cut the marked lines with an Olfa knife.

I painted the deck in two colours. Red-brown wooden colour where the paint used up more, and gray-blue where the camouflage paint was more durable.
I airbrushed the traces of dirt “by hand” and with the Ammo MiG template.
I unveiled the masking of the wooden plank and metal parts. Then I applied a few drops of Ammo MiG maskol on metal parts.

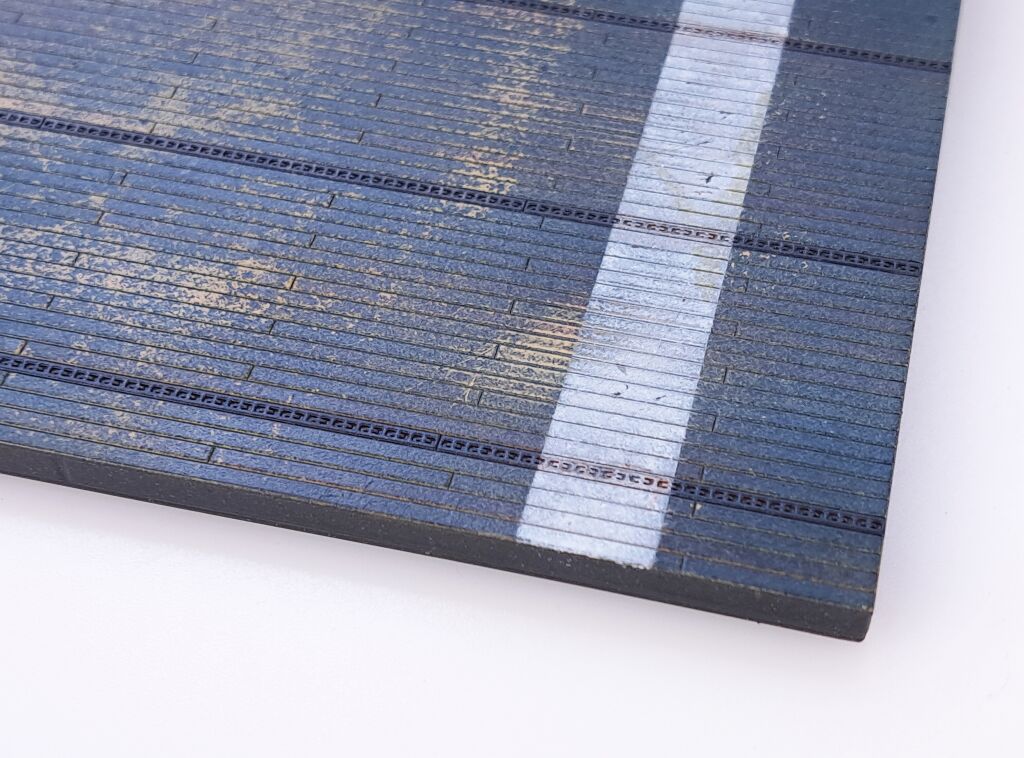
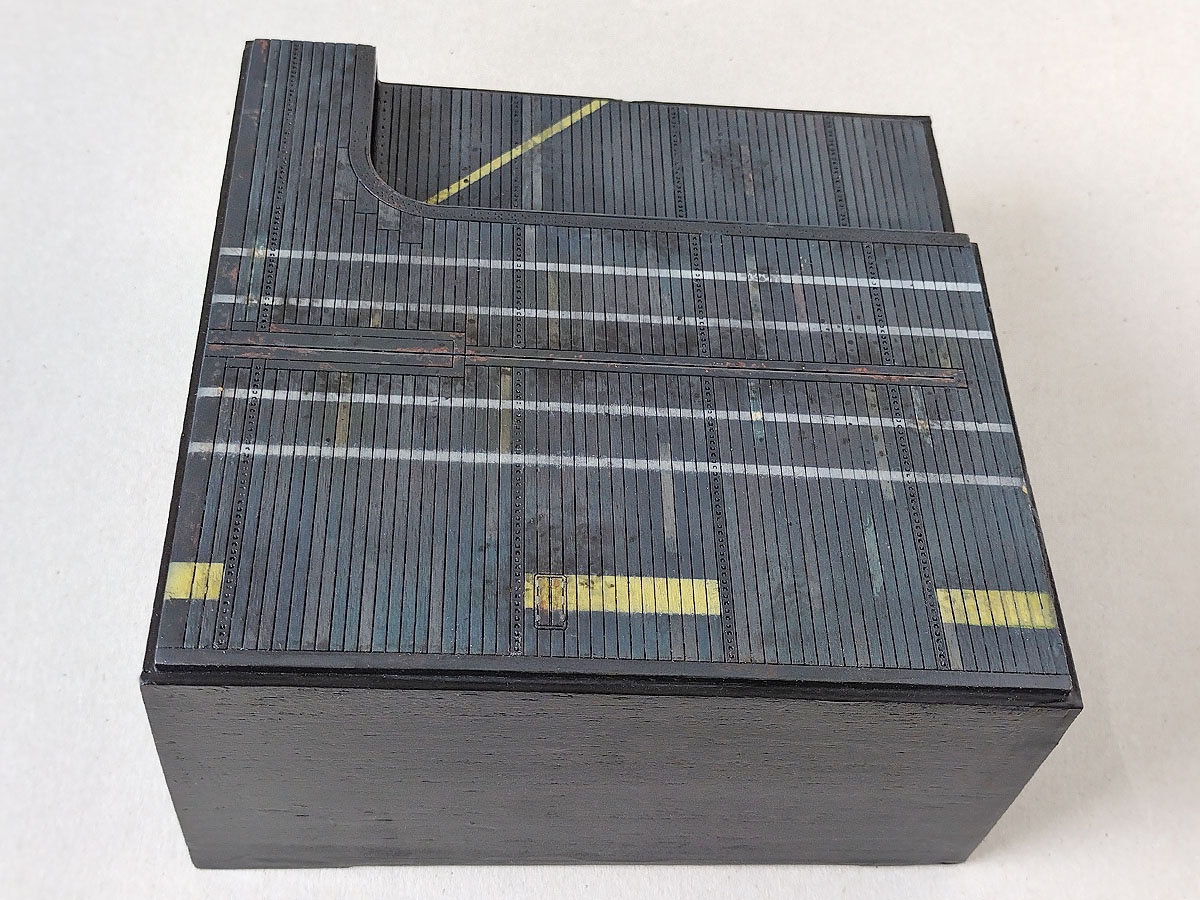
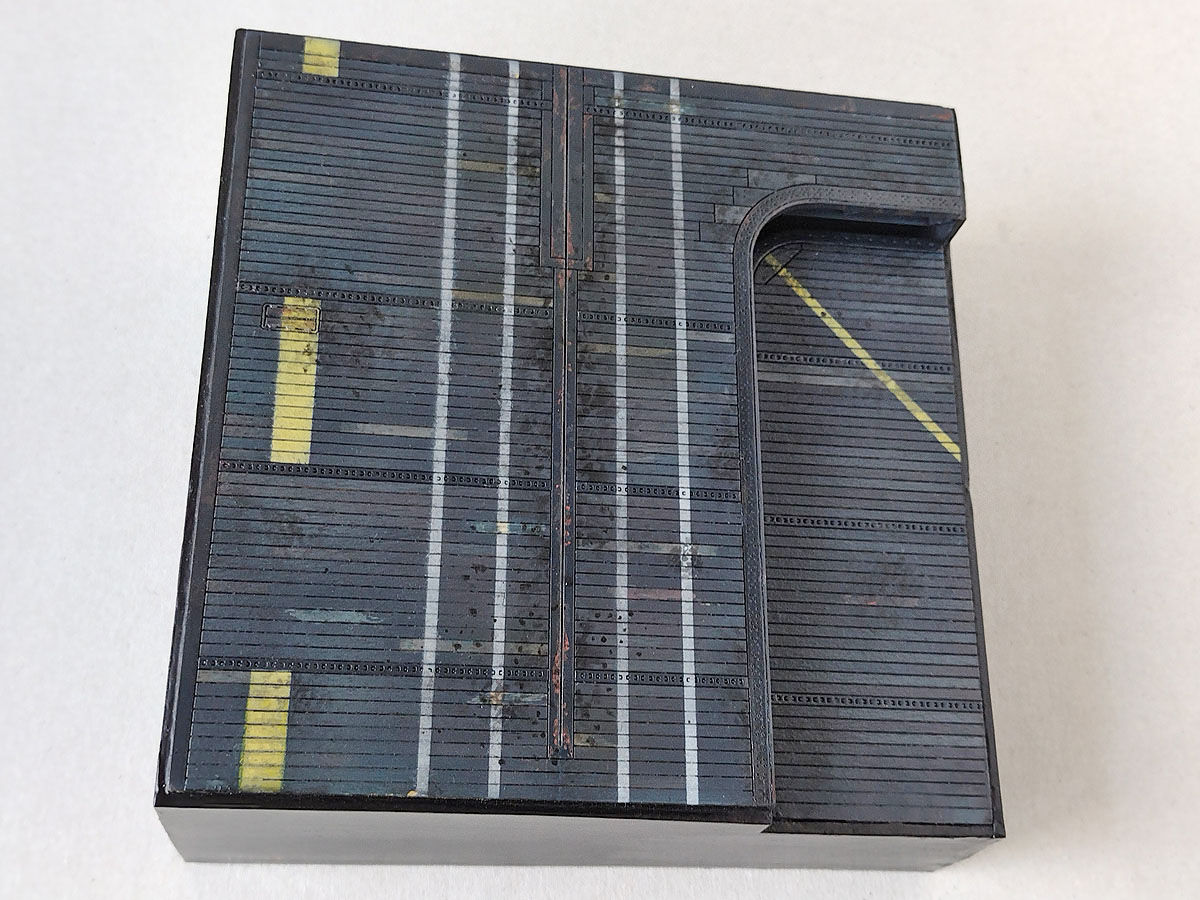
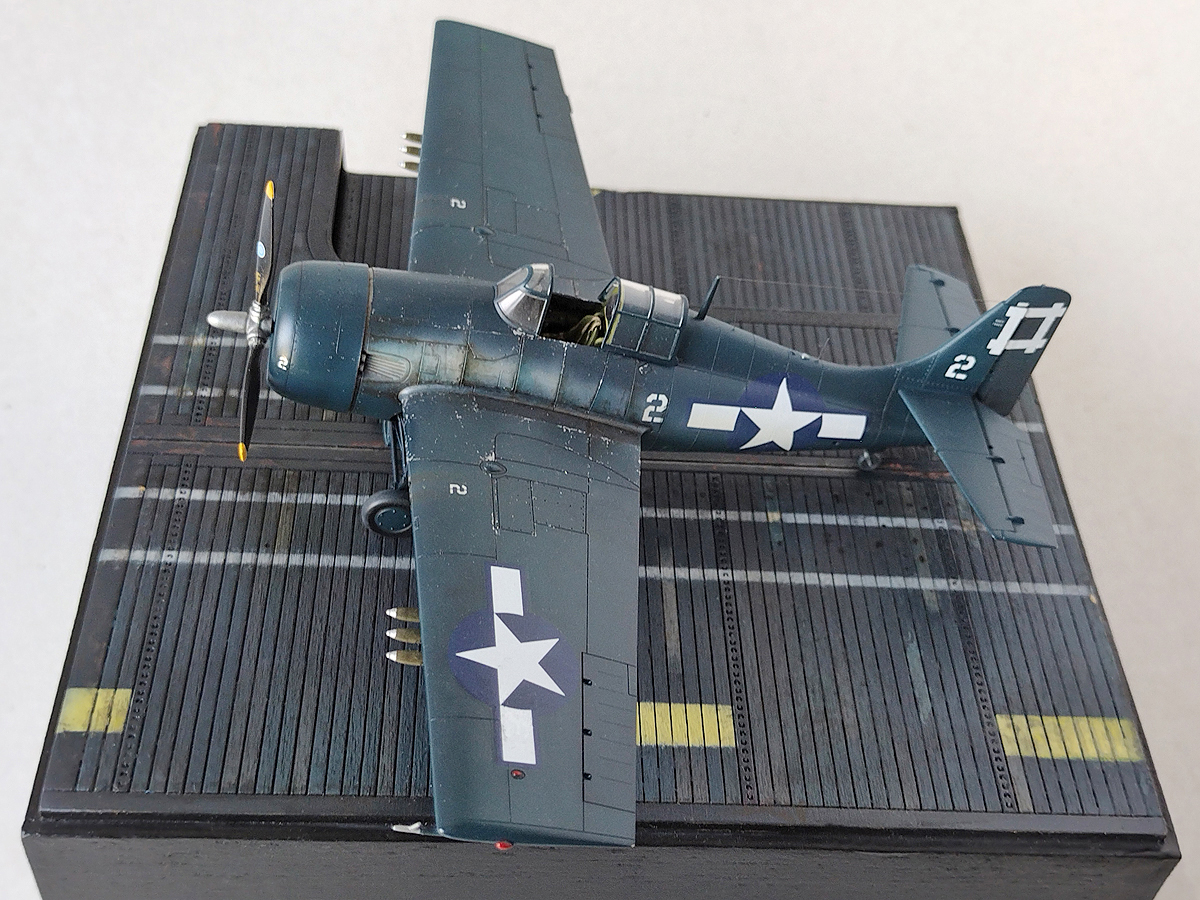
I painted the grey deck with HTK-A-158 similar colour to the 1943-44 Flight Deck Stain 21 (Ocean Gray 5O camouflage colour), and navy blue deck with Sea Blue from MRP resembling Flight Deck Stain 21 1944-45 shade. After the first transparent layer, I removed the masking from most planks and metal parts. After repainting for the second time, I obtained an uneven painting surface.

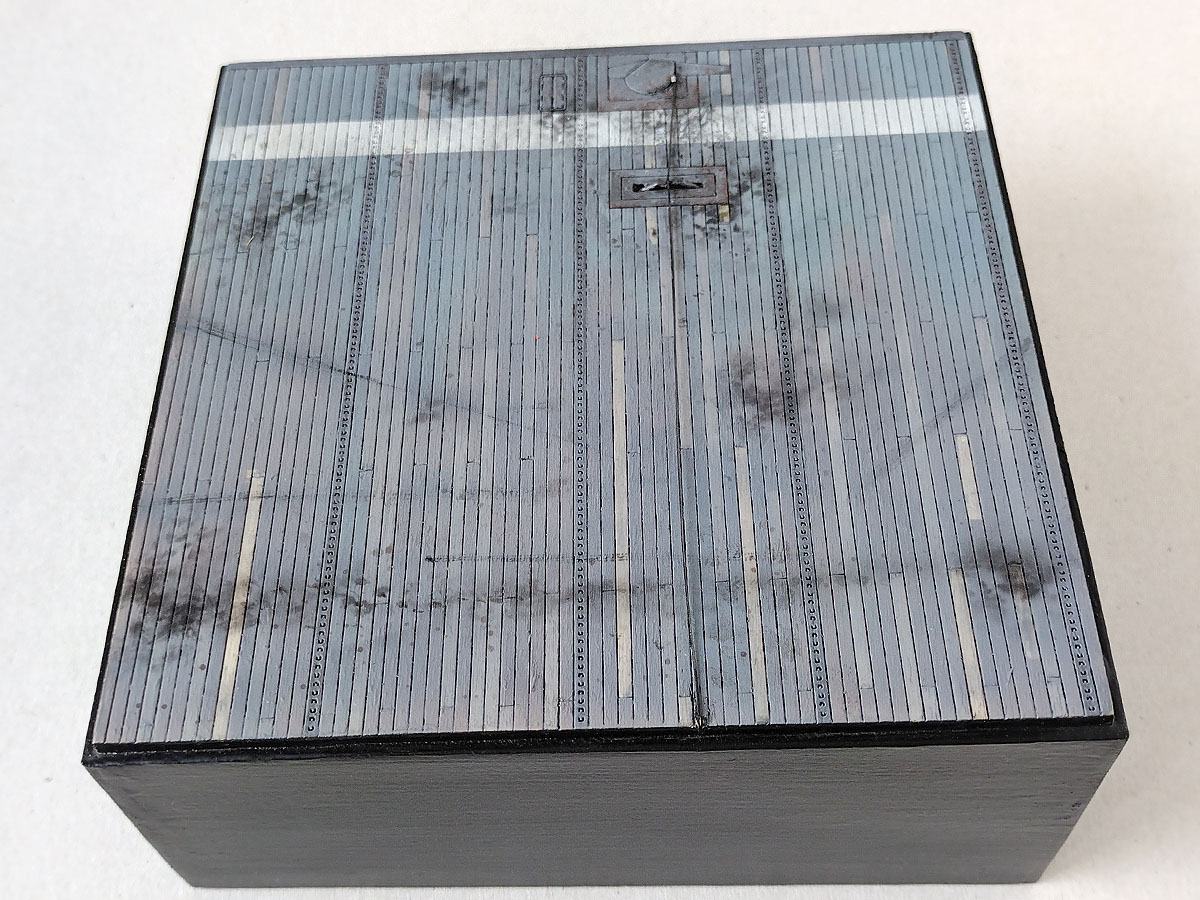
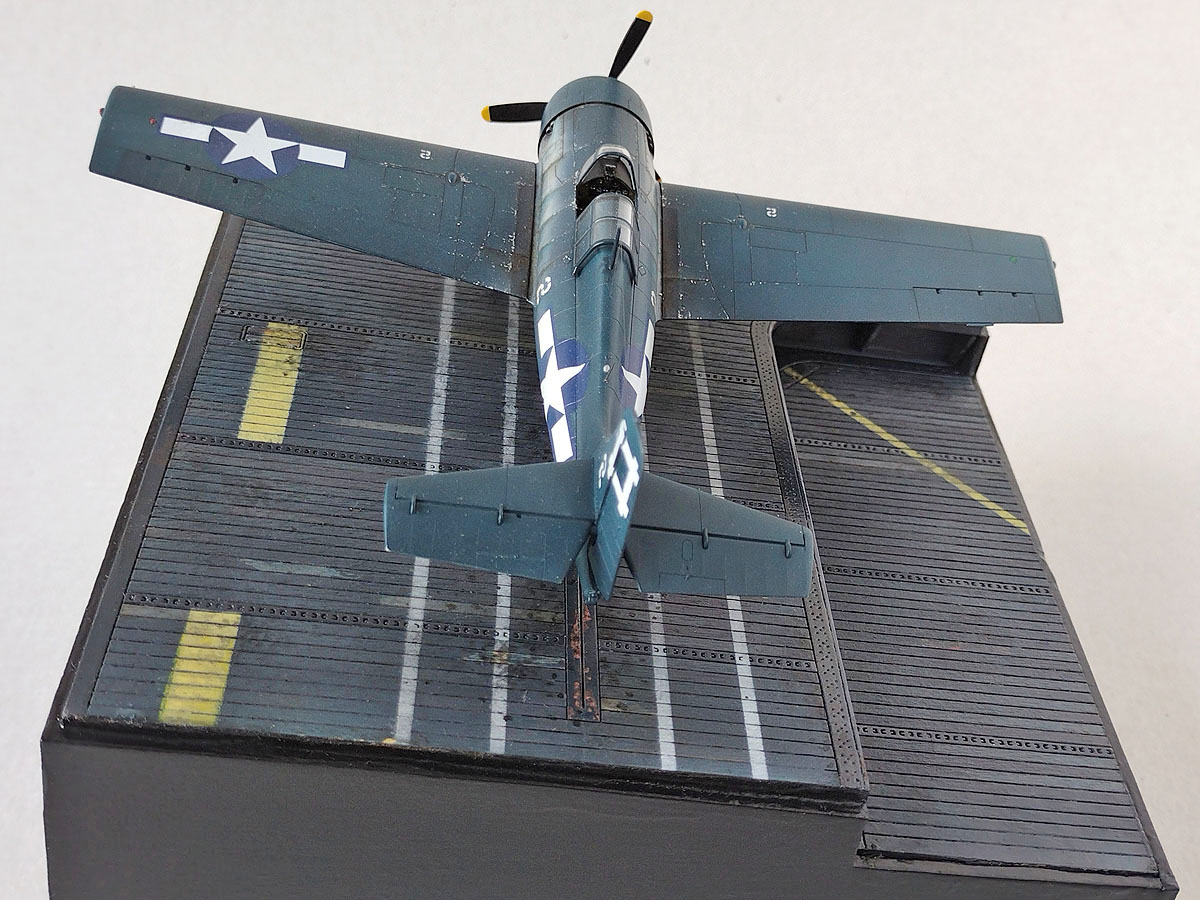
I painted the flight deck lines according to the photos of USS Nassau (grey) and USS Petrof Bay (navy blue).
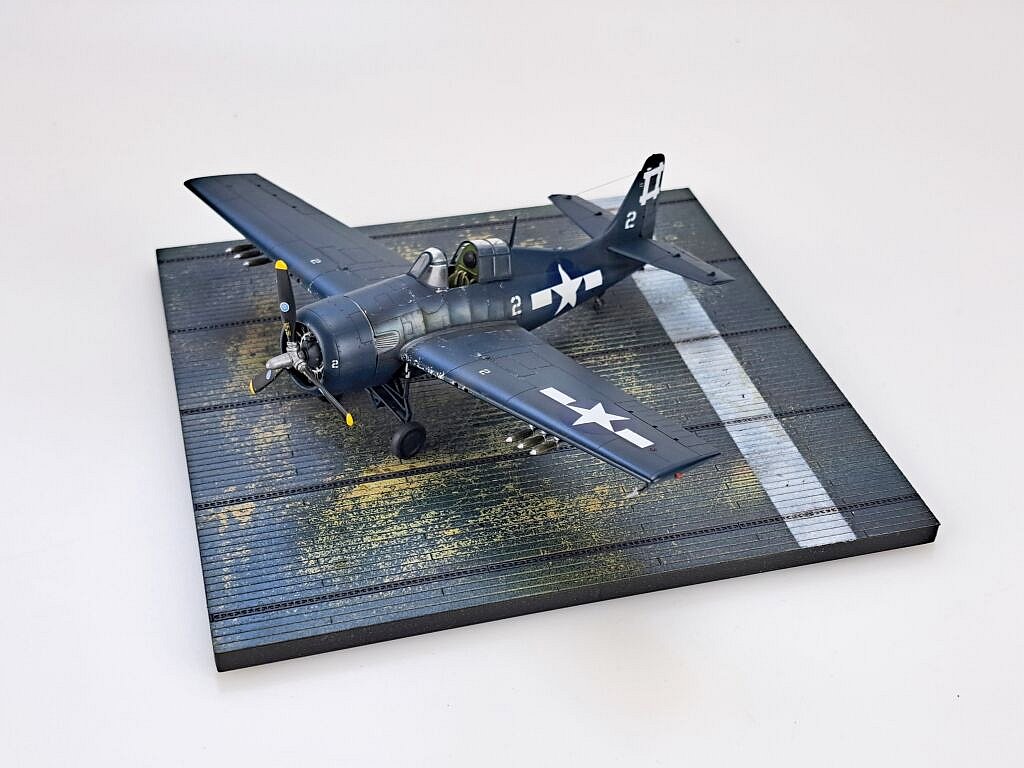
The navy blue deck came out shiny, so I masked the metal parts and painted the planks matt. I made the stains with UA 262 Dirty Grease effect from Lifecolor, tire marks with black matte from Lifecolor and by spraying glossy black MRP through photo-etched Ammo MiG stencils. I made chipping, rust and other effects with various Lifecolor paints. The result is shown in the photos of the gallery below.
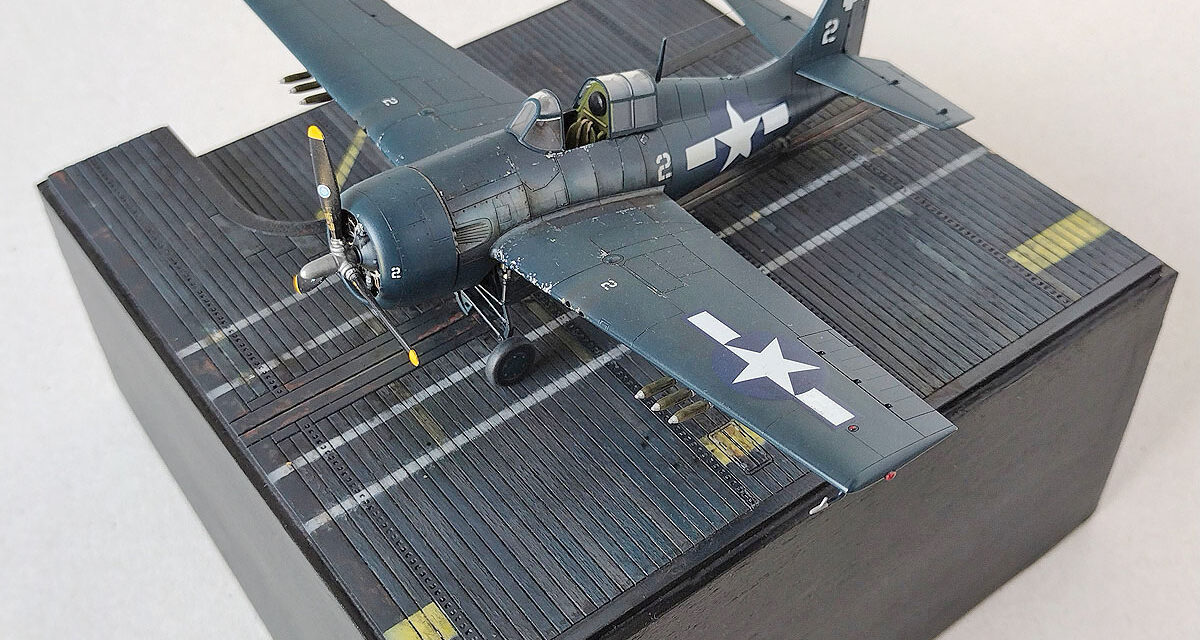
Gallery of finished decks
Marcin Ciepierski made the Wildcat models


See also:
- Buy 1/72 diorama base USN/RN Escort Carrier Deck at Armahobby.com!
Wrześniowe nowości – podstawki pod modele i Wildcat „Torch”. Promocyjna przedsprzedaż
Modeller happy enough to work in his hobby. Seems to be a quiet Aspie but you were warned. Enjoys talking about modelling, conspiracy theories, Grand Duchy of Lithuania and internet marketing. Co-founder of Arma Hobby. Builds and paints figurines, aeroplane and armour kits, mostly Polish subject and naval aviation.
This post is also available in:
 polski