
Being a modeller building mainly 1/72 scale, I very rarely take a 1/48 model. The P-eleven is the first model on this scale, which I finished after many years of break. This model is also the first Arma Hobby project in the popular quarter scale. Personally, it is a great experience, and I would like to describe my adventure with the construction of P.11c briefly.
First steps straight to the cockpit
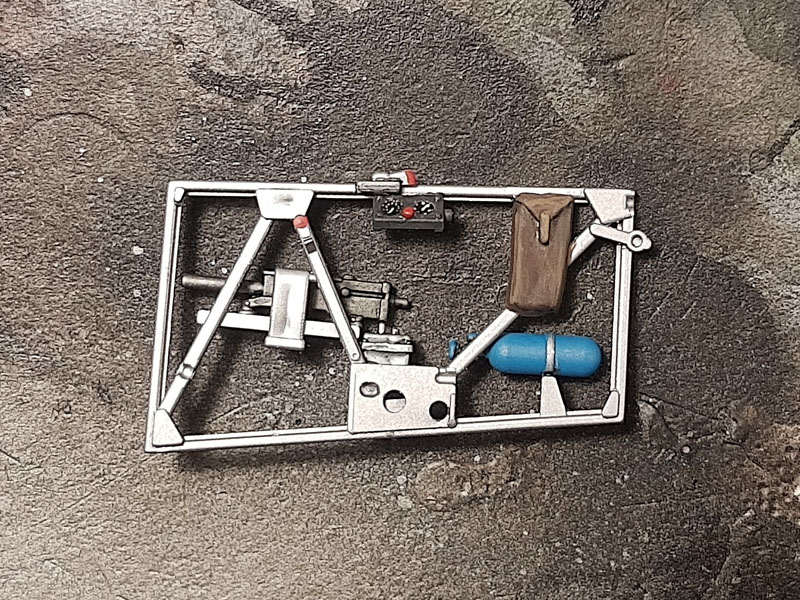
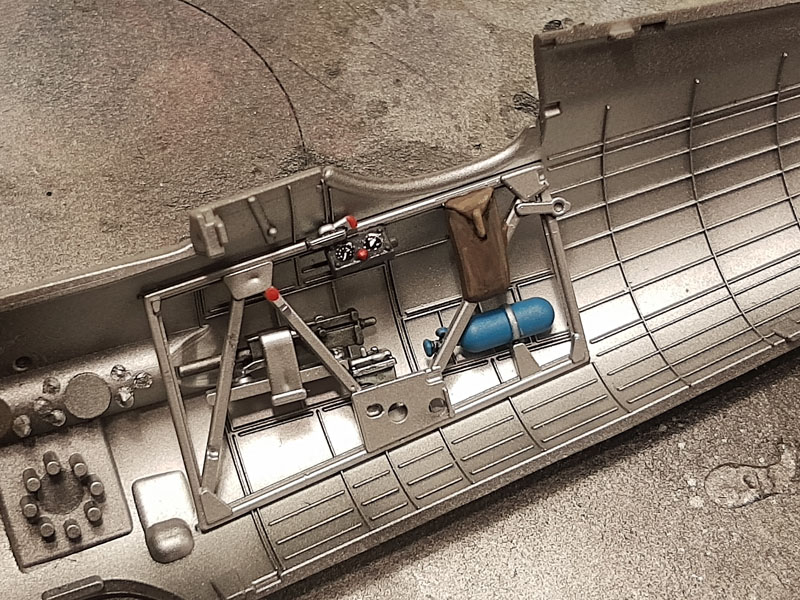
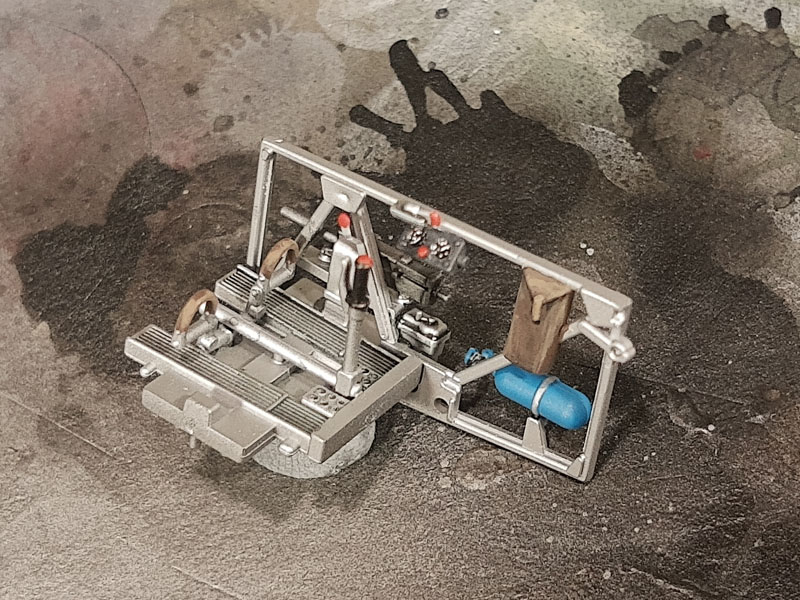
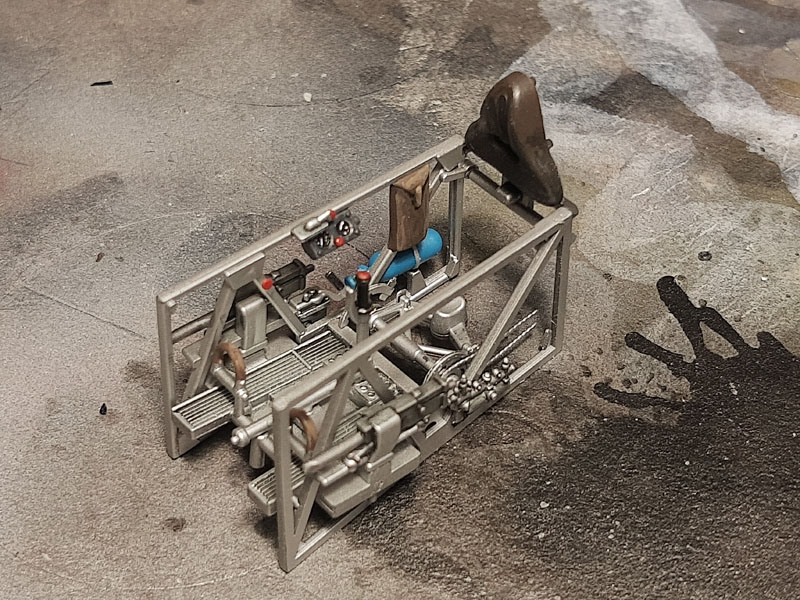
I carried out the construction classically, starting from the cockpit. I recommend my previous article about building the interior. I painted the interior with silver Gunze C08 paint and painted all the details with a brush and various acrylic paints. I left the seat to be fitted later.

Assembly and painting
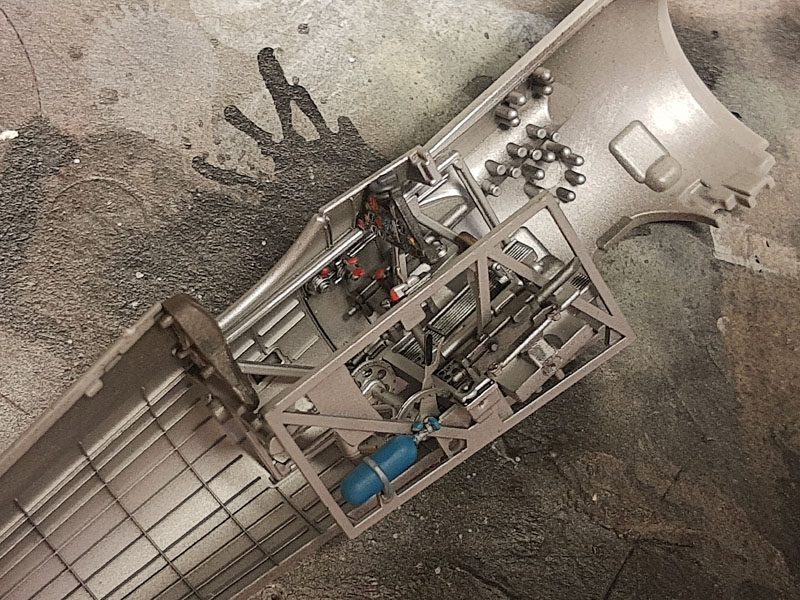
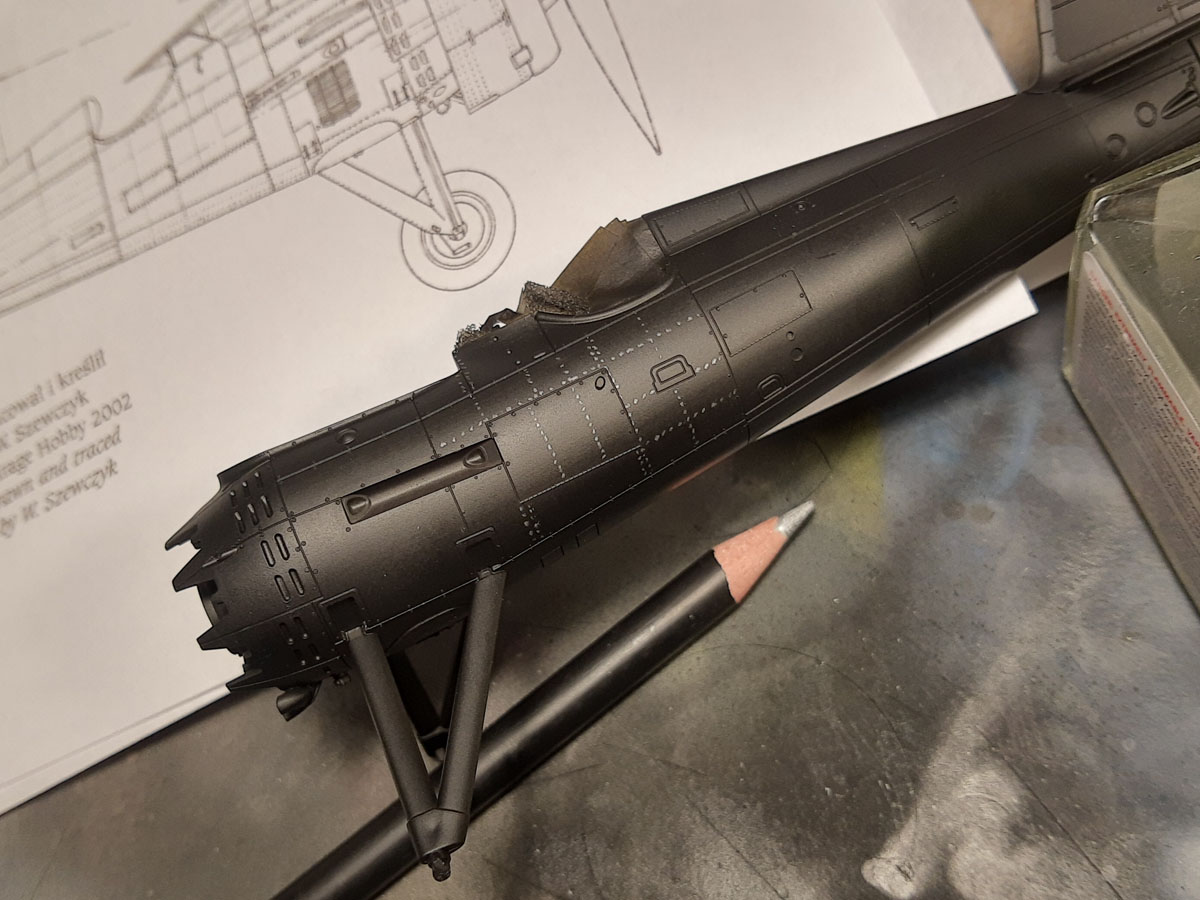
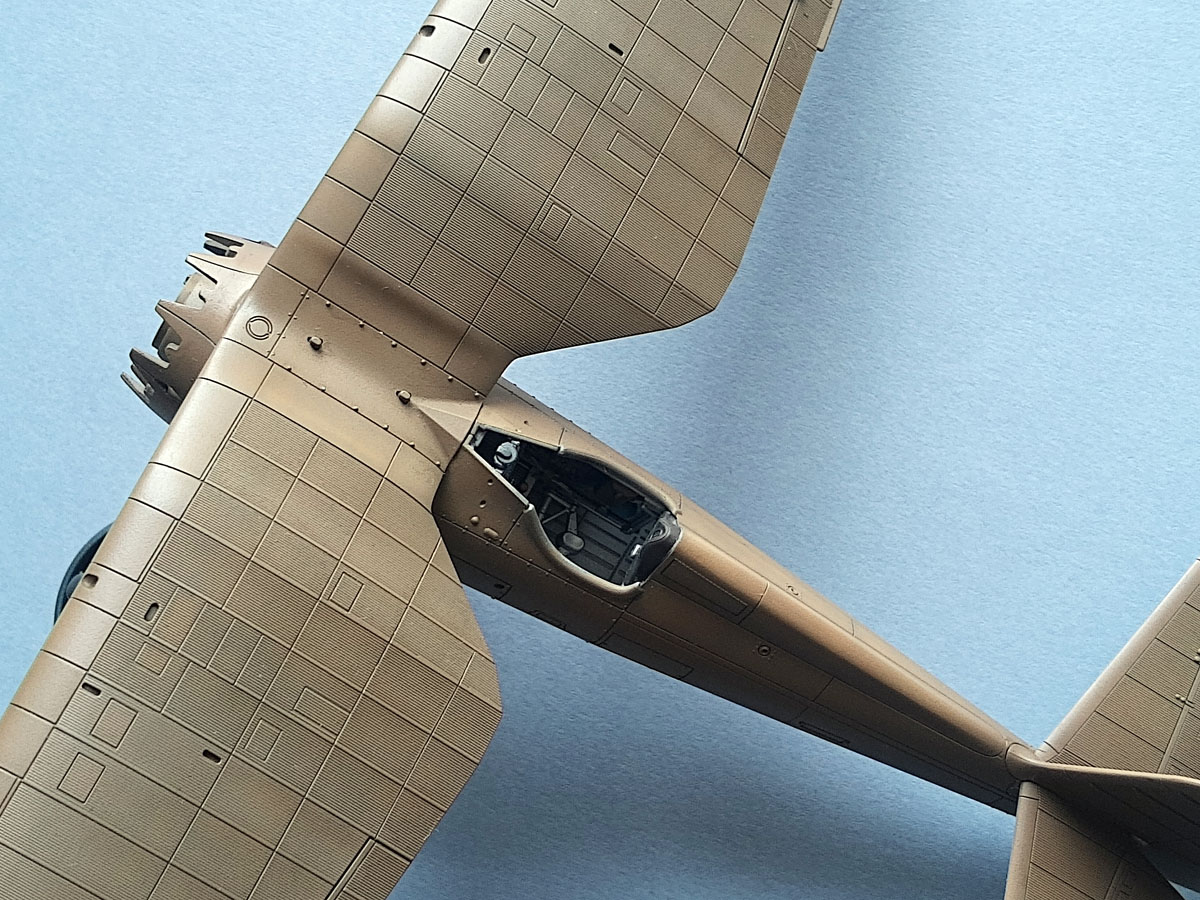
After closing the finished cockpit in the fuselage, I prepared an engine with a cover and a manifold. When painting these details, I also painted the wheels and the propeller, which will speed up the subsequent assembly. Before painting with a primer, I supplemented the model with missing (my foul) panel lines on the wings and fuselage. As usual, I used a Black Surfacer 1500 from Gunze.
By the way, I checked whether it makes sense to draw rivets with a watercolour pencil on the surface of the fuselage. After further painting work, everything was overpainted, so it seems that it does not make sense.
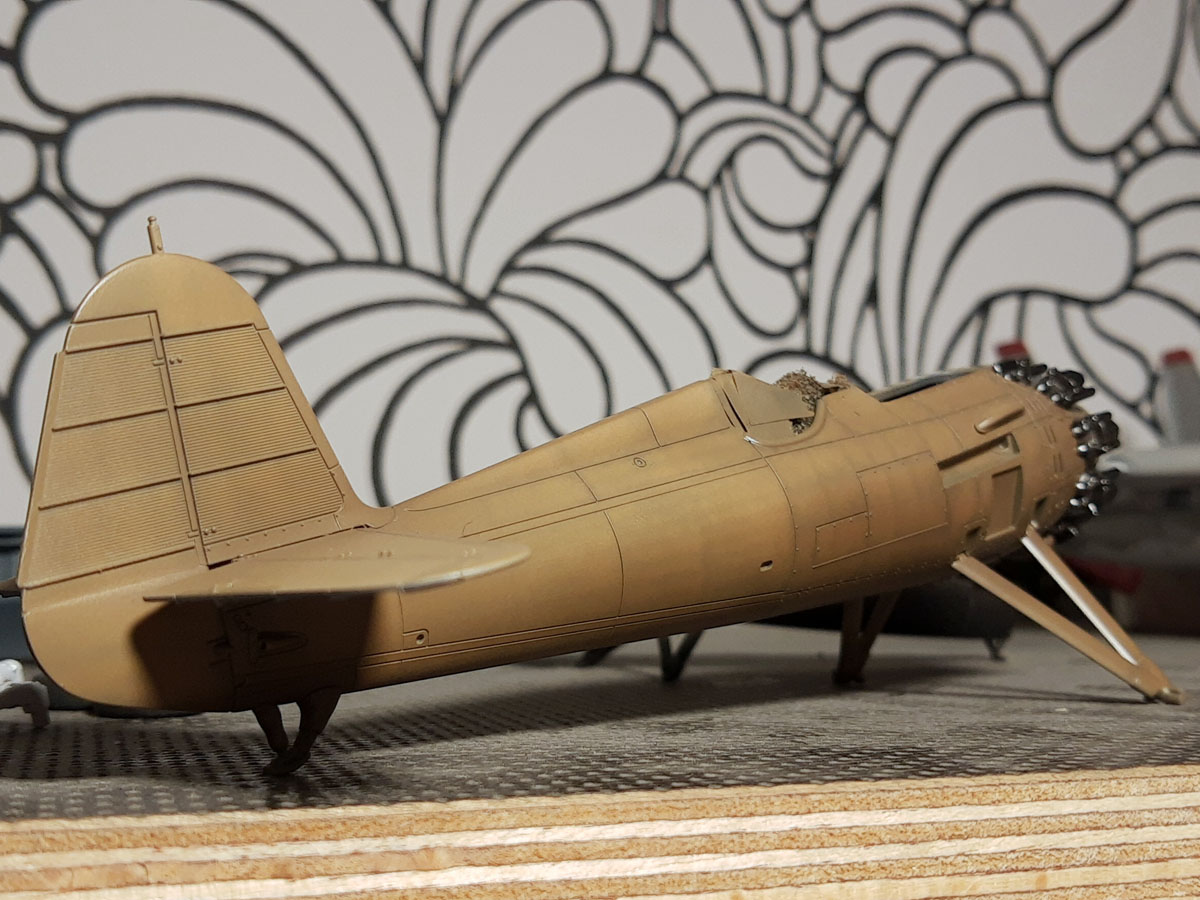
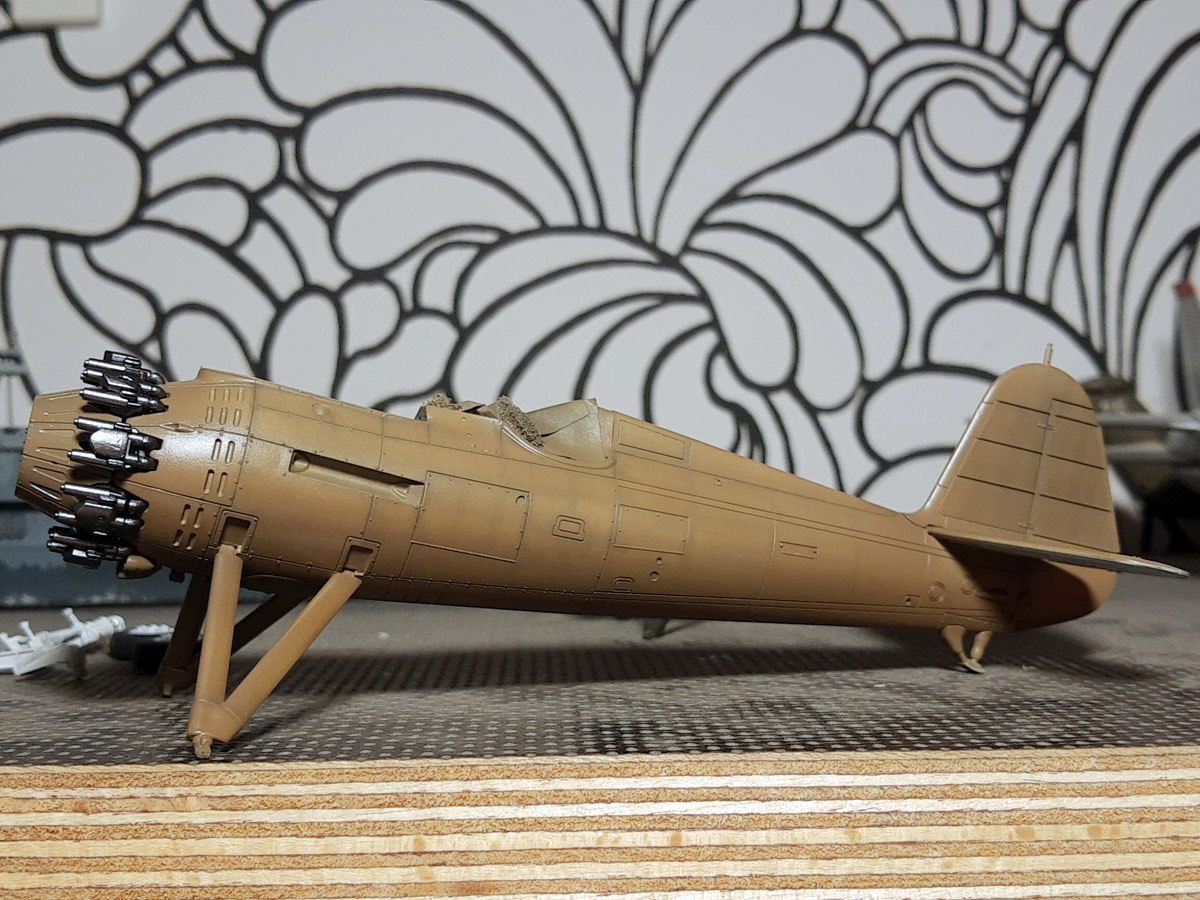
Then I started painting by applying highlights on the fuselage with white paint. You can read this painting technique in this article about painting a Corsair from Tamiya in 1/72 (link, Polish text byt please see photos).
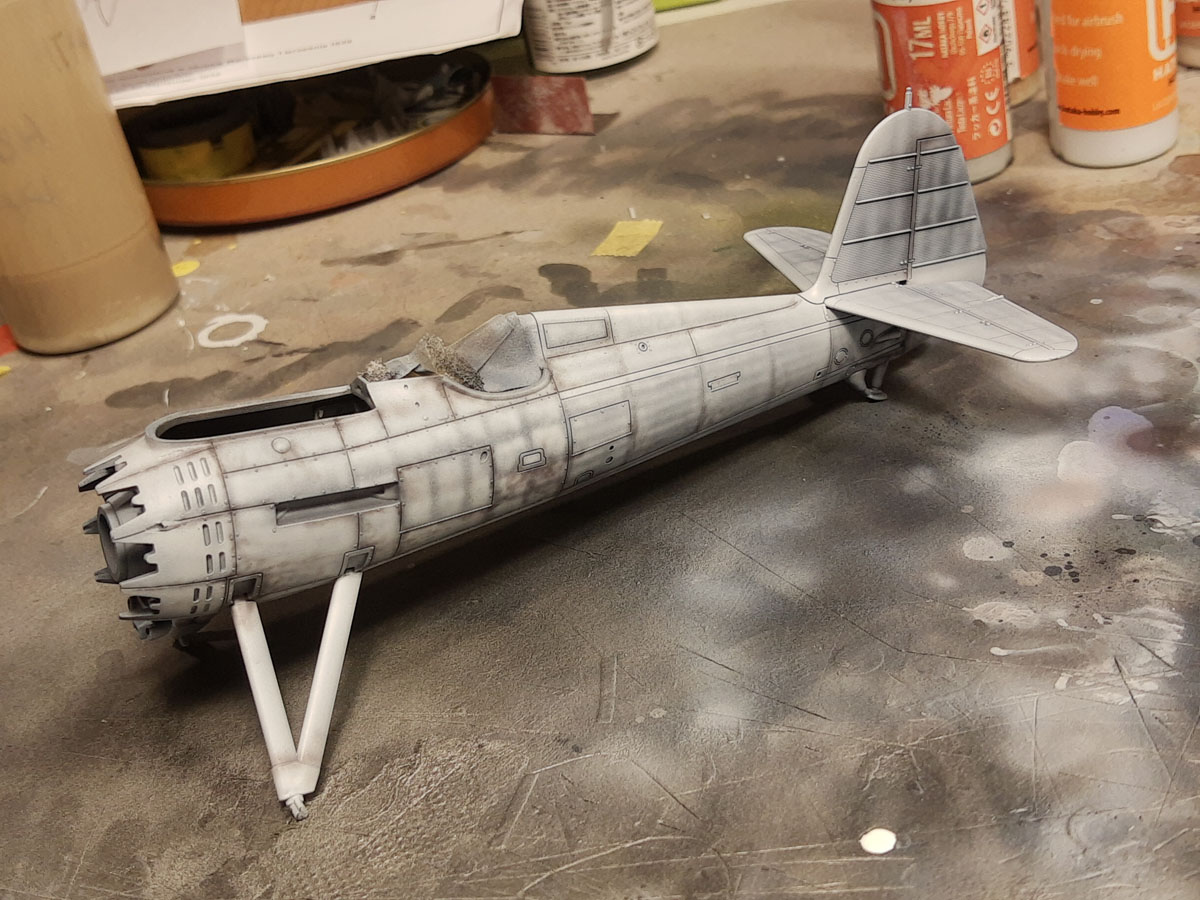
The effect on the fuselage is as shown in the photos below. I think it was worth spending some time reviving the model’s surface.
After the fuselage ready, it was time for the wings and the tailplane. I painted the wings before assembling it into the fuselage. I glued the tail before painting the fuselage due to the need to catch the overall aeroplane geometry. It is easier to glue the whole thing together and make sure that these parts were positioned correctly. However, it forced me to mask the fuselage and the tailplane a little while painting the tailplane undersurface with grey.
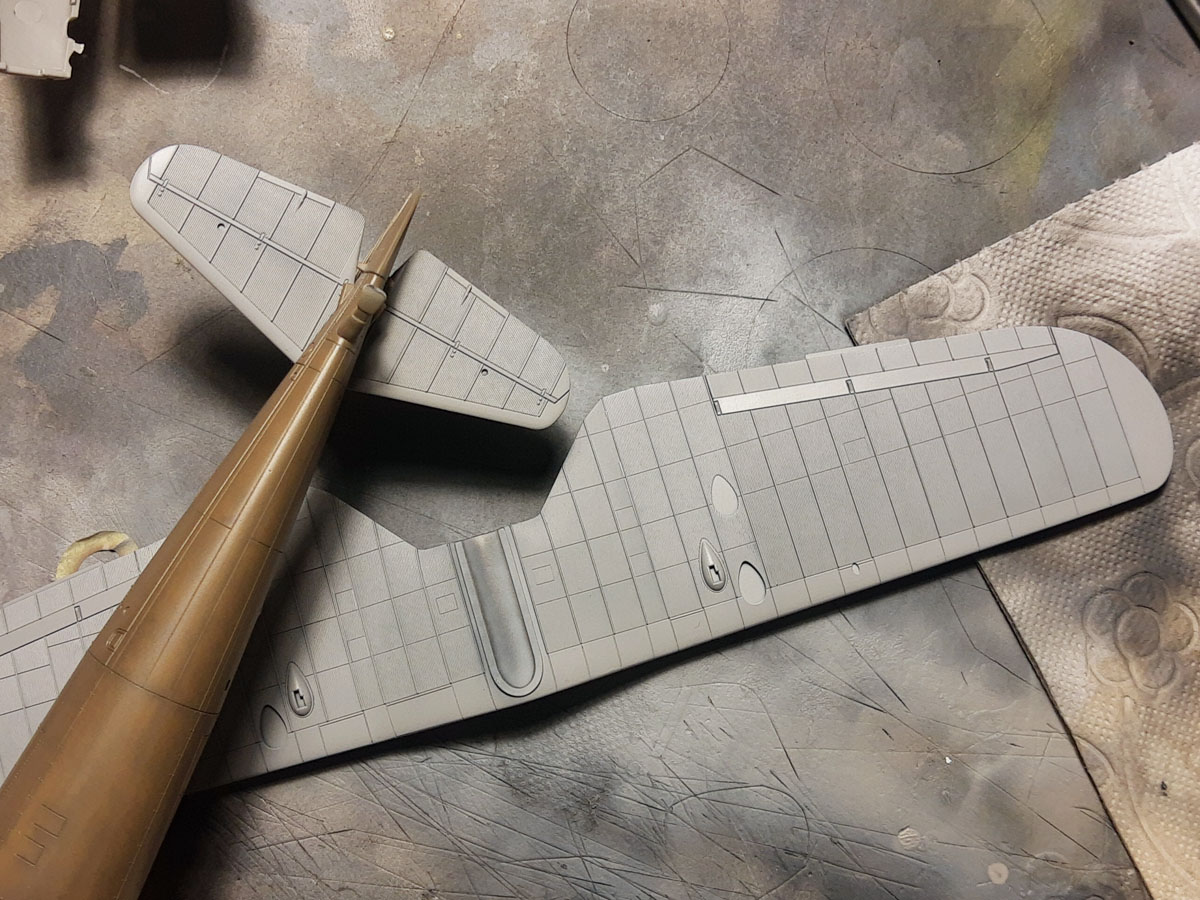
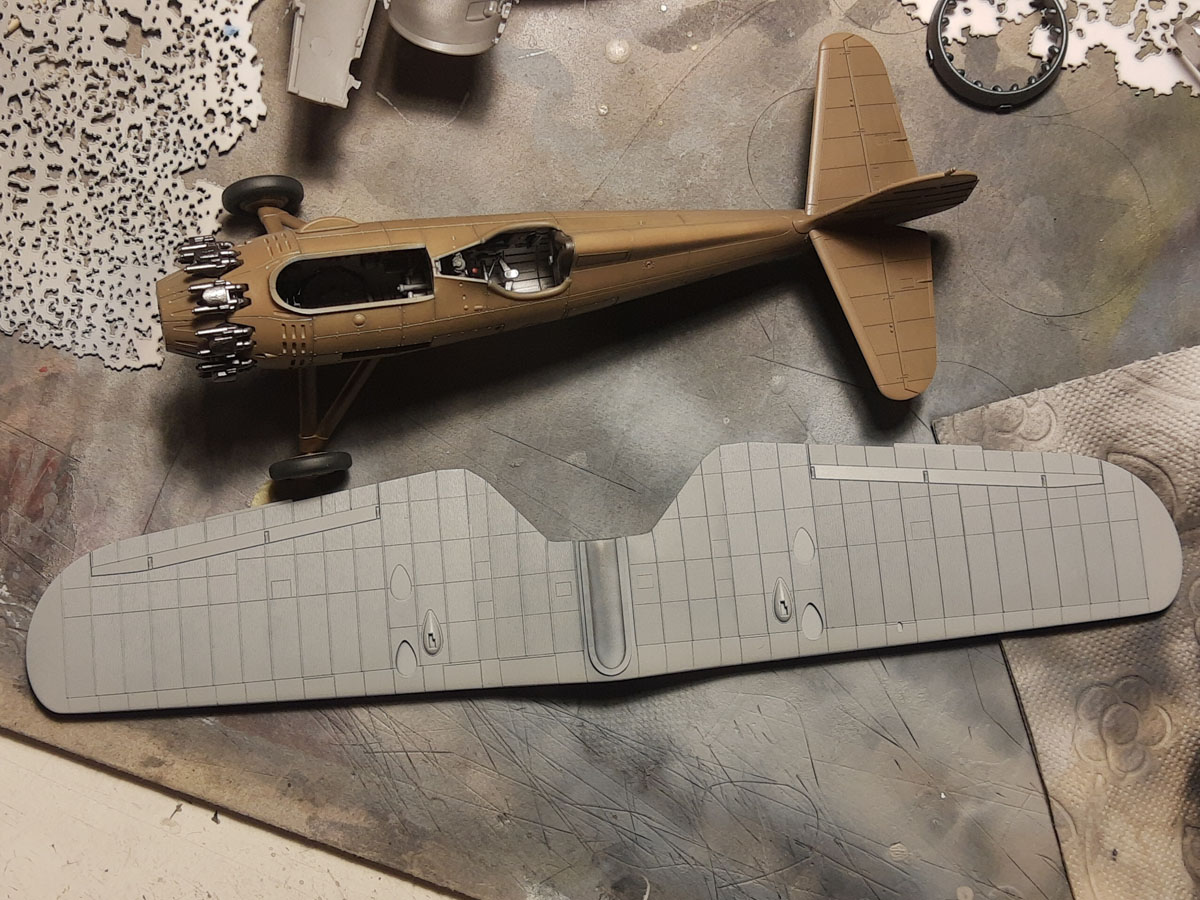
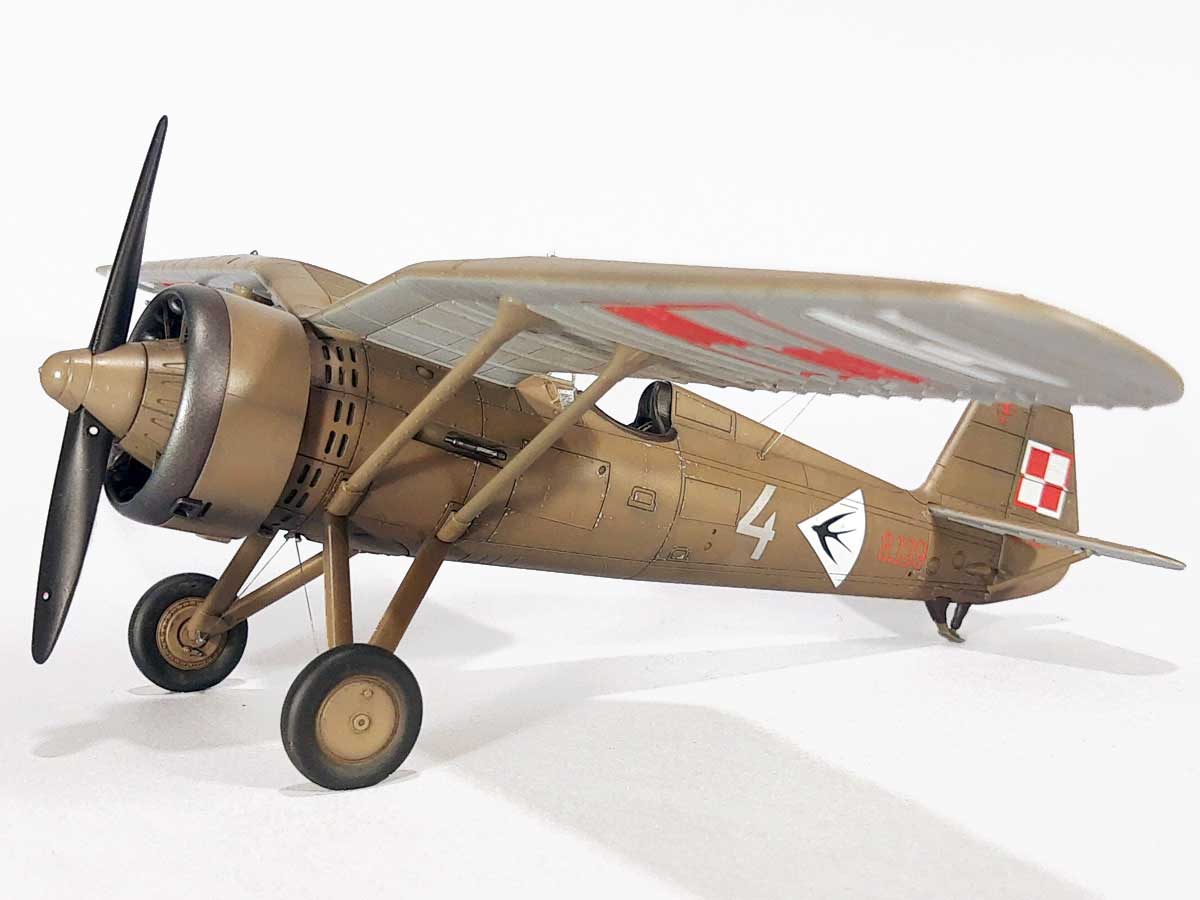
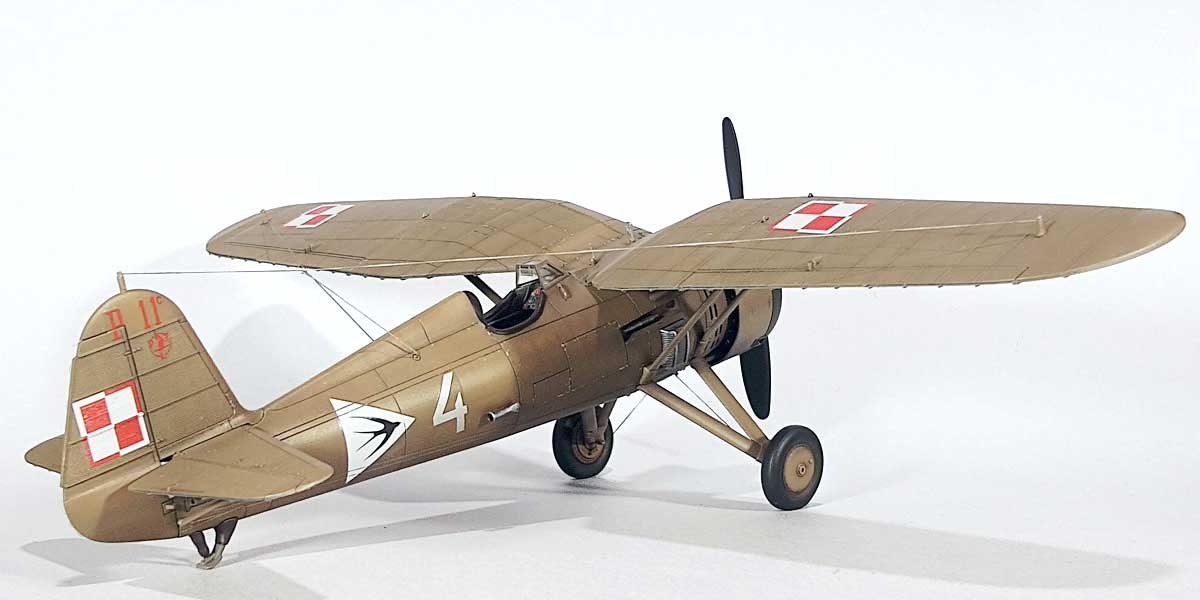
For painting, I used a Hataka set for Polish aeroplanes. I specially chose a kit bonus colour scheme to use early Polish Khaki. It seems that this colour is more manageable for weathering in. The fact that it has been on the airframe much longer gives an excuse for its more significant paintwork degradation, which is always more attractive for a modeller.
Decals on the waves
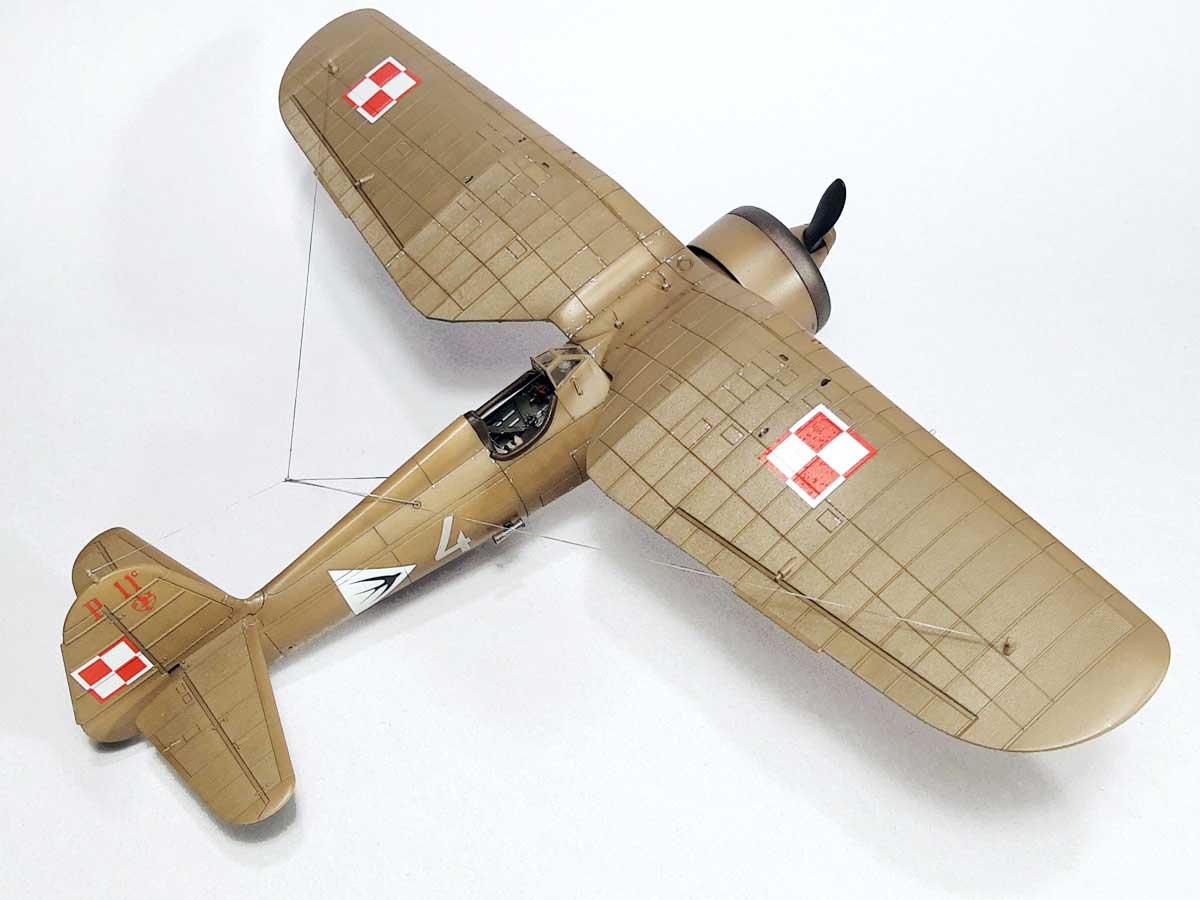
After painting, it’s time for decals. Here I can say that it was the biggest challenge when building this model. Corrugated panel sheet required the use of large amounts of decal fluid. The hardest part was on the lower wing surfaces. To get rid of a few air bubbles, I had to cut the decals, and where the grey colour came out, I did a little touch-up with a brush and red. Surprisingly, the white markings reached the surface much better.
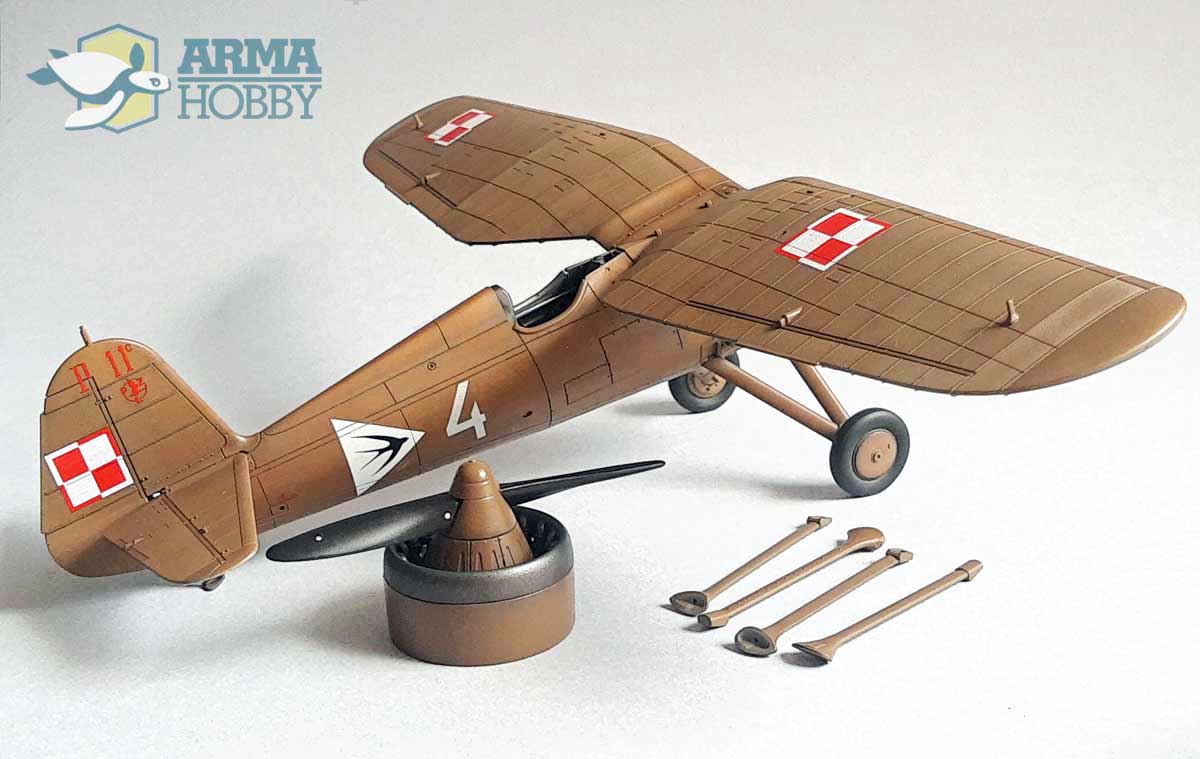
The chessboards on the rudder underwent a similar process. The remaining markings on smooth surfaces did not cause any problems. Together with the finished engine with a cover and ready-made struts, the model looked like this:
Final assembly
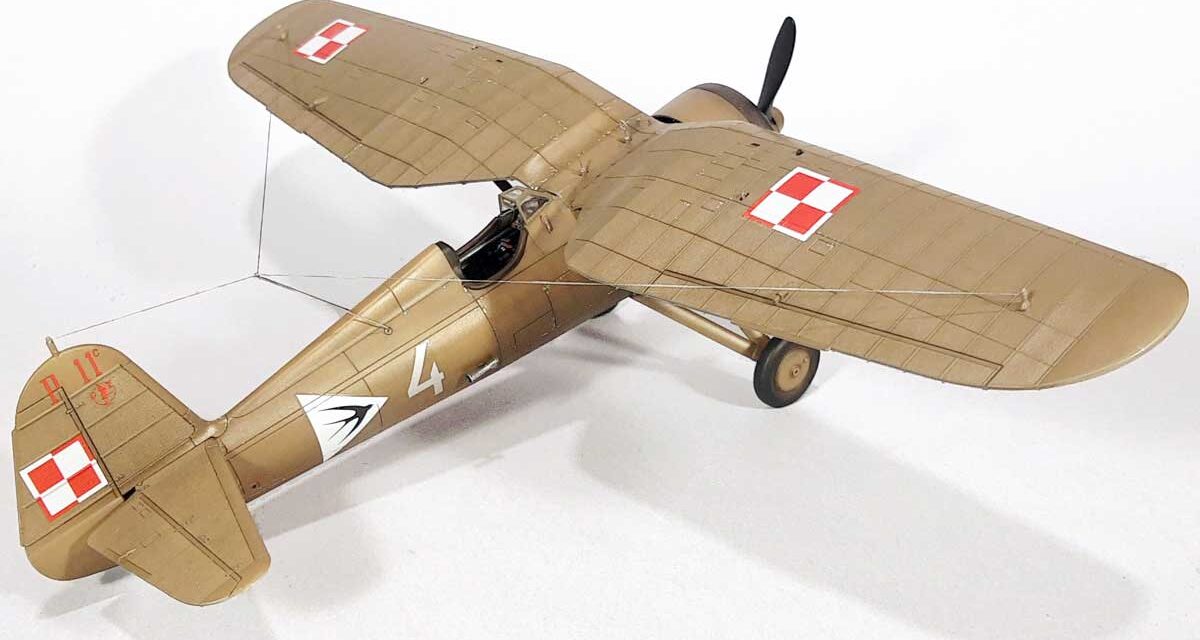
All that I need was to glue the painted subassemblies together. I added a few silver paint scratches and a slight smudge on the underside, plus black exhaust fumes. The final part was sticking a few plates, antenna and chassis tensions. Let’s see how the newest P-eleven looks straight out of the box on the photos.


See Also:
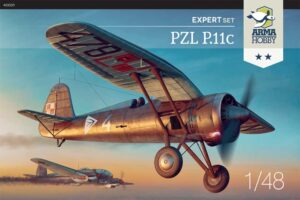

- PZL model kits 1/48 and 1/72 in Arma Hobby internet shop link
Wanted to be Philanthropist, statesman and patron of the arts. Temporarily focused on developing scale model production in Poland. Co-founder of Arma Hobby. Designer of kits: TS-11 Iskra, PZL P.7a, Fokker E.V, PZL P.11c, Hawker Hurricane, Yak-1b, FM-2 Wildcat, P-51B/C Mustang and 1/48 Hurricane.
This post is also available in:
 polski
