
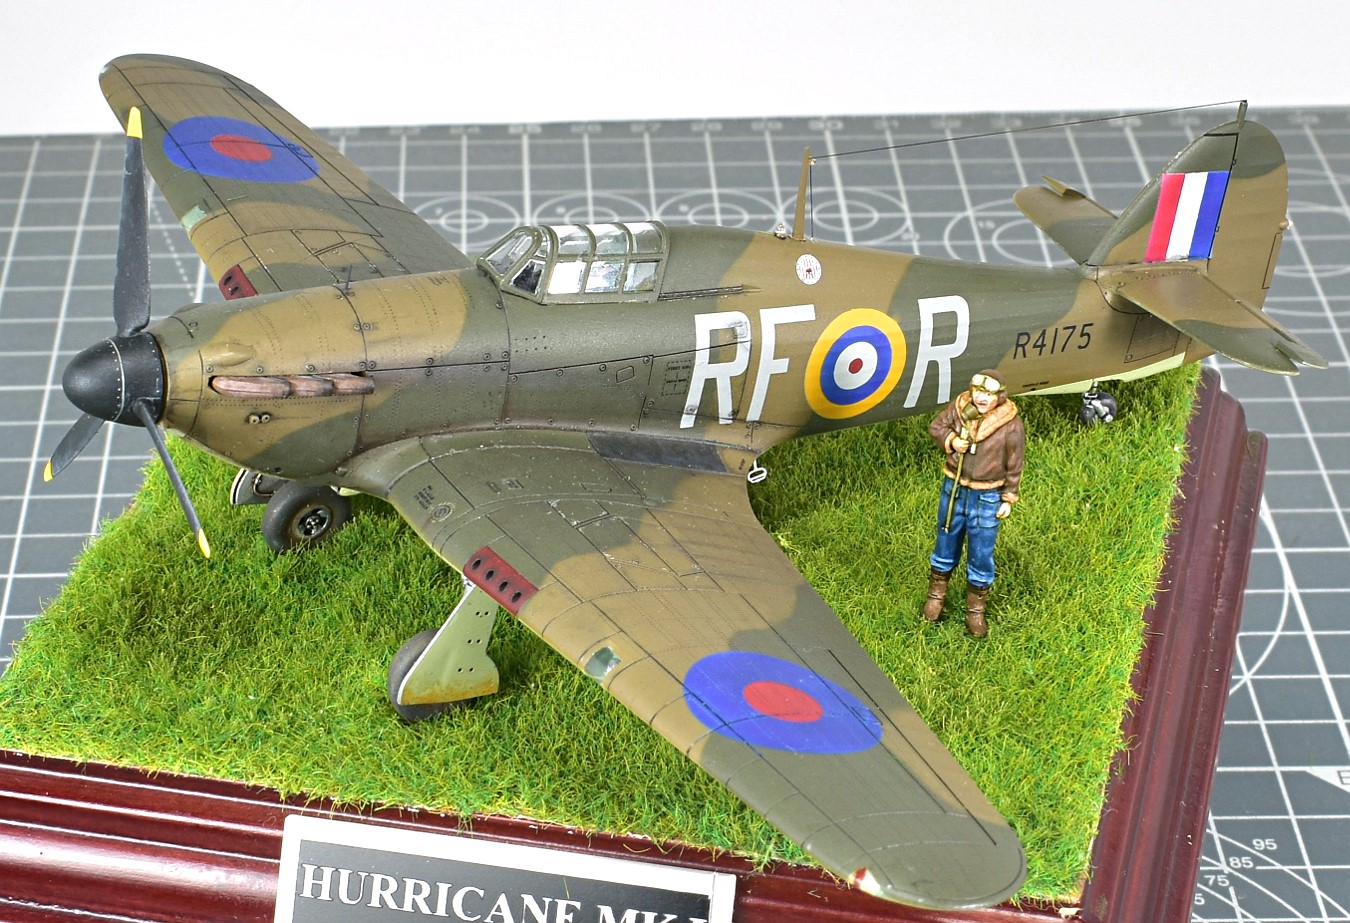
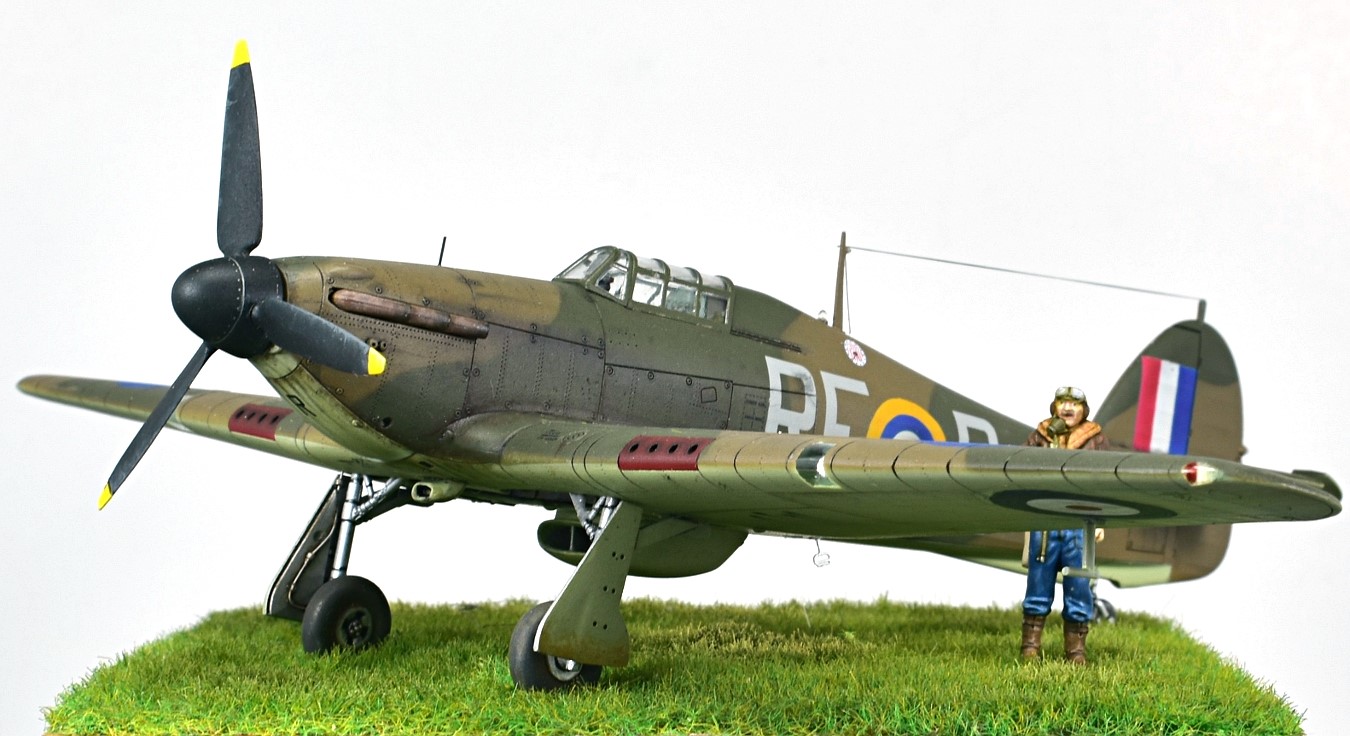
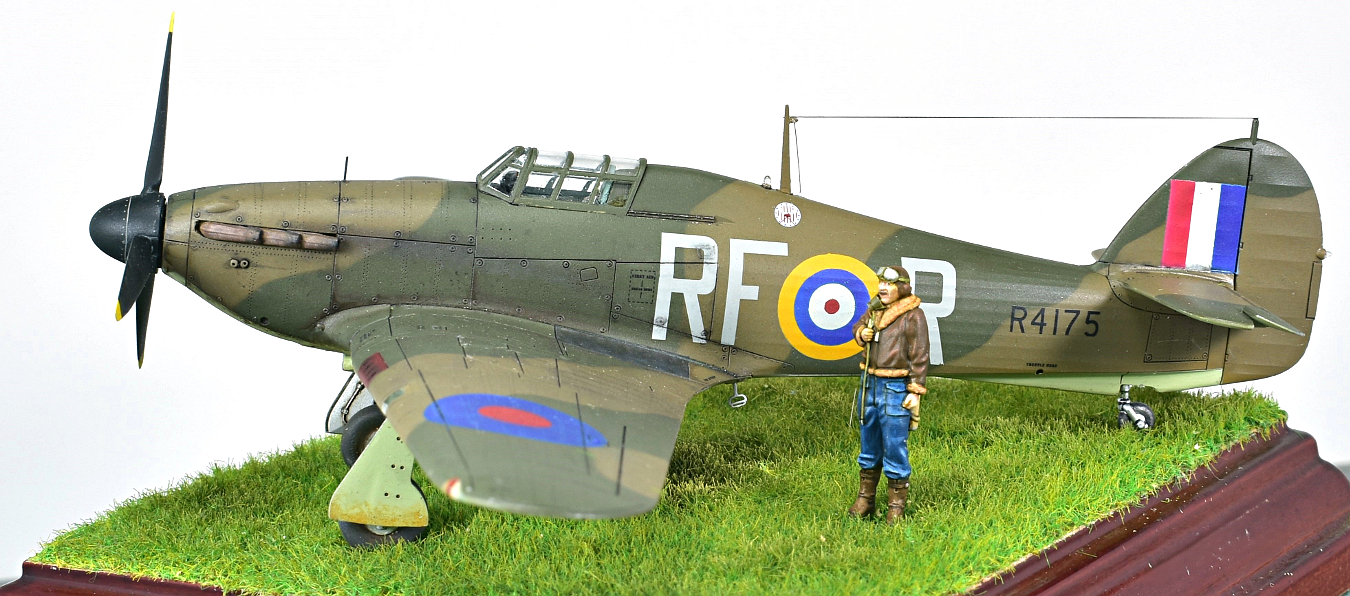
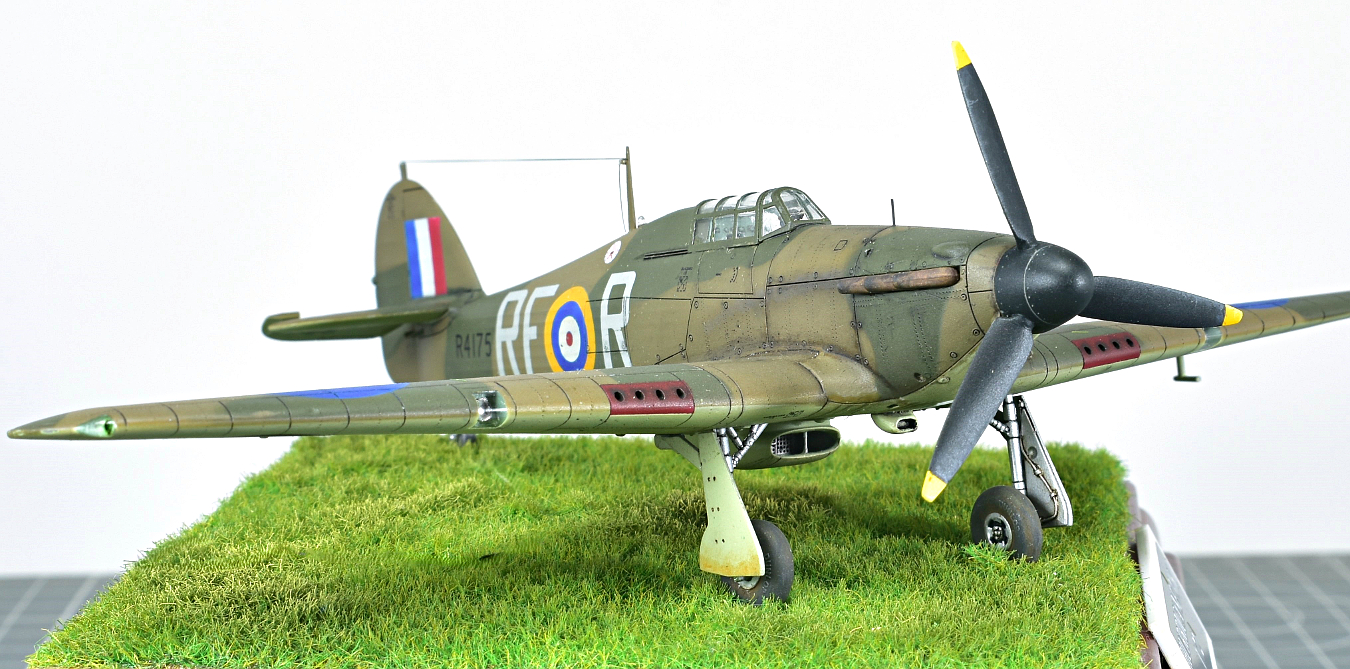
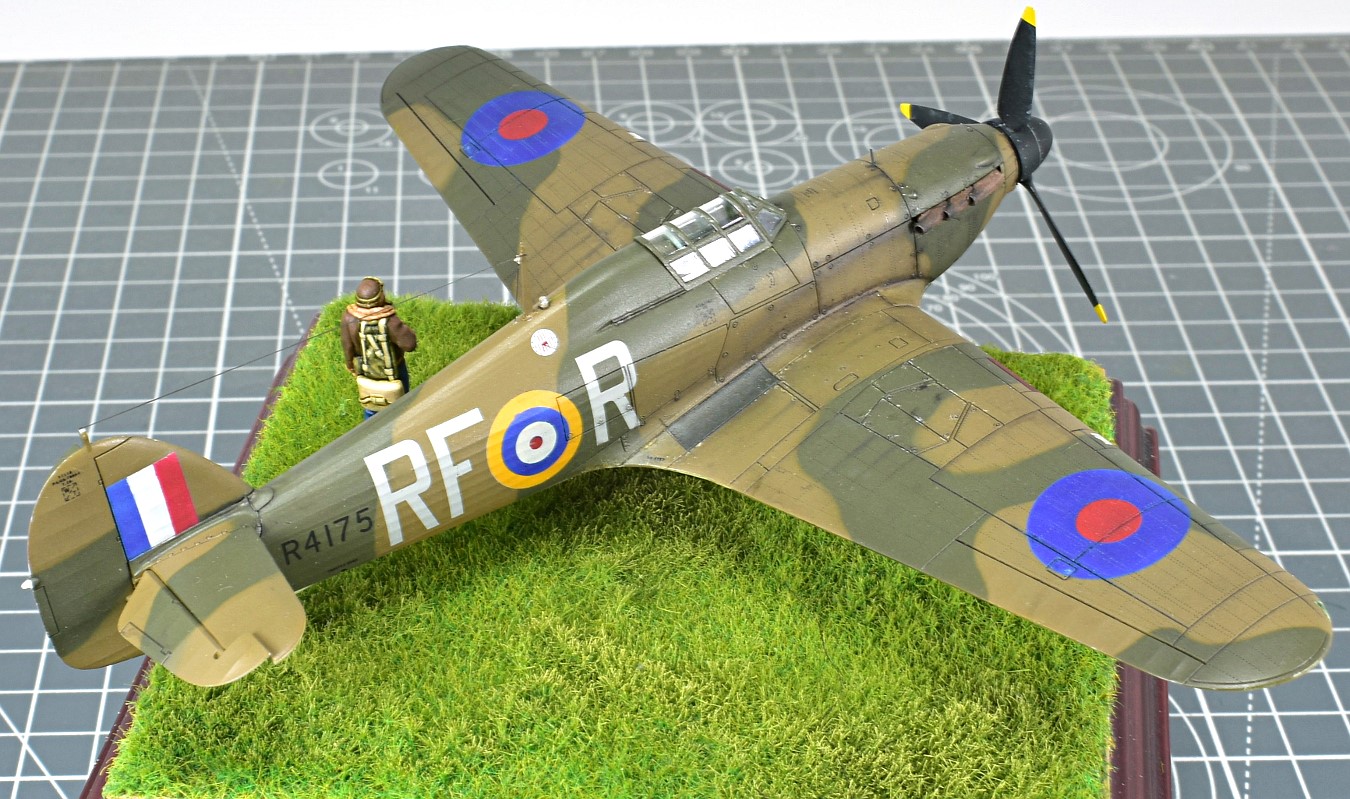
 Andrés Salvador showed on the Britmodeller forum a beautiful 1/72 scale model of Arma Hobby’s Hurricane Mk I in the marking scheme of the Polish No. 303 Squadron, but piloted by a Czech, Josef František. We asked Andrés to share his photos with us so that we could present them here as well. They are really worth seeing!
Andrés Salvador has added extensive commentary to the photos sent to us. Enjoy the Gallery!!!
This Hawker Hurricane Mk I model in 1/72 scale offered by Arma Hobby has been the first one I have built from them and it has been a lot of fun. Very good and abundant detail, being represented very finely. The molding of the pieces, even the smallest ones, is excellent. And the fit between them is simply perfect. It only needed a little light sandpaper to make the joint between the wing halves, fuselage halves and between them perfect.
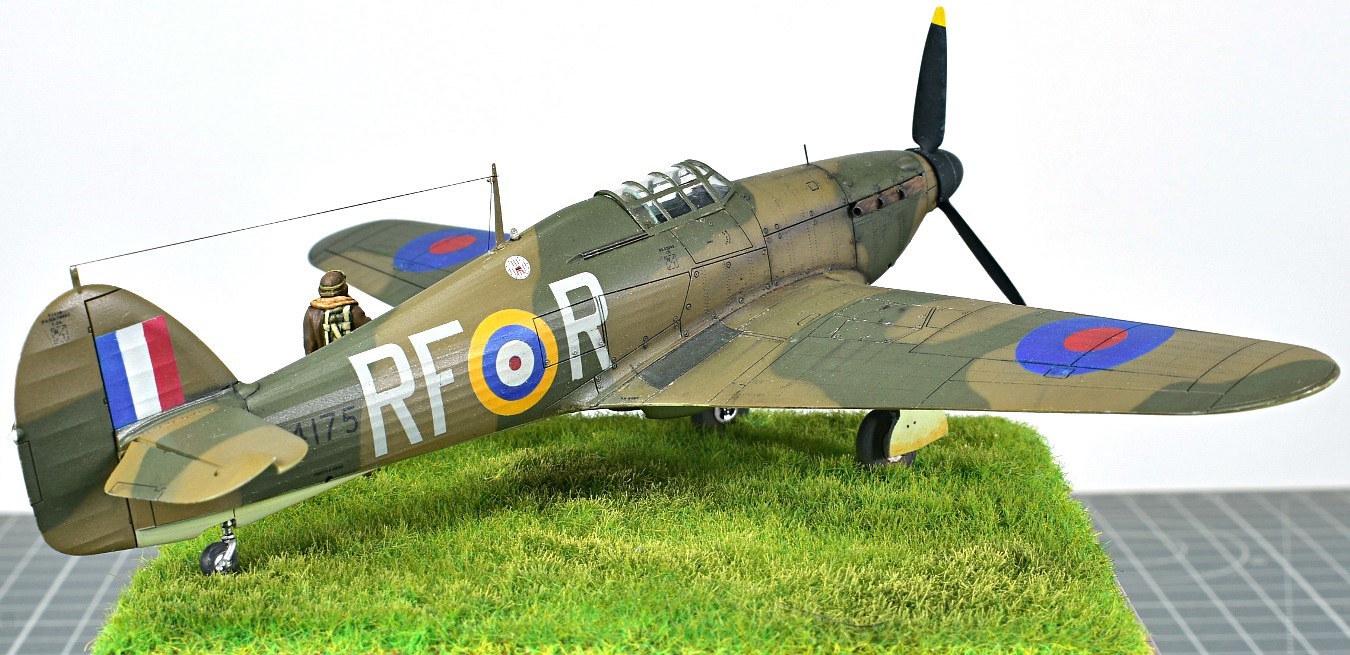
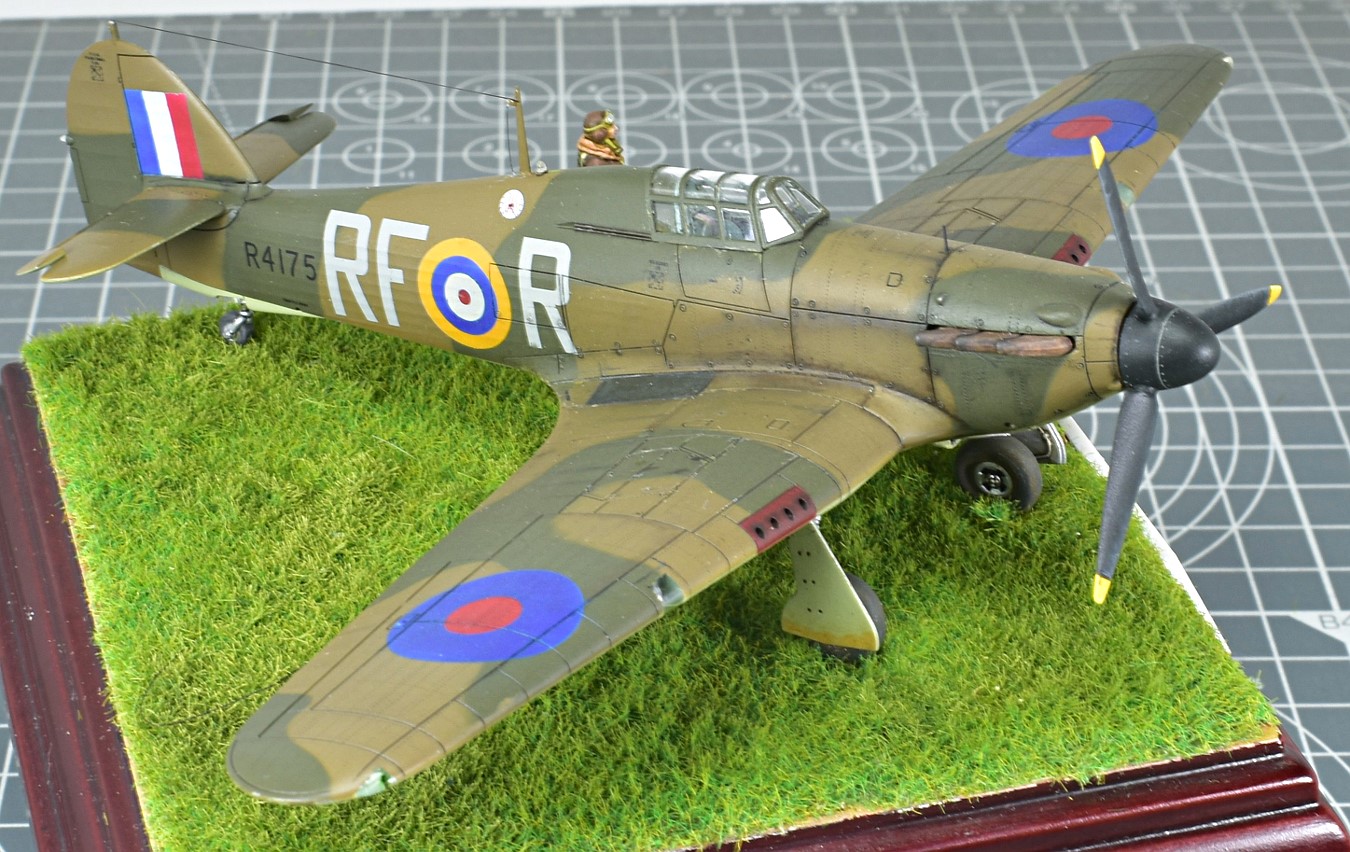
The pilot figure is from Polish company White Stork Miniatures.
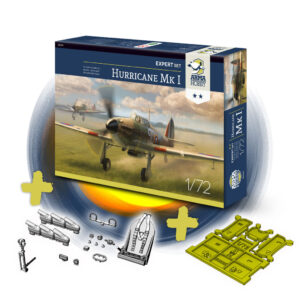
The kit I have used has been the 70019 Hurricane Mk I “Expert Set”, which includes the necessary plastic pieces plus a set of masks for the glass pieces and a set of photo-etched parts for the cockpit, radiator grilles, landing lights and some more of the exterior.
For the greenish grey colour of the cockpit I used my own mixture consisting of 50% H-312 plus 50% H-53, both from Gunze. The metallic colour for the rest was Tamiya XF-16 enamel and the details were painted with various Vallejo Model Color references. Finally I sealed everything with Vallejo MC satin varnish diluted in water. I added a couple of wires using 0`2 mm tin wire. I also added a reflector sight offered by Quickboost.
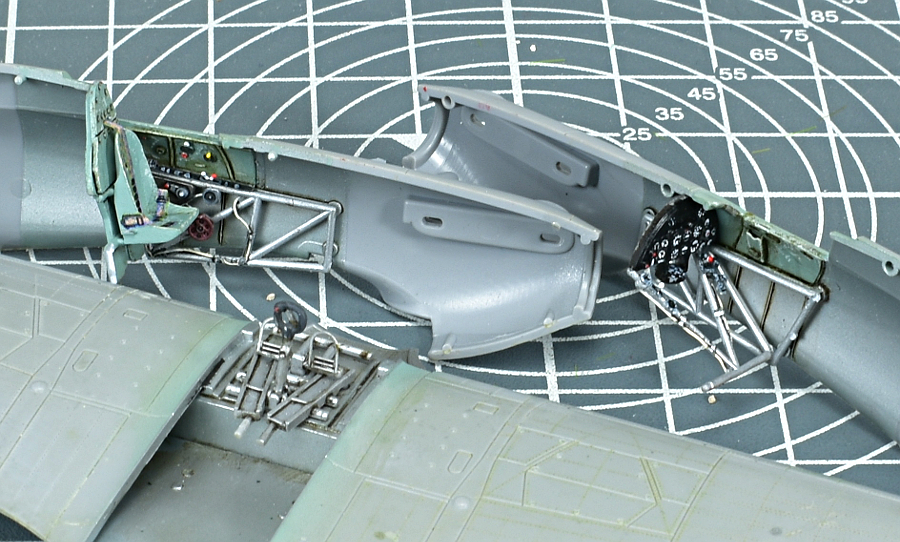
The construction was not a challenge as the fit, as I indicated, was excellent in all points with minimal use of sandpaper.
Externally I detailed the model in two areas:
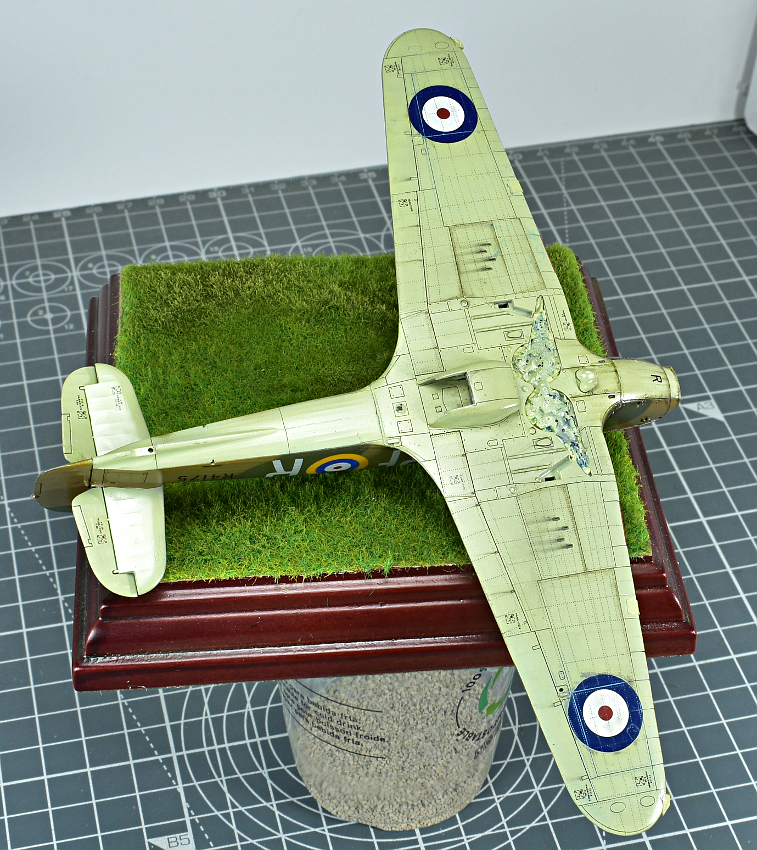
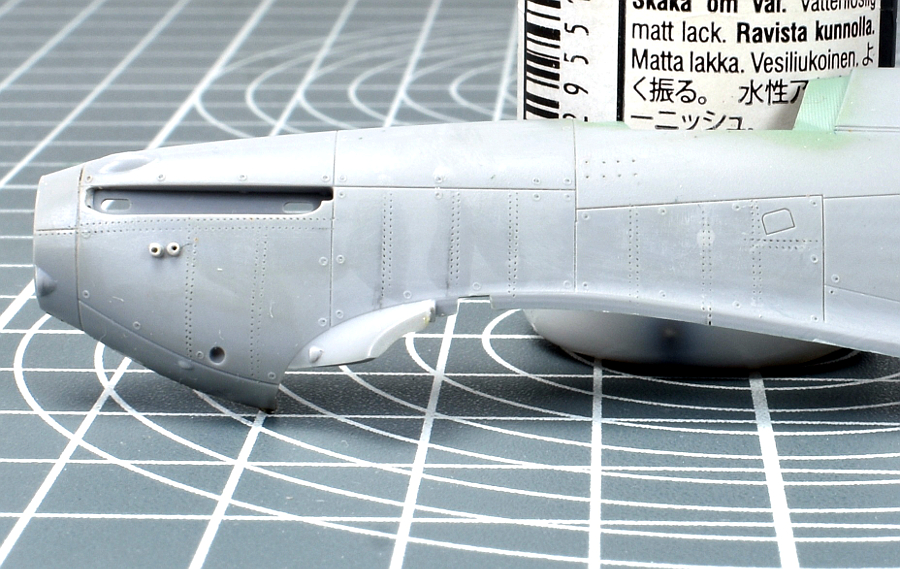
1. The landing gear covers are the location for the hydraulic brake duct which I made with stretched plastic held in place by sections of telephone cable sheathing.
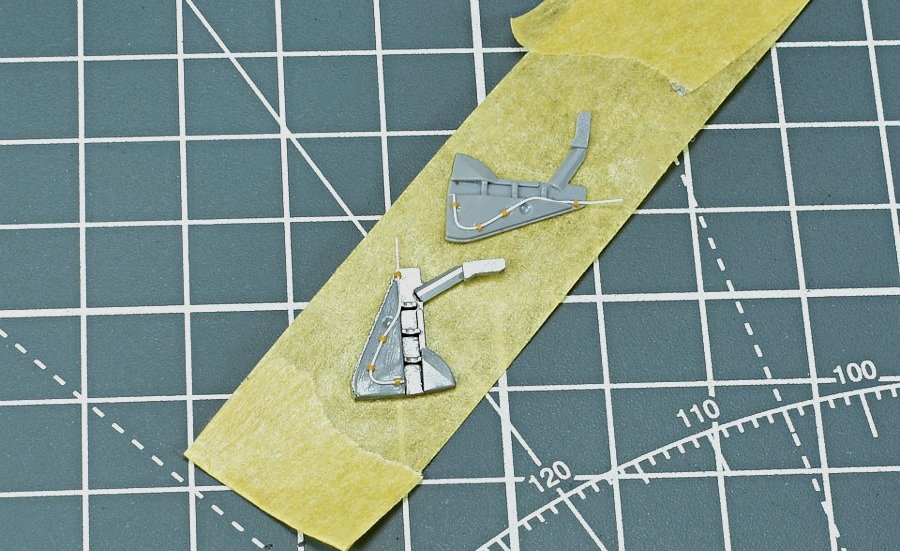
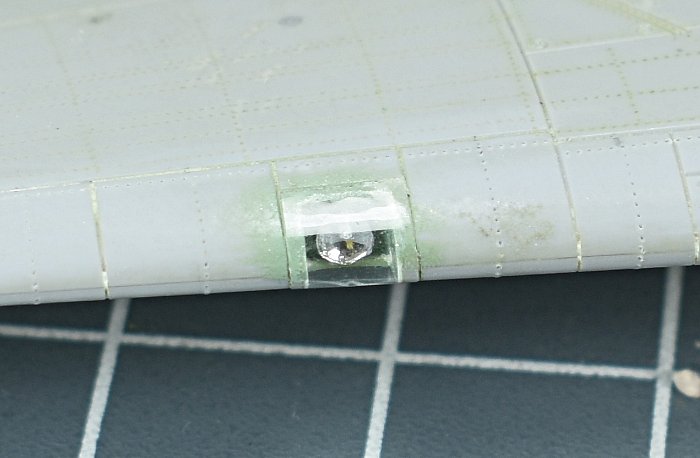
2. The second place was the landing lights which I made by obtaining a circle of about 2`5 mm in diameter with a hole punch and which I gave a semi-spherical shape by pressing it with the handle of a paintbrush on the tip of one of my fingers. Once glued in place I painted it in a chrome colour obtained from a “Paint Marker” pen. To simulate glass I covered them with self-adhesive tape that I cut out along the most adjacent panel lines and carefully masked during the painting phase.
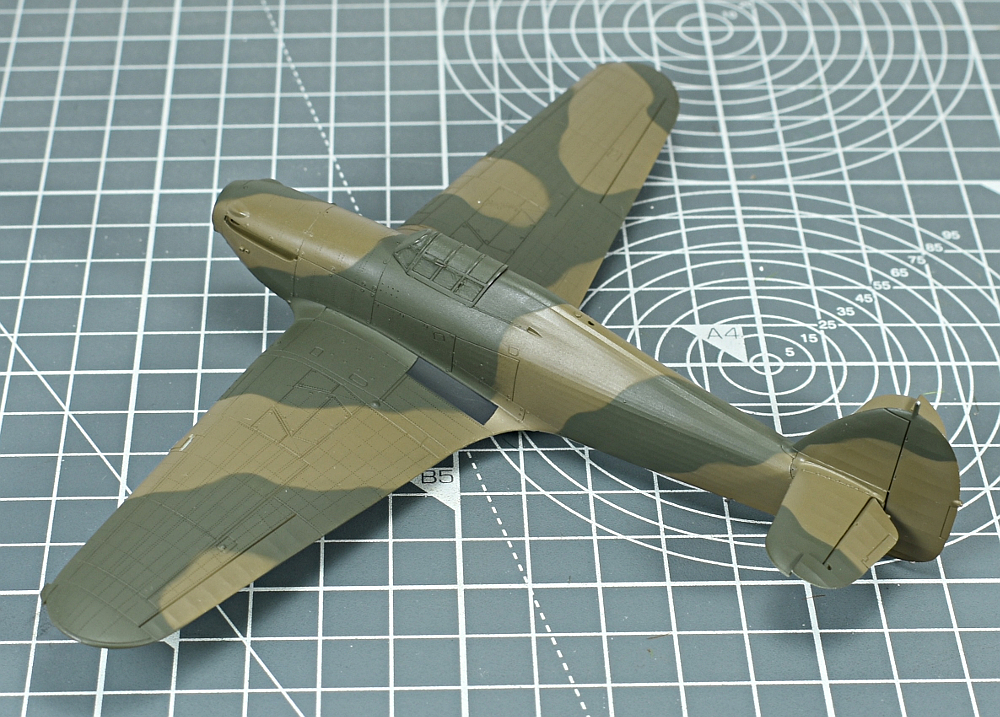
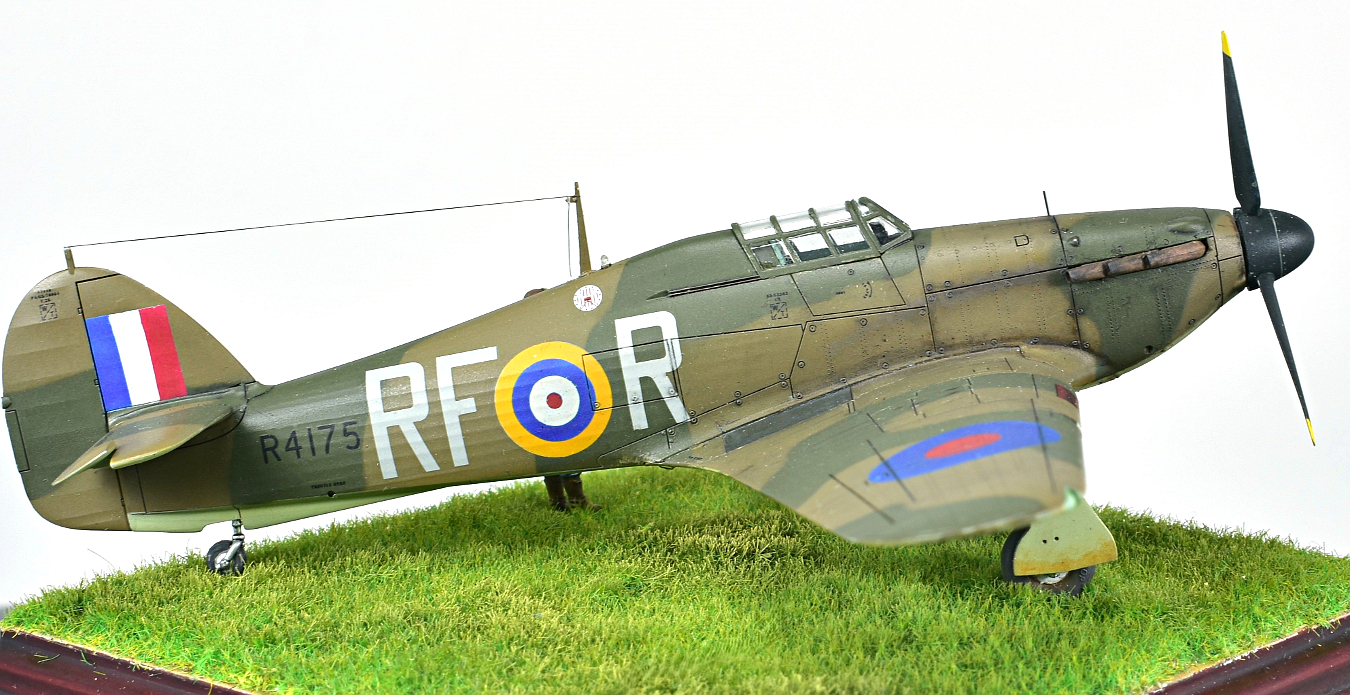
The colours I used to paint the camouflage were the following:
- Tamiya RAF Green XF-81
- Gunze RAF Dark Earth C-369
- Gunze H-74 Sky
Once the lower colour was applied I airbrushed the RAF Dark Earth. To apply the RAF Green I wanted to leave a border between colours that was neither hard nor too blurred so I used masks that I built by drawing the shape of the patches on Tamiya tape and on whose edges I stuck small pieces of 0`25 mm thick plasticard so that it was slightly raised from the surface of the model. This, together with airbrushing the green colour at an angle, made the edge not be completely hard nor excessively blurred.
Some small chipping of the paint on the plane simulated with Vallejo MC light grey applied with a fine brush on the edges of the access panels to the weapons, or in places where the pilot or mechanics may pass through, was the first action to simulate wear.

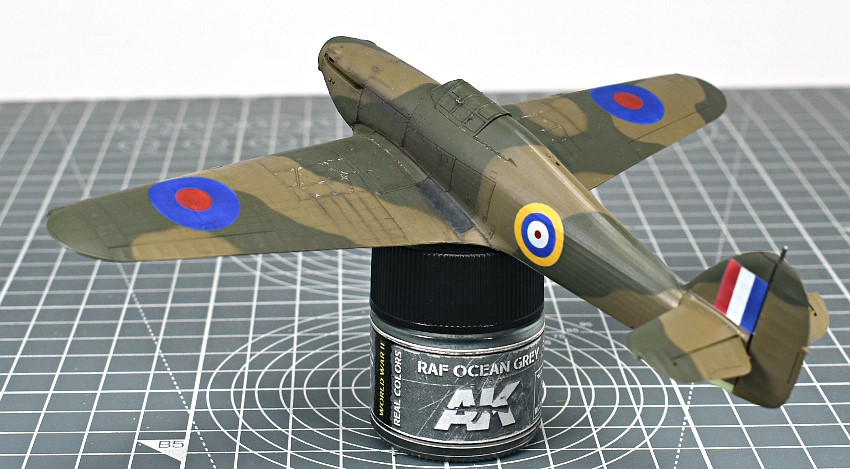
The nationality roundels on the fuselage and upper side of the wings as well as on the tail were painted using the masks for this purpose offered by Pmask. Both the blue and the red colours were somewhat lighter than normal so I used these mixtures:
- XF-8 Blue
- XF-7 Red 85% plus 15% XF-9
- XF-2 Biały
- Yellow – can of XF-3 to which (when new) I added 4 drops of XF-7 Red
The second step was to simulate dirt accumulated in the areas near the engine, for which I used Vallejo MC brown tones, very diluted, and reinforced them with Engine Oil from the Abteilung brand.
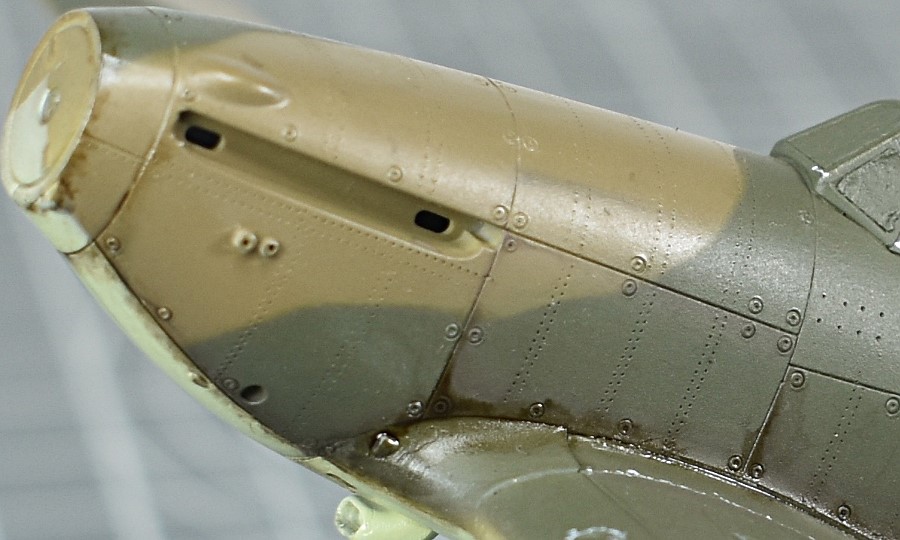
The smoke trails left by the exhaust tubes were created by airbrushing Tamiya smoke, very diluted with a 0.2 mm airbrush and at low pressure, reinforcing the effect with a mixture of smoke and Abteilung neutral grey, also very diluted.
Once the decals were applied, I highlighted the panel lines with oil and sealed the whole work, finishing it with Vallejo satin varnish.
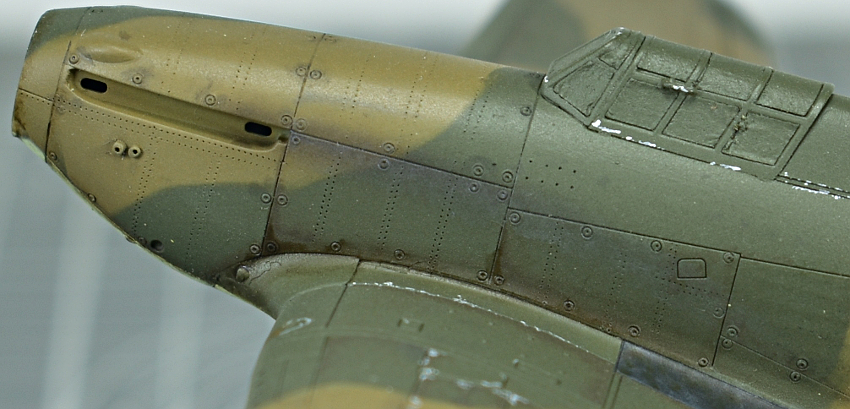
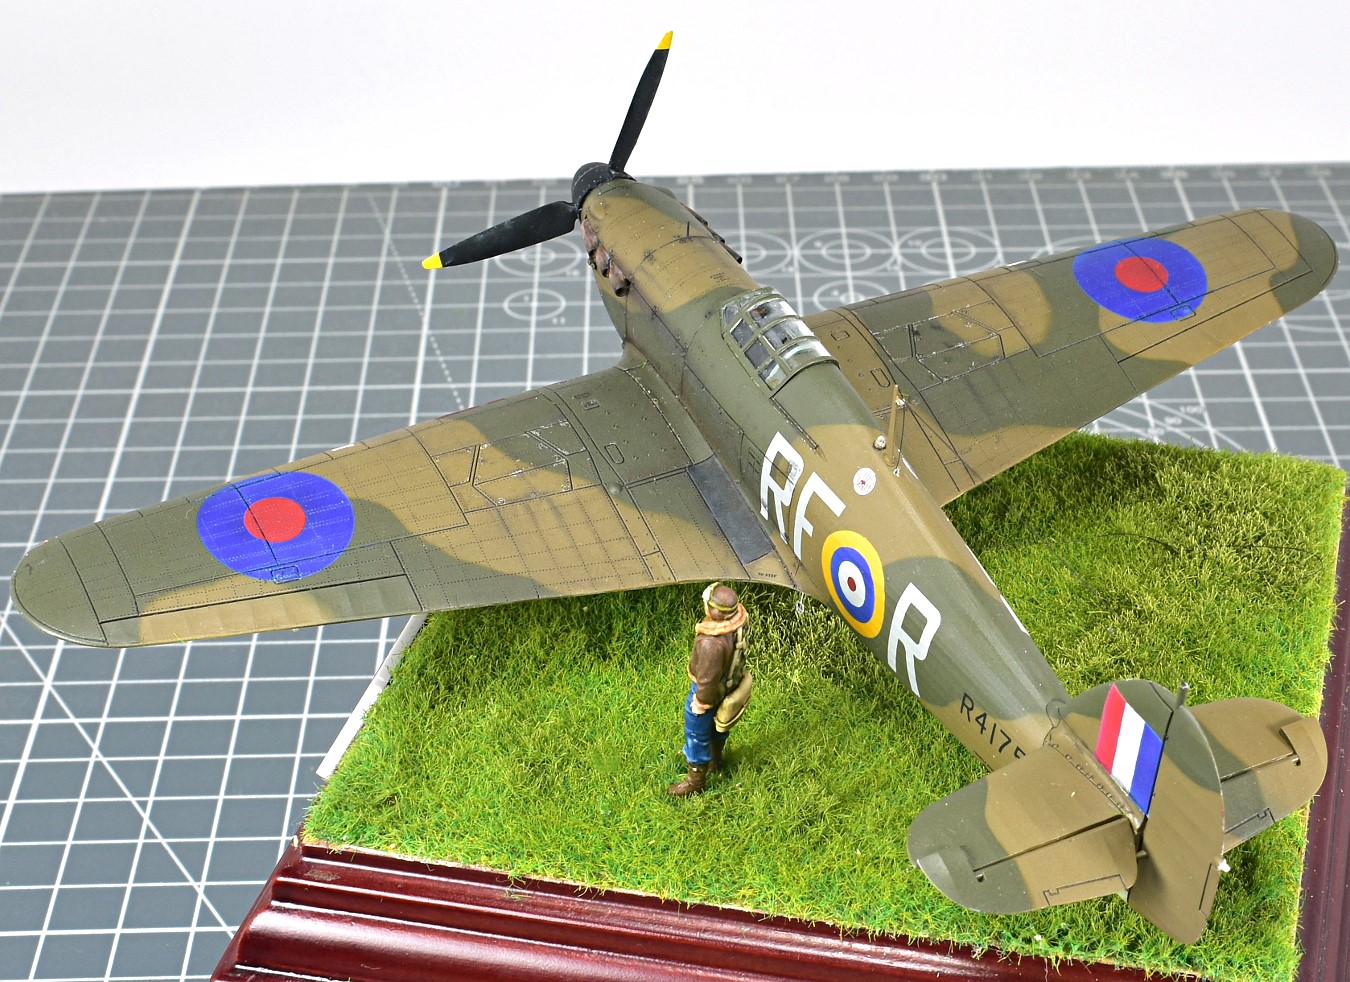
I almost forgot to mention that I riveted the metal surfaces using as a reference the Hurricane Mk I drawings contained in the book “Monografie Lotnicze nº 51” that the AJ Press dedicated to this aircraft.
For this I used a Rosie brand riveting tool with a tooth spacing of 0.40 mm. After making the rivets, either on the upper or lower part of a wing or on the right or left side of the fuselage, I gently sanded the surface with 1200 grit sandpaper to remove the “micro craters” that the riveting tool’s teeth cause in the plastic.
Farewell Promotion for Hurricane Mk I
Another important announcement! As happened with the Yak-1b, the stock of 1/72 scale Hurricane Mk I kits is also running out. As we are concentrating all our efforts on the work on completely new kits, also the Hurricane Mk I will not be relaunched for a long time.
But, as on the occasion of the Yak, we are doing a Farewell Promotion on the Hurricane Mk I kits, with cool 3D-printed extras (resin details and assembly and travel jig) and a 40% discount on the second kit!
- See the Promotion’s details and order kits with extras at Armahobby.com online!

Check also:
Virtual Editor, guest post publisher. When blog authors fall asleep he works unnoticed to improve website content quality.
This post is also available in:
 polski

