
 The deck of an aircraft carrier is a place that faces the forces of nature on a daily basis. Sea salt, moisture, intensive use all affect its appearance. Paint peels, wood gets damaged and metal elements start to corrode.
Add to this the traffic of aircraft, deck crew, dirt, oil and you have the perfect subject for realistic model weathering. The crew’s daily work involves removing debris, screws and waste that could harm the landing planes, as well as replacing damaged planks. In this way, the aircraft carrier is always ready for the next flight operations.
Below I will show you how to recreate this effect on the model.
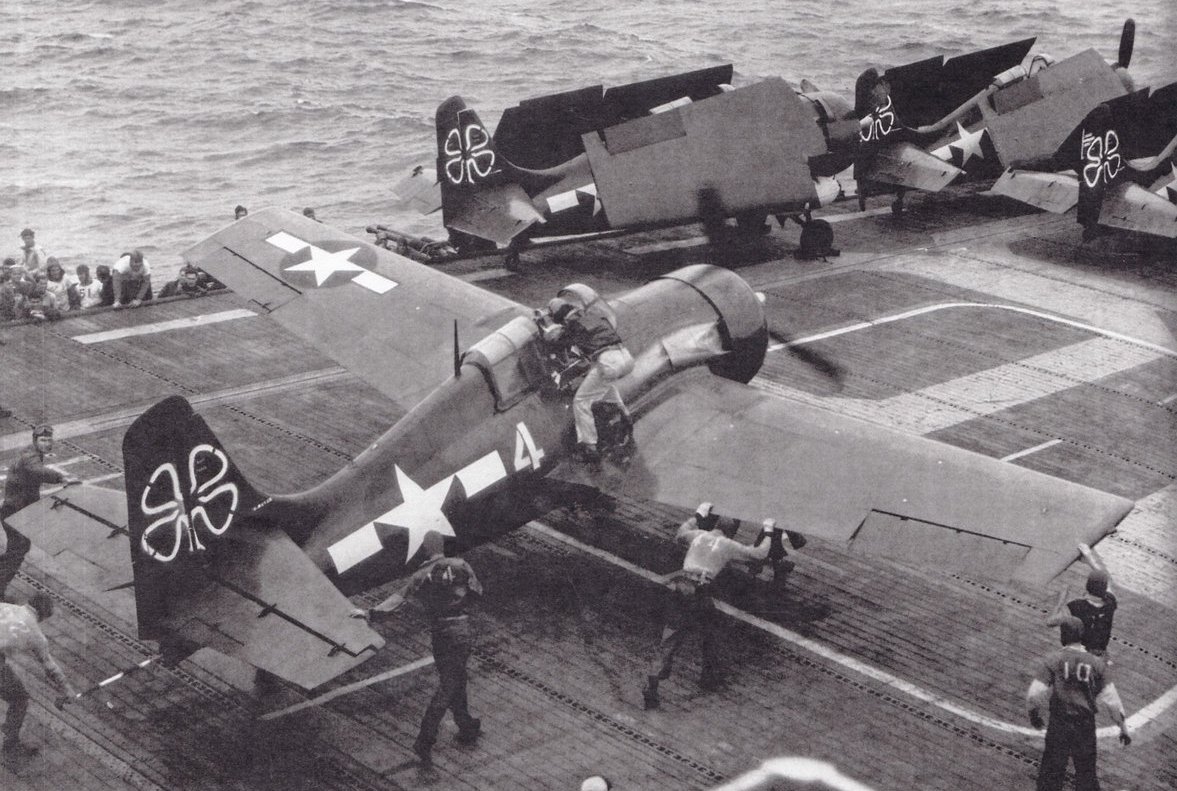 FM-2 Wildcat fighters on the deck of the escort carrier USS Petrof Bay during the Battle of Okinawa
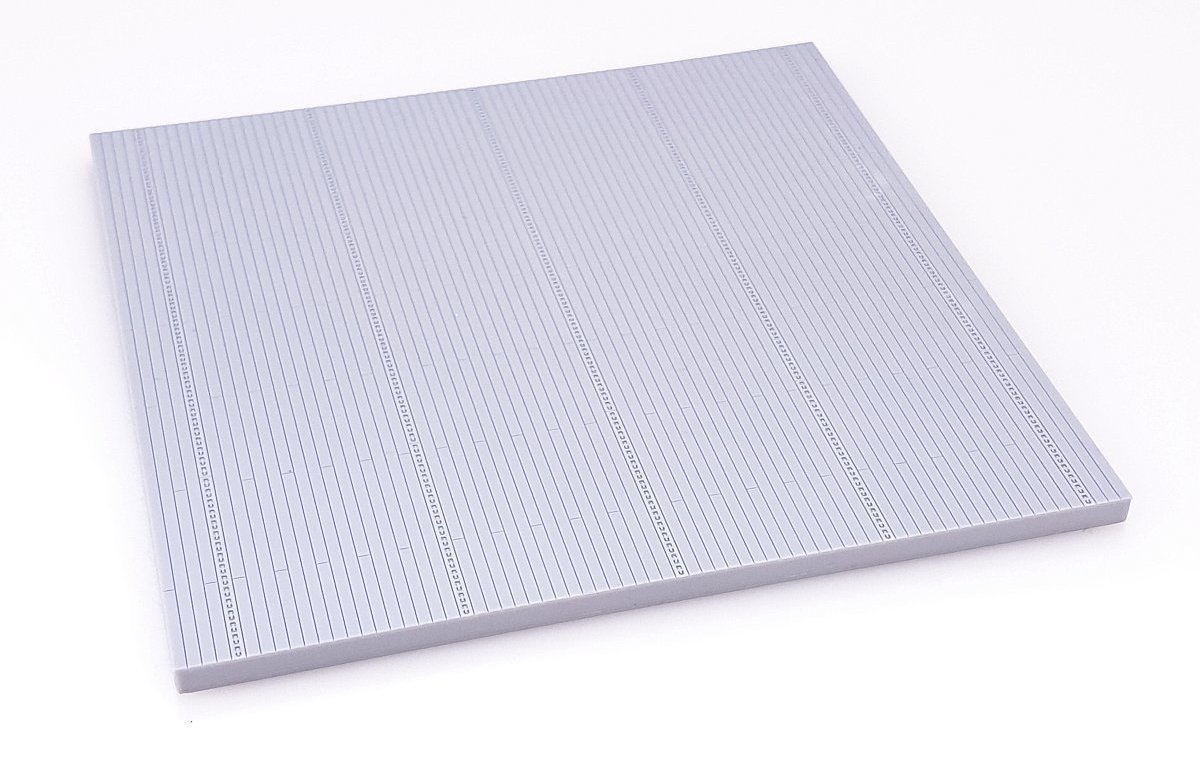
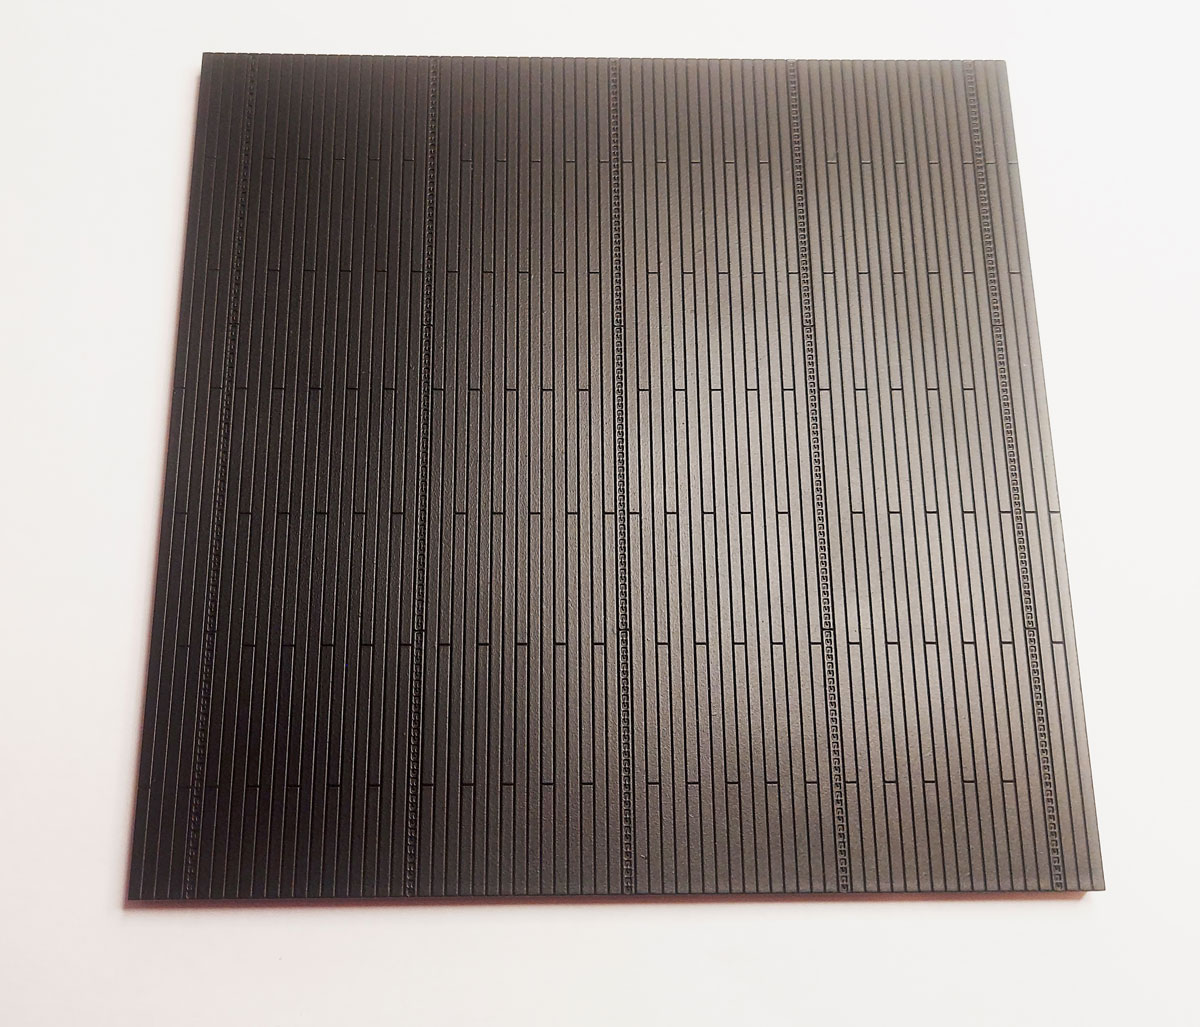
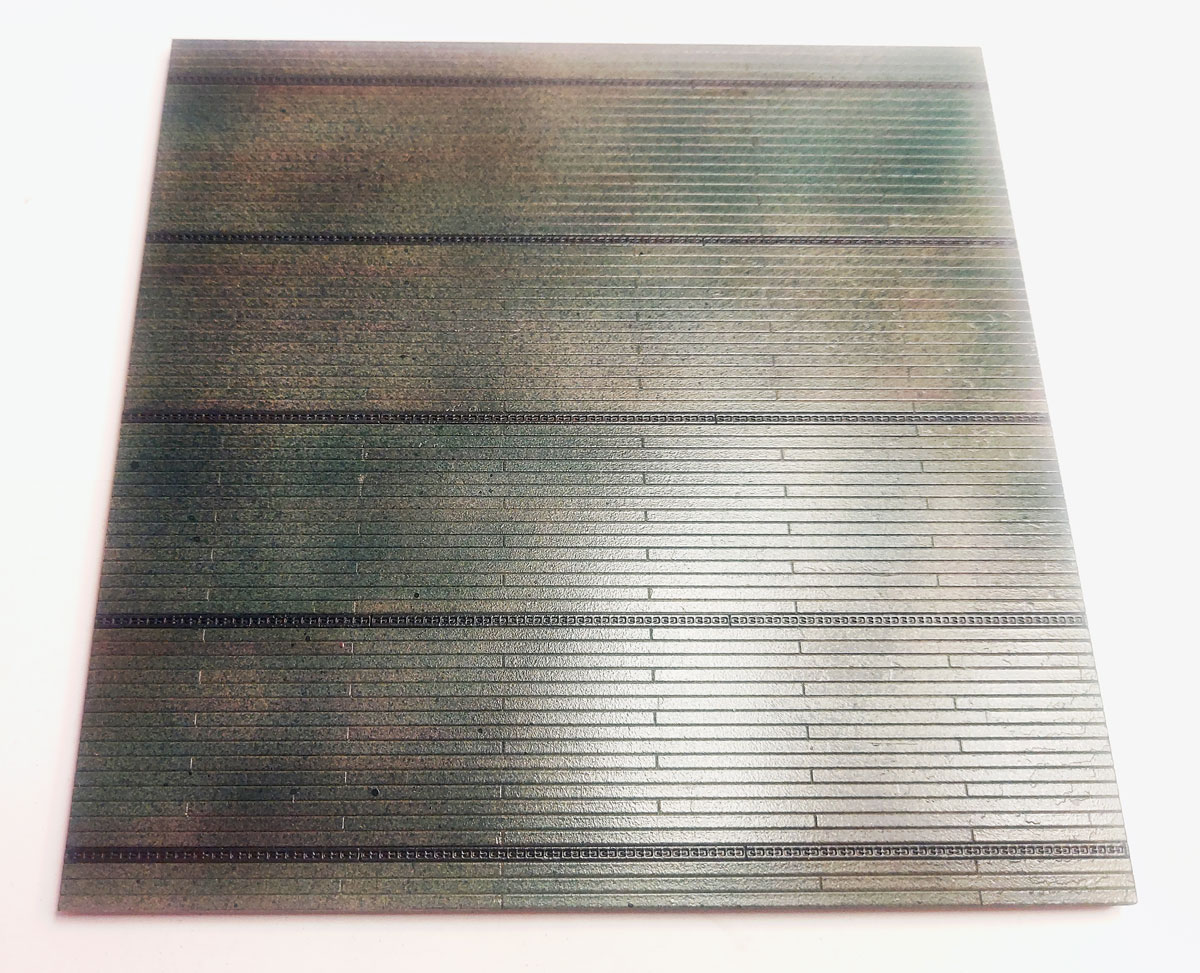
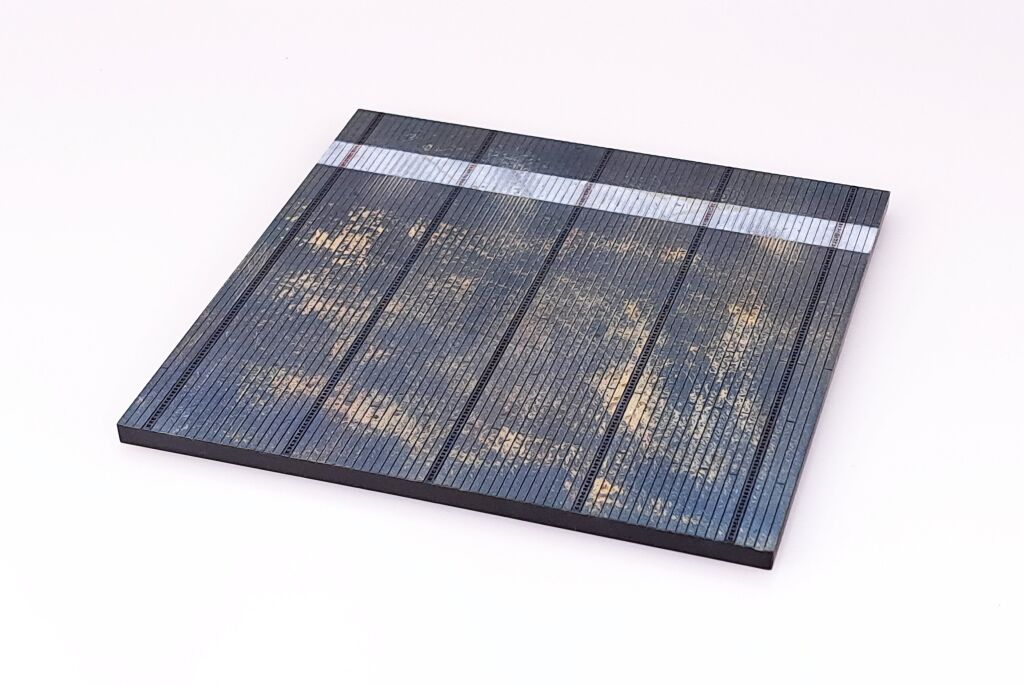
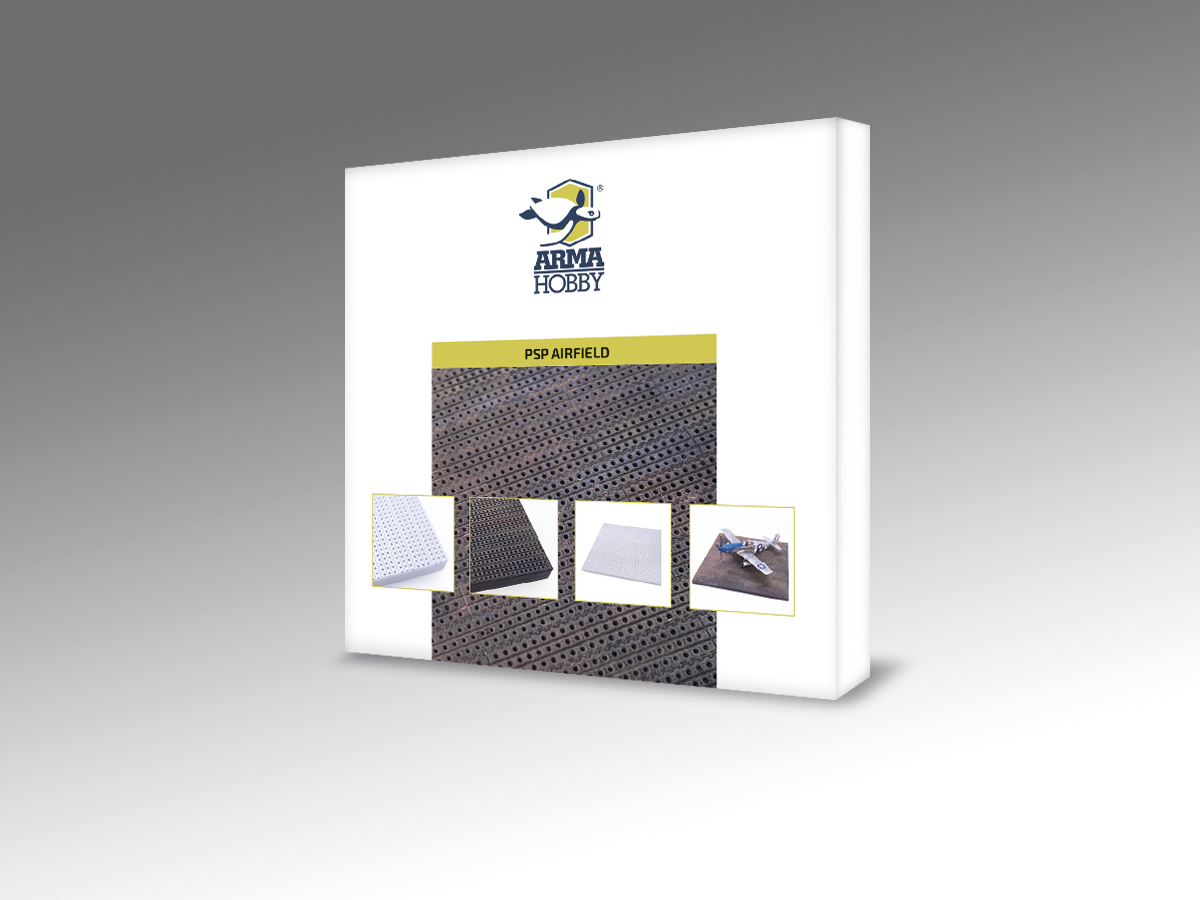
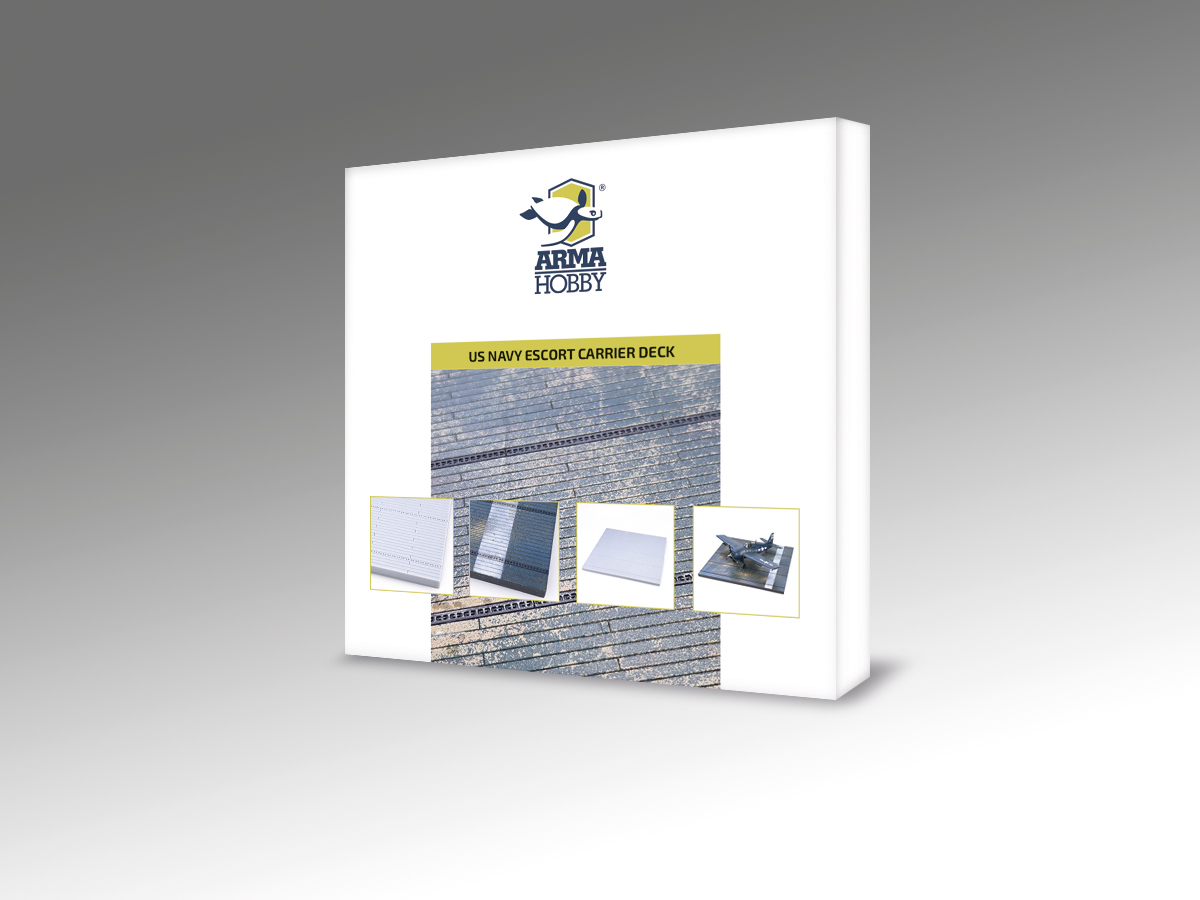
USN/RN Escort Carrier Deck 1/72 scale diorama base
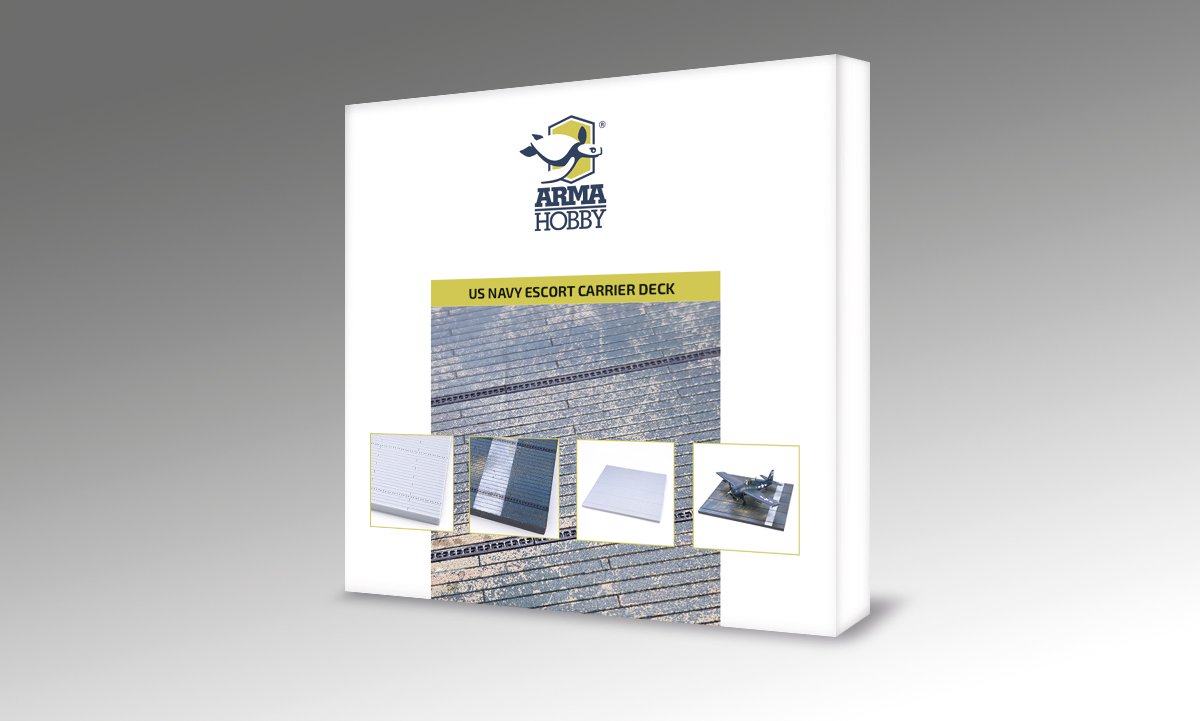
The 1/72 scale USN/RN Escort Carrier Deck by Arma Hobby is made using injection moulding technology from polystyrene – just like the model kits. The crisp, detailed texture accurately reproduces the deck surface of most US Navy or Royal Navy escort carriers (including the most popular Bogue and Casablanca classes) and makes it easy to paint and weather.
Its 152×152mm (6′ x 6′) dimensions allow it to be used with virtually all World War II-era carrier-based aircraft that operated from Allied escort carriers, including Wildcat, Corsair, Avenger, Hellcat, Swordfish, Sea Hurricane, Seafire, as well as the many types of land-based aircraft that were transported aboard these ships.
Painting and weathering
I start work on the deck by washing and priming. In my case I used acrylic paint, but I noticed that due to skipping the primer, the paint started to peel off in places when masking. Advice – don’t skip the primer!
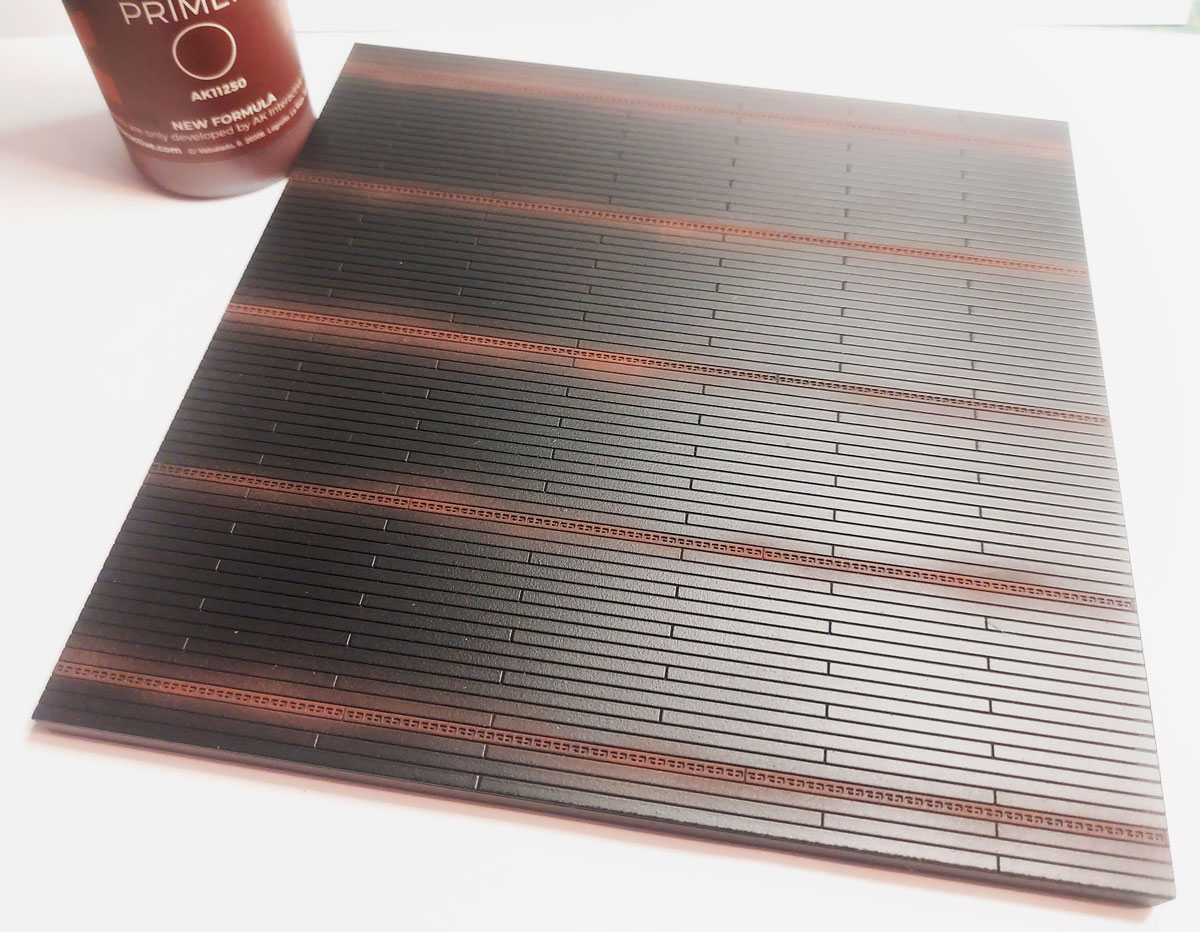
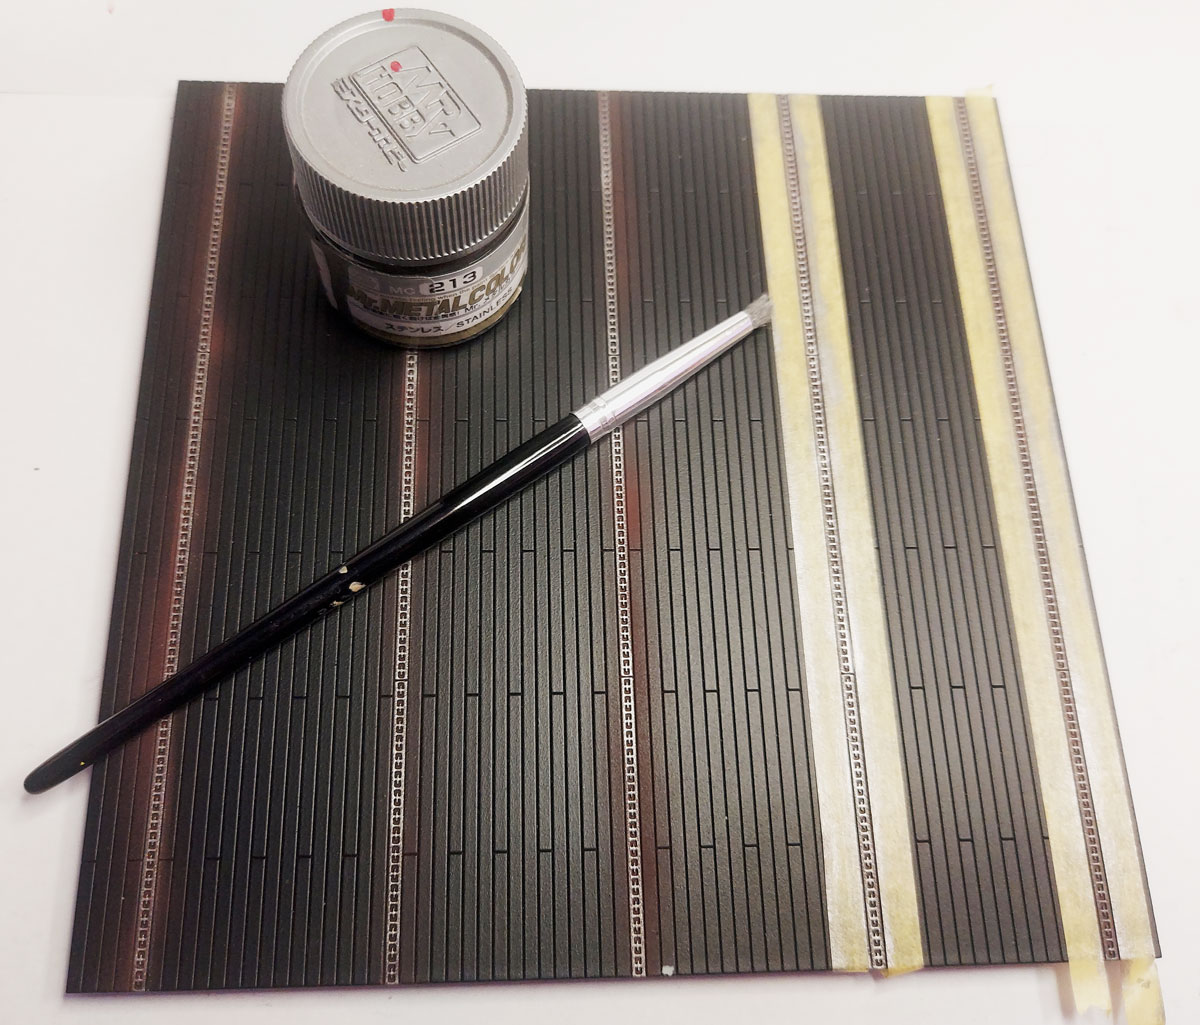
I painted the metal strips with the hooks for aircraft anchoring rust-coloured and then used a dry brush with metallic paint to give them an authentic metallic look.
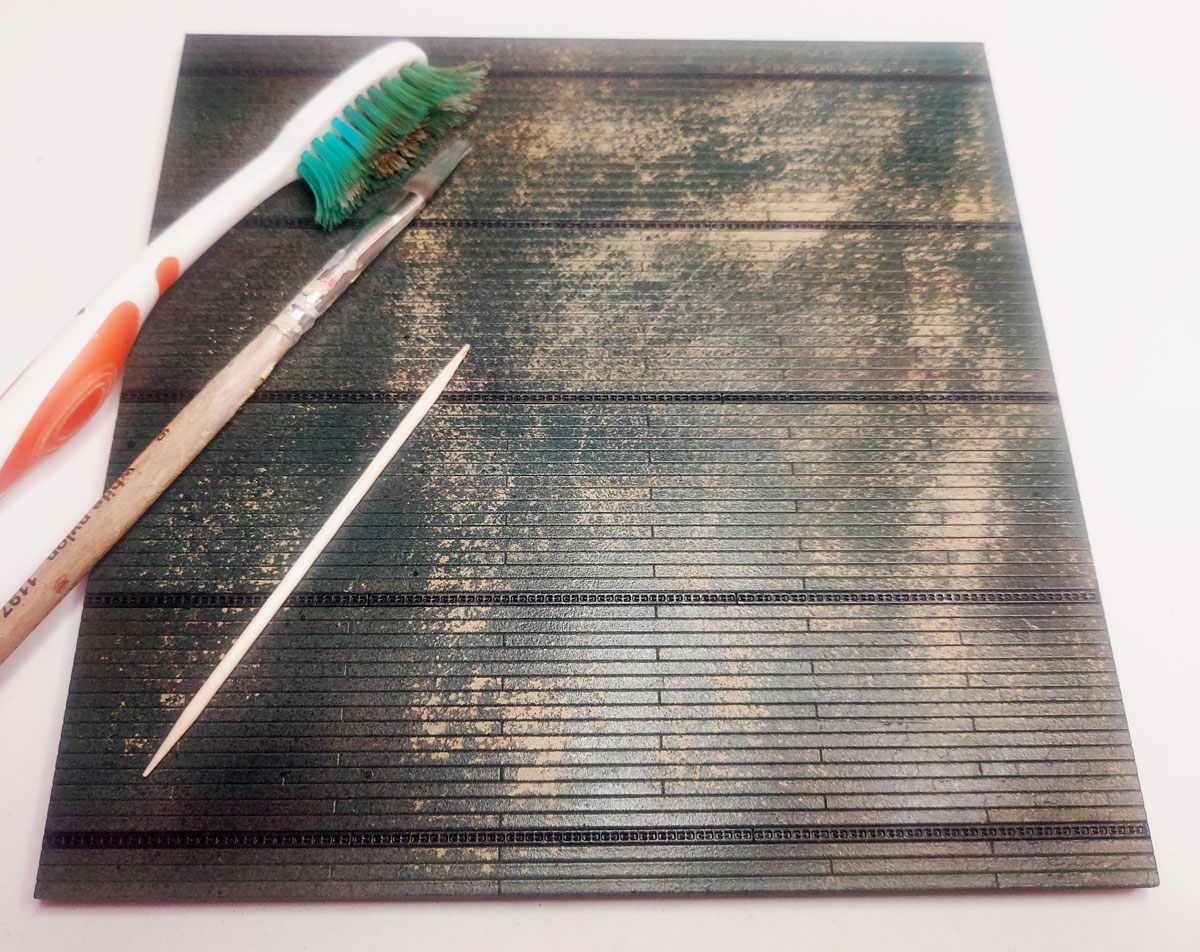
I covered the deck with masking tape. To reduce its adhesion, I stuck it to the skin of my hands several times. Using a toothpick and my fingernails, I marked the edges of the boards and began to gradually expose more sections for painting.
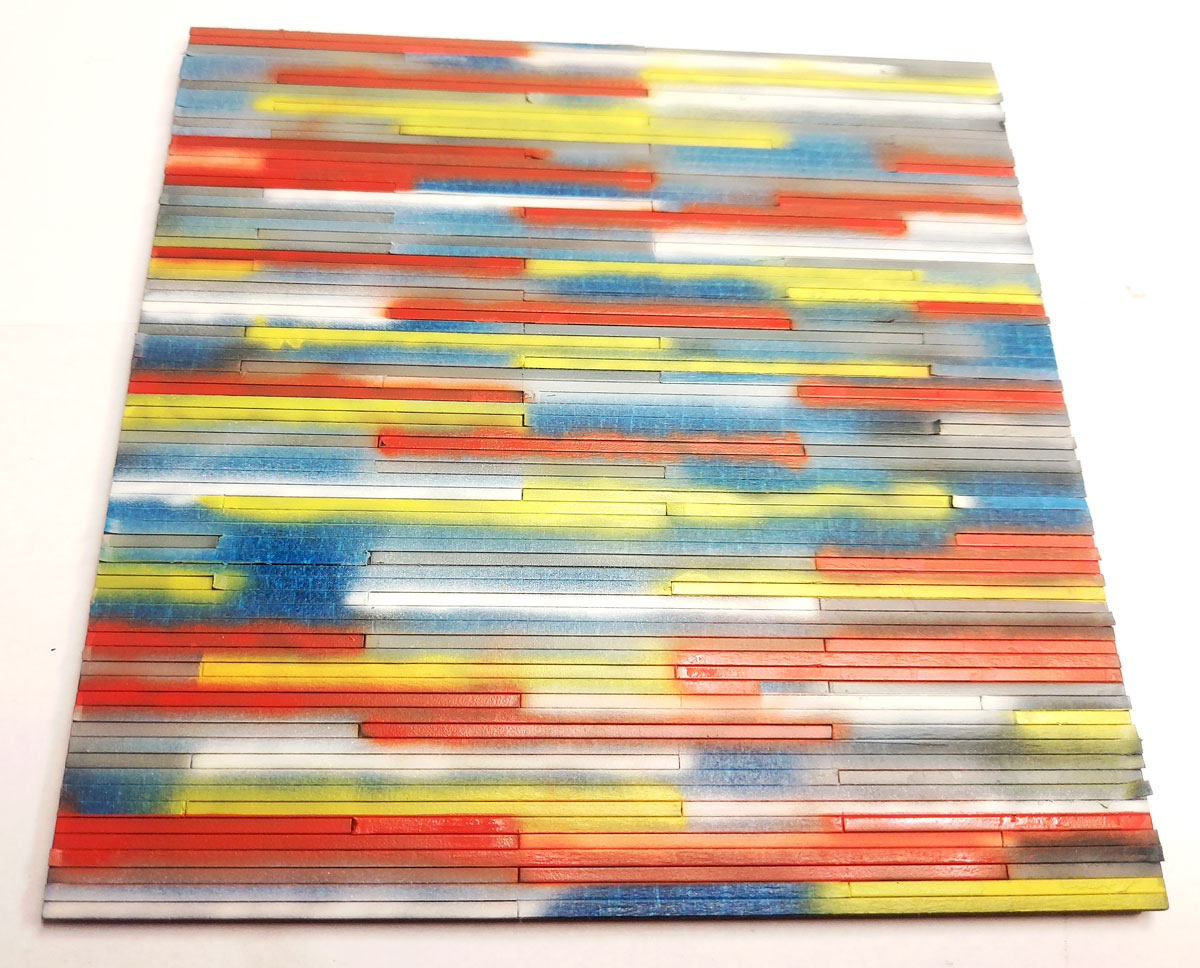
I gradually uncovered more planks and applied different shades to achieve the effect of tonal variation.
Wrześniowe nowości – podstawki pod modele i Wildcat „Torch”. Promocyjna przedsprzedaż
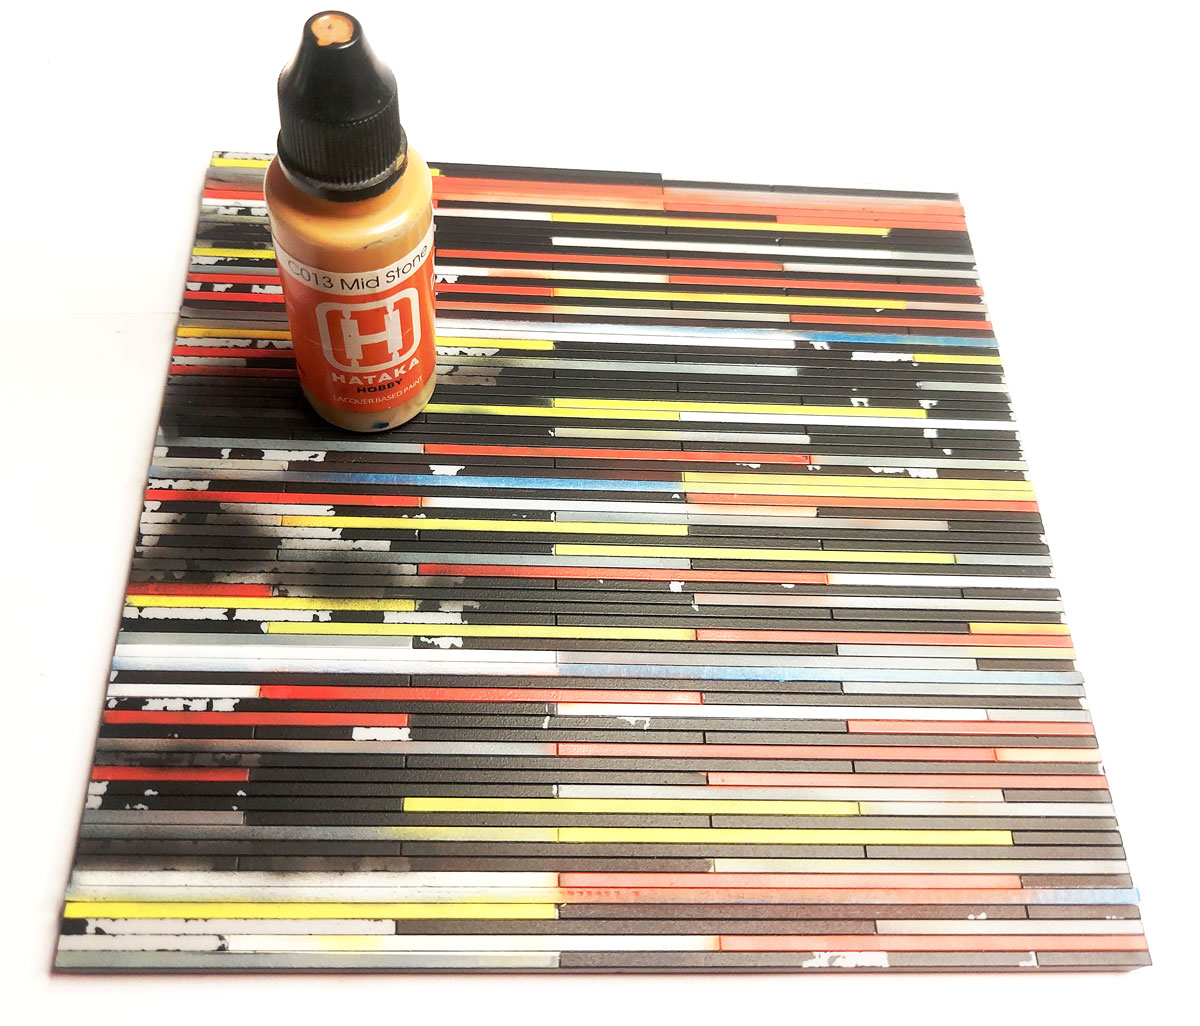
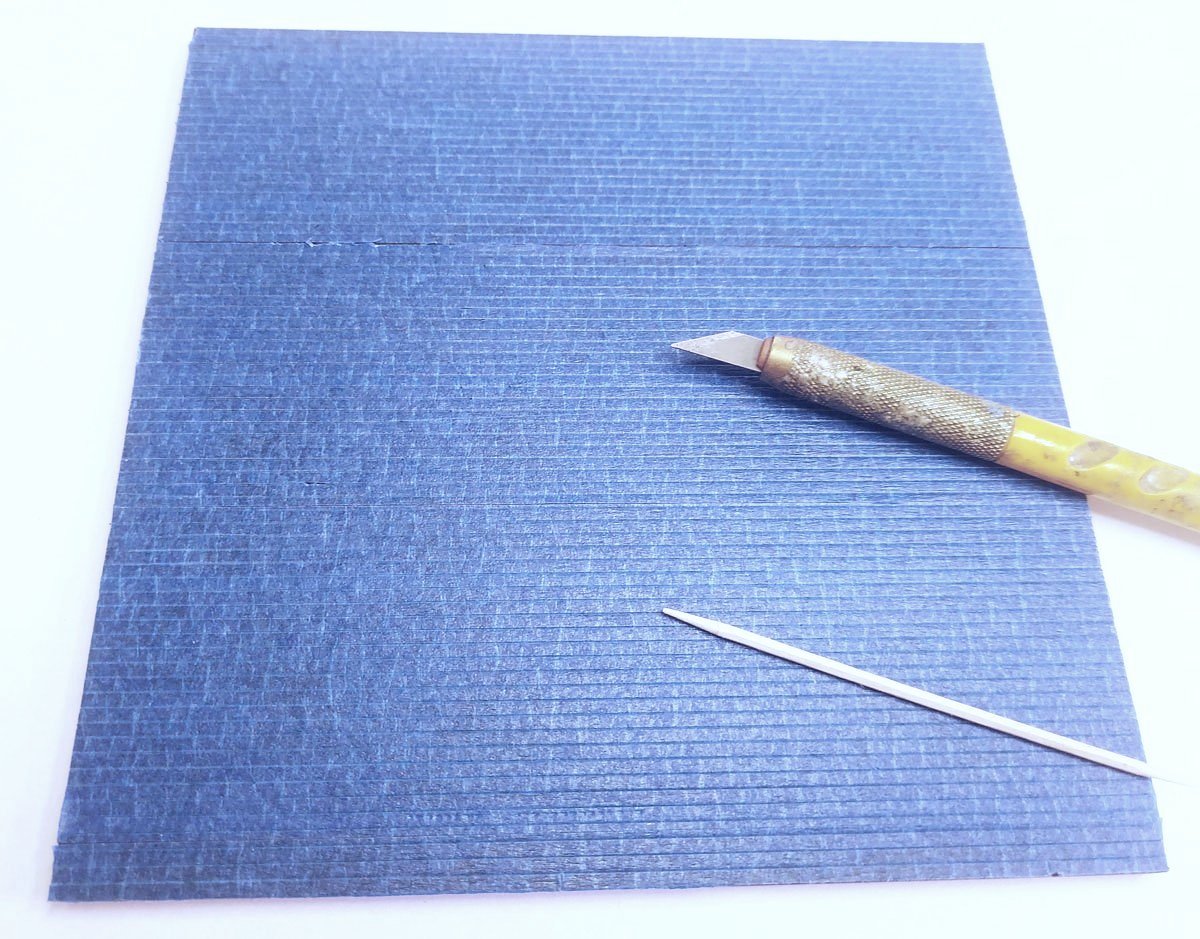
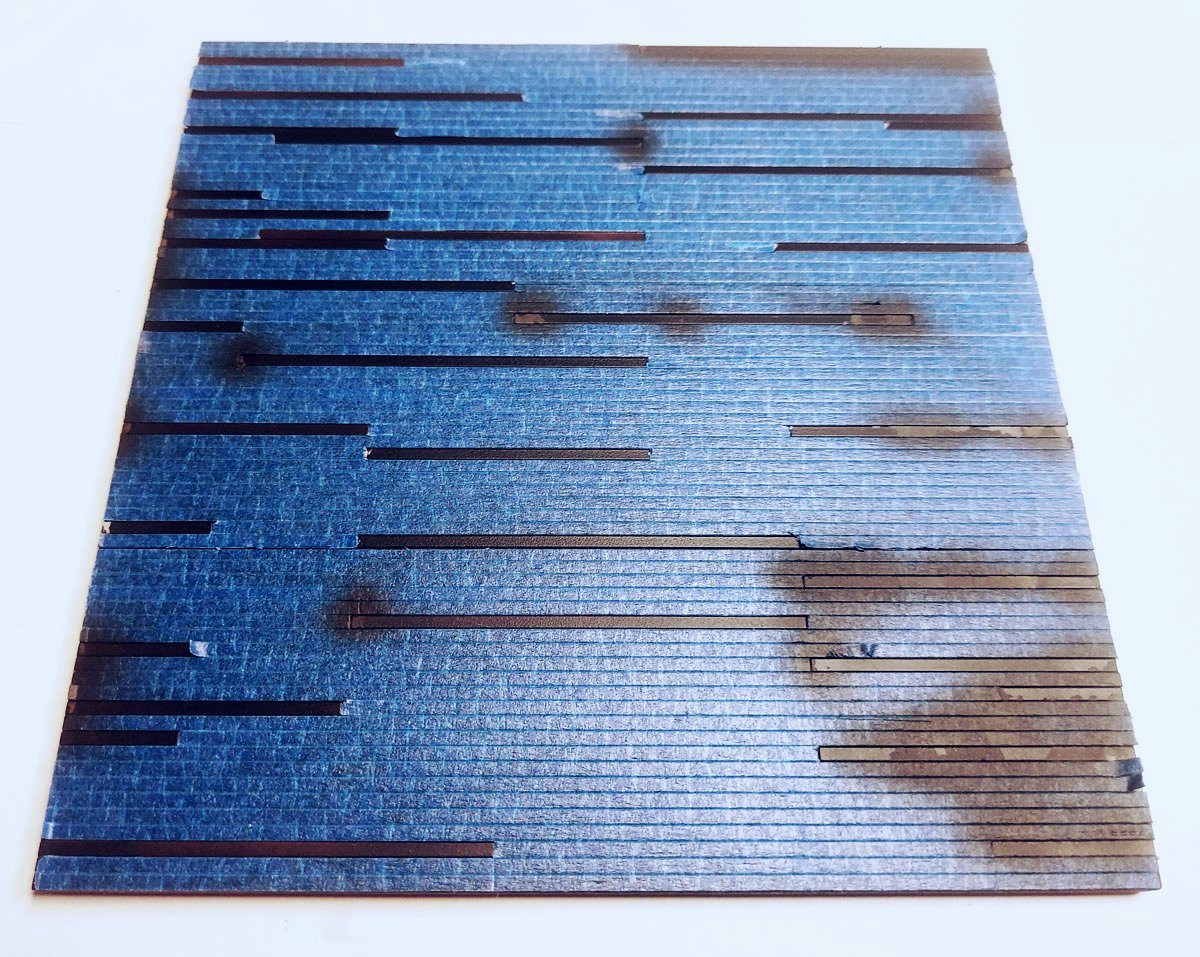
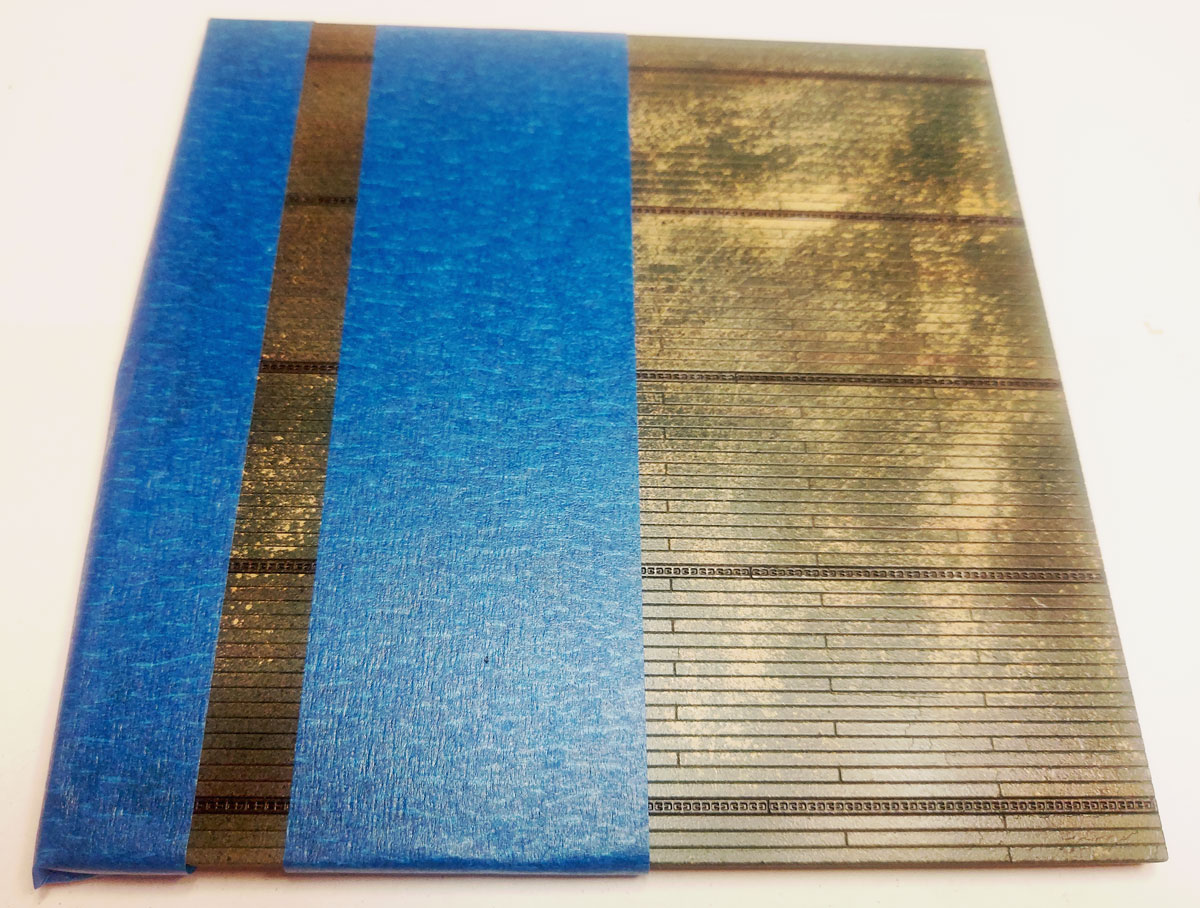
Once the painting was complete, I removed the masking tape, leaving it only on the metal strips. I painted all the planks with a sand colour, and after removing the masking on the metal parts, I used a coat of hairspray. I then applied Sea Blue paint, creating an effect similar to the Deck Blue 20B colour used in 1944-45.
Using water and tools, I rubbed off some of the camouflage paint, achieving realistic scratches on the deck.
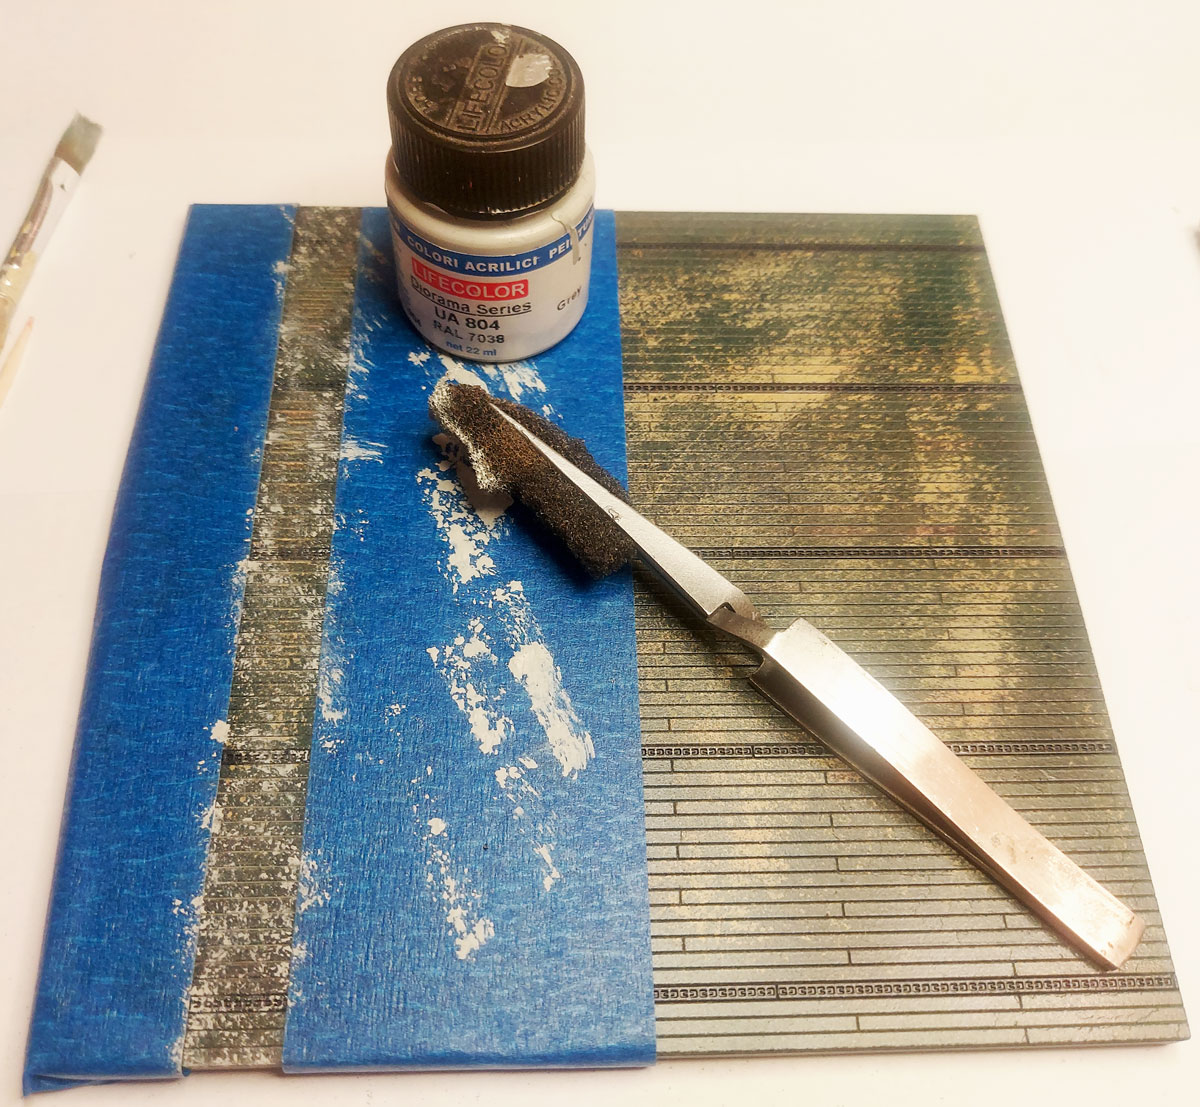
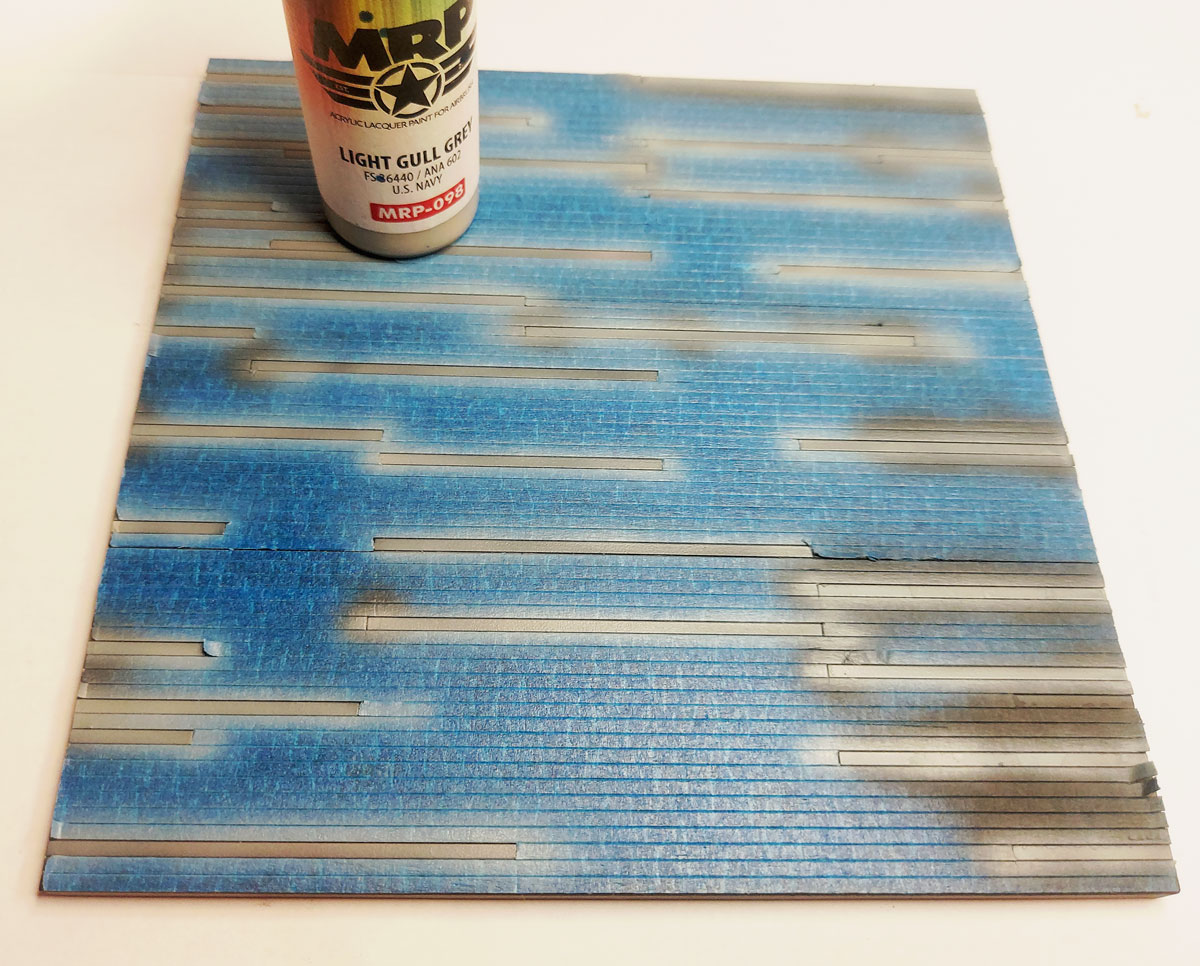
After masking the edges of the base, I applied light grey discolouration with a sponge and then a coat of white paint so that the irregularities remained visible.

The deck with a white band looked almost finished, with only the last traces of dirt and detail missing.
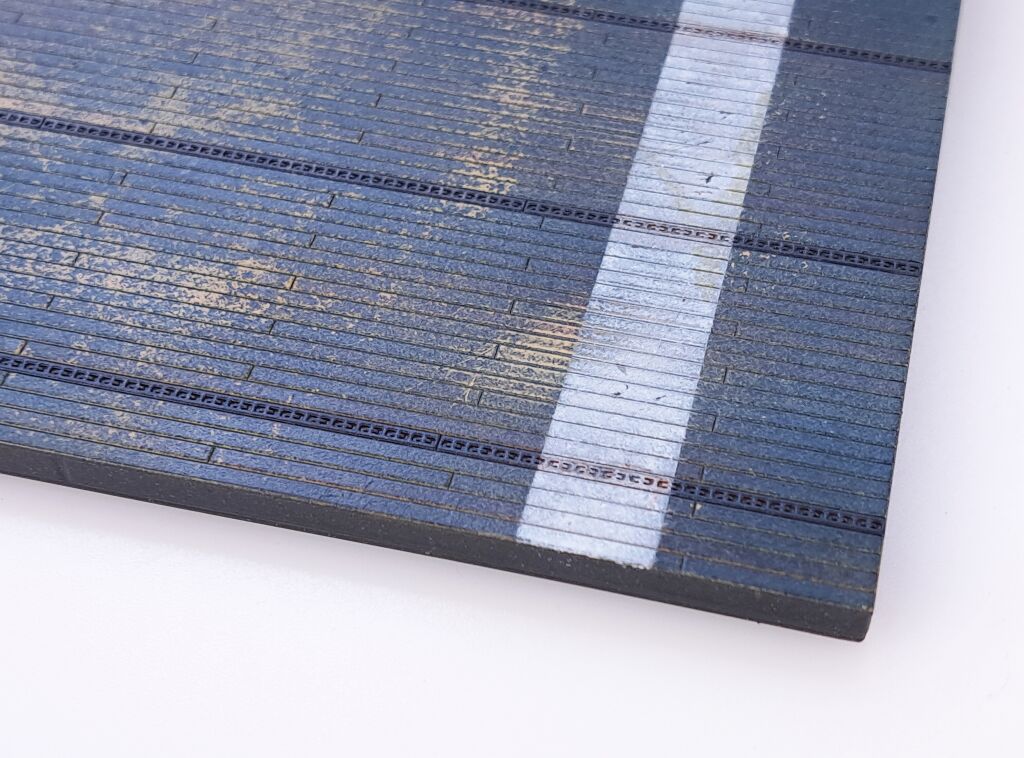
Close-up
Let’s take a look at some more close-ups of the finished base. By using some fairly simple modelling techniques, a diverse and realistic effect was achieved.
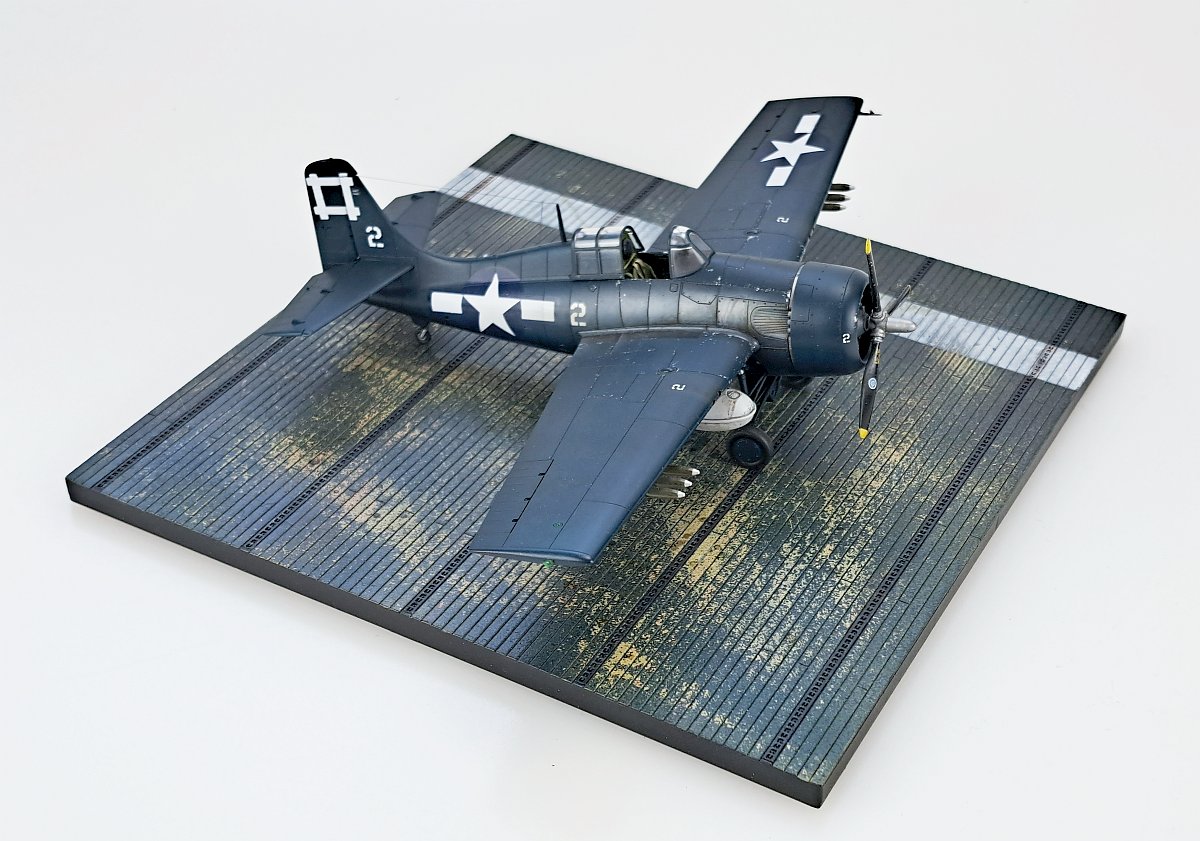
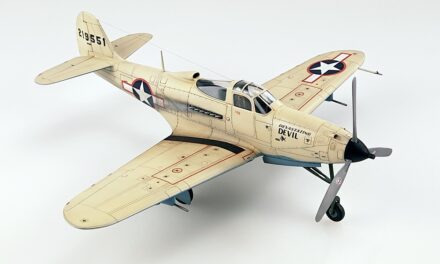
Model on the finished base
…looks very cool. See for yourself!
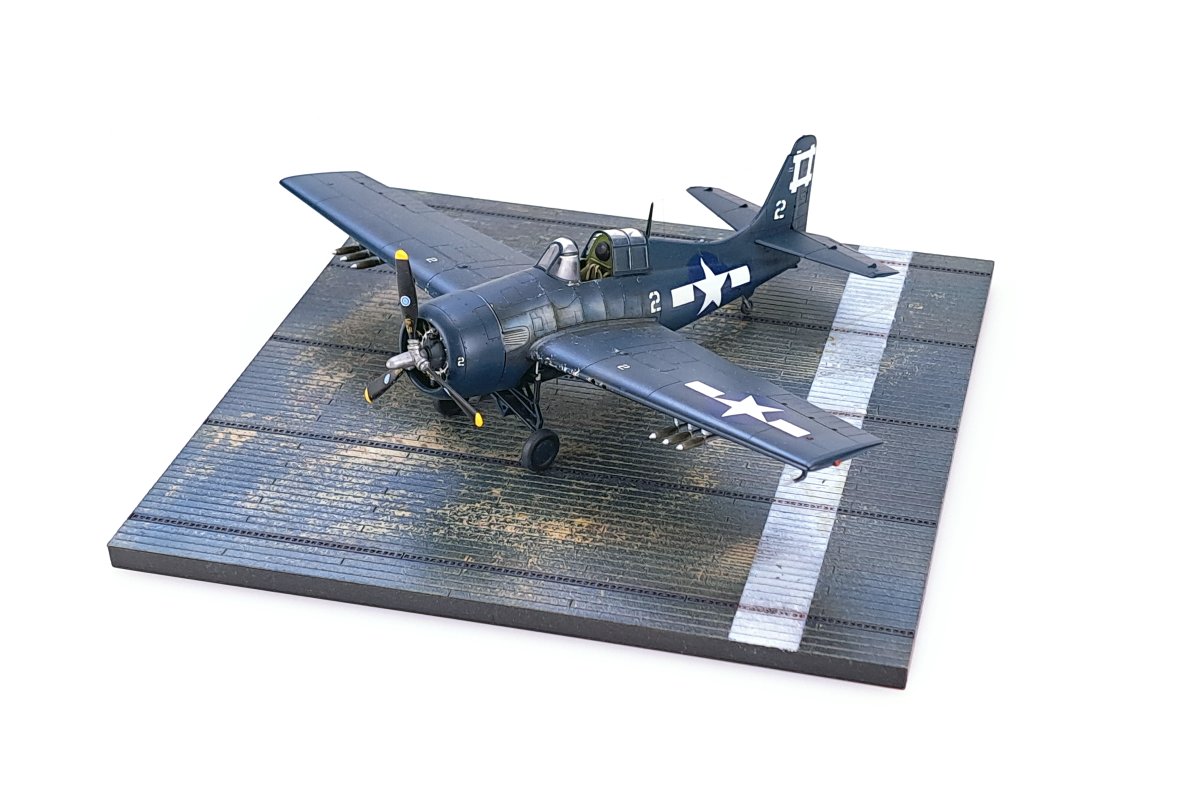
Wildcat FM-2 model built by Marcin Ciepierski.
USN/RN Escort Carrier Deck 1/72 Diorama Base
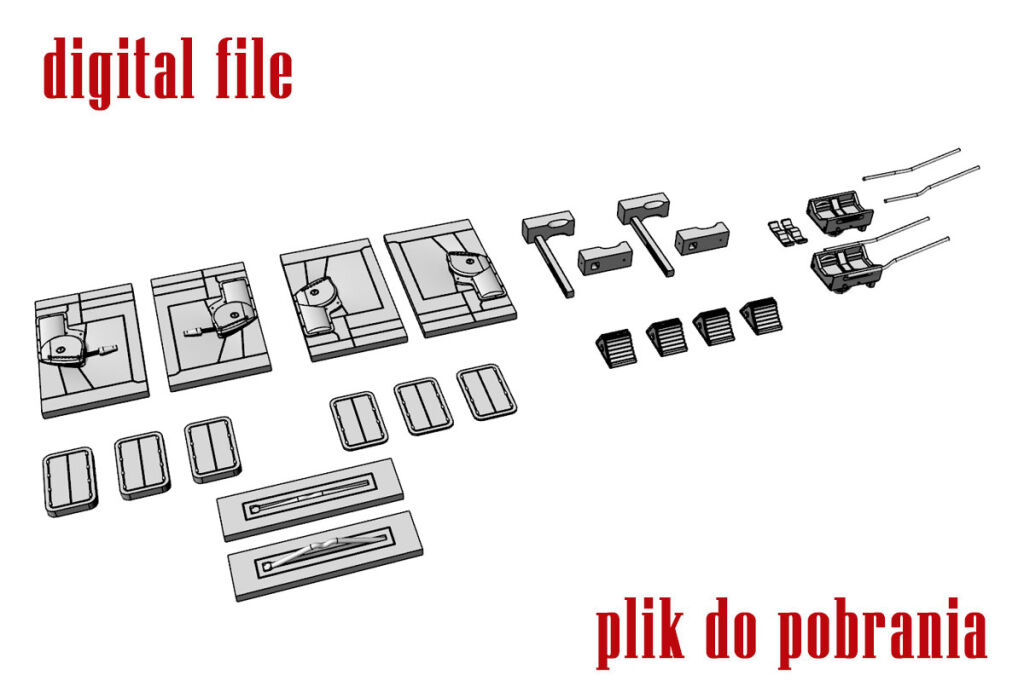
For every plastic diorama base included is a link to a free download of files for self-printing on a 3D printer accessory parts: arrester cable mounts, different versions of wheel chocks (US and British), lamp covers and a bomb carriage. Once painted and possibly accompanied by pilot and crew figures, it makes an attractive and easy-to-make diorama for models of many types of aeroplanes.
Pre-order in promotional bundles
From now until the end of September, we are offering pre-order with discount for promotional bundles including the latest kits at good prices: both bases and the Wildcat ‘Operation Torch’ model kit. The bases can also be purchased separately and in bundles with other matching model kit.

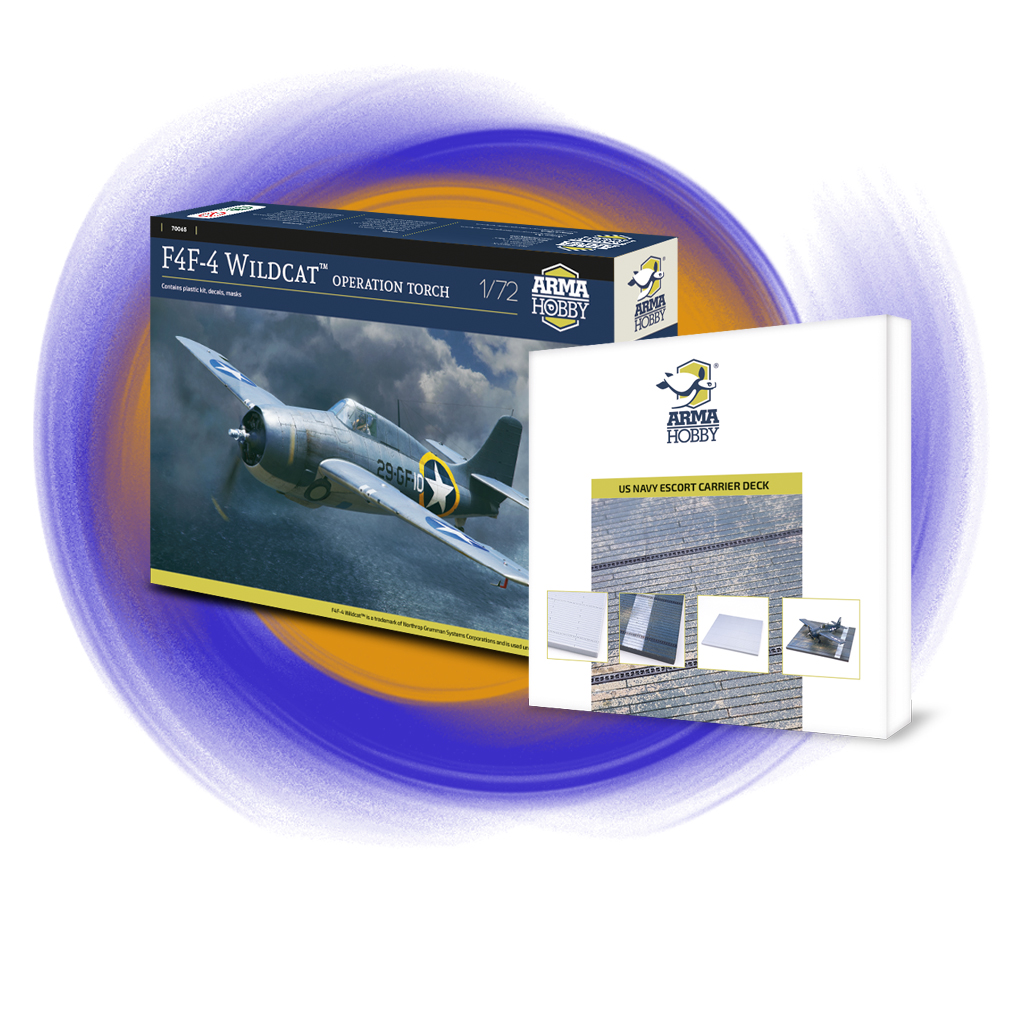
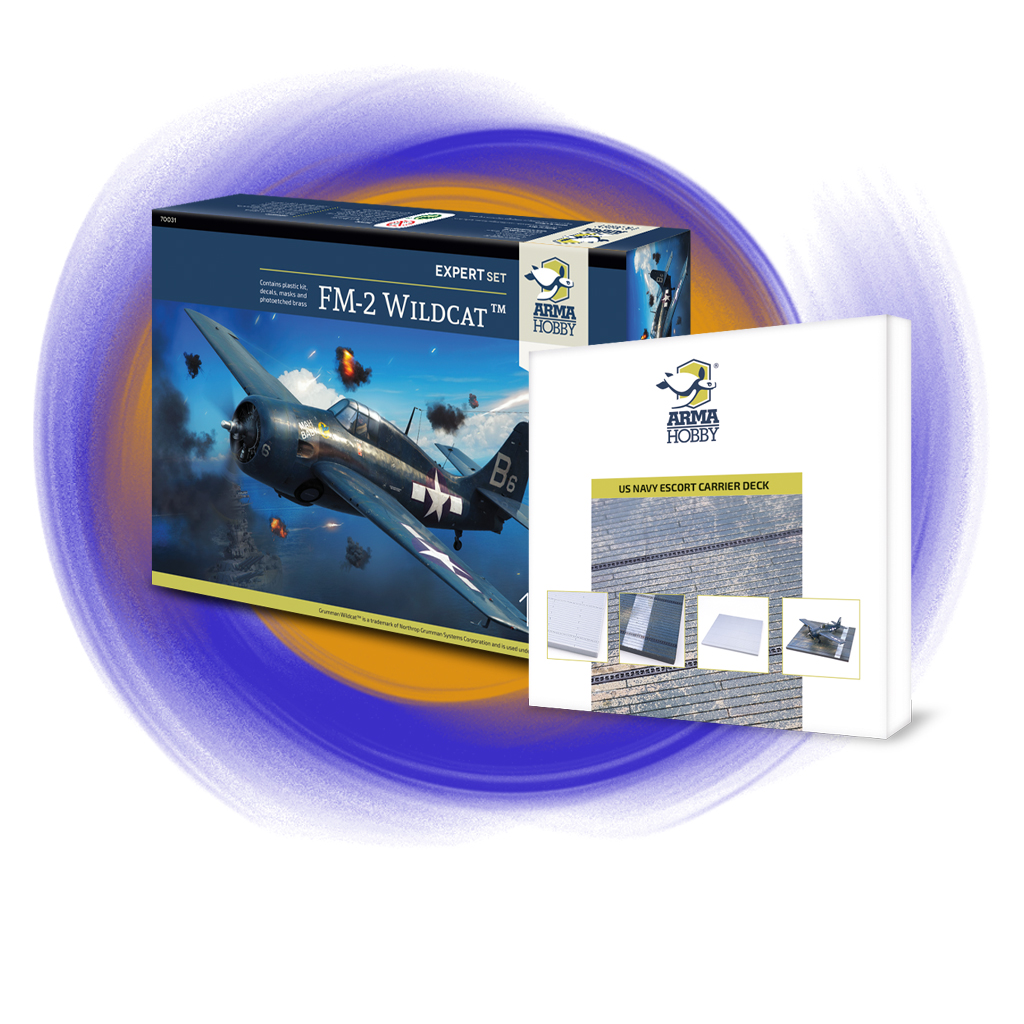
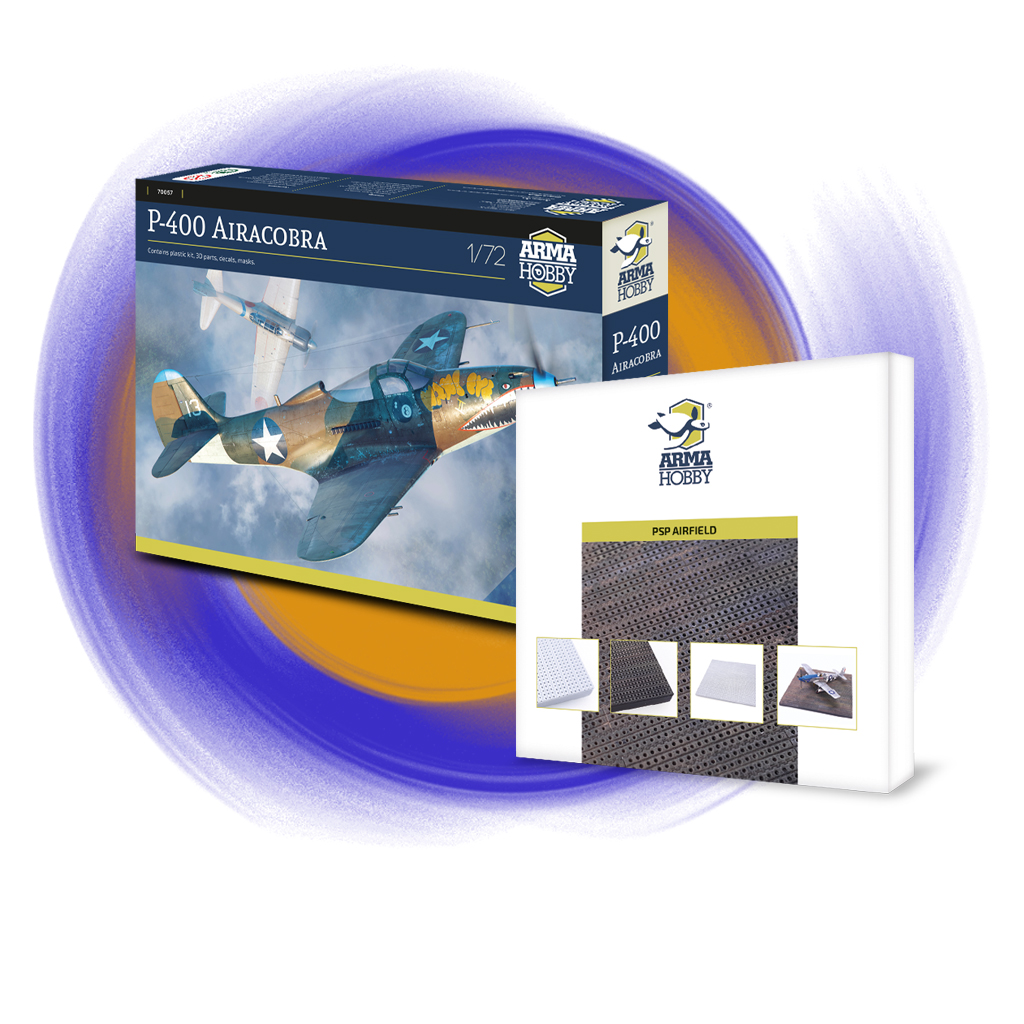
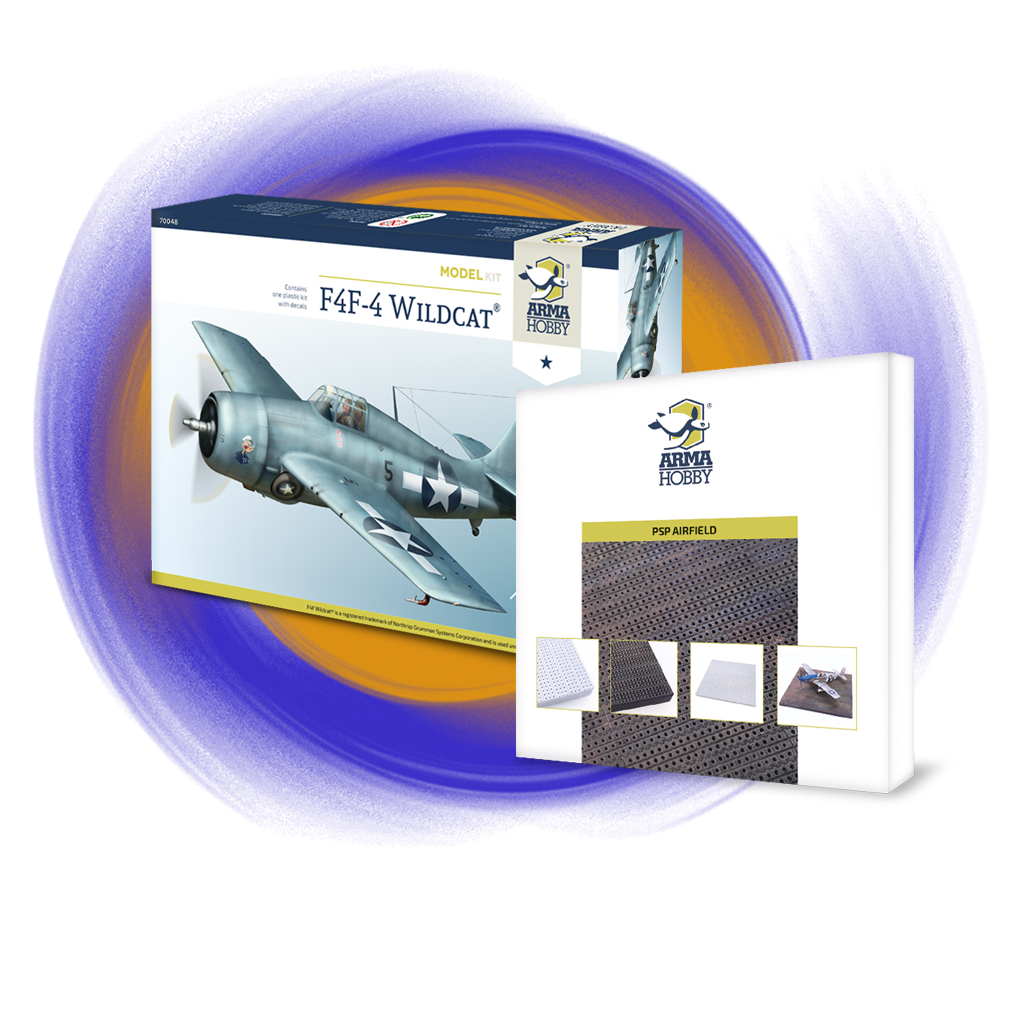
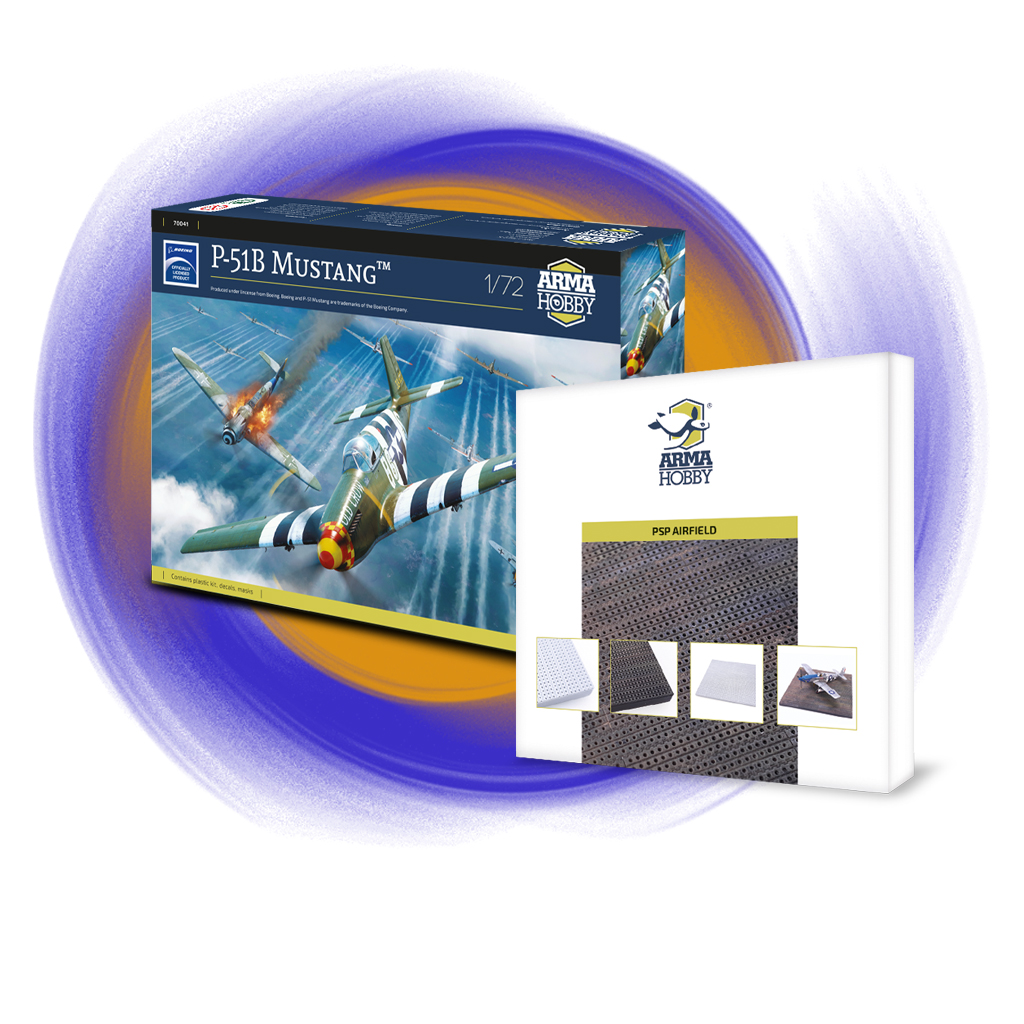
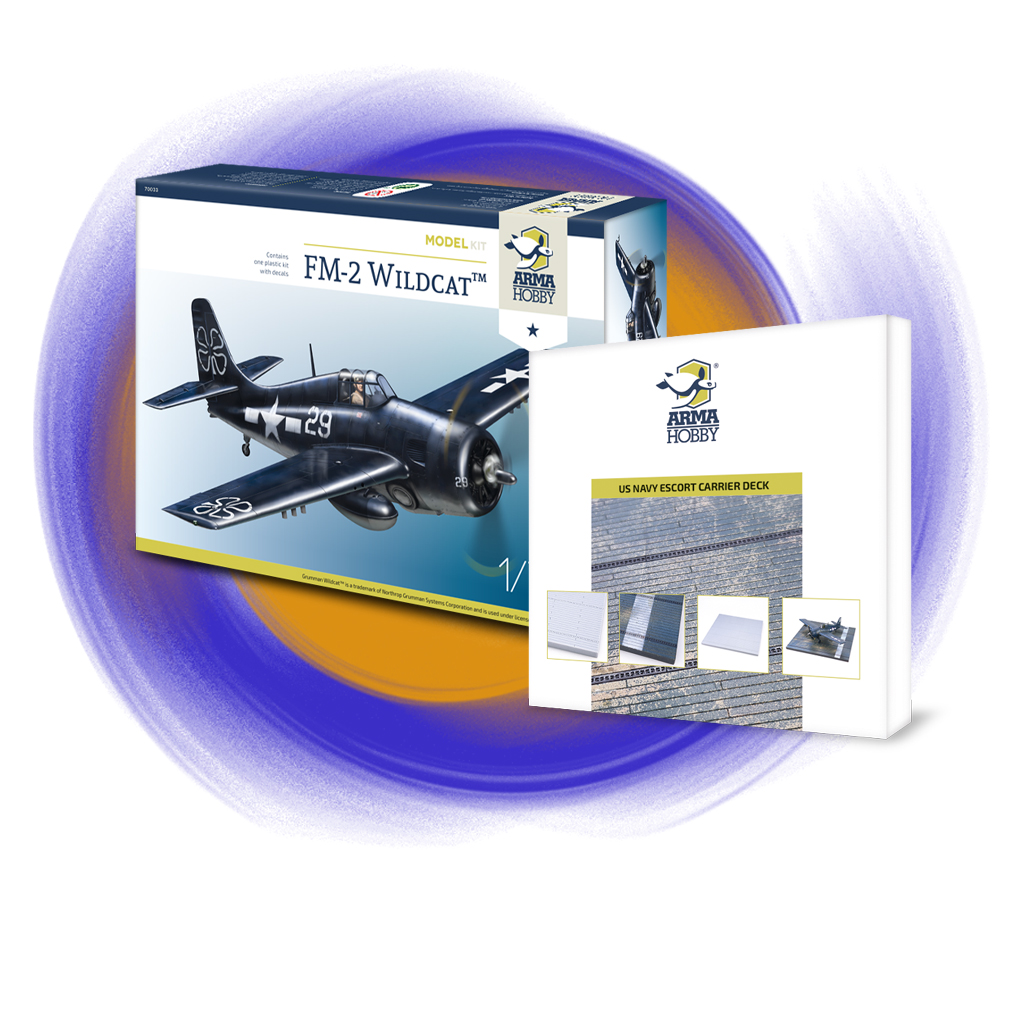
- Check and order promotional bundles online at Armahobby.com!
Modeller happy enough to work in his hobby. Seems to be a quiet Aspie but you were warned. Enjoys talking about modelling, conspiracy theories, Grand Duchy of Lithuania and internet marketing. Co-founder of Arma Hobby. Builds and paints figurines, aeroplane and armour kits, mostly Polish subject and naval aviation.
This post is also available in:
 polski
