
The large, uniform surfaces of the airfield are all too inviting to play with painting and test different weathering methods. The 1/72nd scale airfield base provides an excellent opportunity to try out painting techniques to make it look interesting and display our model perfectly.
In this article I will show how to create a realistic diorama base of an Allied airfield from the World War II era in a few simple steps.
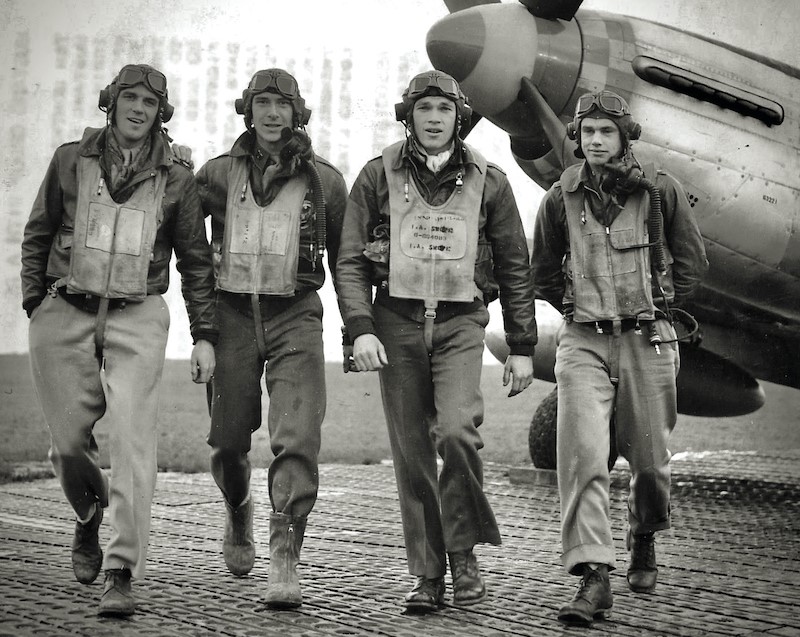
The most successful aces of the 357th FG – (from left) Richard Peterson, Leonard ‘Kit’ Carson, John England and Clarence ‘Bud’ Anderson on an airfield covered with PSP mats
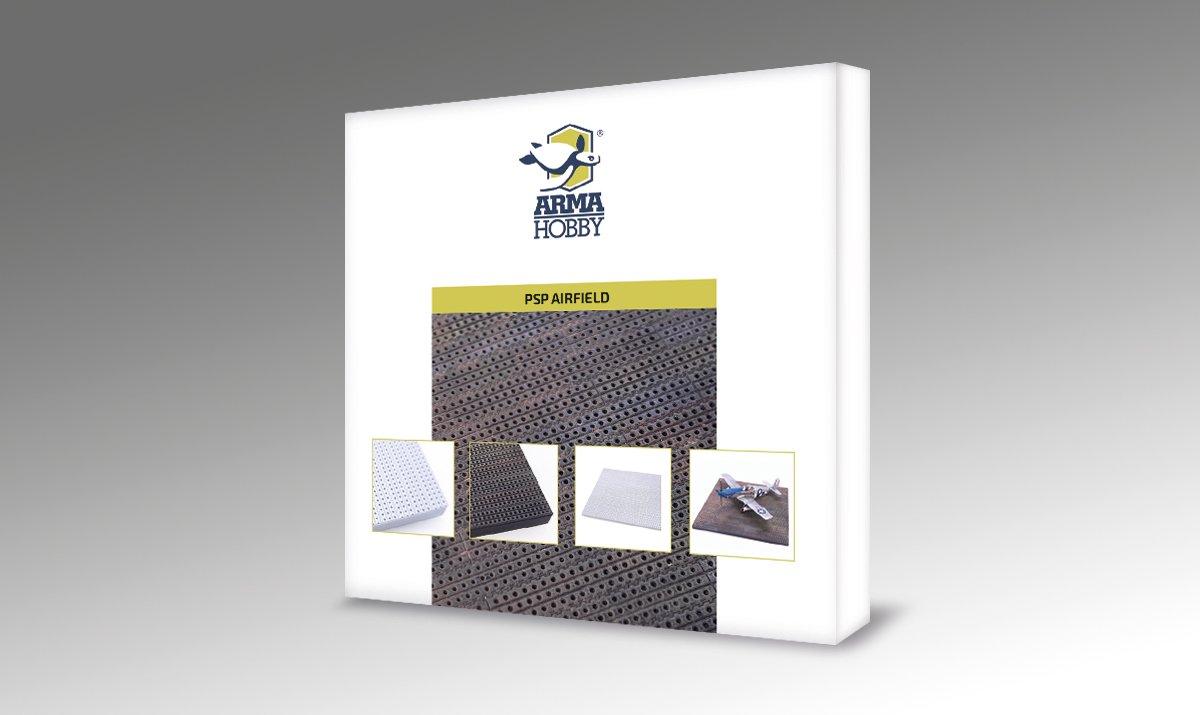
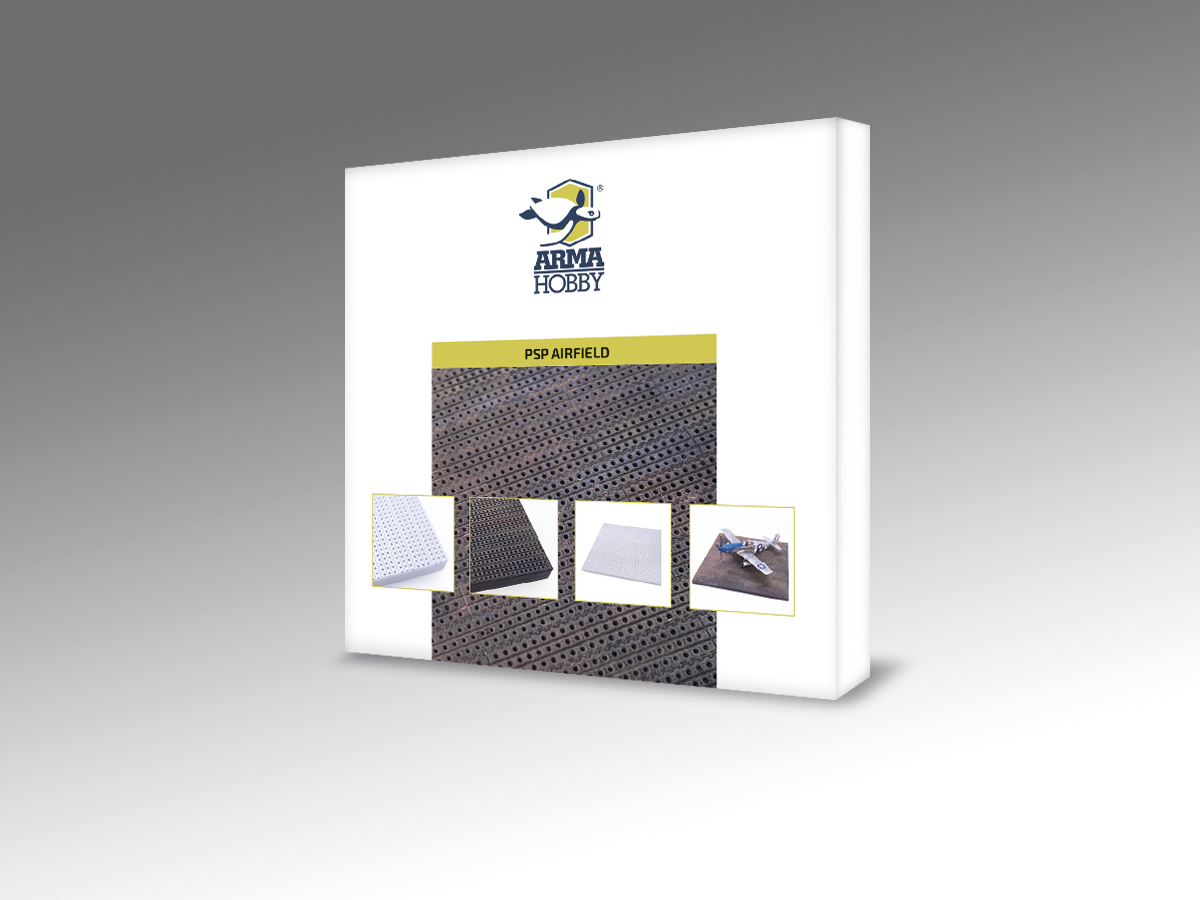
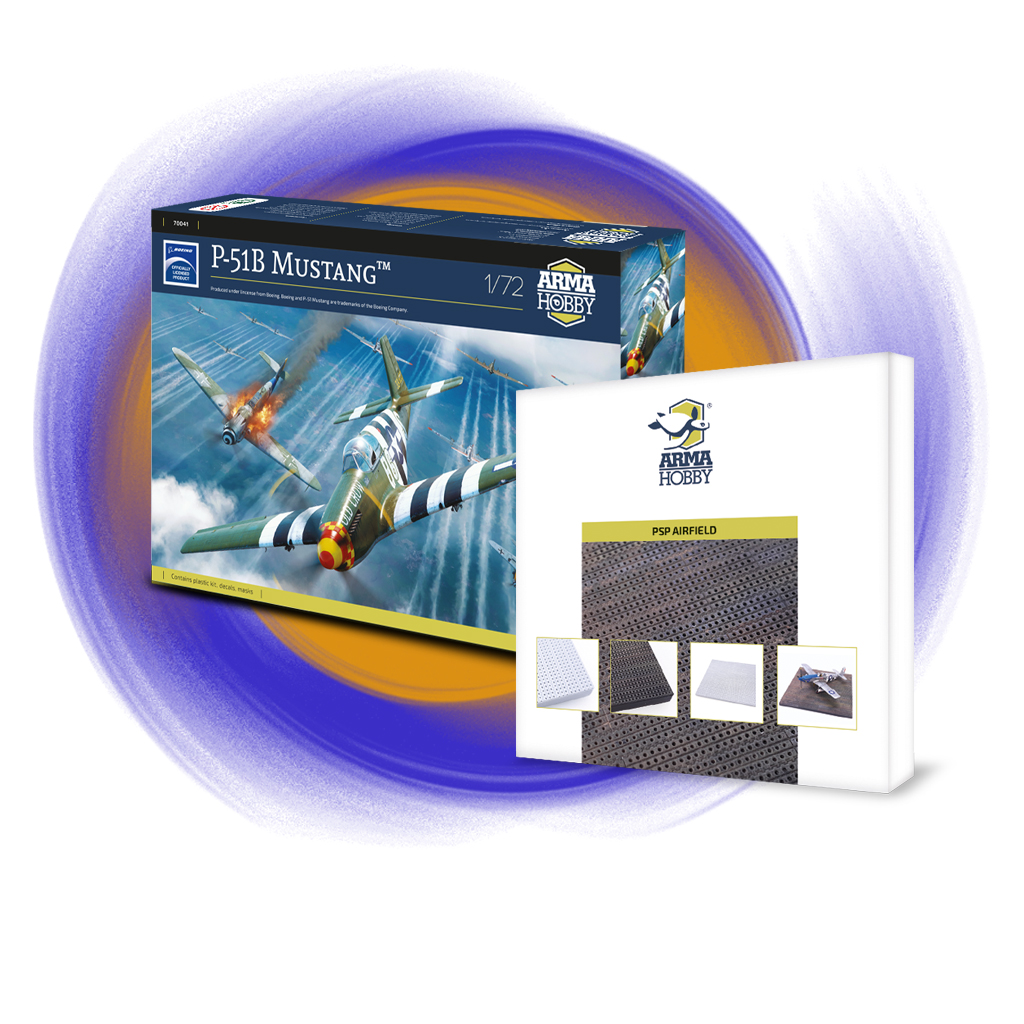
PSP Airfield – 1/72 diorama base
Arma Hobby’s 1/72nd scale PSP Airfield base is made using injection moulding technology from polystyrene – just like the plastic model kits. The crisp, detailed texture faithfully reproduces the surface of the airfield made of PSP panels (‘Marston Mat’) and makes it easy to paint and weather.
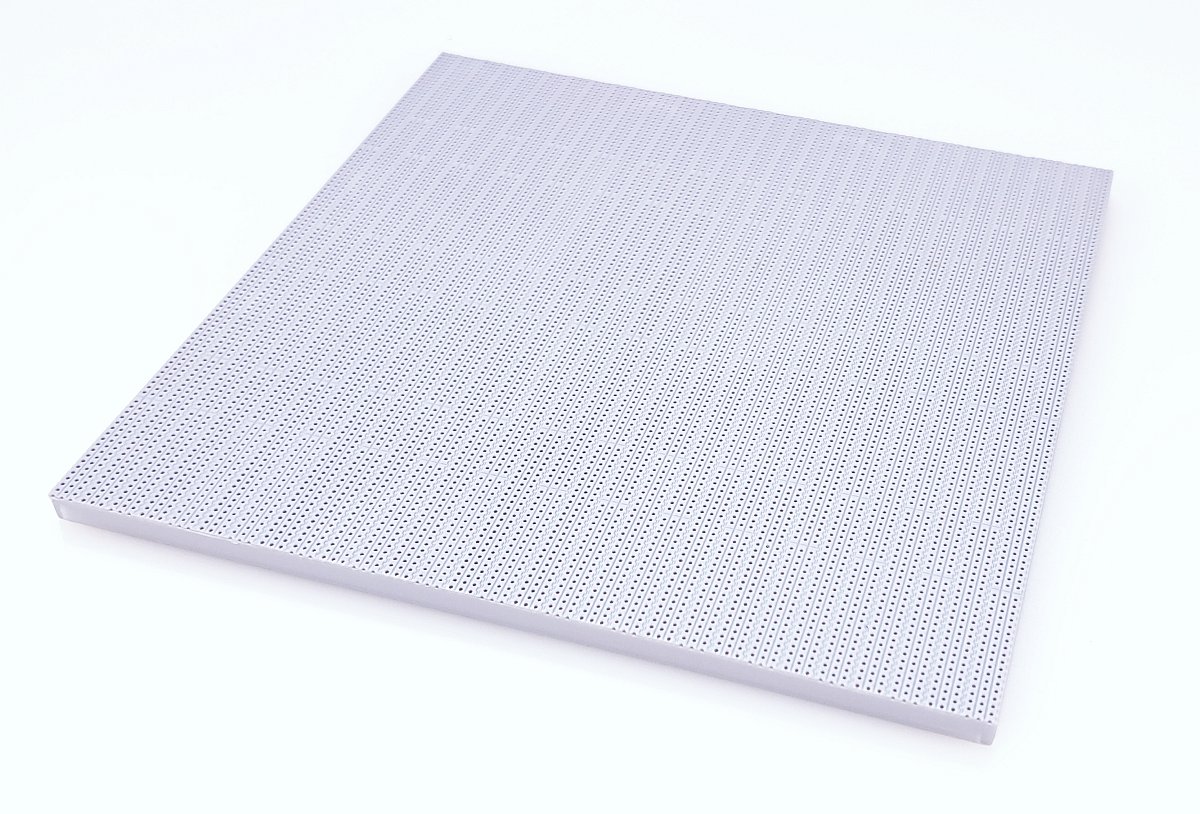
Its 152x152mm (6” x 6”) dimensions allow it to be used with 1/72 WWII fighters and smaller bombers – the kind of aircraft that operated from airfields covered with PSP mats.
Painting and weathering
 Photo 1
To begin with, we prime the base after first washing it with IPA alcohol or water and detergent. This will ensure good adhesion of the paint and prevent chipping during subsequent painting stages.
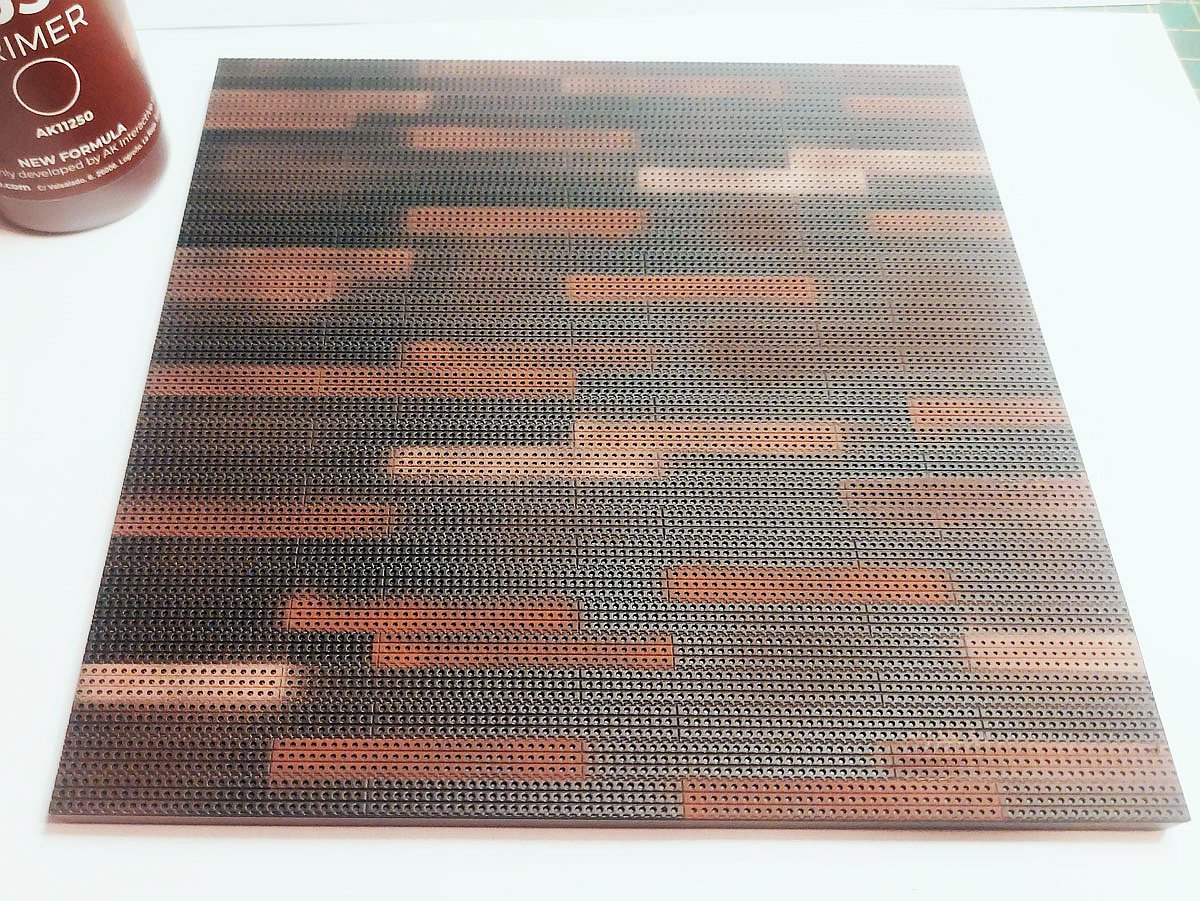
Photos 2 and 3
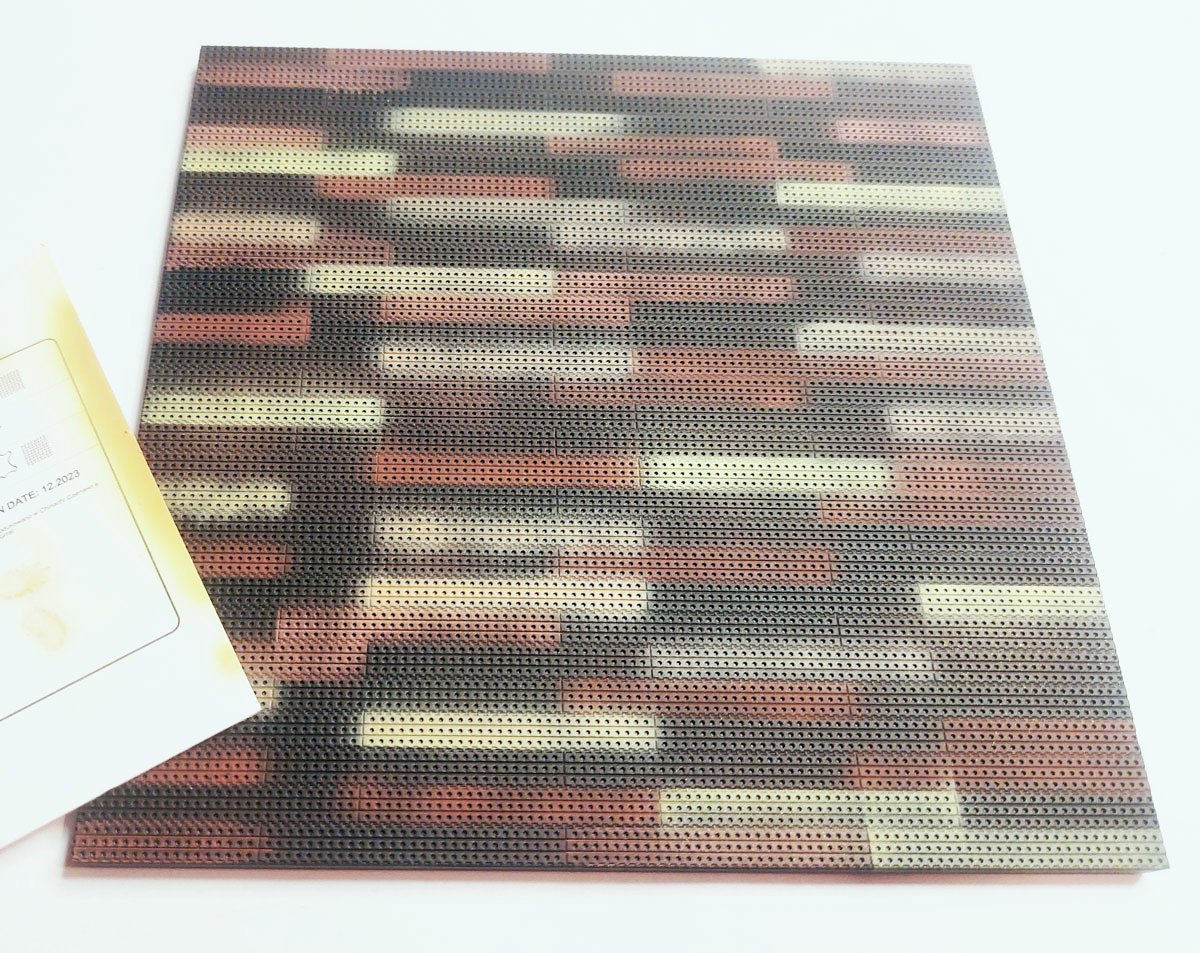
We begin to diversify the panels. First we apply the AK-Interactive rust primer, followed by the sand colour. For differentiating the individual panels, a piece of cardboard will work great – it’s worth having a few for such an occasion.
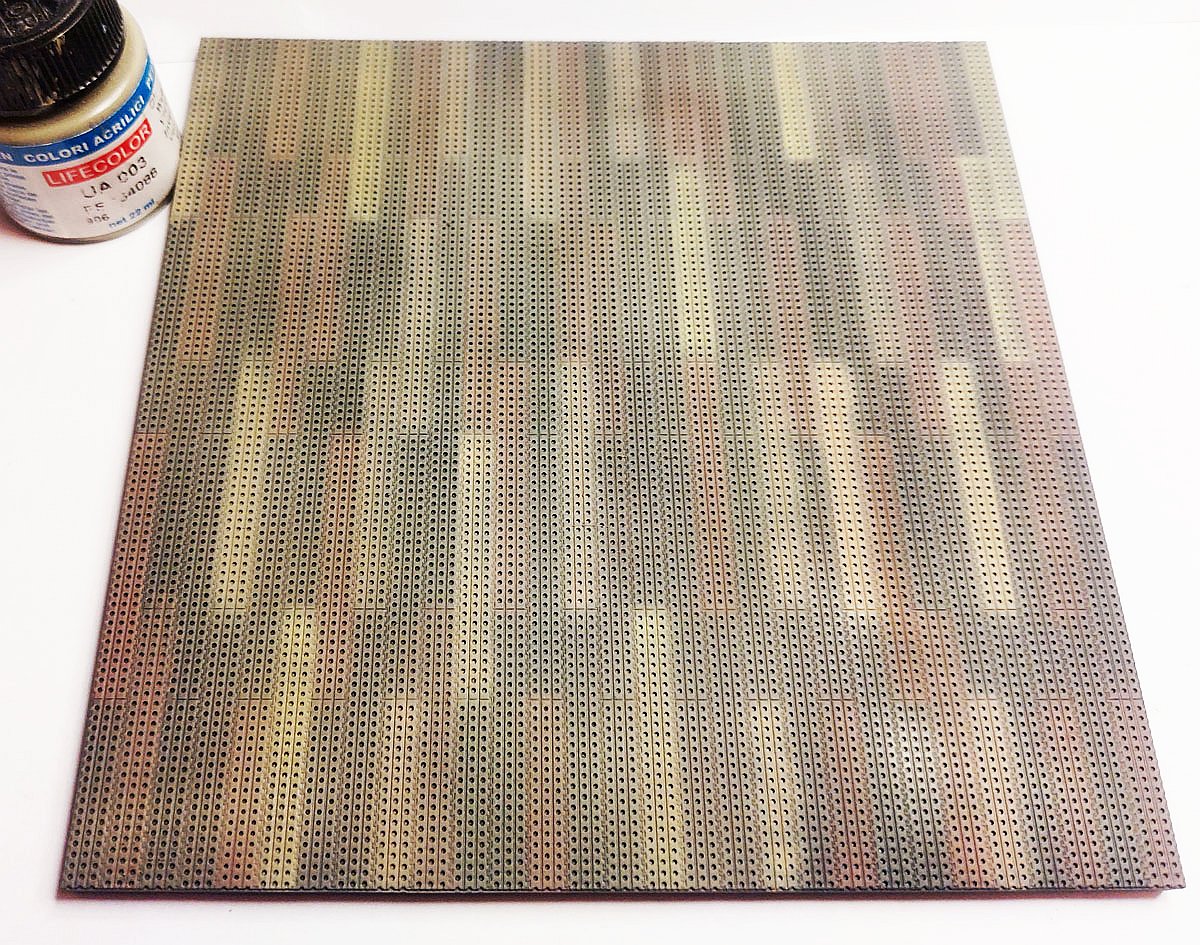 Photo 4
We apply a first translucent coat of Olive Drab (Lifecolor) over a base coat of hairspray.
Wrześniowe nowości – podstawki pod modele i Wildcat „Torch”. Promocyjna przedsprzedaż
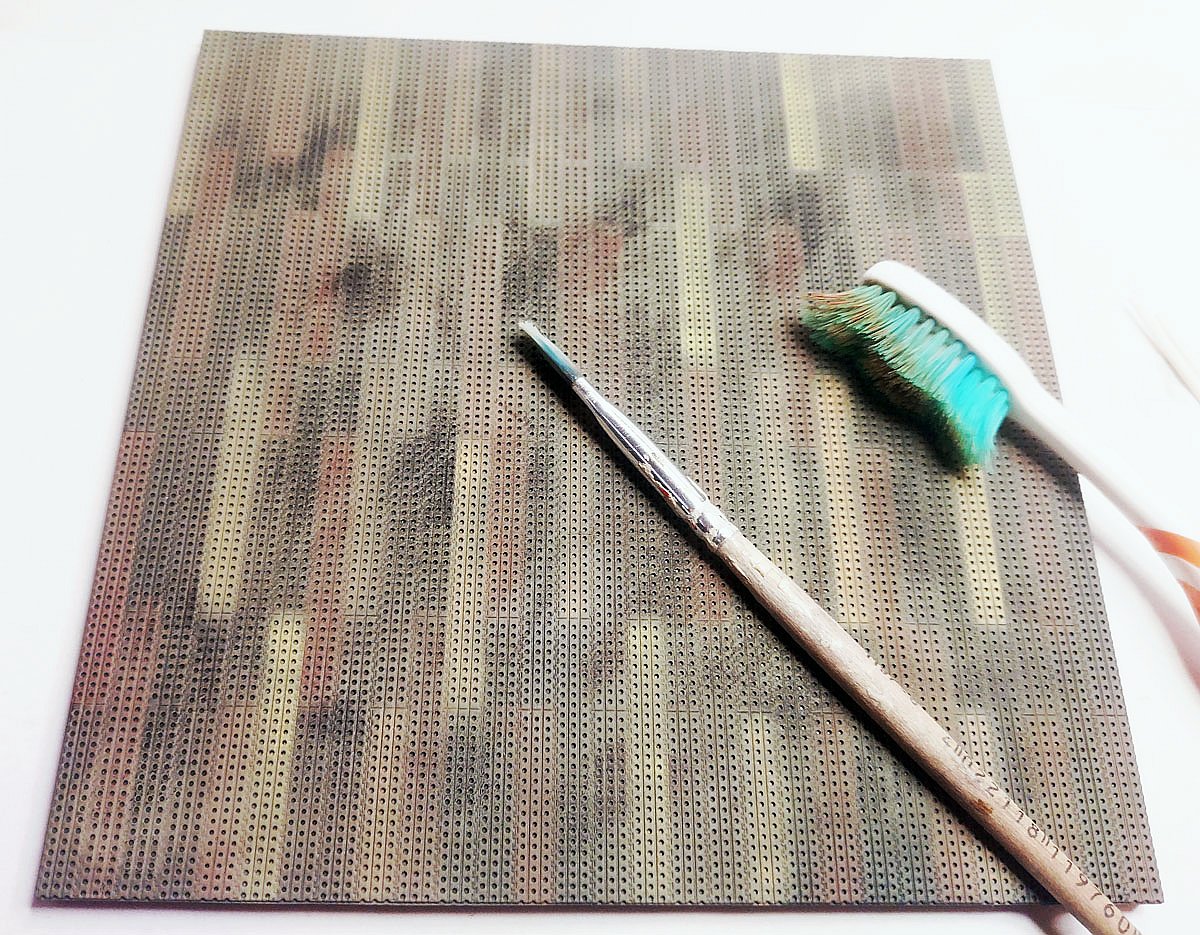
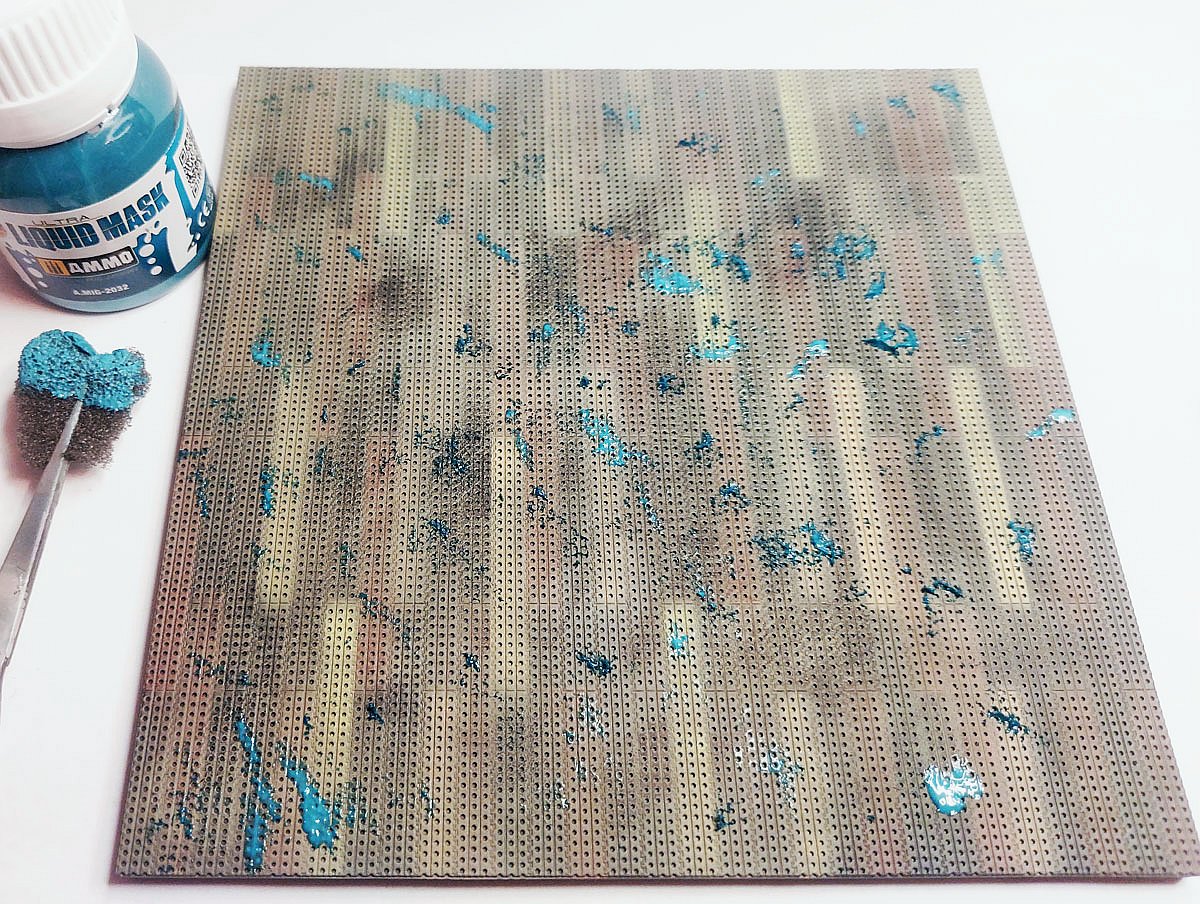
Photos 5 and 6
After scraping off a layer of Olive Drab with water and tools, cover the surface with Ammo MiG mascol using a sponge. If the maskol is thick, the stains will be less subtle. Fresh, liquid maskol allows for more precise patterns. Once it has dried, we apply another thin layer of Olive Drab.
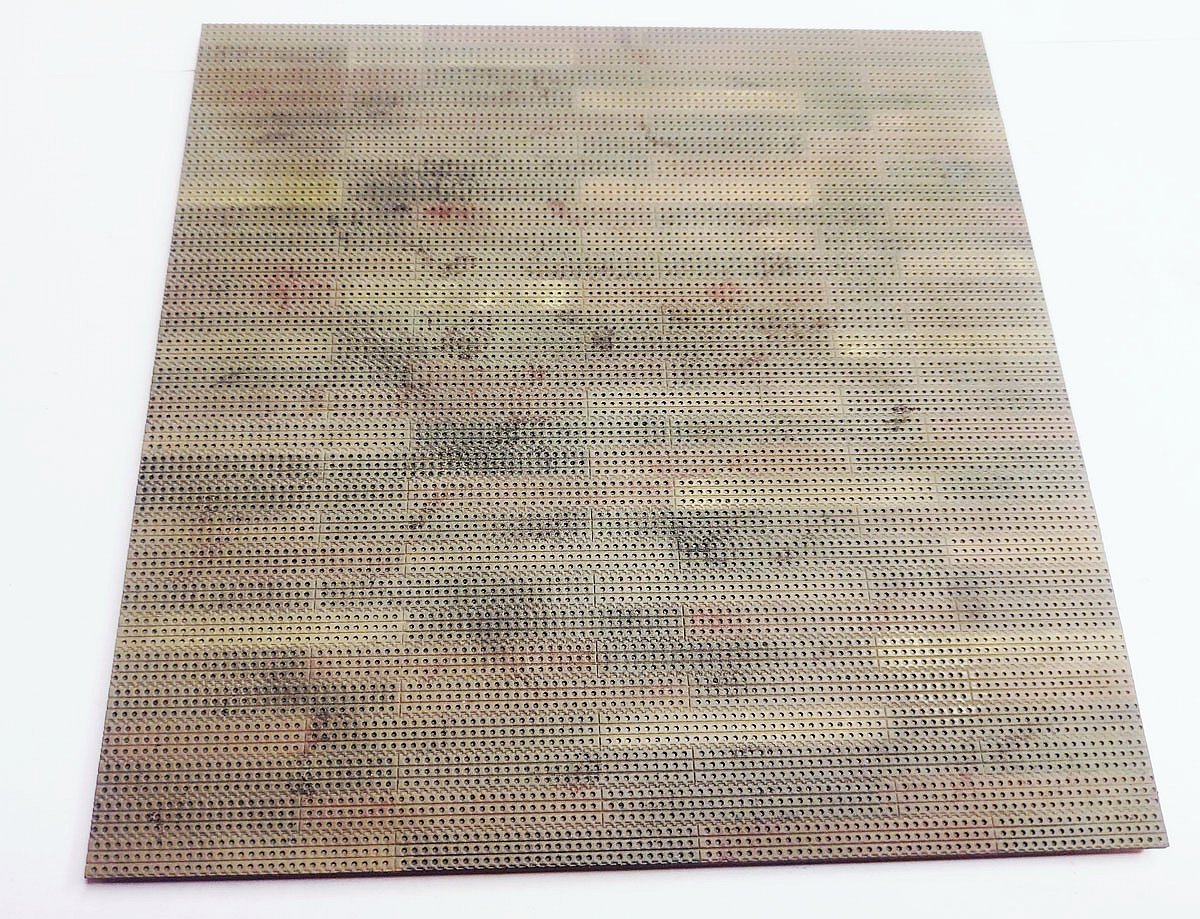 Photo 7
Once the maskol is removed, we get an airfield surface with irregular discolouration, adding to the authenticity. But this is just the beginning.
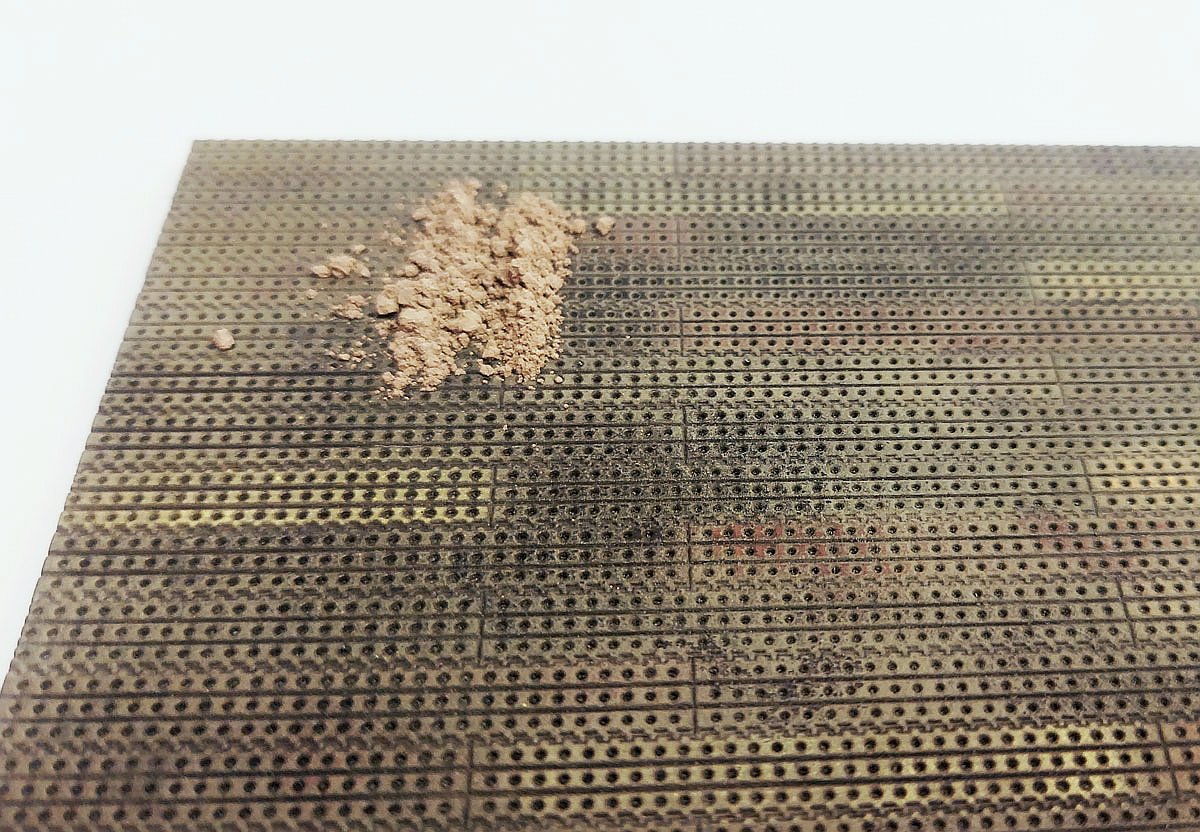 Photo 8
The model has been washed with Tamiya black wash and is ready for pigment application.
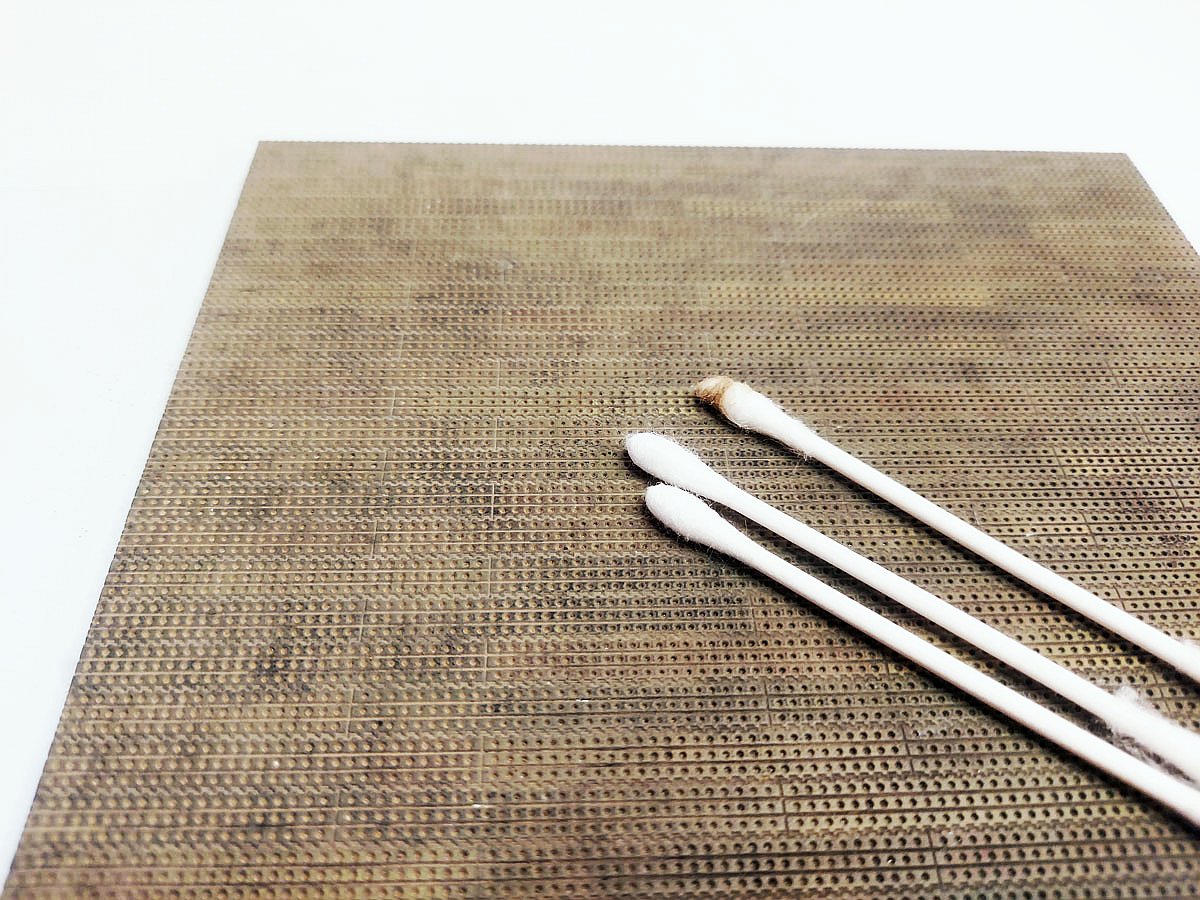 Photo 9
After applying the pigment in the recesses and on the edges of the panels, we remove the excess with cotton buds. Then fix the whole thing with IPA alcohol (you can also use a pigment fixer, white spirit or other thinner).
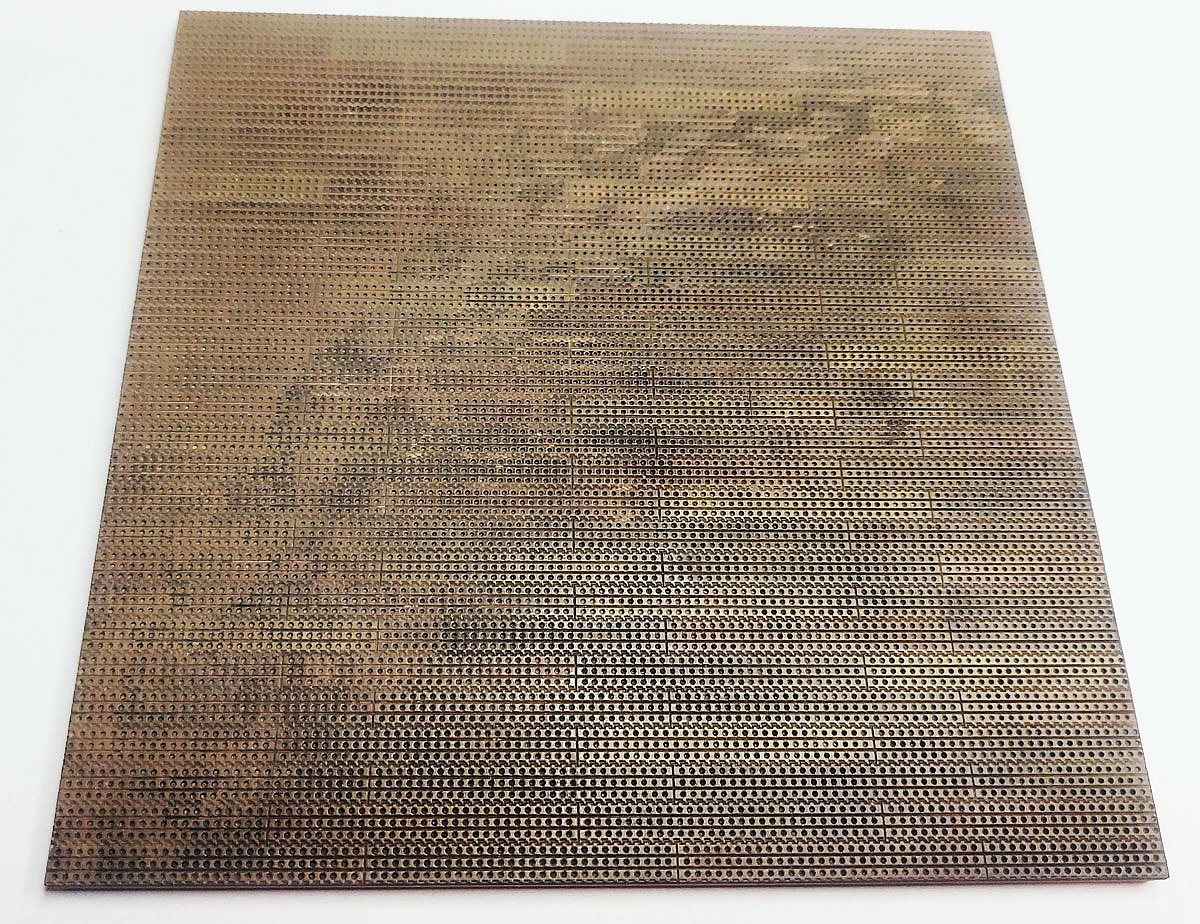 Photo 10
The photo shows the variation in the ‘dustiness of the model’. Applying weathering uniformly over the entire surface is a common mistake for modellers. Varying the level of wear or dirt adds authenticity and dynamism to the diorama.
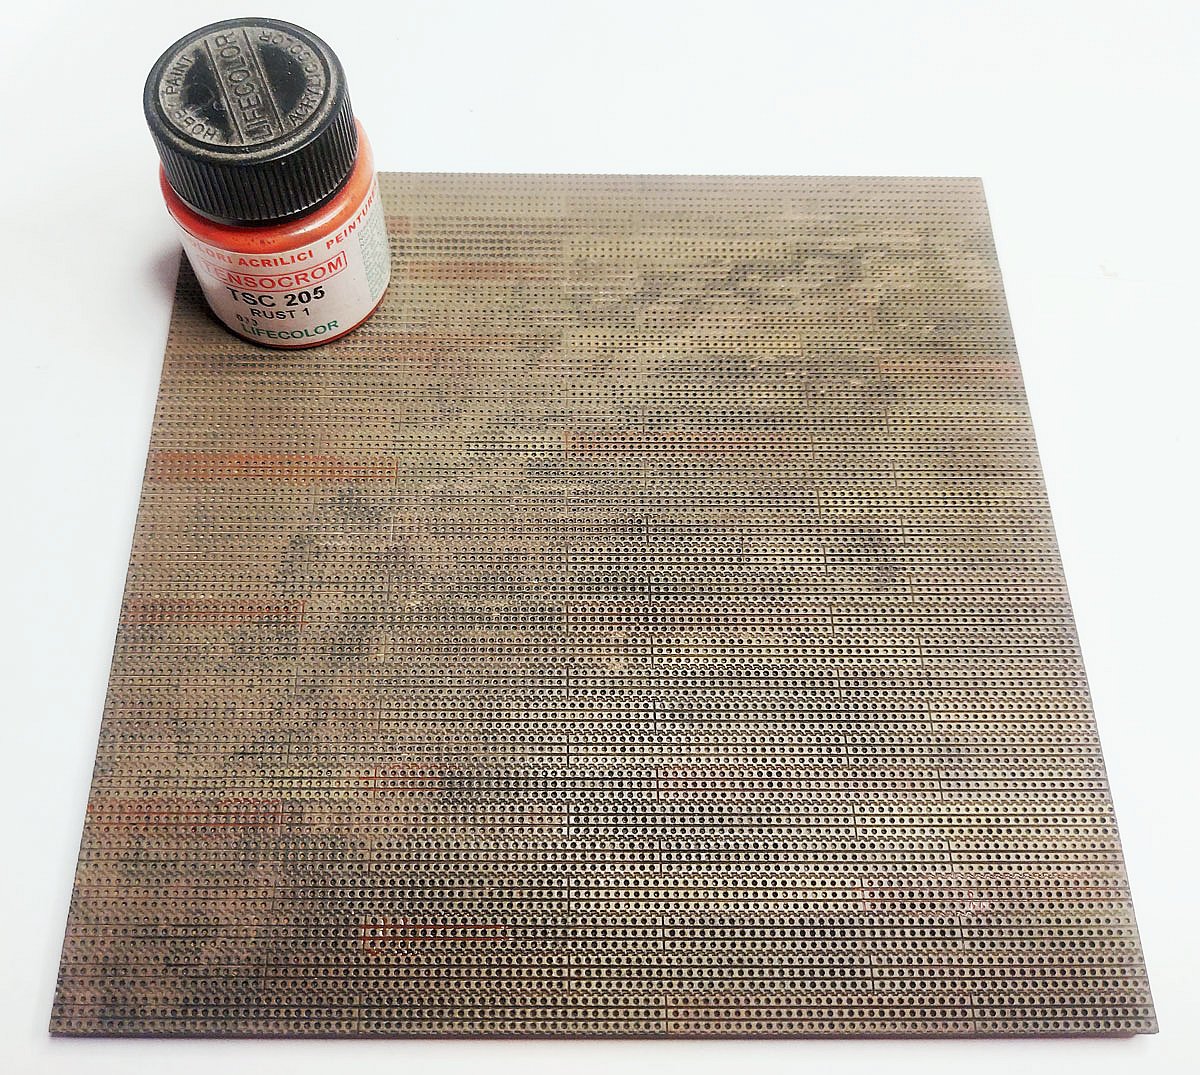 Photo 11
At this stage, we further diversify the panels using a rusty Tensocrom from the Lifecolor palette, which gives the whole a realistic effect.
 Photo 12
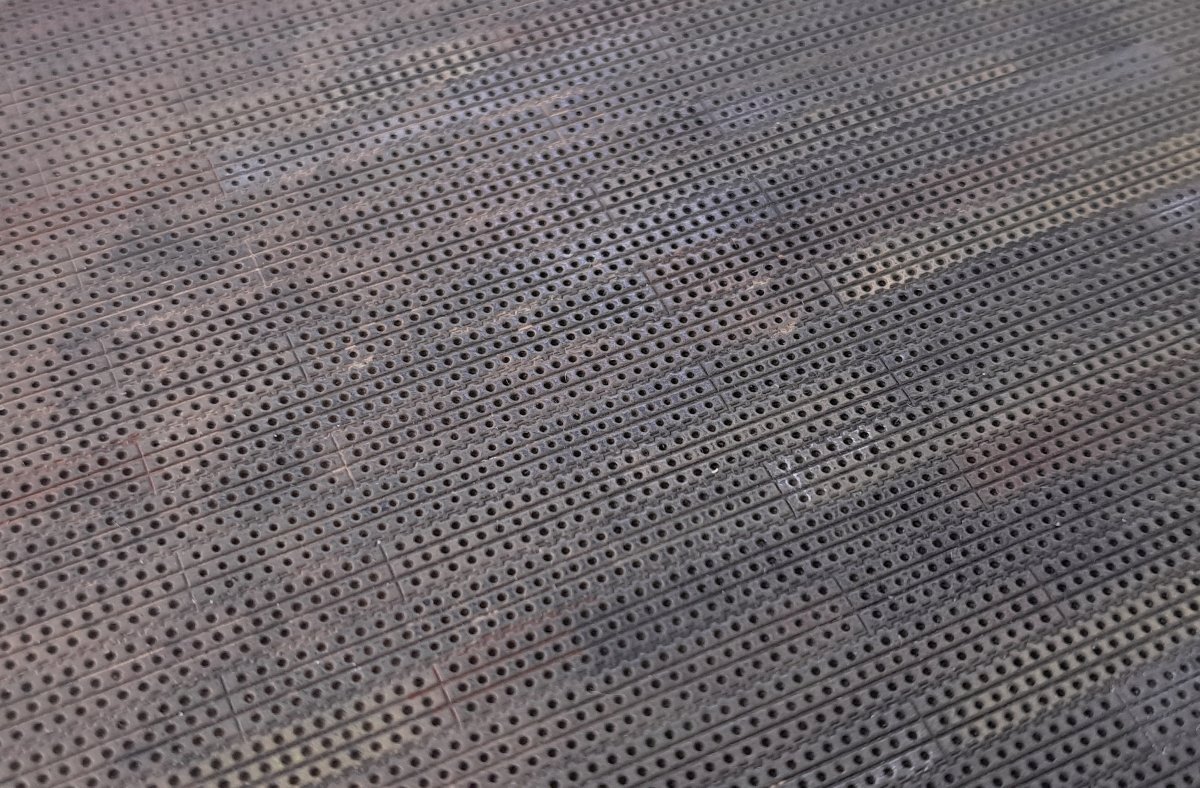
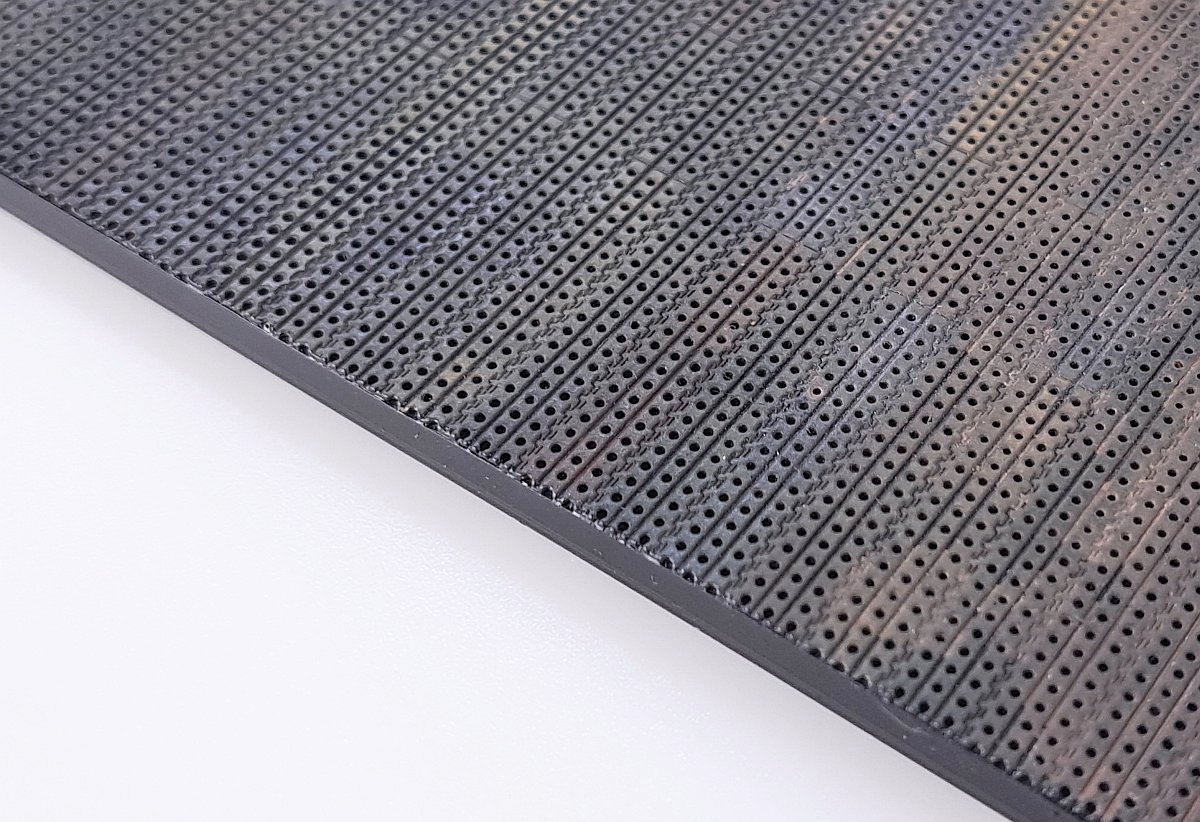
Additional differentiation of the panels is done using a ‘dry brush’ technique with steel paint. To emphasise the edges, I use cardboard with a corner cut out. We do not apply paint over the entire panel, so that they look as if they have been scratched into the steel in a natural, irregular way.
Close-up
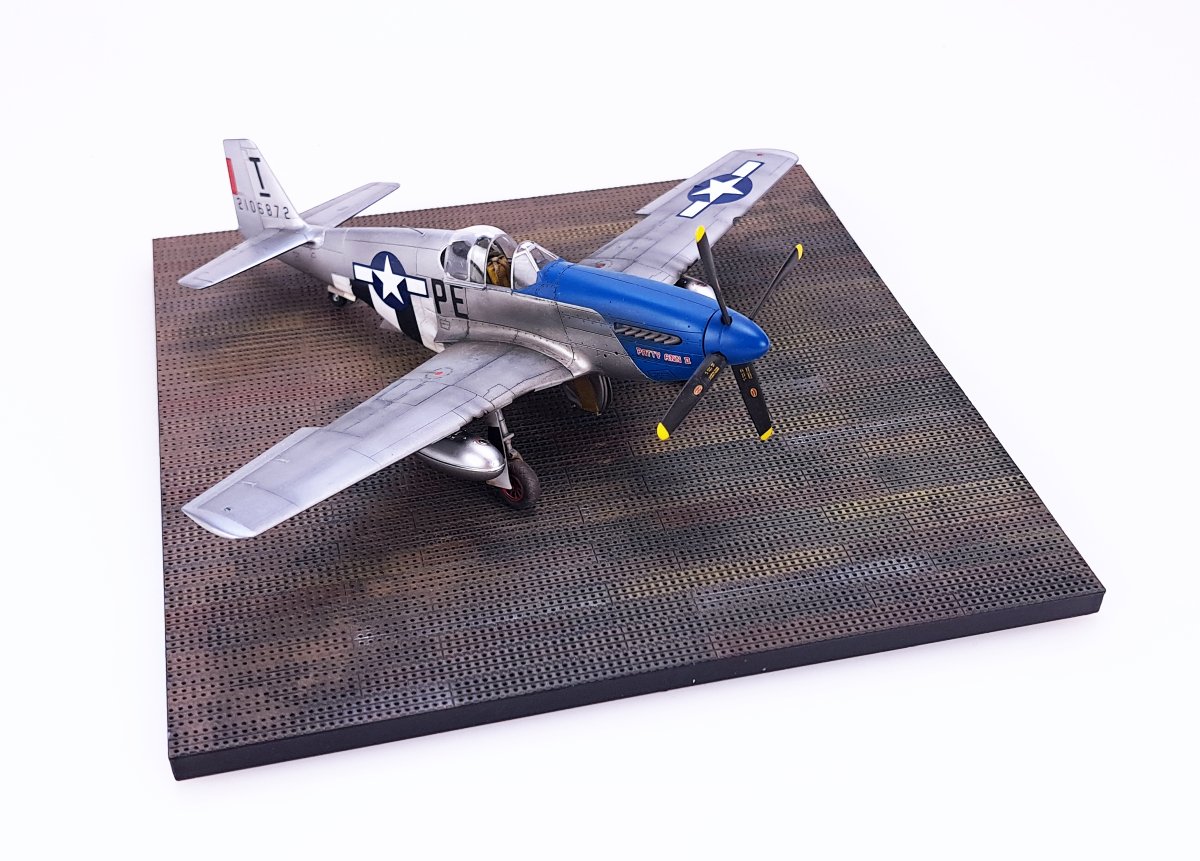
Let’s take a look at some more close-ups of the finished base. By using some fairly simple modelling techniques, a diverse and realistic effect was achieved.
…and with the model!
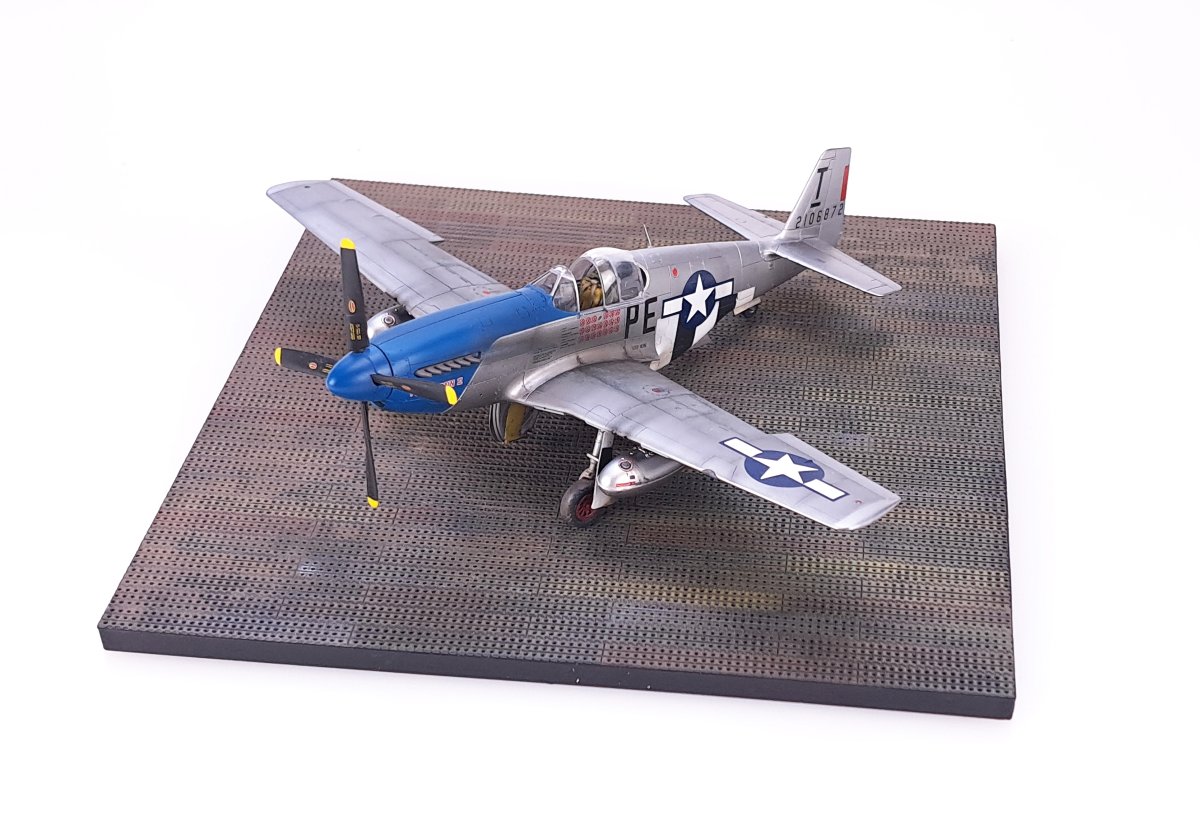
We have placed a Mustang model by Marcin Ciepierski on the base – see how it looks there!
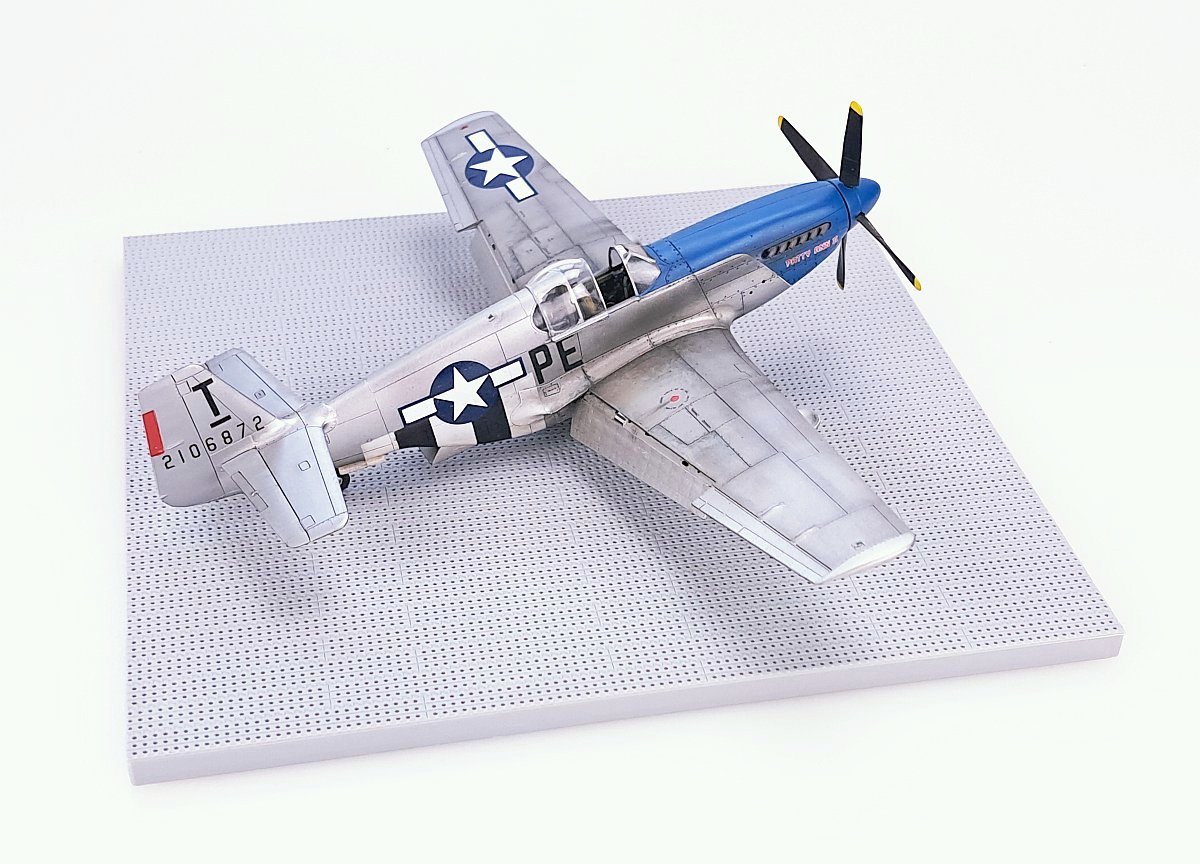
1/72 PSP Airfield model base
To each base we add a link to free files for self-printing on a 3D printer with universal airfield equipment: fire extinguisher, toolboxes, fuel barrels, British ‘flimsy’ fuel cans, wheel chocks and wooden trestle. It is left to the modeller’s creativity to make further additions to the small diorama, decide for yourself!

Pre-order in promotional bundles
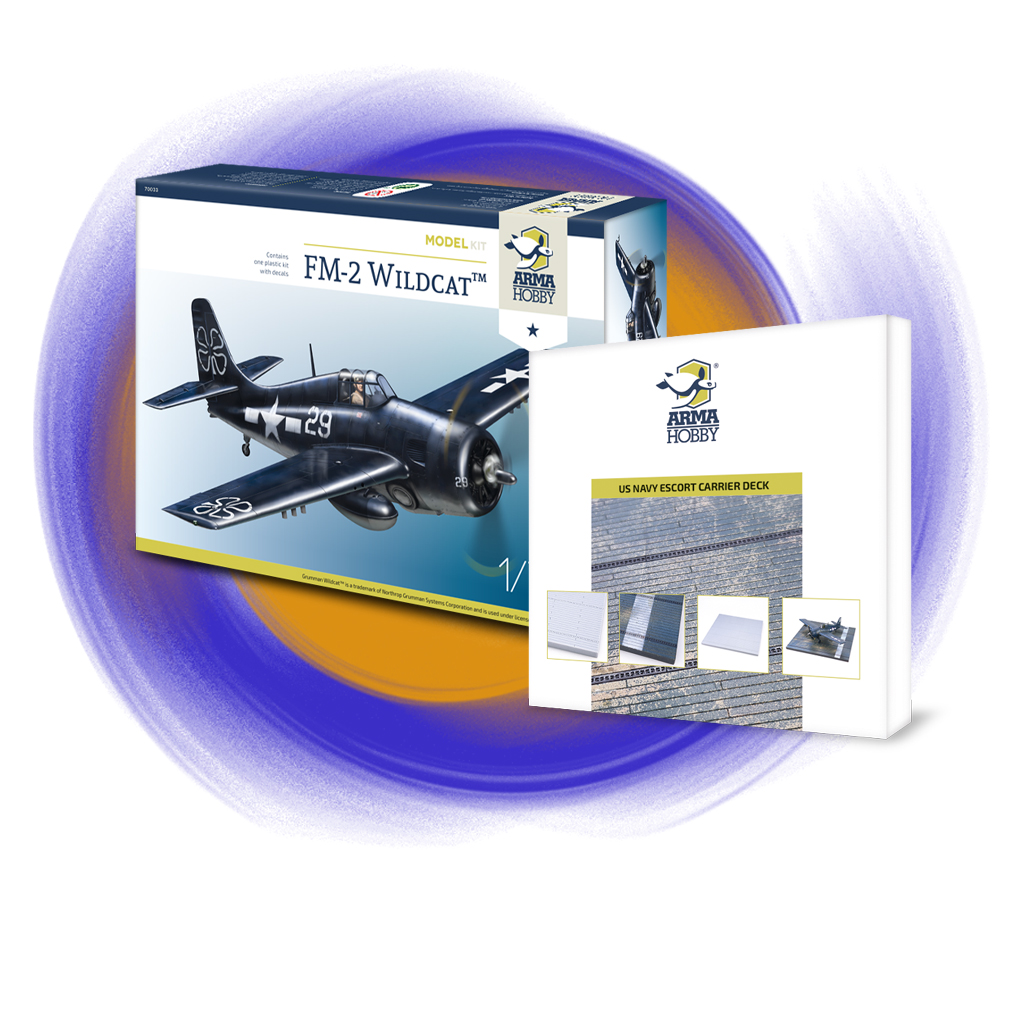
From now until the end of September, we are offering pre-order with discount for promotional bundles including the latest kits at good prices: both bases and the Wildcat ‘Operation Torch’ model kit. The bases can also be purchased separately and in bundles with other matching model kit.

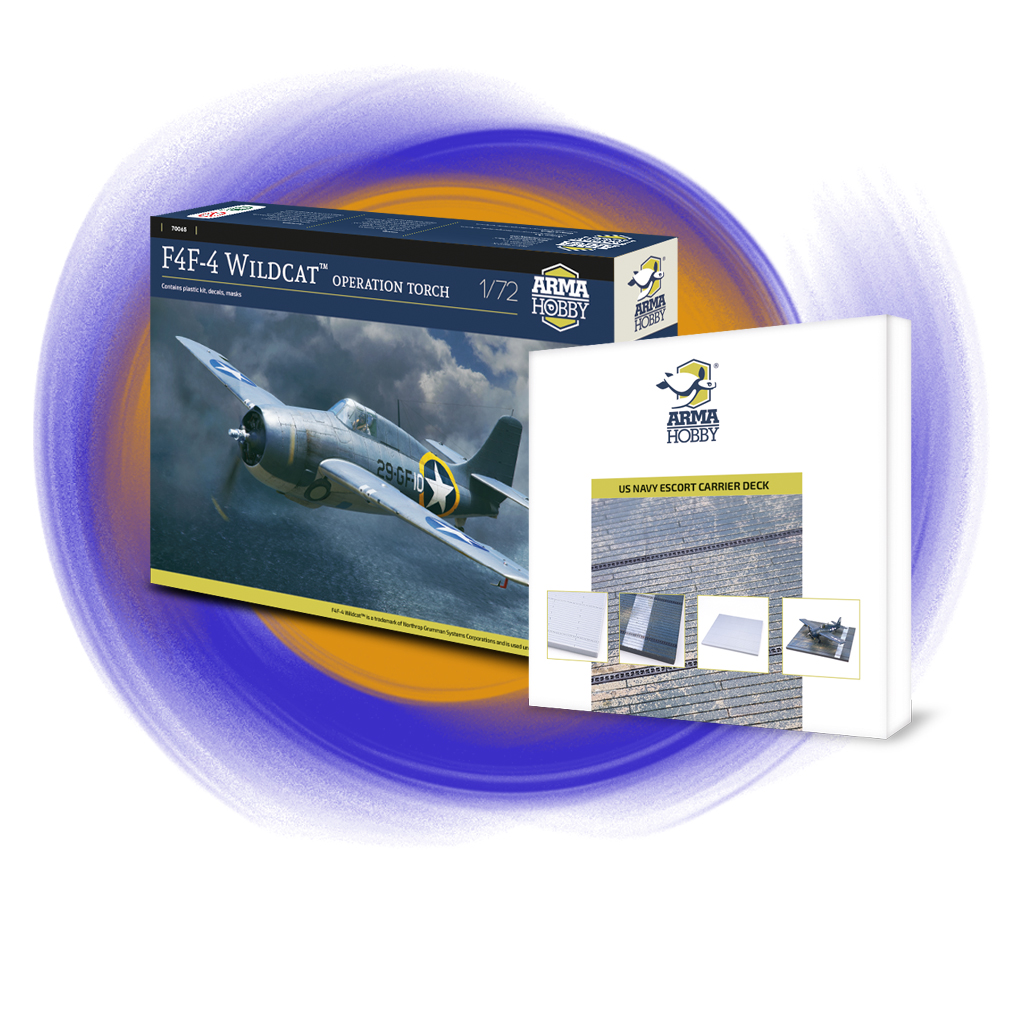
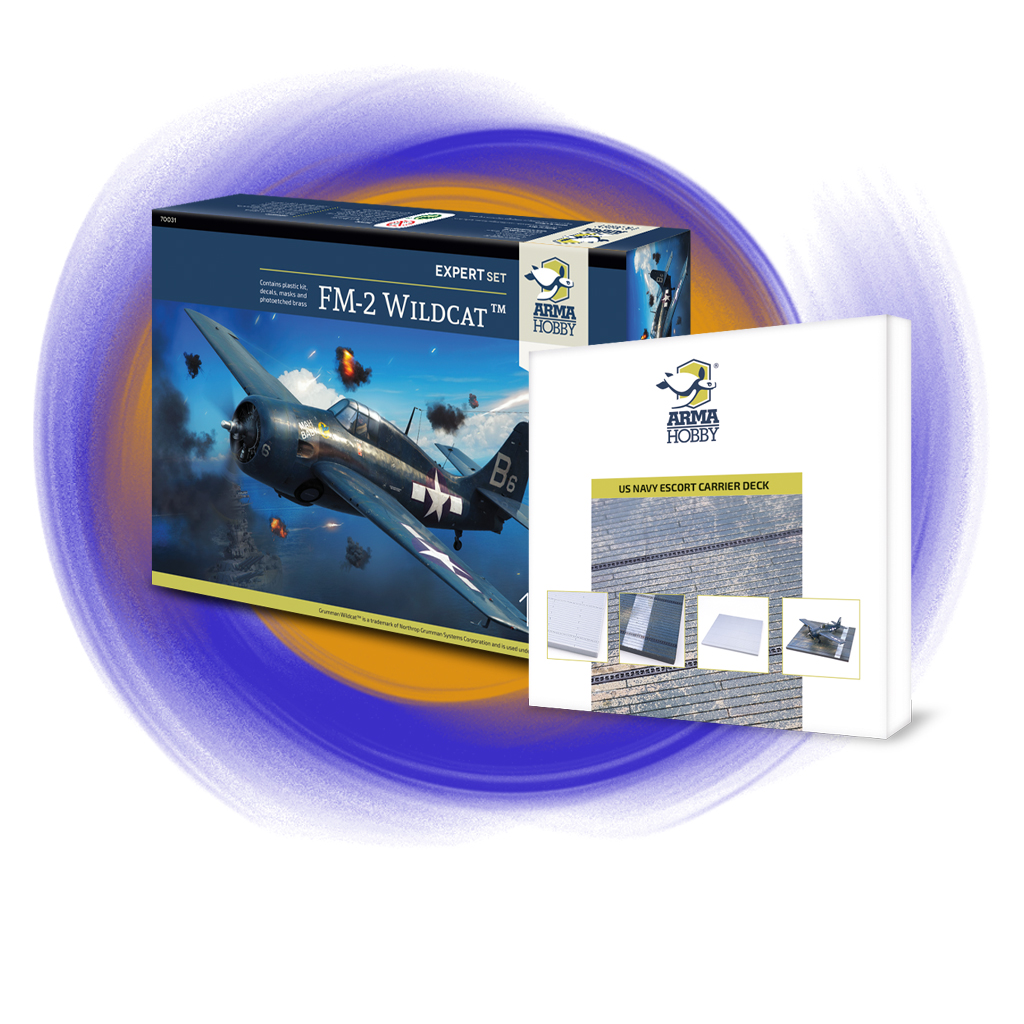
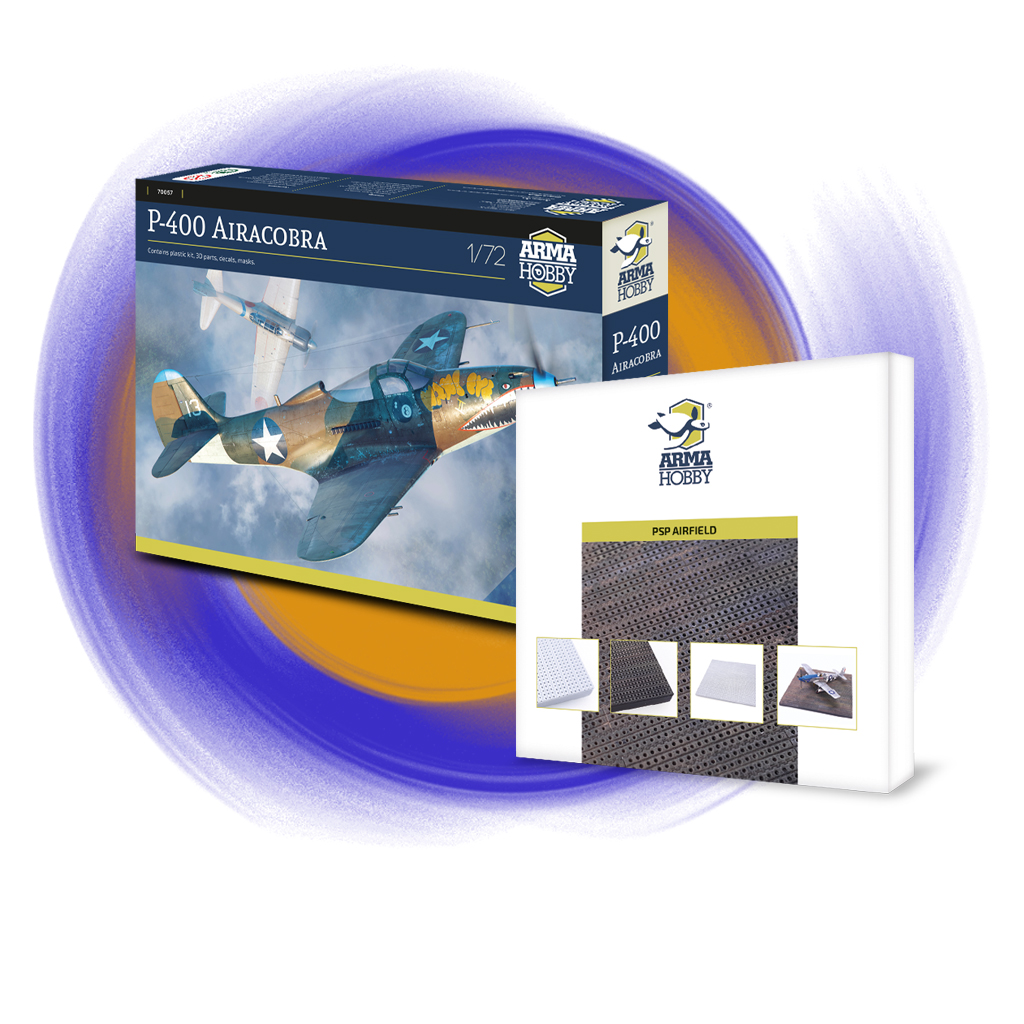
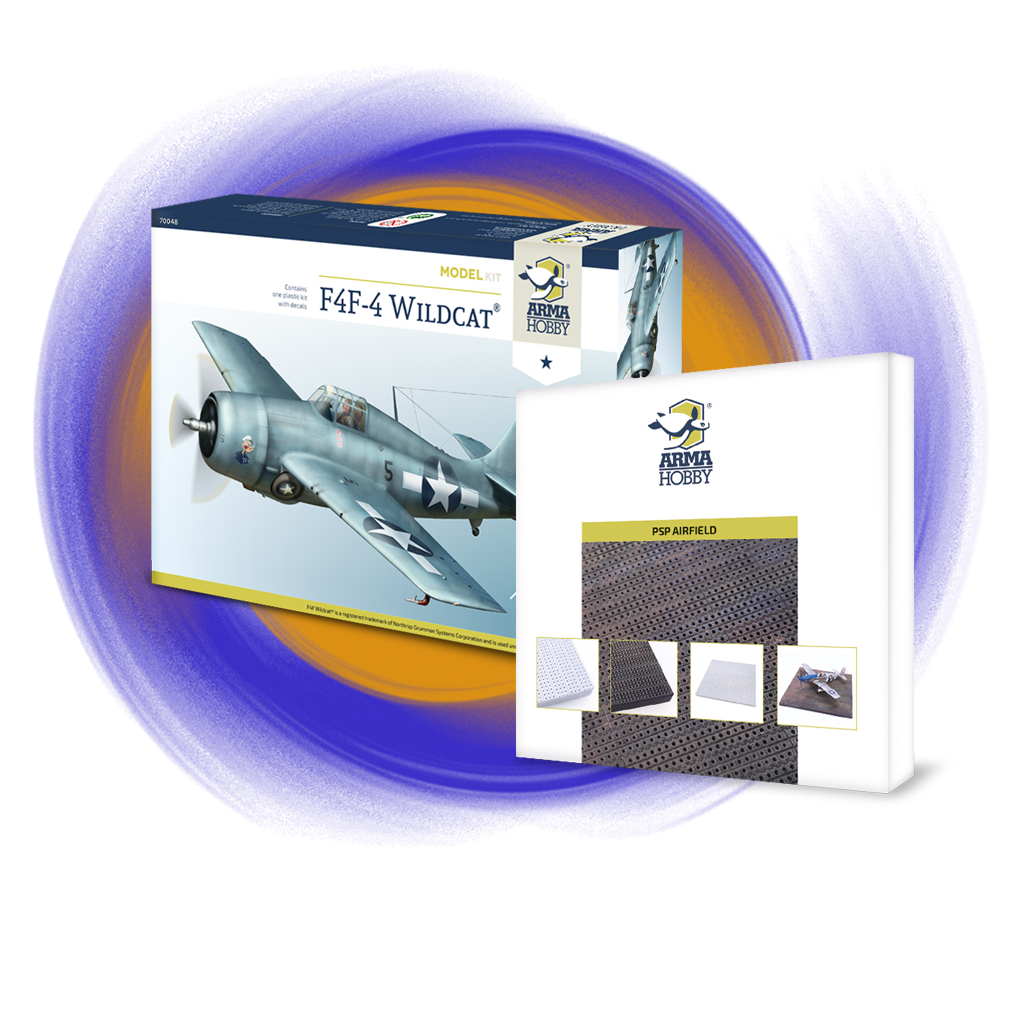
- Check and order promotional bundles online at Armahobby.com!
Modeller happy enough to work in his hobby. Seems to be a quiet Aspie but you were warned. Enjoys talking about modelling, conspiracy theories, Grand Duchy of Lithuania and internet marketing. Co-founder of Arma Hobby. Builds and paints figurines, aeroplane and armour kits, mostly Polish subject and naval aviation.
This post is also available in:
 polski