
I am a modeller who mainly builds 1/72 scale models, but occasionally I will break out into 1/48 scale. The excuse is usually a new kit from our company.
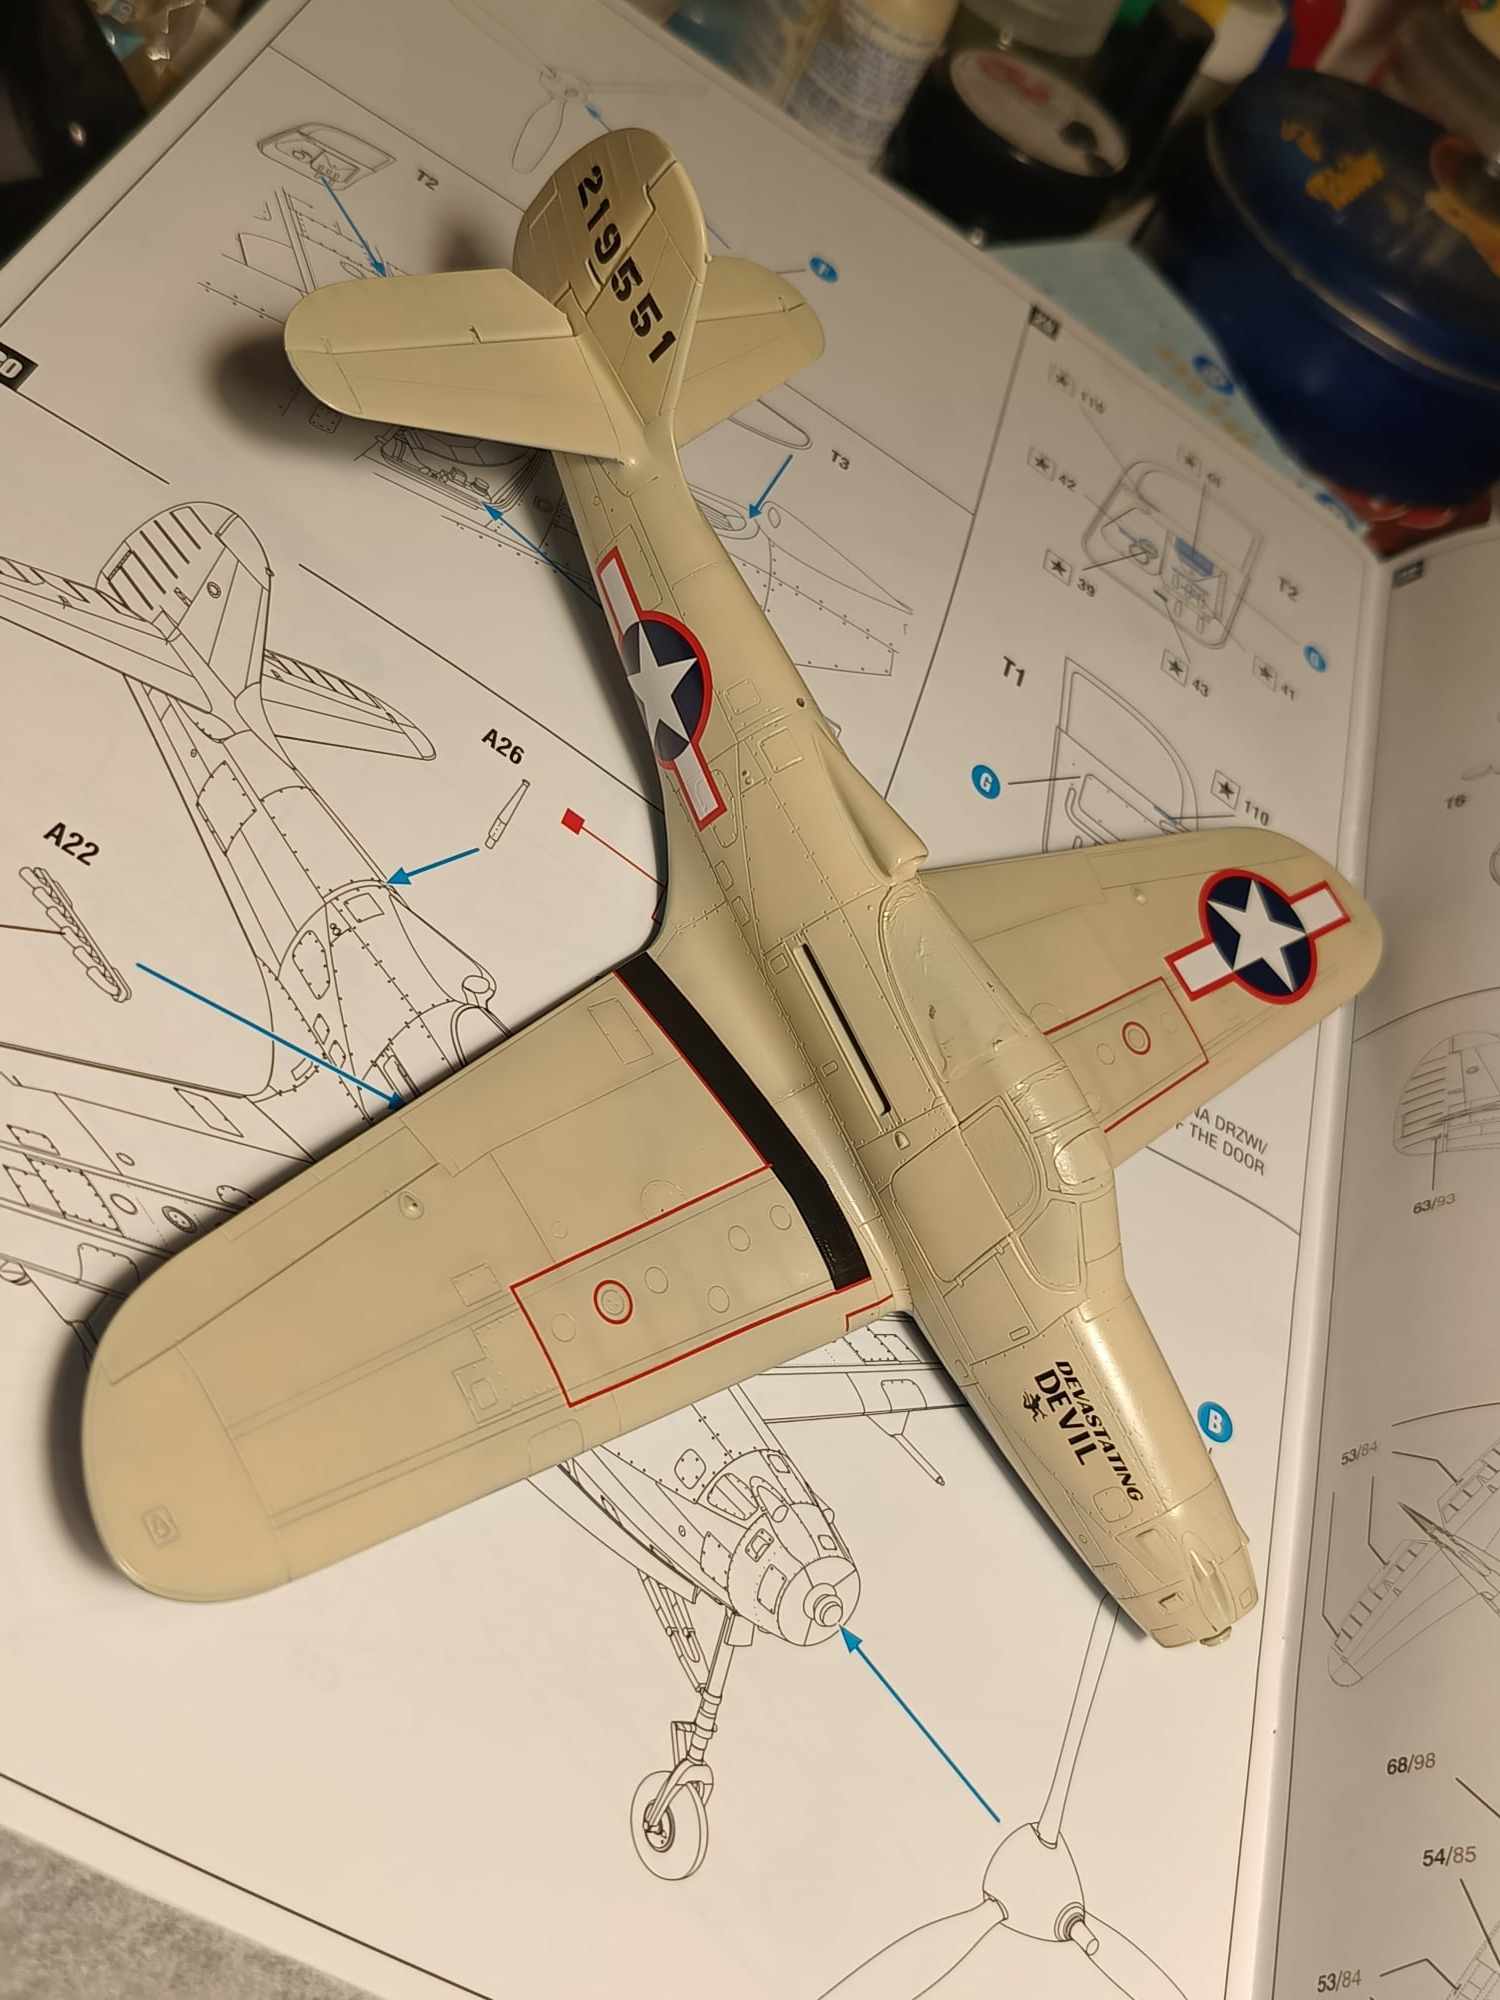
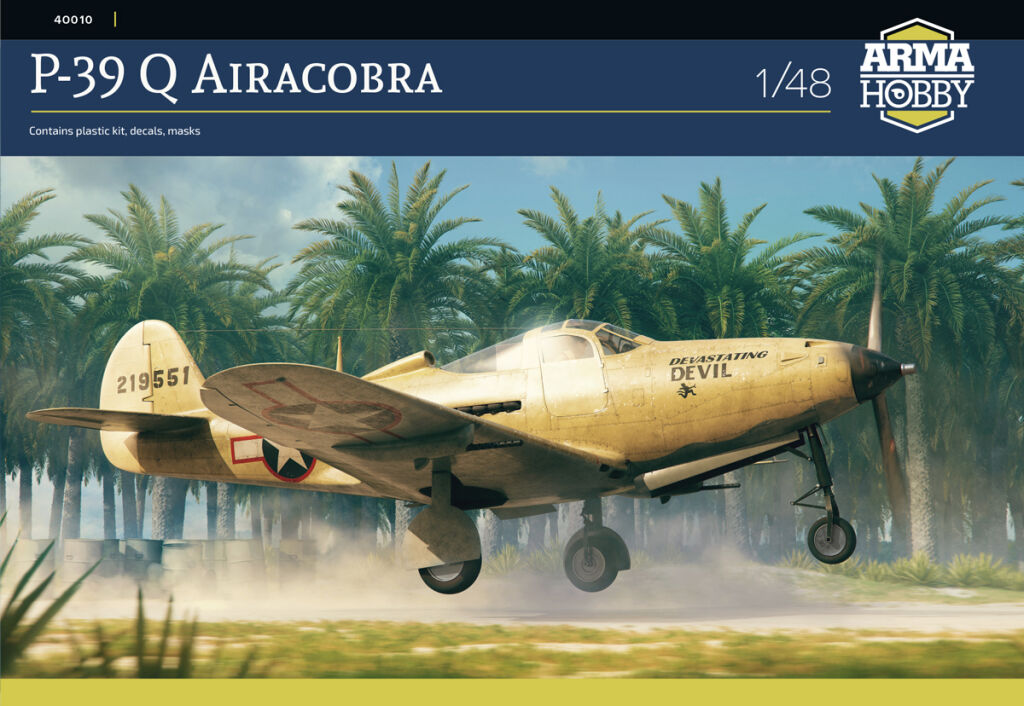
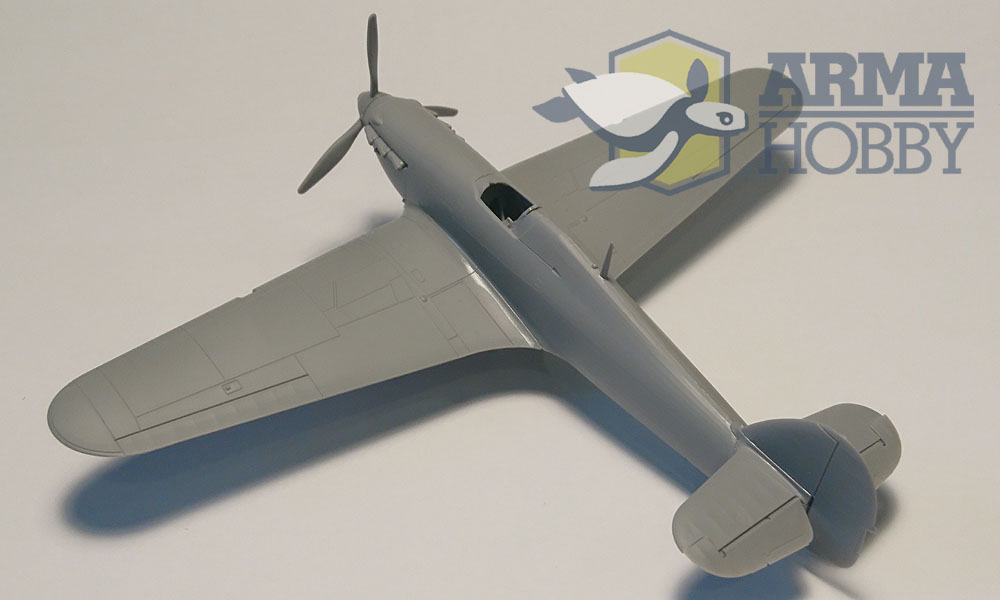
With the arrival of the Airacobra P-39Q model kit I immediately started building. I made the model straight out of the box with only minor modifications over and above what the kit offers.
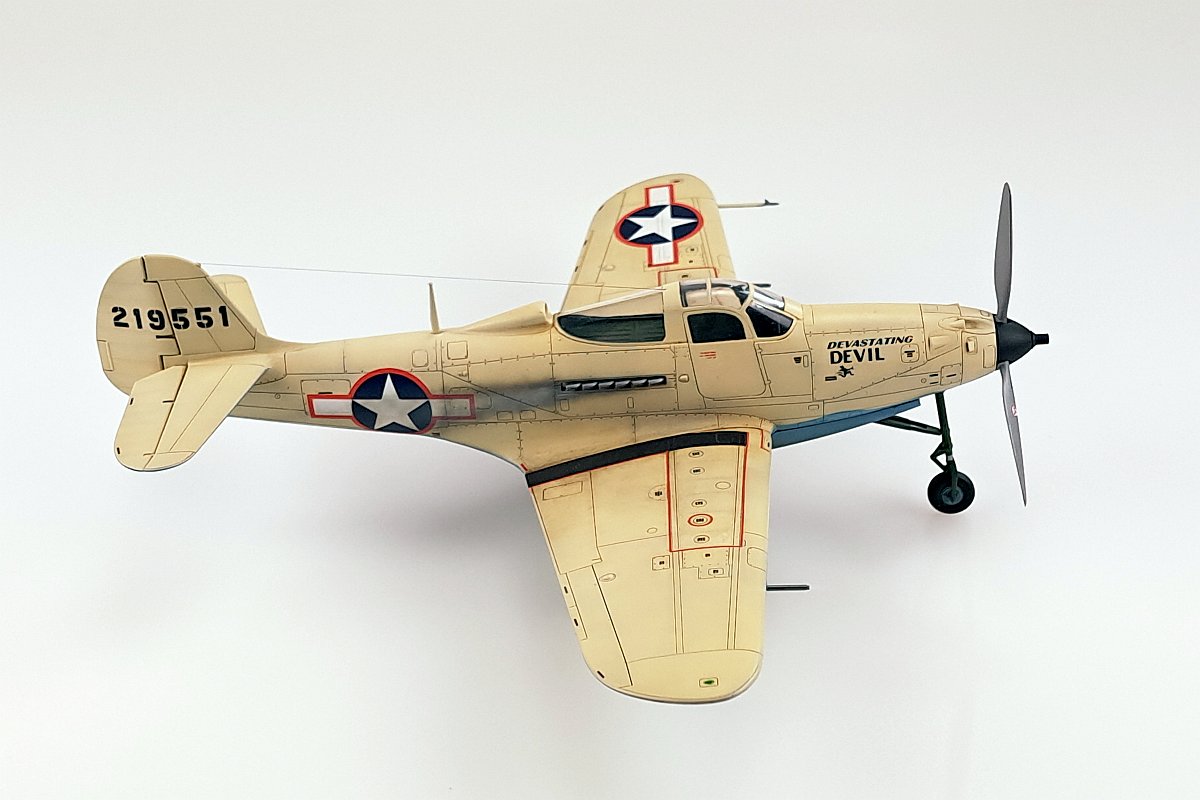
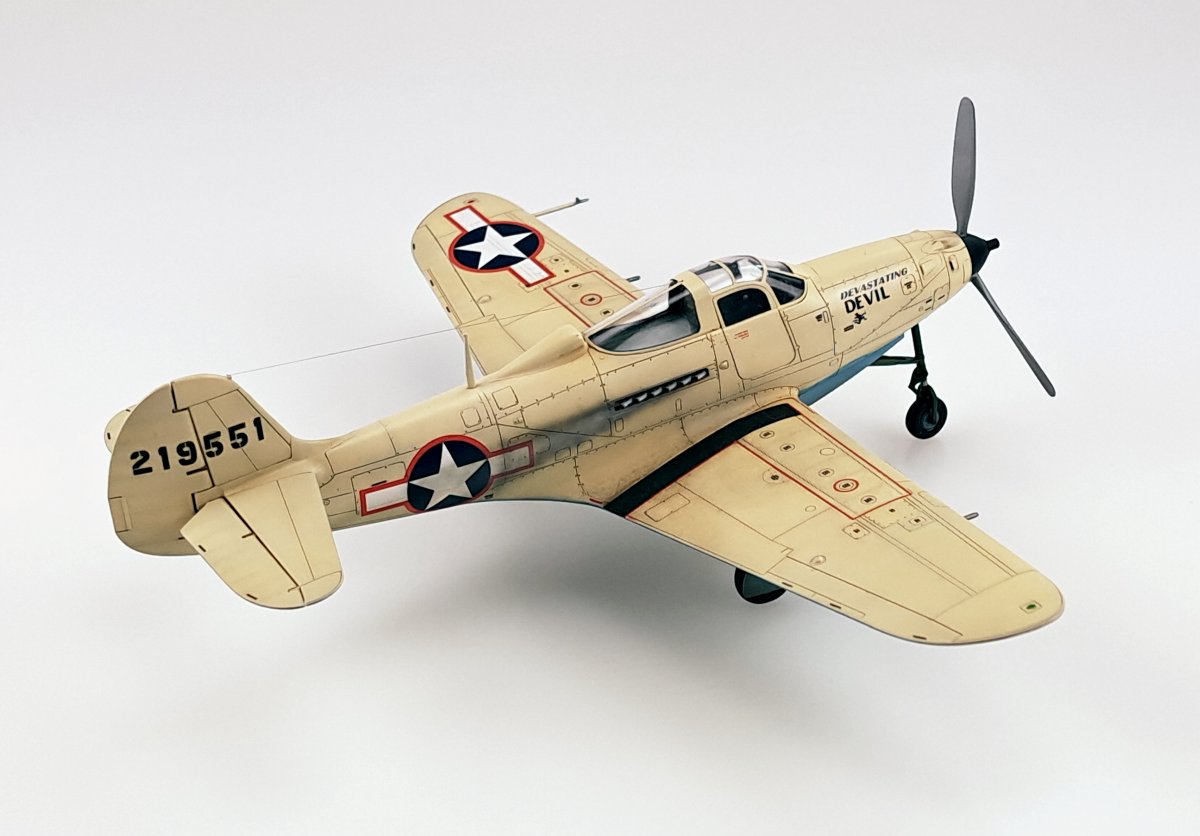
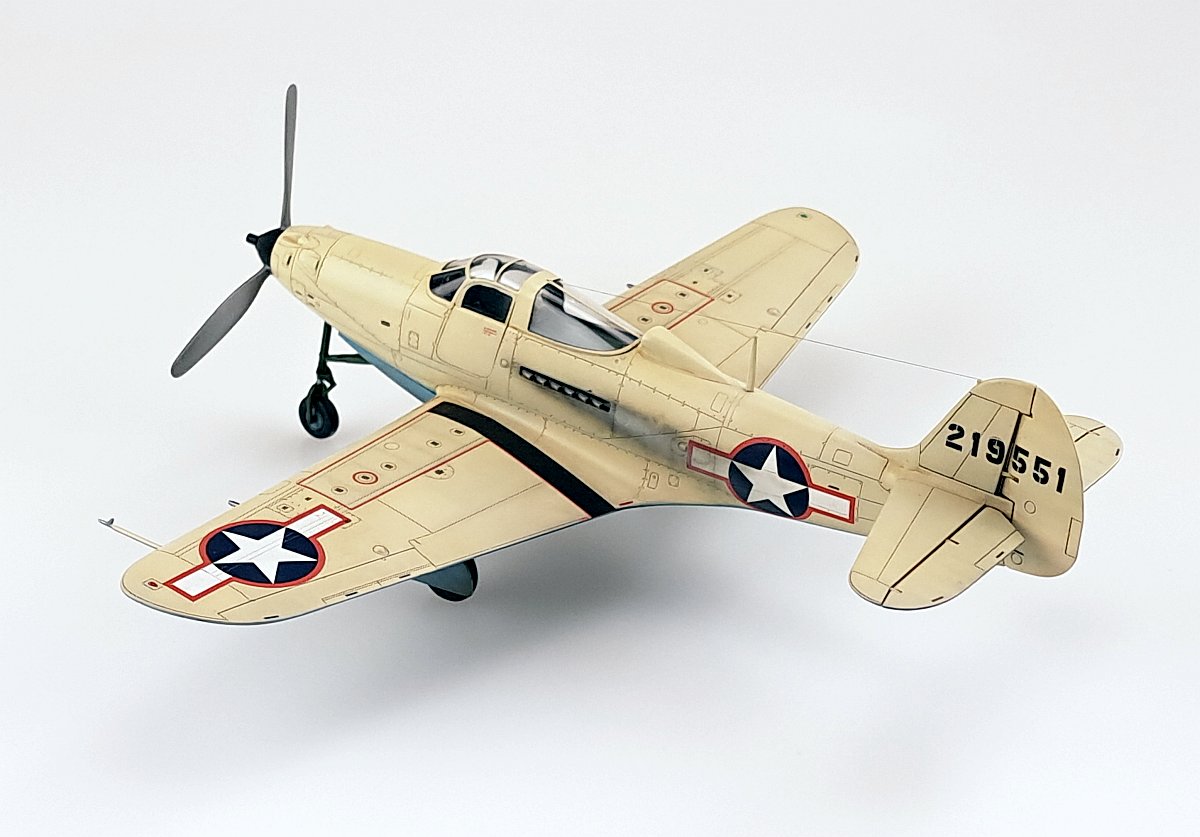
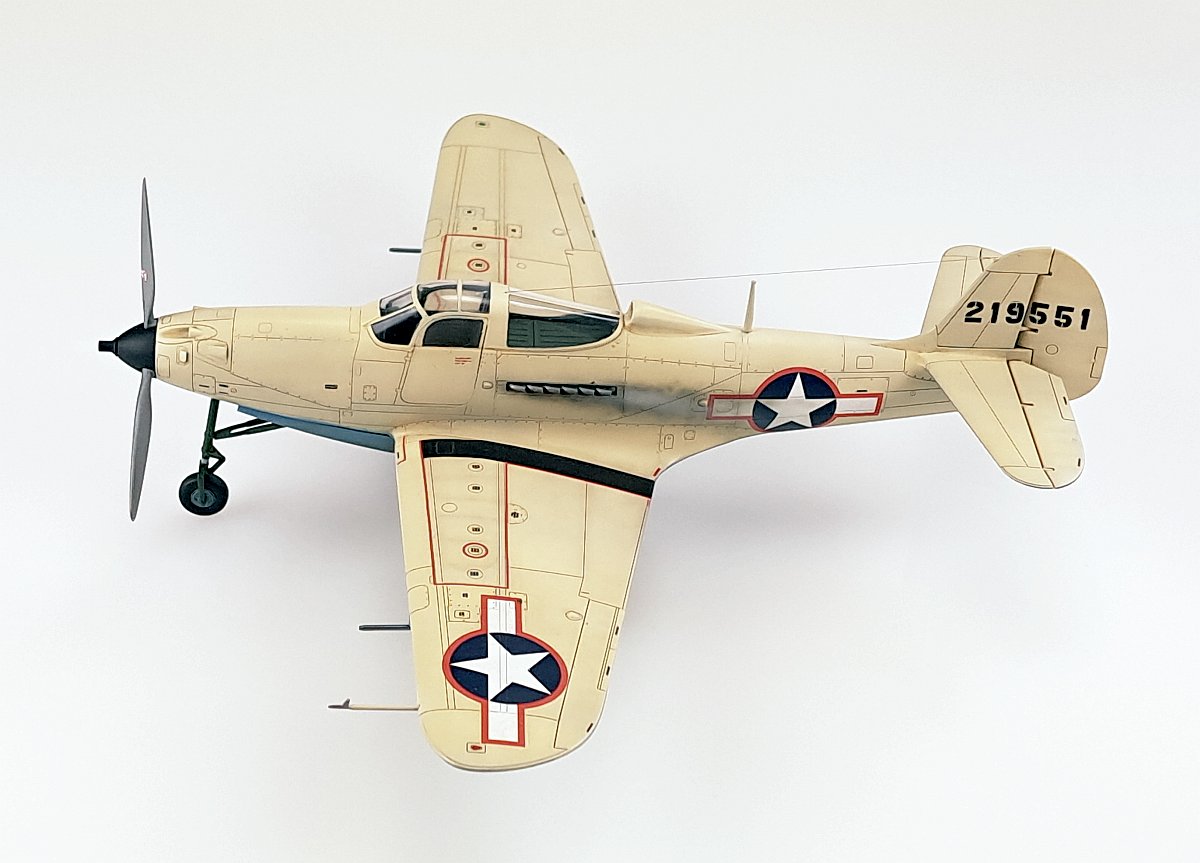
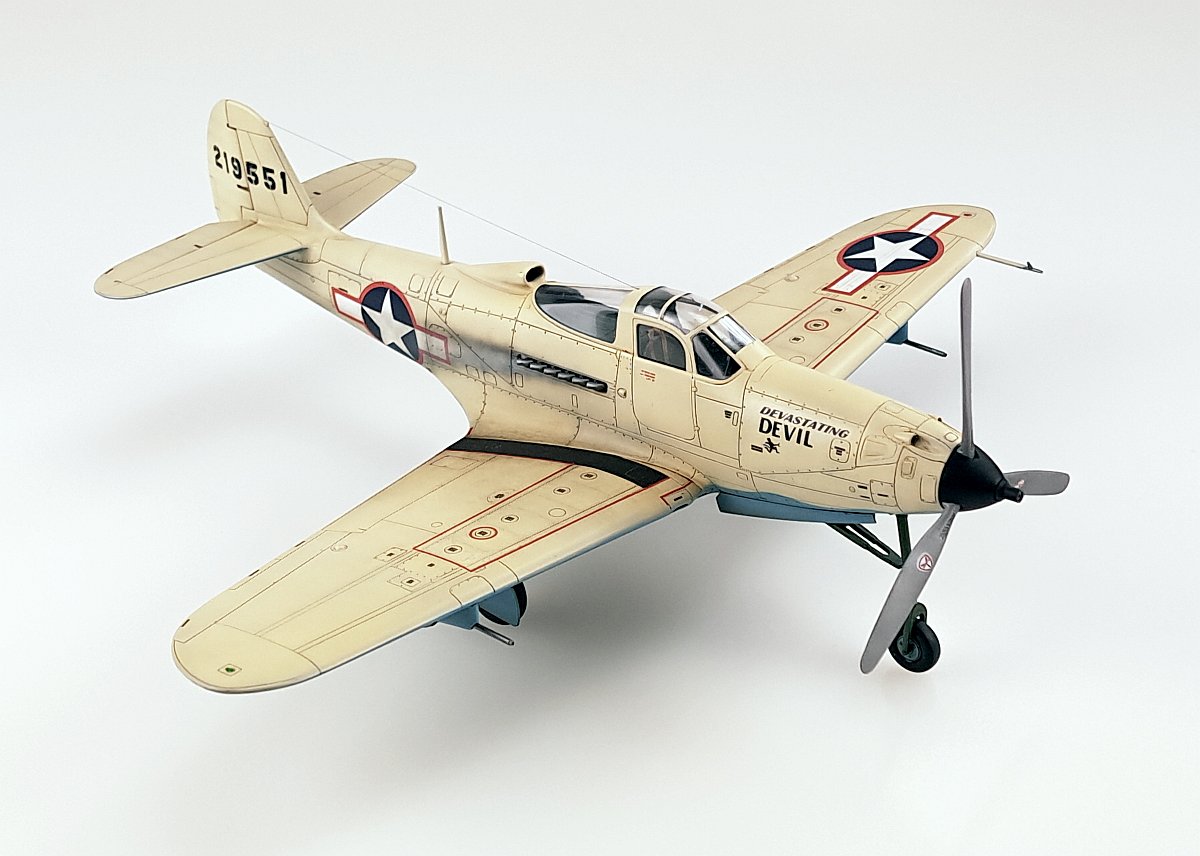
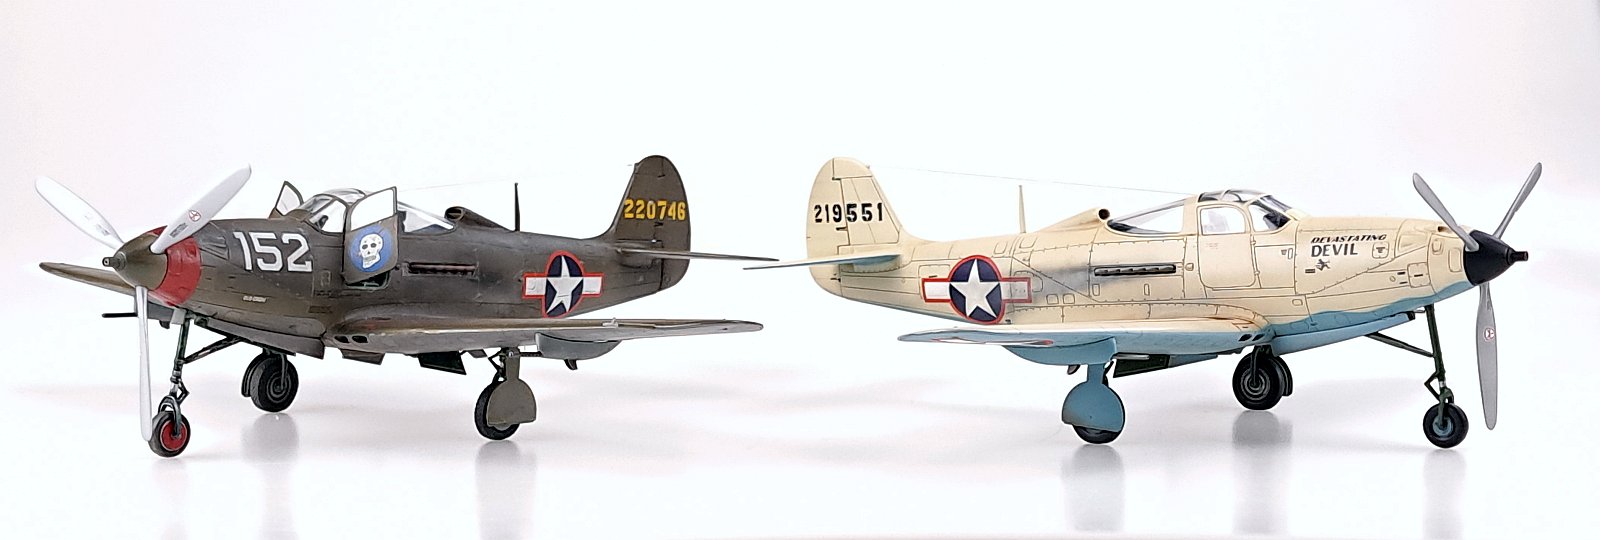
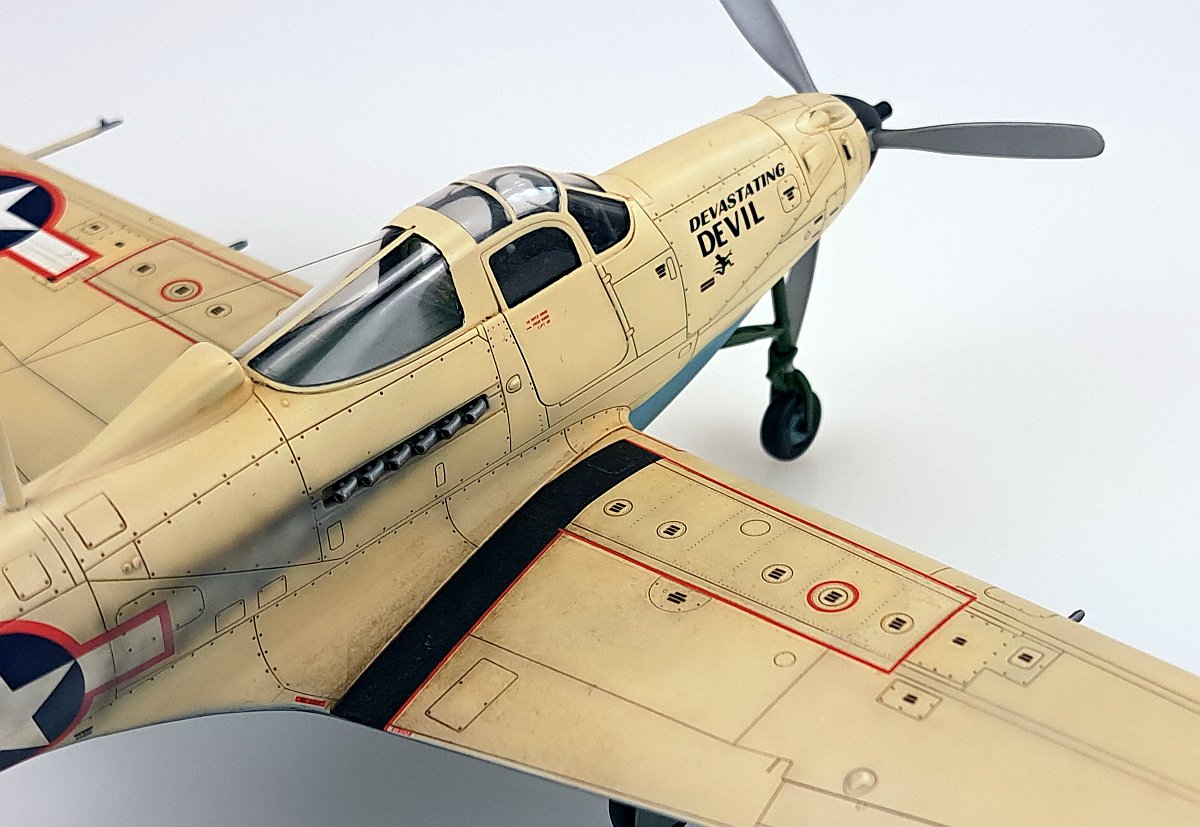
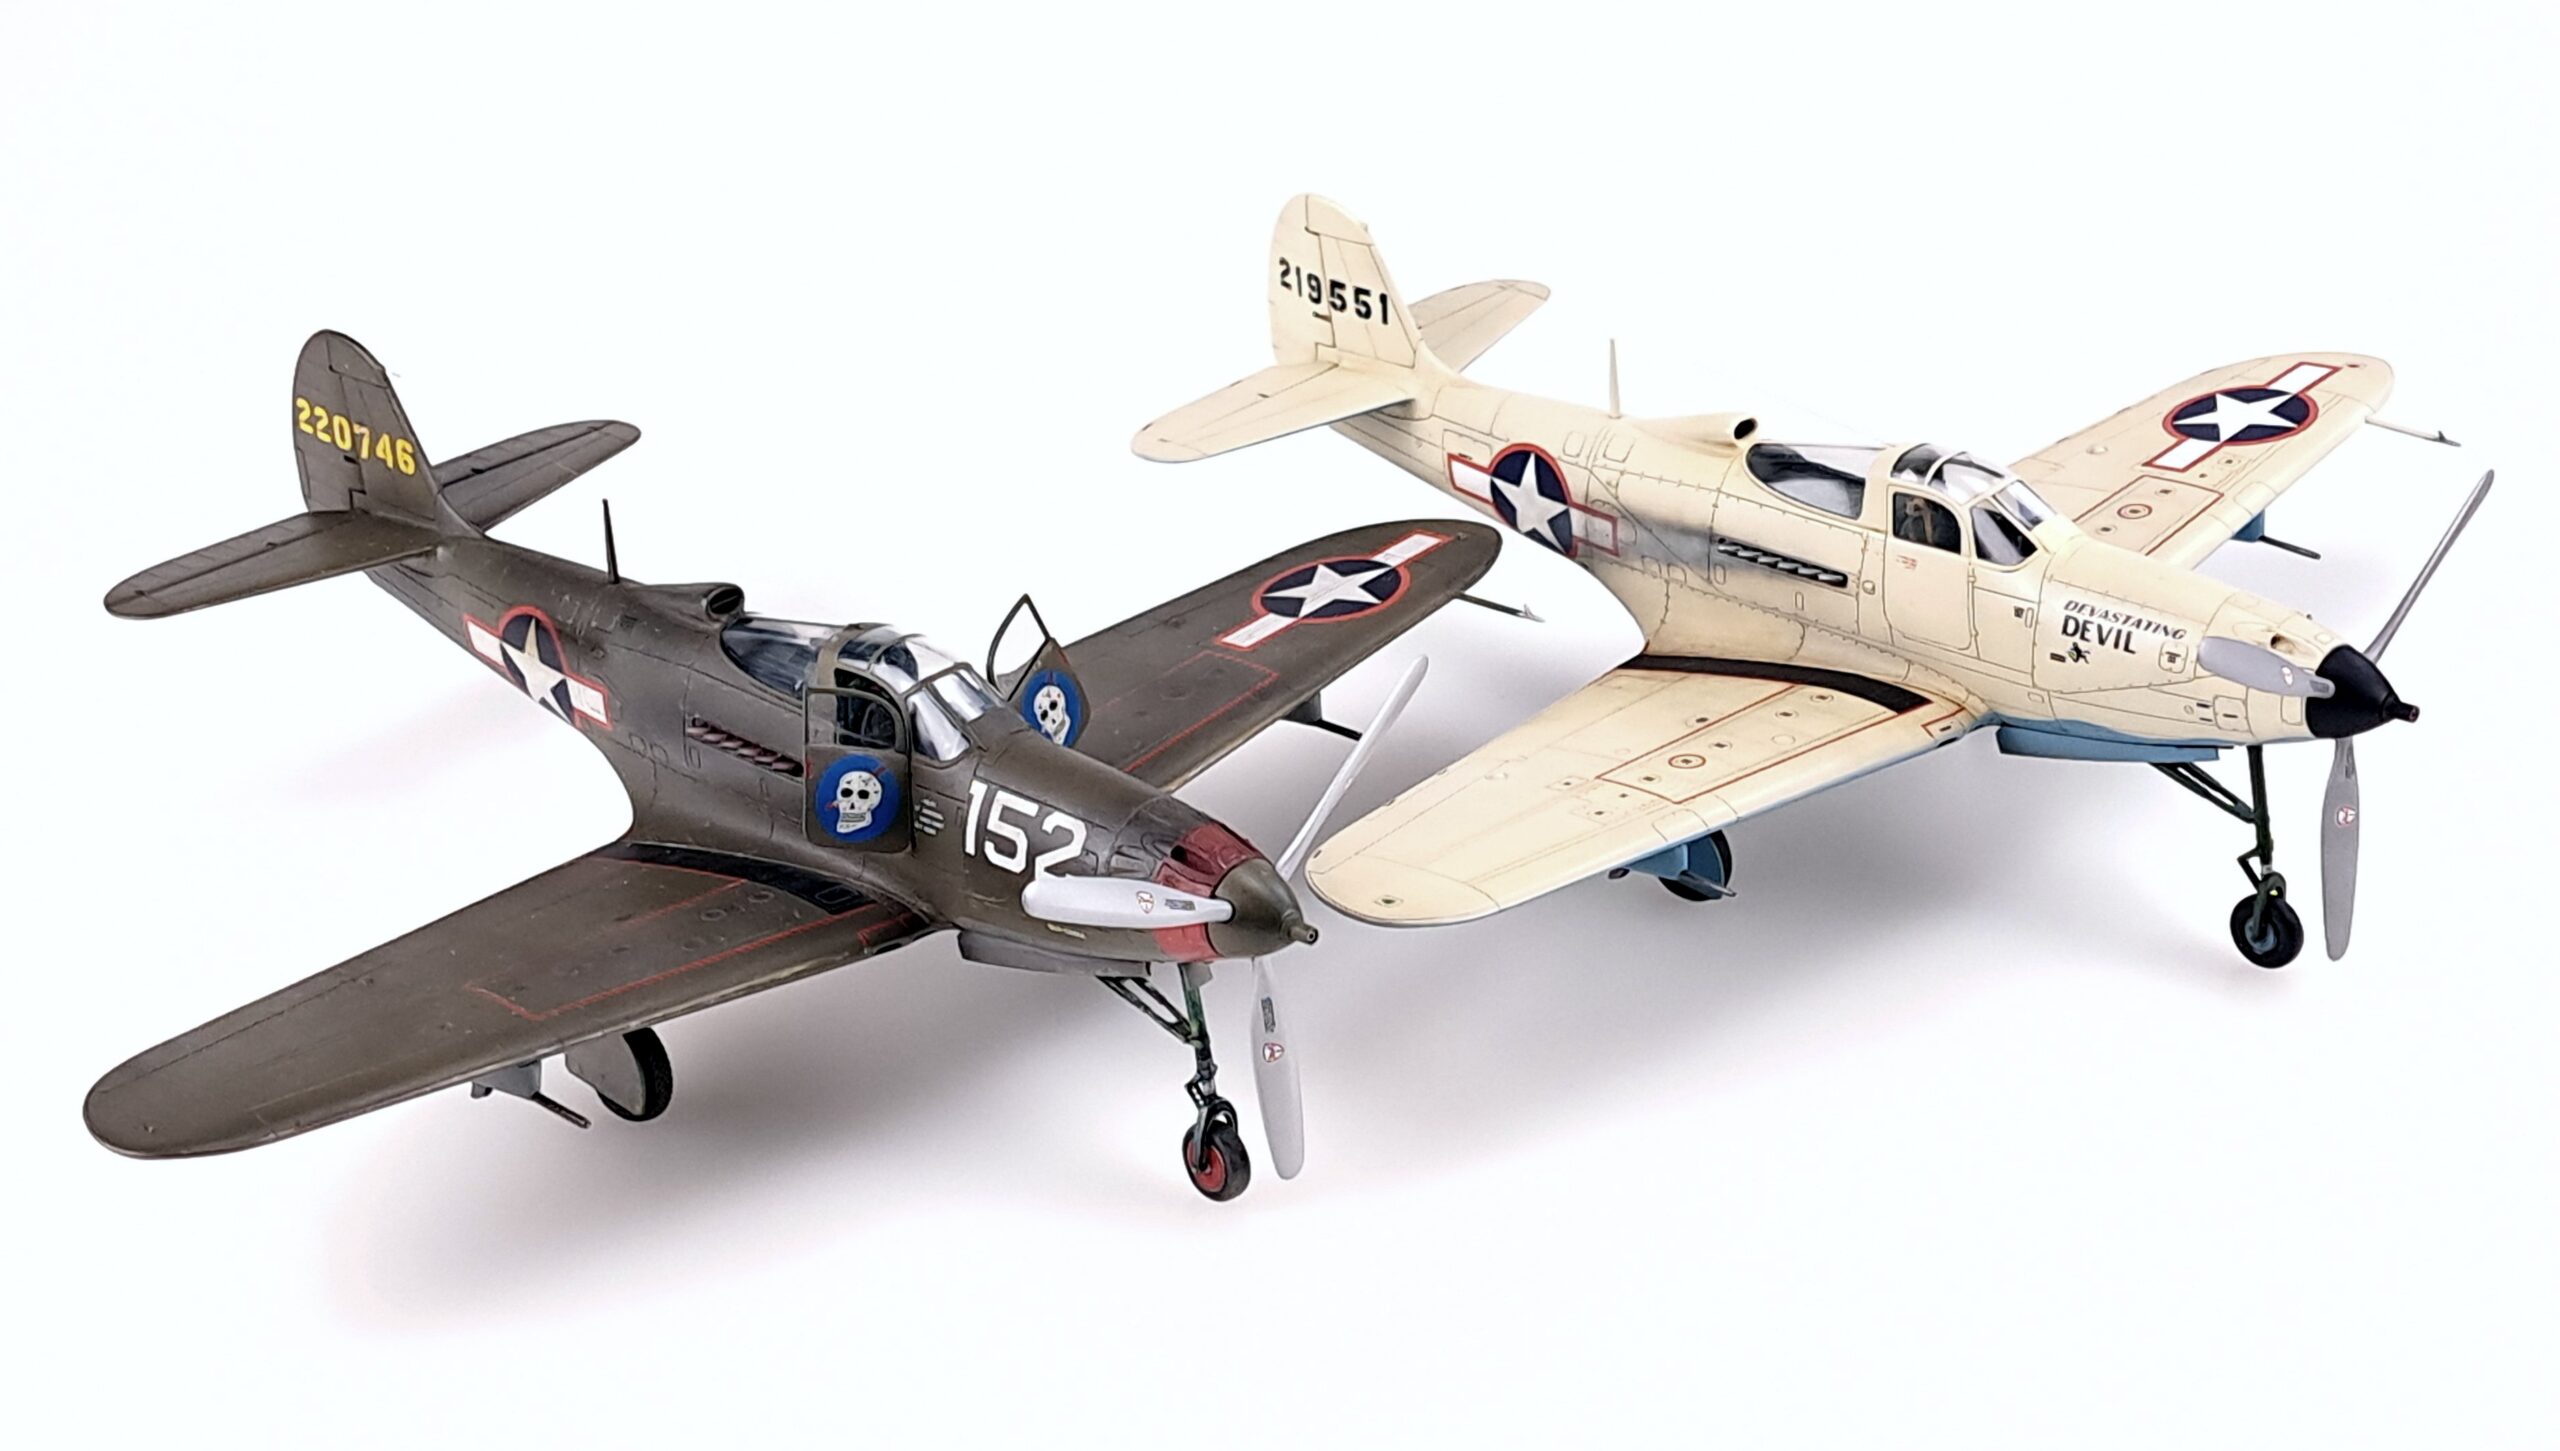
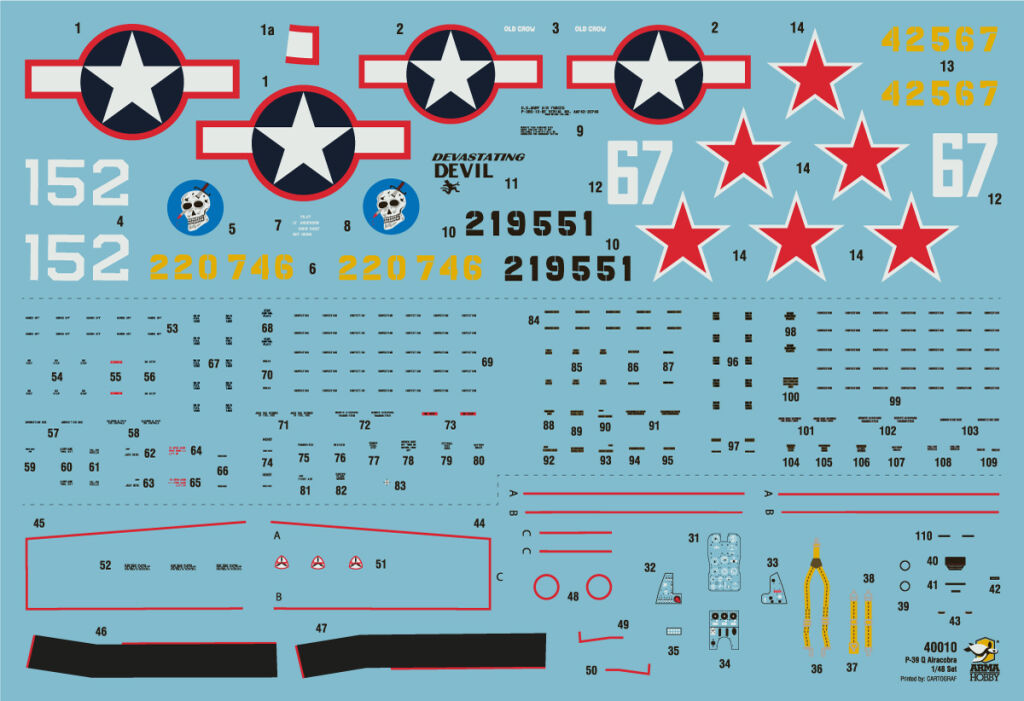
I started by choosing a marking scheme. I originally wanted to do the Soviet version because of the weathering and the greater scope for dirt. However, in the course of building the model I changed my decision and a coral Cobra was created. Unfortunately, the marking change took place after the canopy was closed, so that on the rear shelf behind the cockpit I don’t have the radio box that should be there. I noticed my mistake too late.
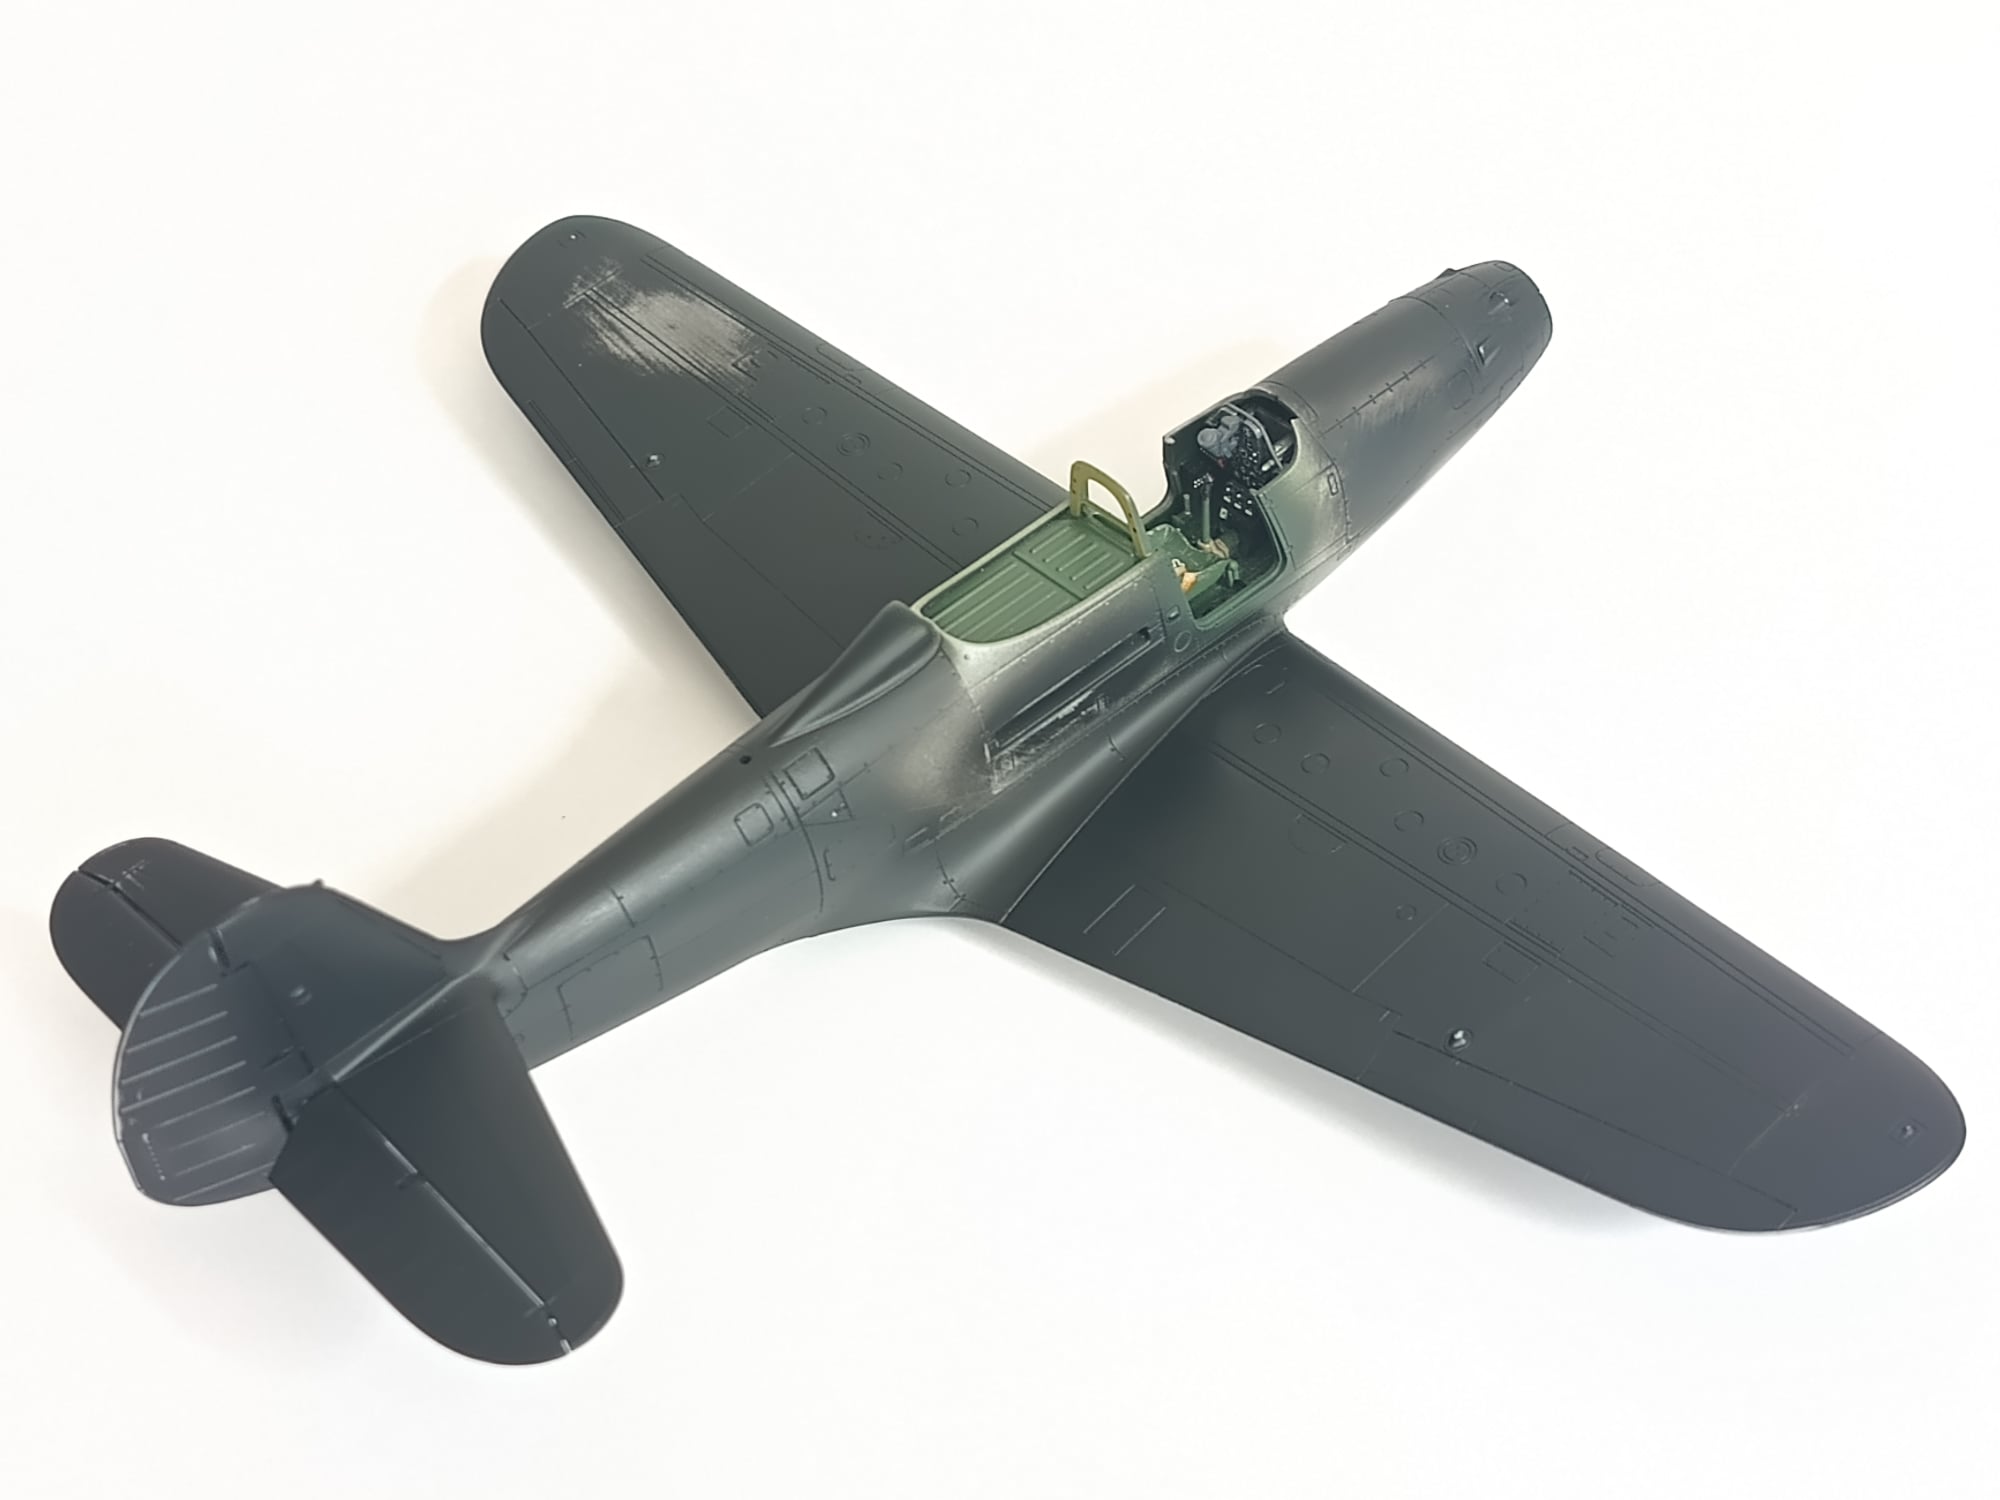
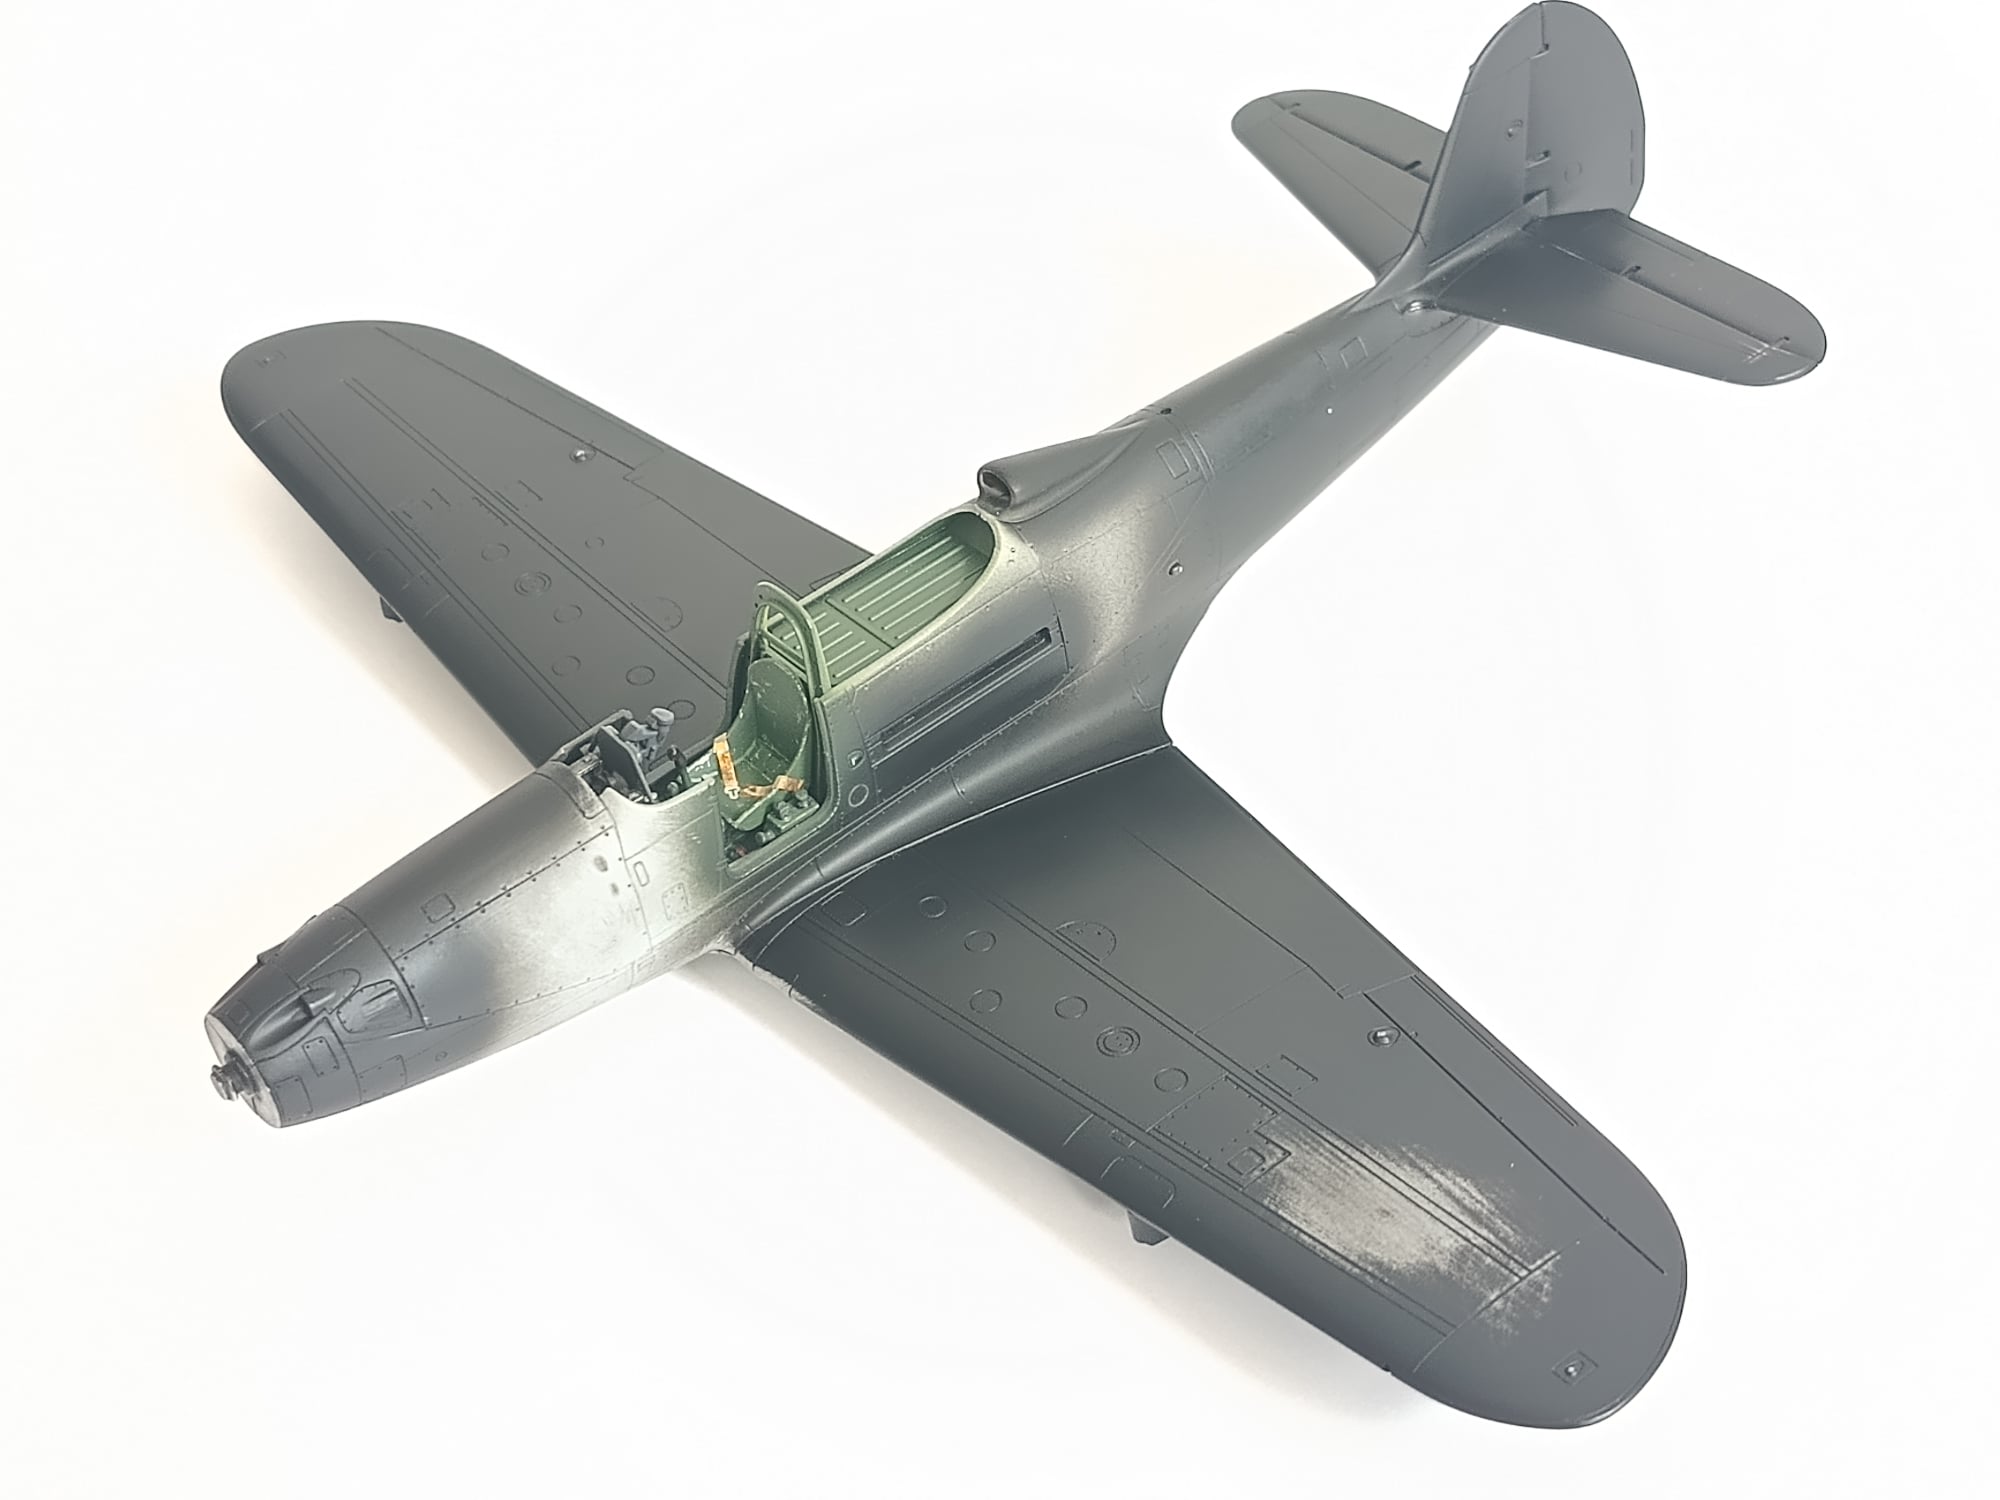
The cockpit module and front wheel bay were fairly quick to assemble, it only took a little longer to paint it all in the many colours that are found in the area. When fitting the cockpit into both fuselage halves, it’s important to clean the pins well and squeeze the cockpit well between the fuselage halves. For me the indicator that everything went into place was the two side vertical walls of the wheel bay, these need to line up with the front wheel bay cutout in the fuselage. It’s worth checking Wojtek’s article, he can help with the build too.
A properly assembled fuselage should fit quite tightly into the finished wing. It is worth trying it on a few times before glueing.
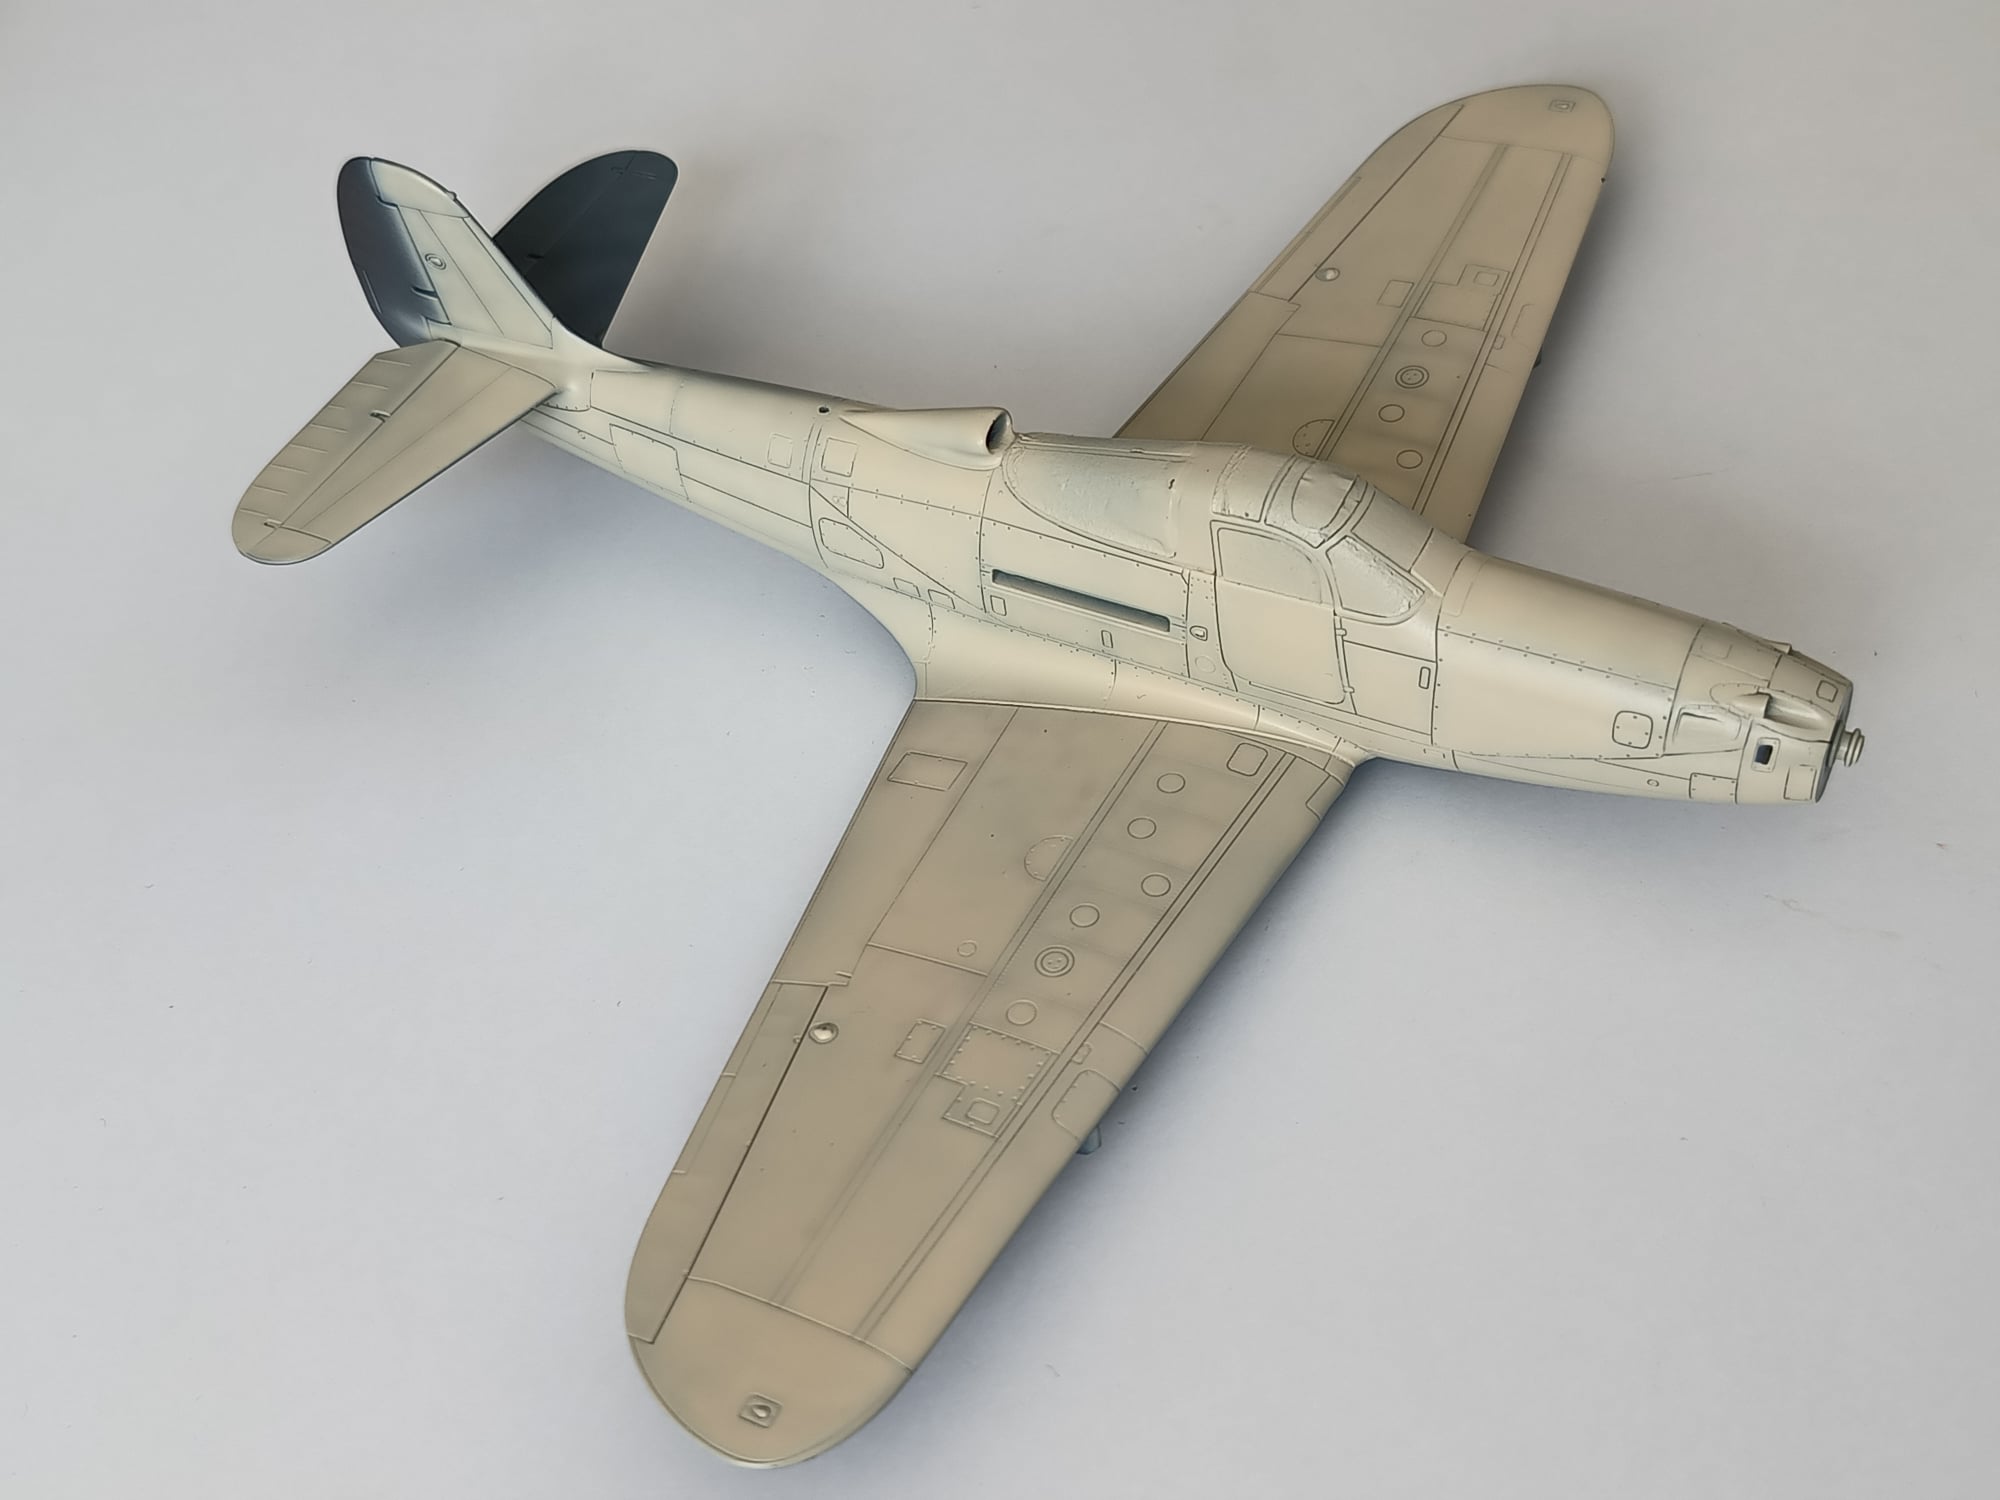
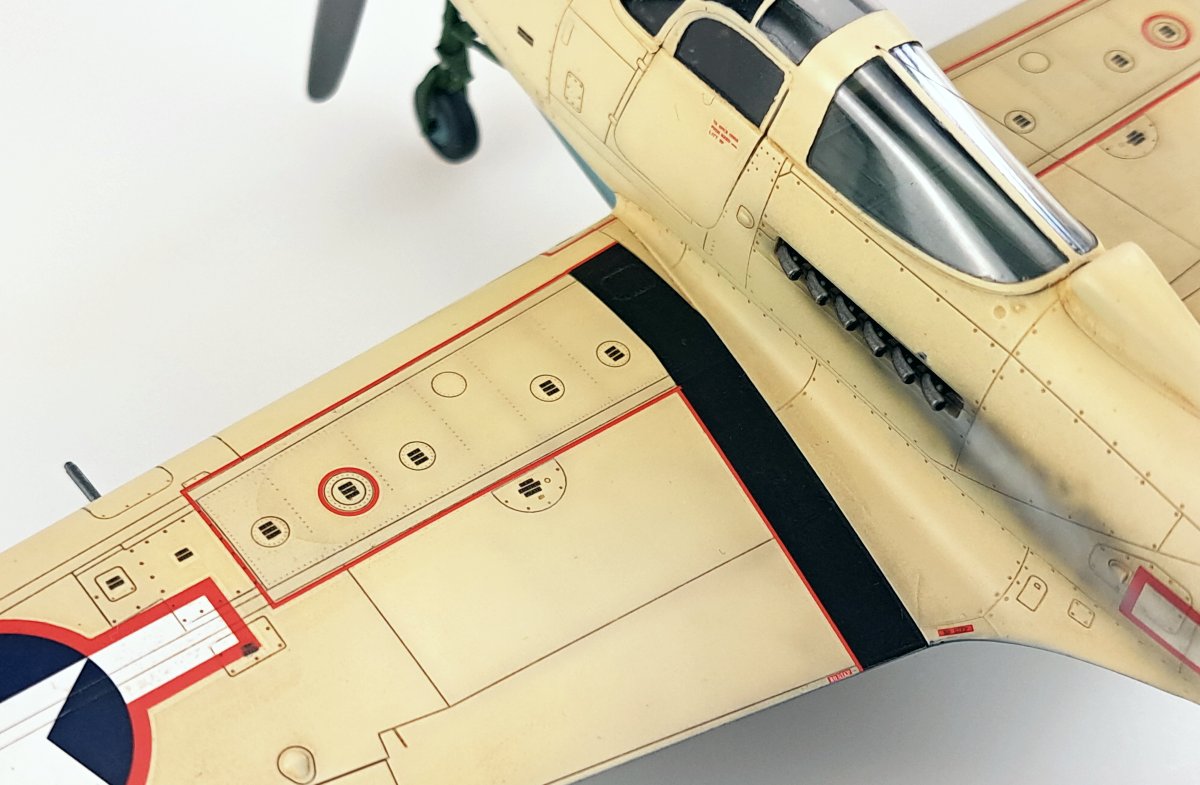
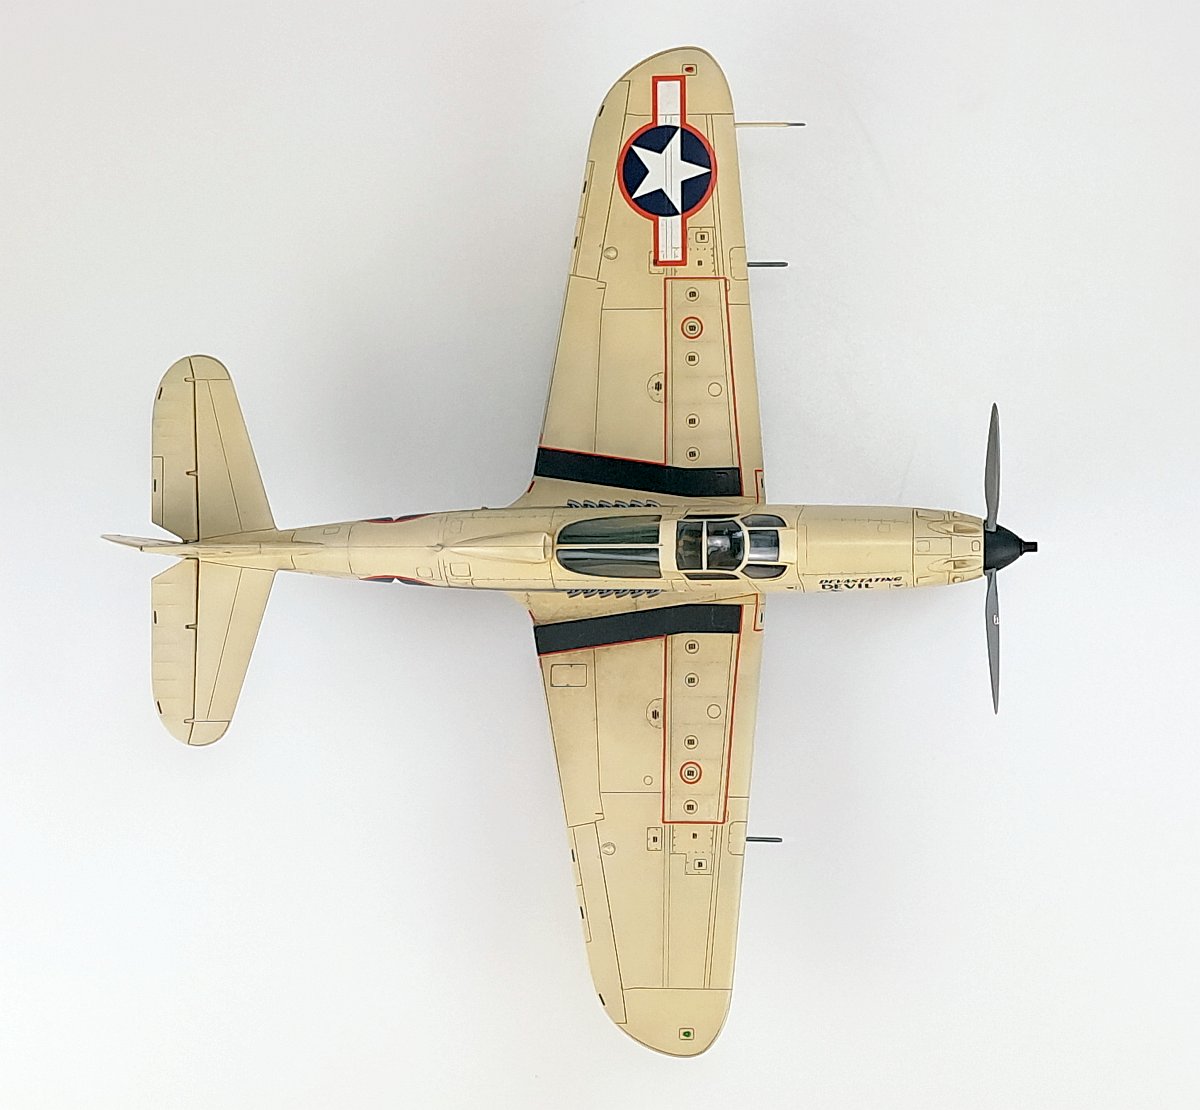
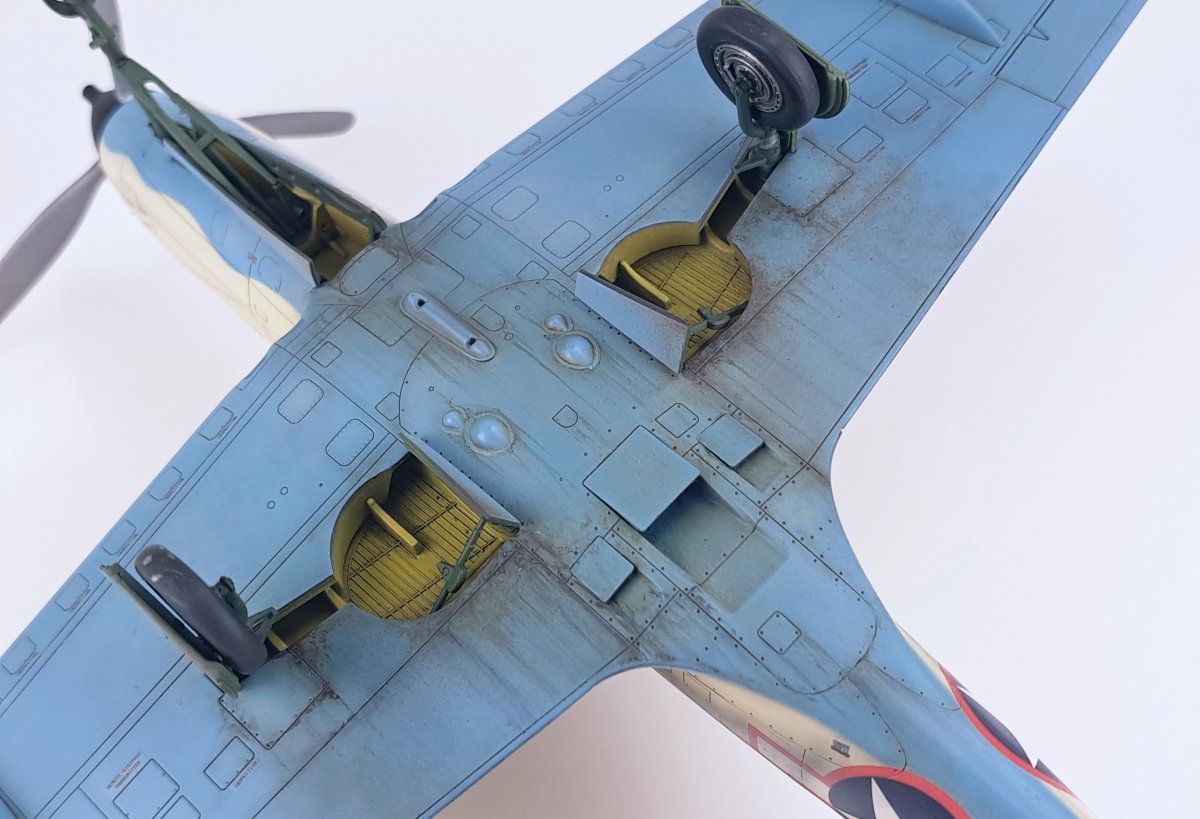
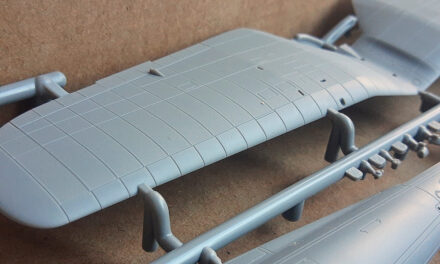
In the first edition of this kit, longitudinal sink marks in the plastic appeared on the upper surface of the wings, above the landing gear bays. The new stock of the kit no longer has this problem. I was building from old sprues, so even before gluing the whole thing together I eliminated the sink marks on the wing with black Surfacer. The first thin layer, after sanding, marked out what I needed to fill in. Then I masked off everything except the panel with the sink marks. I treated the lines of the sink marks with a thick primer and sanded them smooth after removing the masks.

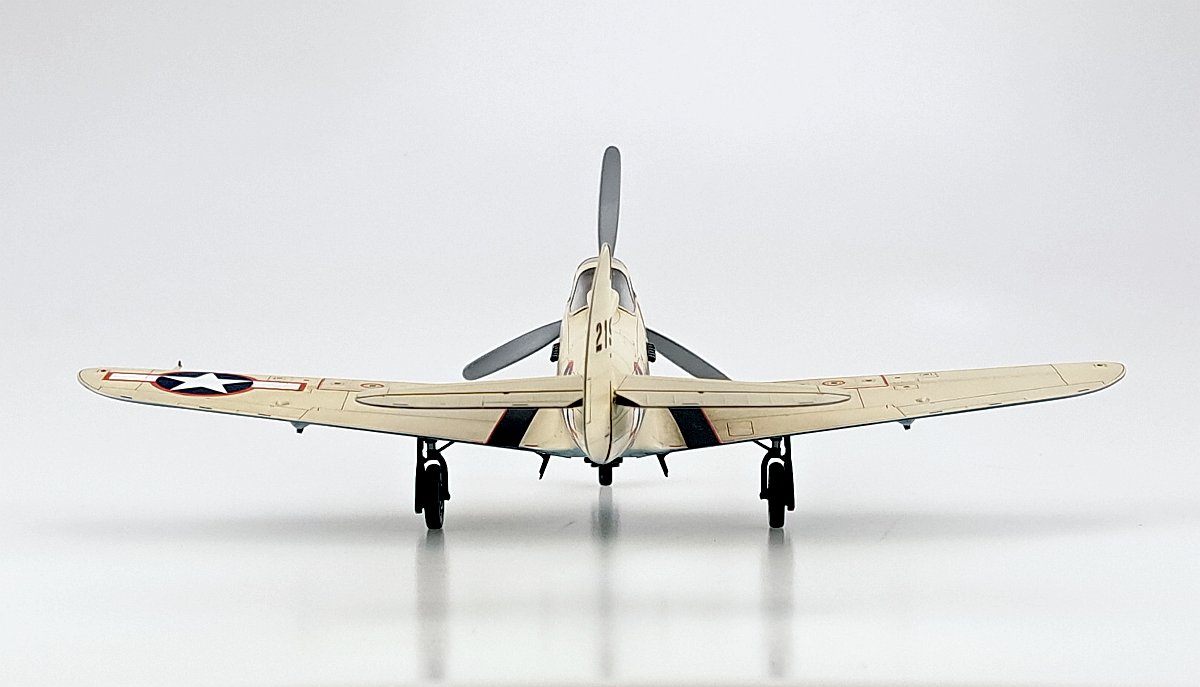
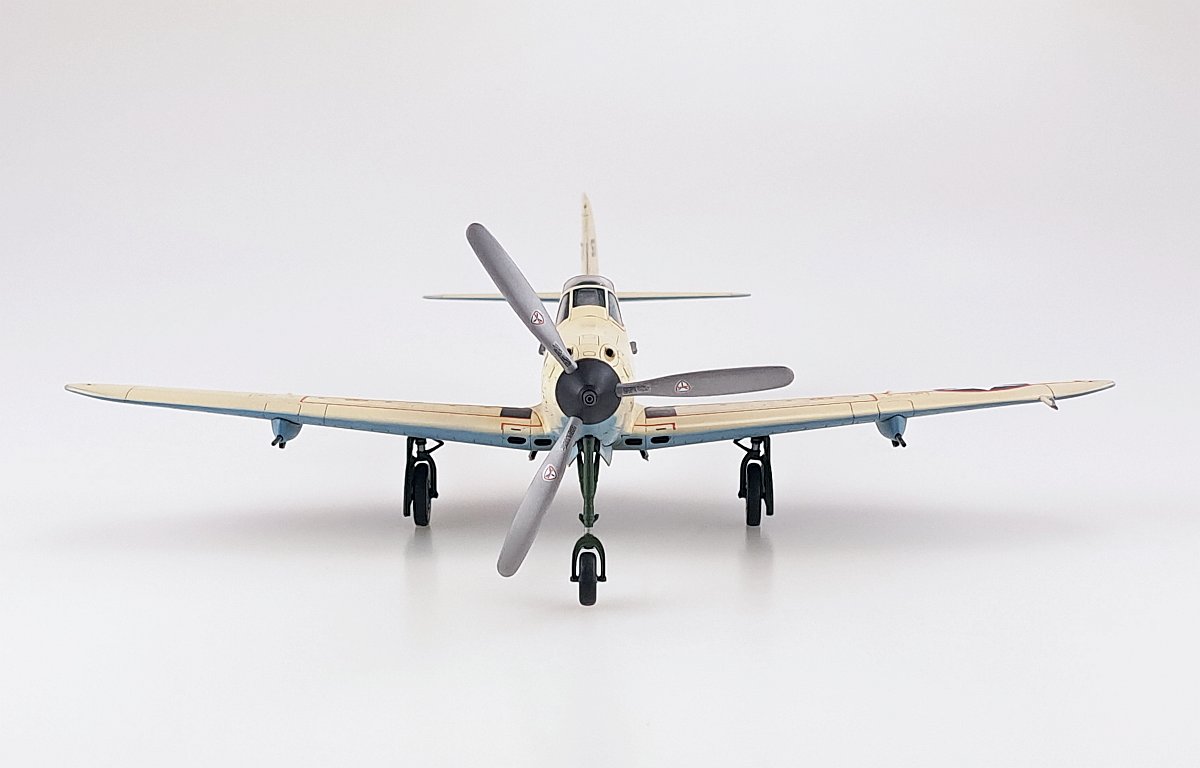
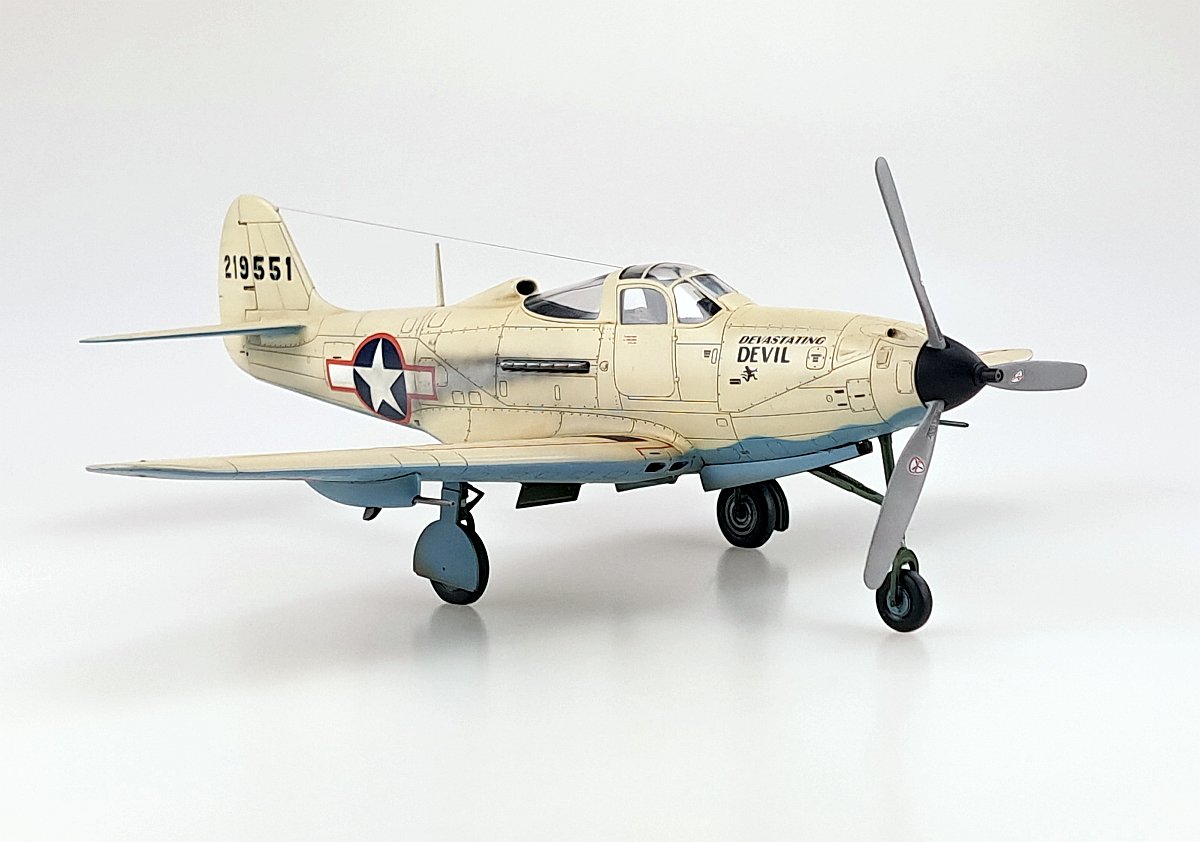
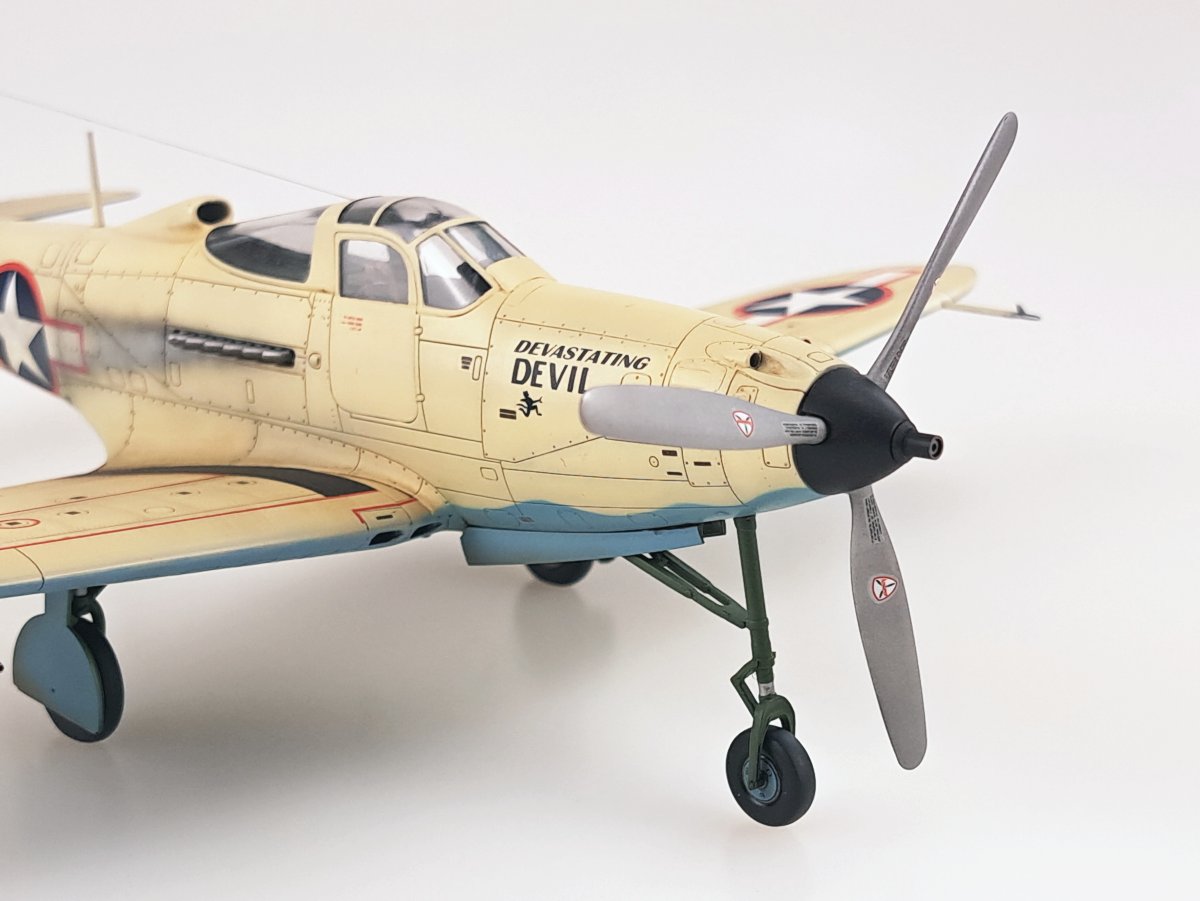
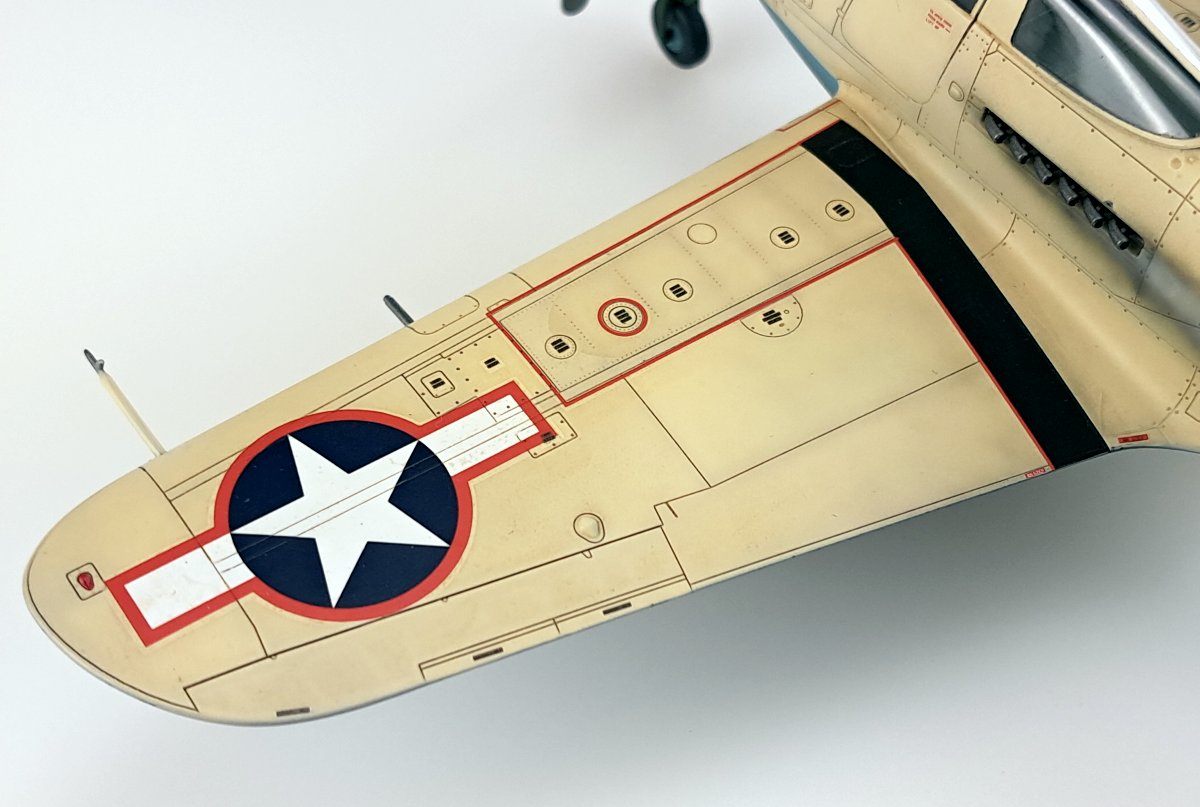
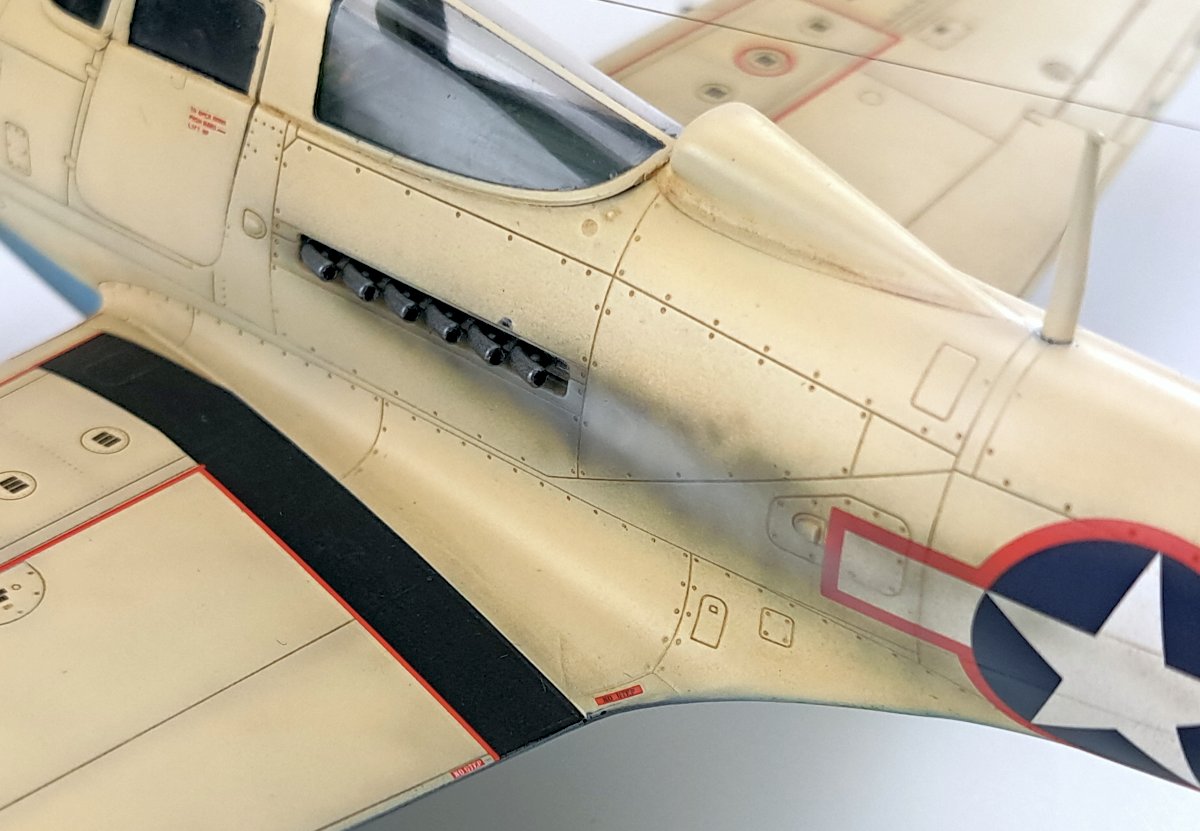
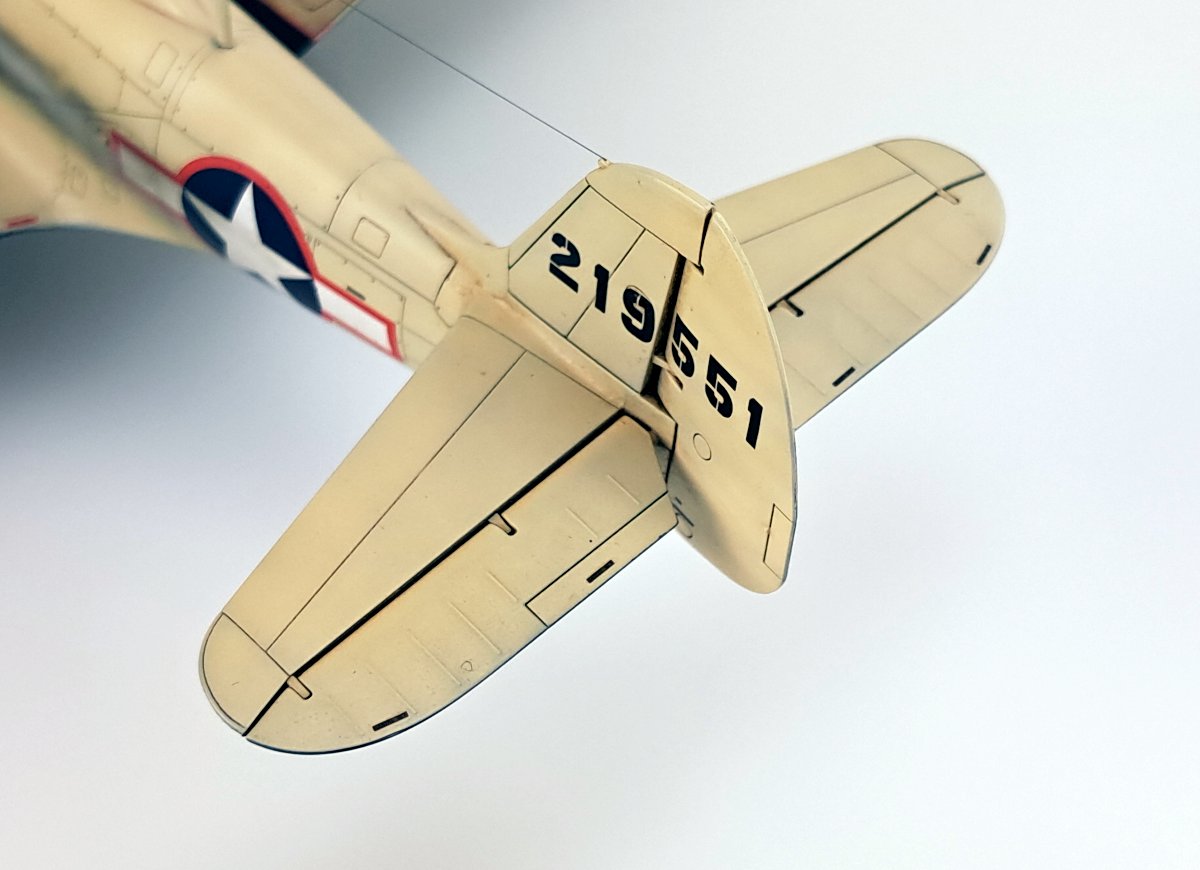
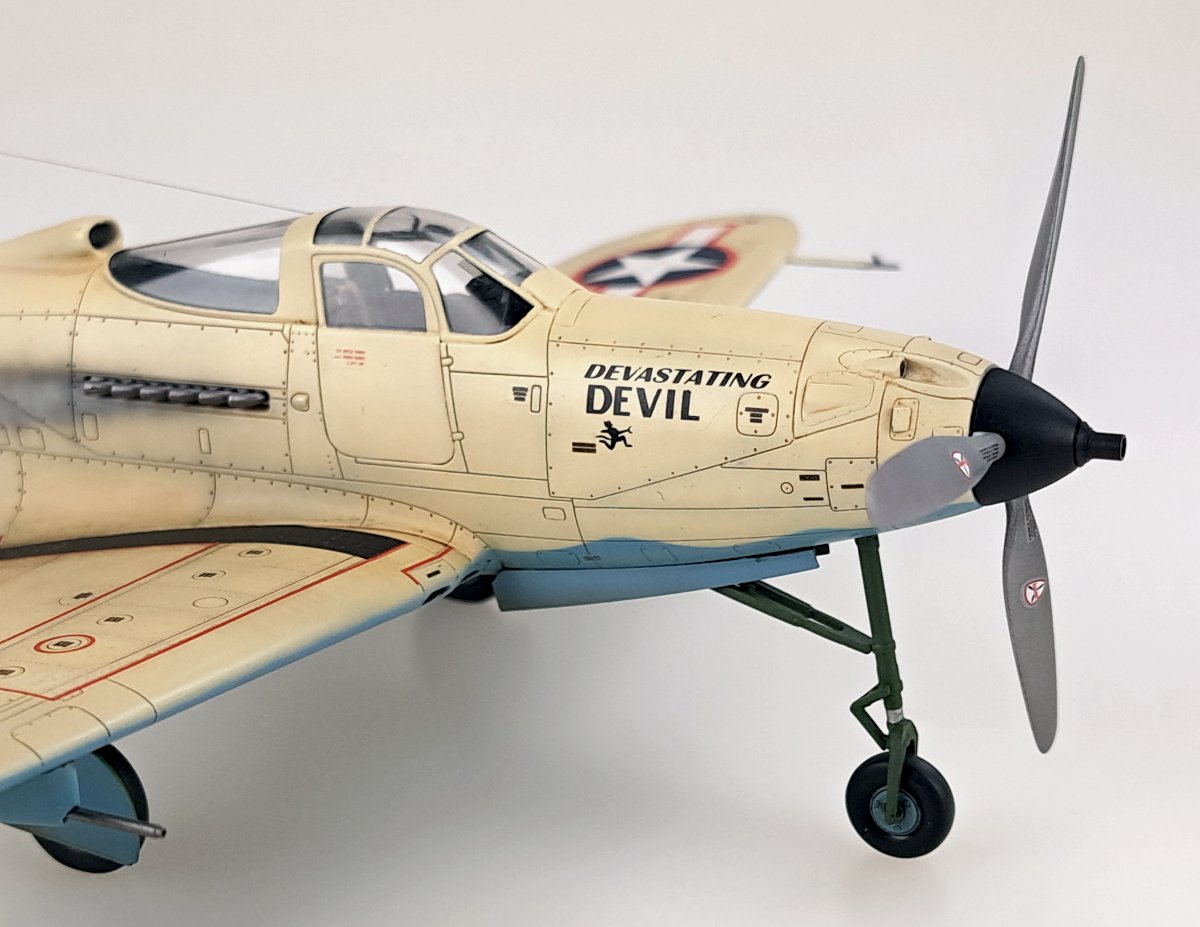
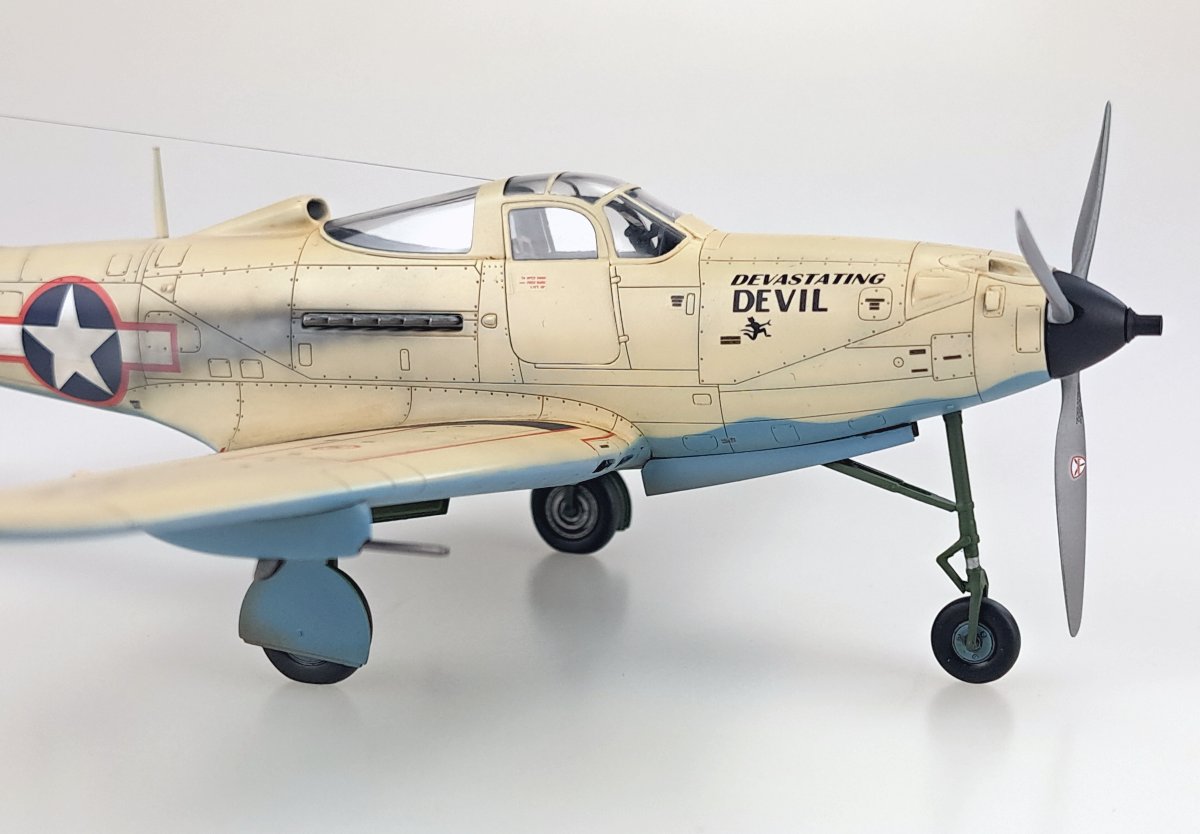
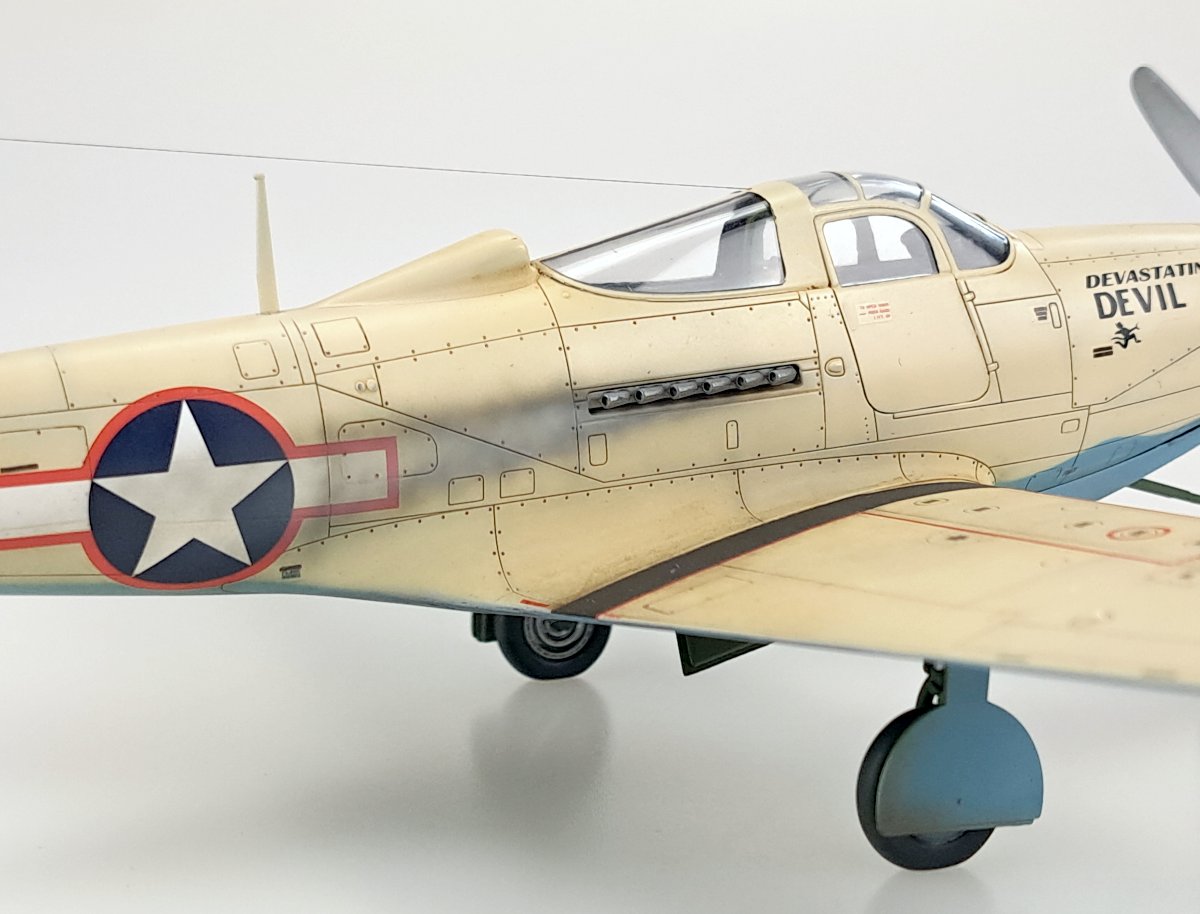
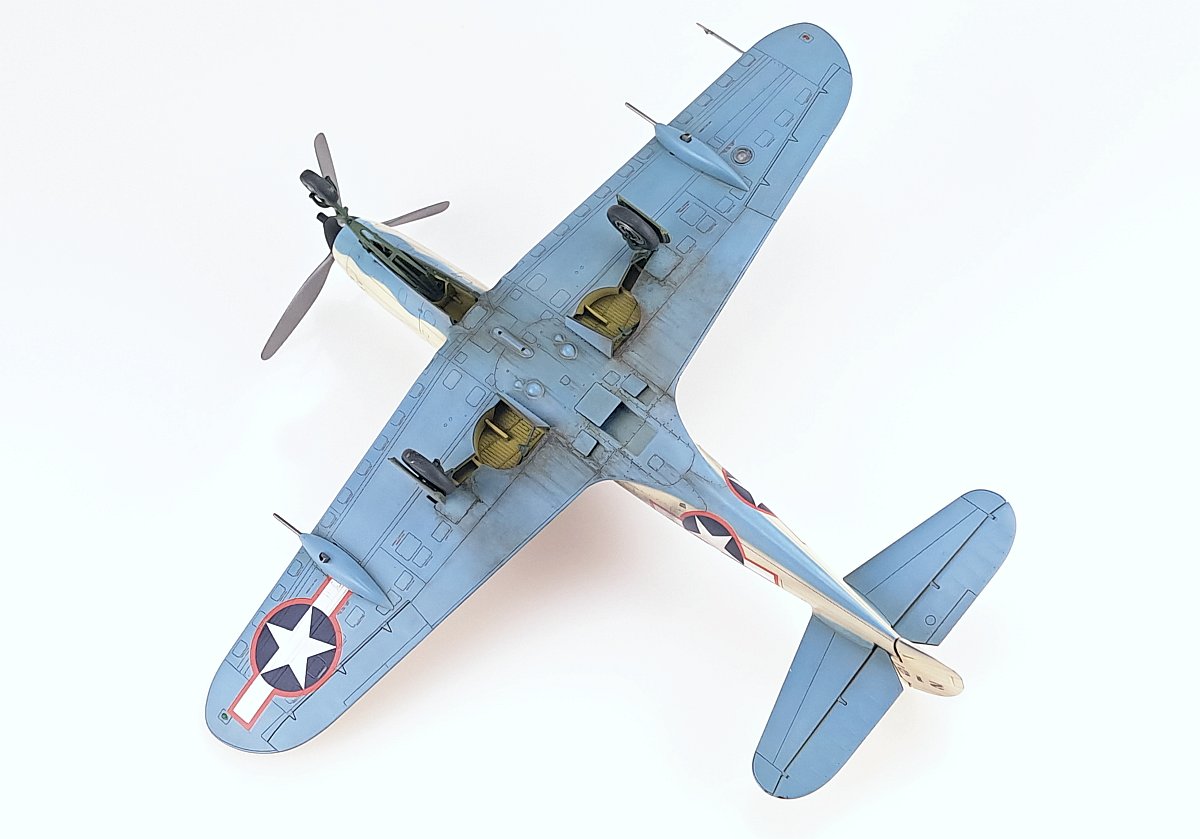
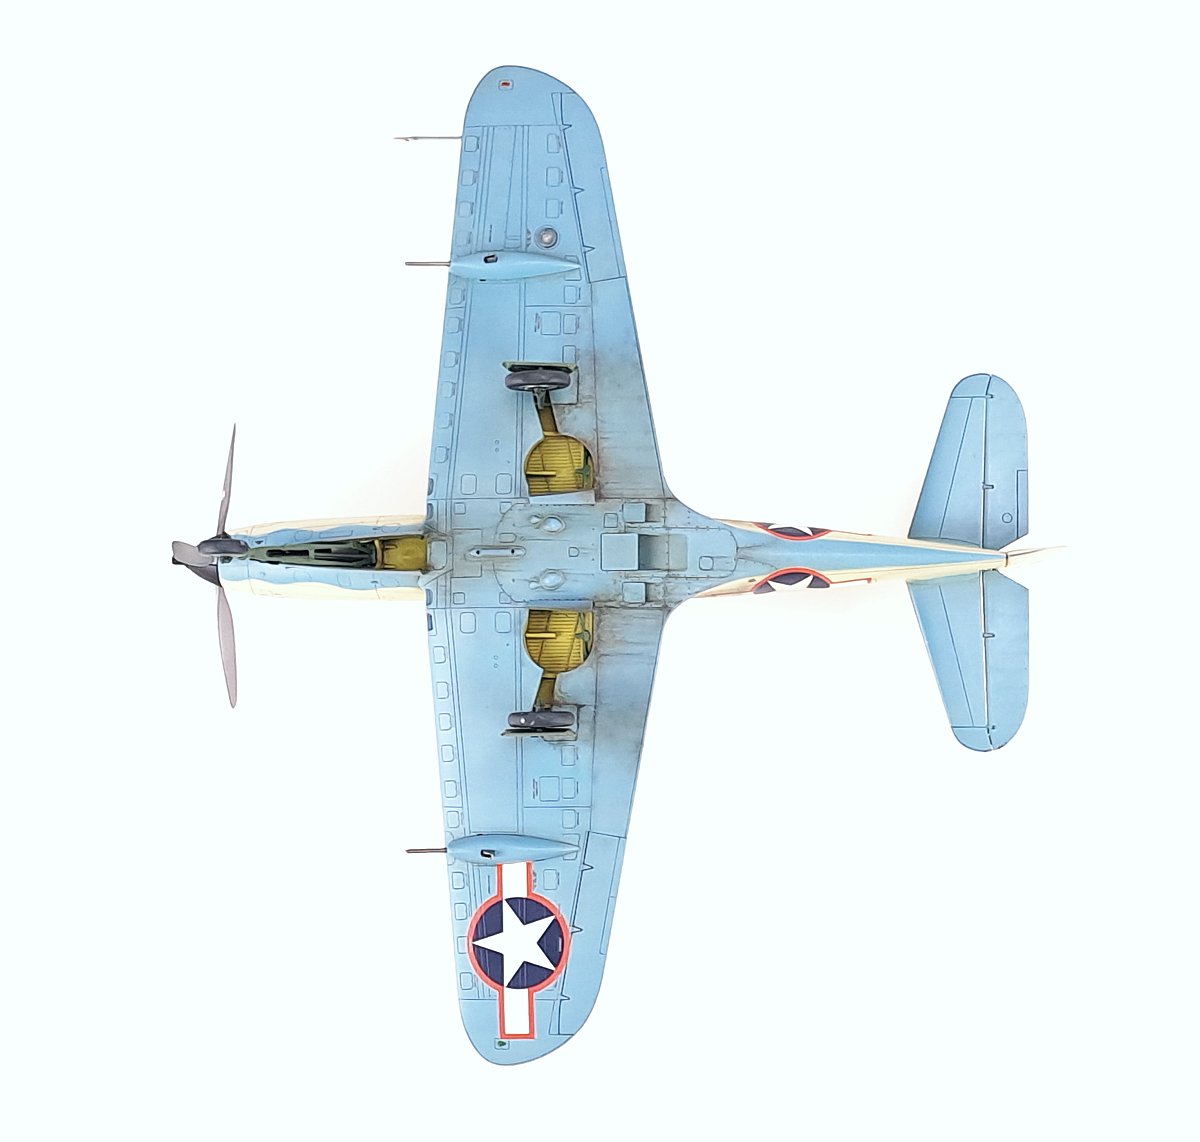
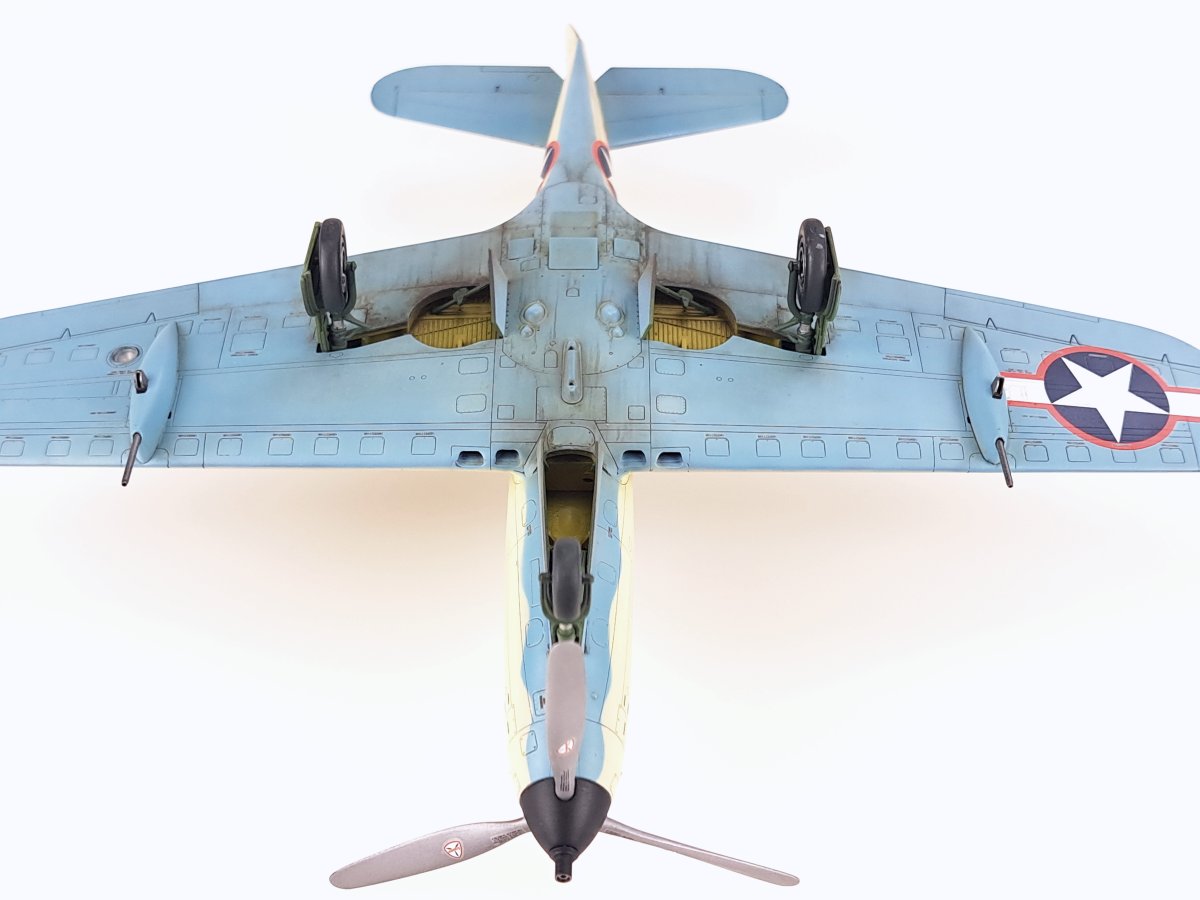
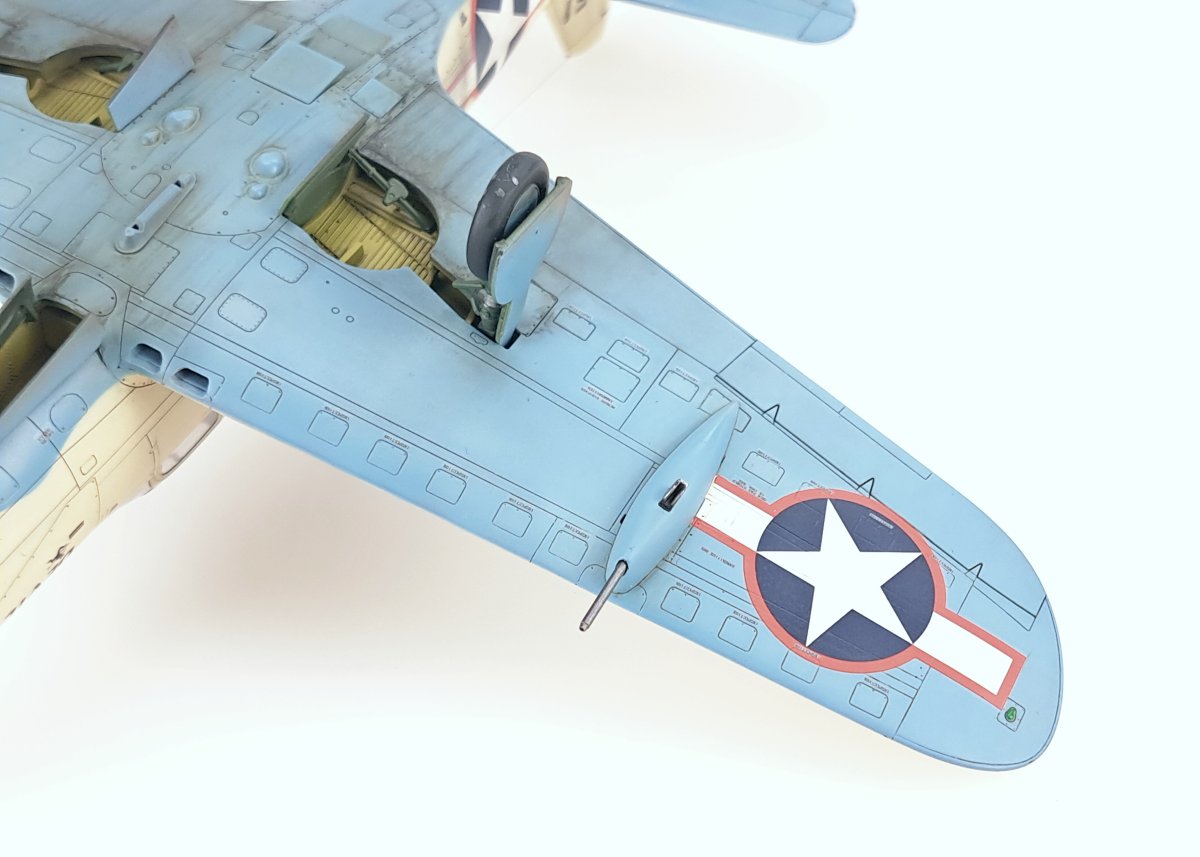
With the whole body of the model ready I set about painting. The top colour is Sand from the MRP line and the blue for the underside is a slightly tinted Air Superiority Blue from Gunze. After applying the decals and clear varnish I did the weathering. Wash is a brown oil paint, which I also used to make various streaks on the underside. I did the exhaust stains with an airbrush: black paint and then off-white.
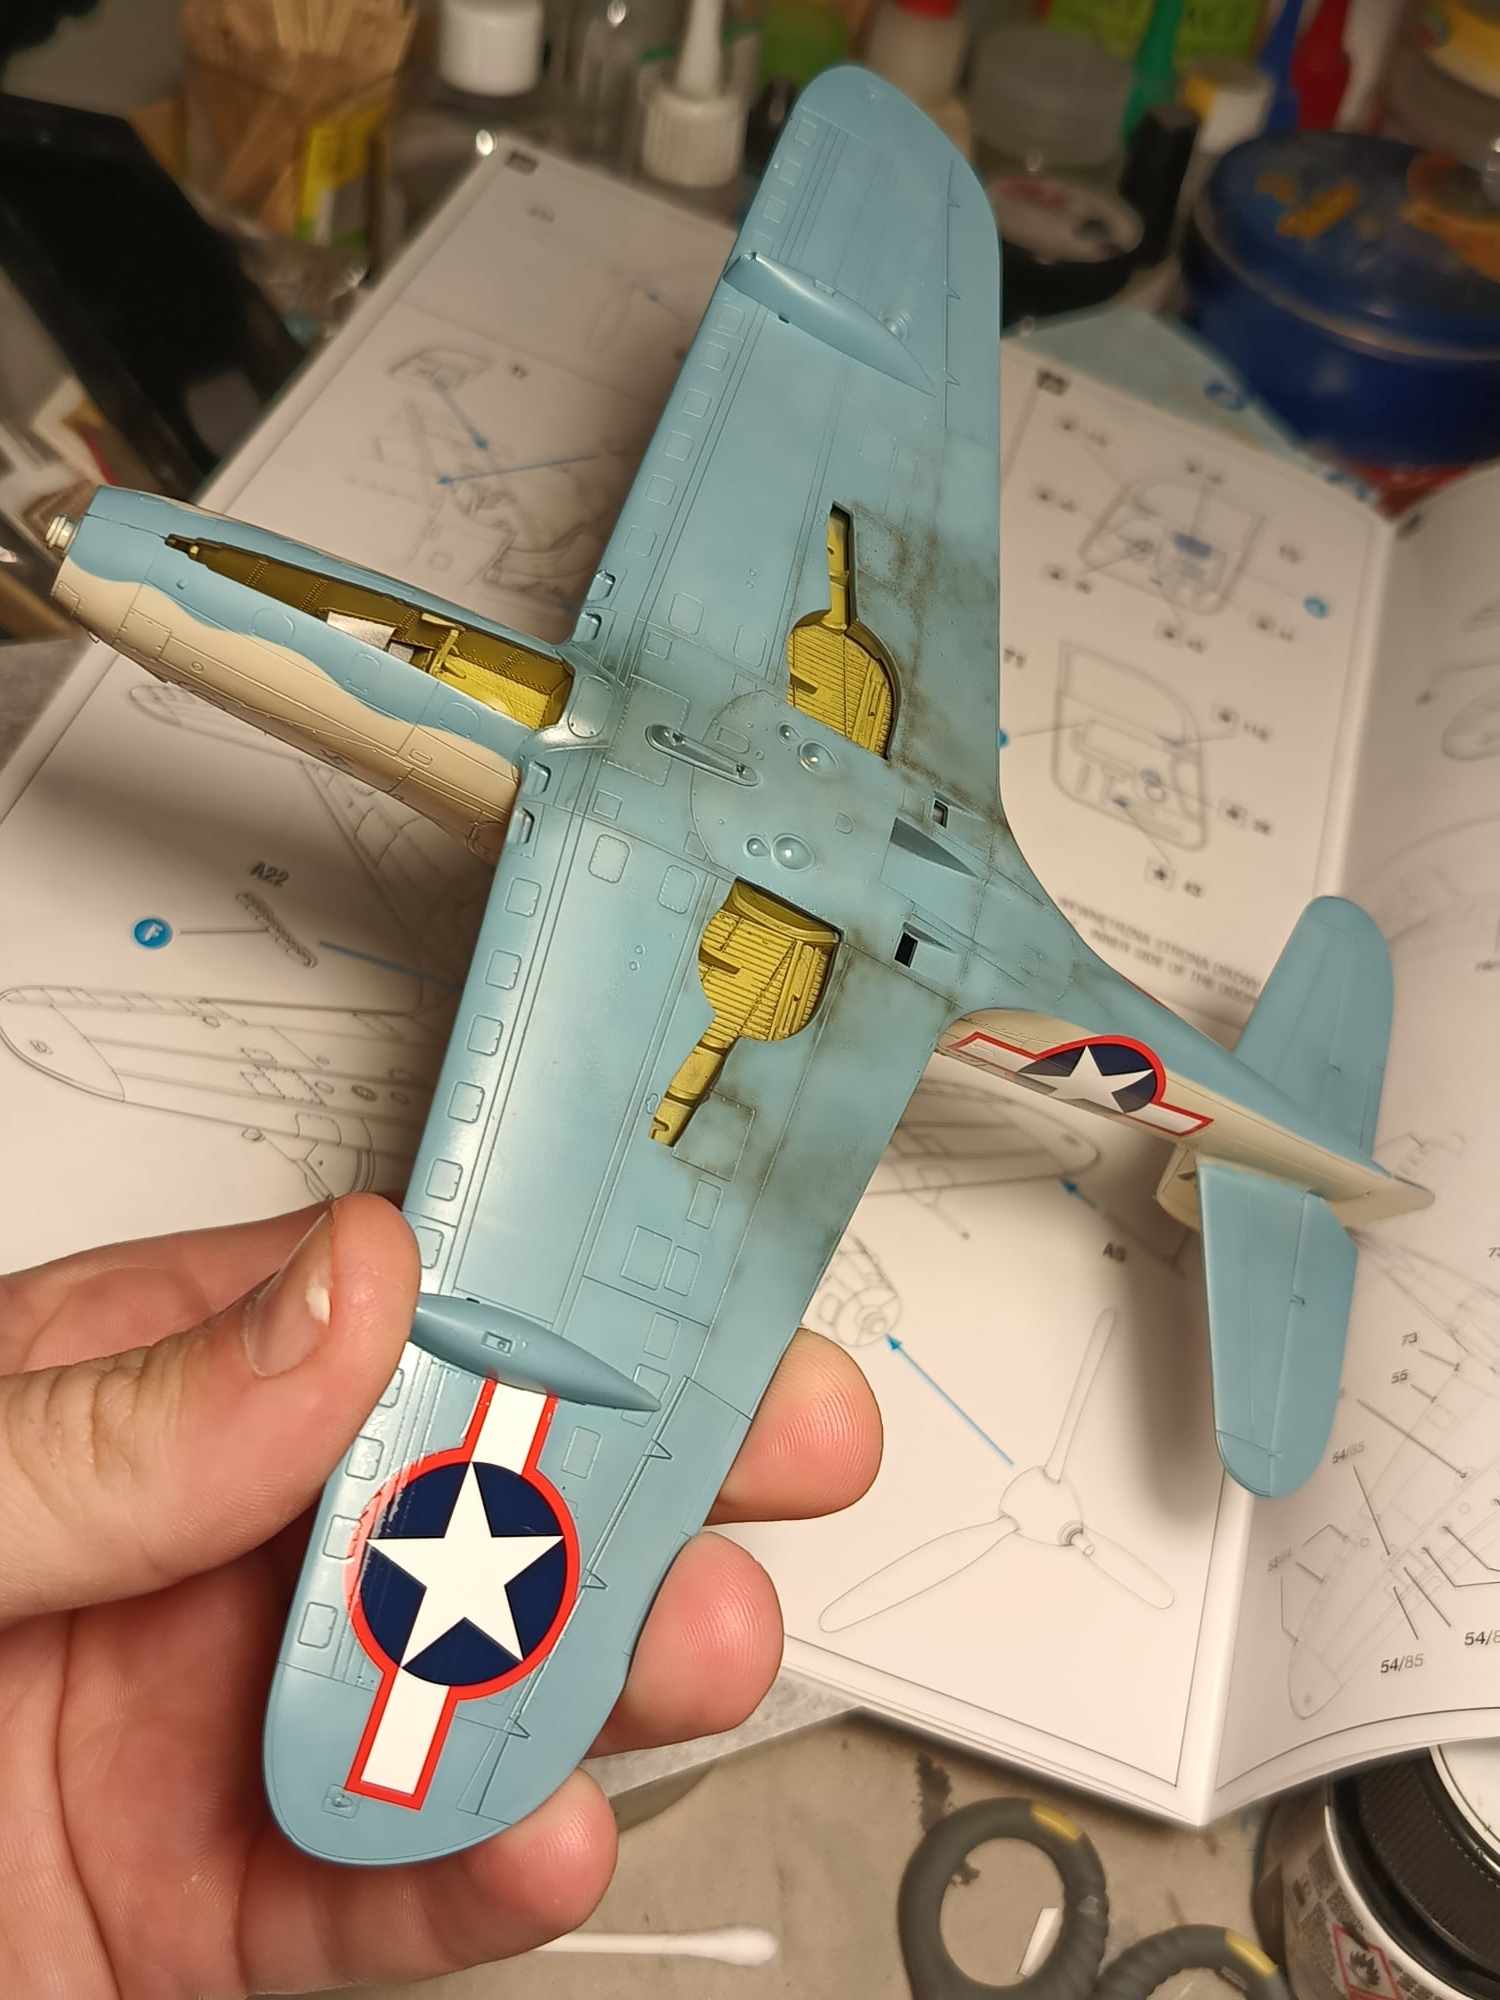
From my own improvements, I added the gun barrels in the nacelles made from aluminium tubes, drilled the kit exhaust pipes, added the antenna wire. Only the 37mm gun barrel was added from 3D printing.
P-39Q Airacobra 40010 1/48 – recenzja Hyperscale/Brett Green
See also:
Wanted to be Philanthropist, statesman and patron of the arts. Temporarily focused on developing scale model production in Poland. Co-founder of Arma Hobby. Designer of kits: TS-11 Iskra, PZL P.7a, Fokker E.V, PZL P.11c, Hawker Hurricane, Yak-1b, Wildcat, P-51B/C/D Mustang and 1/48 Hurricane.
This post is also available in:
 polski

