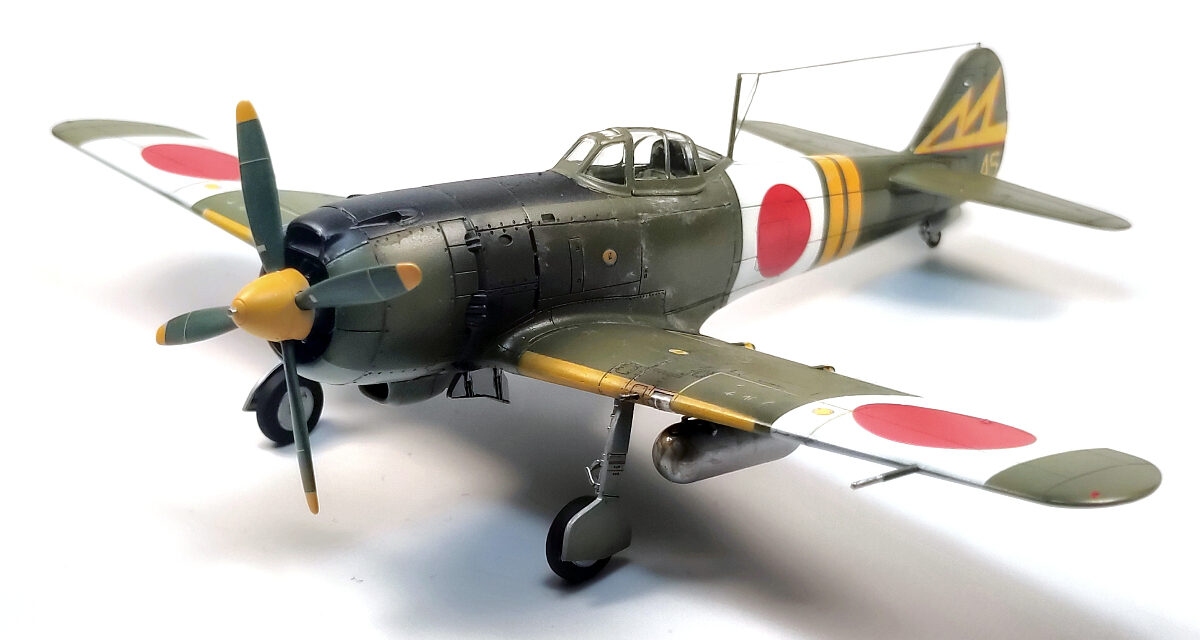
Robert Marciniak, a modeller, specialising in the 1/48 scale, decided to build a 1/72 Hayate model and was not disappointed!
Read what the 1/48-guy thinks about the Arma Hobby kit and check the photo gallery!
Robert wrote:
Some time ago, I had a break with the “royal scale” 1/72. Simplified structure, lack of details, errors in design, all this meant that my satisfaction with the end result was often insufficient. Reaching for aftermarket sets was always associated with additional costs, often exceeding the price of the base kit. For some time, however, the situation has changed radically. And for good. The offer of fantastically detailed ‘seven-twos’ is growing dynamically, and the fact that one of the leading companies in this trend is our native Arma Hobby, deserves special recognition.
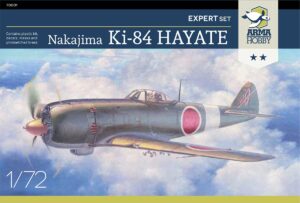
The Ki-84 Hayate 1/72 Expert Set was the impetus for the “little ones” to return to my workshop. I decided on it because the air force of the Imperial Japanese Army is one of the topics that have always interested me. Apart from the popular repackages (often of suspect quality) and short-series resin products, no Polish manufacturer has offered a similar, original set so far. So I waited impatiently for the model to be available.
The first, extremely positive impression from the review of the box’s contents was reinforced with the subsequent stages of an extremely pleasant and trouble-free construction. A finest, detailed interior, in which I was tempted to make only a slight modification, consisting of drilling holes in the pilot’s seat, motivated me to further work.
The stage marked with number 17 in the manual, i.e. the choice of the cockpit canopy position depending on the version of the aircraft (Otsu – B, or Ko – A), and thus the painting scheme, could have caused an apparent difficulty. From the very beginning, my choice was Ki-84 Ko from 3rd Chutai 47th Sentai, flown by Captain Hatano. However, I was not sure that by drilling a hole in part 21 (for the closed fairing), as recommended in the manual, I would get the same effect as in the original part 22 (for the open fairing). So I came up with the idea of cutting both parts (21 and 22) in the same places between the instrument panel cover and the fairing rail. I then glued the front of part 22 to the back of part 21 with glue, thus obtaining the correct version of the front cover (Ko) with the possibility of closing the canopy. A bit of putty and sanding effectively masked the joint. In the same way, we can make a canopy open for the Otsu version (photo).
I used various paints to paint the model. The upper surfaces are AK RC330, the bottom surfaces are my own, slight modification of the AK RC328. It was a challenge to fit a yellow paint (propeller cap, leading edges of the wings and stripes on the fuselage) to the shade on the decal (as usual, the highest quality, to which Techmod already accustomed us). I think that the mixture of Tamiya XF-3 and literally one drop of XF-7 shown in the photos fulfilled its role. I decided to leave the additional fuel tanks unpainted in the natural colour of the metal.


See also:
Ki-84 Hayate – galeria premierowa – Wojtek Bułhak i Marcin Ciepierski
Virtual Editor, guest post publisher. When blog authors fall asleep he works unnoticed to improve website content quality.
This post is also available in:
 polski


