Preparations for launching the Hawker Hurricane Mk I model in the 1/72 scale have almost reached the end. On the last Friday, the first test shots were made. See how the details came out and share your opinion with us.
The first injections are always a trip to unknown. At the beginning it goes reluctantly, the parts usually do not cast well. Testing the various settings of the injection moulding machine with error recording takes some time. Then a few corrections to the plastic inlets, parts revision and subsequent rehearsals. This is how the next week of work will look like. If everything goes as planned, we hope to launch sales next week. The models would be dispatched at the beginning of December. Let’s go to see the most raw injections, before the corrections.
Test injections, parts fit and details
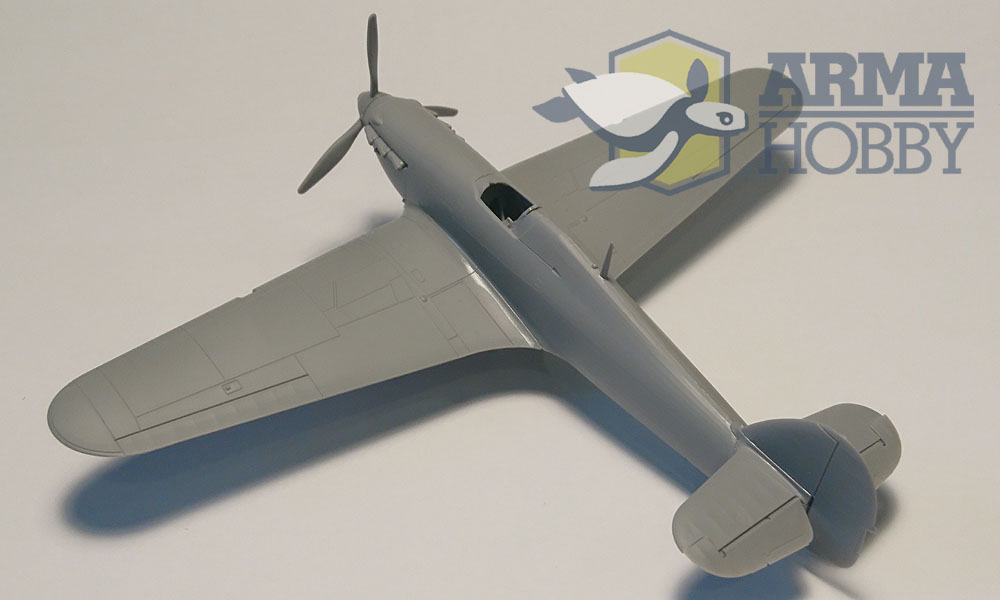
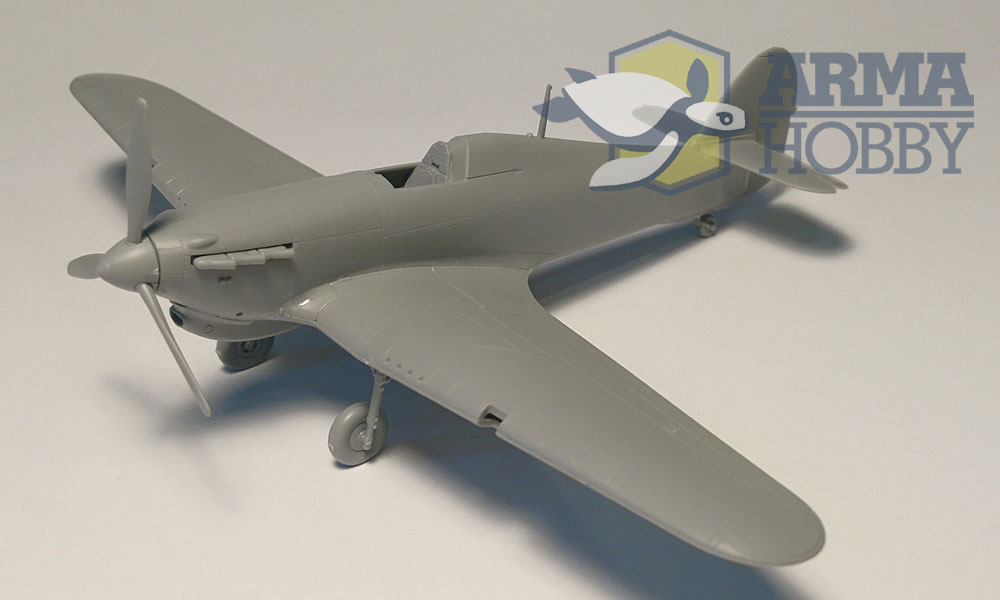
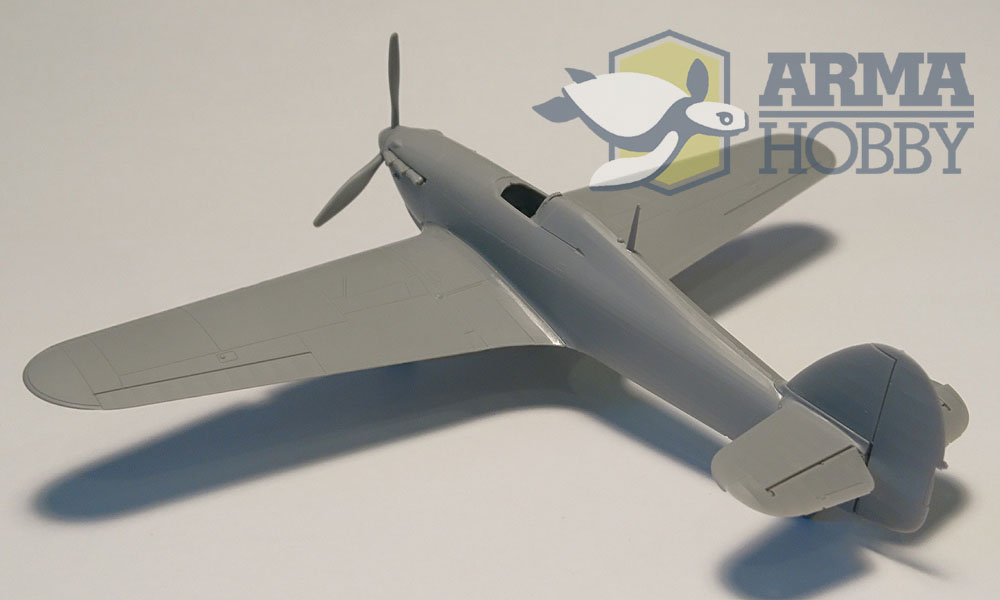
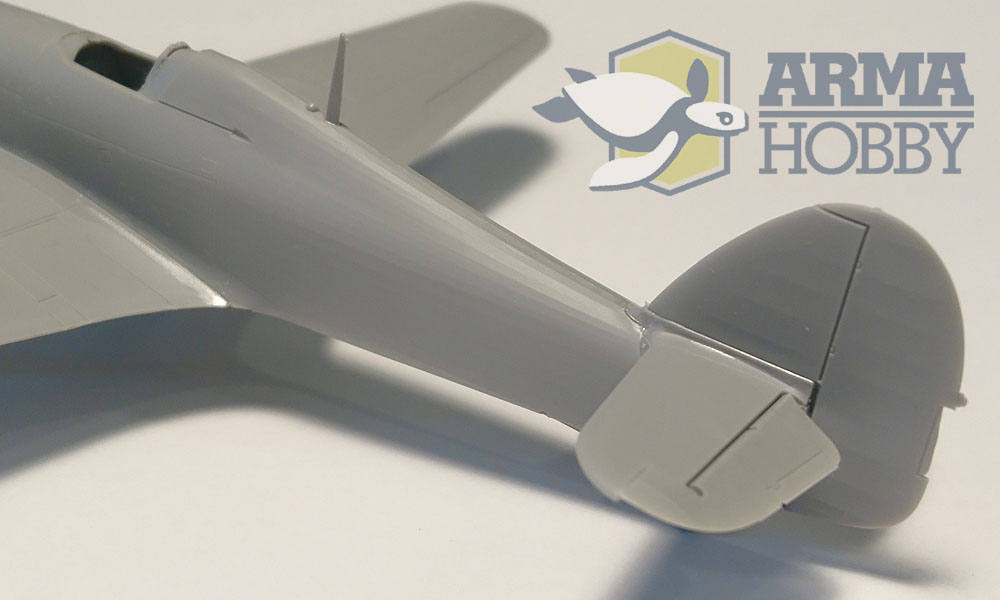
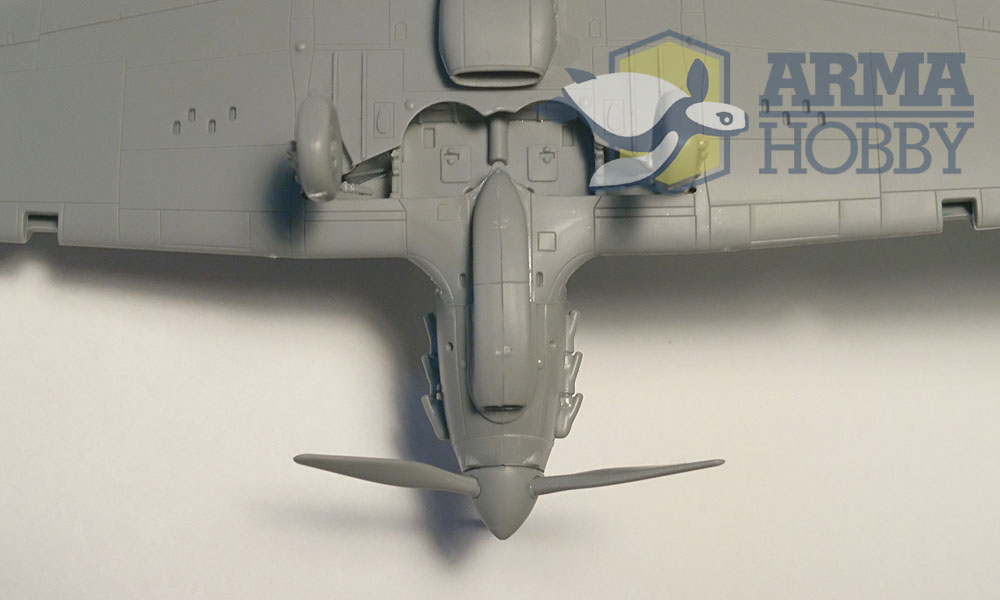
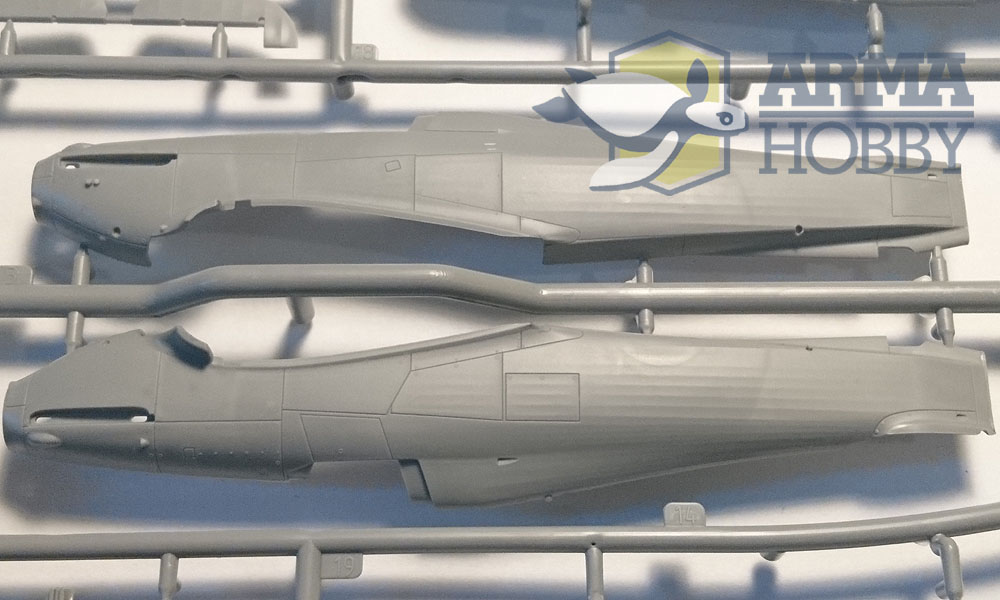
The model was built from test shots. Not all parts were coming out the way we wanted, not everything was filling up properly. The assembly goes without problems. The fitting of parts is user-friendly.
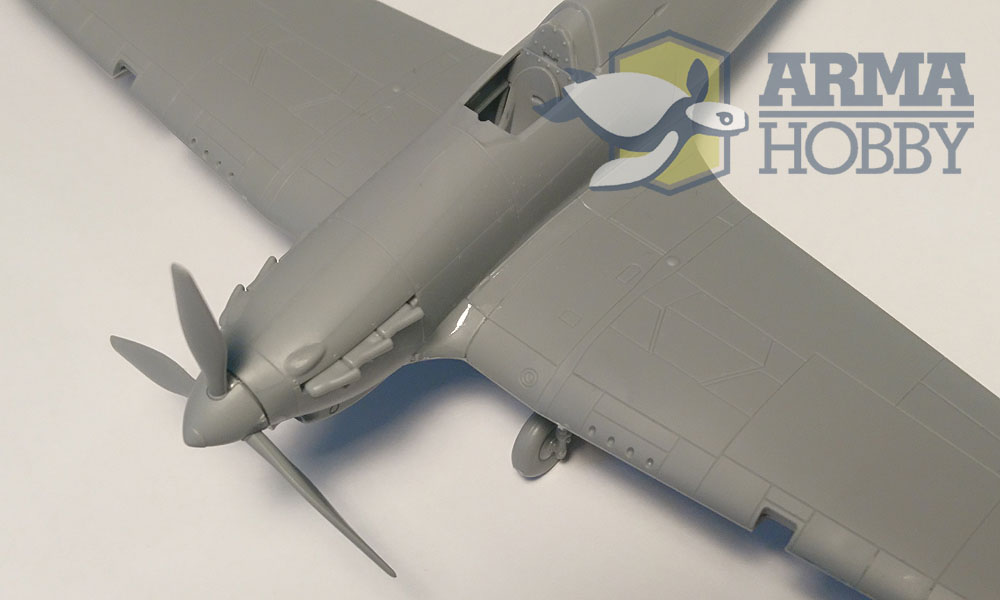
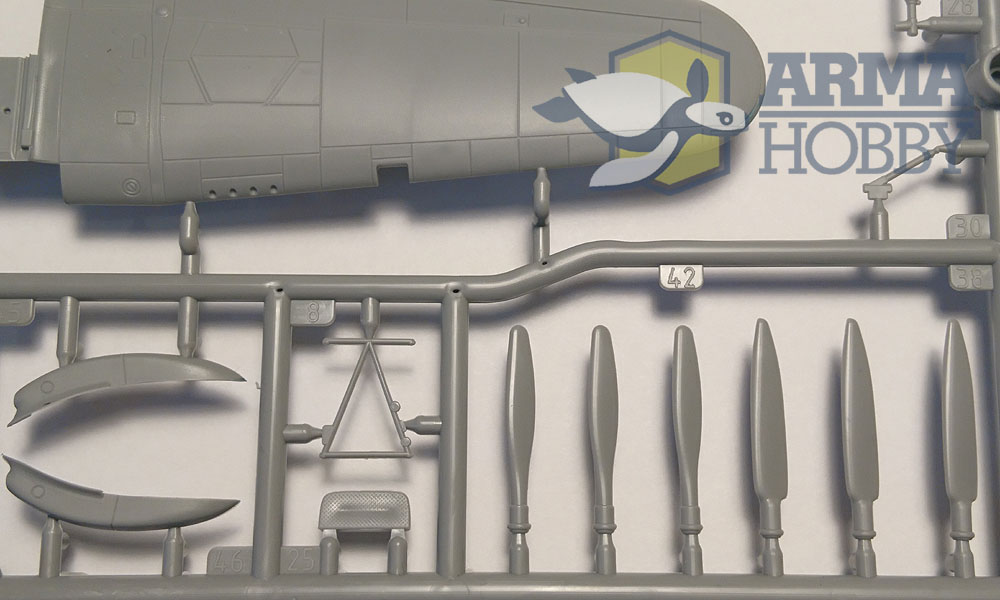
The advantages of the model are delicate panel lines, clearly better than in the P.11c model kit. The imitation of canvas on the fuselage and control surfaces came out very well. In my opinion it is better than in other 1/72 scale Hurricane models. Surface is rich with details like subtle round latches (dzuses) and raised rivets. There will be where to make wahses and test weathering tricks!
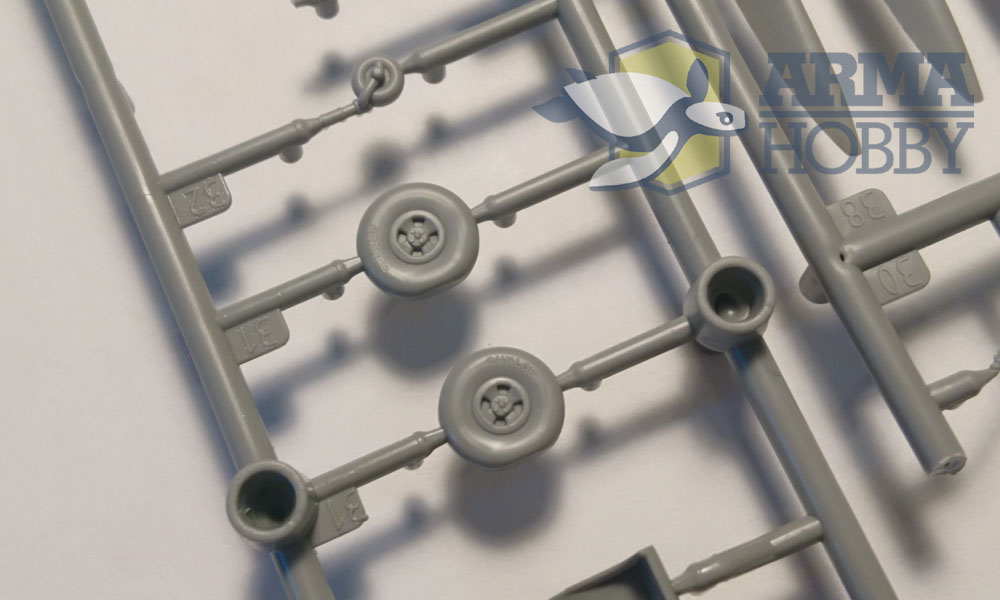
The interior of the undercarriage bay has well-developed Hurricane look and the cockpit has a level of detail proper for 1/48 scale. The main wheels are cast as weighted, and the inscription “Dunlop” is reproduced.
Parts corrections
After carefully looking at all the parts we found only a few things to improve in the model. The bottom of the radiator has a bit too thick panel lines and a slightly asymmetrically outlined outlet flap. We plan to electro-drill them “clean” with a copper electrode again. The radiator will then be approx. 0.15mm deeper and the part more symmetrical. This will not affect the assembly, because the mating surface is on the other side. We also have to “draw” canopy rails – two raised parallel lines on each side to be done by simple milling. On the left engine cover a subtle ridge appeared during electro drilling, hopefully it will be reduced.
Model parts quality
In my opinion, after examination of the test injections, it looks like we have a detailed, well-fitting Hurricane Mk I 1/72 scale model that is easy to assemble. A few small fixes and the model goes on sale! How many Hurricanes do you plan to build?
See final plastic parts here
Modeller happy enough to work in his hobby. Seems to be a quiet Aspie but you were warned. Enjoys talking about modelling, conspiracy theories, Grand Duchy of Lithuania and internet marketing. Co-founder of Arma Hobby. Builds and paints figurines, aeroplane and armour kits, mostly Polish subject and naval aviation.
This post is also available in:
 polski





Huuuurra !!!
?????
This looks very nice indeed.
I agree that it looks like it will be the best Hurricane Mk I in 1/72nd scale.
For some years I have been unhappy with other manufacturer’s efforts.
Too ‘toy’ like
Also, no matter what other people say, I don’t think anyone, for a while, has captured the correct nose shape of the Hurrucane.
I think you have.
Keep up the good work. I would like one in time for Christmas ? ?!
?
Best regards
Anthony
I liked the nose too, and the fuselage fabric effect. Overall it looks very good. If I may make a few minor suggestions to investigate: I’d check under the tailplane where the fuselage changes section to narrow to the rudder post – is this change of section actually a little further forward? Should there be a little tag to the rear of the radio mast where the aerial attaches? Should there be a clear panel line where the fin leading edge meets the main body of the fin?