
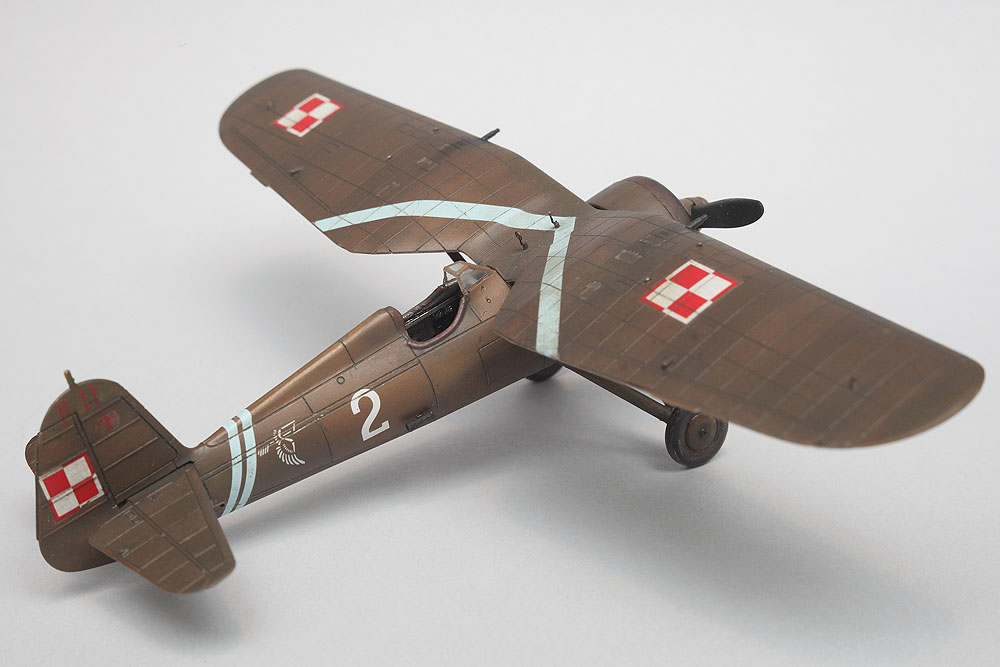
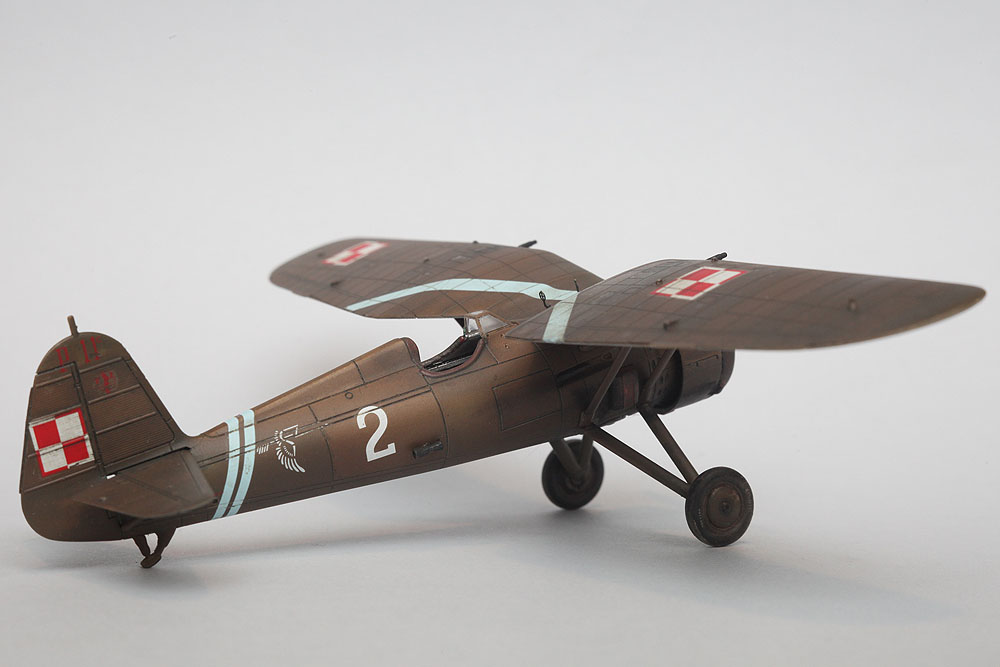
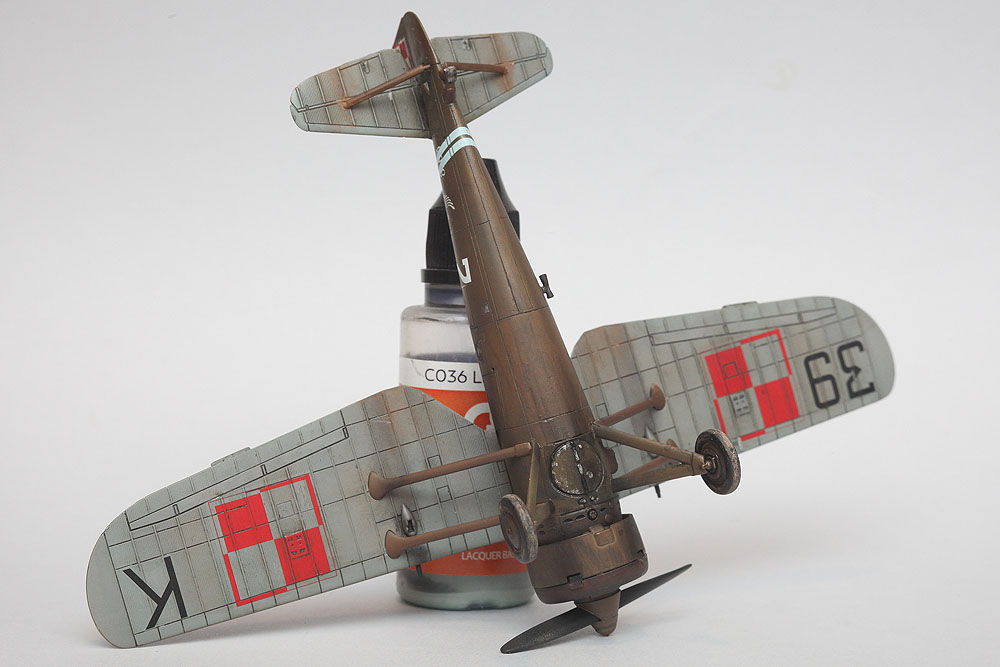
It is a great pleasure to present the first assembled and painted PZL P.11c model kit. The basic set – Junior Set, was built in only three days from cutting out the first parts to finish painting and weathering. See photos and find out how this mini replica of the famous fighter is building together.
The model has been built “straight from the box” – so I did not add any super detailing, even wire antennas. I focused on the painting to show what can be achieved with kit parts only. I assembled the test shots, and some parts of the model were not well cast, which can come out in the pictures.


.
Assembling the PZL P.11c
The first impression is very positive, parts are more comfortable to cut and clean than the PZL P.7a. The fuselage interior and the cockpit are easy to glue. The pilot’s seat is enriched with pilot straps from the photoetched parts. The instrument panel looks good after applying the decal.
I assembled the model in three painting components: a fuselage with a tail, a wing and an engine. I painted them separately and glued together only at the end, after applying the decal and after the weathering. I painted small external details and wing struts individually. I stuck them after assembling the main components. I masked the cabin and the inside of the fuselage with tissue paper which I strengthened with Vallejo’s mask. I secured the windshield with the masks from the Expert set. In the Junior Set instruction manual you can find a mask pattern for self-cutting from masking tape.

.
Painting elevens
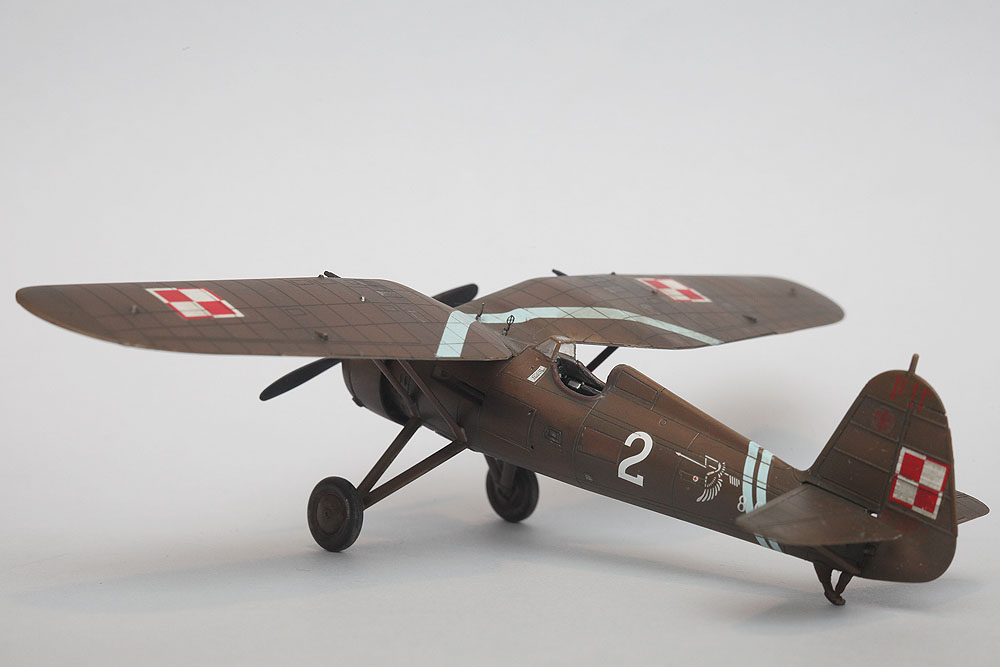
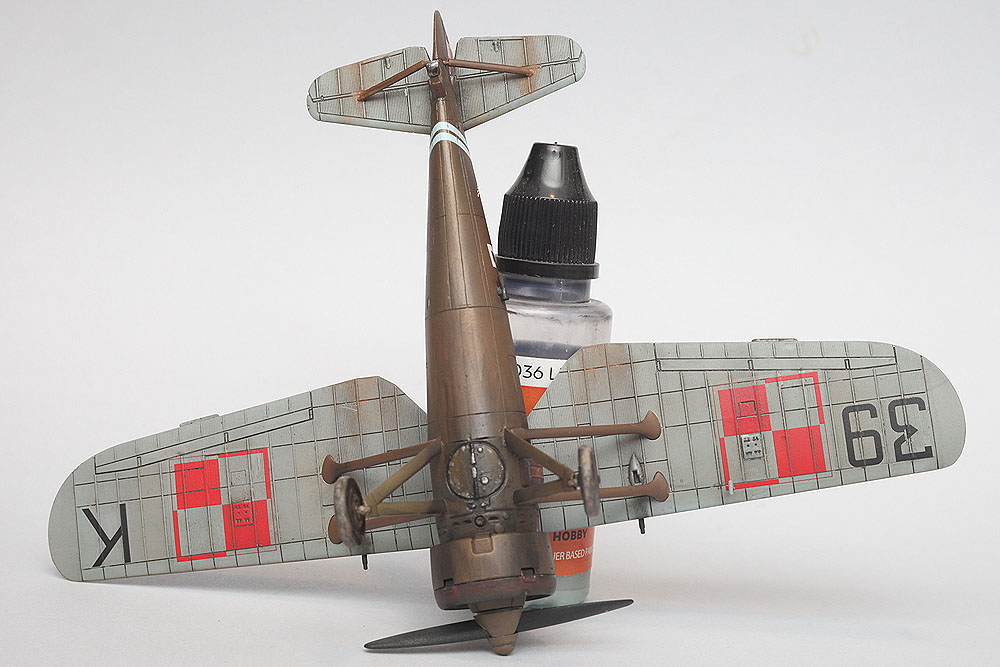
I used Hataka Hobby Orange Line cellulose lacquers for painting. I started with the aluminium colour. Next, I masked the selected panels of the aeroplane with masking tape and Masking Fluid Vallejo. Once again, I painted unmasked panels in different colours, light blue, sand and green. After removing the masking, I got a mosaic of different shades. In the panel lines, I used black enamel wash – Panel Line Accent Color Black from Tamiya.
Now it’s time to paint with the primary colours of camouflage. First, gray-blue on the lower surfaces of the wings and the tail, then the Polish Khaki Late for the rest of the surface of the model. I covered the whole with a layer of Clear lacquer Orange Line. After drying, I put on the decals.


.
Techmod decals
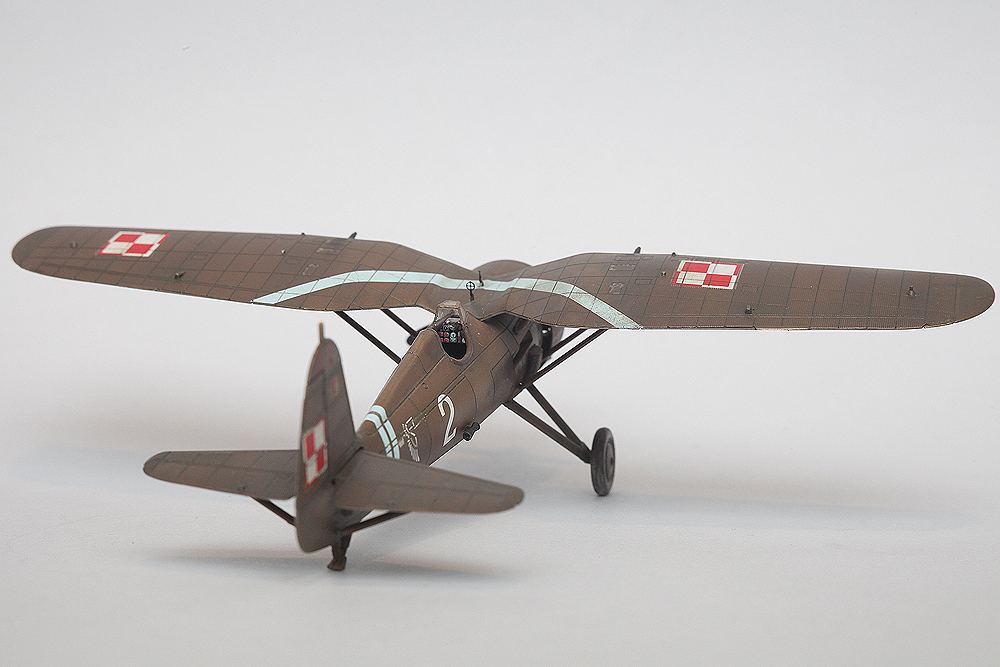
 Techmod decals in the P.11c Junior Set have been produced in a new, stronger formula. They are easier to move on the surface of the model. You can lift the big checkerboard with a brush and move it to a different place without a problem. The challenge for decals is the complex surface scribing. That is why it is important to cover it to a glossy lacquer coat and the use of decal liquids (in this case, Microscale). Techmod Decals, despite stiffness, well went into the panel lines and even in the corrugated panel grooves. The new formula meant that it also withstood ad hoc pressure in the panel line with a fingernail or toothpick.
.
 Advertisment
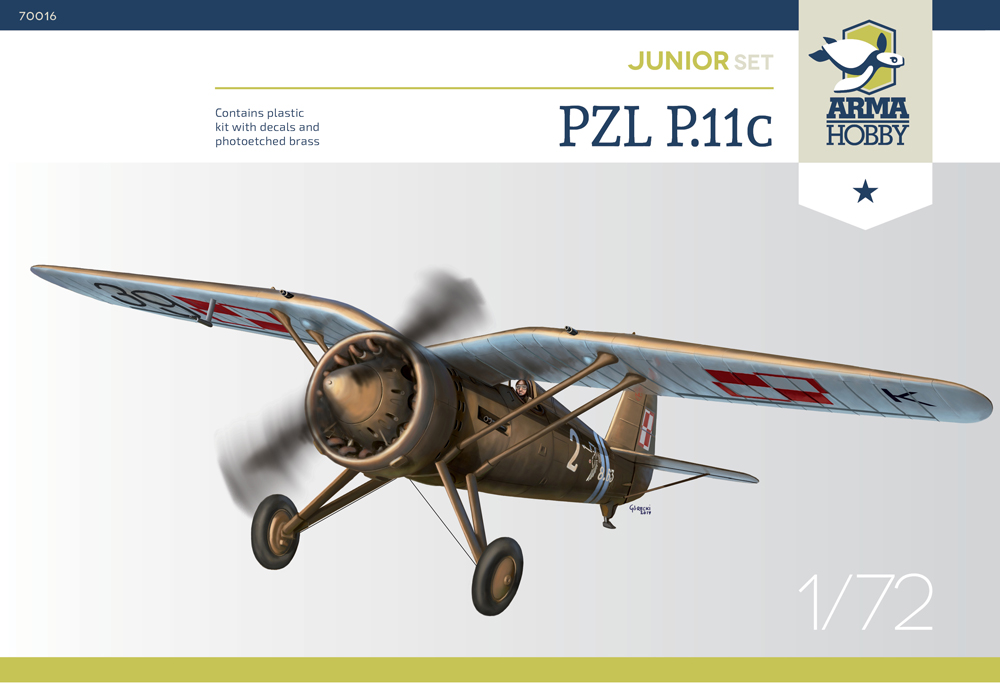
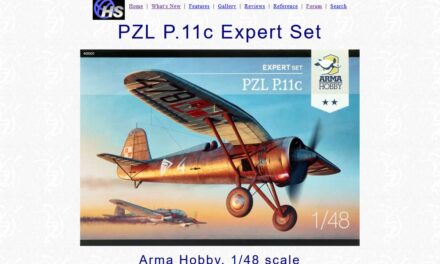
70016 PZL P.11c Junior Set 1/72
Buy PZL model kits in Arma Hobby shop.
.
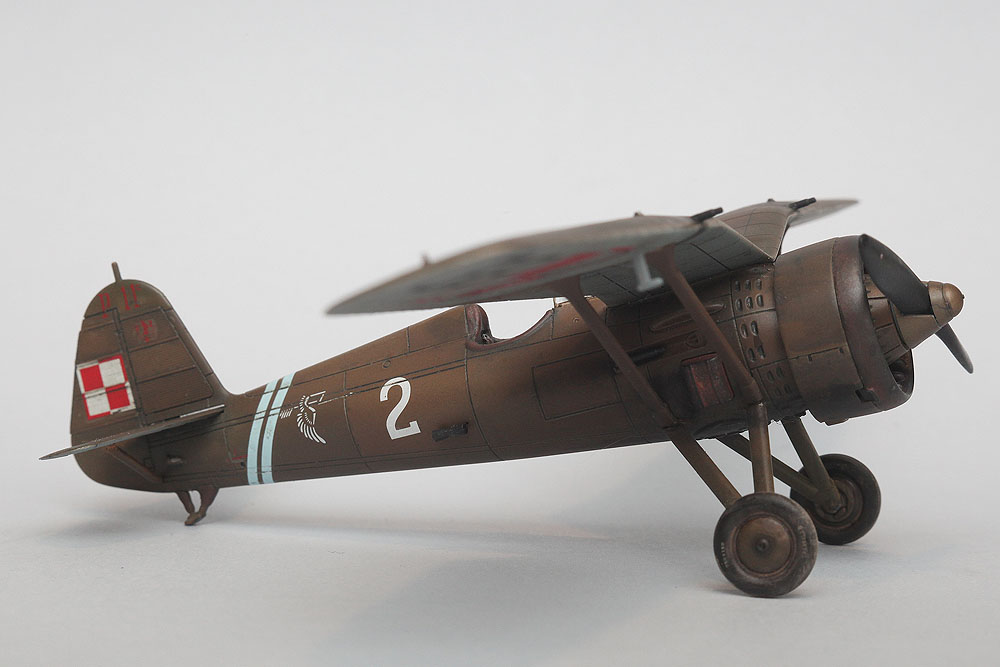
Weathering
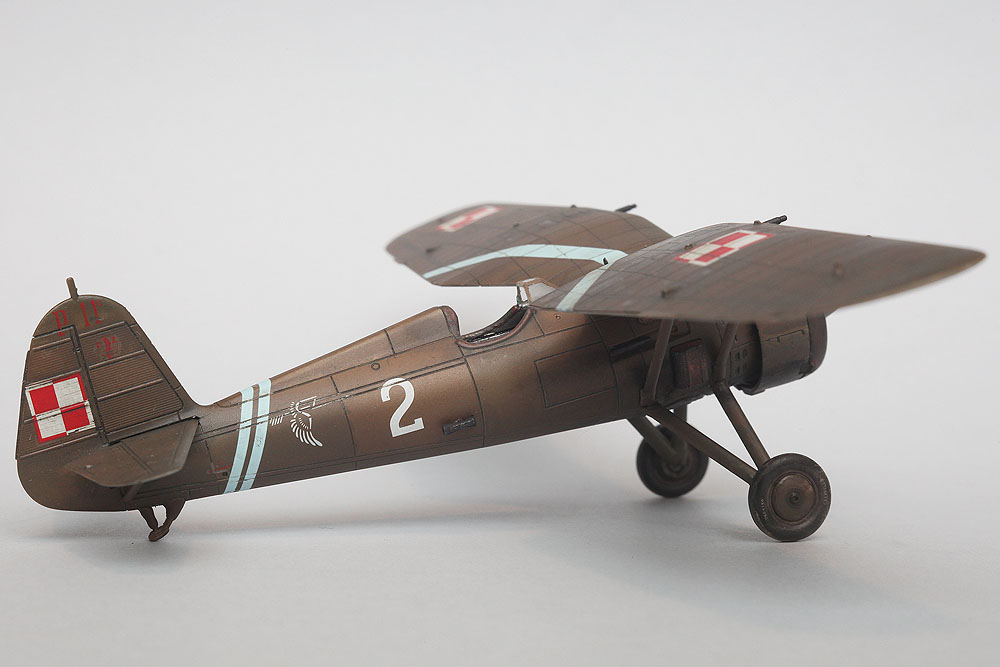
After the decal has dried, I painted them with a clear lacquer. After drying, I smeared the oil paint from Ammo Mig – Oilbrusher Starship Filth on the whole model surface. It is a dirty colour similar to a dusty truck chassis or Olive Drab. I preferred Starship Filth but not black, because it gave subtler shades of panel lines. After a few minutes, I wiped the model with a tissue and covered it with Hataka Hobby semi-gloss lacquer by airbrush. P.11c were shiny in the original. I chose a semi-gloss shade to maintain the scale effect.
Additional weathering was done with the use of the Tensocrom Rust and Burned Brown on the engine and exhaust manifold, later enhanced with a pencil or graphite pigment. Also the Oil Stains from Lifecolor and various pigments for smoke stain or dusting.
.
Summary
Of course, I’m not objective. I can, however, write that the model was going together nicely and I am happy with the effect achieved in such a short time. If you have any questions about model or just you want to share opinion – please post comment below!
All photos by Marcin Ciepierski
Modeller happy enough to work in his hobby. Seems to be a quiet Aspie but you were warned. Enjoys talking about modelling, conspiracy theories, Grand Duchy of Lithuania and internet marketing. Co-founder of Arma Hobby. Builds and paints figurines, aeroplane and armour kits, mostly Polish subject and naval aviation.
This post is also available in:
 polski

