
I was asked once what Arma Hobby kit is the best. The answer was simple: the next one. It is precisely the same with Yak-1b kit. Quality of designed model kits develops like learning: repetition is crucial. When you examined a hundred plastic kits, you would never learn about model kit design as much as when you designed a few of them. How to understand better part division, moulding surfaces, runners arrangement? It needs a lot of effort and going through stages.
Quality improvement
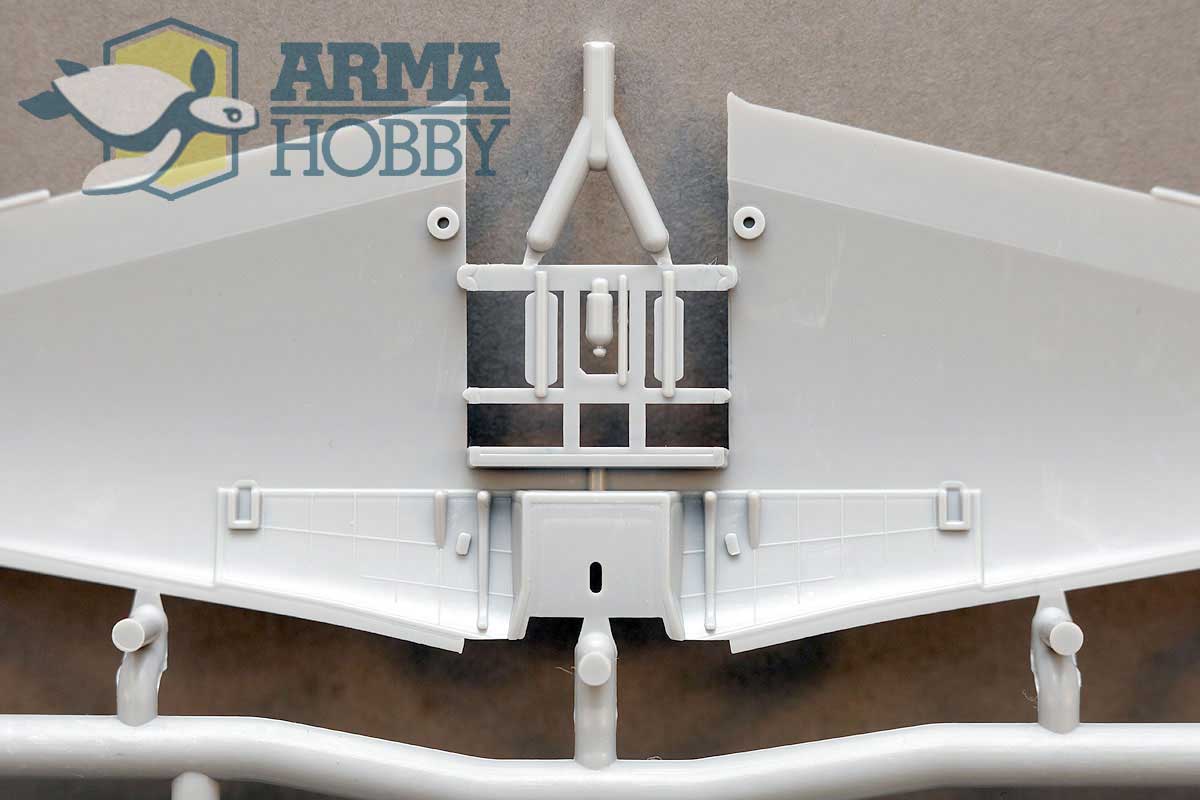
Yak kit quality is a result of experience with Hurricane Mk I. When working on Hurricane I ha dan experience with recessed detail like panel lines. So it was a good start to work with raised details. I’ve learned what tolerances of the parts fit are needed to make it a pleasure to build. Also, some parts division ideas were tested at this stage. Especially my favourite horizontal stabilizer. All lessons learned resulted in our latest kit appearance.
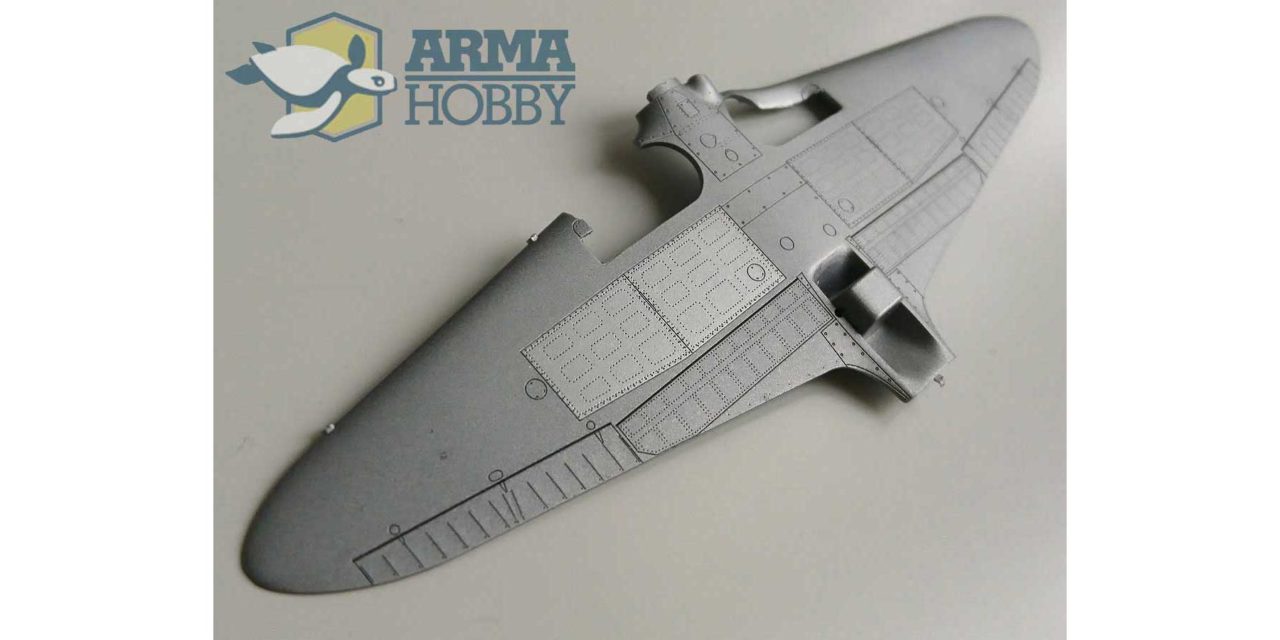
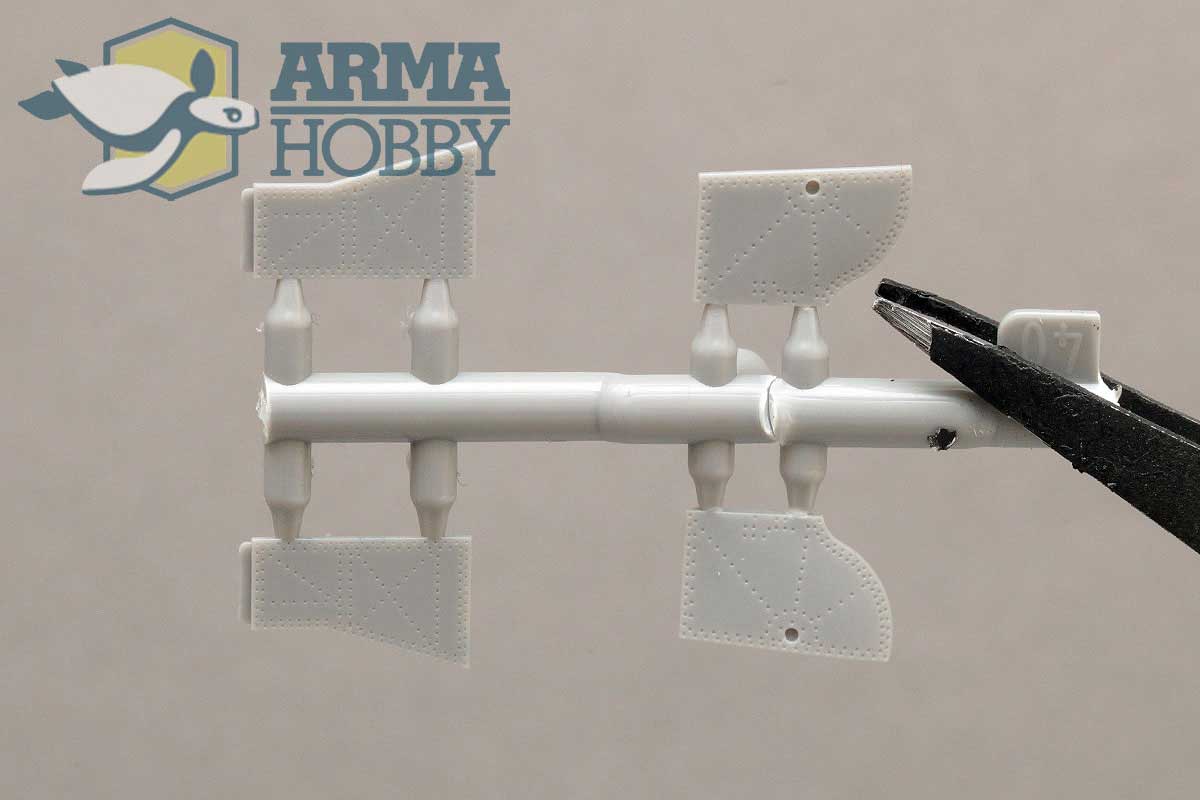
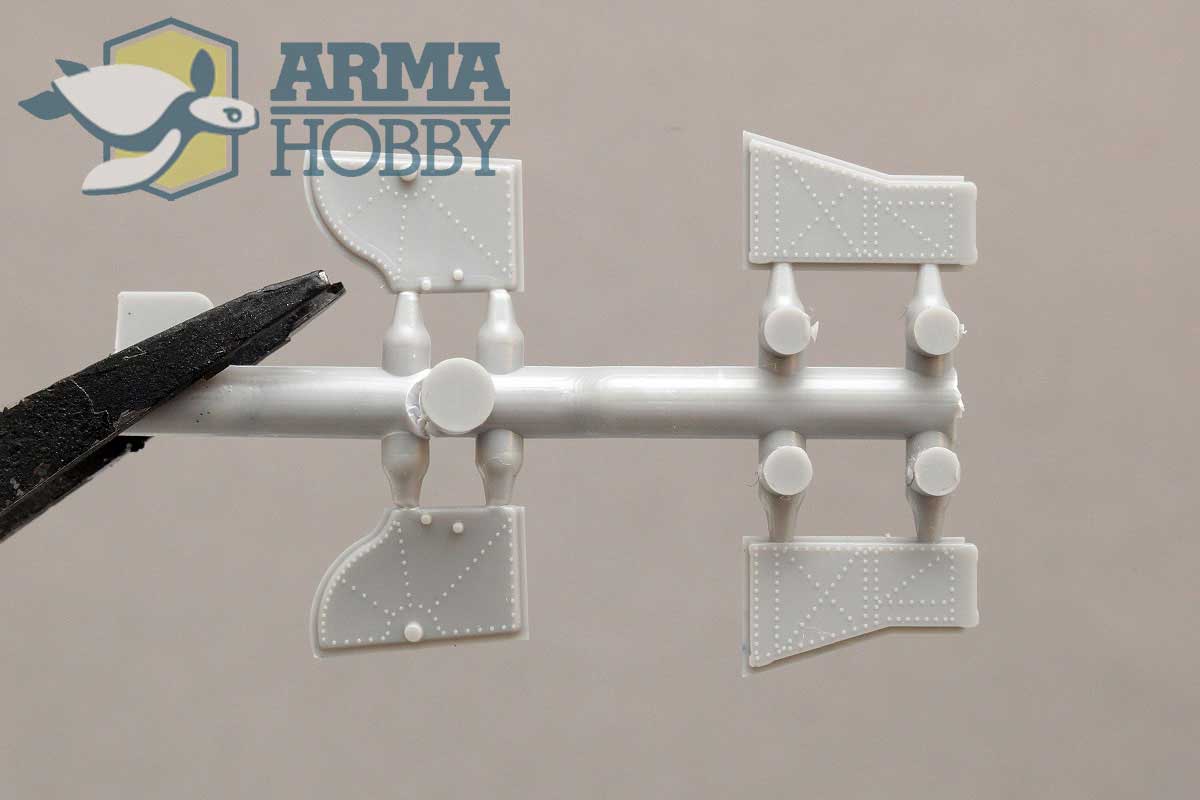
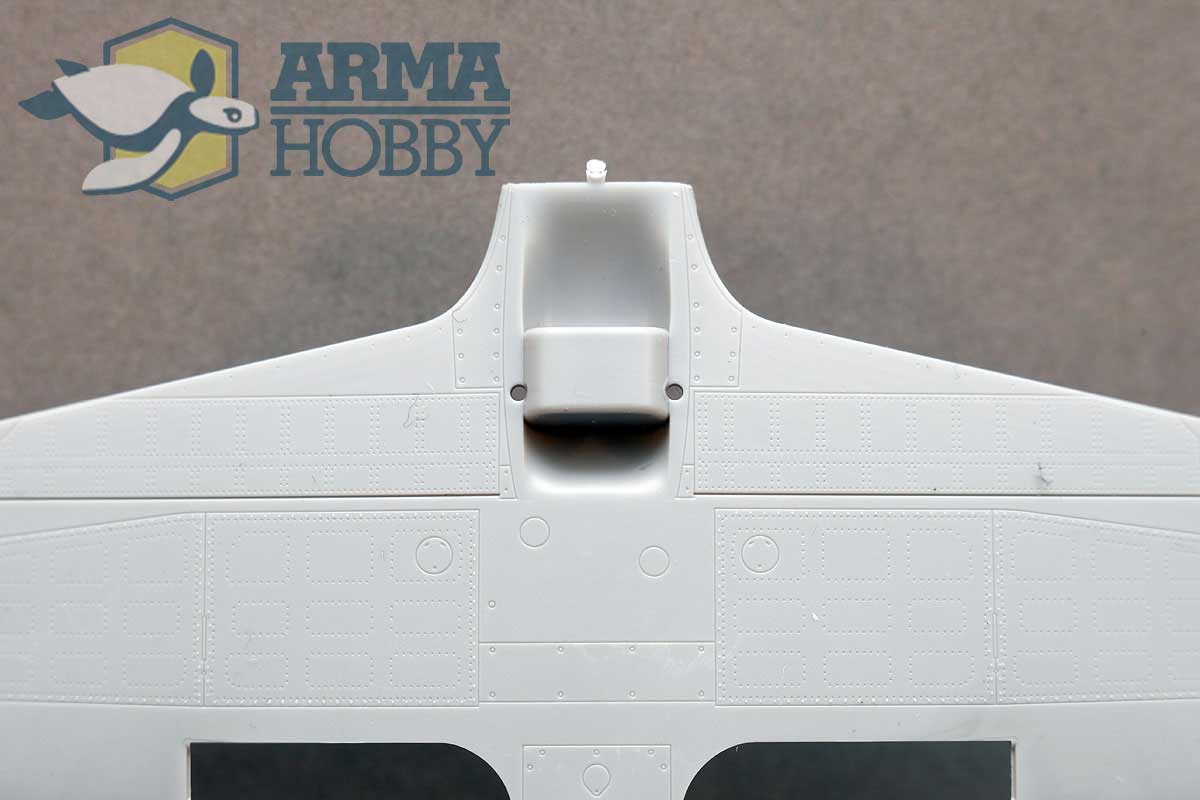
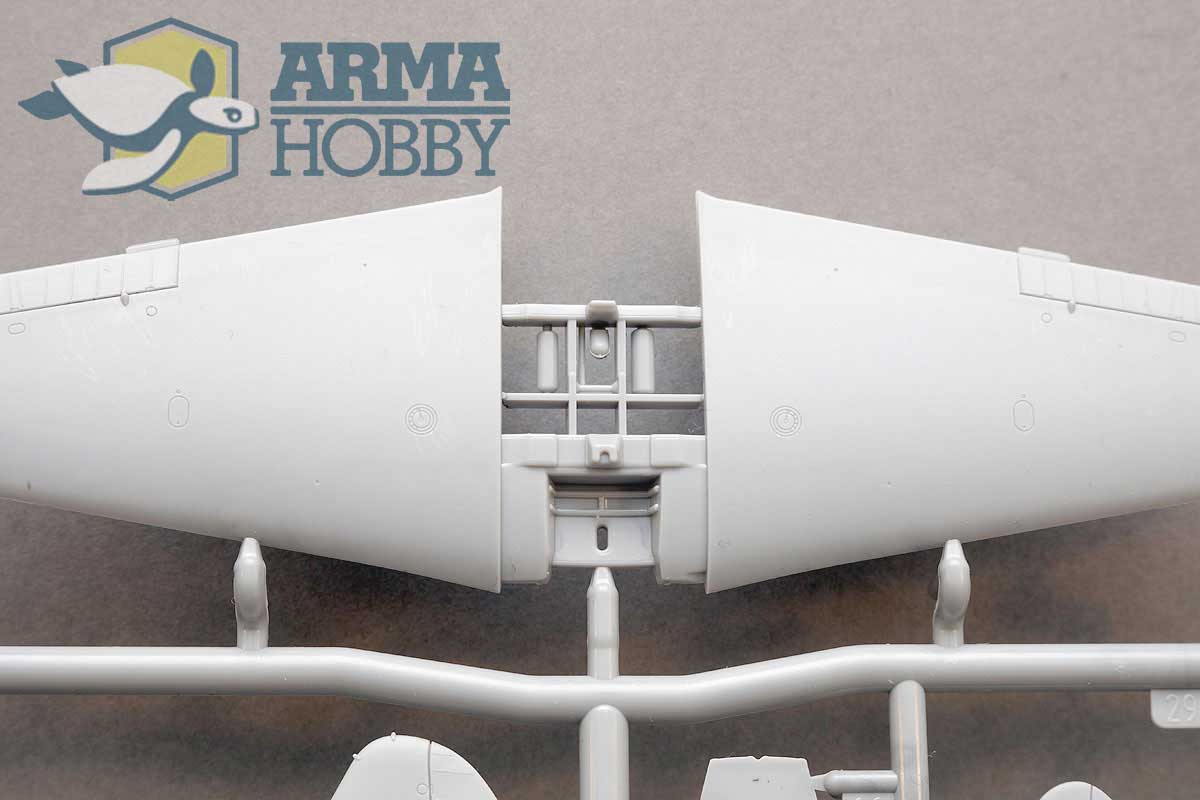
Recessed and raised details on the wing under surface
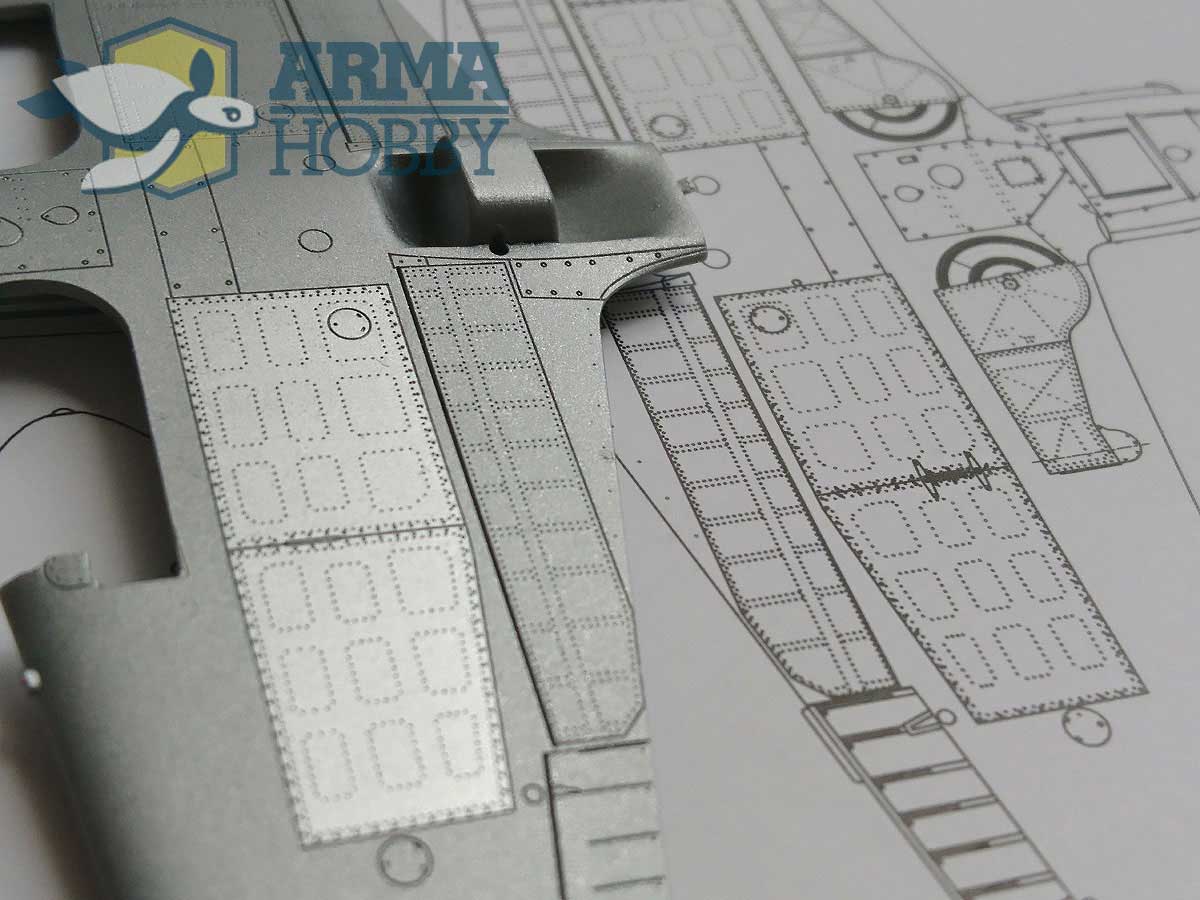
Who will count all rivets?
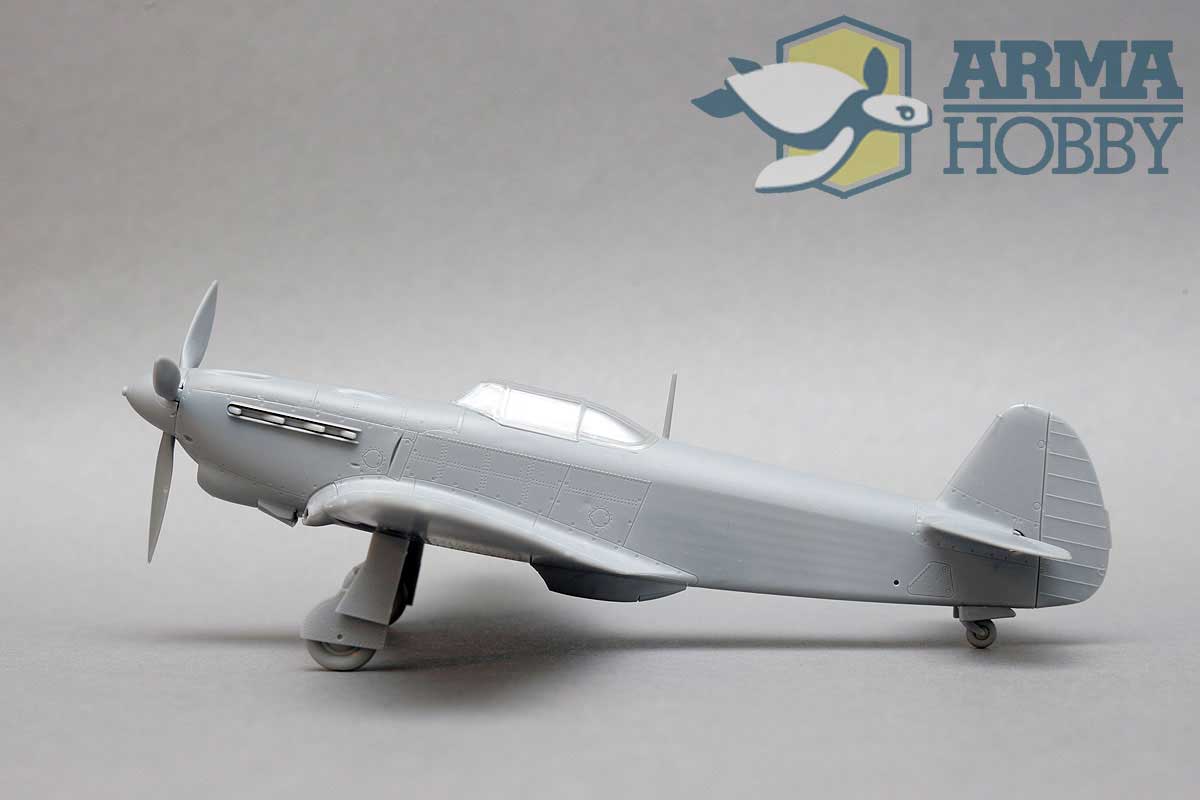
When I started the Yak kit design, I knew it is a time to test rivets. Yak airframe is relatively smooth, and I would describe it as a boring one. So any details possible were needed to saturate it. Metal panels like fuel tanks cover on the wing undersurfaces, and access panels etc. were enriched with recessed and raised rivets. Thanks to them the model received a detailed look, and even rivet counter would be satisfied. I did not count rivets anyway, but tooling engineer did. He had to click on 3300 rivets in process.
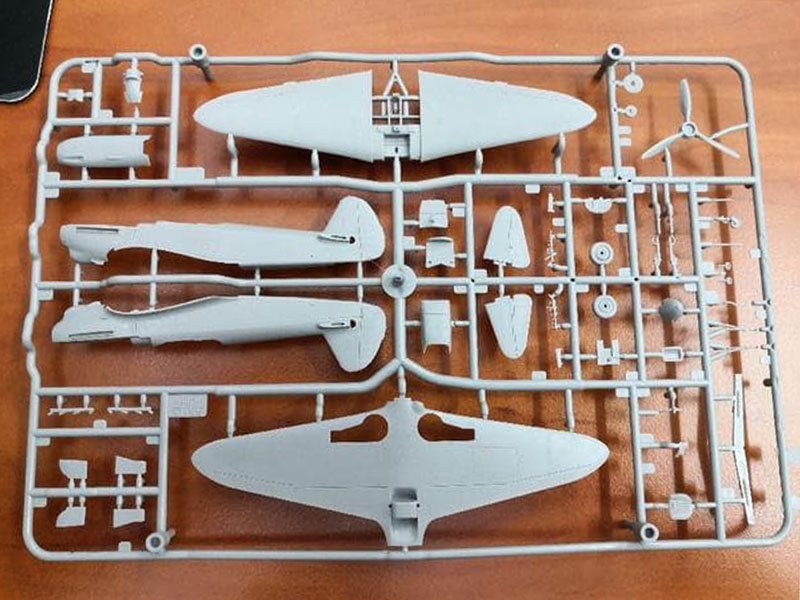
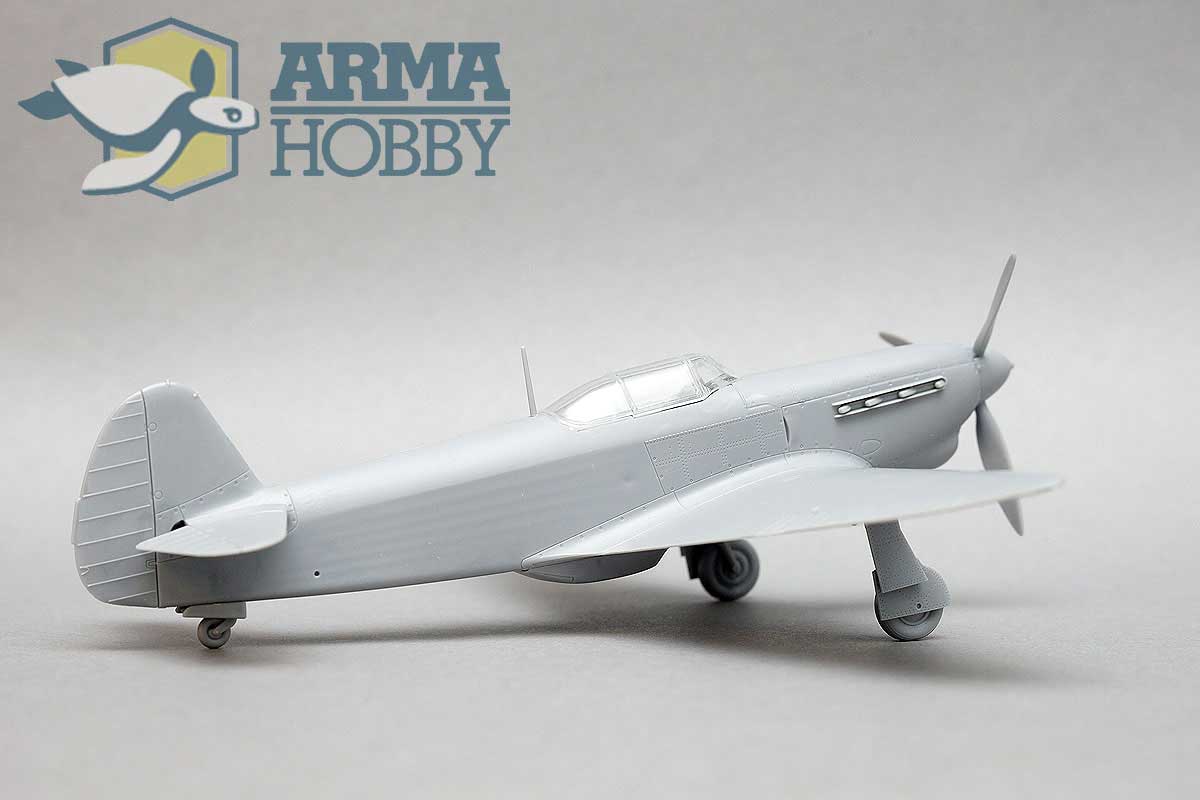
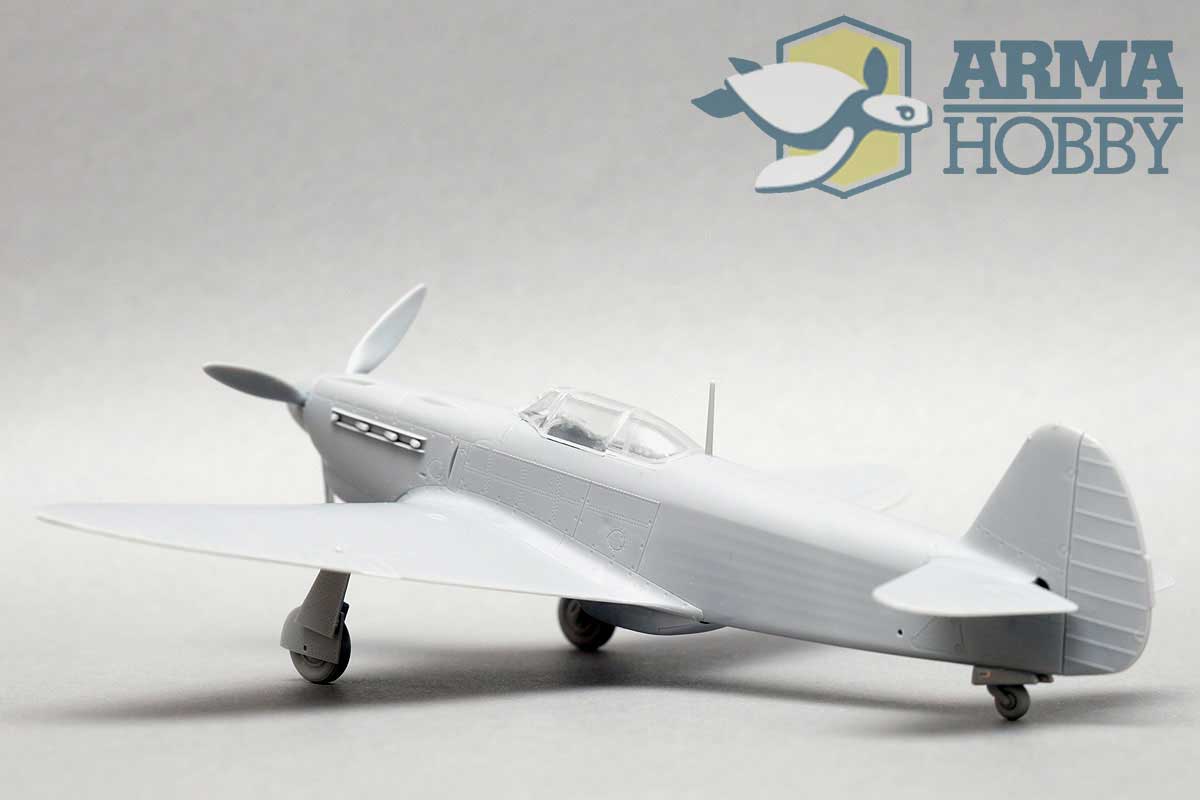
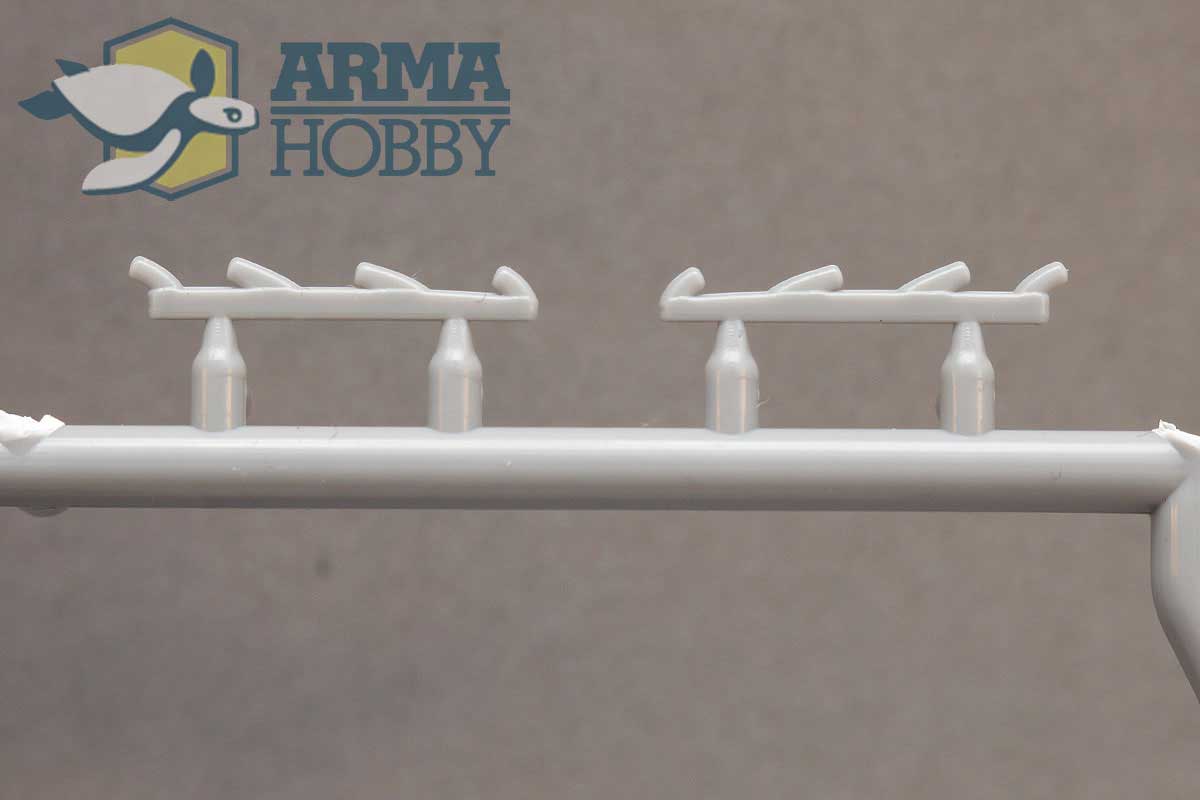
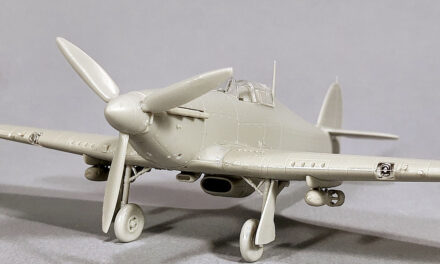
Yak-1b test shots
No problem with test shots for the first time
The experience was accumulated by the whole team that designed and tooled moulds. It made test shots almost perfect. Just some runners did not fill well, and some parts did not come out of moulds only. It made general problems drop from 50% in previous models to just 5% with Yak. Only a few small improvements are needed, and we expect production shots to be ready today. Note: when looking at photos some minor details are missing (small inlet on engine covers, position light on the rudder), they will be added before final shots. Also, push-rods are too short, and it makes a few sink-holes visible on test shots. Last but not least is plastic flash around parts missing.
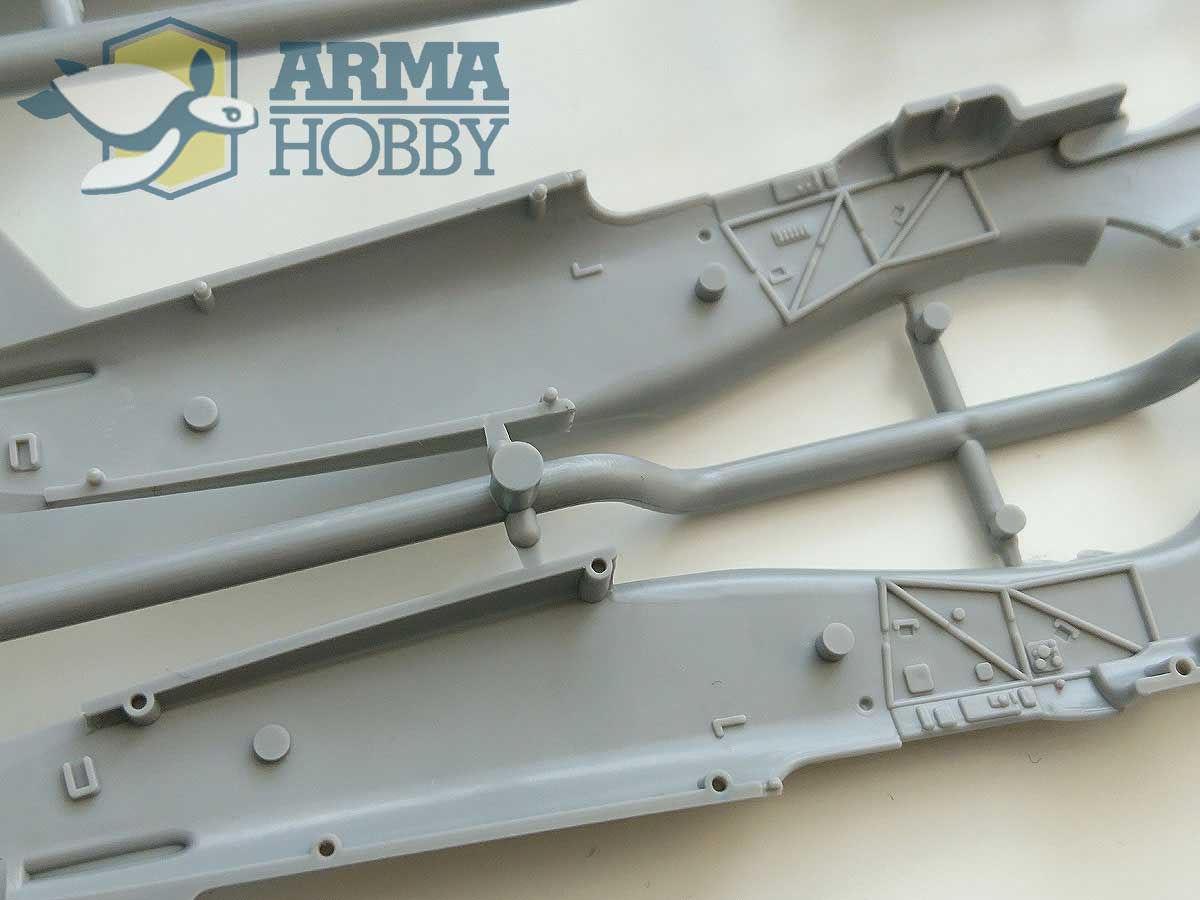
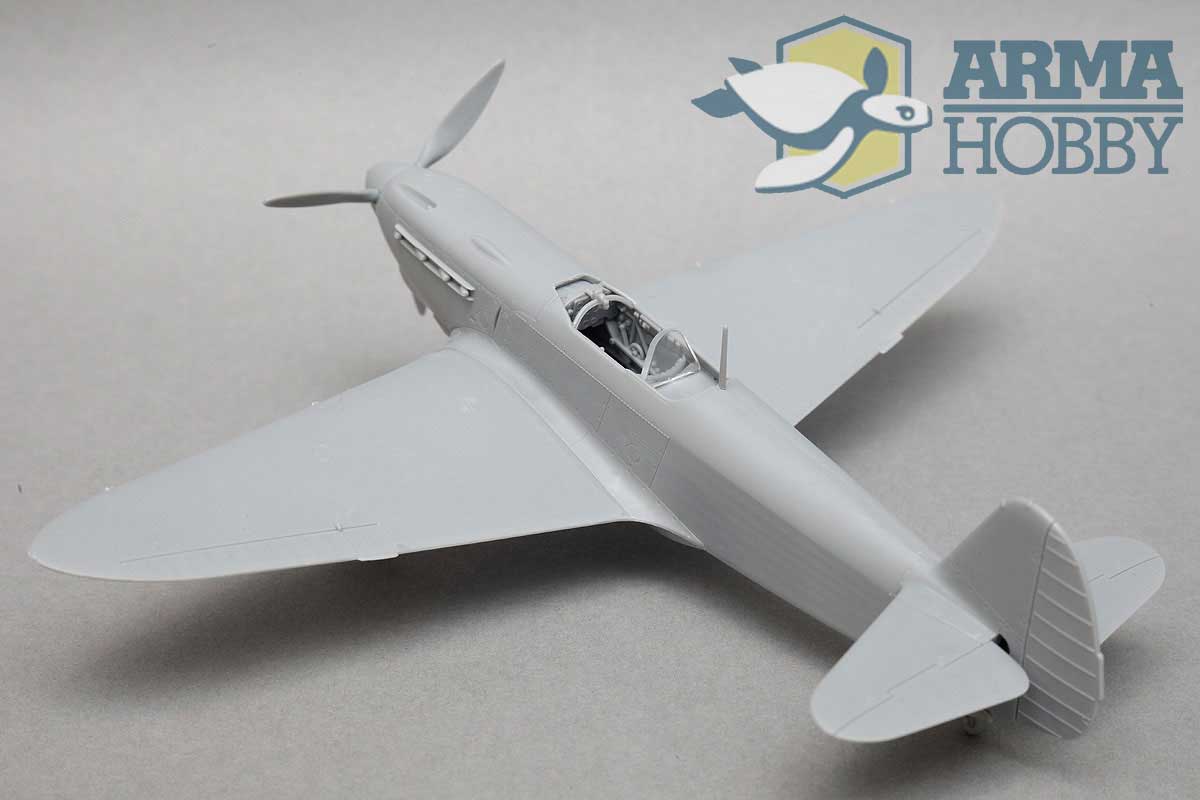
Too short temporary pushrods signs visible. they make some sink holes on the fuselage surface.
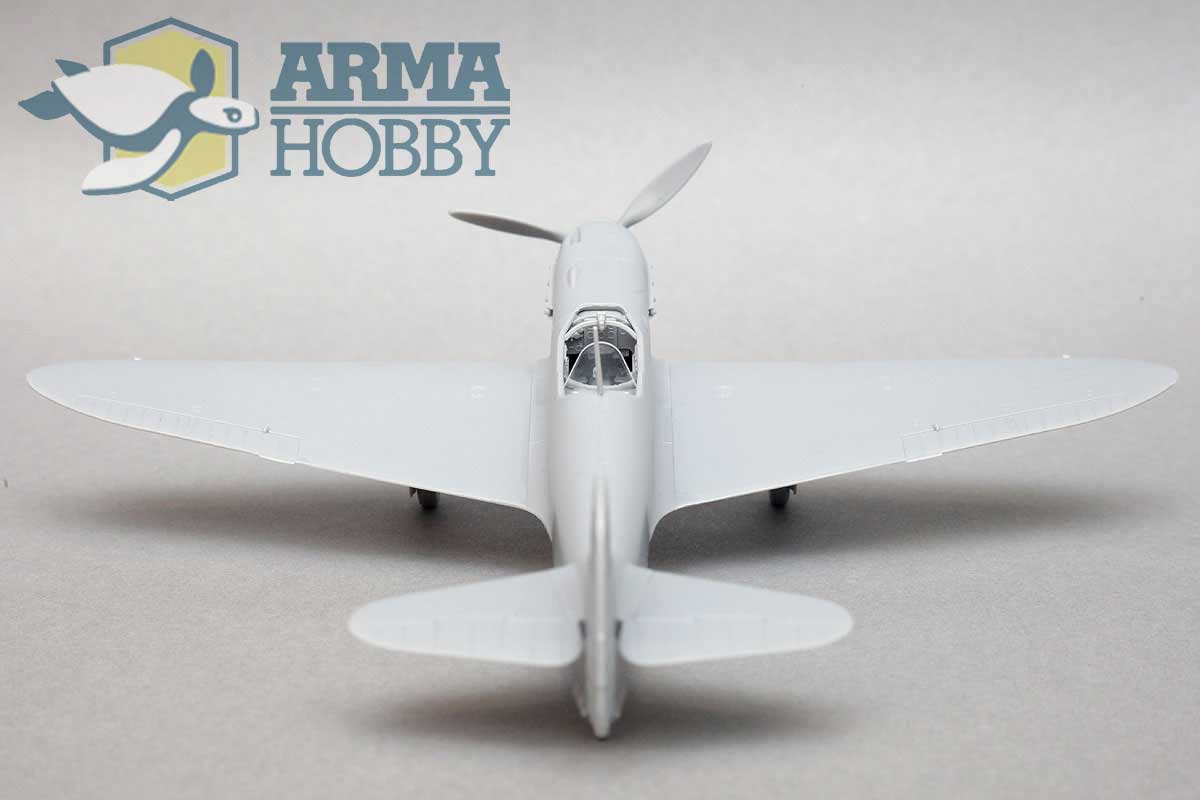
Assembly takes less than an hour.
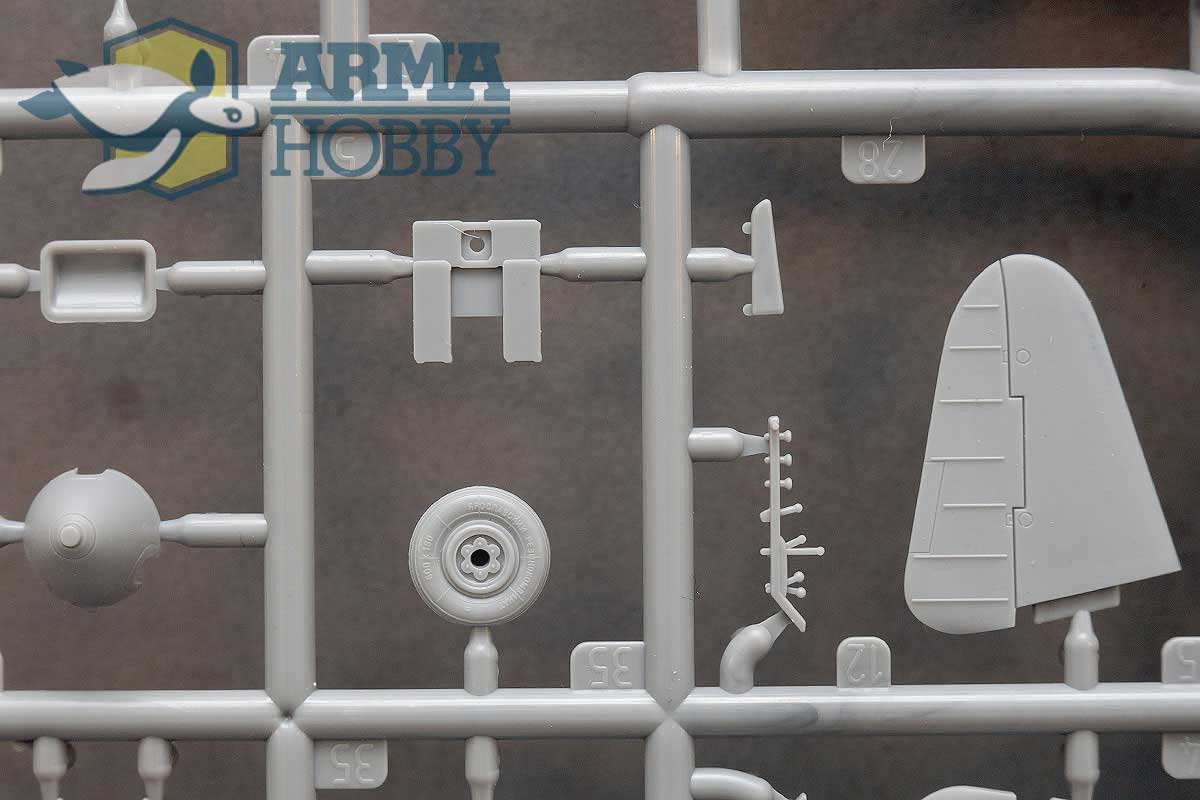
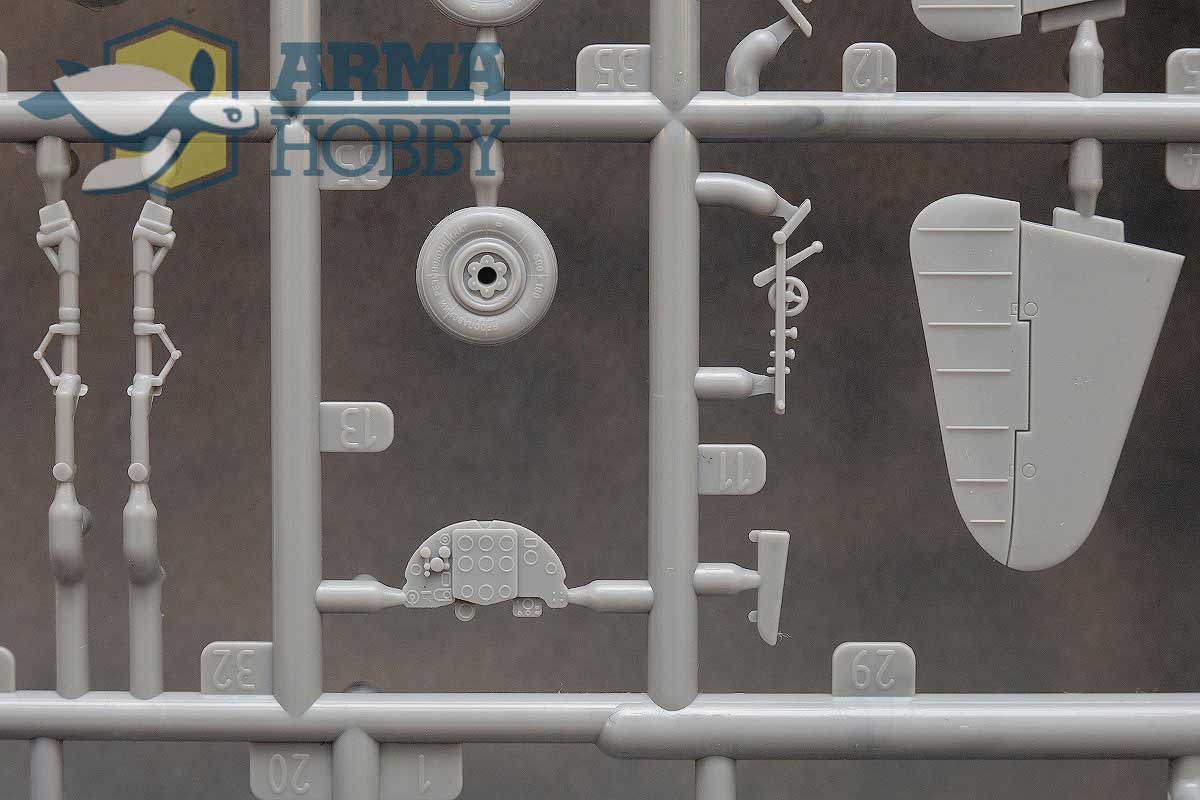
I’ve assembled a model from test shots within an hour in tooling workshop. It let me give feedback to the engineer immediately. Assembly was straightforward. Only missing was propeller shaft mount, so “spinner is not spinning”. Stay calm please, it will work in production kit. My favourite details are wheels with Yarslavskiy Rezinocombinat 600×180 description, and wheel wells cover with raised and recessed rivets as well as cockpit details.
NRaised and recessed rivets on undercarriage bay covers. Click to enlarge.
I hope that modellers will share my passion for the kit and we will see a lot of built ones on modellers shortly. As we took care on graphic the boxes of unbuilt Yak-1b kit would look well on unbuilt model stash too 🙂
- See Yak-1b models and accessoris in the Arma Hobby webstore
Quick built Yak-1b kit


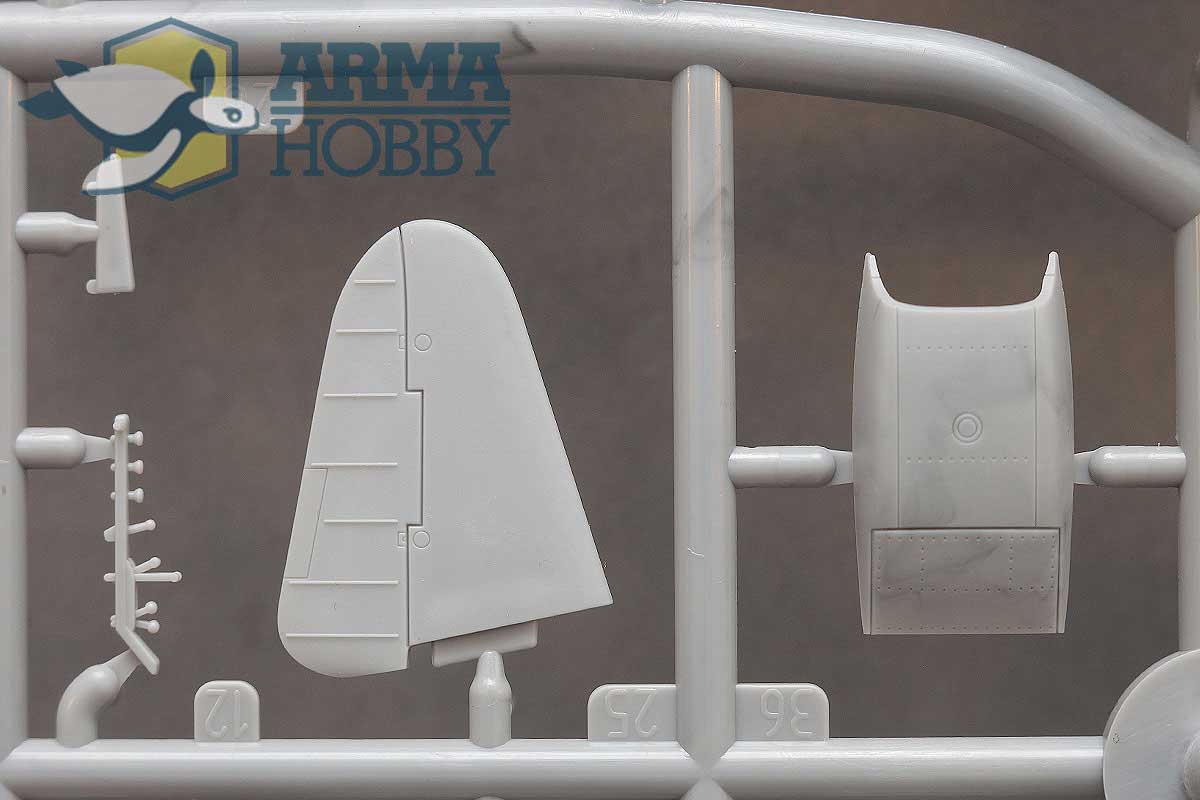
Yak-1b details on sprues


Wanted to be Philanthropist, statesman and patron of the arts. Temporarily focused on developing scale model production in Poland. Co-founder of Arma Hobby. Designer of kits: TS-11 Iskra, PZL P.7a, Fokker E.V, PZL P.11c, Hawker Hurricane, Yak-1b, Wildcat, P-51B/C/D Mustang and 1/48 Hurricane.
This post is also available in:
 polski

This Yak model looks really great! I wish more models had those rivets and fine lines. Sincere compliments to your crew!