 Another Arma Hobby model kit arrives at this time for modellers. As our ultimate goal is for our kits not to sit in boxes but to be built, I have prepared a small guide on how to quickly and efficiently prepare the parts of the model to easily assemble it and move on to what we like best (at least I do), which is painting.
As usual, we learn something with every new model kit prepared in our company, and we are slowly embarking on a path of regular, cyclical releases. Wojtek has previously described where the Ki-43 came from in our range and why this kit has just now gone to the factory.
The kit is small and quite simple, allowing for a quick build. We are still ‘calibrating’ our capabilities in our design. Therefore, we made some parts very filigree and this affected the production parameters. Through this, we managed to keep the parts very fine, but there is some flash in a few places.
I will give you my comments on the construction of the model below.
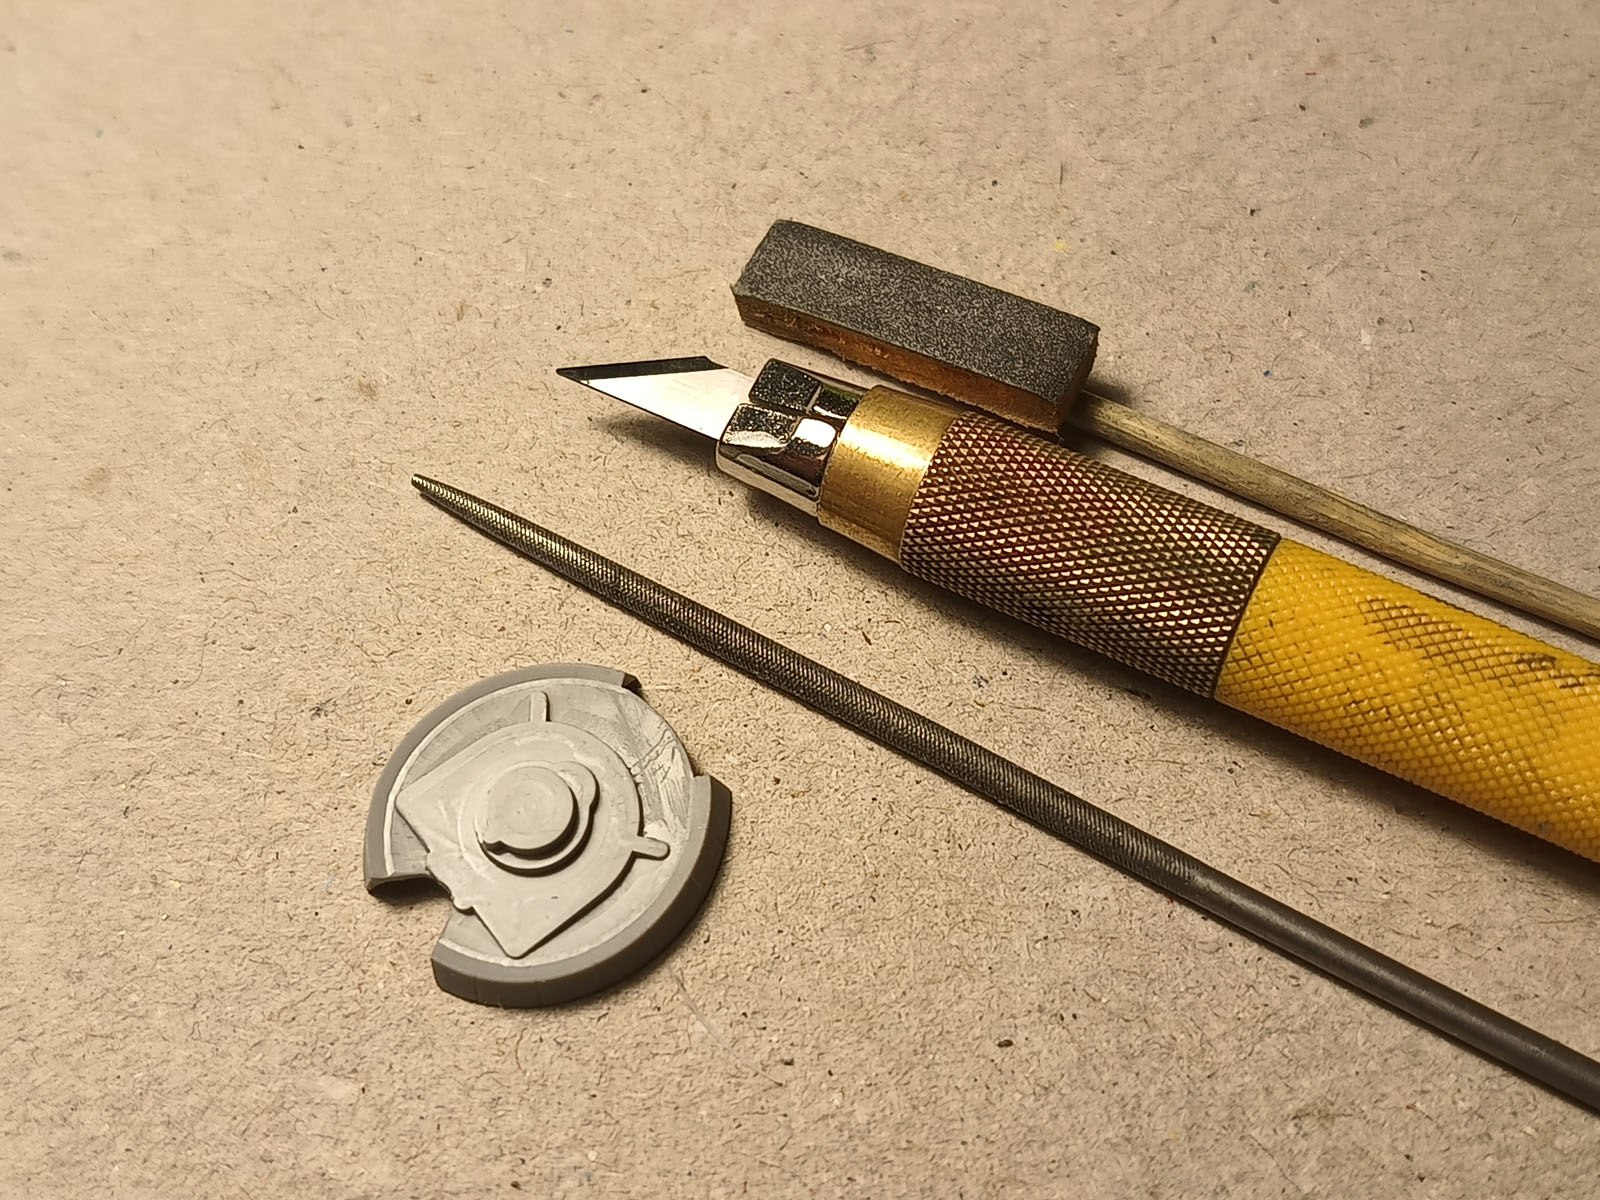
We start with the tools
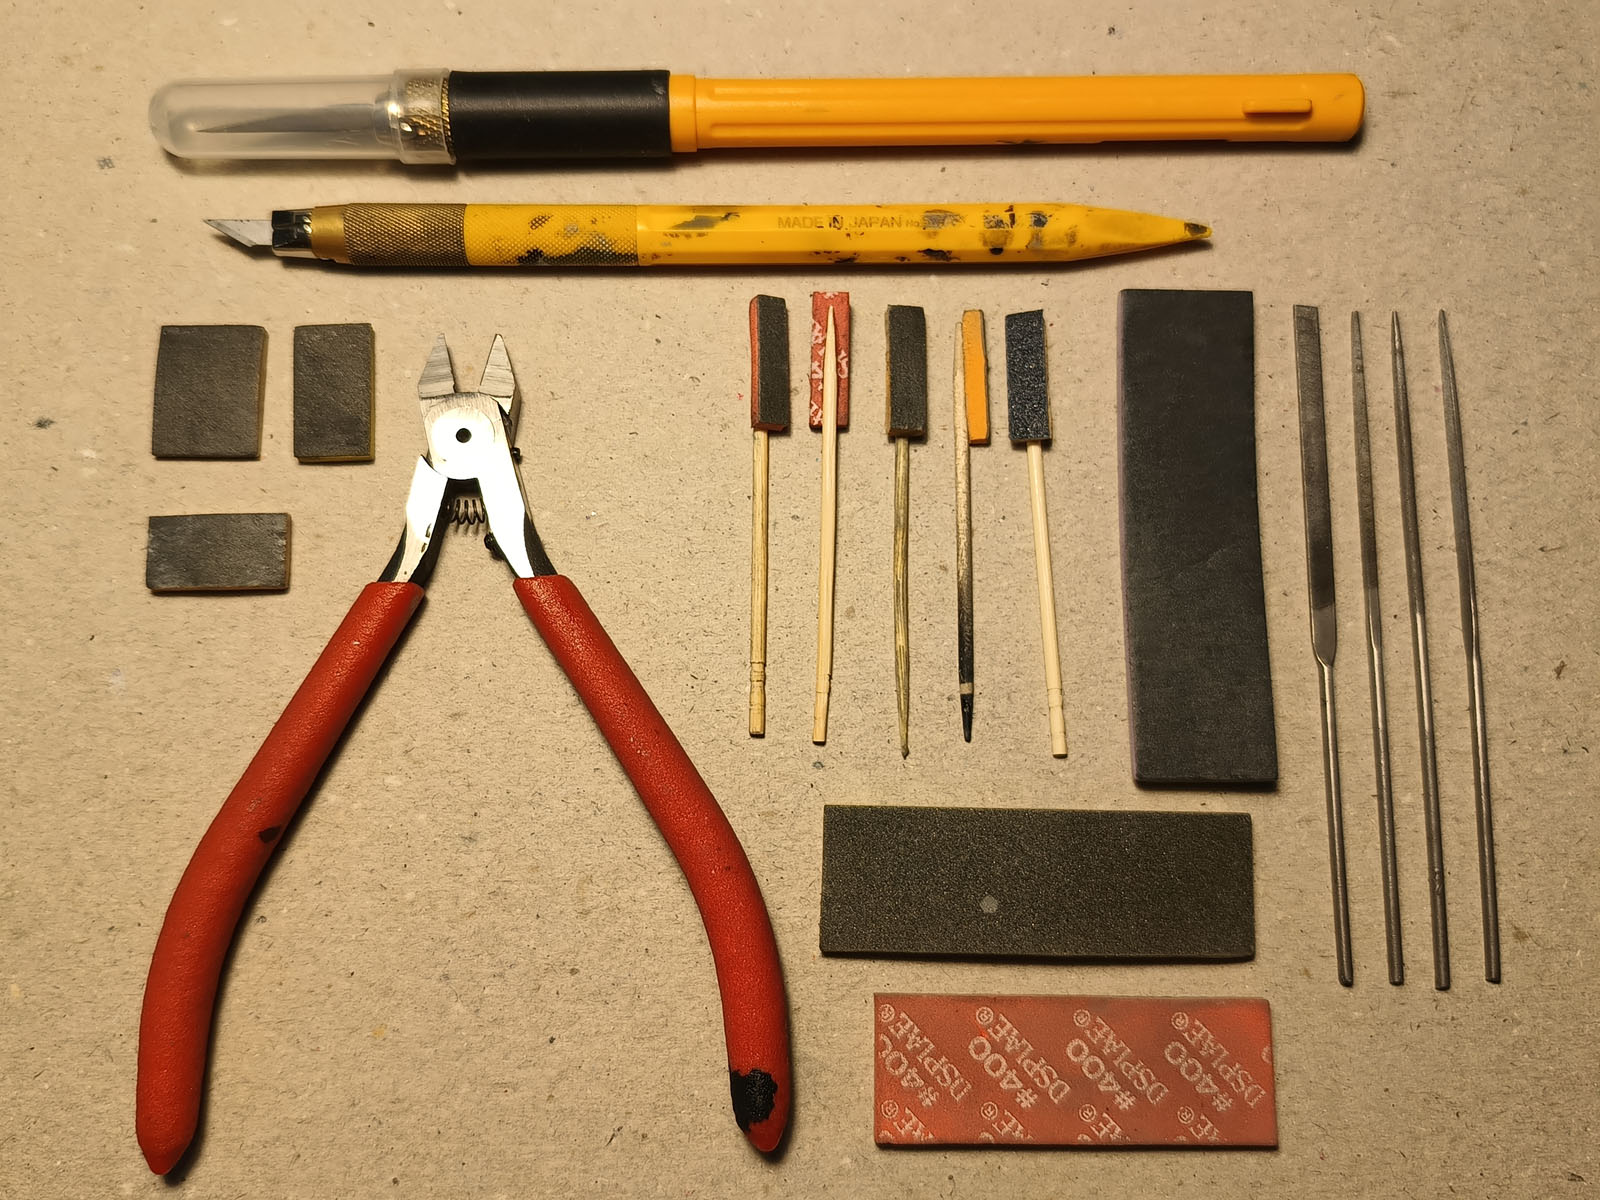
As you can see, there is nothing atypical here. To these basic tools I would add some drill bits and a thin glue (e.g. Tamiya).
Engine – twin-row radial in a streamlined cowl
First fire goes to the engine, there is a small surplus of plastic in the front row, it is best to remove it.
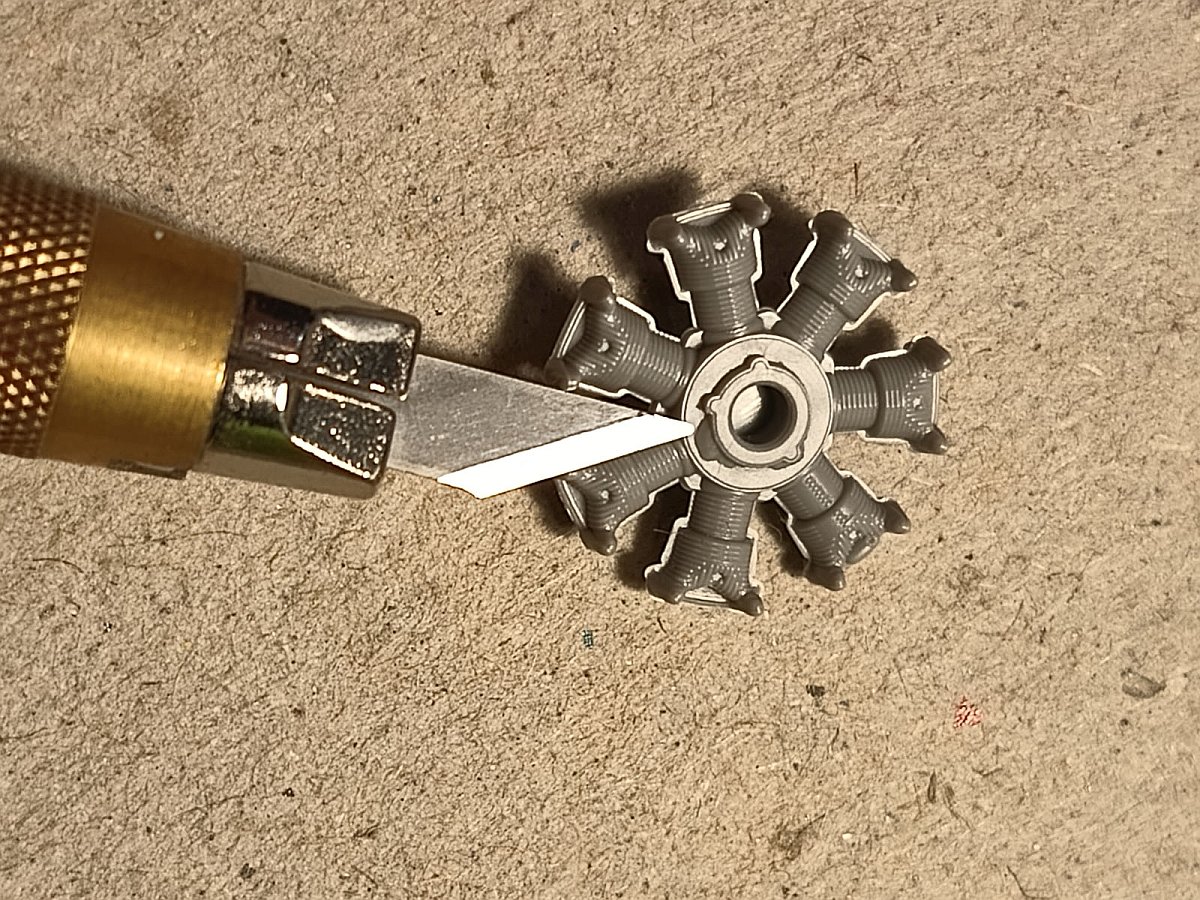
Something that may appear to be a flash on the sides of the cylinders are the representation of the air-directing covers at the cylinder, by the way, look at the back of this part yourself.
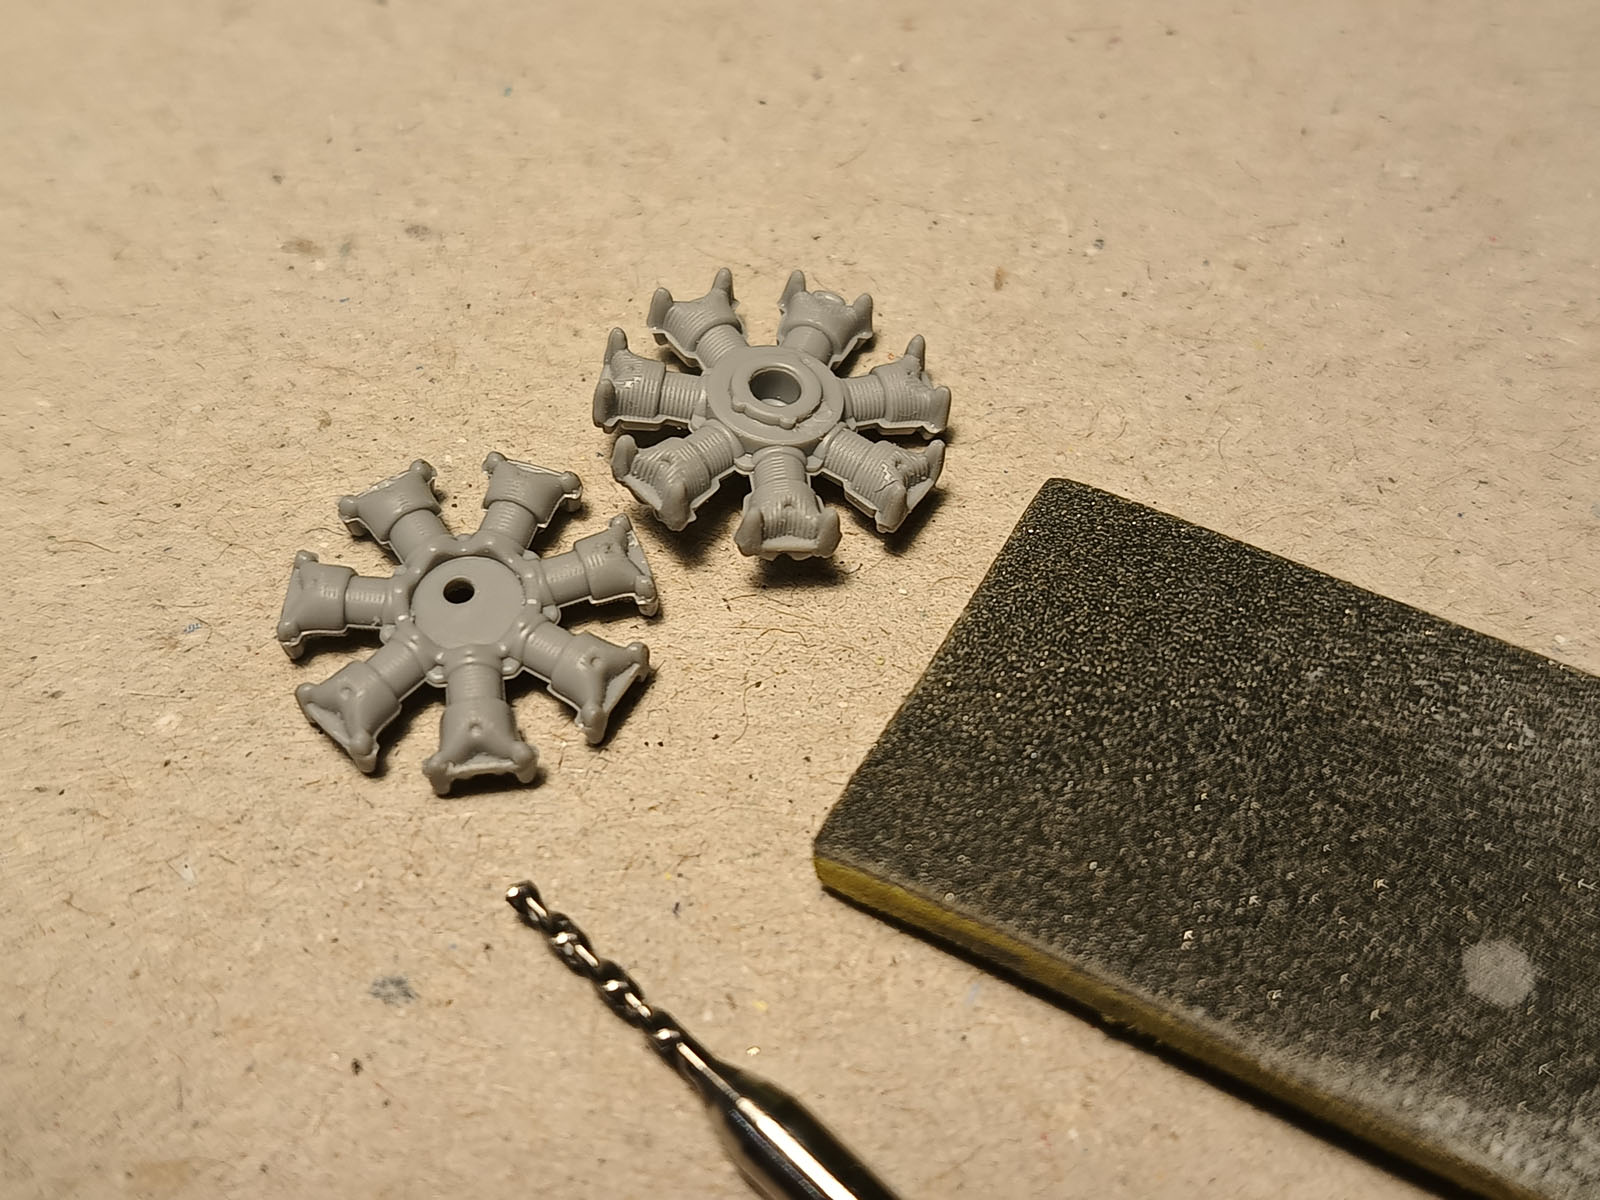
Next, glue the two rows of cylinders together. If the pin fits too tightly, you can slightly drill the hole for it. Pay particular attention to the position of the front and rear row cylinders relative to each other. The top of each cylinder can be lightly treated with sandpaper if there is any flash on them.
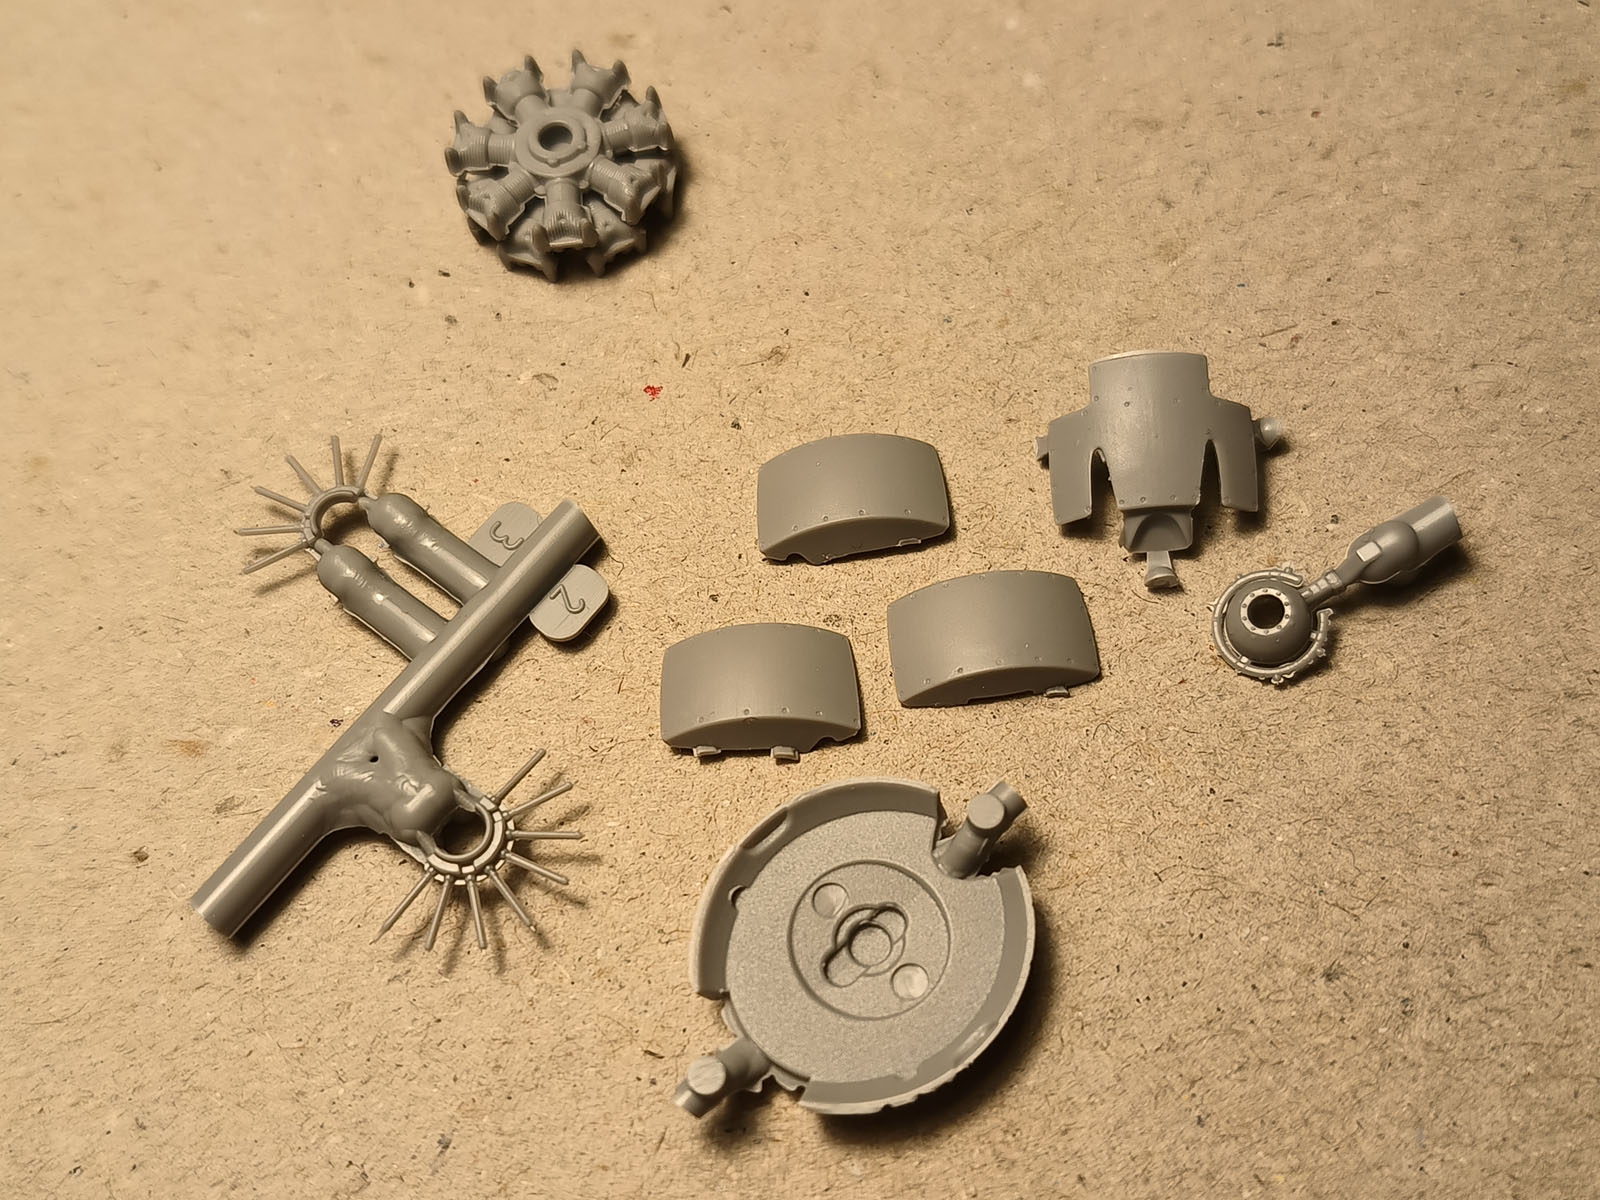
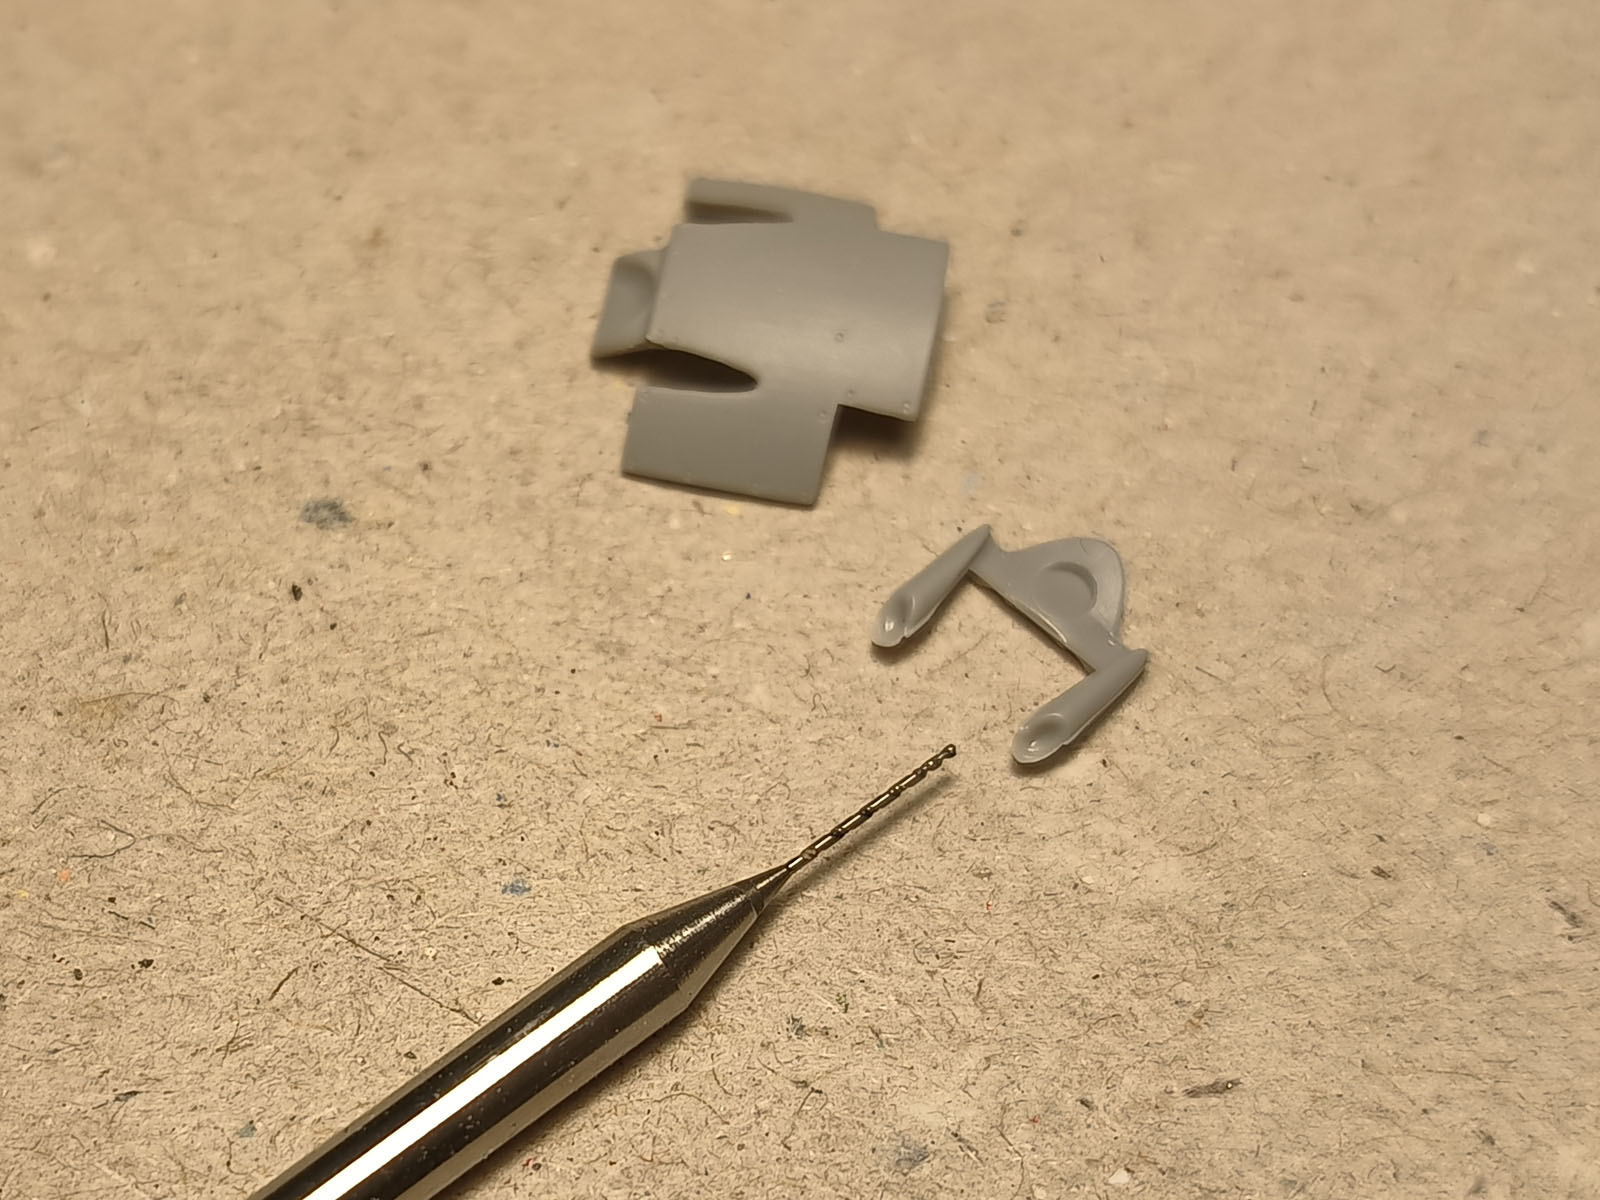
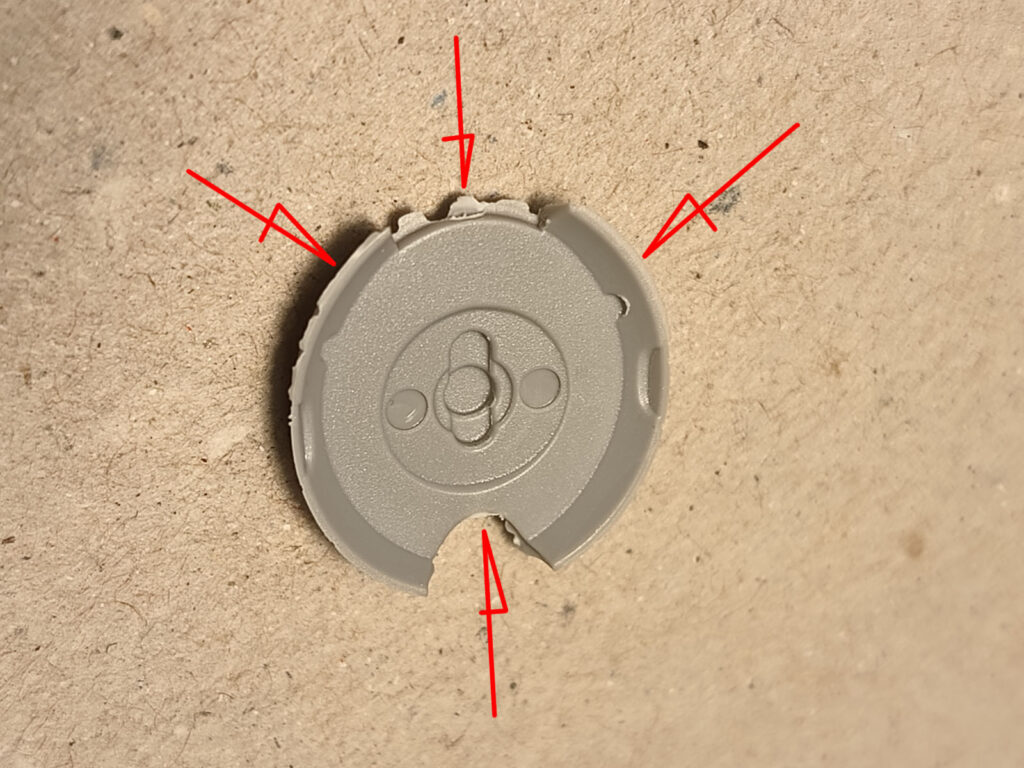
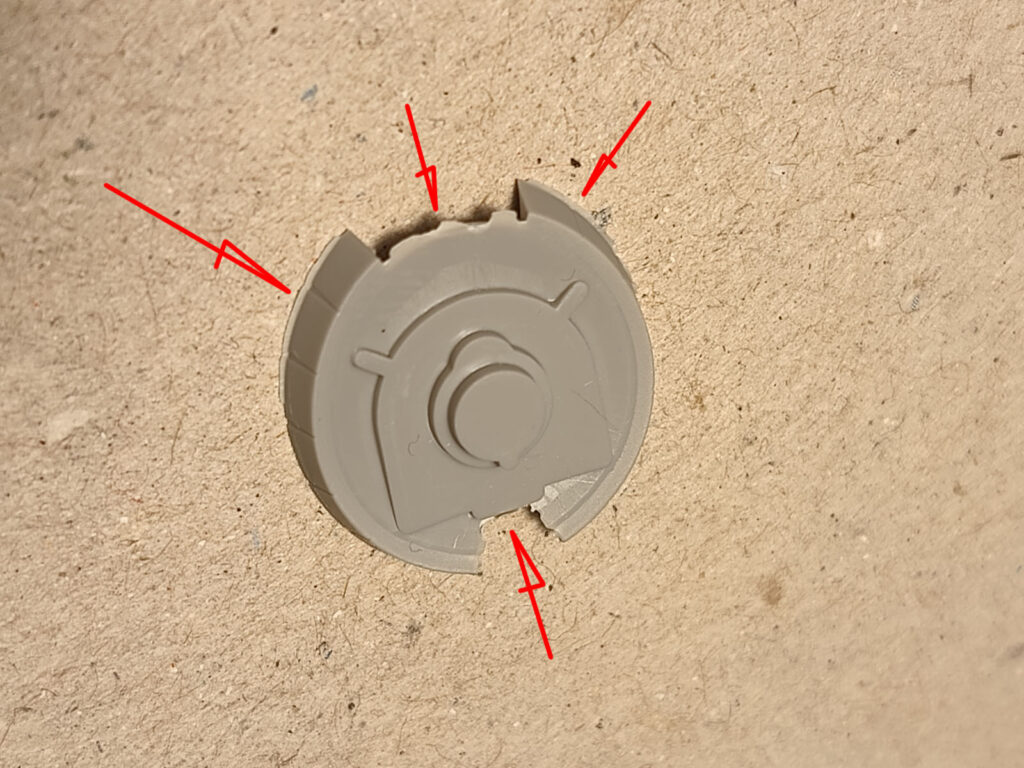
It is a good idea to cut out the other engine parts with the excess plastic, this way they can be trimmed more easily. Do not cut the ‘suns’ of the valve pushrods out of the frame, this makes them easier to paint. Cut out the main assembly base – the firewall of the engine (the one with the cooling flaps) – with an allowance, then simply break off the rest of the sprue.
Now it is enough to sand the small flash on the sides of the flaps, while the breakout mark can be trimmed deeper/coarser, this spot is not visible after assembly anyway.
This is what the cleaned part looks like:
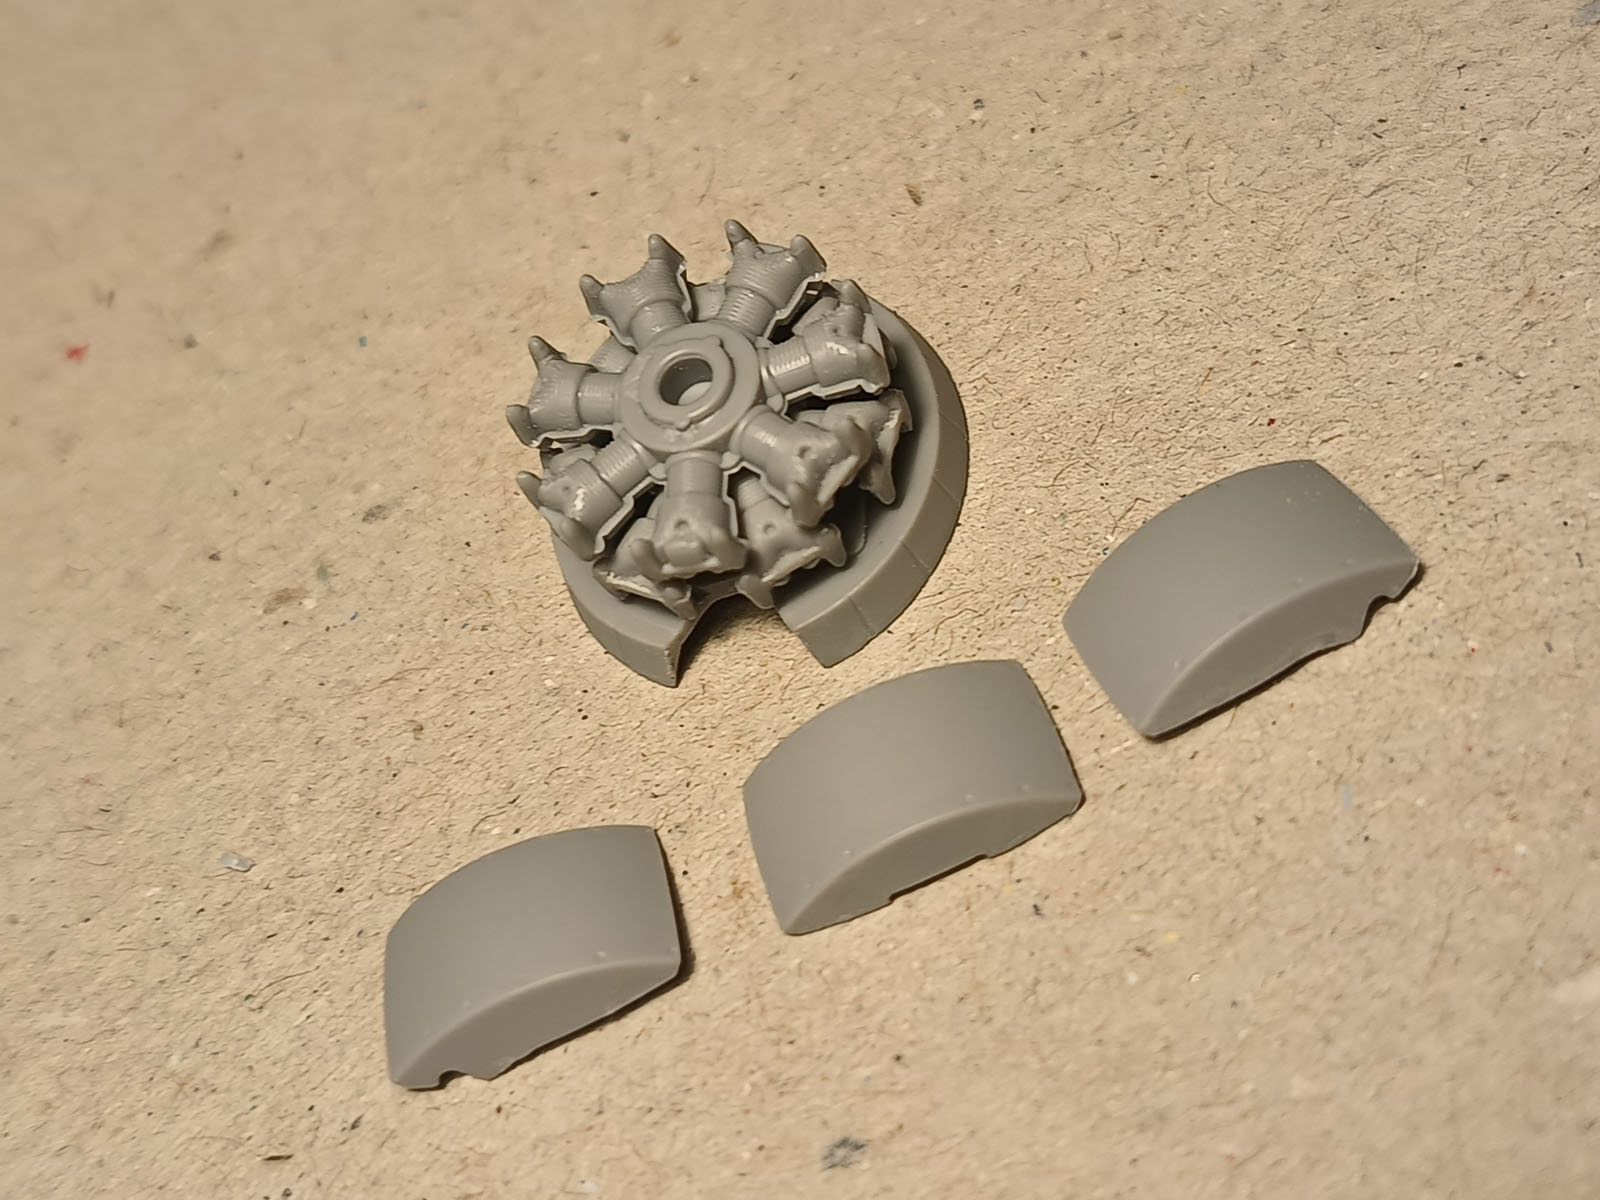
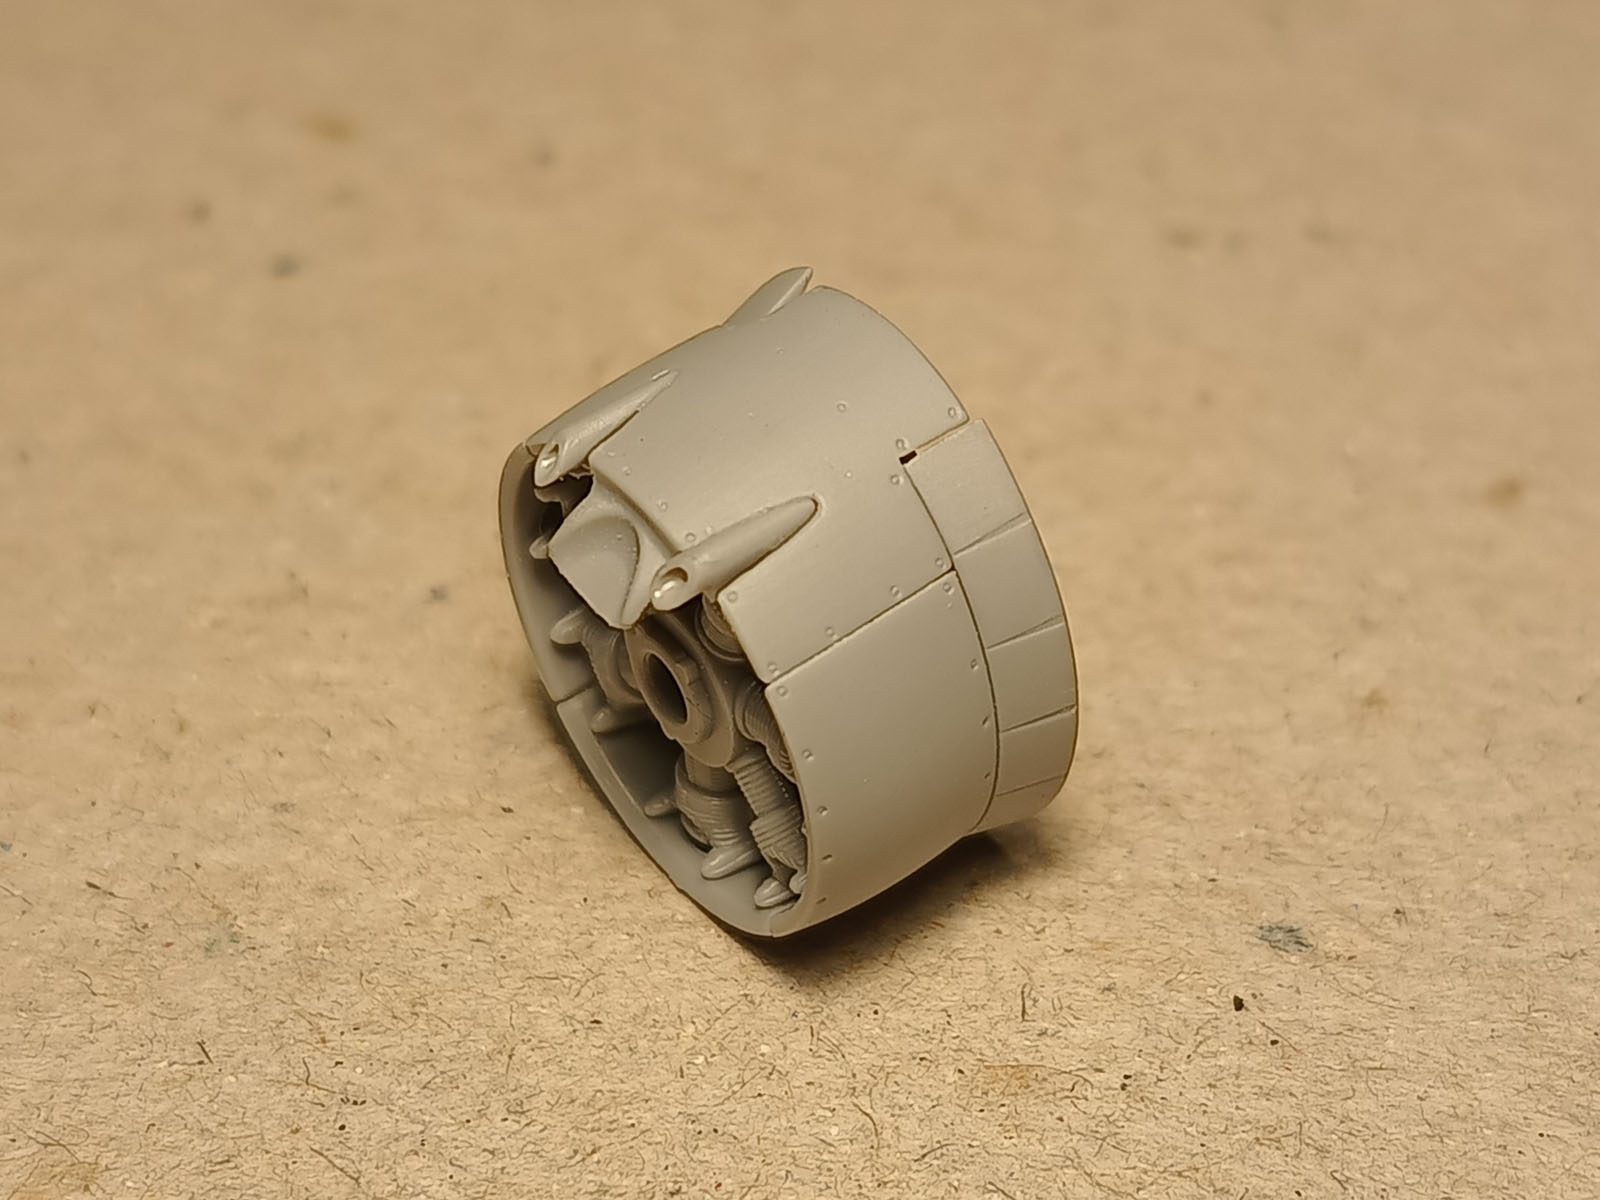
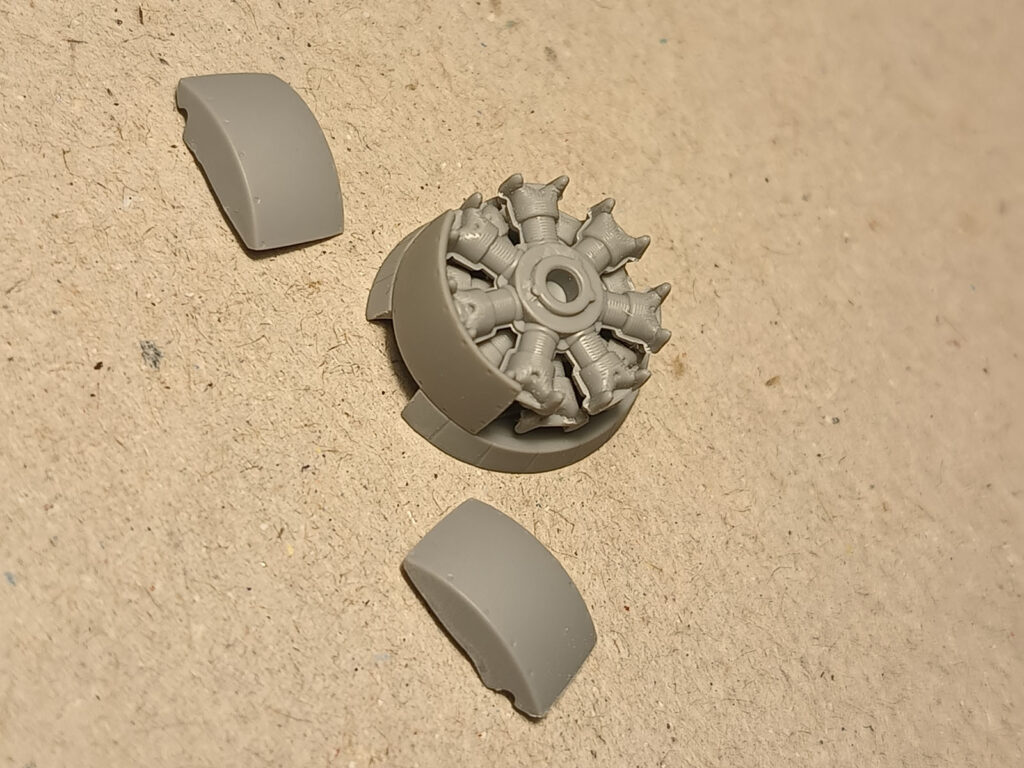
To the part prepared in this way we glue the engine, it is worthwhile to take care of the alignment. The photo also shows the 3 pieces (without the top one) of the engine cowling prepared.
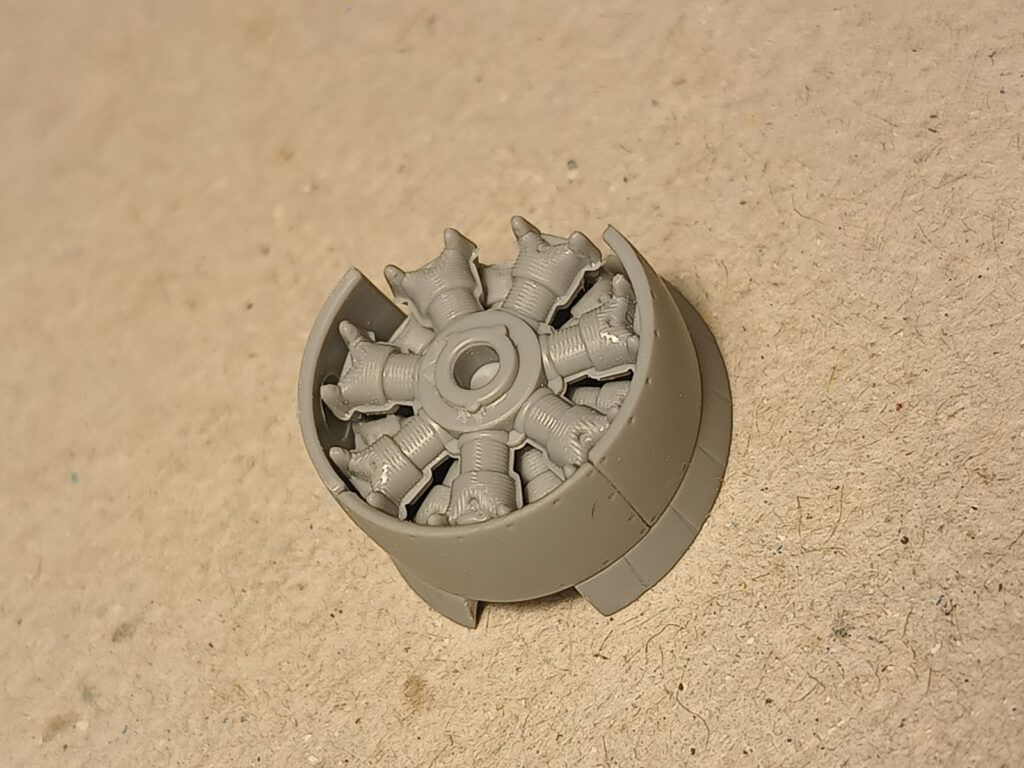
All three pieces of the engine cowl go in like lego blocks and position themselves perfectly, once positioned they can be glued in place with thin glue, although what’s in the pictures is still just a push fit!
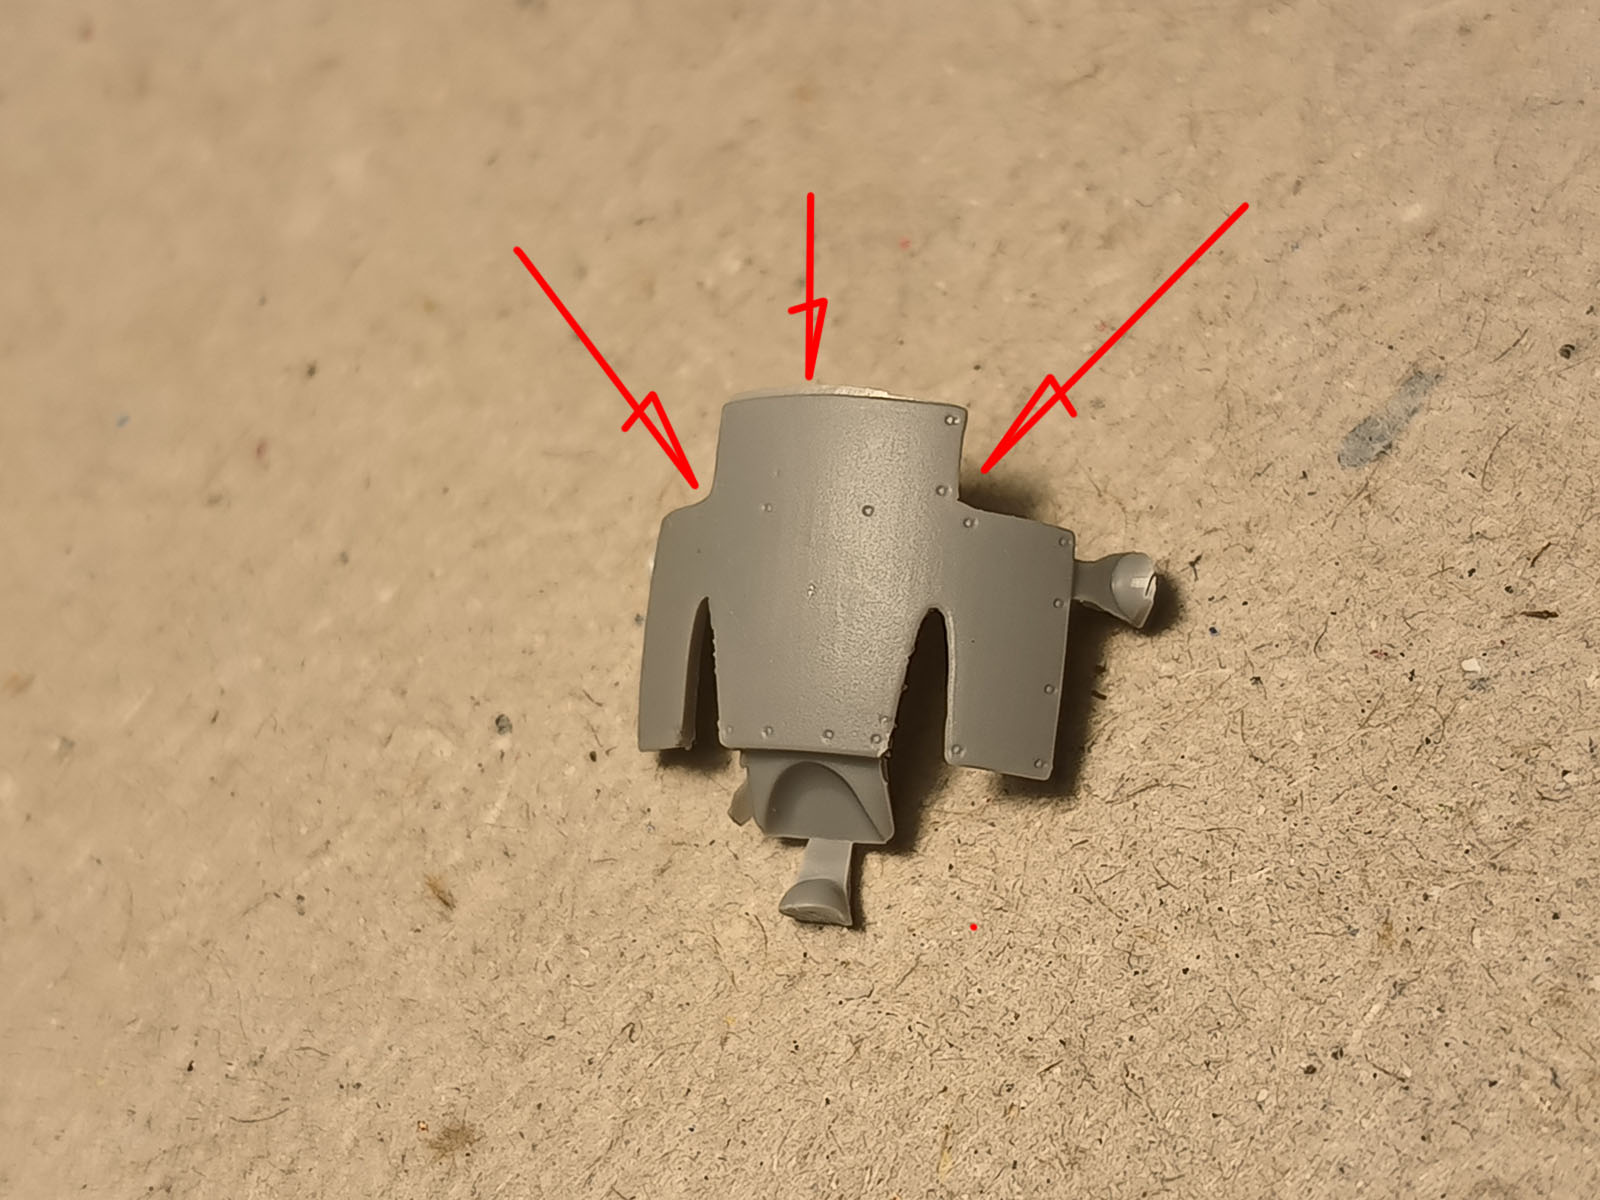
The top of the cowl requires the removal of the flash at the back, and a right angle can be ensured at the two corners.
It is a good idea to carefully remove the joining points with the sprue in order not to lose the straight edge of the cowl top. On the back of this part, the excess plastic can be removed.
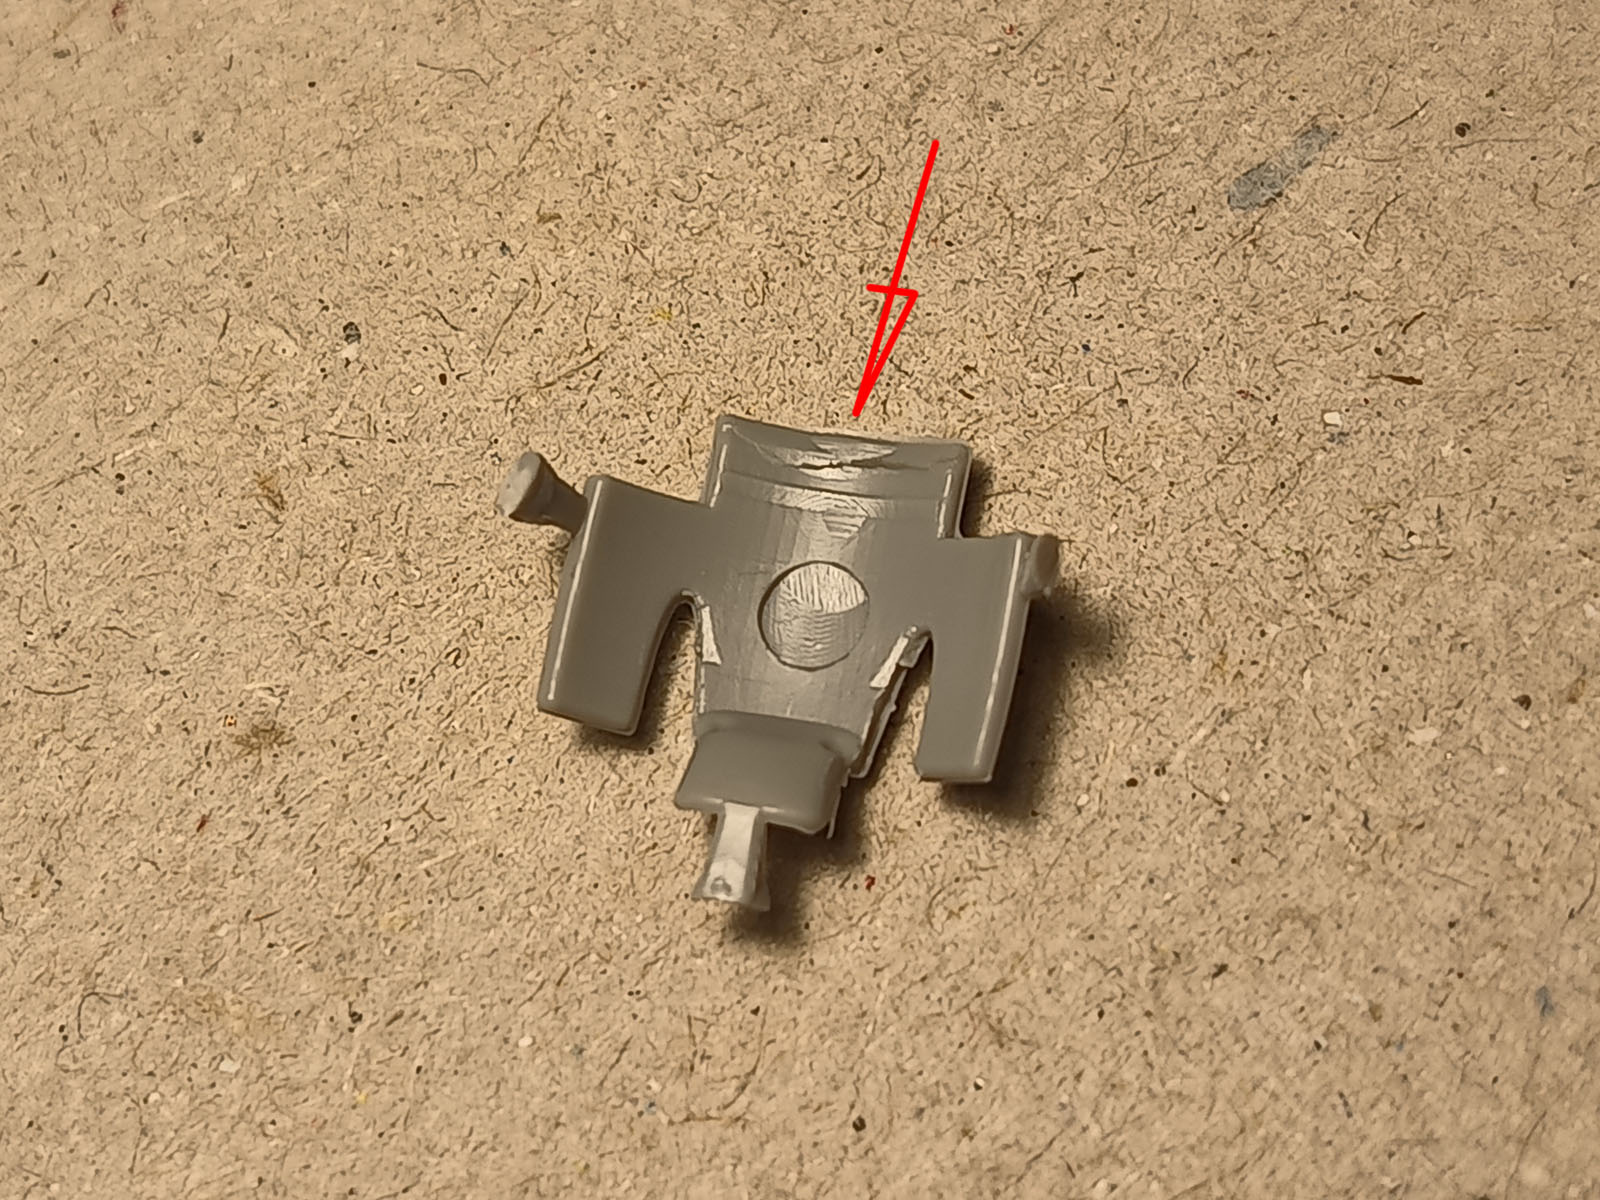
Once cleaned, the machine gun barrels can be glued in, and it is worth drilling them out slightly.
This is how the engine cover looks assembled (without glue) on the assembly base with the cylinders:
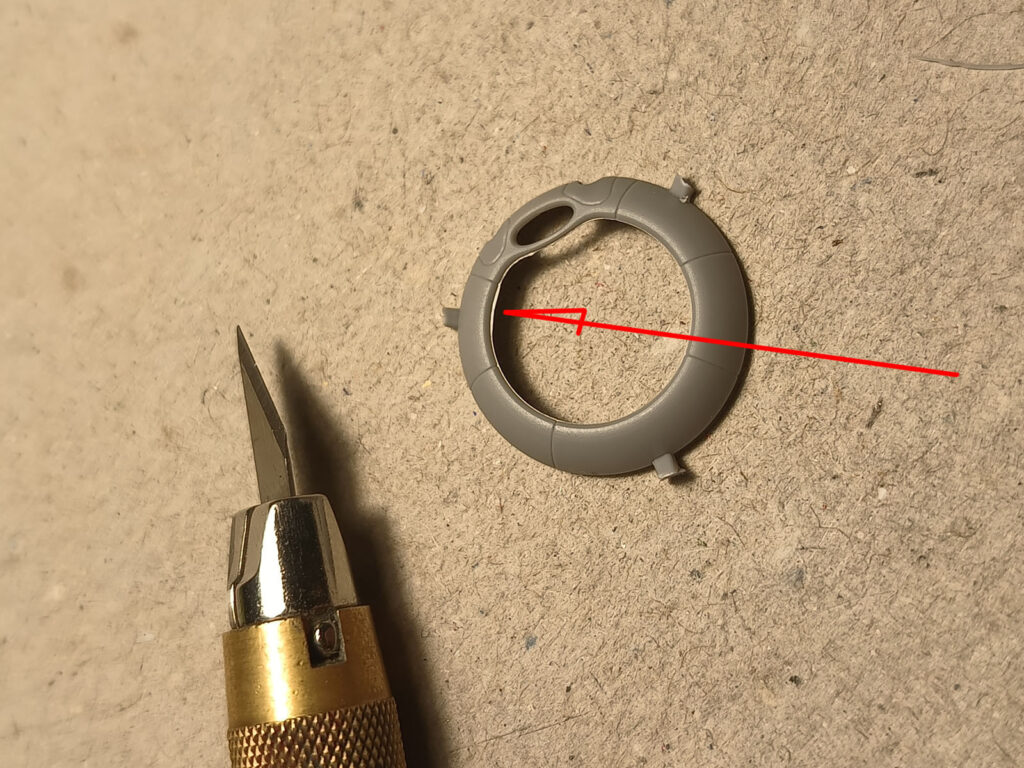
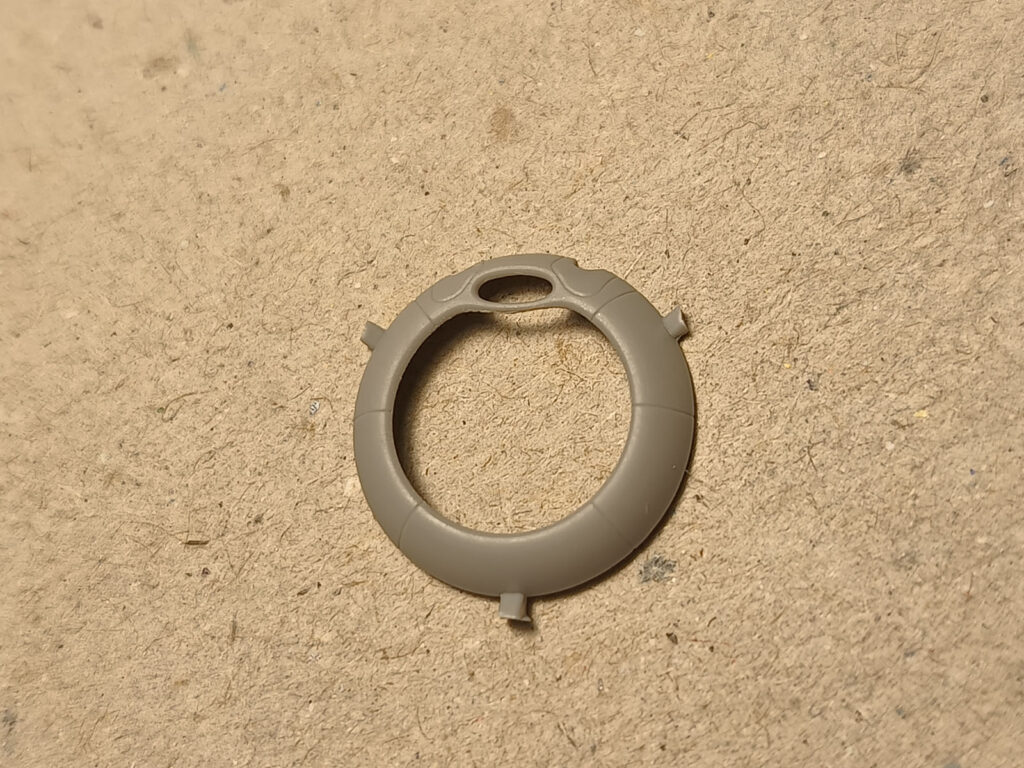
The microflash on the engine cover ring are most easily removed with a scalpel:
Pilot’s headrest
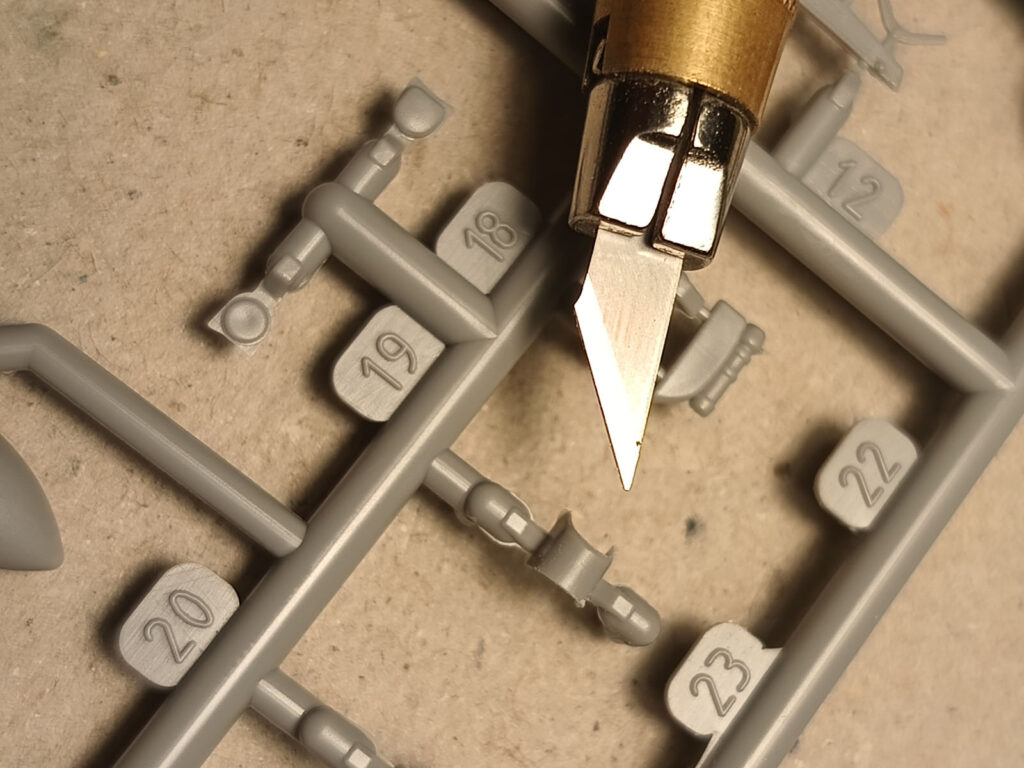
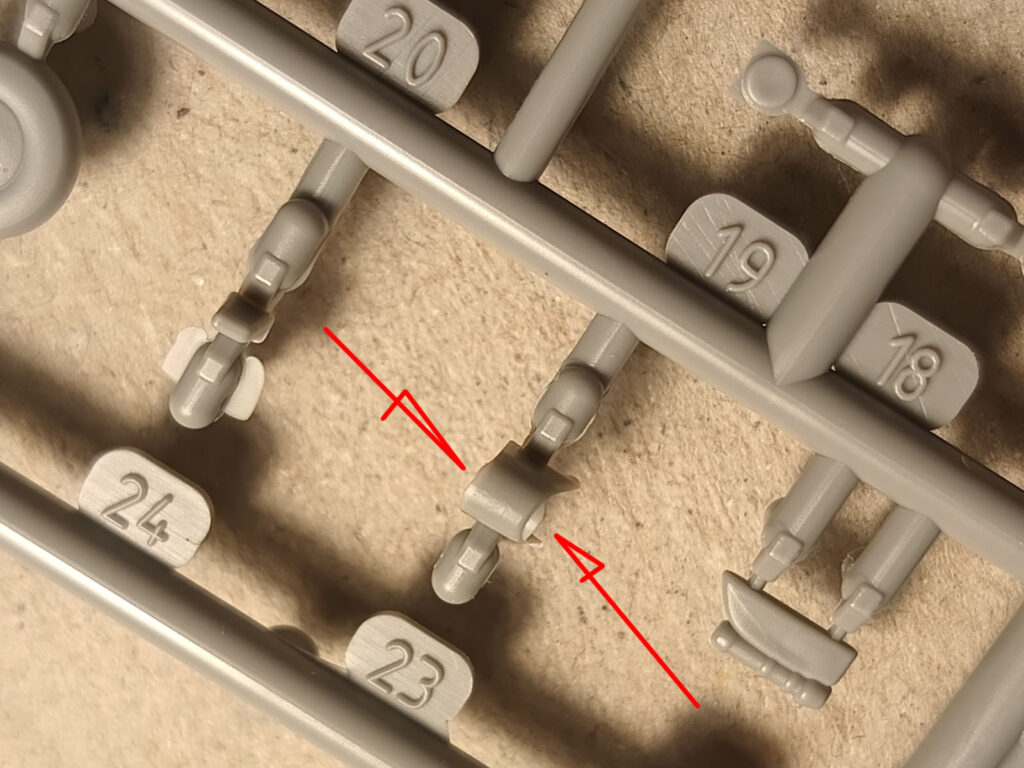
The headrest cover is best prepared while still in the sprue:
Falcon’s tail
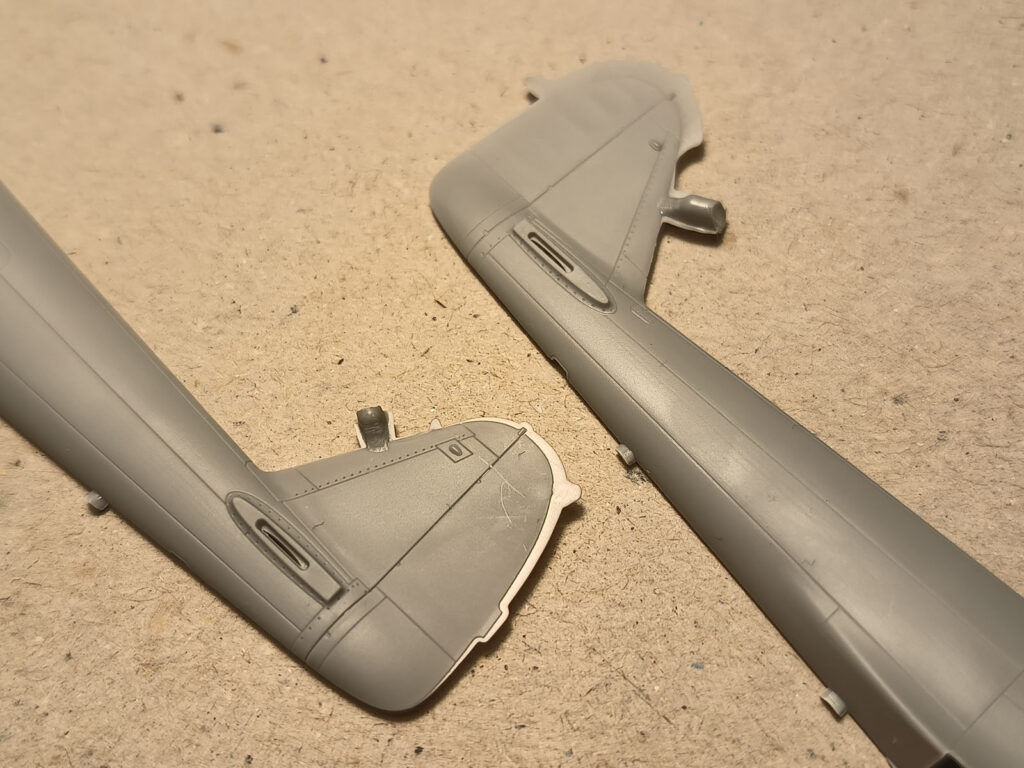
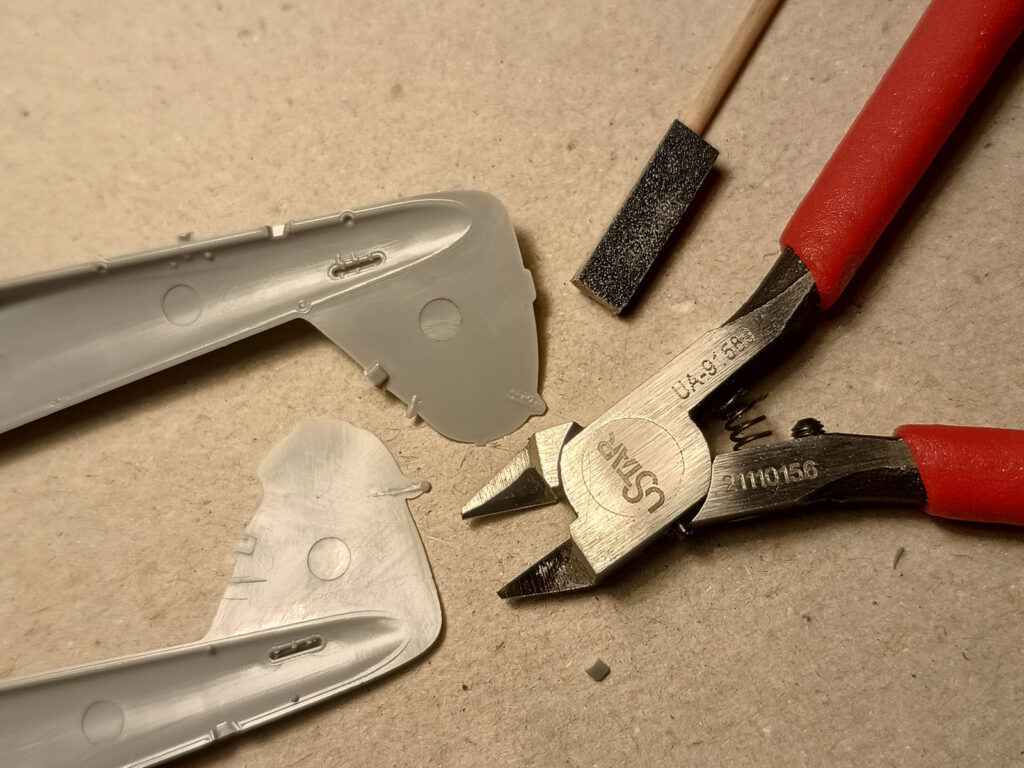
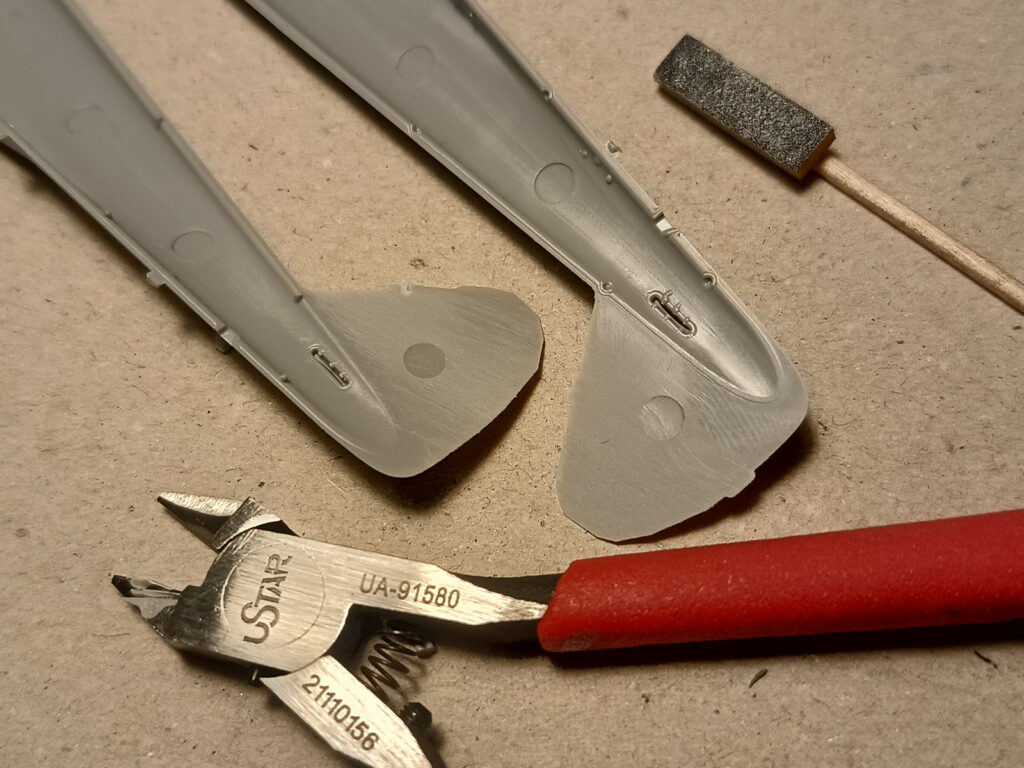
And so we come to the fin with the rudder. To start with, I remove the sprue joints and sand the inner surface flat.
I roughly remove the excess plastic/flash with cutters and then more precisely with a scalpel and an sanding sponge. Once cleaned, the parts are ready for assembly.
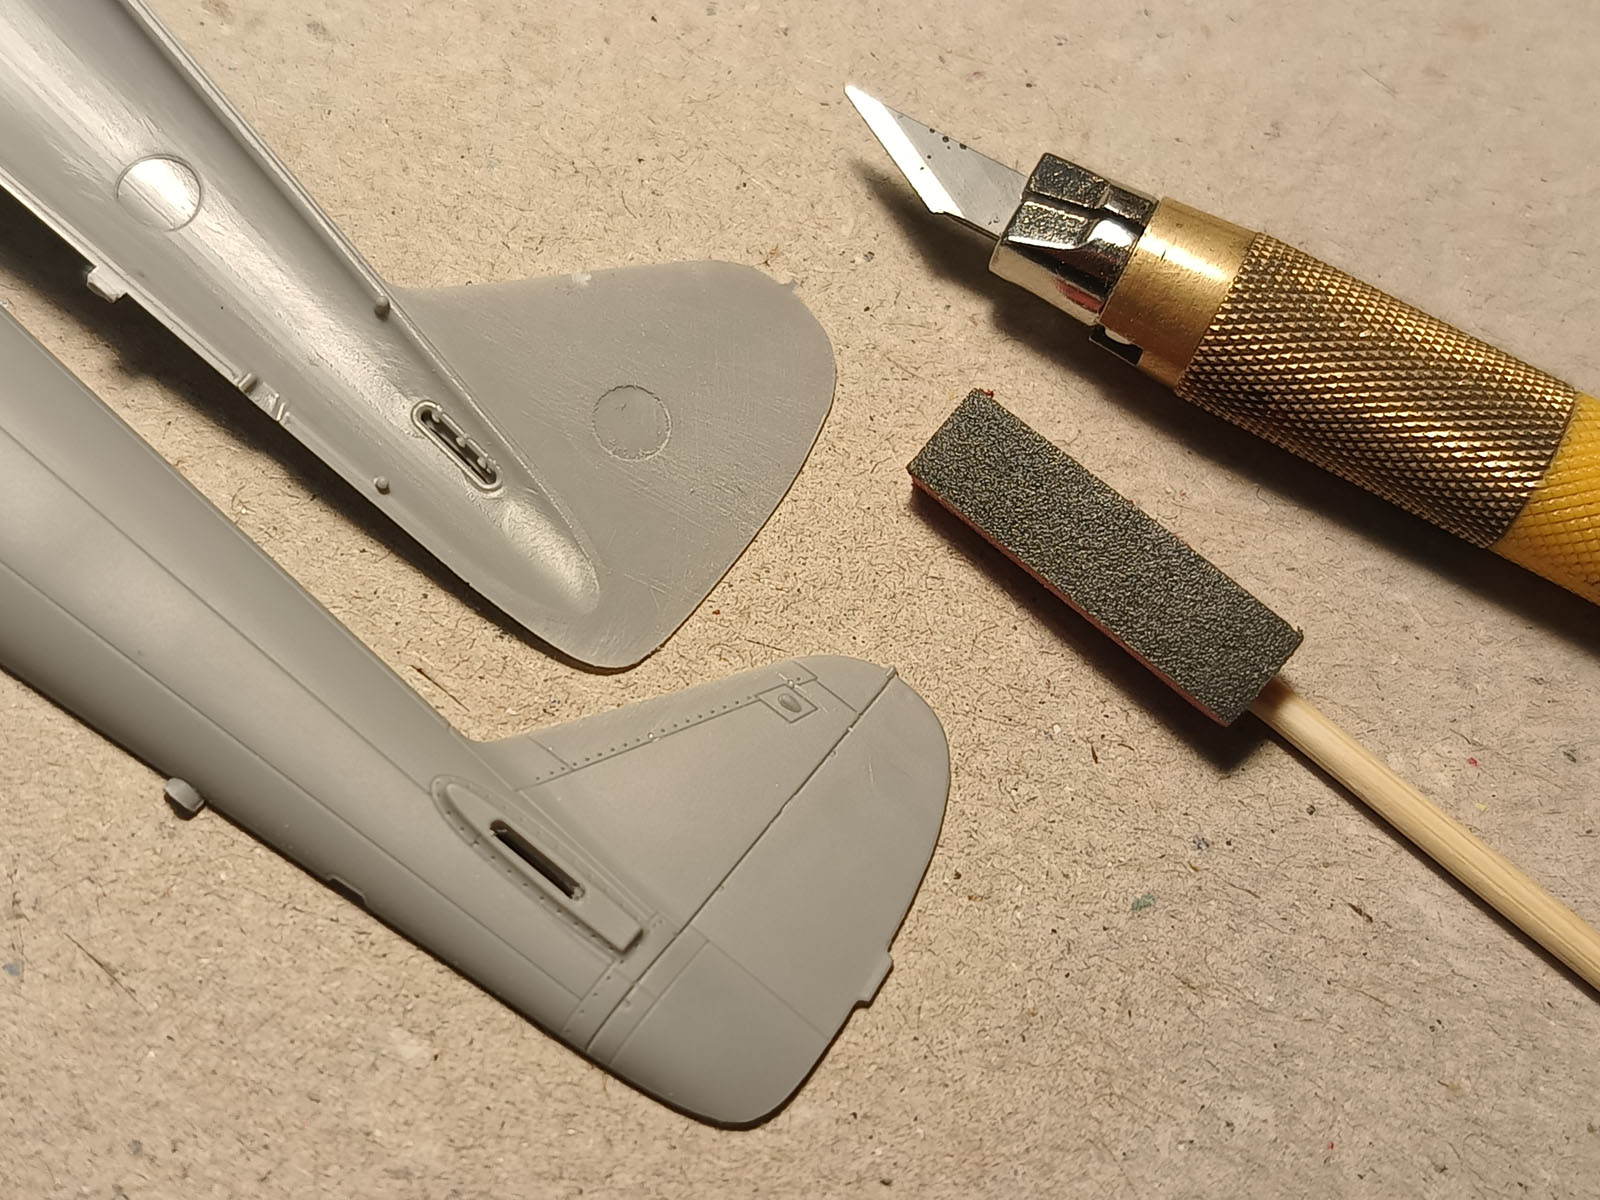
Fuselage and cockpit
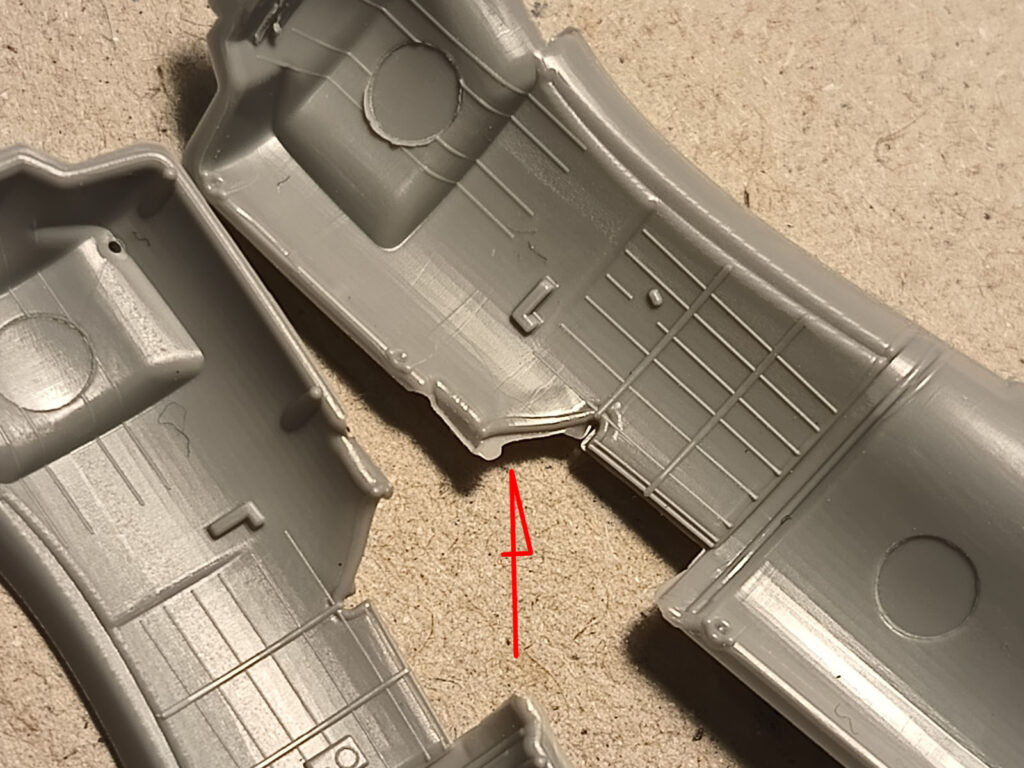
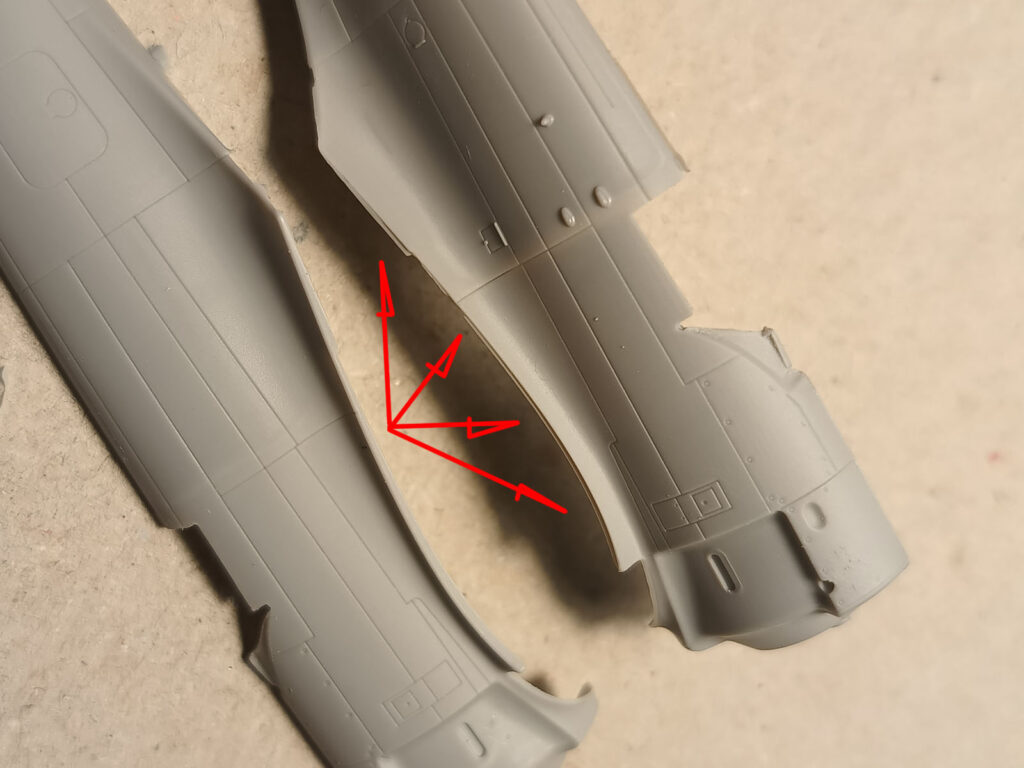
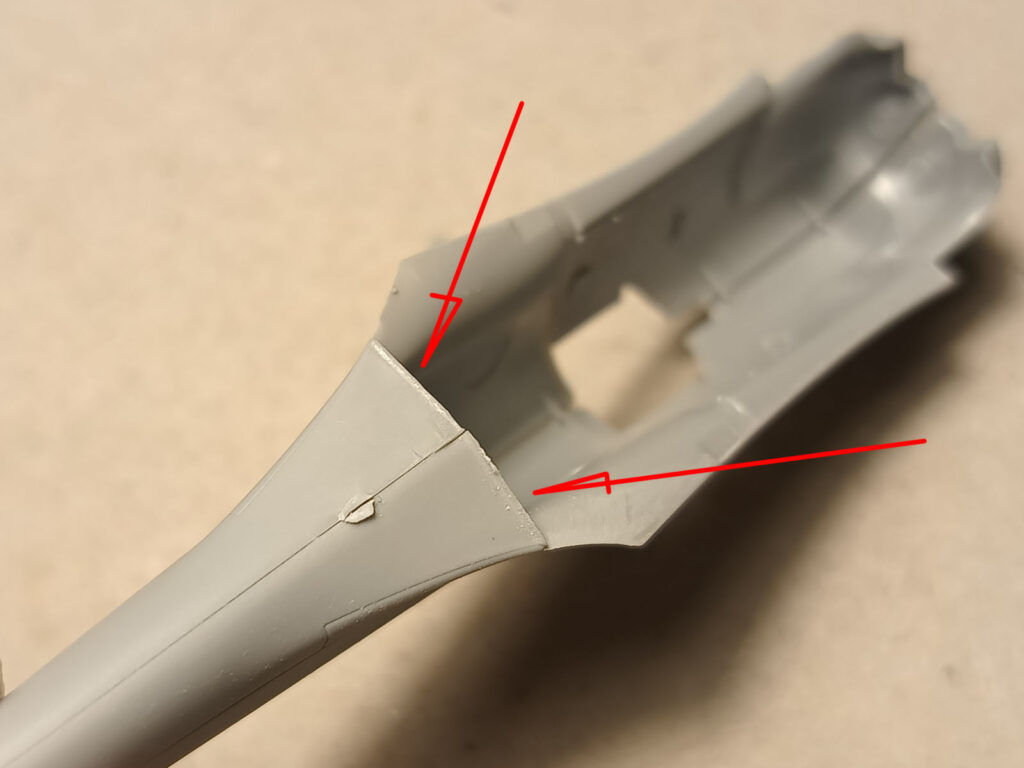
Small flash also appear in these places: in the ‘roof’ over the instrument panel, on the right half of the fuselage-wing fairing (can be evened out with two strokes of sanding sponge) and on the underside of the fuselage just behind the wing.
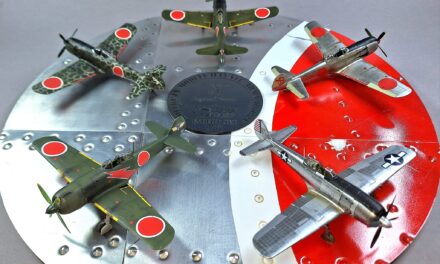
After these operations, assembling the model is a pleasure. I am in the process of building two Ki-43s myself, and I already have cut and fitted parts for another two. If you would like to check out the gallery of finished models I invite you to Wojtek’s and Zbyszek’s models (links at the bottom of the page). I hope that your finished models will soon be added to our Blog Gallery.
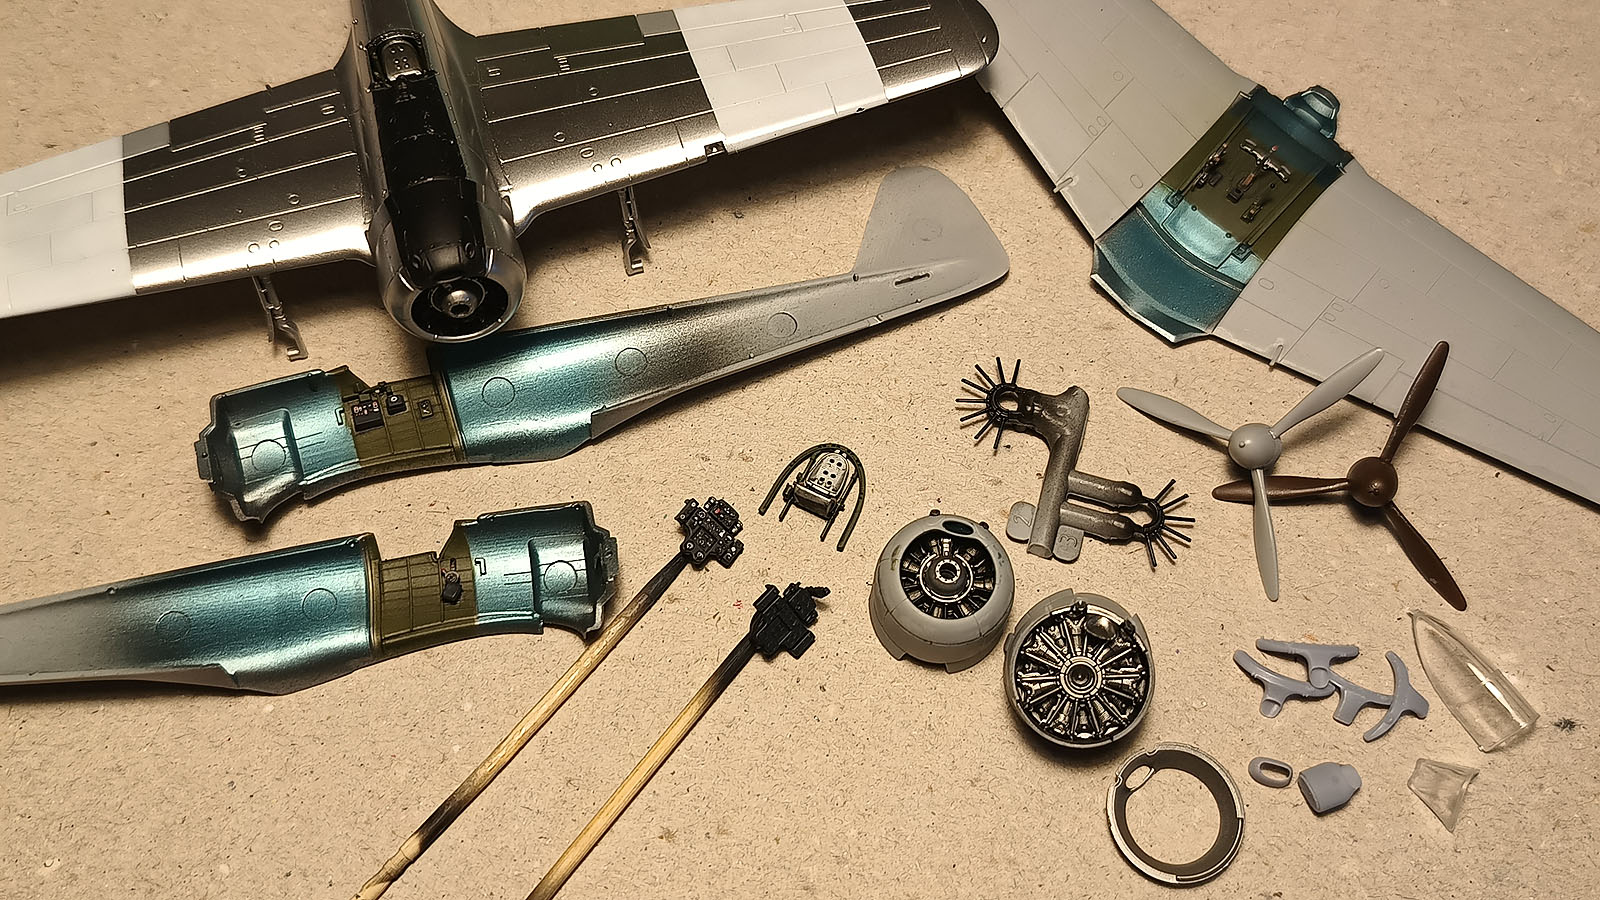
Check also:
- Buy 1/72 Ki-43 Hayabusa kit online at Armahobby.com!
Ki-43 Hayabusa – modele z wyprasek testowych – Wojtek Bułhak
Wanted to be Philanthropist, statesman and patron of the arts. Temporarily focused on developing scale model production in Poland. Co-founder of Arma Hobby. Designer of kits: TS-11 Iskra, PZL P.7a, Fokker E.V, PZL P.11c, Hawker Hurricane, Yak-1b, Wildcat, P-51B/C/D Mustang and 1/48 Hurricane.
This post is also available in:
 polski



Great kits. Love the Japanese ones in particular. Would be nice to have undercarriage up option like Airfix do.