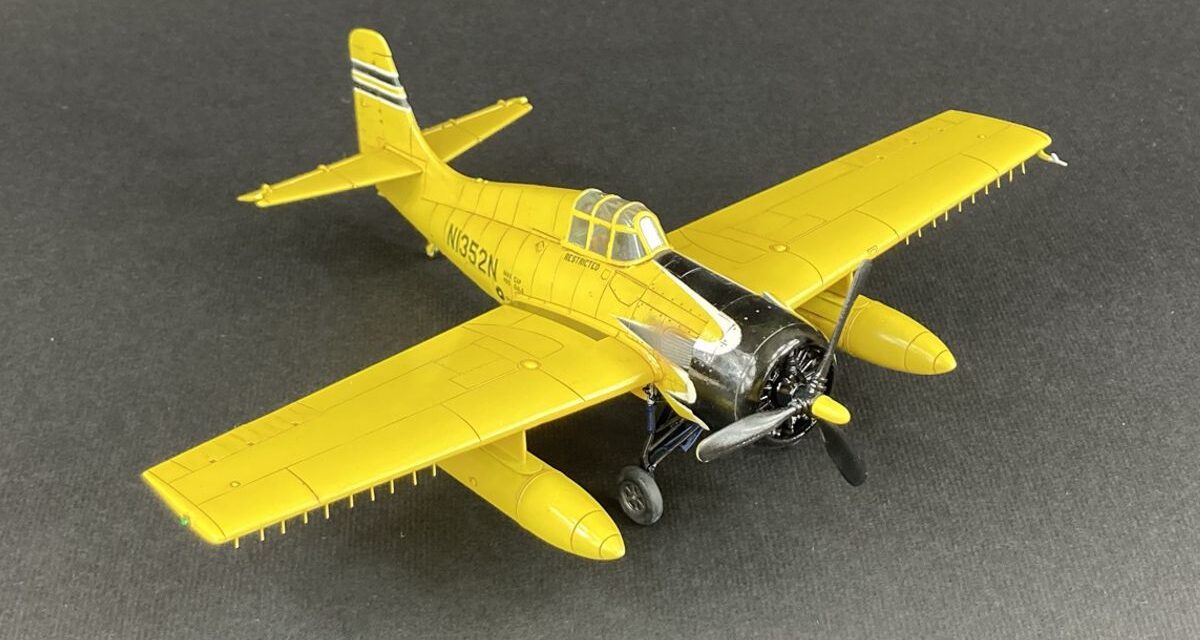
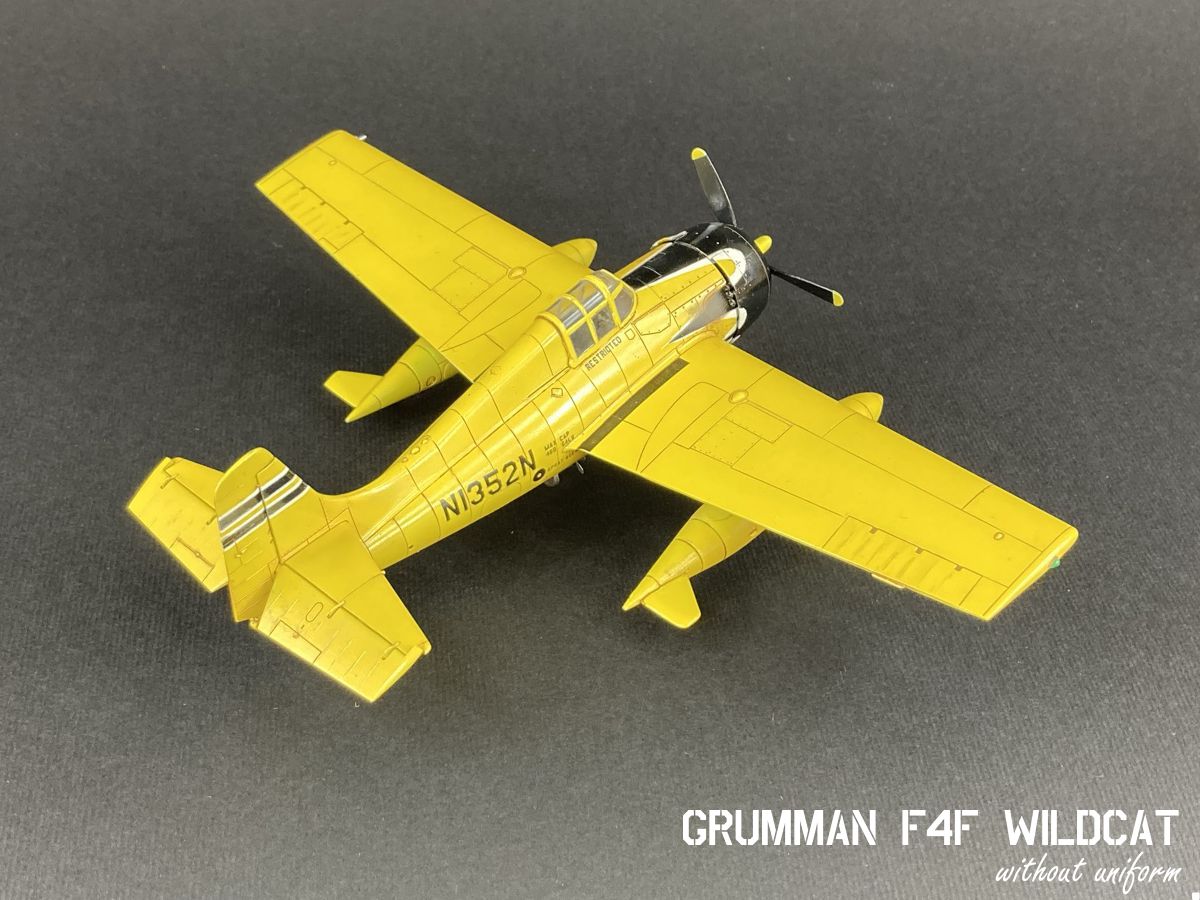
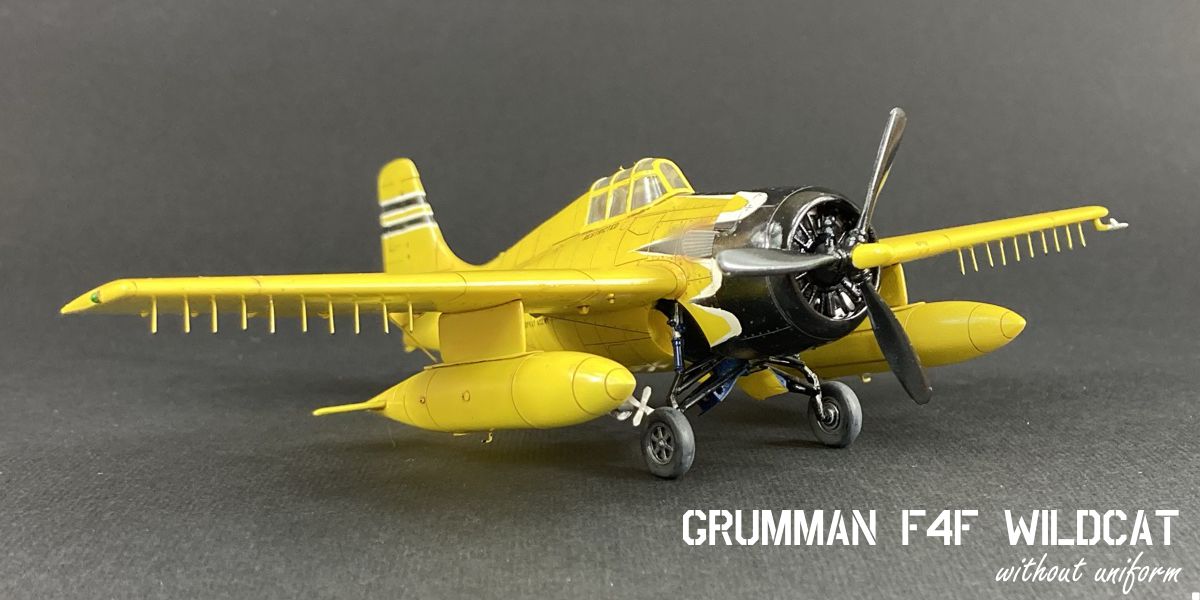
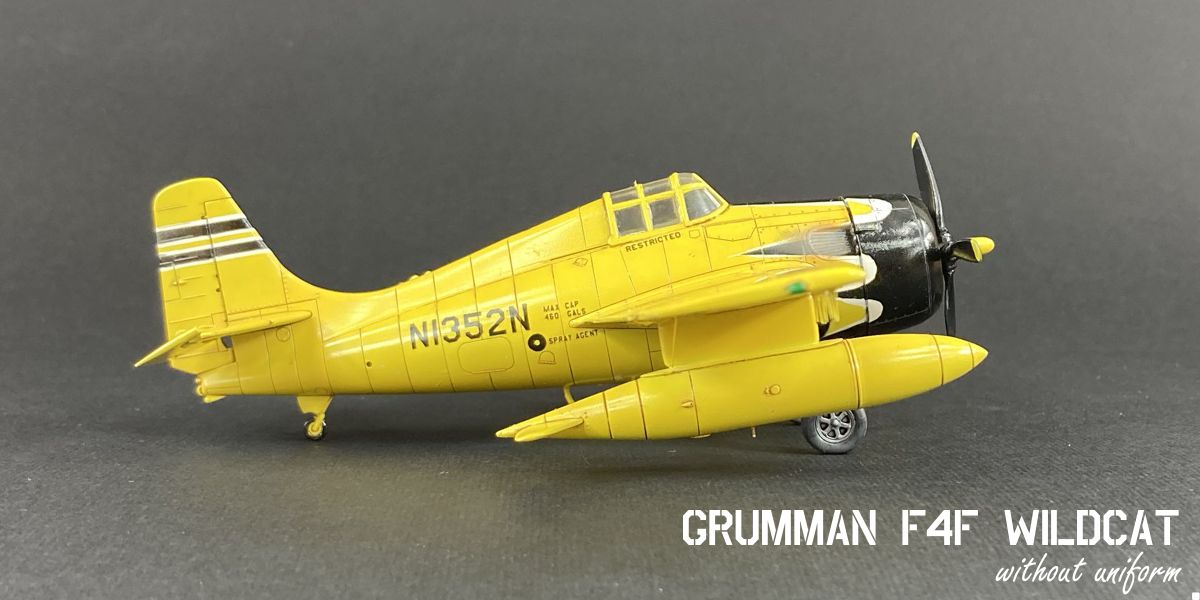
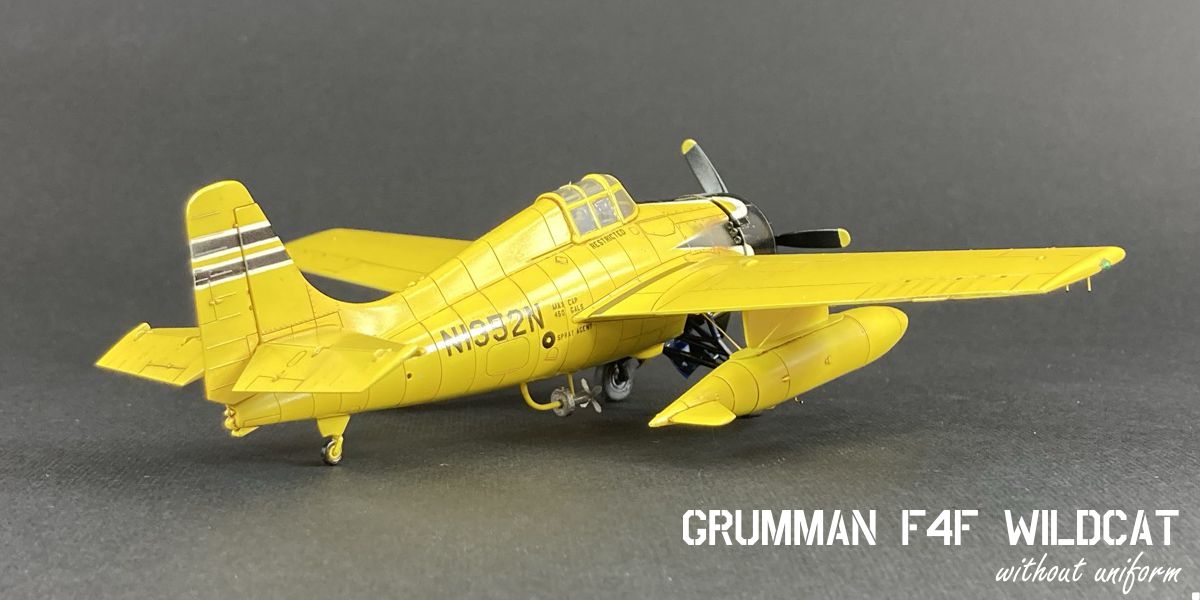
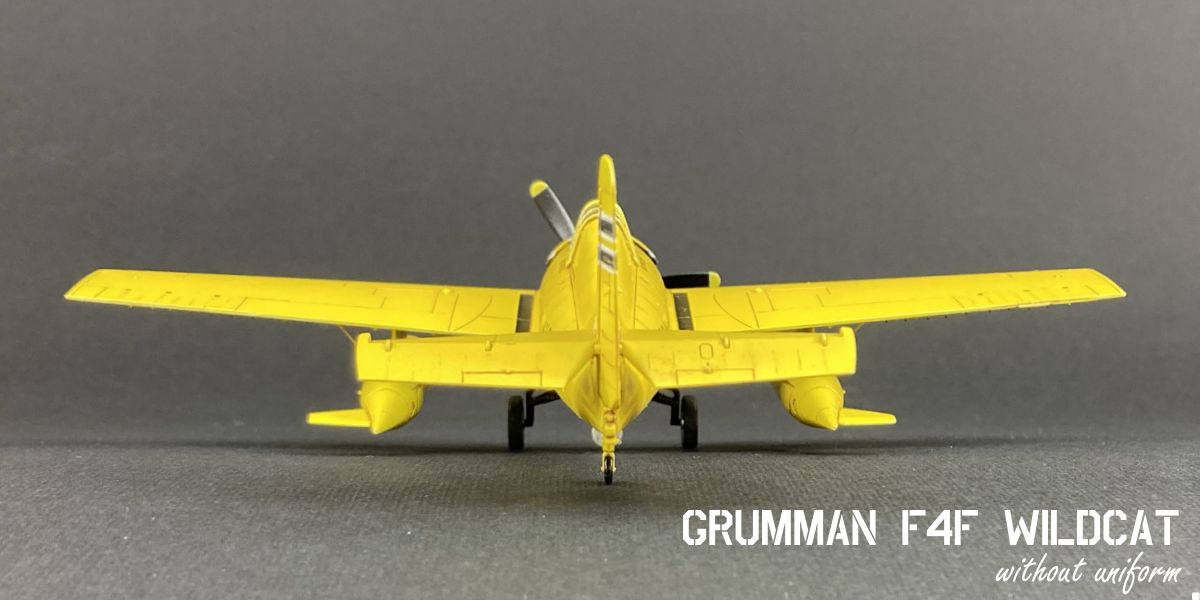
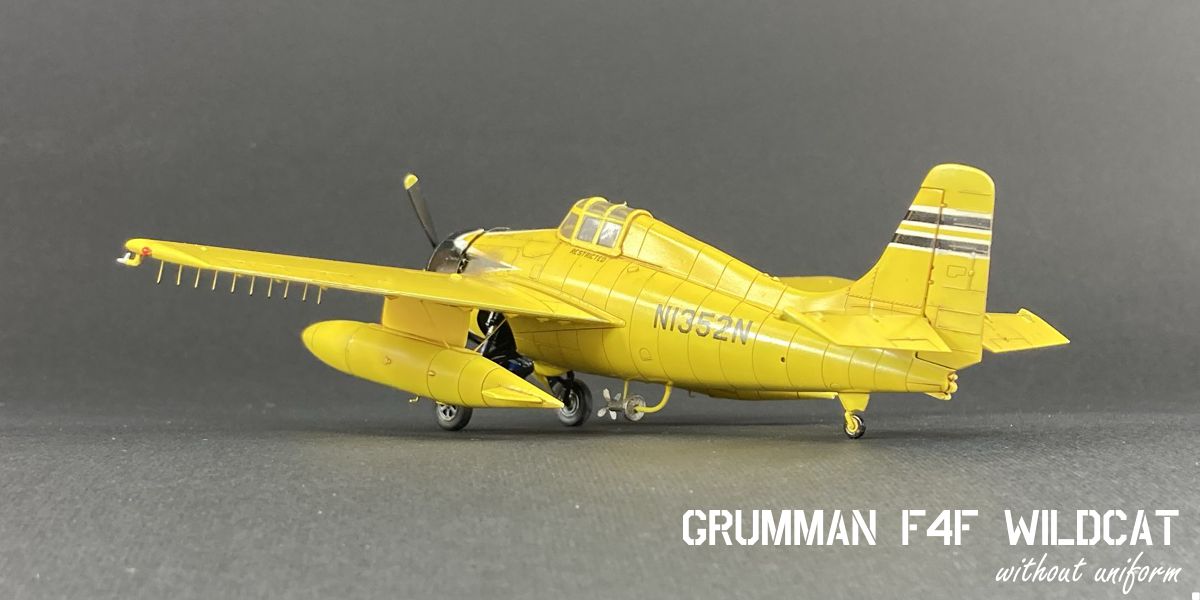
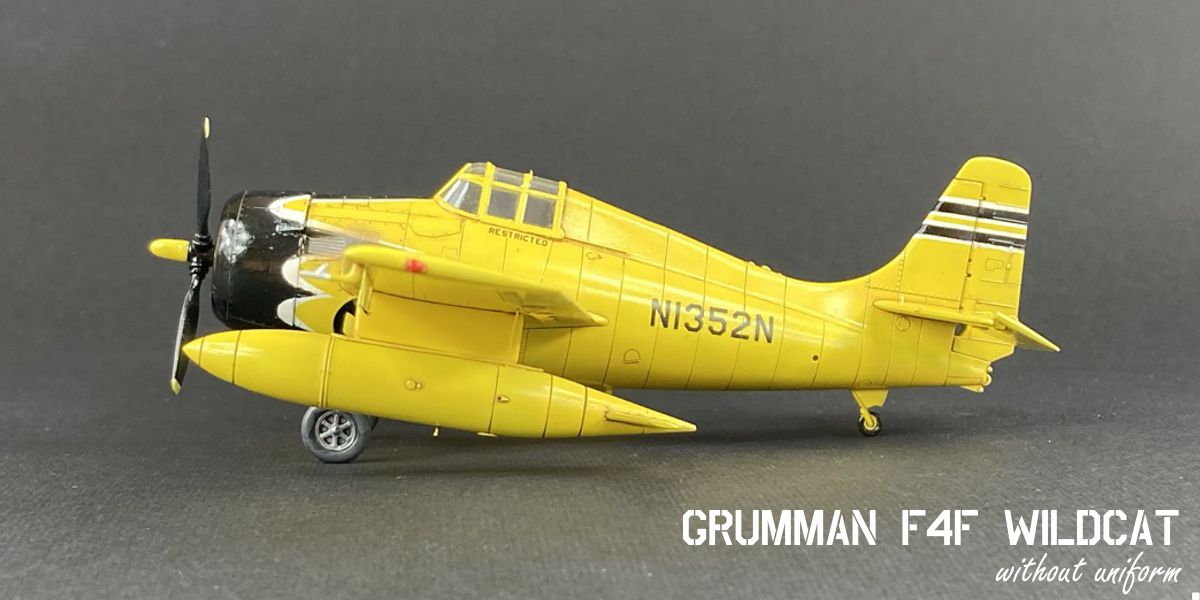
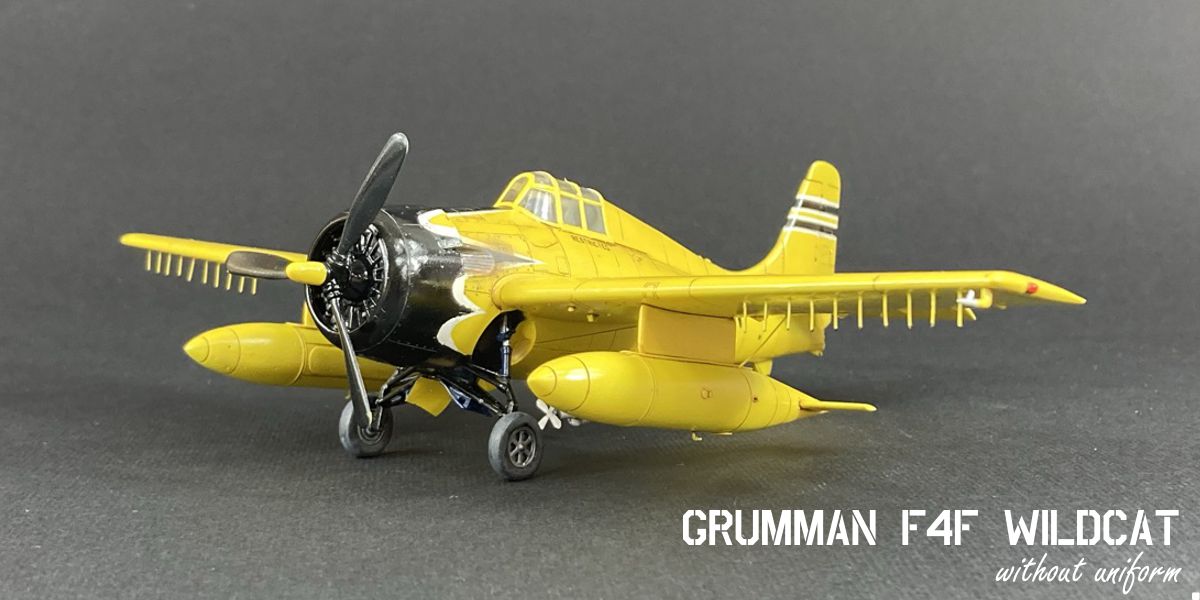
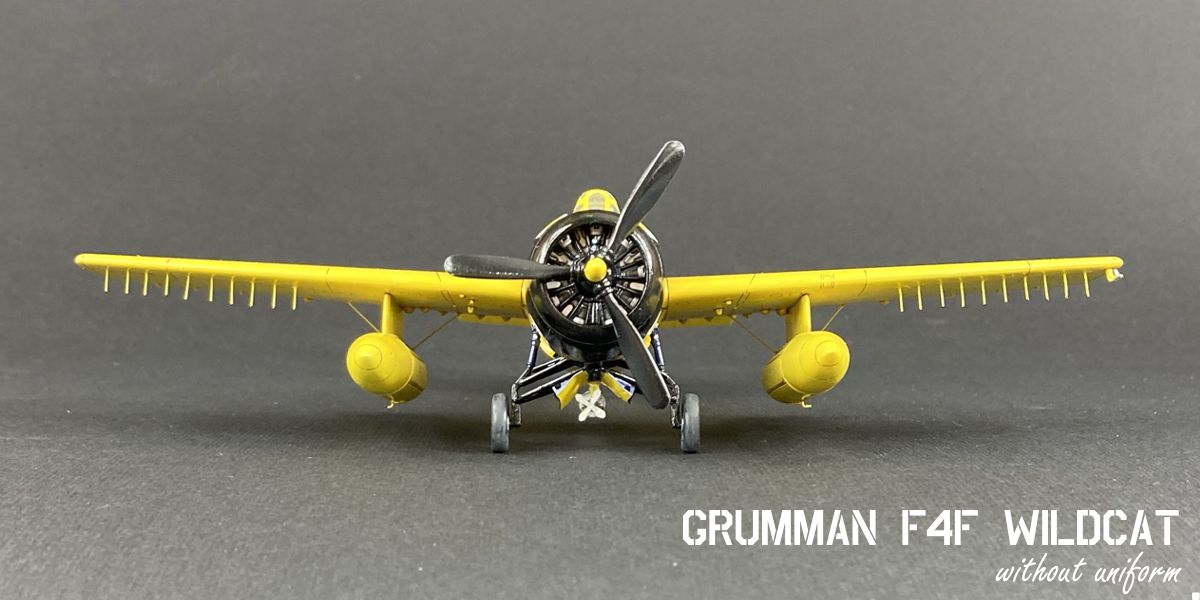
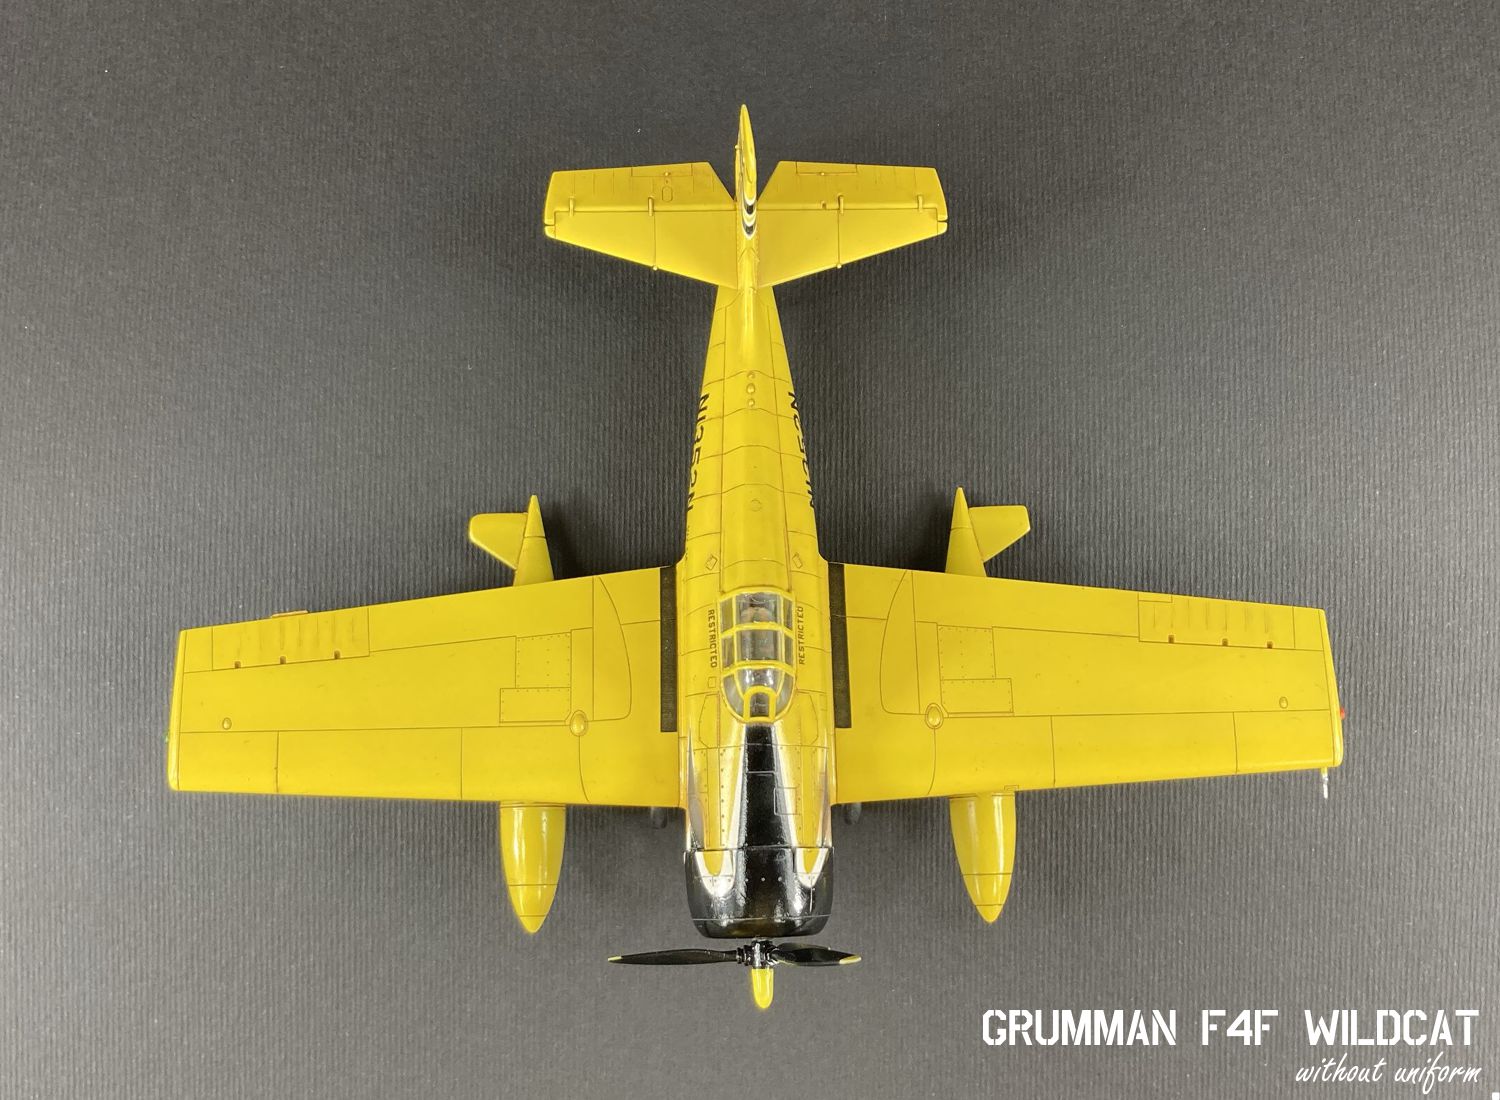
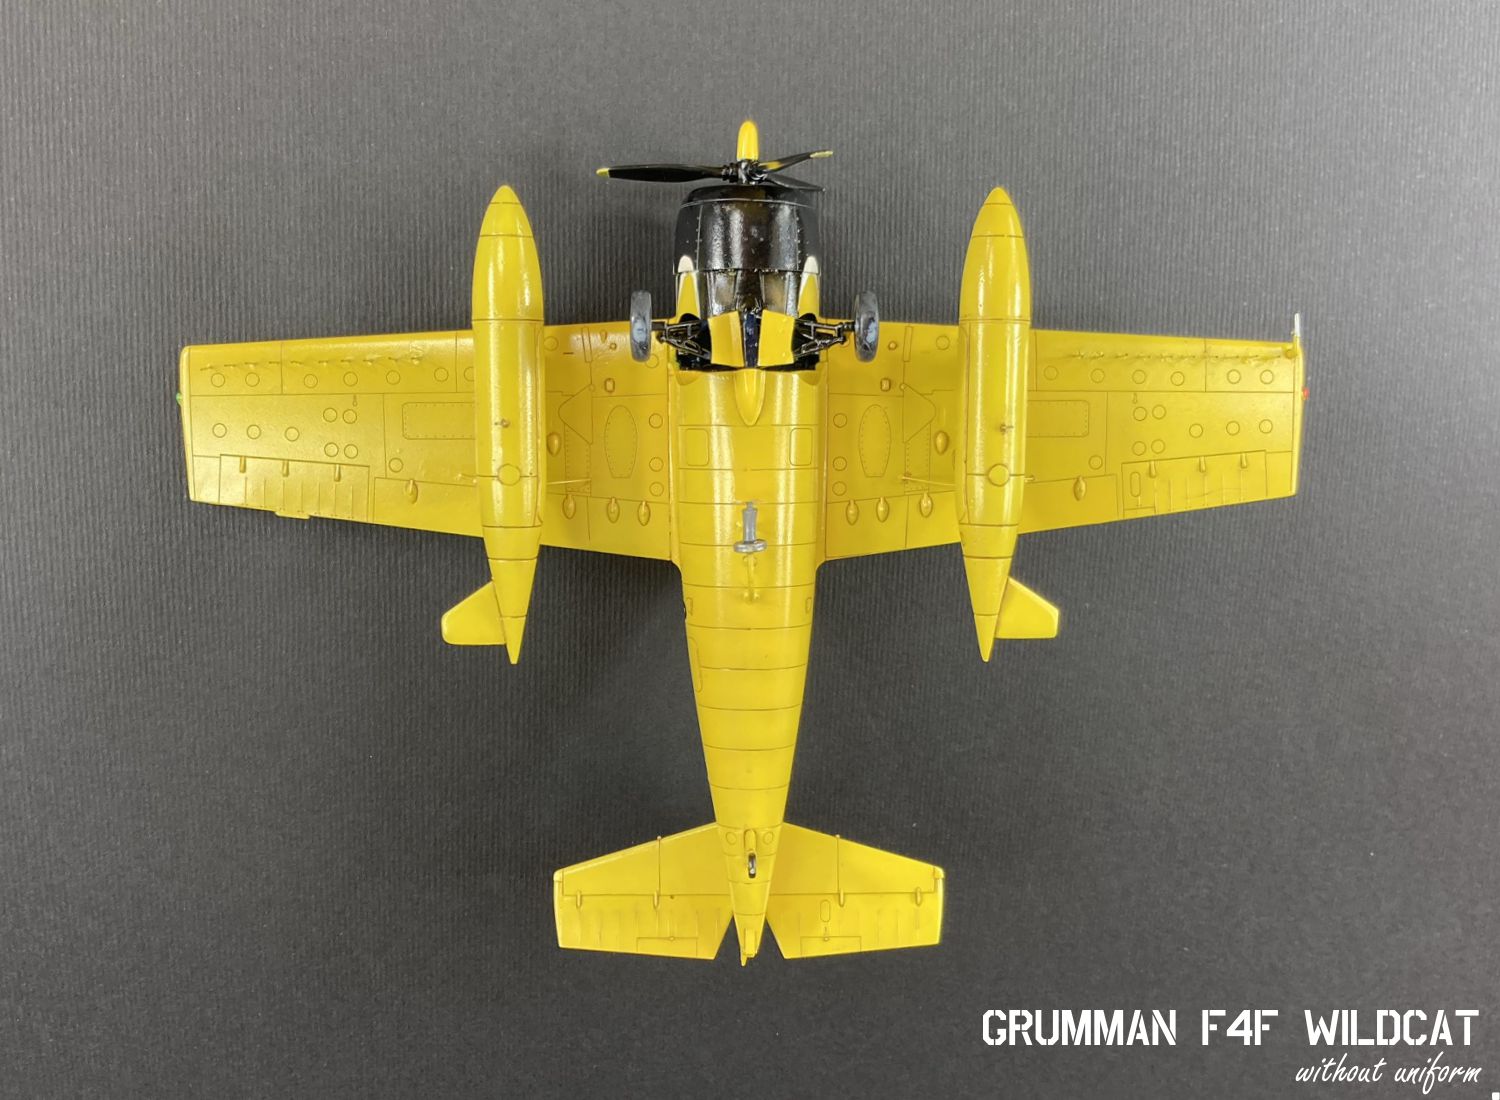
When it seems that the FM-2 Wildcat cannot surprise anymore, another model appears on the web that breaks the existing rules. Konrad Sołtysiak broke his habits and made an unusual model of the Wildcat in a masterly style. See how he transformed it from a combat machine into an agricultural one.
I try to build models related to very broadly understood rescue. Sometimes, however, a subject does not entirely fit into this topic but seems worth doing. That is what happened with the presented Wildcat. After the new Arma Hobby model was released and after reading a few reviews, I thought that I would like to put it together to find an excuse for it. After a long search, I found information about two FM-2s that in the late 1950s were used in the USA as … crop-duster. I must admit that I would prefer a fire-fighting plane, but probably no one in the States has attempted to use these “kittens” in such away. There are several photos of that FM-2 posted on the Internet.
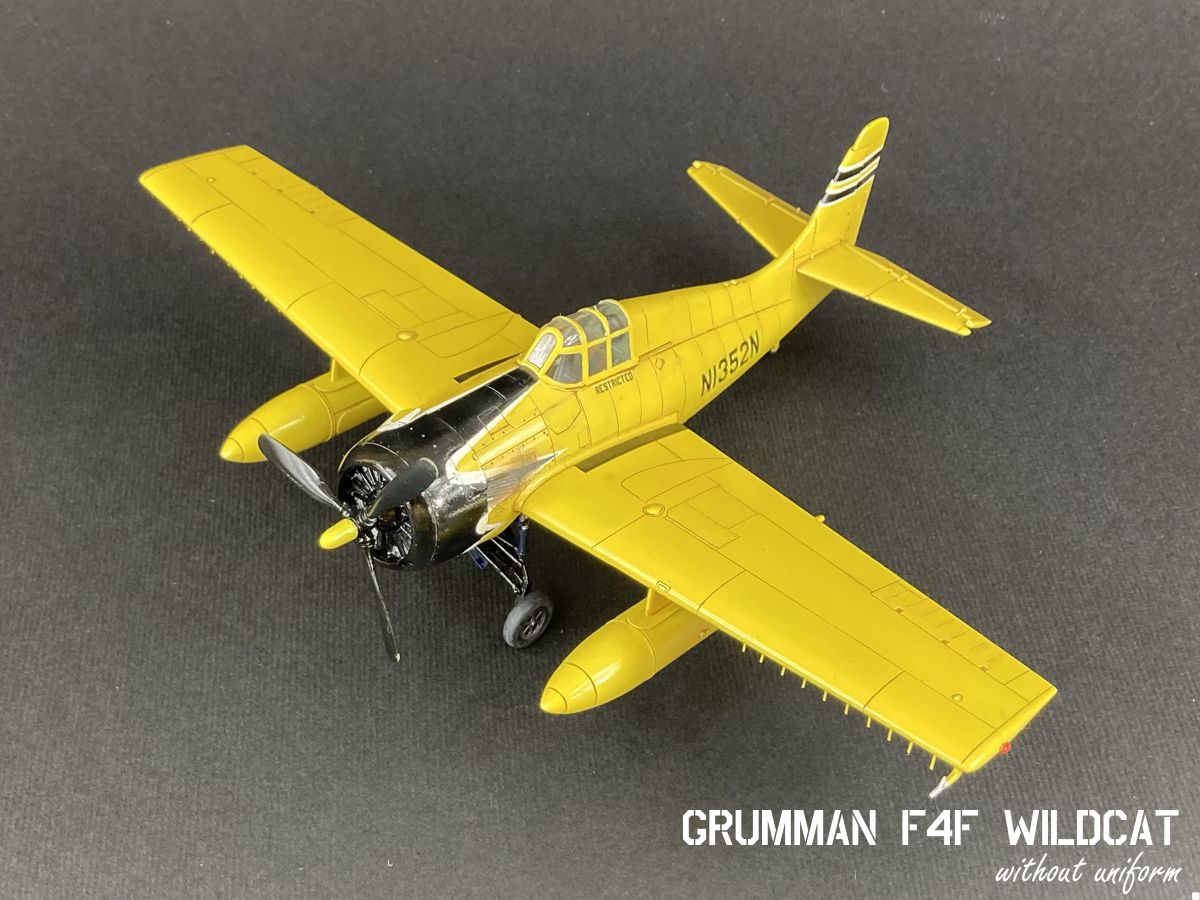
I managed to collect a set of photographs from one period of time, which gave back-ground a quite probable reconstruction of their equipment and colours. Like all machines processed in a cottage industry, both planes differed in a lot of details – the choice of this particular one was determined by the fact that it was possible to identify the “donor” of the under-wing tanks. So I obtained my “donor” (T-33A Italeri), and (in order not to destroy the model) I copied the tanks themselves in the resin. Then it was a piece of cake. Before glueing the wing halves together, I glued rows of “nozzles” made of thin wires into the wing lower parts. Making them from plastic would end up tearing them off many times, so it was enough to straighten them from time to time;). By analyzing the photos, I determined the location and method of mounting the under-wing tanks and the under-fuselage pump. I glued it all together and started painting.
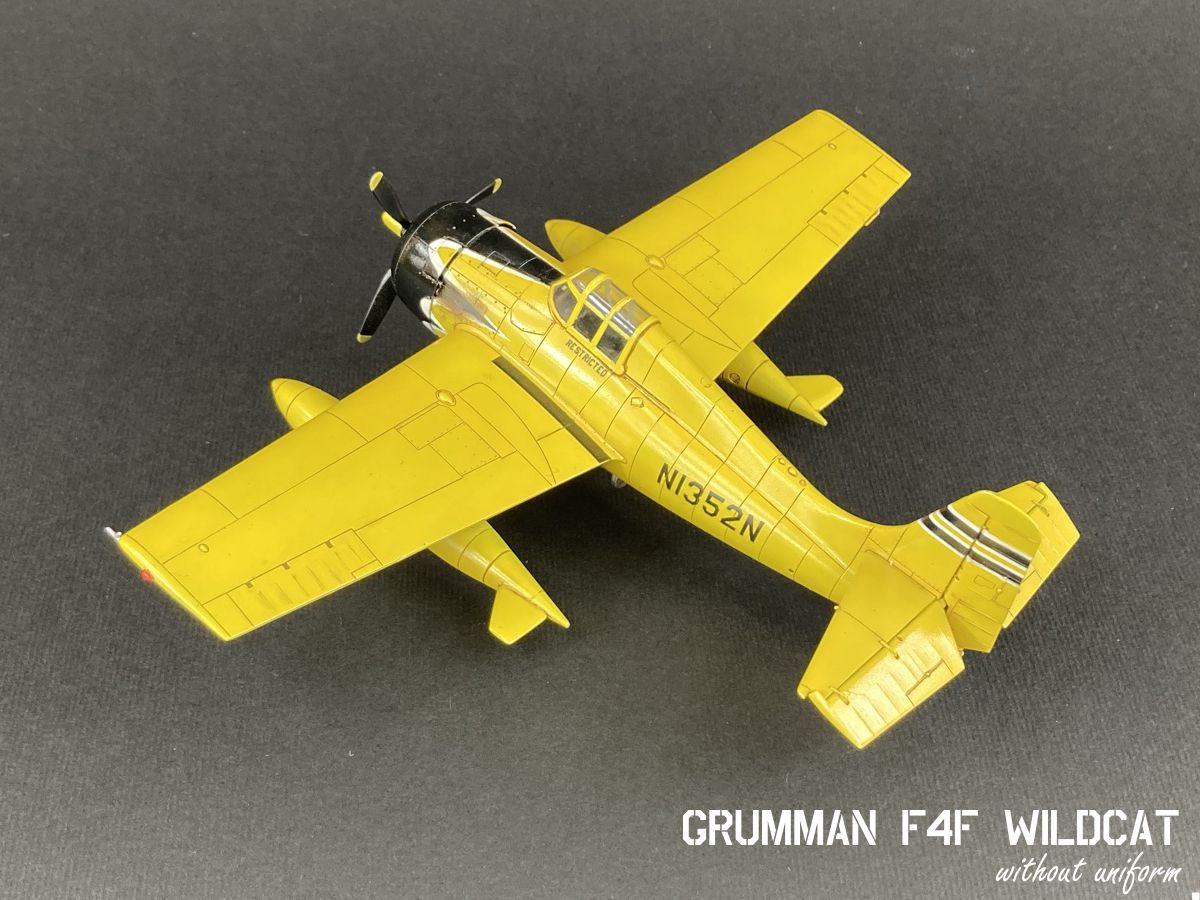
I painted with Bilmodel lacquers – I have been using them for some time for my models, and I appreciate good covering power and mechanical resistance. The latter feature was essential due to the paint pattern on the nose. I usually make simple tracing papers myself, but I decided that in this case, their correct execution would be both too difficult and too time-consuming for me. So I drew the masks on graph paper and then transferred their outline to the masking tape. Masking and painting are a long period in this model’s life, but in the end, I succeeded. Finally, I applied the letters, the last layer of varnish and wash. I was not sure if I should use the latter – you can get the “cardboard model” effect too quickly on light coloured models, but I must admit that in the end, I am satisfied with the outcome effect.
See also:
Virtual Editor, guest post publisher. When blog authors fall asleep he works unnoticed to improve website content quality.
This post is also available in:
 polski


