
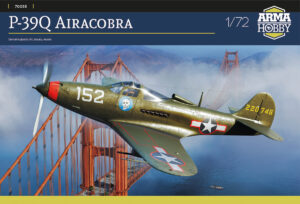
The P-39Q Airacobra – the newest 1/72 scale model kit in our offer – is the next step in the development of Arma Hobby. The project was done right after the Mustang, and I tried to incorporate the experience from this model kit into it.
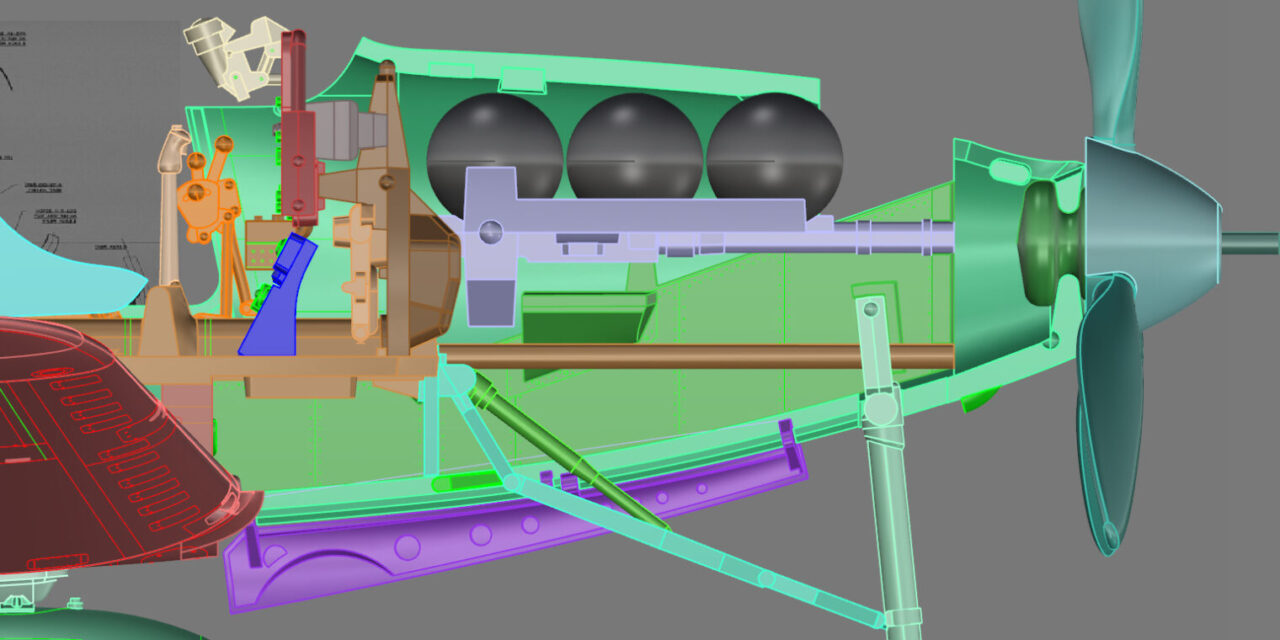
It was a huge challenge for me to work out the interior of the front of the fuselage to fit all the details that are visible there. An additional difficulty were those, already famous on the Internet, “balls of steel”. Thanks to the smart division into parts, it was possible to reproduce many important details such as the engine shaft, the bottom of the cannon with its mounting hardware and ammunition feeders, ammunition boxes for fuselage mounted .50 MGs, the wall between this compartment and the cockpit with niches for rudder pedals, the shelf with front-wheel recess, frame and rear wall of the wheel bay. Everything was detailed with rivets and spars. The upper shelf with a relief imitating the cannon is also a “home” for three steel balls to balance the model.

The cockpit interior uses more standard solutions known from our model kit line. As always, I wanted to make as much out of plastic as possible within the limits of the technology at our disposal. Zbyszek completed the work by designing great decals for the cockpit.

Installation of the control stick requires some care.

I recommend using the grey version of the gun sight, not the transparent one. Adding a clear plastic card piece cut with “punch and die” will greatly enhance it. Additionally, you can easily add two rods mounting the sight.

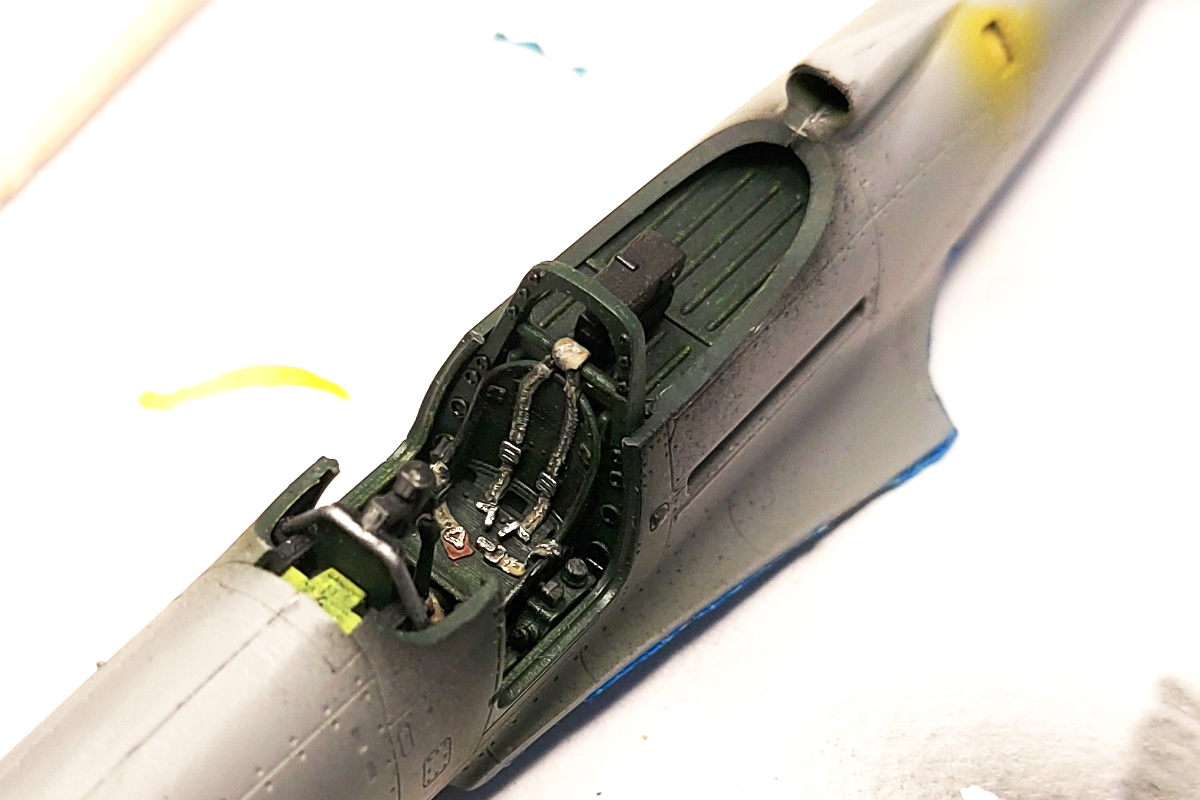
I designed the doors to the cockpit as separate elements so they could be assembled in the open position.
The canopy, therefore, has deep cutouts that forced the specific arrangement of the parts in the sprue, I had to make it so that the cutout for the door did not block the canopy from leaving the mould.

It is best if the transparent parts are injected at one point (so that there are no visible lines of the joining plastic). Usually, at the other end of the part, I put a point with an ejector (which additionally allows the air to flow out of the mould part). This time, the connection with the ejector is in a not quite well-planned place, on the arc, which fits the fuselage.
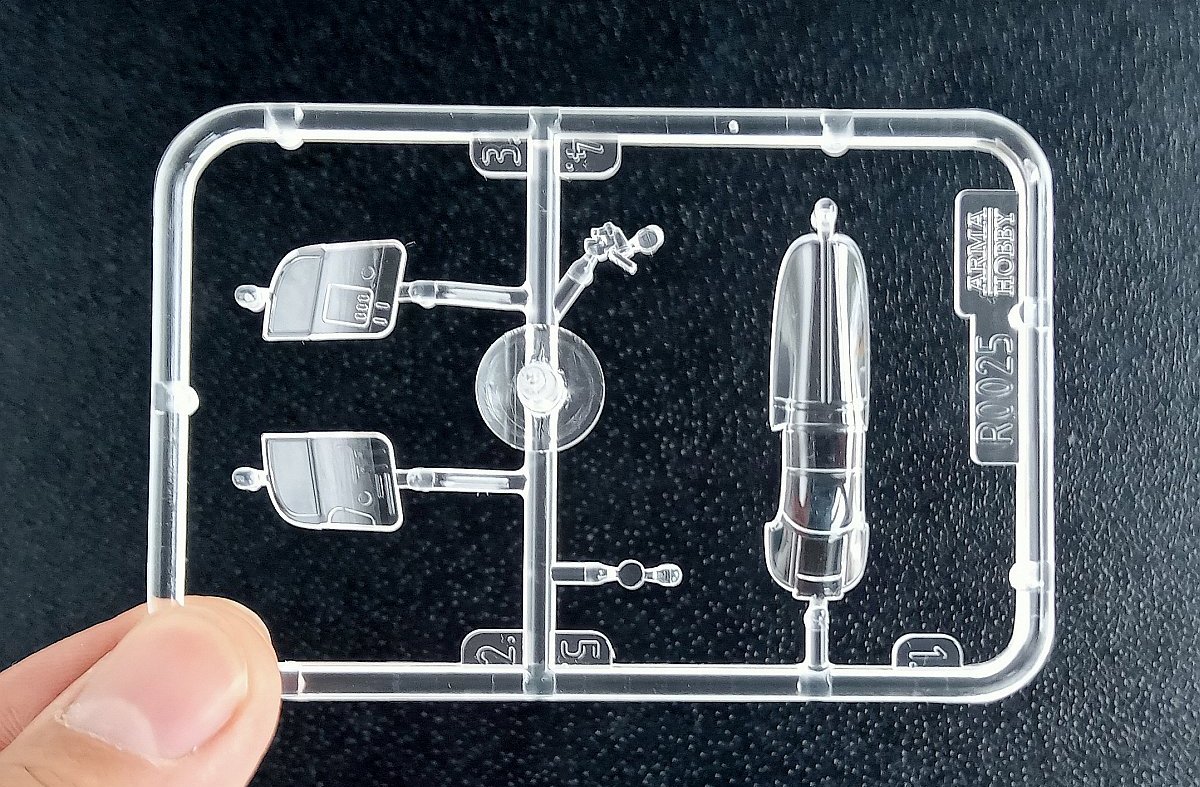
When cutting out parts, it is necessary to clean the ejector connection point well so that it does not interfere with the correct placement of the canopy.

When preparing the wings for mounting nacelles with .50 MGs, you can cut a piece of the protruding line that imitates a hinge. It is enough to put the gondola to the wing and mark how much of the line is under the gondola and then cut it or sand it on this section.

In my model, which is slowly being built, I also made cuts on the shell chutes on the nacelles with machine guns. It is a simple procedure and gives additional detail. Probably the producers of the PE parts will propose this chute as a replacement PE part.

There was an error in the instructions, the numbering of the wheels of the main undercarriage was swapped (parts 40 and 41), it is worth noting it because the wheels have weighted tires imitation and a pin that determines their correct position. Below is a drawing with the correct part numbering.

Additional typical modelling procedures: you can drill the openings of the barrels at the front of the fuselage, and thin the edges of the flap at the exit of the radiator. You can also add a bar in the air intake behind the canopy, which Wojtek showed in his model.

That’s it from my comments for today. I hope you enjoy building and painting the new Arma Hobby Cobra as much as I enjoy designing it. Happy modelling!
See also:
- Order P-39Q Airacobra model kit at the Arma Hobby online store: link
Wanted to be Philanthropist, statesman and patron of the arts. Temporarily focused on developing scale model production in Poland. Co-founder of Arma Hobby. Designer of kits: TS-11 Iskra, PZL P.7a, Fokker E.V, PZL P.11c, Hawker Hurricane, Yak-1b, Wildcat, P-51B/C/D Mustang and 1/48 Hurricane.
This post is also available in:
 polski
