
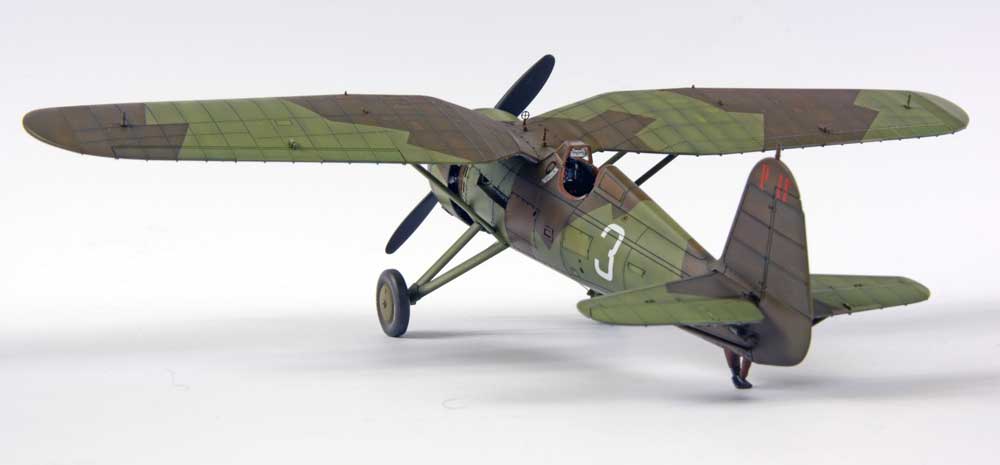
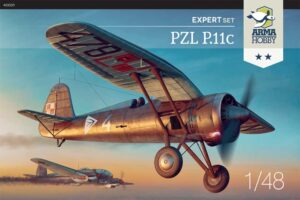
Bartek Stawski presents PZL P.11c Expert Set 1/48 scale built out of the box. Built from preproduction sprues kit came out very quickly to show up as spectacular miniature replica.
This is my first modelling article; I will describe what and how I did building this model.
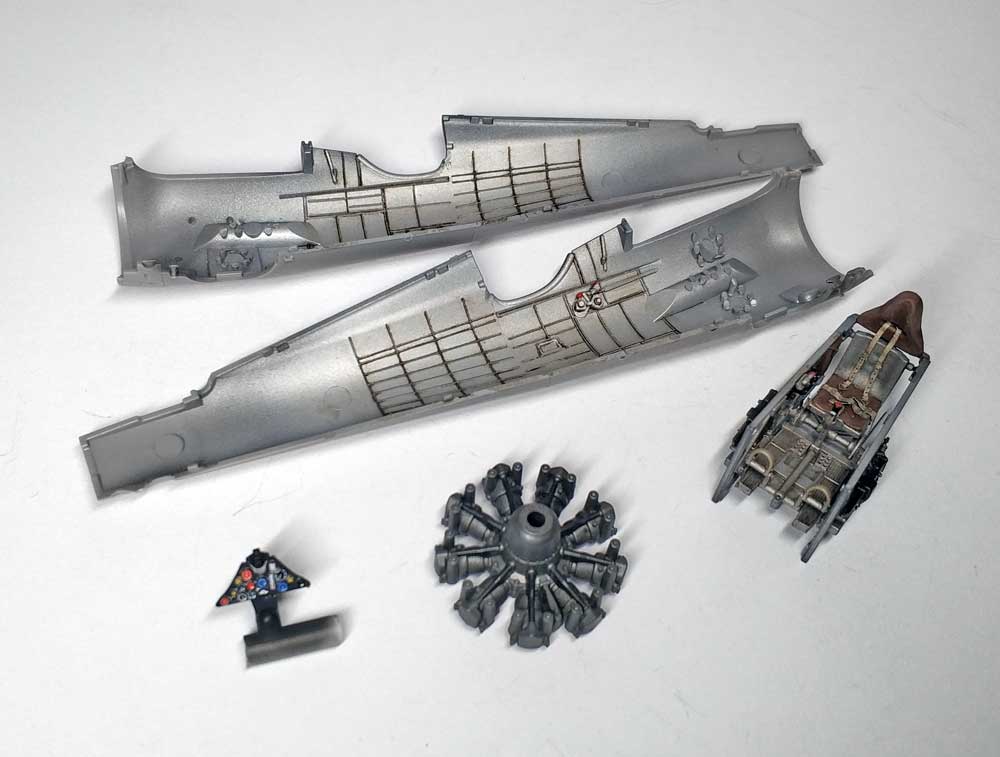
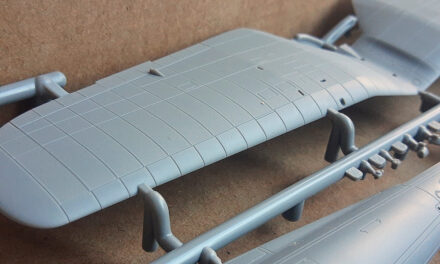
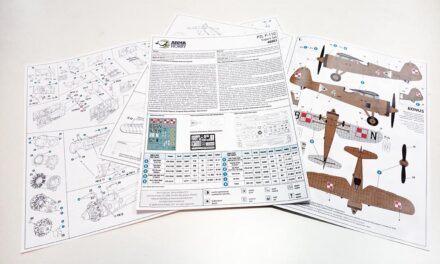
When I examined the P.11c sprues from Arma Hobby in a 1/48 scale, the model made a good impression. This is just one plastic frame, and you don’t have to search for parts by several of them. No flash on plastic parts occurs. Only a few small sinkholes to be filled, and the missing lines for rescribing, sharp detail and the whole thing makes an excellent impression.
Starting the fun – the interior of the model
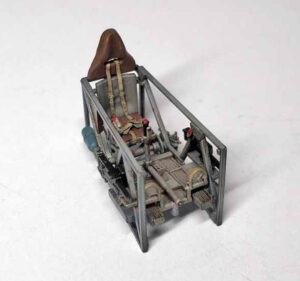
The first thing I noticed when working with the kit was the high quality of plastic, as in previous Army offerings, and this is an essential factor that makes work easier. I started by putting together and painting the fuselage interior frame. Several parts were made of photo-etched metal, including seatbelts. The metal sheet was annealed to make further assembly more comfortable, so the metal became softer and more comfortable to bent. As a result, the seatbelts in the model will look more natural.
First, I applied an Ammo One Shot Black primer, slightly diluted with the company’s thinner. Then Vallejo Metal Color Dull Aluminium 77.717 with a few drops of Ammo’s thinner. Then I painted the details. For brush painting, I used Vallejo paints, black and red colours. The oxygen cylinder was painted with Vallejo Model Air U.K.P.R.U. Blue 71.109, and the seatbelts with Vallejo Light Mud 315 from the Panzer Ace series. The leather parts in the cockpit were painted with the base of Vallejo Panzer Ace Leather Belt 312 and lightened with a mixture of this colour and white. I painted the machine guns with Gunmetal Gray 77.720 from Vallejo Metal Color. I sprayed a few thin layers of glossy varnish on the whole parts, and after drying, I applied Modellers World wash; the colour was Black and Brown. I gave it some time to dry and then removed the excess with a cotton swab and a brush soaked in White Spirit Thinner. Finally, I sprayed a semi-matt varnish from the Microscale offer.


The controls panel was sprayed with a black primer from Ammo, then I applied a glossy varnish and started playing with the decals. I used Microscale products as softeners. When the decals adhered surface nicely and dried, I applied a glossy and then semi-matte varnish again. To have a glass effect on dials, I used Wet Effect Fluid from AK-Interactive with a small brush.

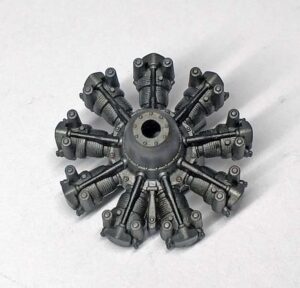
Like the previous parts, the engine received a black primer, followed by Vallejo Metal Color Magnesium 77.711. I highlighted the details with gunmetal colour, treated the whole thing again with the sequence: glossy varnish, wash and satin varnish.
The parts of the interior were ready and waiting for further assembly.
Each element was cut with pliers and carefully processed and tried before glueing together so that everything fits together seamlessly and is as comfortable to work as possible. Parts like wings or those that are part of the engine mount were cut with a Czech razor. I cut the photo-etched plates on the old A.T.M. card. At this step, it is essential to cut such elements on a hard surface. This prevents uncontrolled deflection at the cut. It is also suitable for the knife to be sharp then. For plastic parts, I used penetrating glue from Mr Hobby. Otherwise, superglue types of adhesive for metal parts; Instant Cyanoacrylate Dry from Ammo, the excess was removed with Debonder PS-F. There is information in the errata about routing missing dividing lines. For this purpose, I stuck a blue 3M tape as a ruler for drawing the line and used a Trumpeter scraper (you can also use a Czech razor saw – ed.).
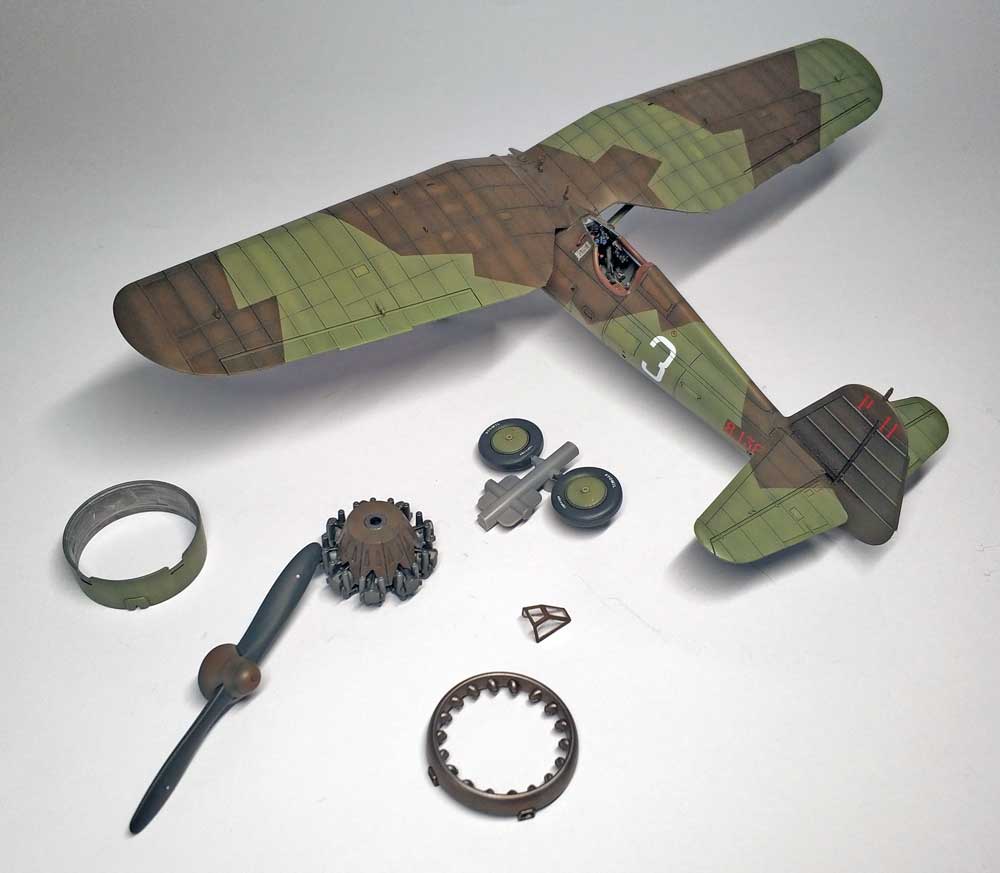
A good plan is a must a building a model. This makes the painting process comfortable and eliminates the danger of breaking anything accidentally. At P-11c, I did not glue the wing, and many parts remained in the sprue, which I partially modified myself. I attached a few of them to the toothpicks with Blutack. The windscreen was masked with the set’s masks, and I appreciate their glue, which did not leave any residues when removing them after painting.
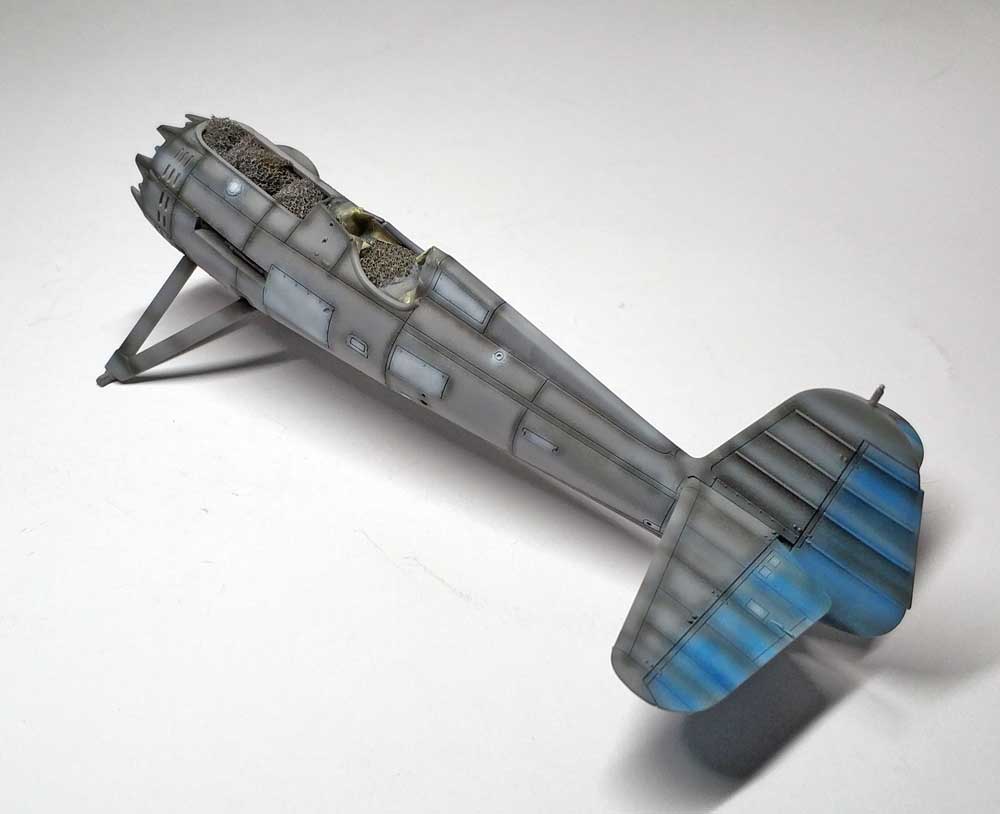
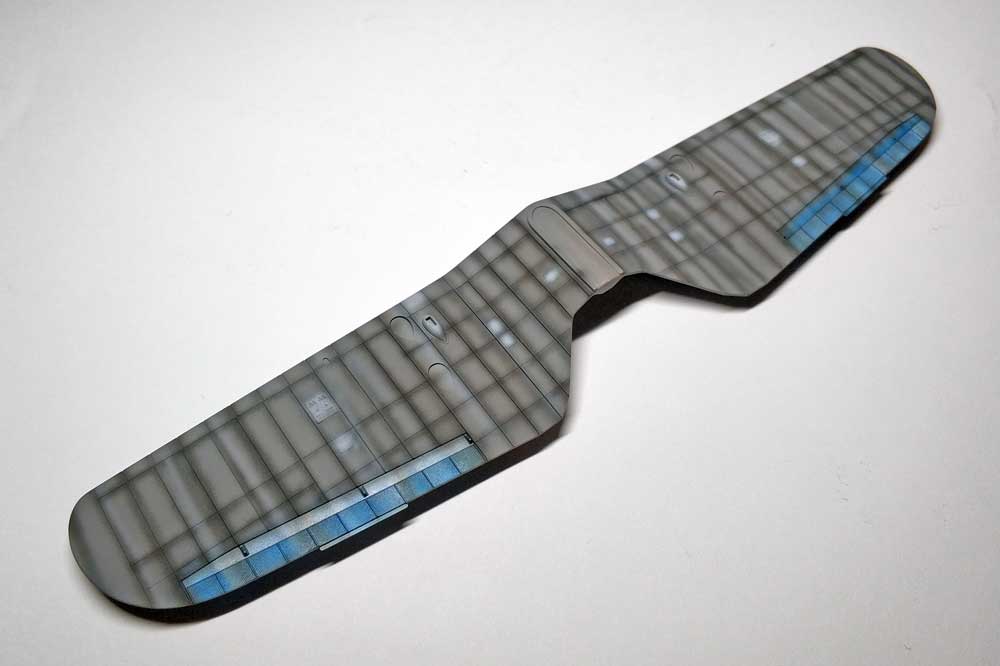
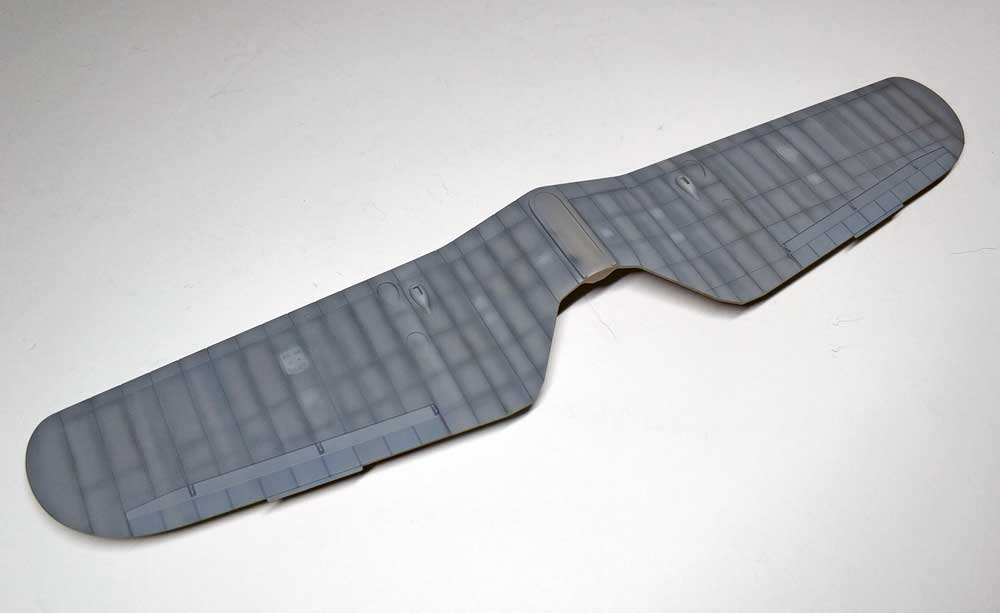
Painting the model
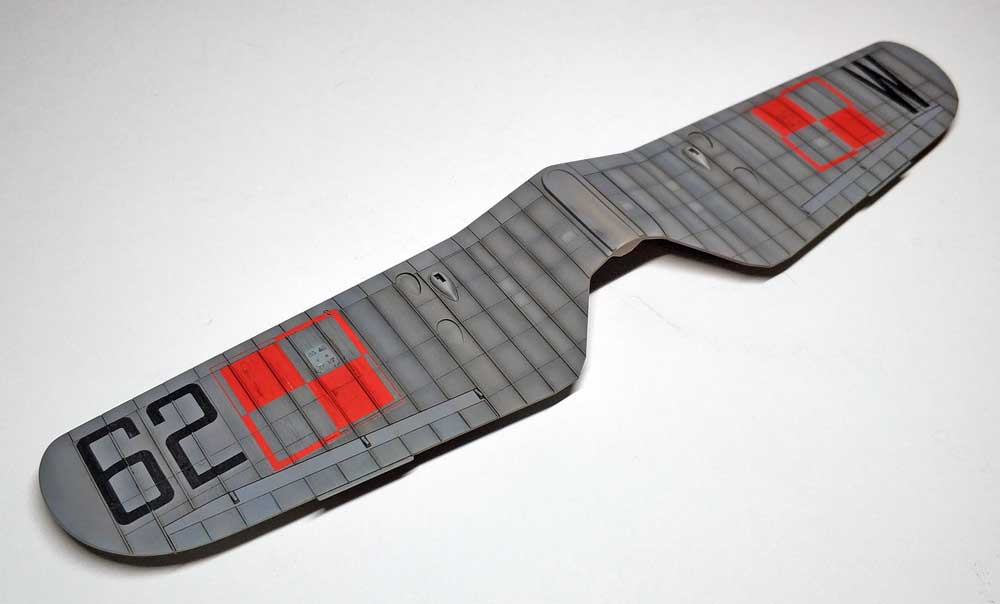
Before painting the model, I degreased the water model with dishwashing liquid and masked the fuselage’s openings with small sponges, masking tape and Chematic masking fluid. I covered everything with the One Shot Gray primer from Ammo. Then I did pre-shading with Tamiya XF-1 Black paint diluted with a Leveling Thinner. To diversify the painted surface, I brightened all the lids, compartments and shutters with Tamiya XF-2 White. Also, I sprayed the ailerons and rudder with Tamiya X-23 Clear Blue. After that, with black and white Tamiya paint, I made longitudinal “smears”. Before applying the primary colours, I waited a day for the colours to dry well.


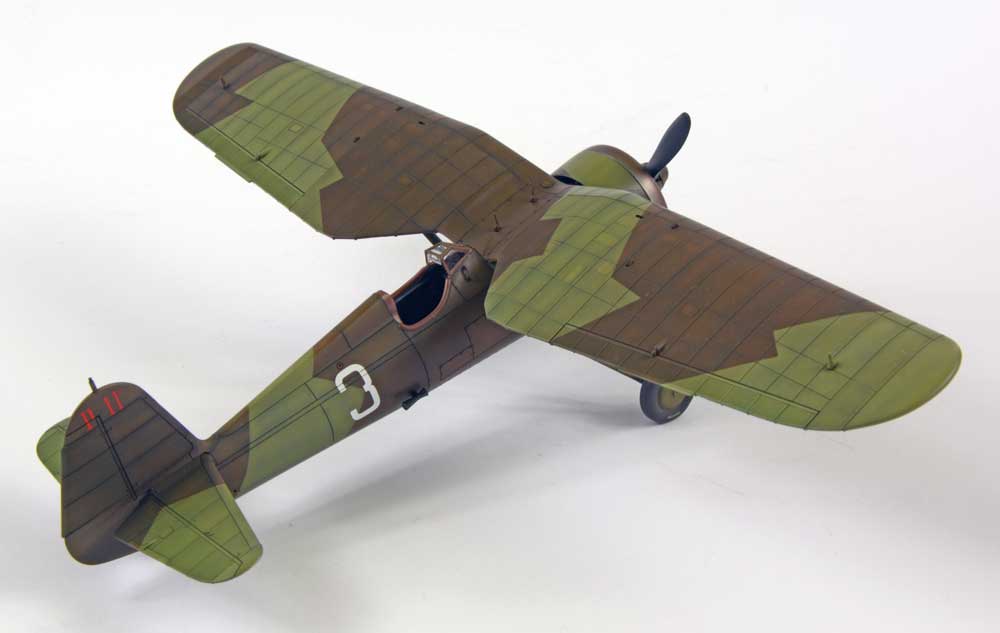
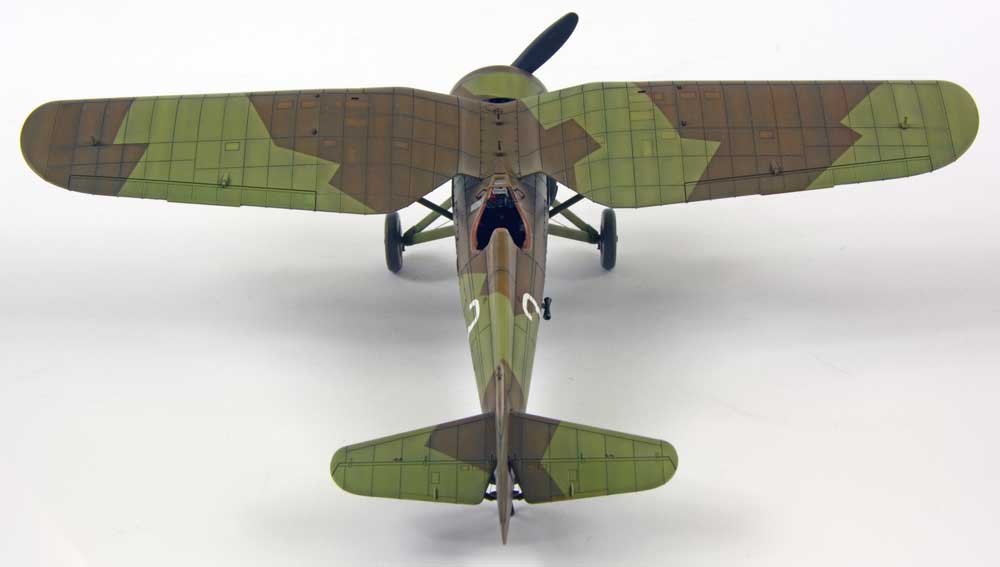
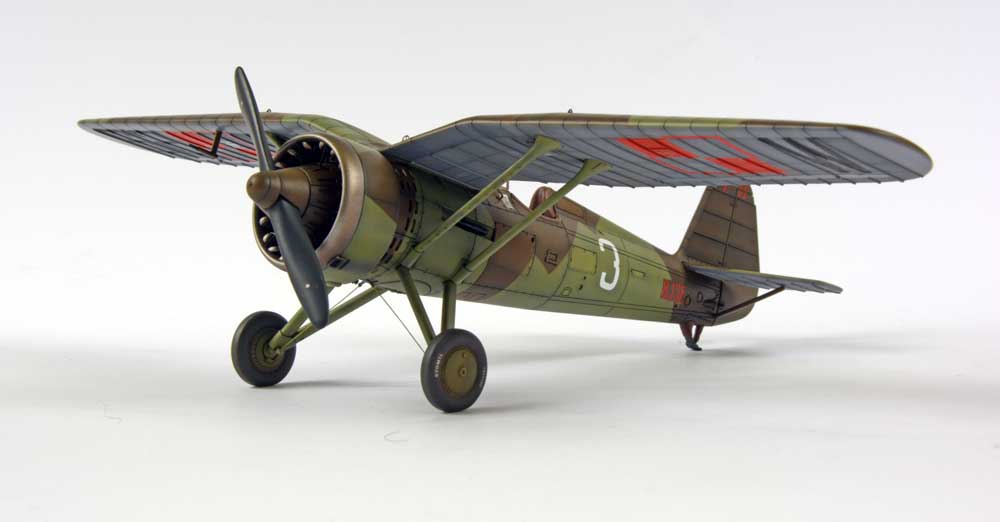
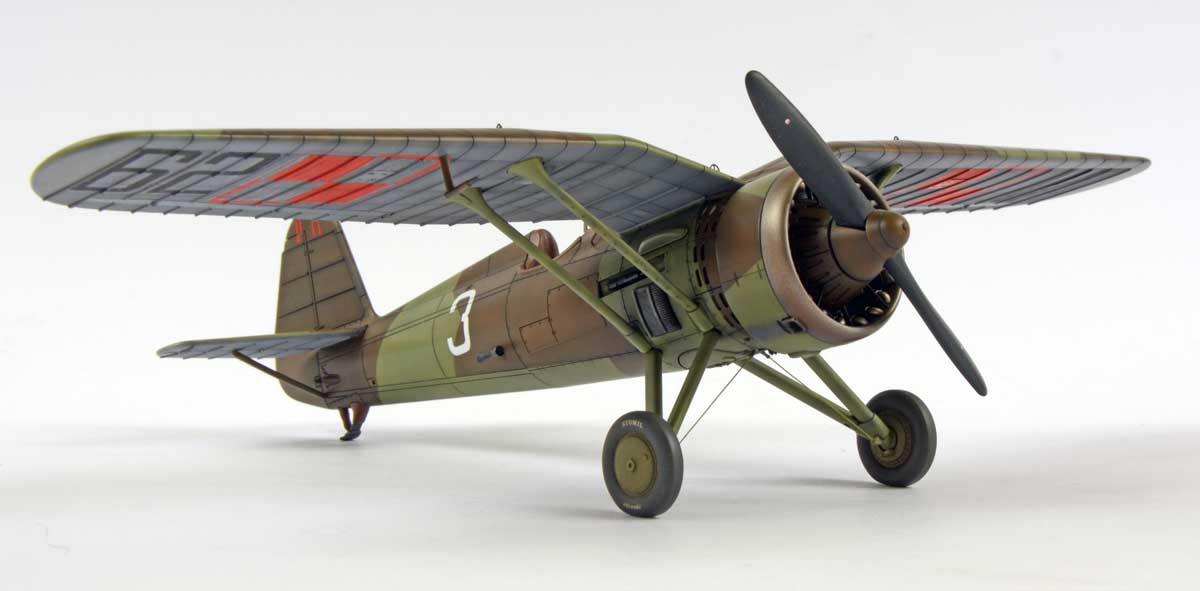
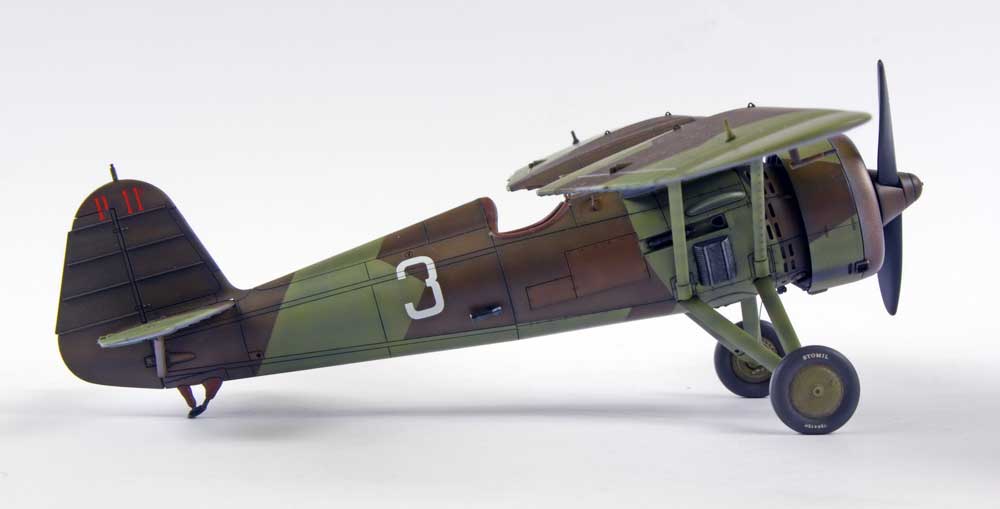
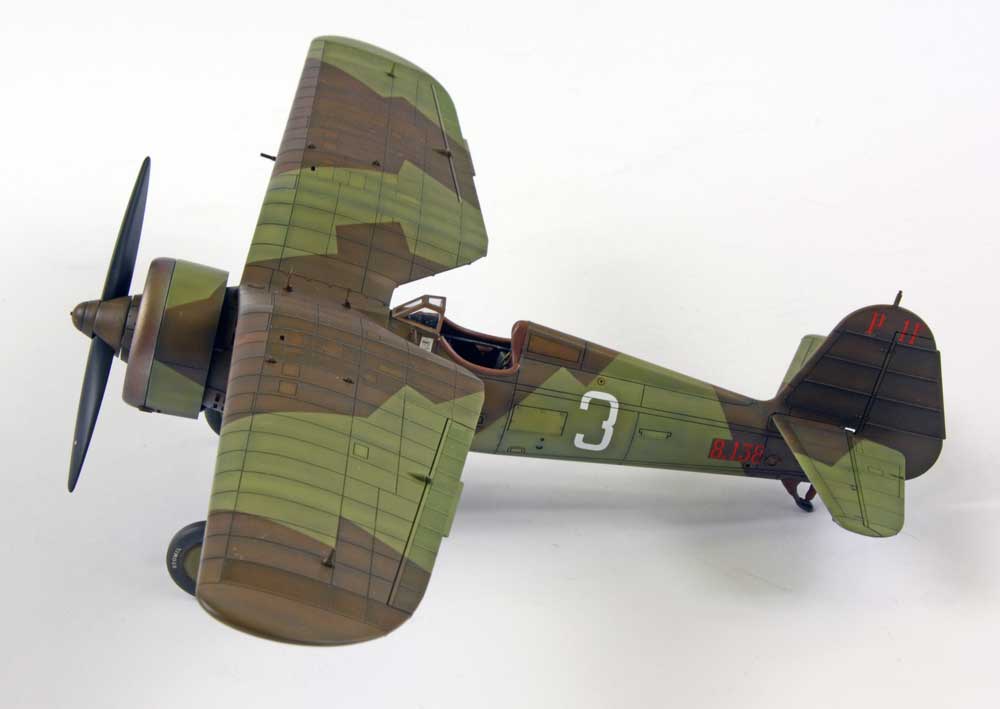
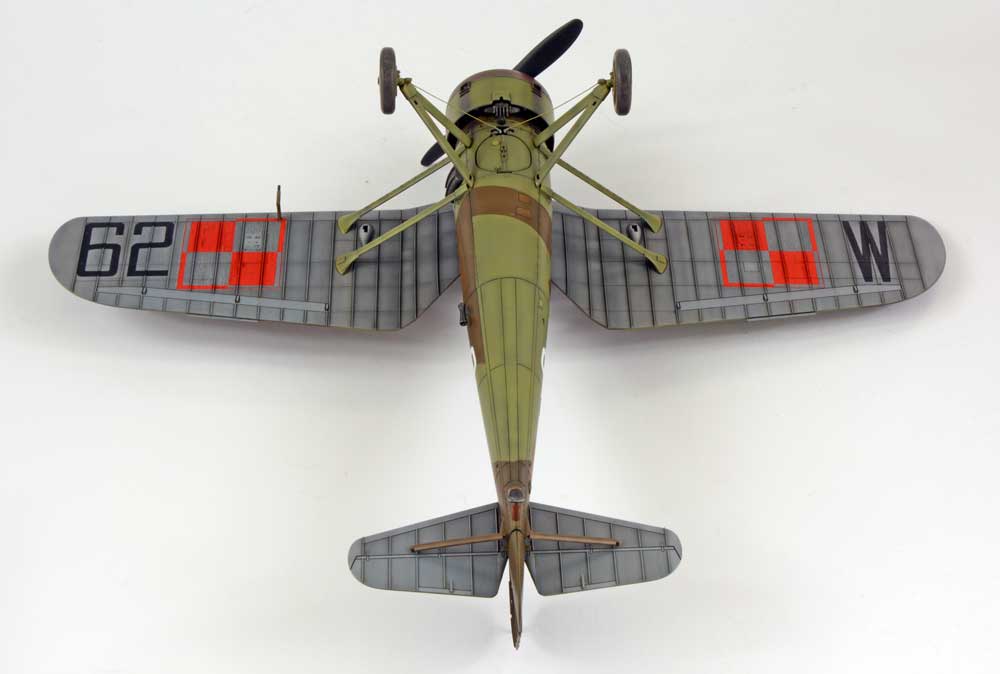
The version of the camouflage and markings I chose was the famous “Camouflaged Three”. I used Hataka lacquers from the Orange series, precisely the Polish Air Force September 1939 HTK-CS01 set, diluted with a Leveling Thinner in “more or less” ratio to thinner and transparent layers could be applied. Colour #C036 went to the lower surfaces. To not paint over the previously obtained effects, the dark khaki colour (in practice brown), i.e. #C010, was applied only in those places where it was supposed to be. The camouflage had sharp colour transitions, and to reduce the risk of peeling off with the paint with tape, again, I gave it a long time to dry.
As a tape, I chose the one from Mr Hobby’s offer. And before sticking it on the model, I glued and peeled it several times on clean modelling cutting mat and started preparing the second colour. I also used Hataka, but another colour #C211 and the model was left to dry overnight.

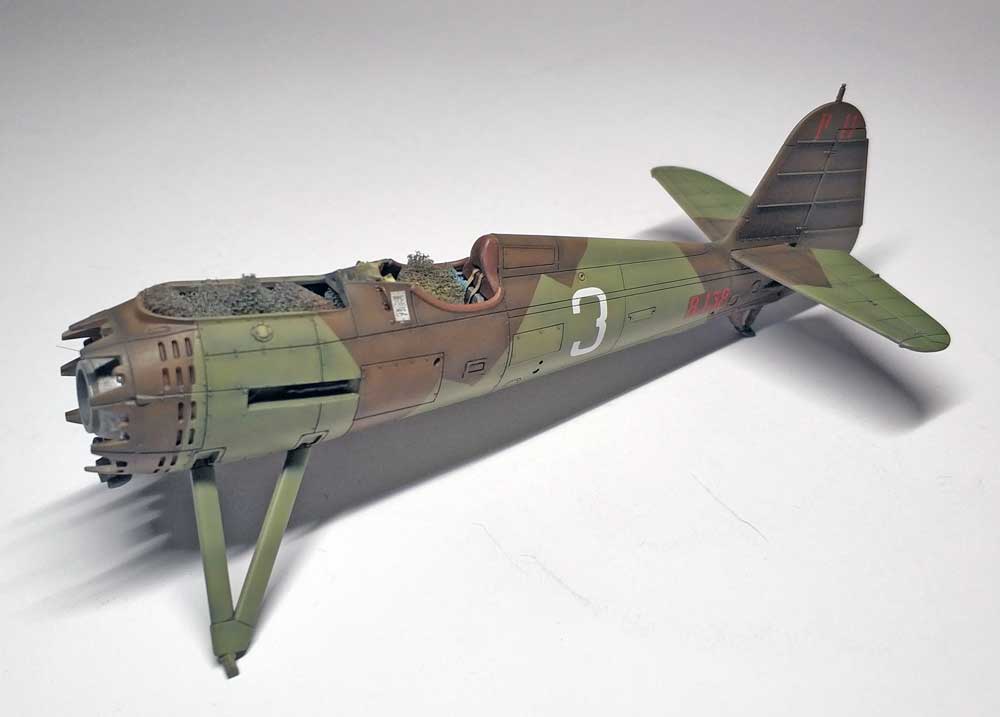

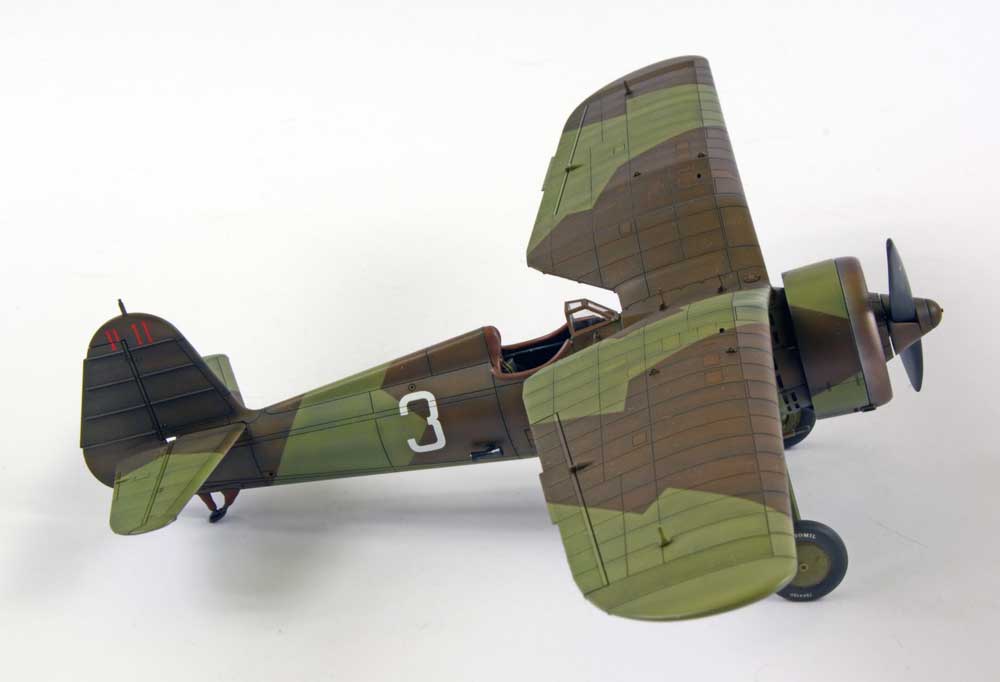
Then I started painting details like the leather parts in the cockpit in the same colour as the seat parts, the cooler with magnesium colour and machine guns with gunmetal. I secured the whole thing with glossy varnish and let it dry. I applied the decals with Microscale fluids, pressing markings down with a cotton bud. On the lower surfaces of the wing, I additionally helped myself with a sharp knife. When they sat down nicely, I applied the varnish again and left it to dry. Dark Brown colour from Ammo diluted with White Spirit was used for the wash carried over all recesses. The excess was wiped off with a cotton bud and a brush soaked in White Spirit, and I treated the whole with satin clear.


.
Finishing touches
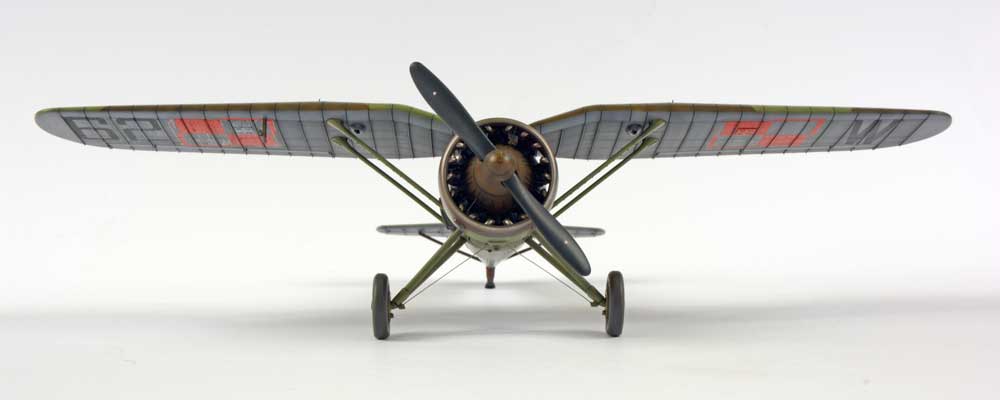
The rest of the details were finished. I painted the wheel tires with the Vallejo Panzer Ace Dark Rubber 306 and the propeller with Tamiya Nato Black XF-69. The most elaborate was at the exhaust manifold so that the whole thing looked like burnt metal. I started painting with the black Ammo primer. Then Vallejo Metal Color Dull Aluminum 77.717 diluted with A.K. thinner as a base. Then Burnt Iron 77.721 mist was spread overall, then the mist of Jet Exhaust 77.713 painted in the centre of the ring, and then Vallejo Air Light Rust 71.129 sprayed here and there. As a last, there was Metal Color Pale Burnt Metal 77.704 mist airbrushed from the front of the manifold. A glossy clear was sprayed on everything, then wash applied with paintbrush and satin overspray at the end.
When putting the remaining parts together, I did some weathering. I painted the smoke traces with black and white and stained the wheels with pigments. I glued the whole thing with C.A. glue and then applied a satin varnish to these places. In the end, I glued the wheel legs strings, painted them green and secured them with varnish.
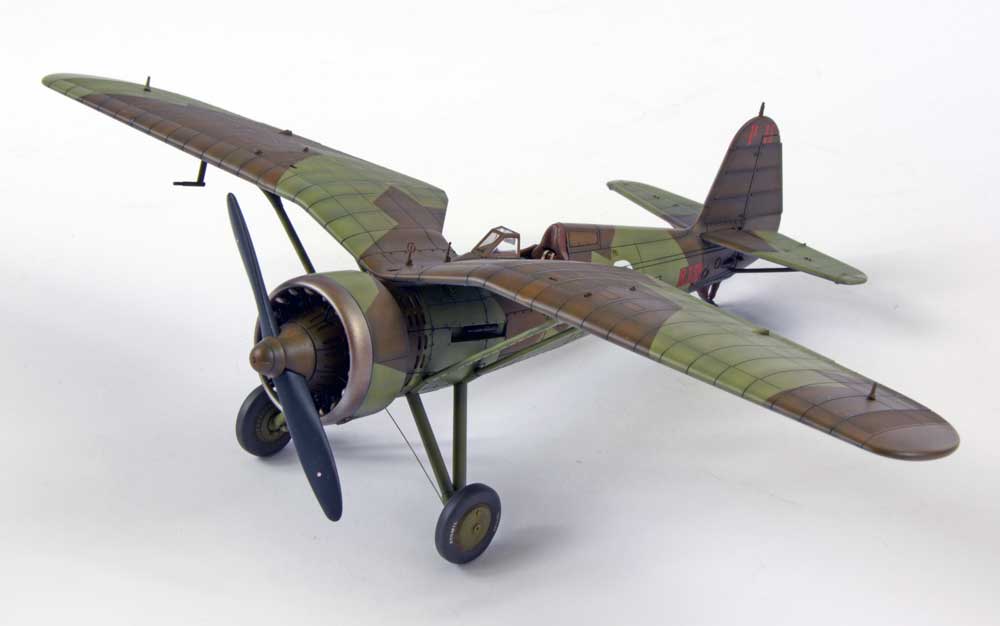
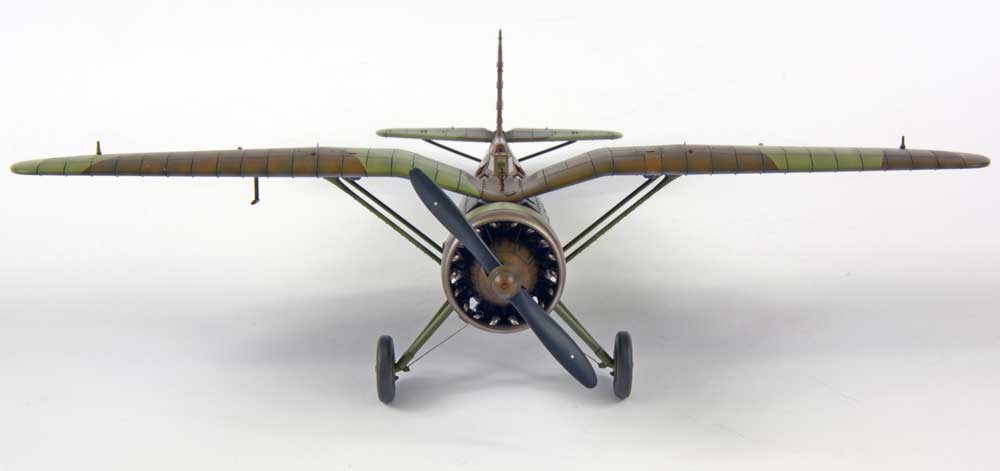
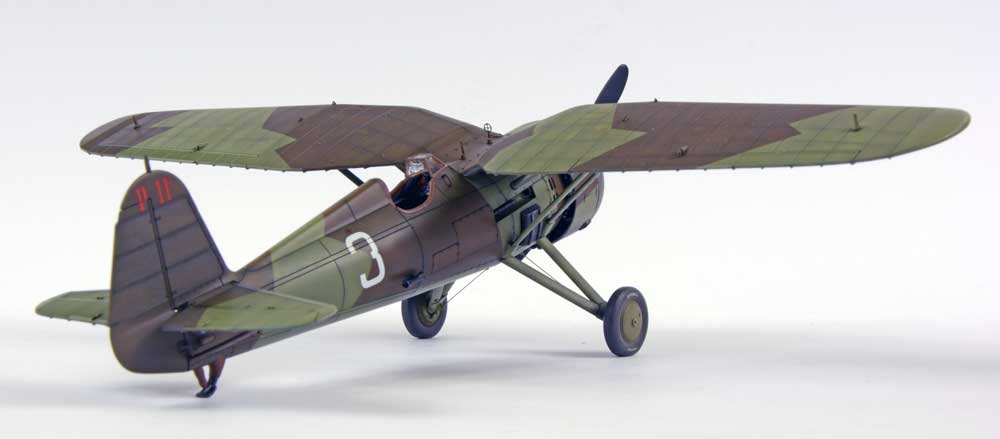
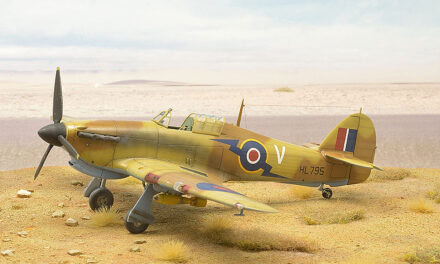
The finished model:


See also:

Uskrzydlone salamandry cz. 2, 112 Eskadra Myśliwska w obronie Warszawy
Virtual Editor, guest post publisher. When blog authors fall asleep he works unnoticed to improve website content quality.
This post is also available in:
 polski