
Announcement of the P-51 B/C Mustang kit from Arma Hobby received significant attention from modellers on the Internet. It has met your expectations sent us in emails, blog and social media comments since over a year. You expressed your trust in Arma Hobby abilities to release the highest quality model of P-51B/C. You were also not afraid to ask questions about the Mustang kit, and there was one point you were primarily concerned, the leading edge of the wing. That was made wrong in many other companies kits. So let me answer your questions now!
Designing Mustang kit
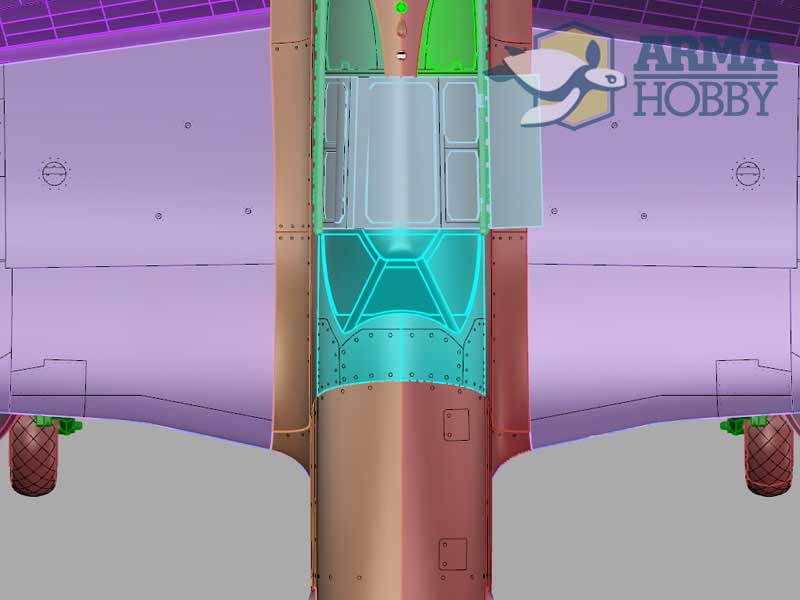
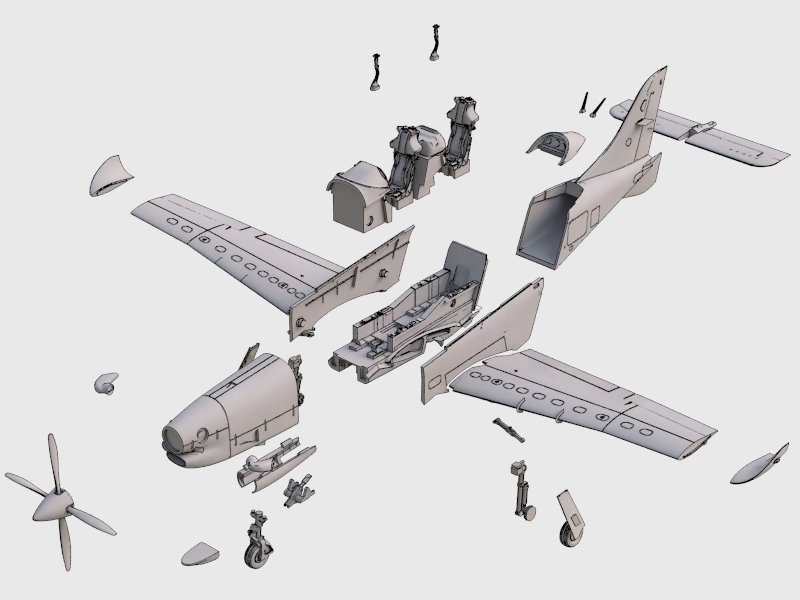
Mustang kit design is a result of many months of research work on aeroplane construction. The project started from establishing correct general shapes and dimensions of the Mustang, based on factory documentation, and was made by Maciej Noszczak, well-known author of scale drawings you may know from many books. Then it was my turn, and I focused on airframe details and double-checking general shapes. Fortunately, Mustang B/C wasn’t changed too much during the production run, and the most challenging part of the kit design was to make dorsal fin fit easy for modellers.
Leading Edge from P-51-B/C and not from D
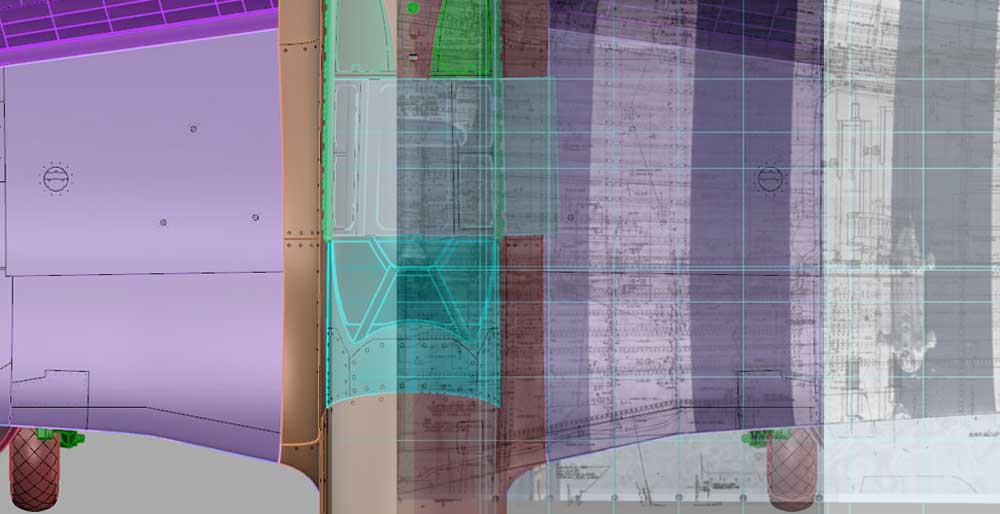
Your main concern is the wing leading edge. I designed according to factory drawings of the P-51 B/C. The leading edge line breaks at the correct rib and with the correct angle.

We started with factory drawings.
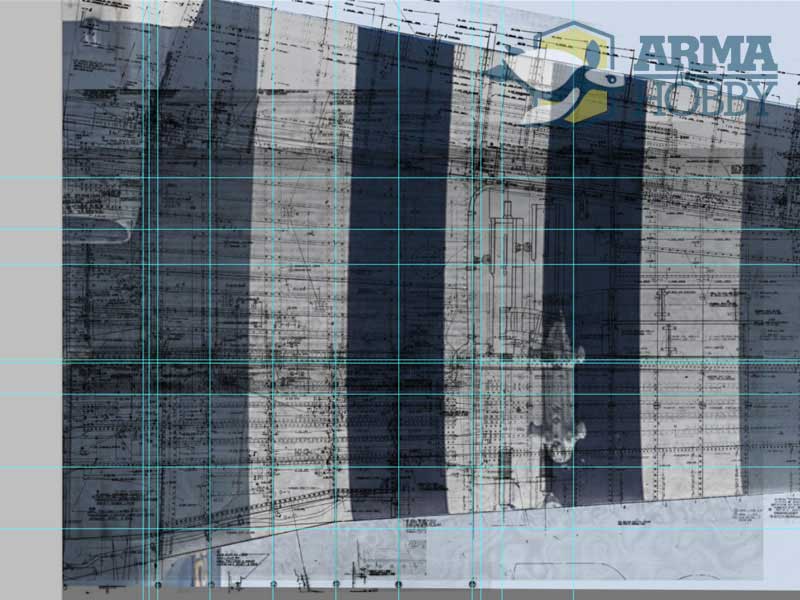
We have double-checked factory drawings with aeroplane photos.
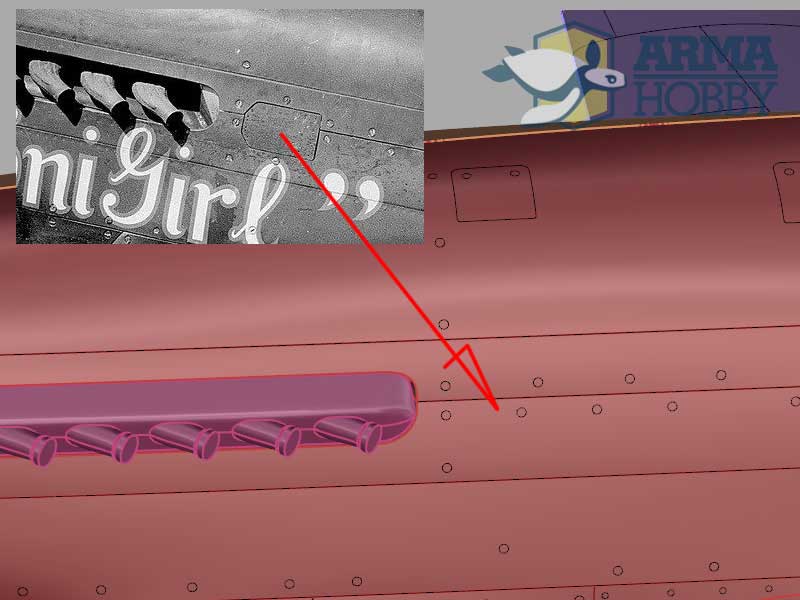
Here is the model leading edge
You can note leading edge drop towards fuselage bottom in the front view (it would be a reason for your concerns when looking at 3D pictures).
P-51 B/C Mustang production versions
It is time to speak about production blocks. A very few changes appeared during the production of P-51B. We tried to include most of them in the model design in modellers friendly way.
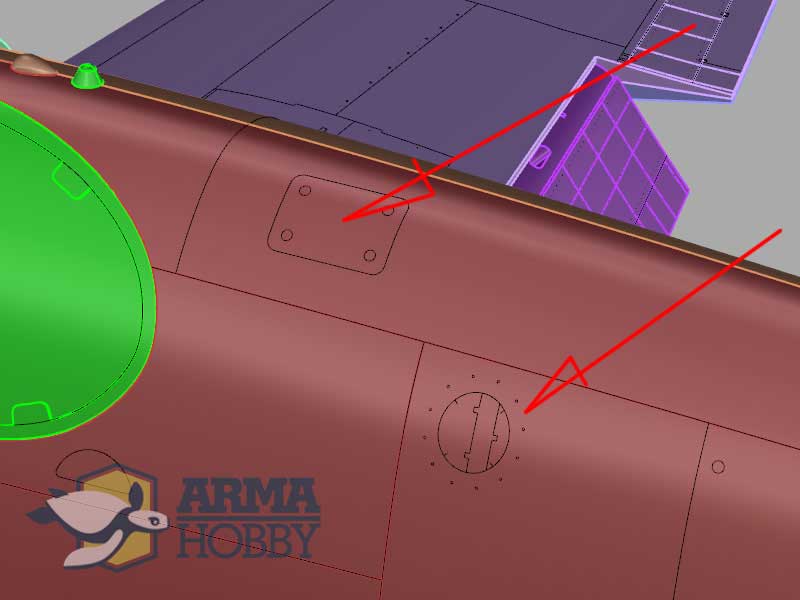
A small panel after exhaust pipes in early P-51B versions. We will include it in photo-etched parts and decals according to modeller’s choice.
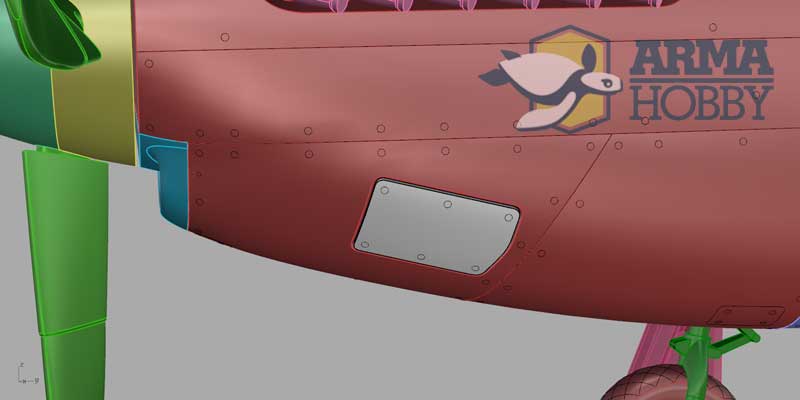
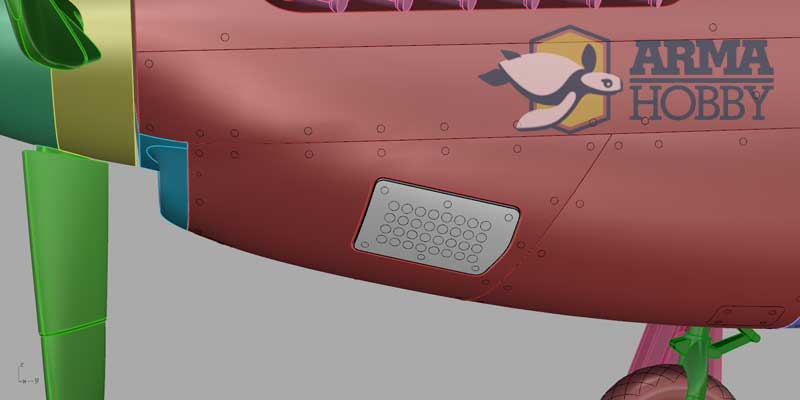

Inspection panels for an air filter are made in the most popular versions.
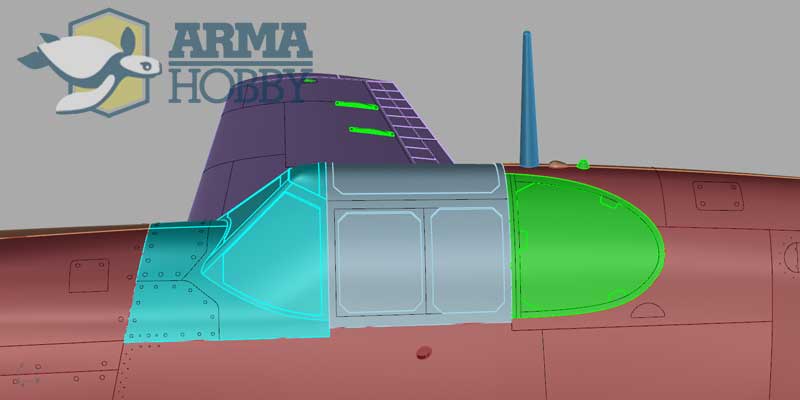
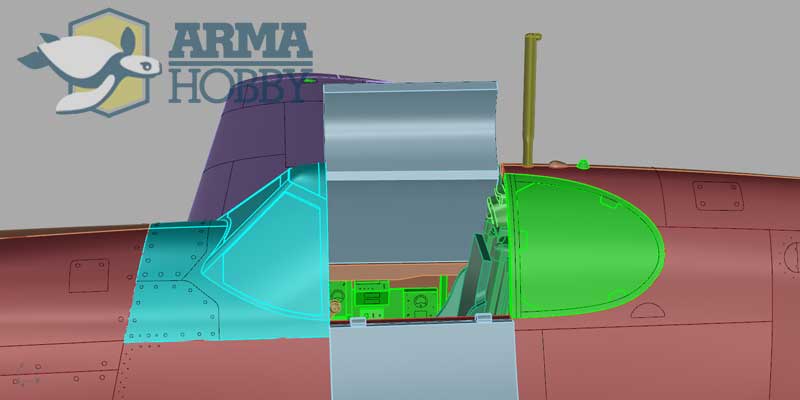
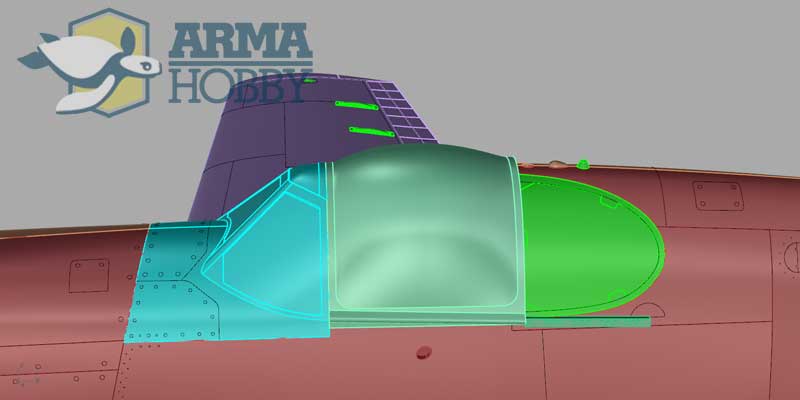

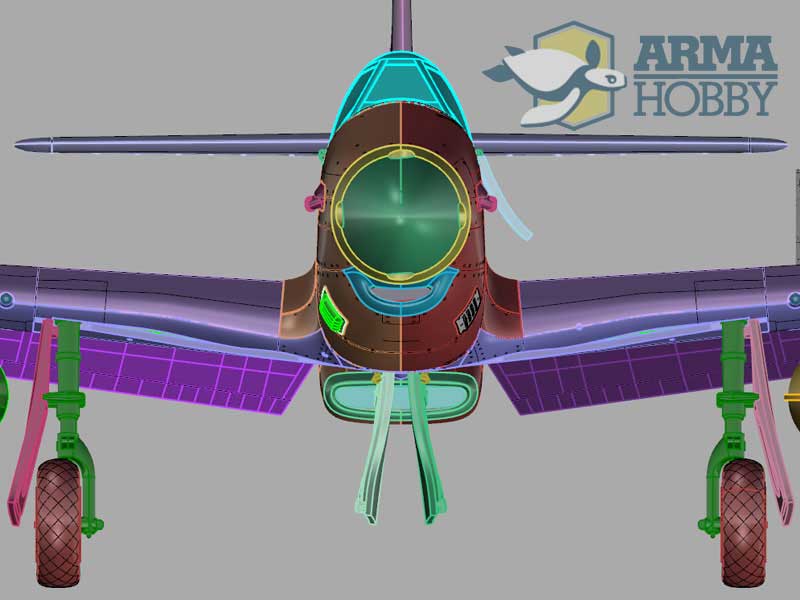
Canopy is made in open and closed positions, both factory and Malcolm hood versions.
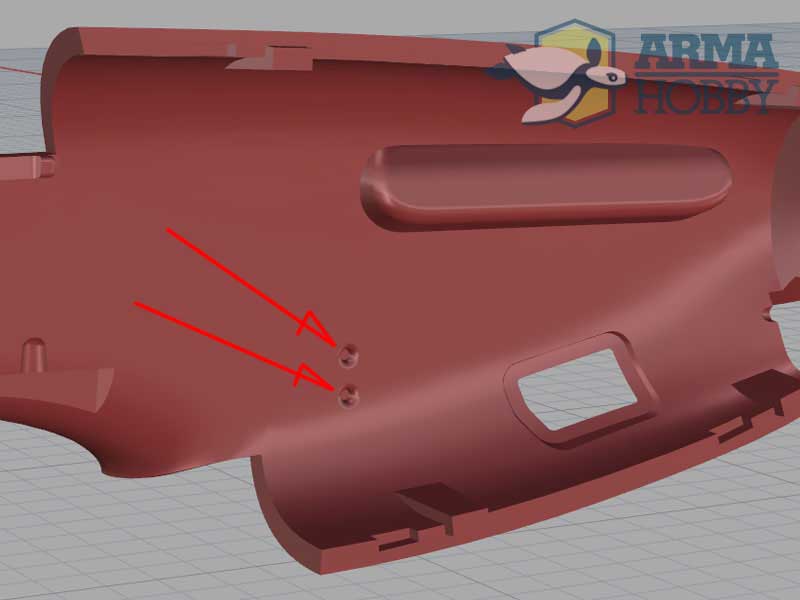
Oil breathing exit holes located below exhaust pipes are made in two positions and marked from the inside fuselage. You have to drill the one used on your markings variant.

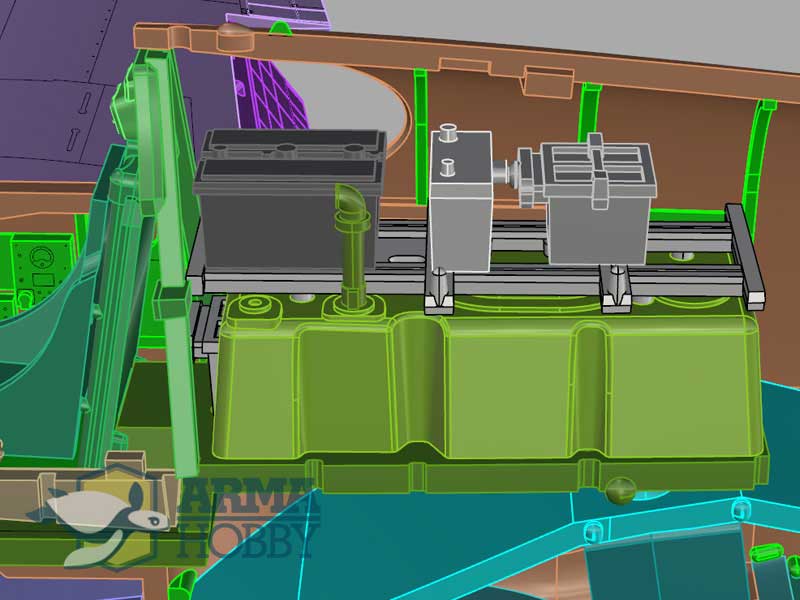
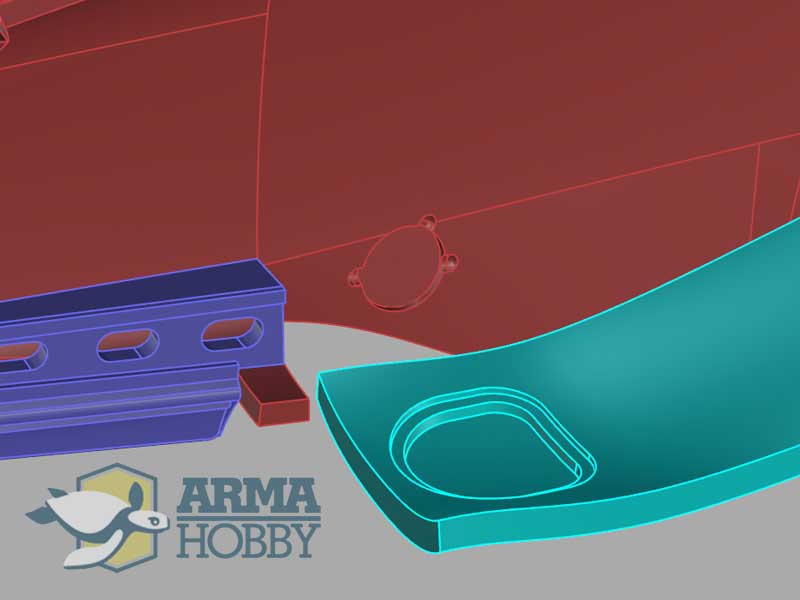
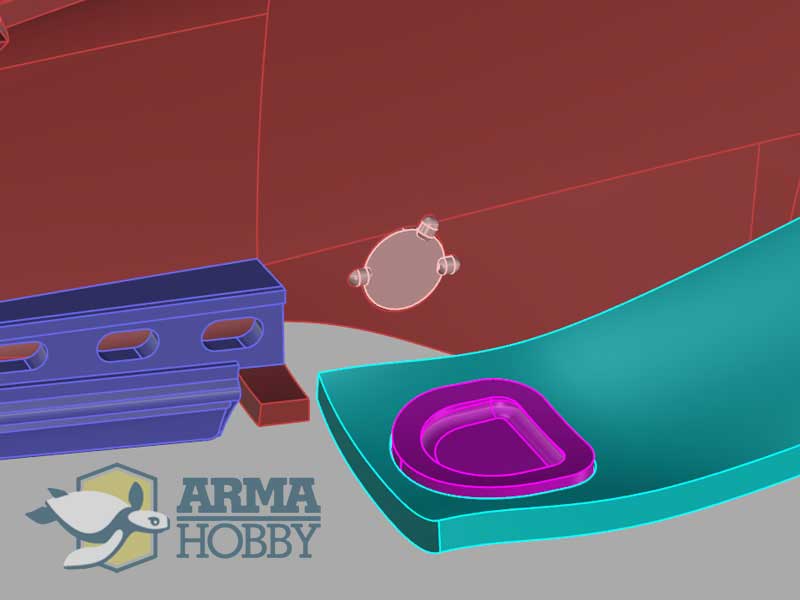
Additional fuselage fuel tank introduced during the production run of the P-51 B/C is moulded as a separate part so you can configure radio section according to your choice.
Version without additional fuel tank you can model by filling a few panel lines on the fuselage.
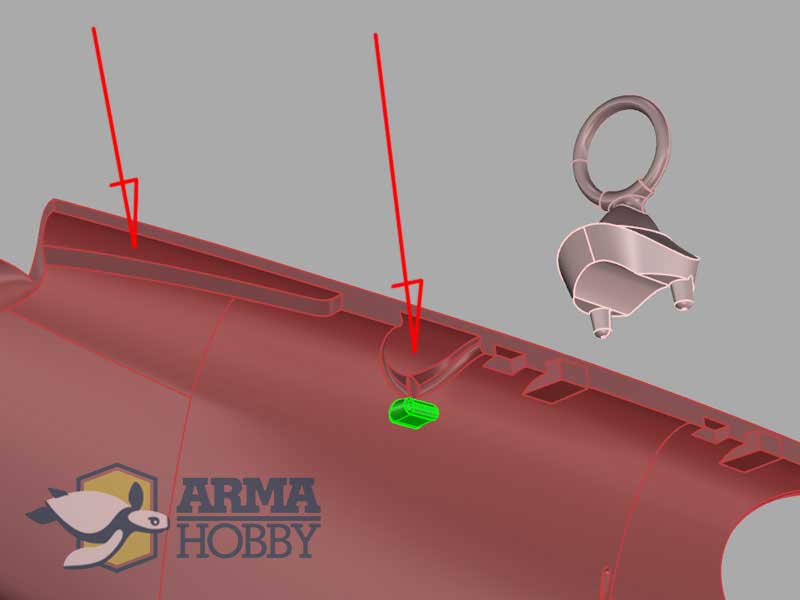
Radio range-finder and dorsal fin can be assembled after cutting out their nest-holes. We put special attention to find an easy way to fit them in the model.
Reconnaissance version F-6C Mustang have camera windows to be drilled and trimmed from inside of the fuselage. Clear parts are included in the set.

And probably the most “important” feature in the long-range fighter, a pilot’s relief tube. It is moulded in the kit on the cockpit floor.
I hope this article has cleared up any concerns you might have had while waiting for this model. If something is still unclear – ask your question in the comments below.
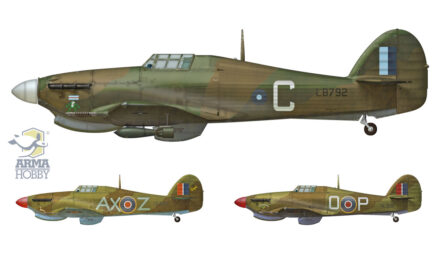
 We will explain in the instruction how to assembly kit to represent correct variant for markings options included. See how we did it with Hurricane Mk IIb/c.
.
See also:
- P-51 B/C Mustang™ model kits in Arma Hobby webstore link
Wanted to be Philanthropist, statesman and patron of the arts. Temporarily focused on developing scale model production in Poland. Co-founder of Arma Hobby. Designer of kits: TS-11 Iskra, PZL P.7a, Fokker E.V, PZL P.11c, Hawker Hurricane, Yak-1b, FM-2 Wildcat, P-51B/C Mustang and 1/48 Hurricane.
This post is also available in:
 polski

What about a french fighter, a Morane Saulnier 406 for instance ?
I have only one concern, does your Malcolm hood have frame all around hood, if so that’s incorrect. Front of hood goes under windshield frame and doesn’t have aluminium frame
Kit is correct, frame is at the rails only.
Hi!
I think you guys have a great passion for model design.
I have recently purchased Eduardo Boxing’s Hurricane and I think it is very well made.
I hope you will also sell the Mustang in 1/48 scale!
Good afternoon
First I must say that the Mustang is my favourite aircraft of the WW2 and I am a very excited about your P 51 B/C kit and I will preorder several boxes as soon as it will be possible ..
I would like to know if you also plan to produce the D version of this aircraft in 1/72 scale in the future ?
Best Regards
Patrice
Hi, I build only Luftwaffe WW II and German WW I aircraft in 1:72 scale (love your Fokker E. V), but seeing how much love and dedication you put in your work make me want to give a go to your next Mustang, it looks absolutely stunning!
Very informative, just looking forward to the new tool. How about a Supermarine Walrus in 1/72nd scale?Wishful thinking
Walrus seems to be an Airfix subject, especially when they have 1/48.