
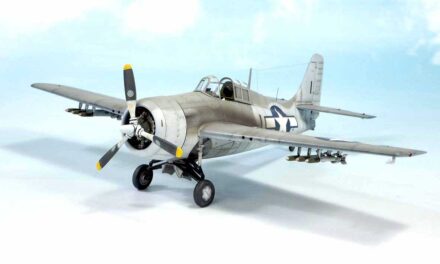
FM-2 Cockpit is a typical early war one. You cannot see any ergonomics of late war aeroplanes here. What would make the pilot feel uncomfortable, it is excellent for the modeller. Wildcat cockpit is a worthy subject for model design. But before I write a few words on rendering the pilot’s office in the model, let’s see a video:
So when you had seen it, we can talk about our new model and cockpit.
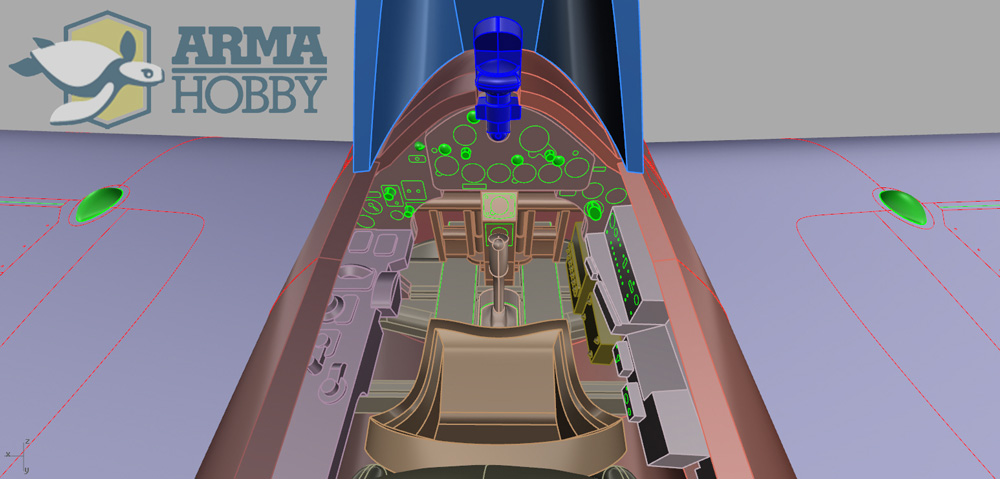
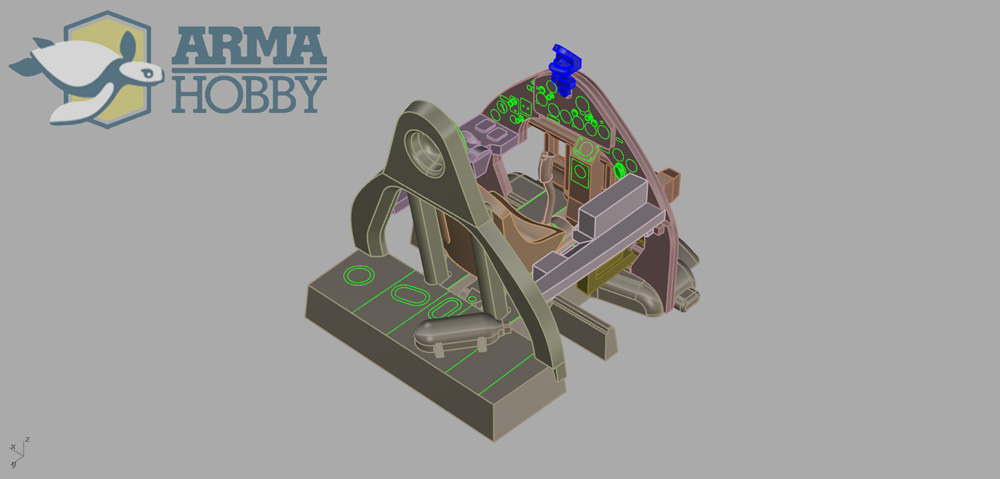
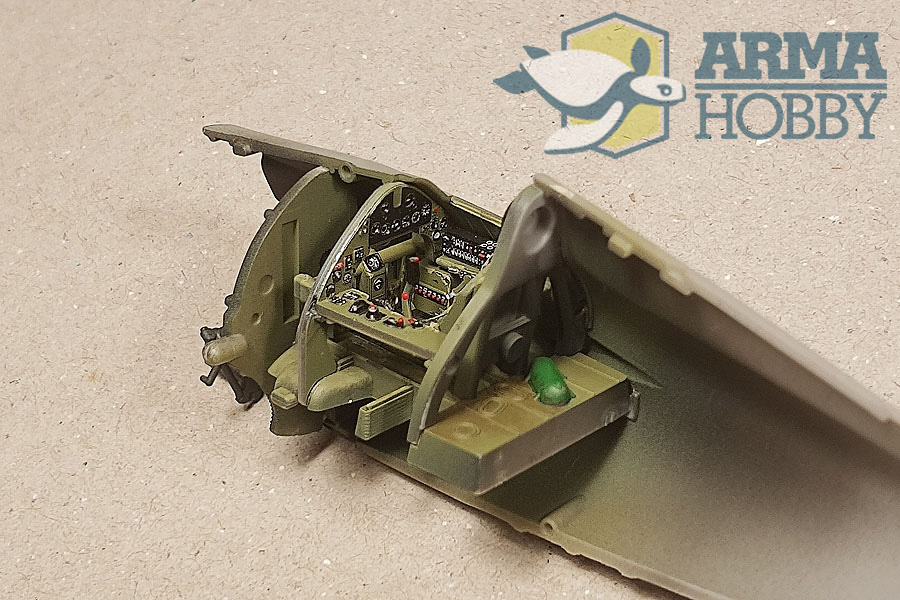
There was no cockpit floor
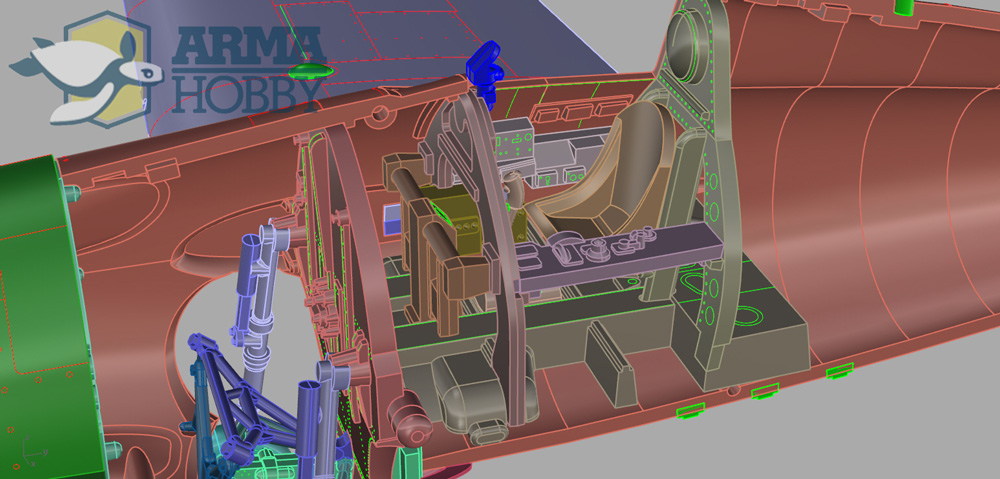
Cockpit base is usually a floor, that was not present here. Just gutters that hold pilot’s legs were built over a fuel tank. Cockpit floor was not included, because all previous versions (F4F and FM-1) had two small windows in fuselage bottom. They helped the pilot to see if he is over carrier deck during landing. Although FM-2 had not fuselage windows, cockpit construction remained the same. In the model, it is similar. The upper part of the fuel tank is moulded together with gutters and shelf behind a pilot’s seat (with oxygen bottle here) and reinforcement bars across gutters. Pilot’s seat hung on tubing attached to the cockpit back wall. The wall has raised rivets, and relief holes outline marked with raised circles. Avid modeller can drill them out.
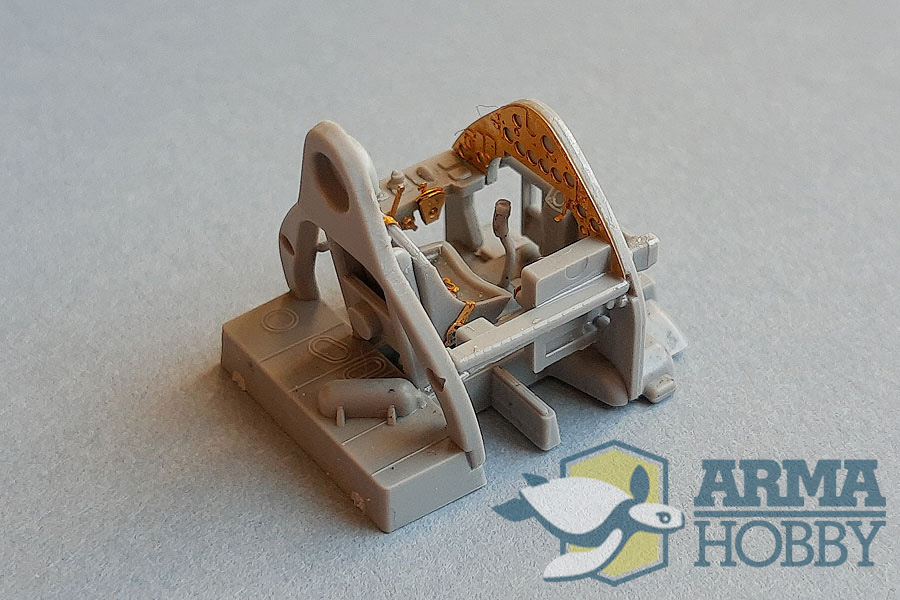
Pilot’s seat in Expert Set may benefit with photoetched belts. I want to note, that seat belts decal fits photoetched ones perfectly, and with some necessary skills, they may be used together in a model built.
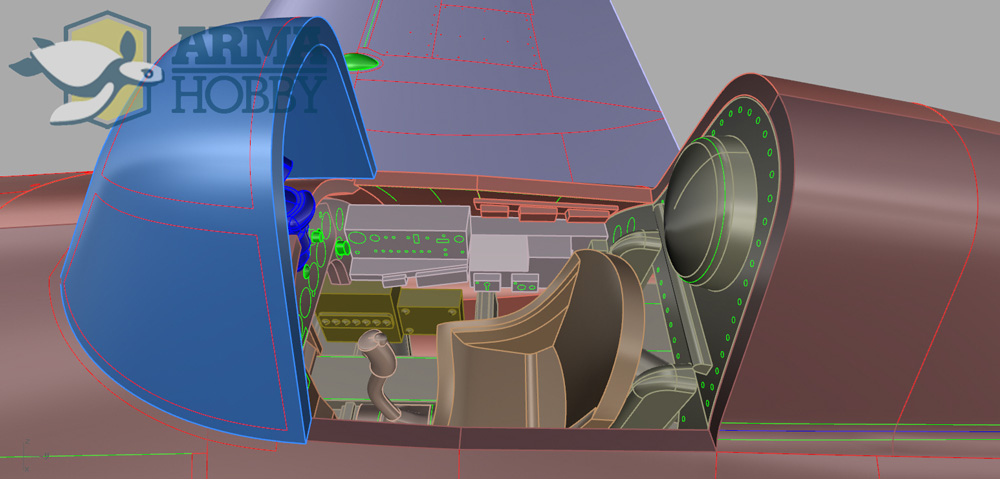
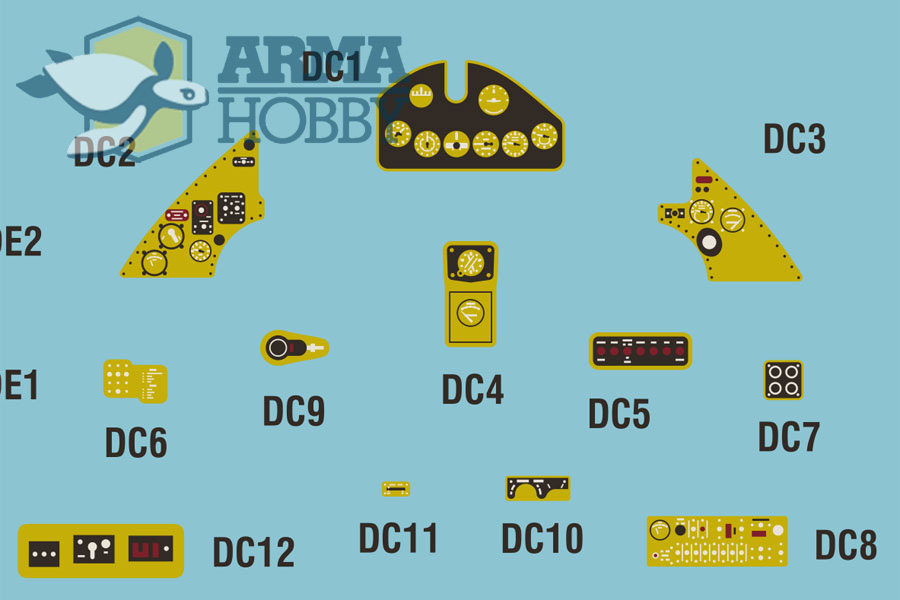
Instrument panel
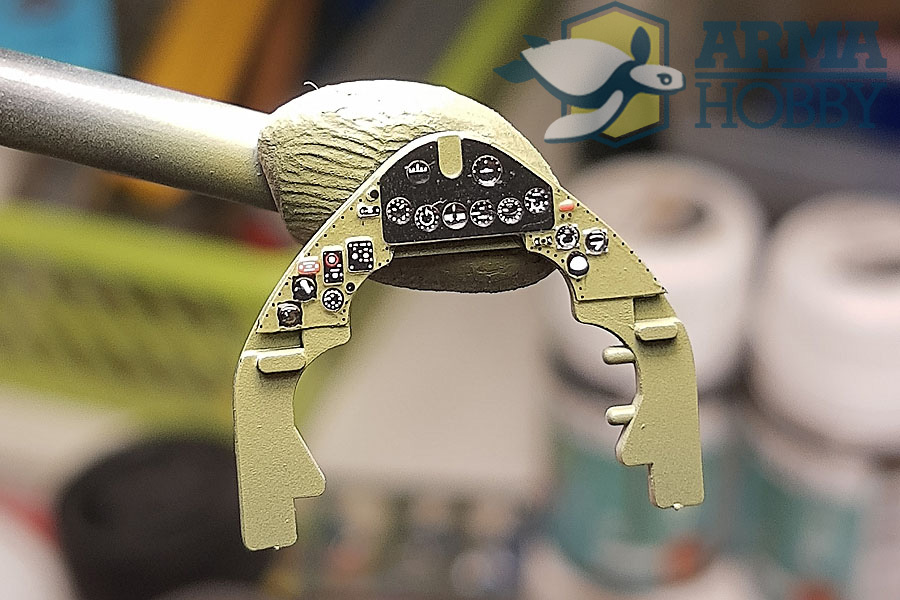
The instrument panel was attached to the frame that also supports the fuel tank. Plastic parts have rendered all instruments details. You may change it to the photoetched part. Both are to be used with decal including instrument dials, switches, rivets, nameplates and instructions. The quality of decal print is good enough to achieve the perfect effect for 1/72 scale. An excellent addition is a fuse box right below the instrument panel, with fuses included (except raised details) in the decal sheet. The last thing on the right below is a small lever for adjusting engine cooling flaps. You can find it on the photoetched sheet.

Behind instruments is central console moulded together with rudder pedals. On the console, top are two instruments, also included in decals. Central console easily matches fuel tank when glued to the instrument panel.

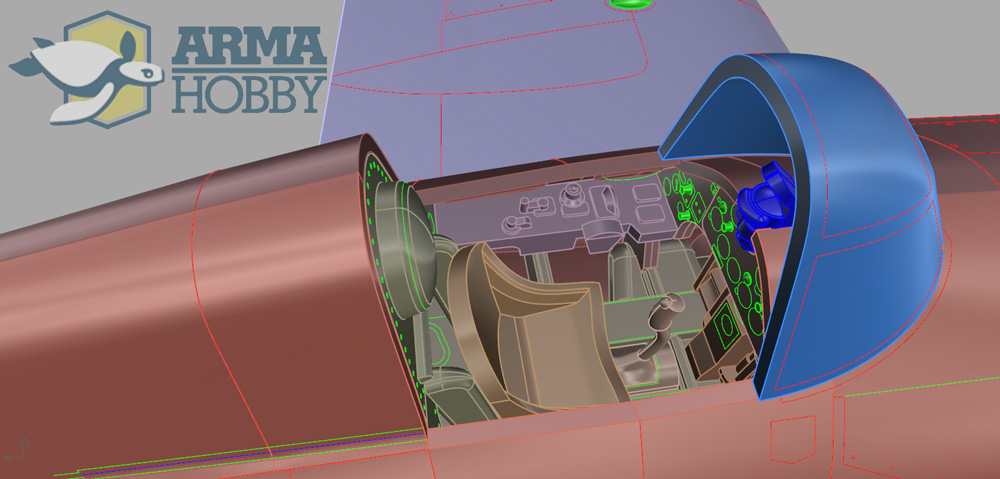
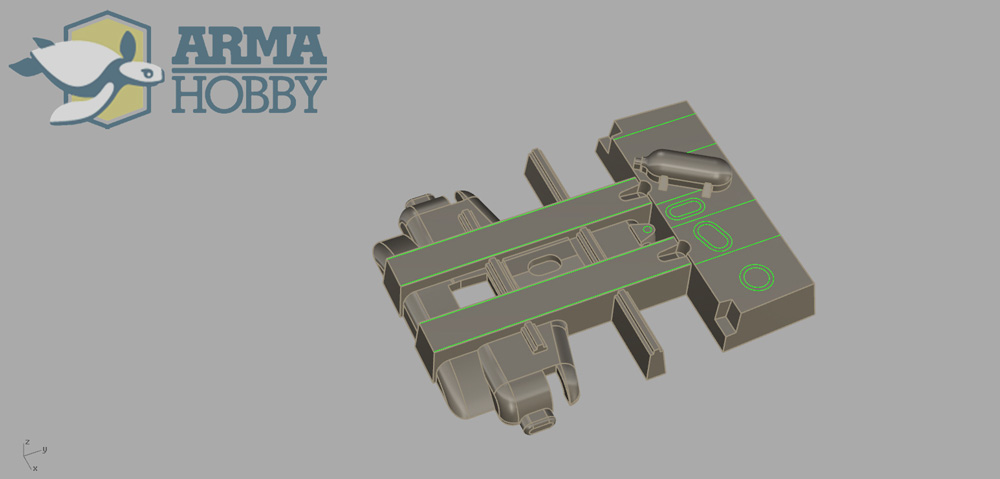
Side panels
Last details of the cockpit section are two side panels. Right one consist aeroplane electric installation box, with raised features and decals to enhance them. No need to exercise small details painting here. On the boxtop are four knobs controlling cockpit lights. Below that box is a specific Wildcat cockpit feature. We are talking about a wheel retracting crank (you can see it on the video). The detail is included only in the photoetched part for technological reasons.

The left panel has plastic trimer knobs and instruction tables (decal) just at the instrument panel frame. On the sidewall is throttle lever, that may be replaced with photo etched detail. Just behind throttle are two more levers included.
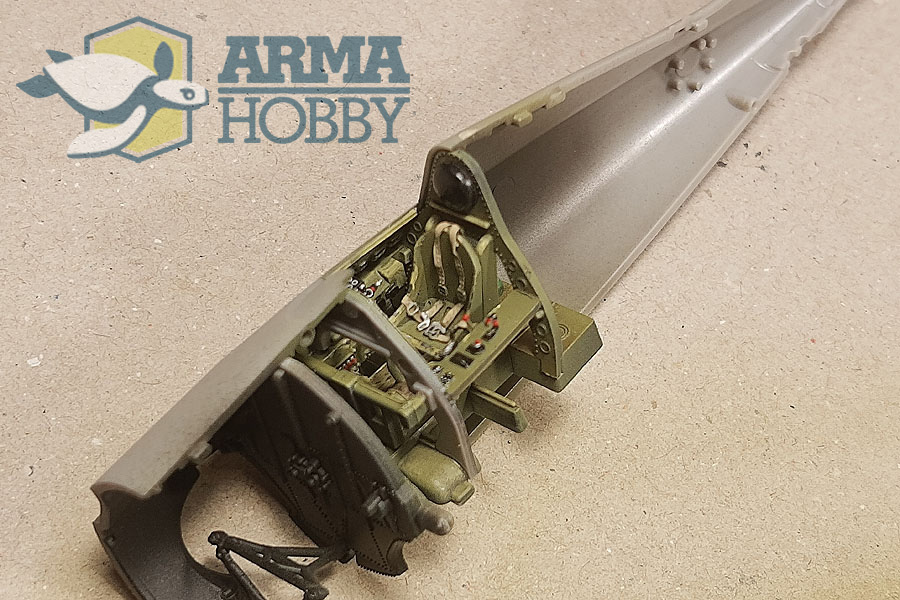
When assembled, the whole cockpit builds a sturdy module that will fit fuselage halves without a problem. Also, fuselage halves have some more small details included.
You may be interested:
Models and accessories to the FM-2 Wildcat in Arma Hobby webstore
Wanted to be Philanthropist, statesman and patron of the arts. Temporarily focused on developing scale model production in Poland. Co-founder of Arma Hobby. Designer of kits: TS-11 Iskra, PZL P.7a, Fokker E.V, PZL P.11c, Hawker Hurricane, Yak-1b, FM-2 Wildcat, P-51B/C Mustang and 1/48 Hurricane.
This post is also available in:
 polski