
The culmination of my work on Jak-1b model kit design was test building several models to chek ft and find possible issues. In addition to the “mandatory program”, i.e. the construction of three copies from test pieces, I decided to quickly build one piece with painting. The whole construction and assembly process with painting took only about ten hours.
Quick built
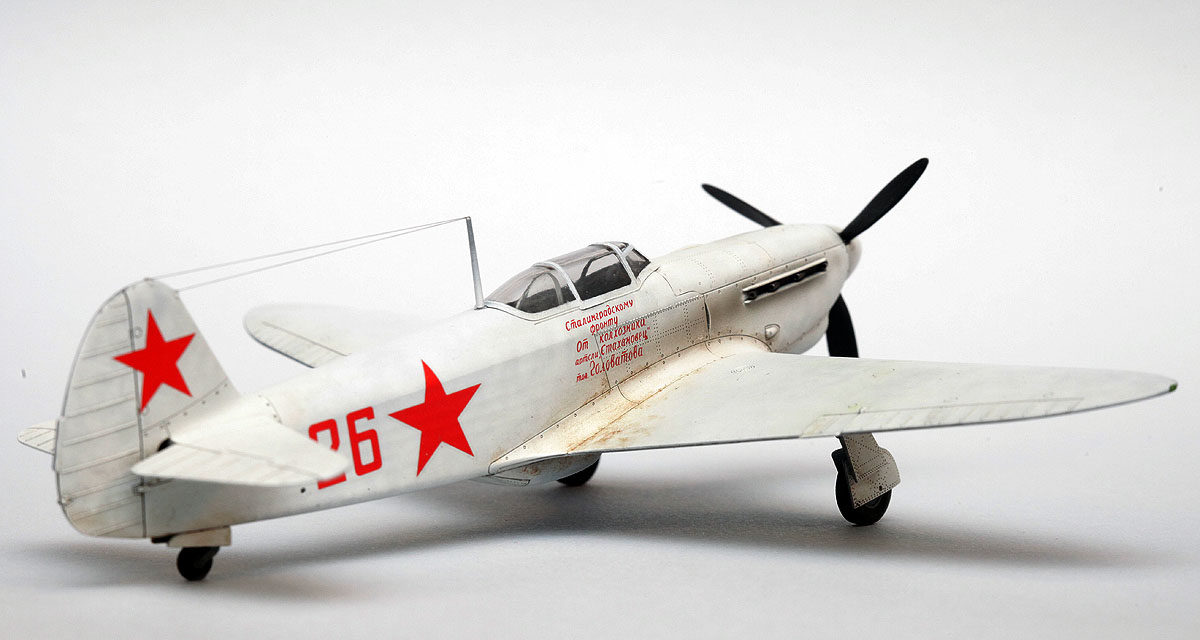
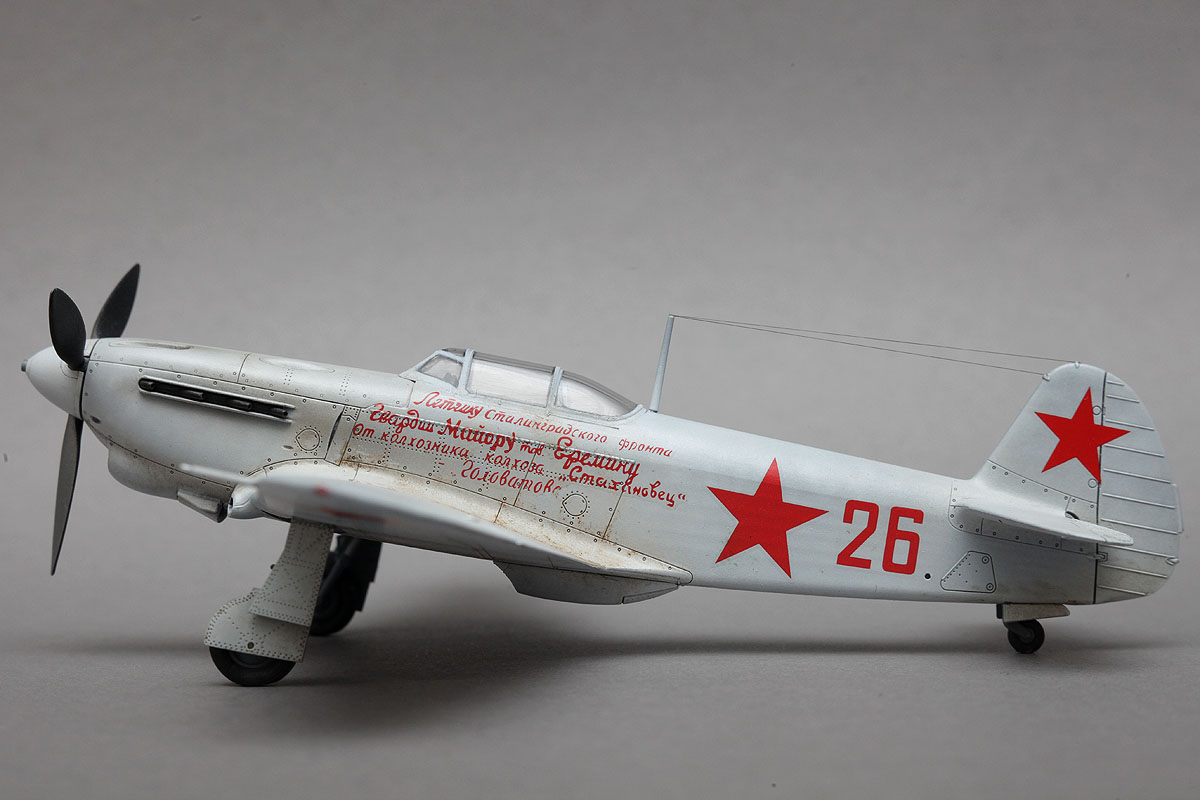
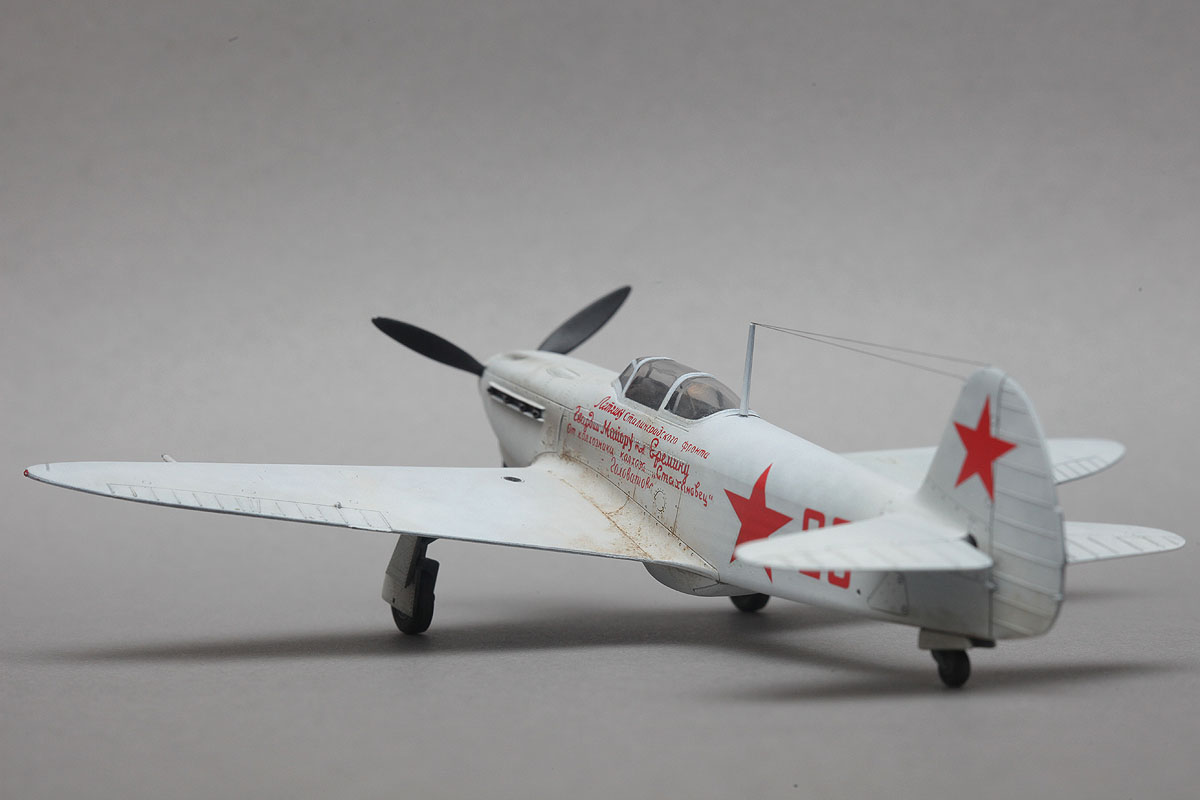
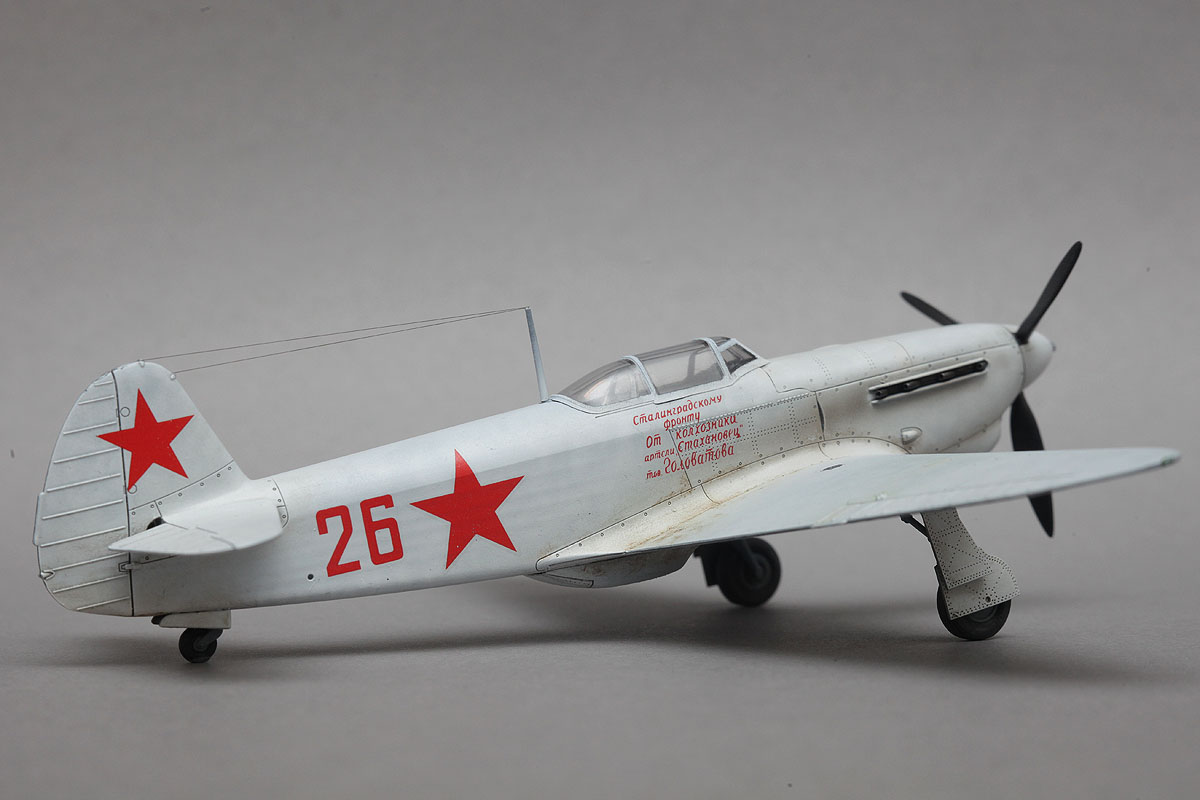
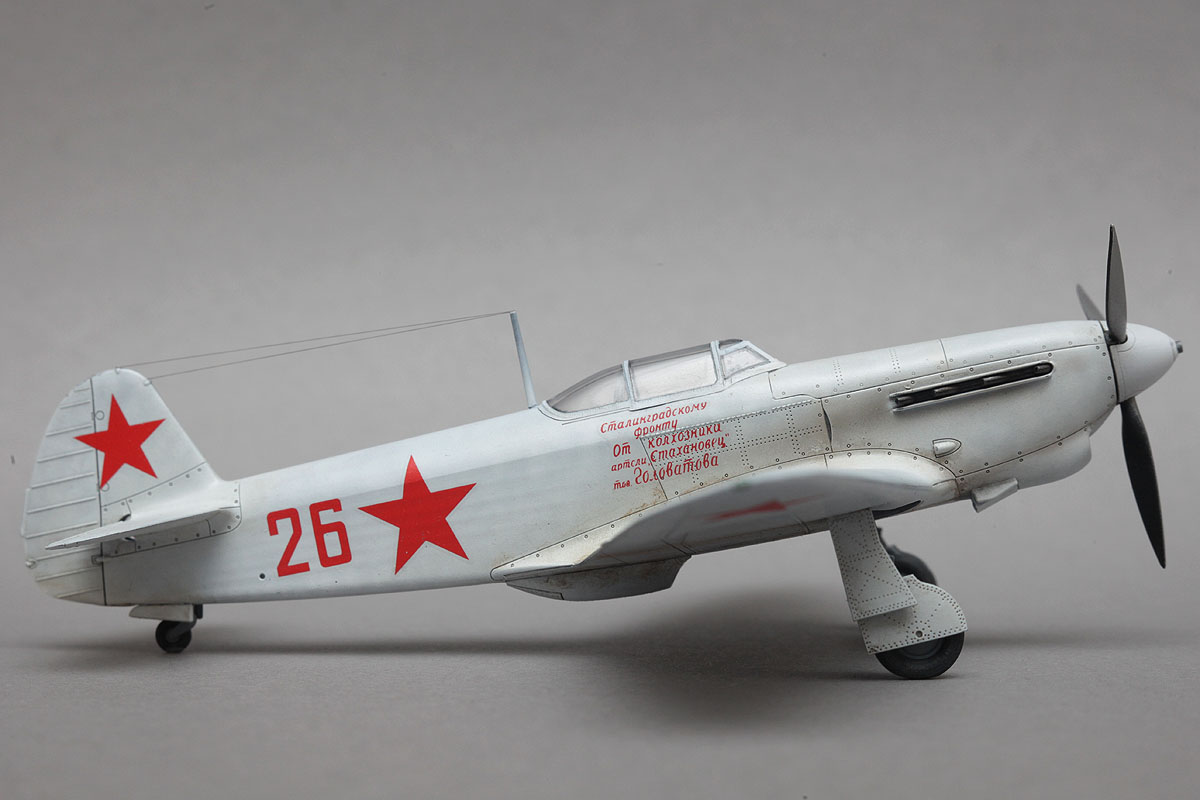
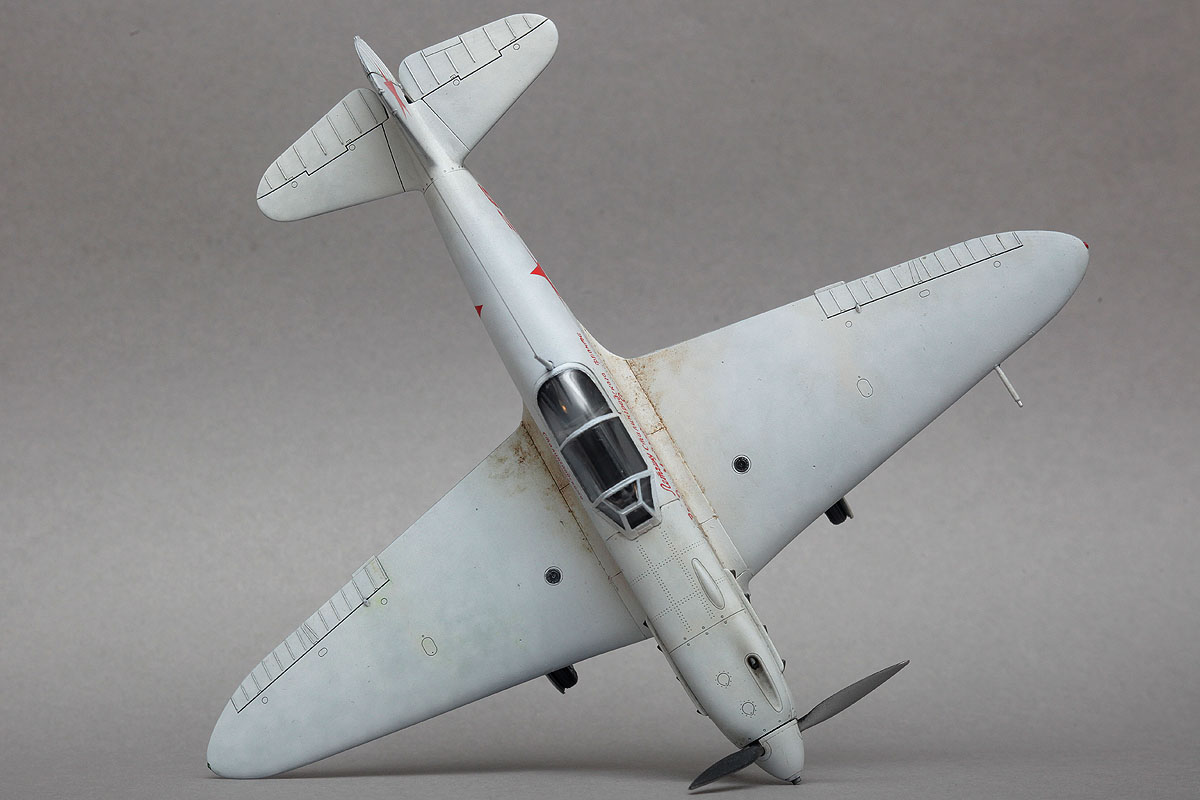
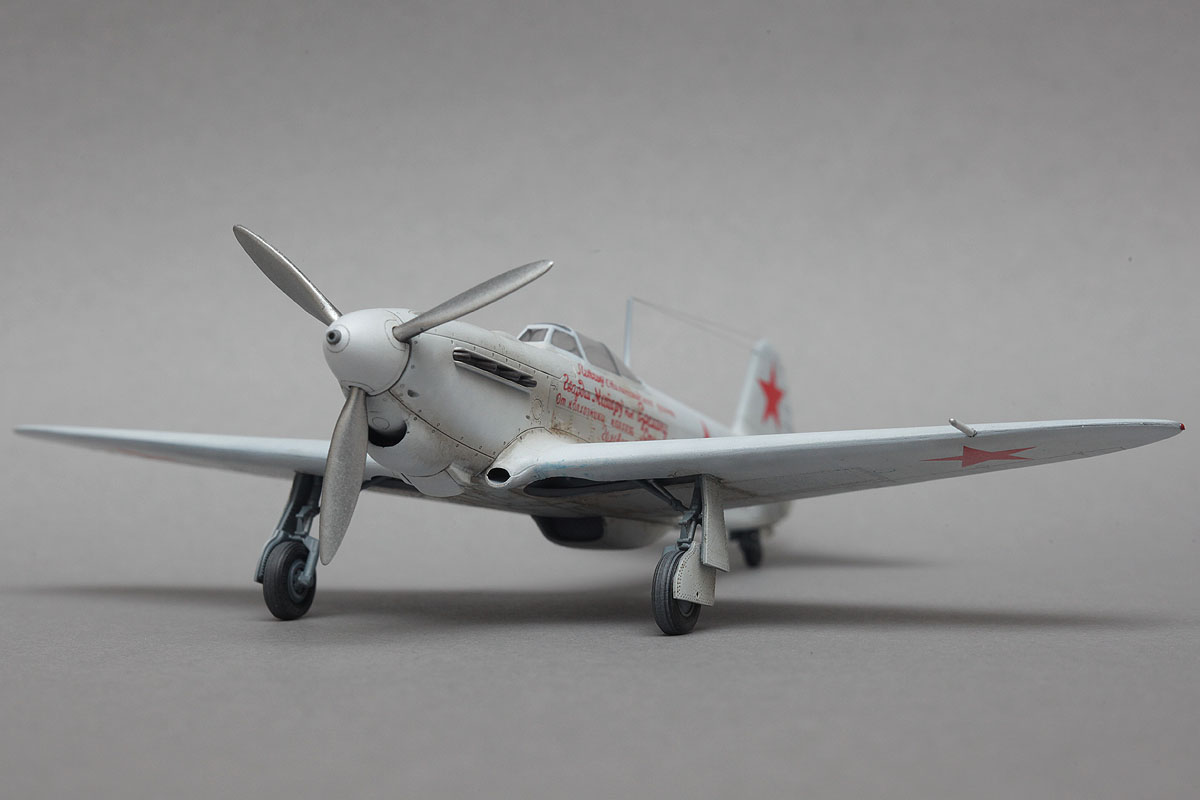
I built the interior quickly, I did not play adding photo etched part, I decided just to paint, wash and decal. The instrument panel came out very nicely. I painted it in dark gray colour, with controls enhanced with a drop of black shiny paint. I placed a clock decal on the painted panel. Then I poured it all with plenty of decal liquid. Fuselage assembly was easy-going, you just need to make sure to fit properly the underside of the engine cover with an imitation of the radiator. The lower half of the cabin interior is rendered with the wing, which is why I assembled it first. Characteristic of the Yak-1b, is a small air intake at the base of the left wing. Part of the model has been shaped to make easy fit during assembly. It can be bonded with the wing or the fuselage before their assembly or after gluing the wing to the fuselage.

At this stage of construction, I painted all the small parts, namely: undercarriage legs, wheels, covers, chassis brackets, rear wheel, propeller, exhaust pipes. Assembly of all these elements will take place after painting the whole plane. I couldn’t resist to do something myself. That is why the exhaust pipes and gun barrels are drilled.
One evening for painting and decals.
When I started painting, it turned out that I didn’t bring a Hataki paint set for Russian planes to my modelling workbench. Unfortunately, I did not have other paints in this subject in my workshop, so I had to choose painting model all white. After gluing the cabin cover, I masked it with masks from the expert set. When working with this set, it is worth cutting the mask in half to the rear of the cabin cover, then it will be easier to place it on the curvature.
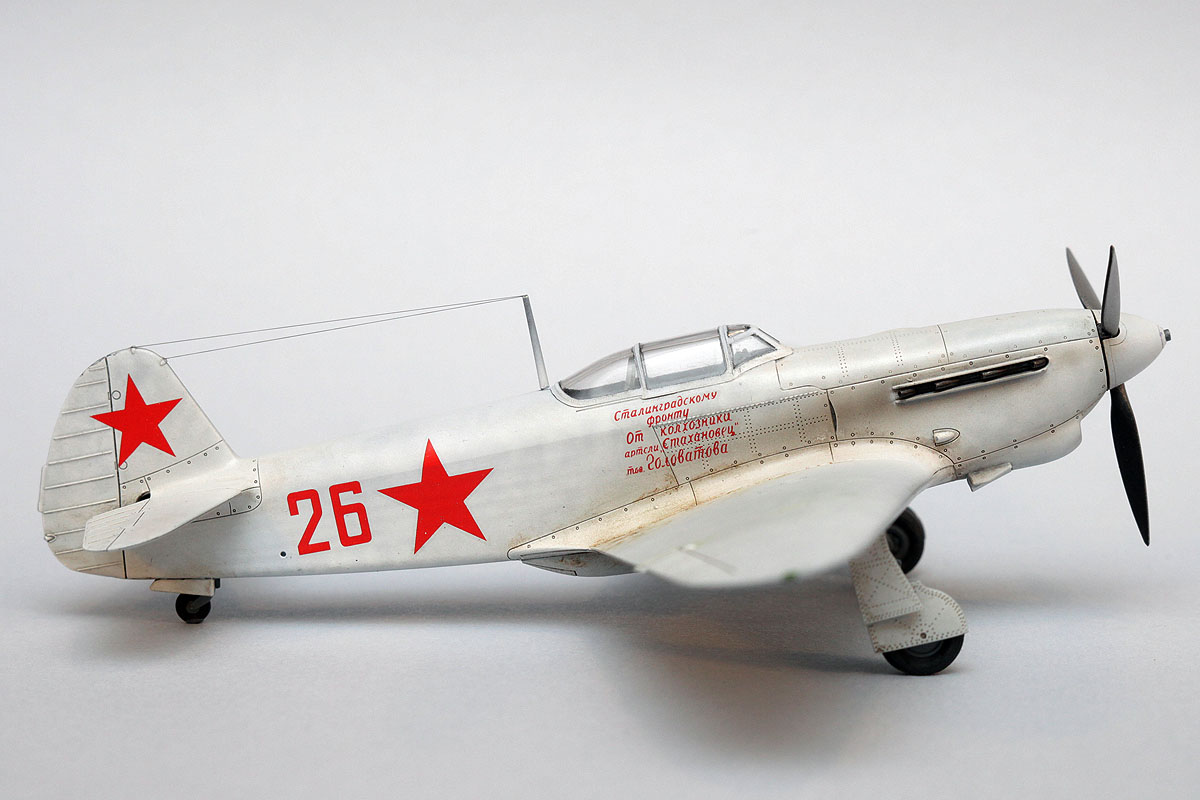
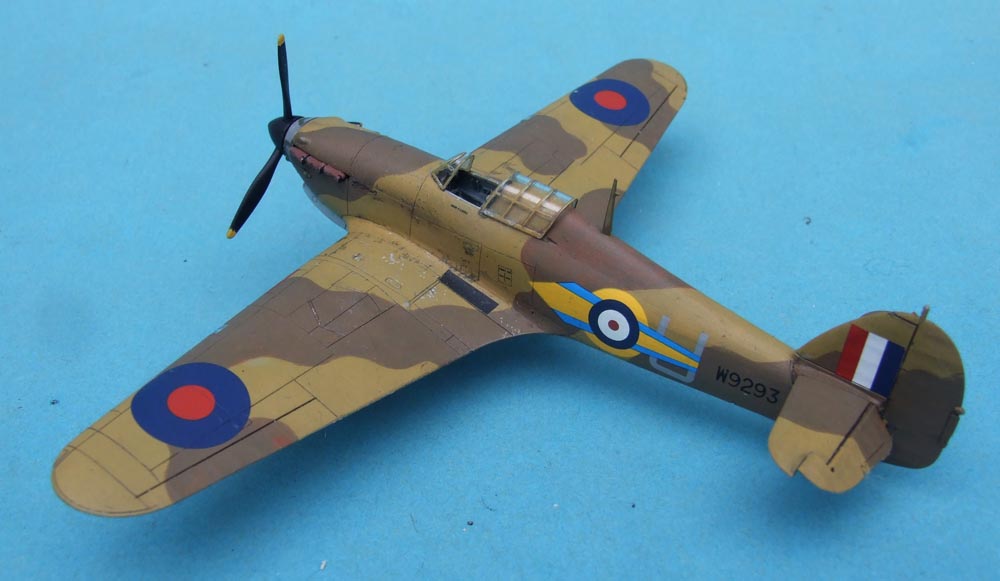
I started painting with a primer, I used a black surfacer on which I gradually applied white. I worked a little differentiating the surface, I wanted to get an effect similar to what you see in the original photos. With a bit of white and brown, I did a slight dirt on the bottom of the wing, along the lines of the engine cover and around the cabin. The whole model was sprayed with gloss arnish then. I added a wash before applying the decal. I used gray instead of black to avoid too sharp contrast so called “cardboard model effect”. Applying the decal is a pure formality, they went very well, and after watering with the “Sol” decal liquid they perfectly conformed panel lines and rivets.
Finishing touches
I devoted the last day to weathering and final assembly. I used to use dirty oils and washes here and there. After adding tiny details, I painted the smoke traces. Finally, I applied not too much matt transparent lacquer. The last detail was the antenna lines and the removal of the masks from the cockpit cover. Assembling and painting the Yak-1b model gave me a lot of pleasure, and I hope that I will find time to come back to it again. I want to do it in the primary two colour camouflages and maybe in some other exciting finish.


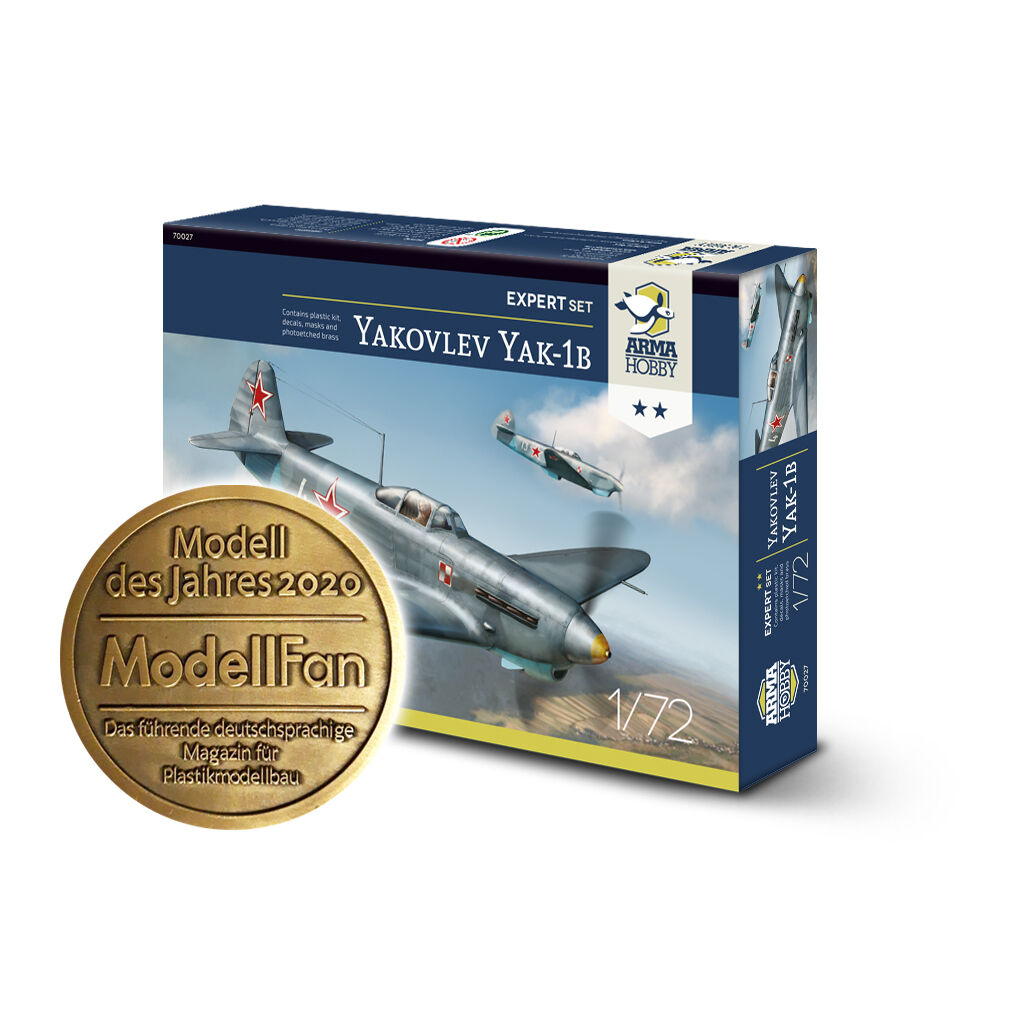
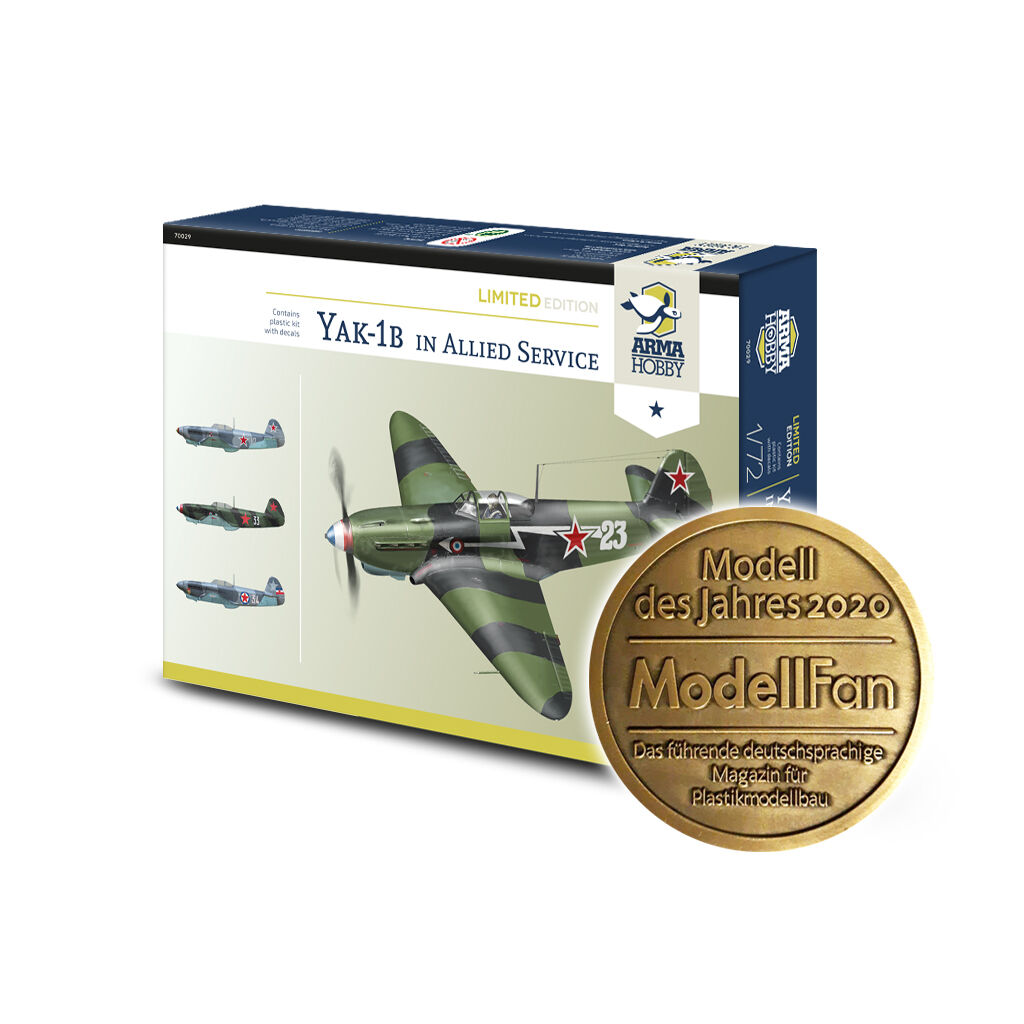
Farewell Promotion for Yak-1b
An important announcement! The stock of 1/72 Yak-1b kits is running out and we will not relaunch production for quite some time: all our efforts are now focused on preparing new kits. Only the last boxes are already available in our shop. The good news, however, is that for one week we are doing a Farewell Promotion on Yaks with cool extras in 3D printing and a 40% discount on the second 1/72 kit!

Wanted to be Philanthropist, statesman and patron of the arts. Temporarily focused on developing scale model production in Poland. Co-founder of Arma Hobby. Designer of kits: TS-11 Iskra, PZL P.7a, Fokker E.V, PZL P.11c, Hawker Hurricane, Yak-1b, FM-2 Wildcat, P-51B/C Mustang and 1/48 Hurricane.
This post is also available in:
 polski