
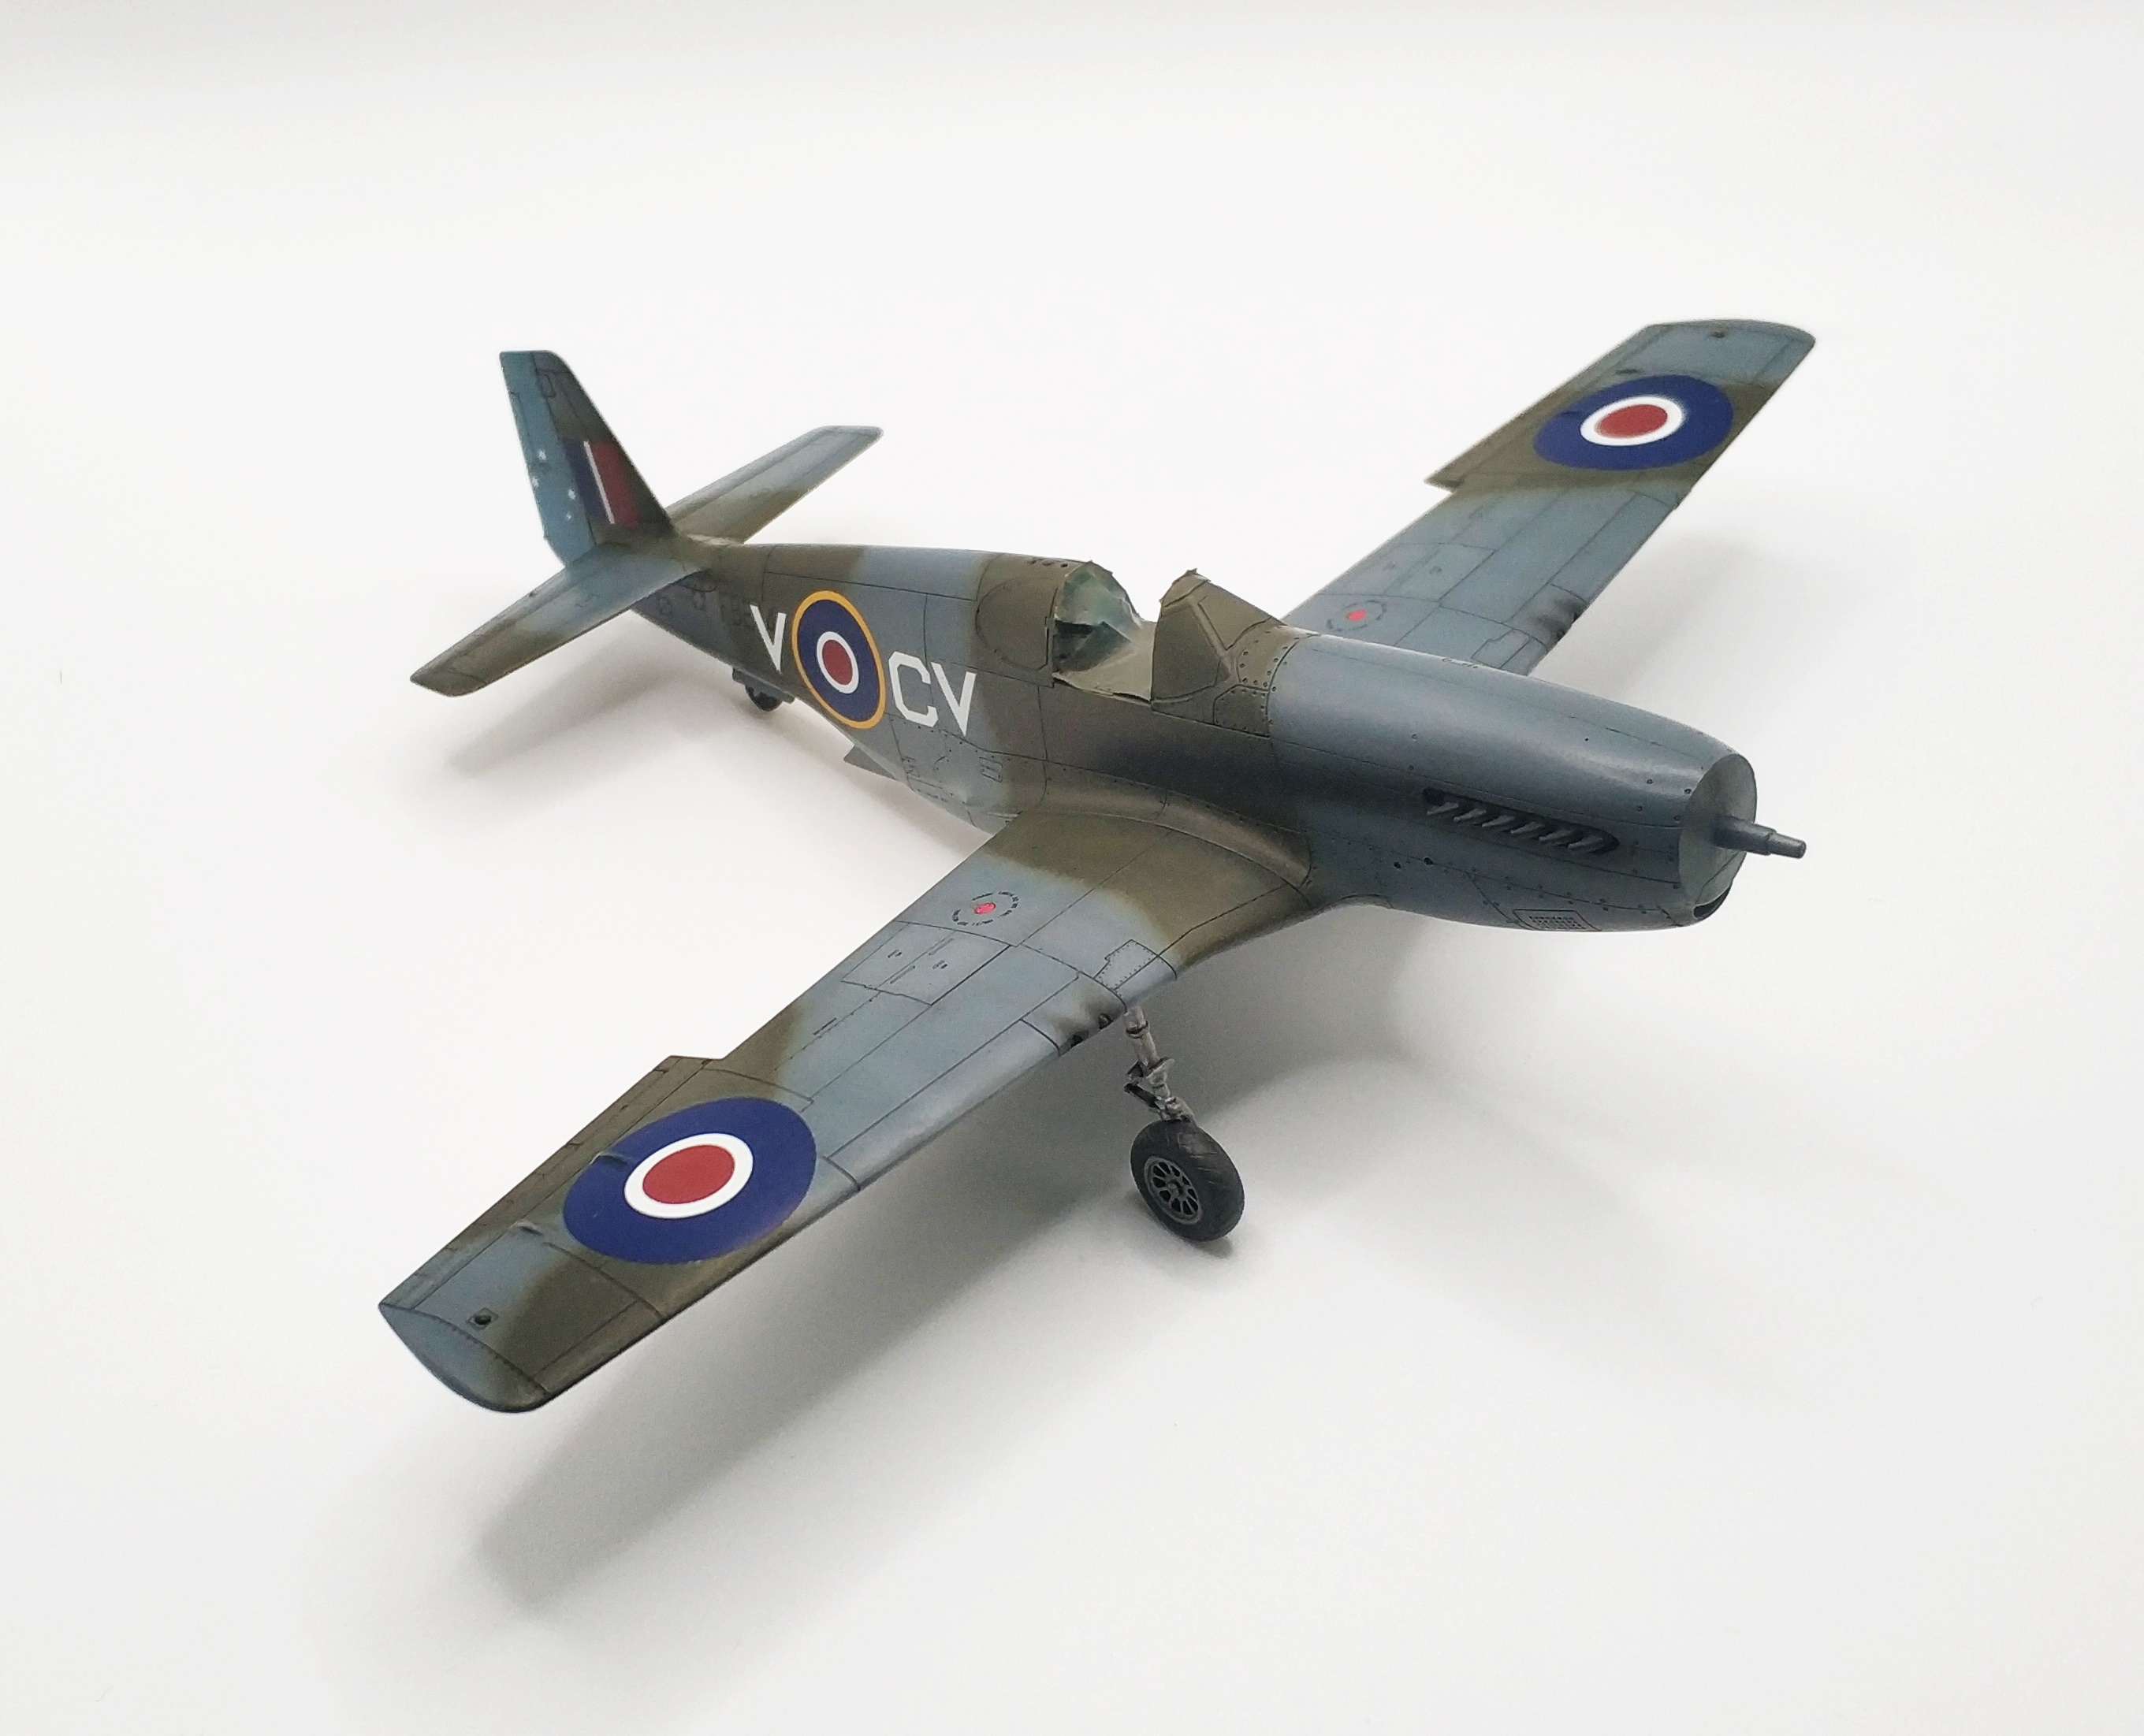
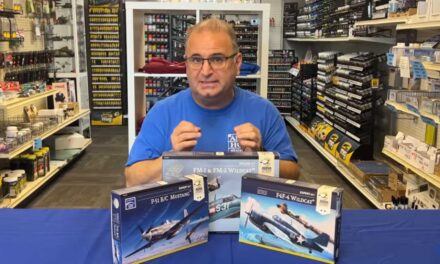
Bartek Stawski presents his P-51B/C Mustang Expert Set built out of the box. Bartek finished his model in cool RAAF camouflage from Italian Front. Let’s give the floor to the Author, who guides us through the whole process of assembly, painting and weathering:
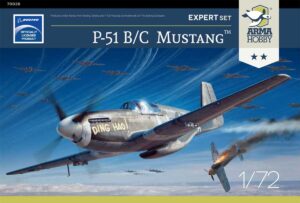
– This time I had the pleasure of working on Arma Hobby’s newest product: the North American Mustang on a scale of 1/72 in the Expert Set box.
Yet again, the company’s pleasing box art is very eye-catching. The instruction gives a legible presentation of successive building steps. Additionally, the box contains a photo-etched fret and masks for the transparent elements. Before starting work on any model, I go through the manual and plan everything out so that the whole process goes as smoothly and easily as possible.
Instrukcja montażu modelu #70038 P-51 B/C Mustang™ Expert Set
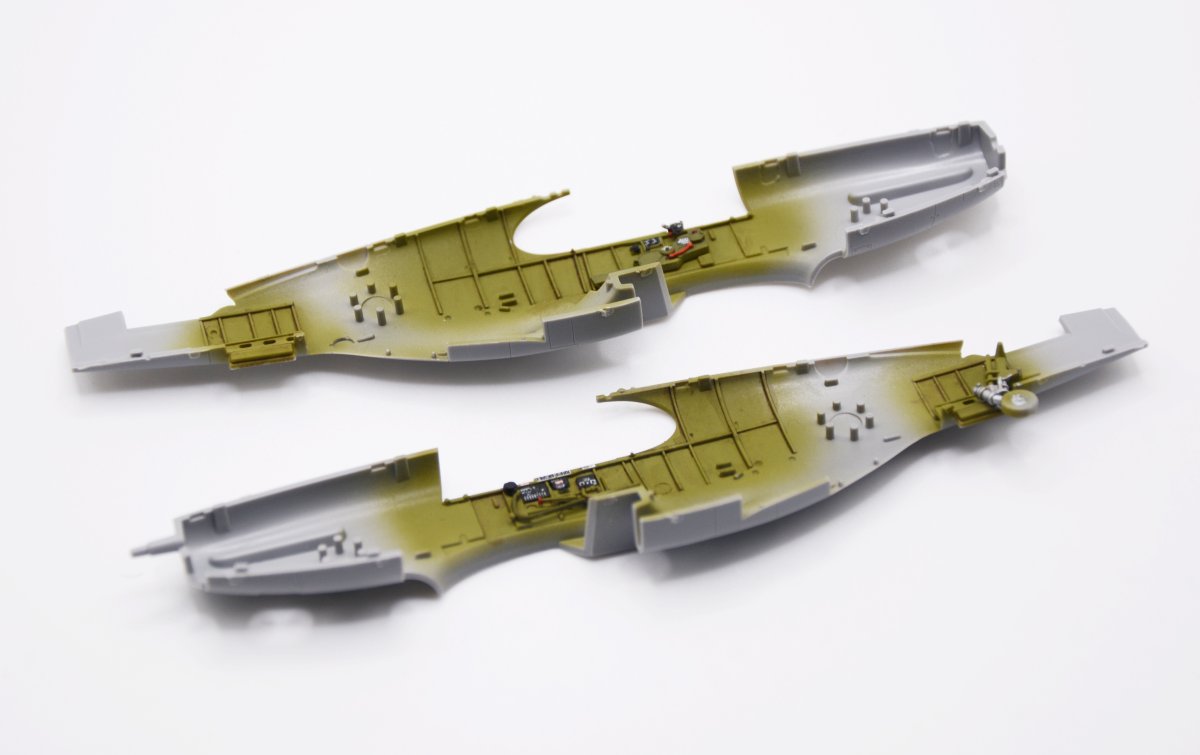
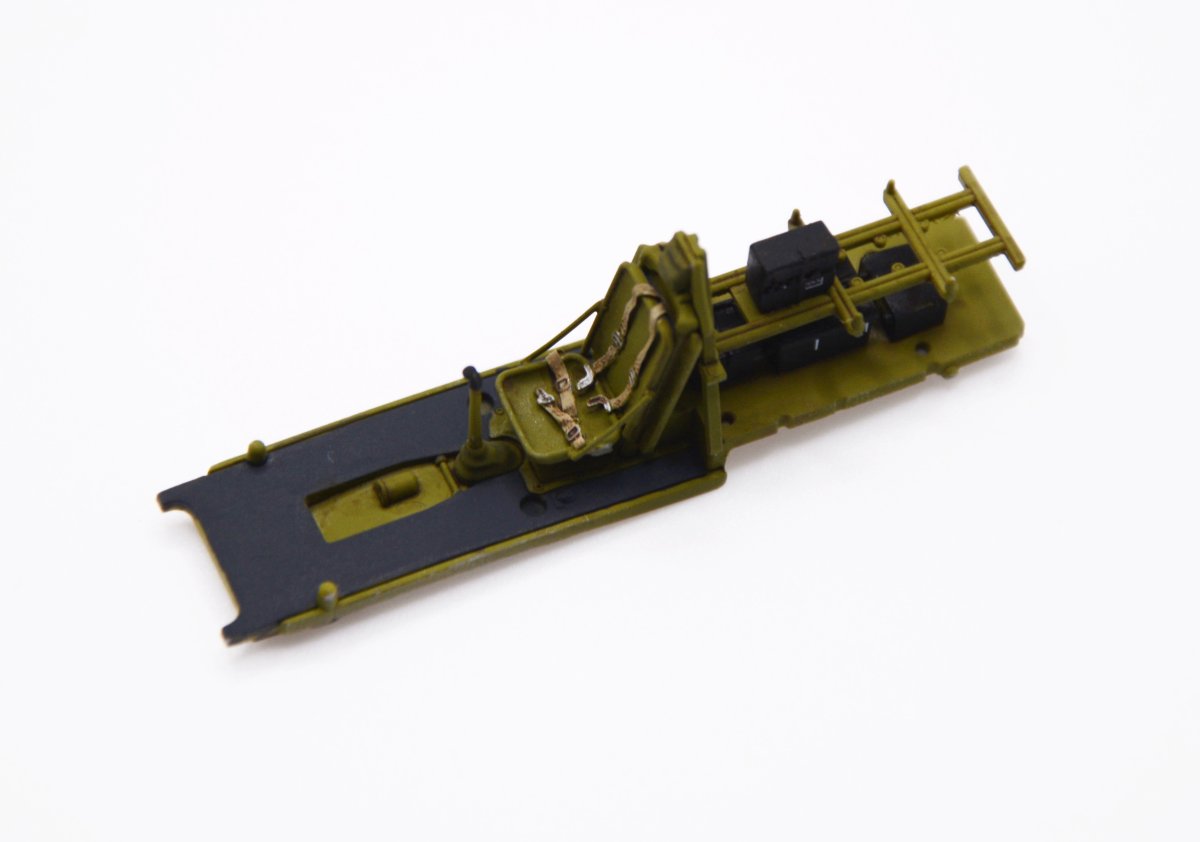
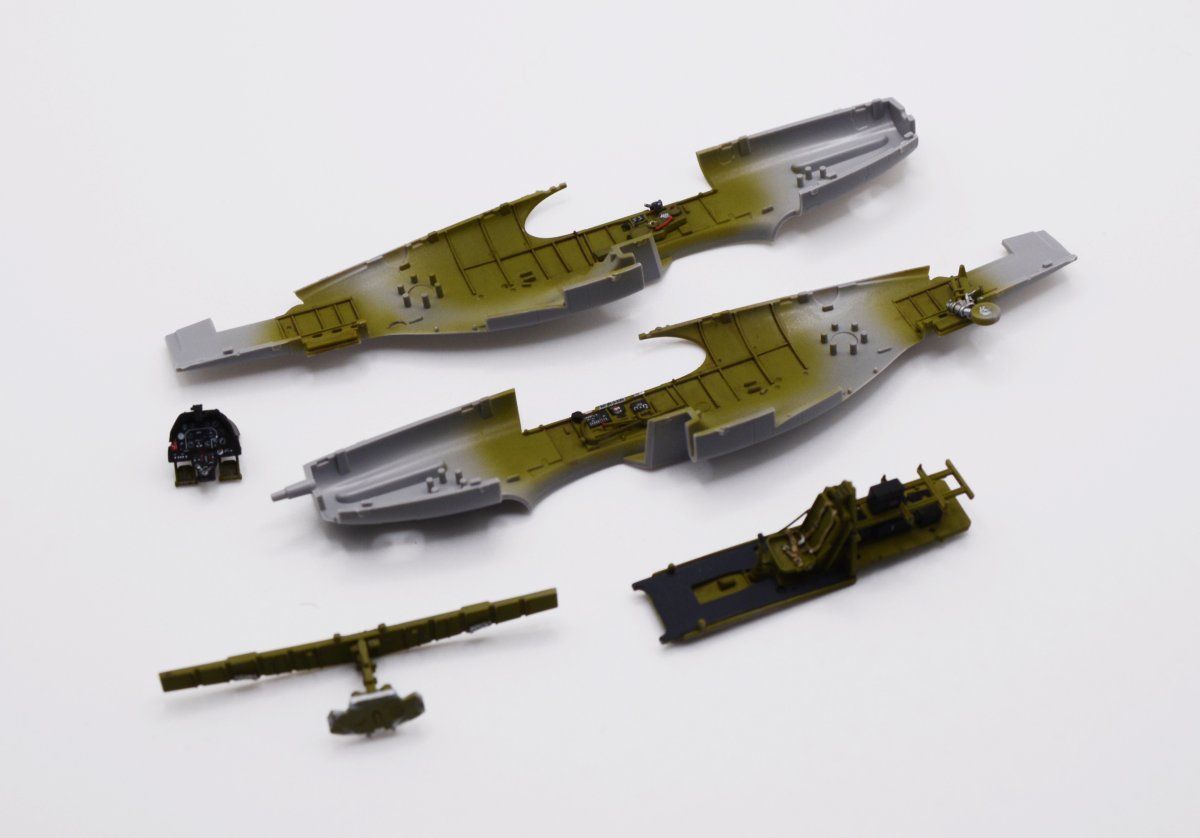
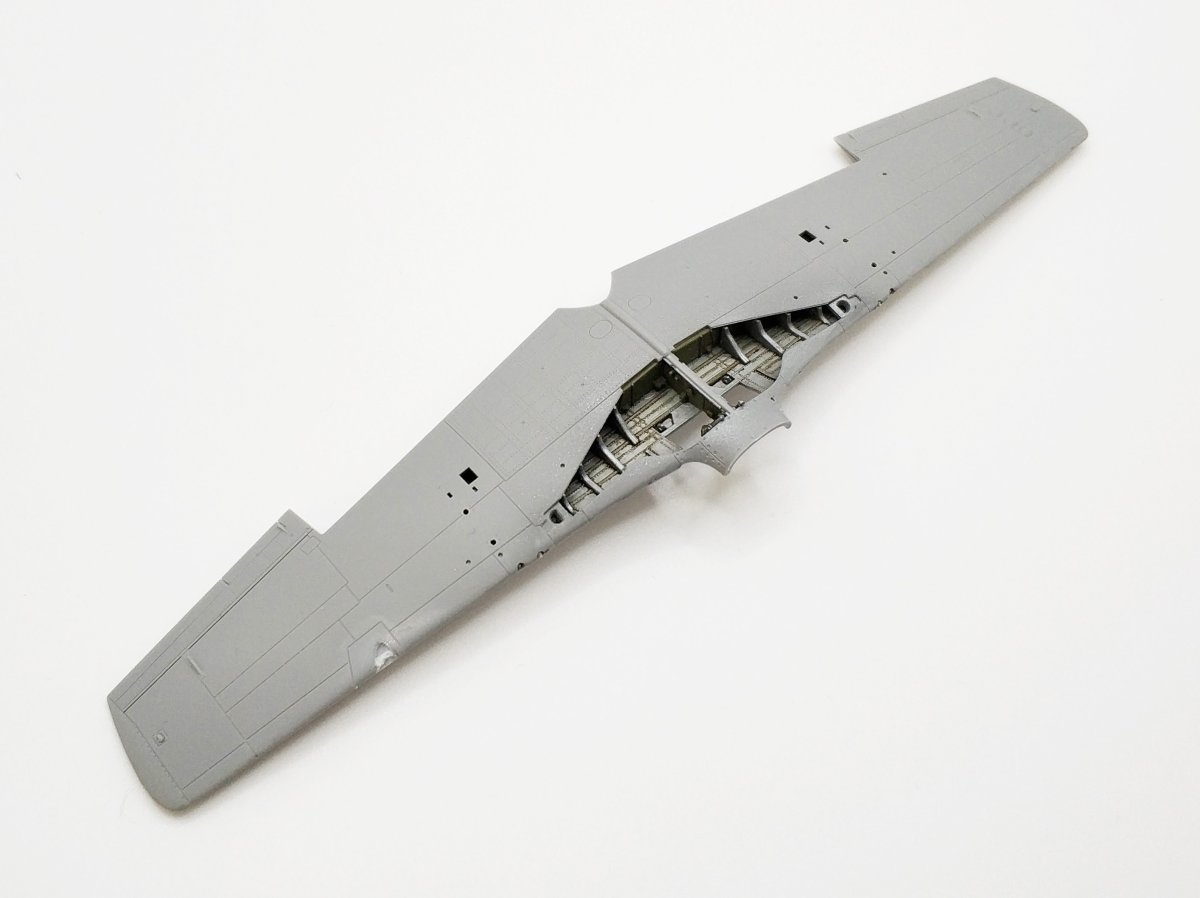
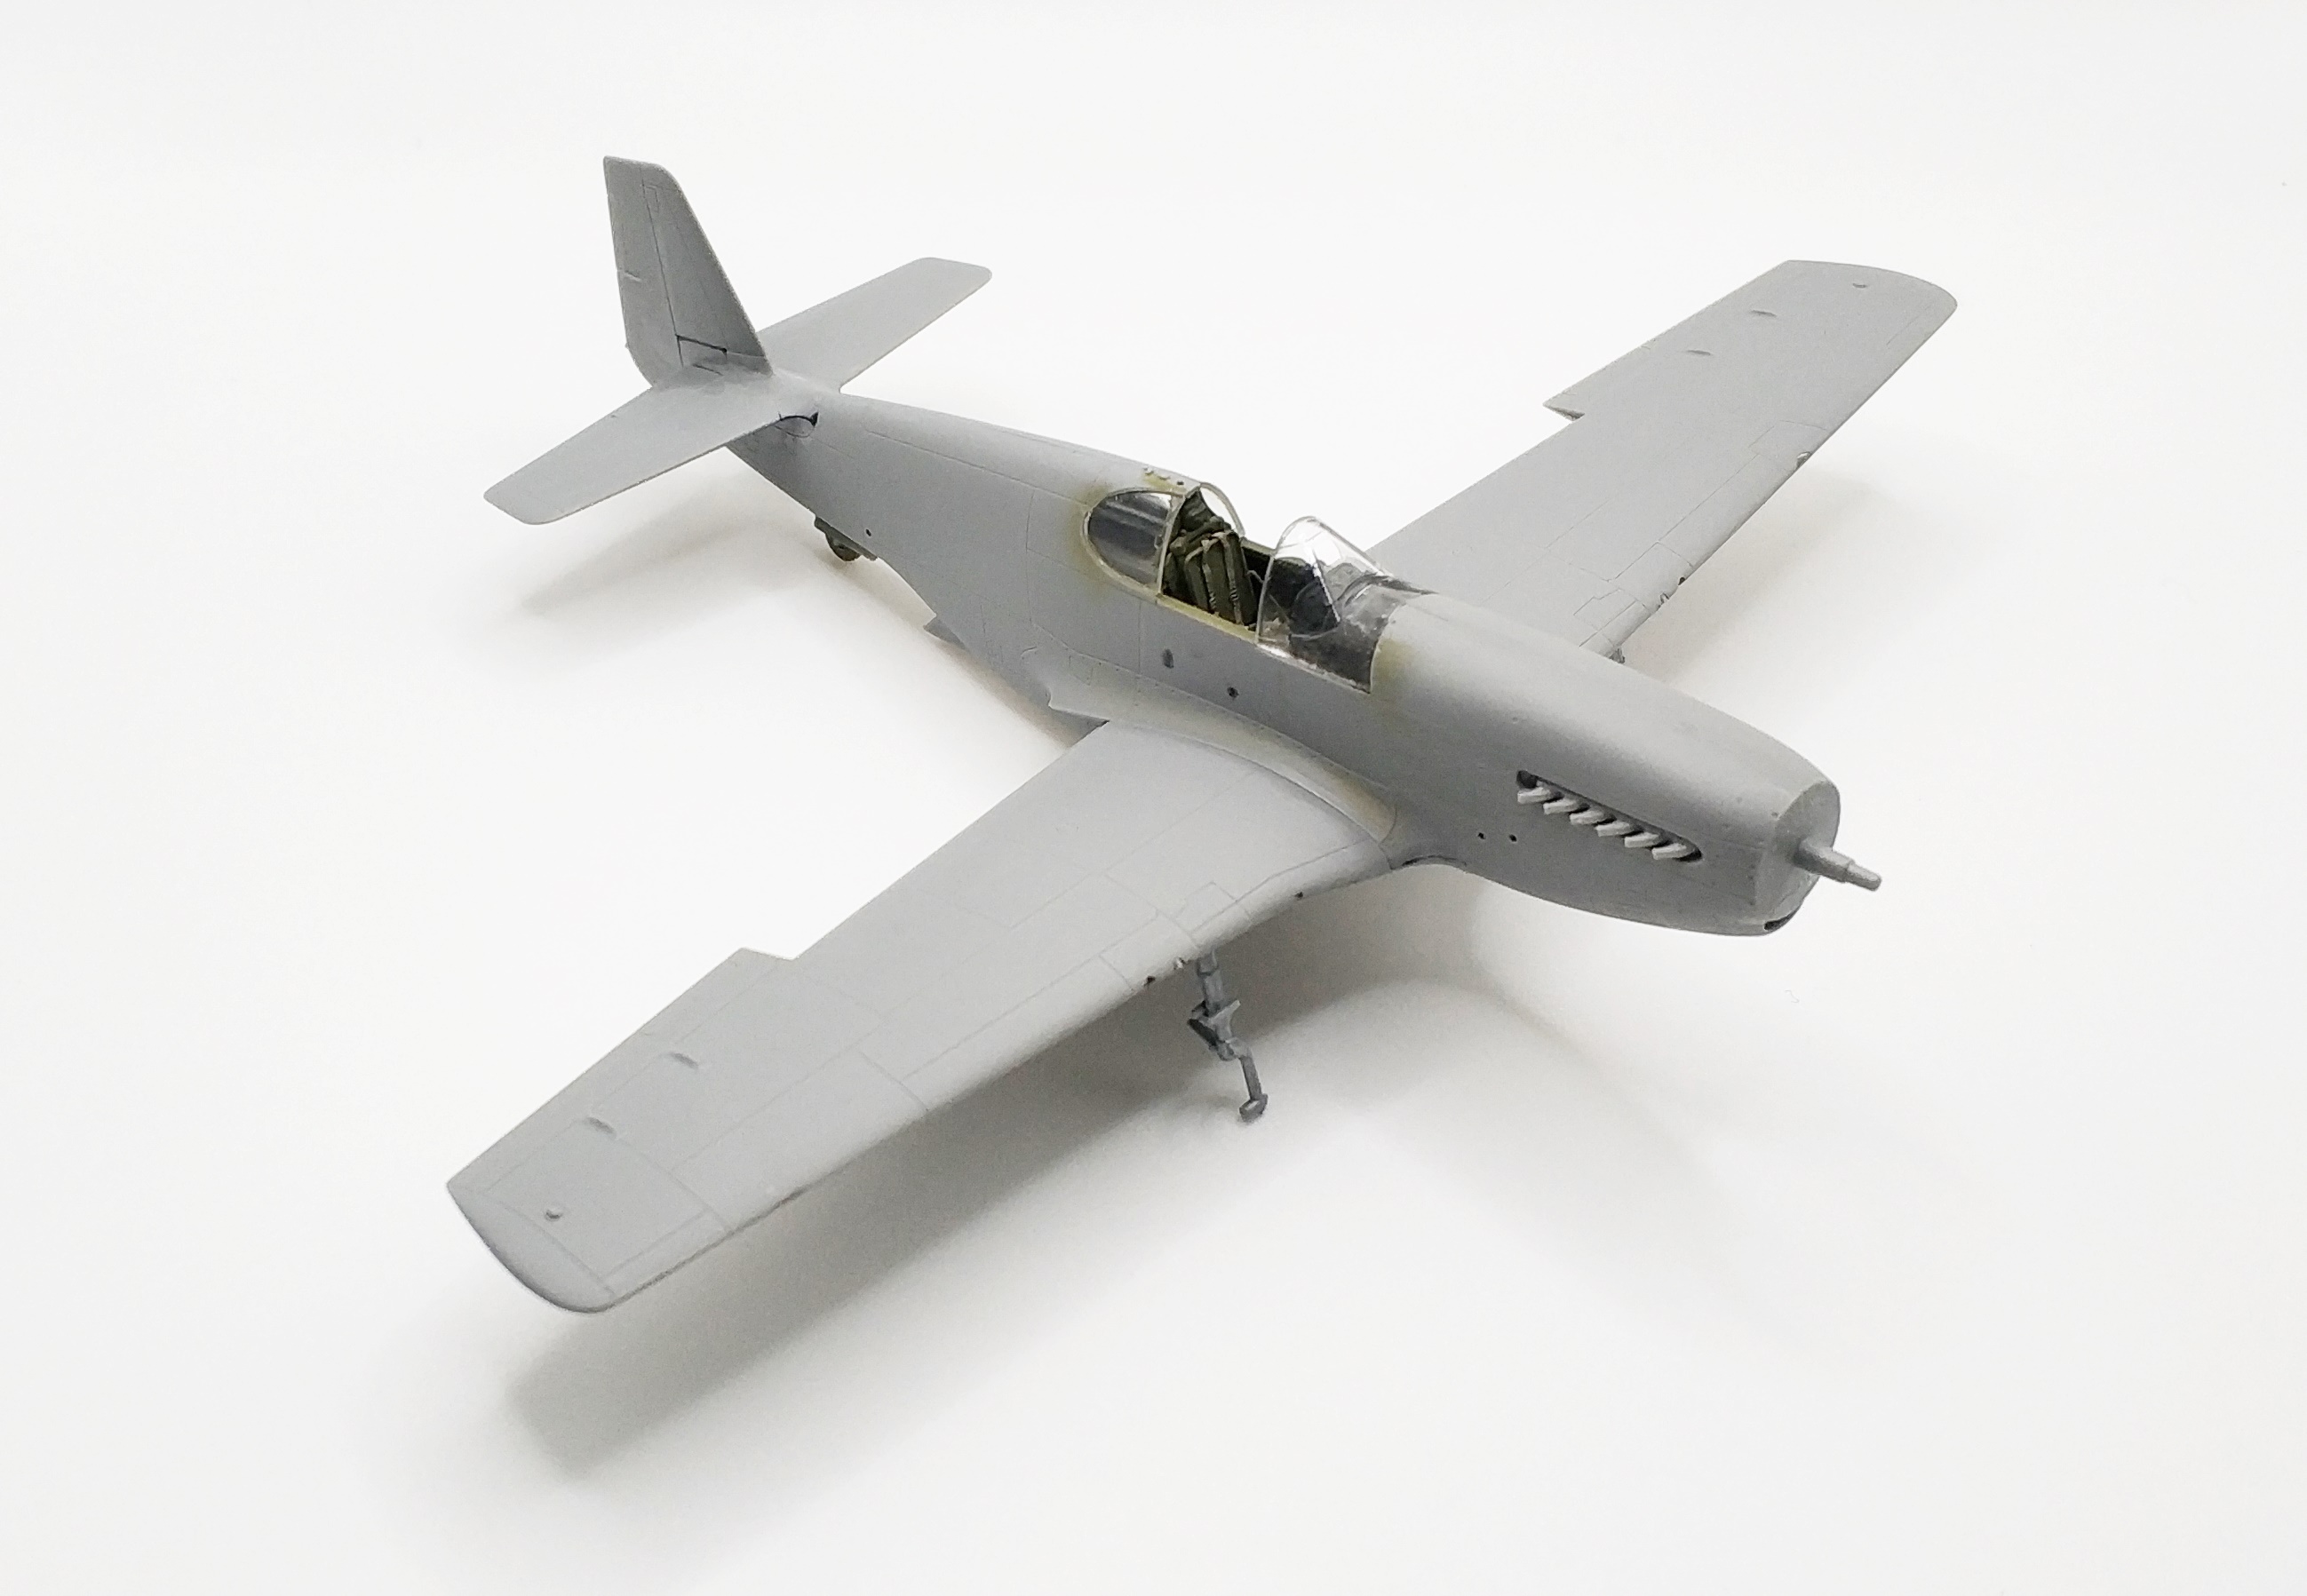
Since the present model is not large and not much will be visible on the inside, I somewhat simplified the painting stage in order to shorten building work. I painted the interior with Ammo One Shot 2024 Grey primer, followed by Vallejo Model 71.010 Interior Green. Individual sub-assemblies were painted with a brush using Vallejo paints thinned with Modellers World Levelling Thinner for Brush Painting. I applied the following colours: Vallejo Model Color 70.862 Black Grey, and also Vallejo Metal Color 77.703 Dark Aluminium and Vallejo Panzer Aces 340 Highlight Afrika Korps. I then coated the entire model with a gloss varnish and proceeded to put on the decals. For softening, I used a Microscale SET i SOL set. Placing the Techmod decals went without a hitch – there were no cracks, and I left them for the night to dry. I then applied another protective layer of gloss varnish, followed by an Ammo wash (1005 Dark Brown for Green Vehicle).
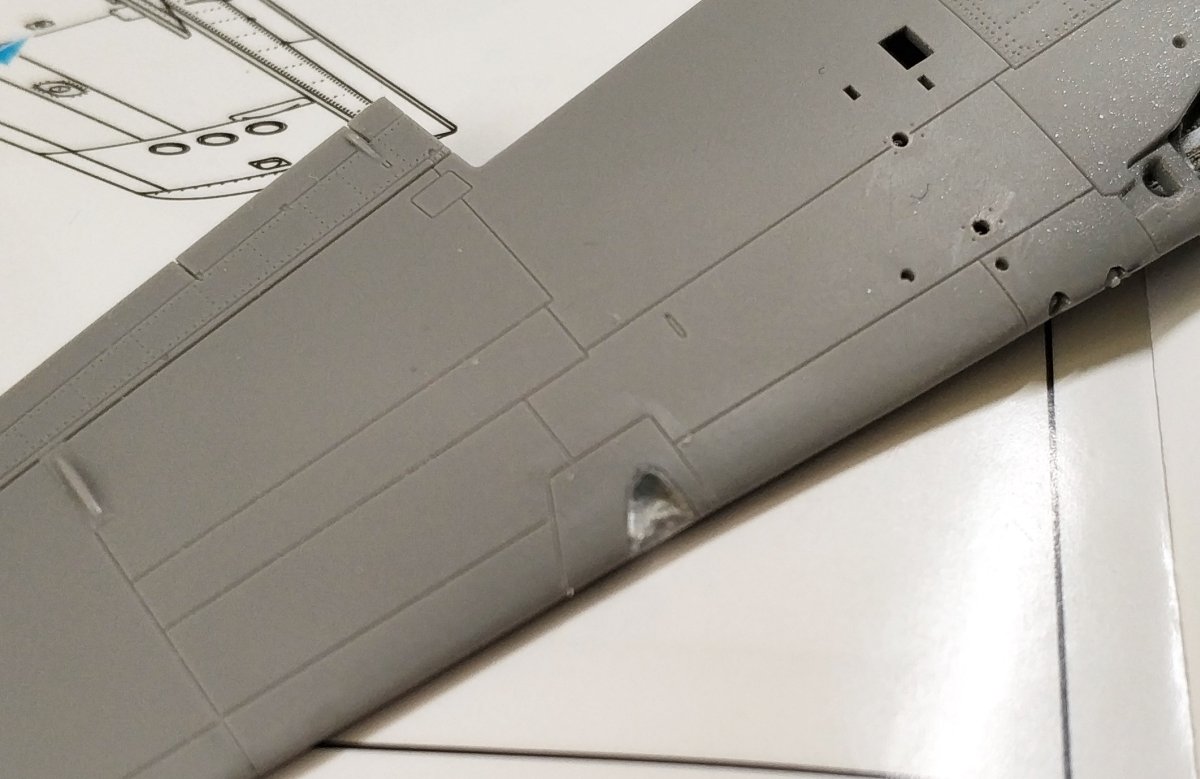
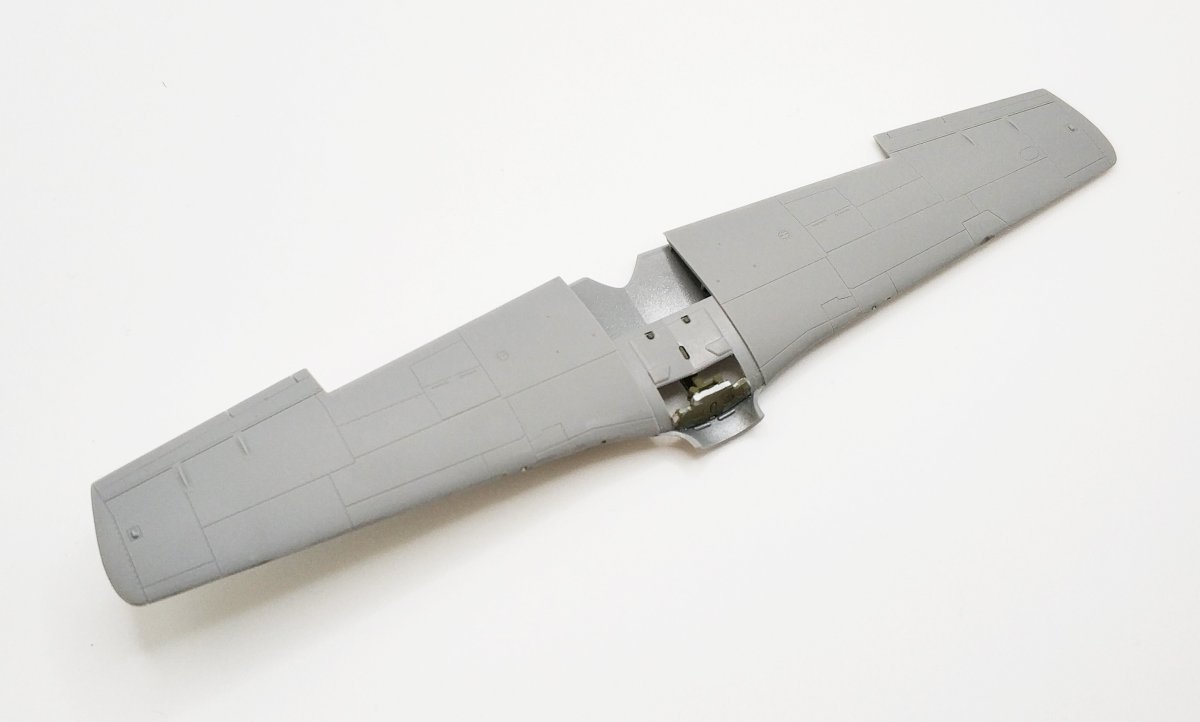
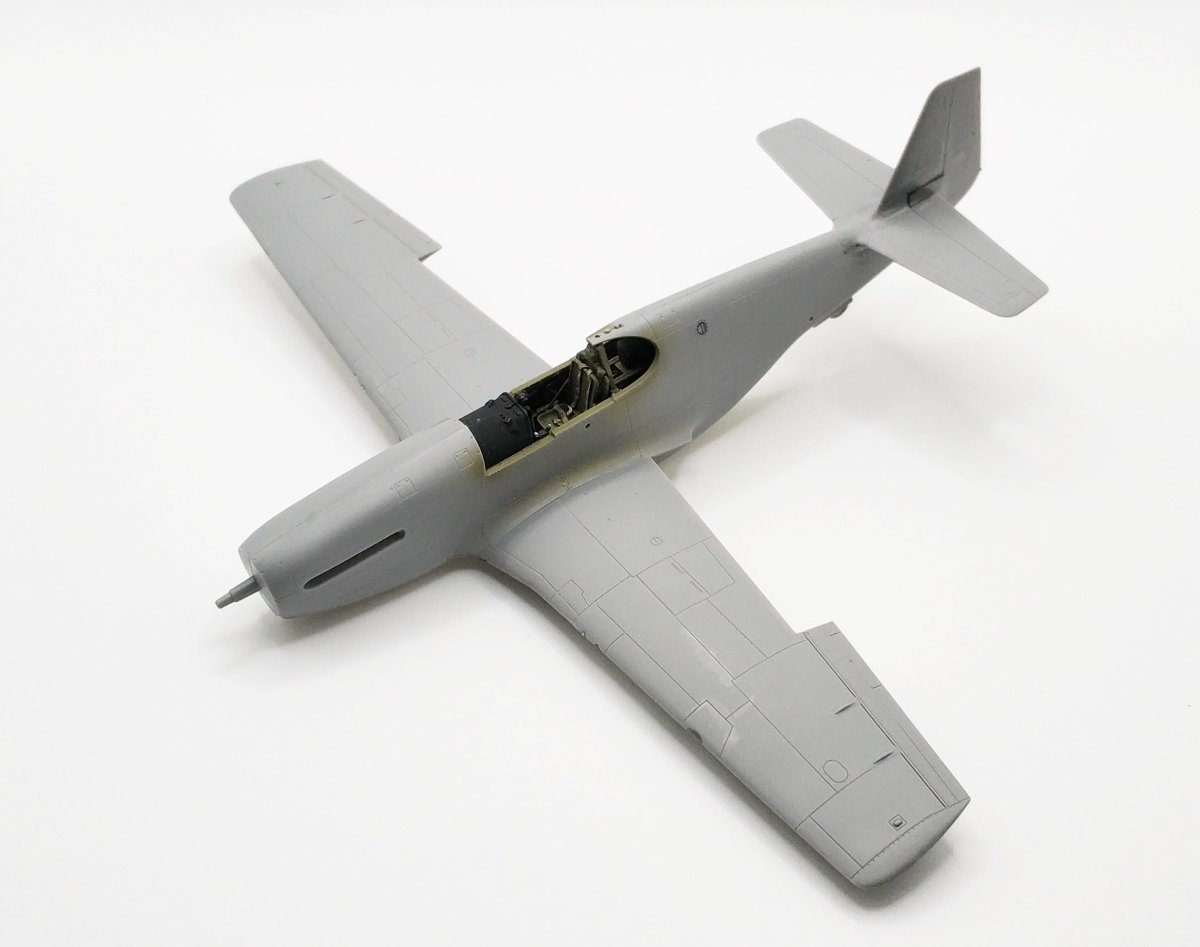
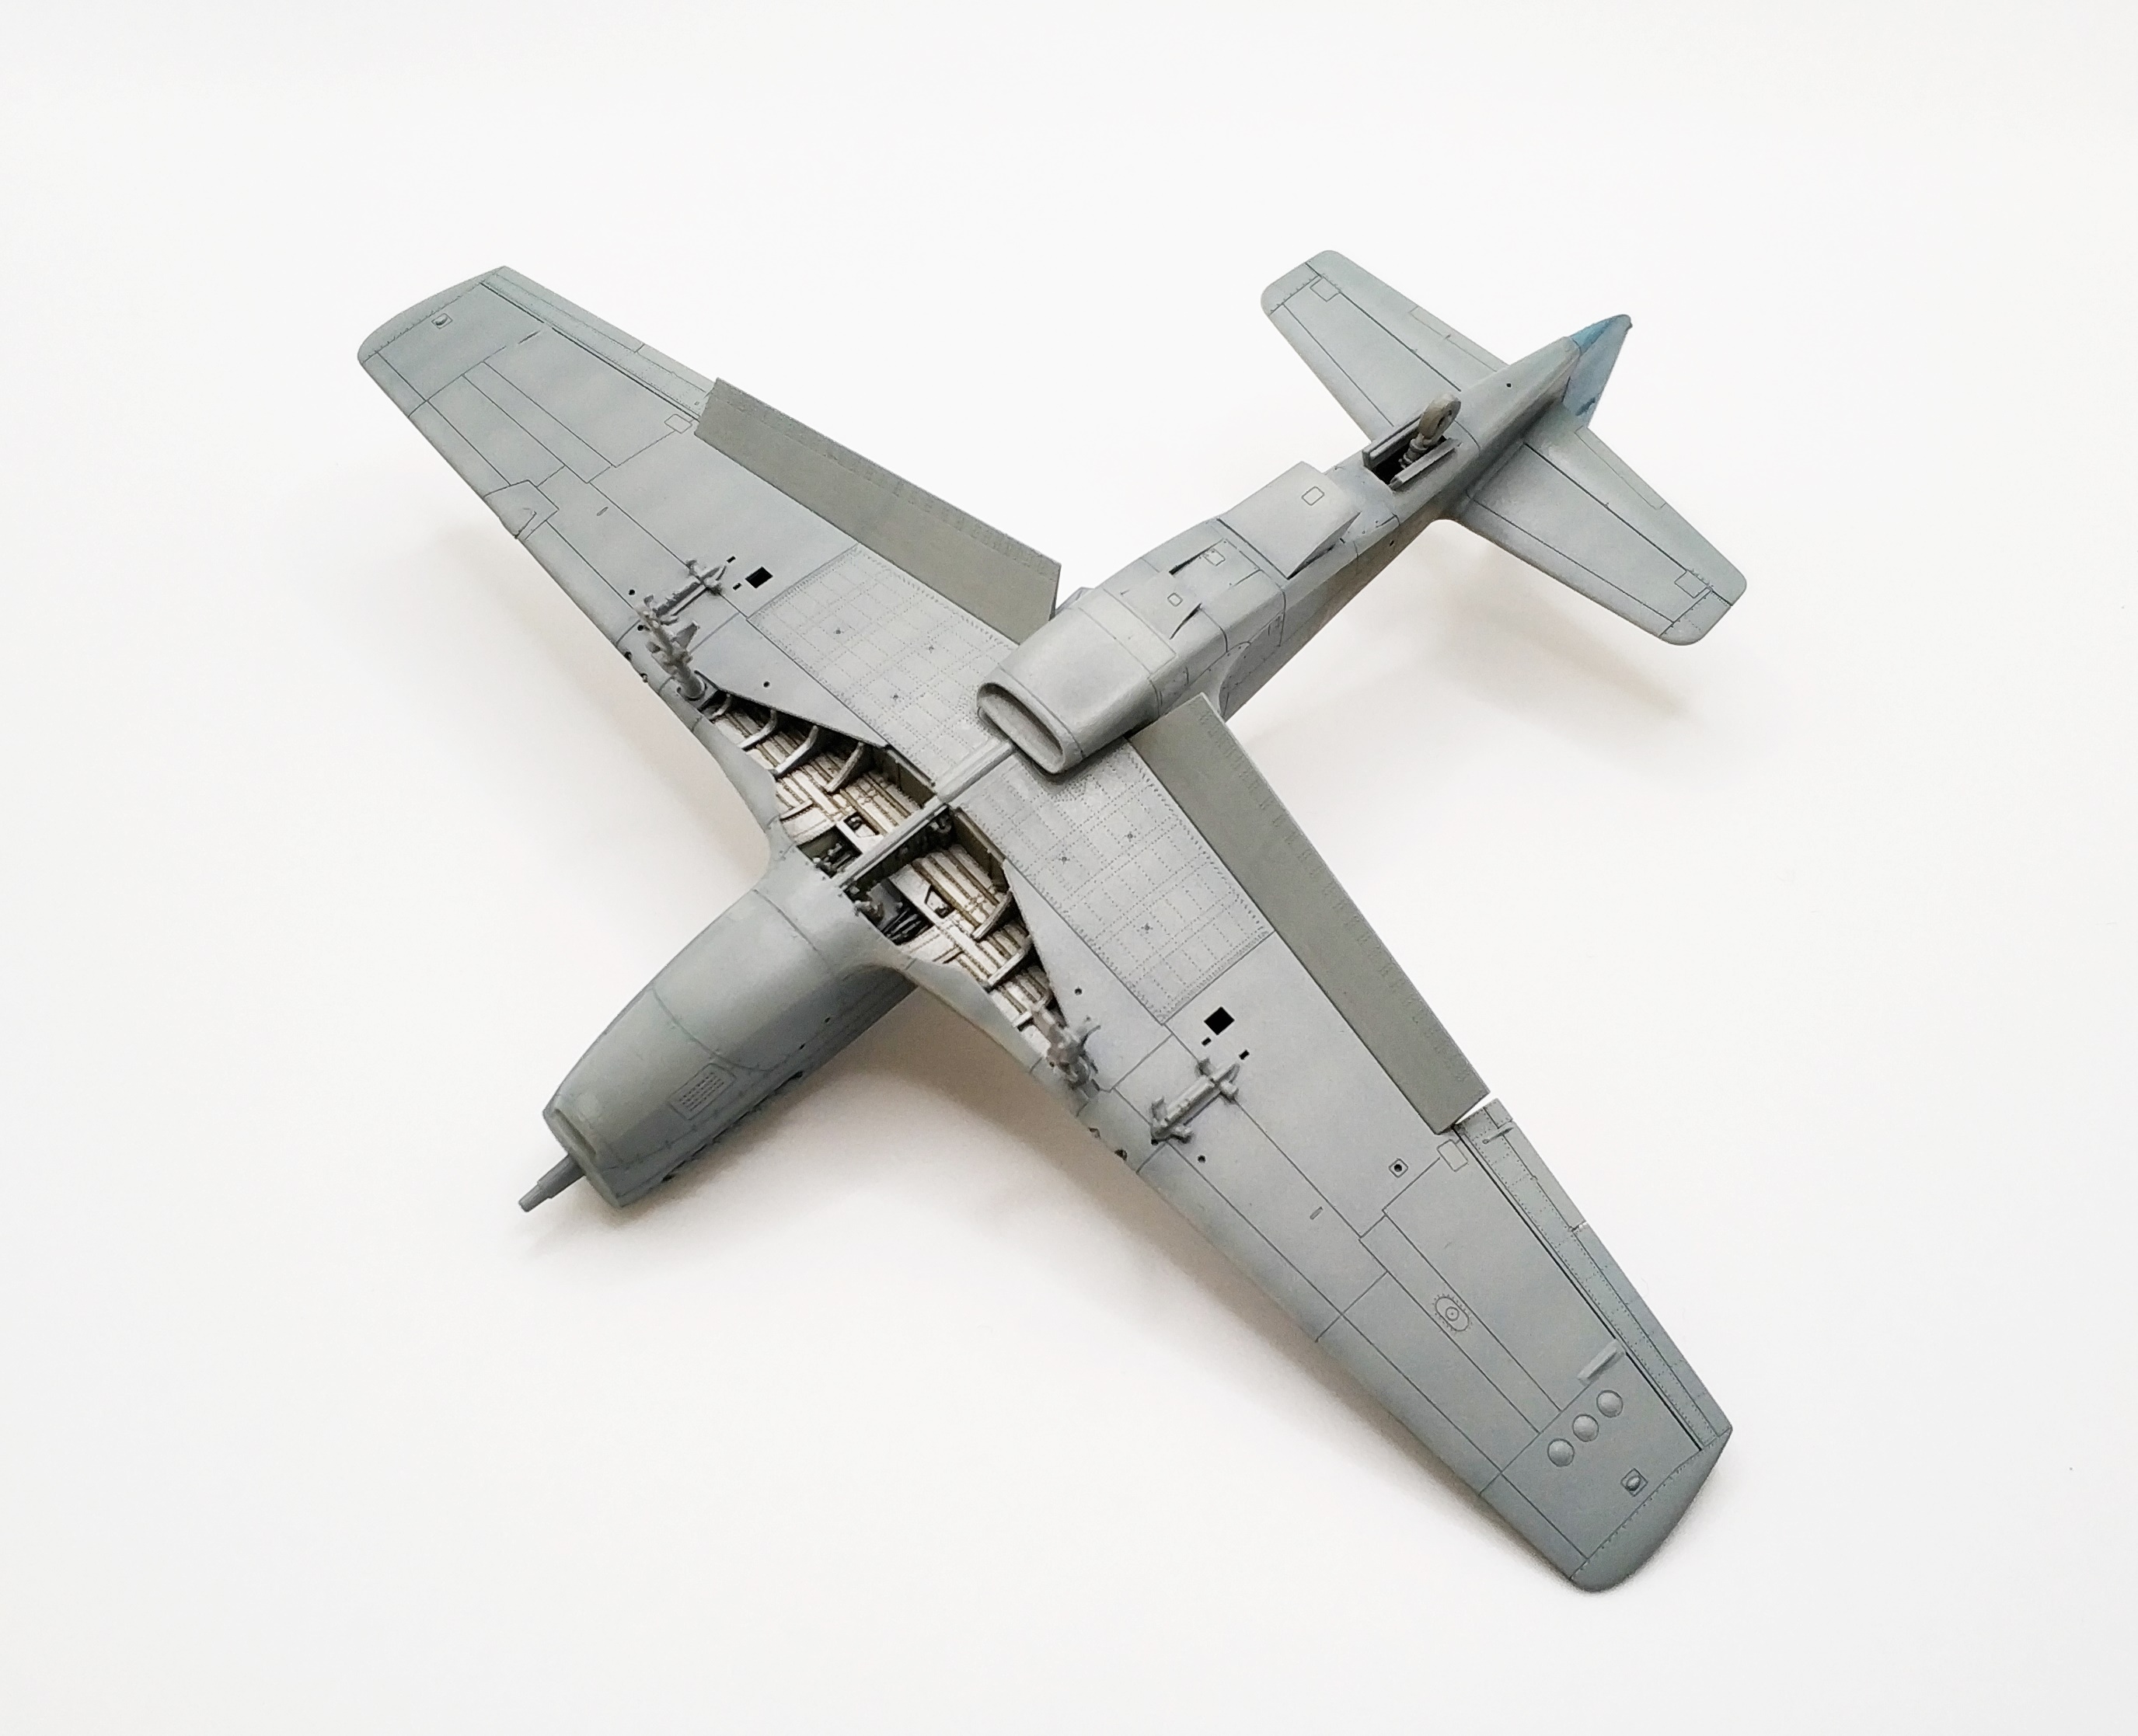
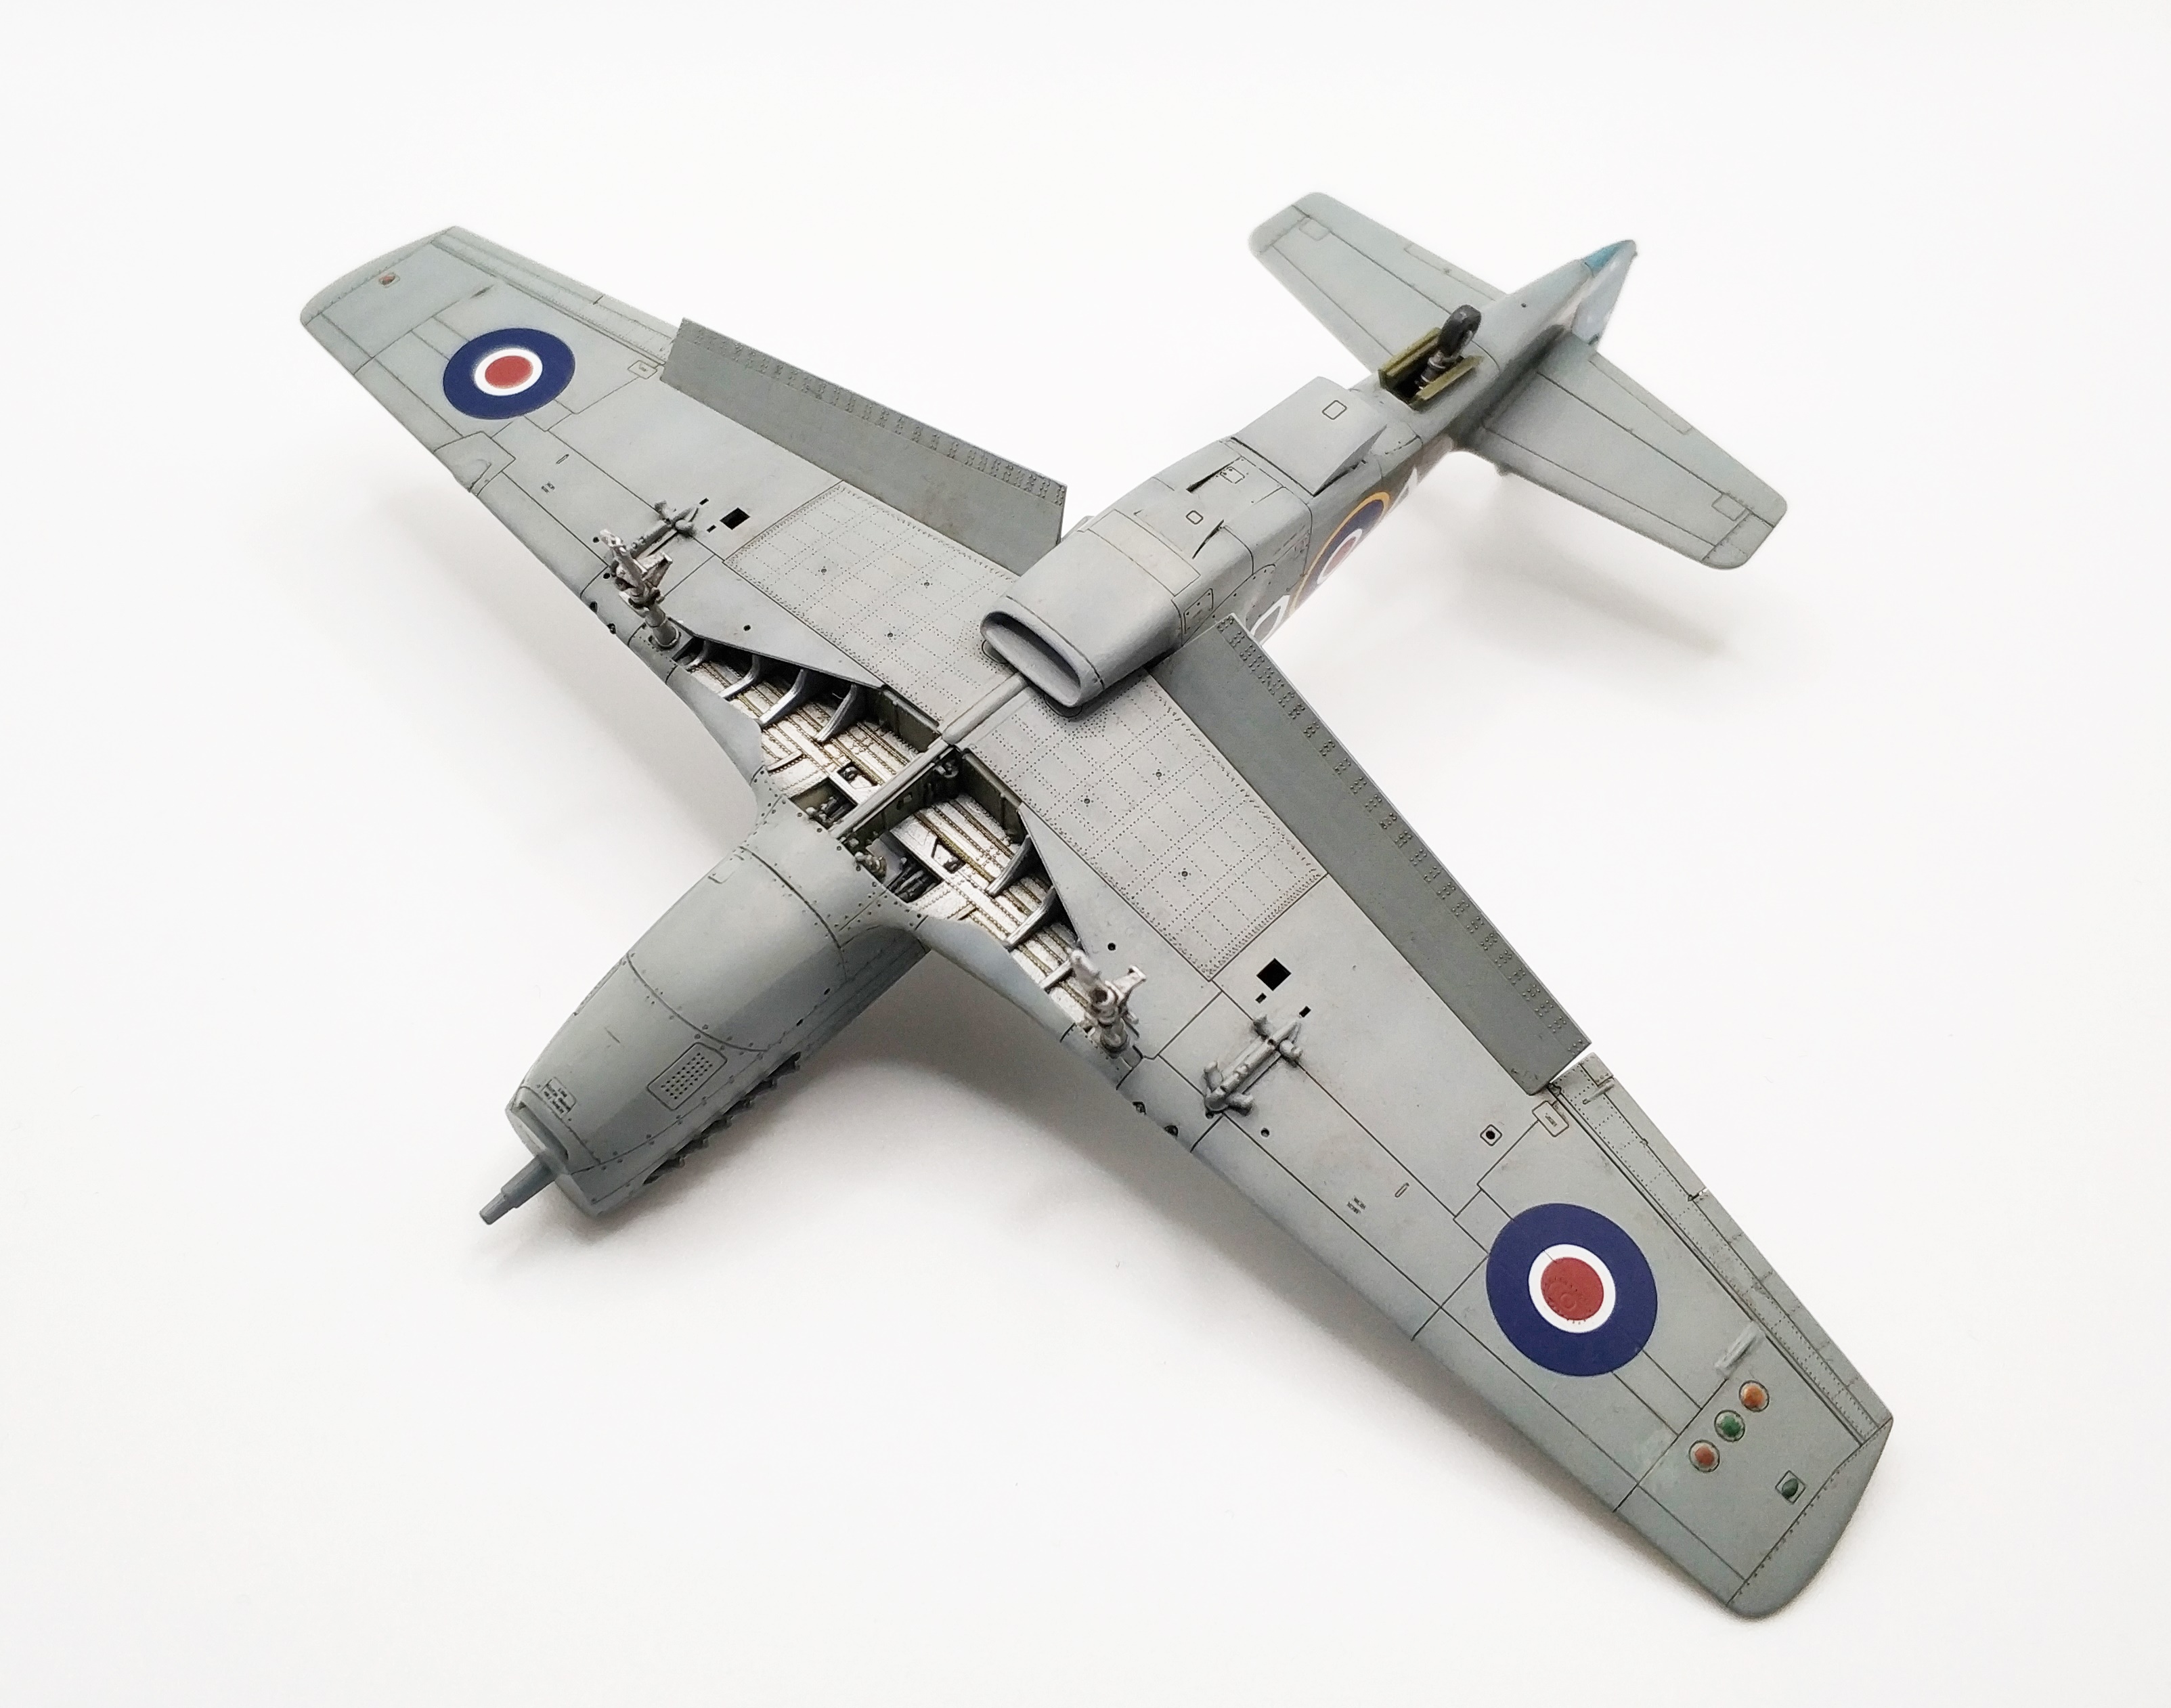
In between these stages I started working on the wing. It is definitely worth using a Czech razor to cut the pieces out of frames. Nothing will get damaged, and you will have greater control. The connection between wing and headlight was not much to my liking, so I decided to improve it. I painted the recess with Vallejo Dull Aluminium, which I had used previously. Next, I glued in the transparent element with CA adhesive, taking care to ensure that the adhesive did not get into the recess and fog up the element. After giving it a moment to dry, I add more glue in order to properly cover the whole. I repeated the procedure a few times with relatively small quantities of adhesive. When everything had dried, I ground it down and passed on to the next stage – polishing the glass.
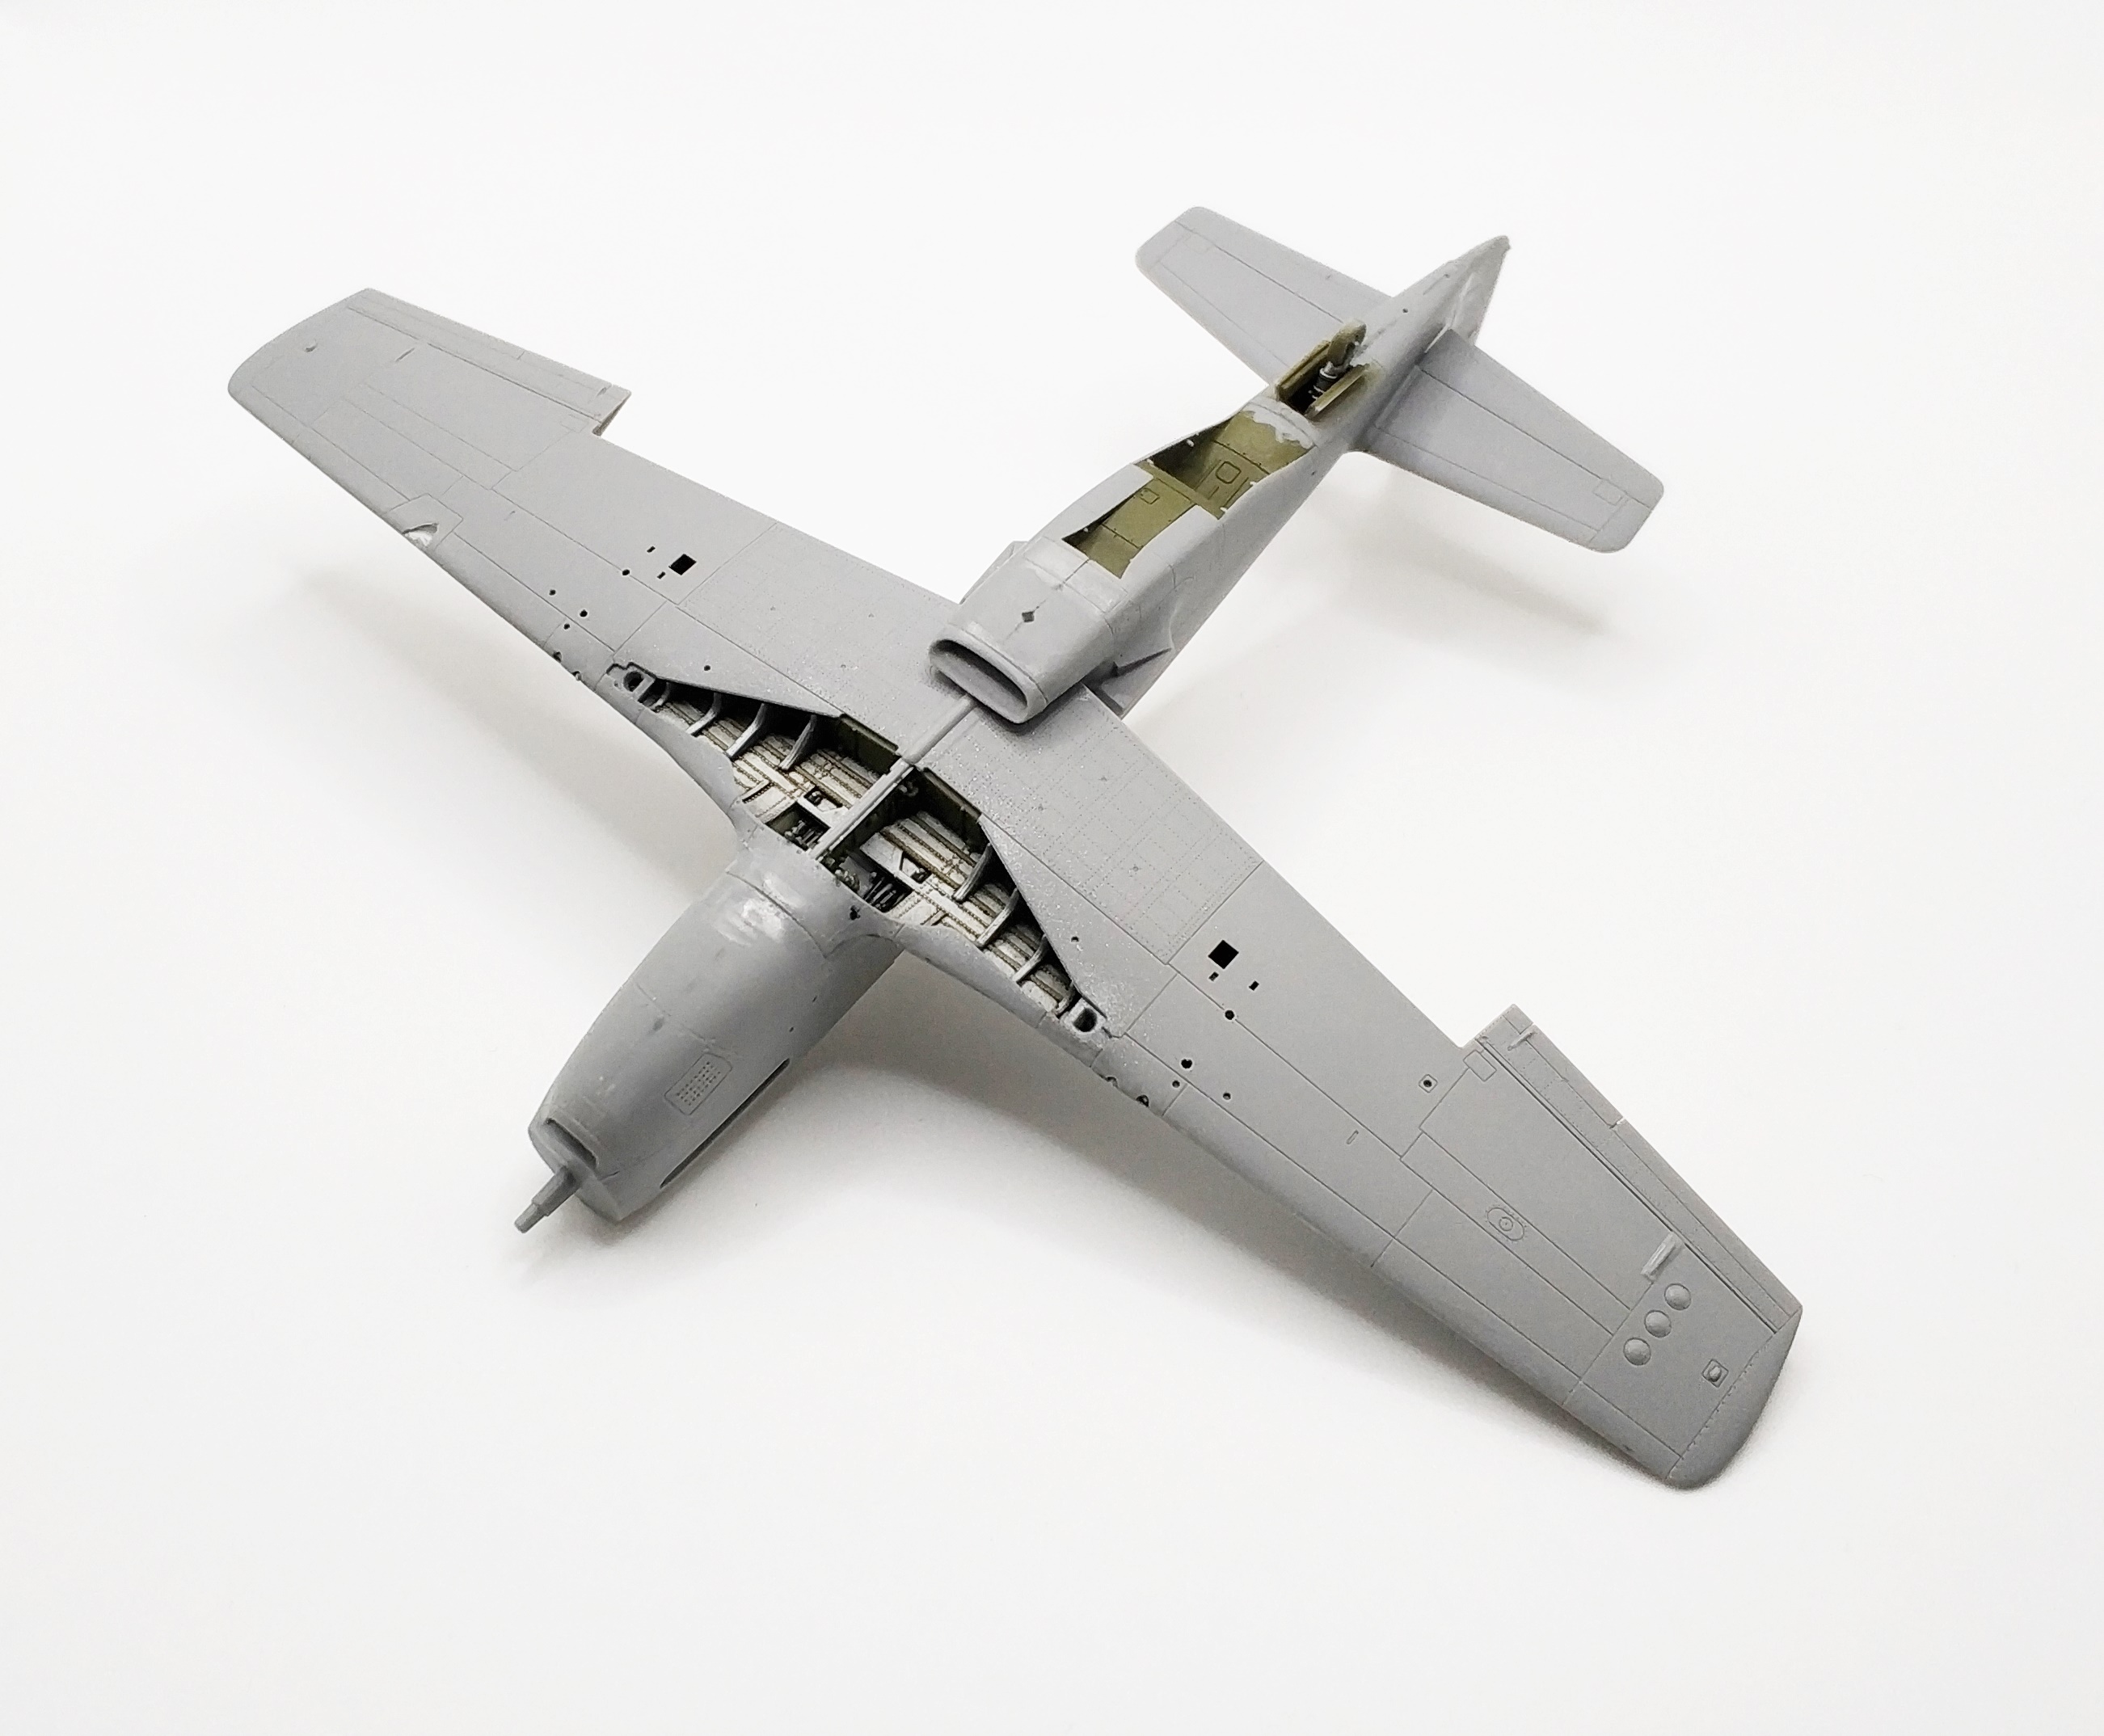
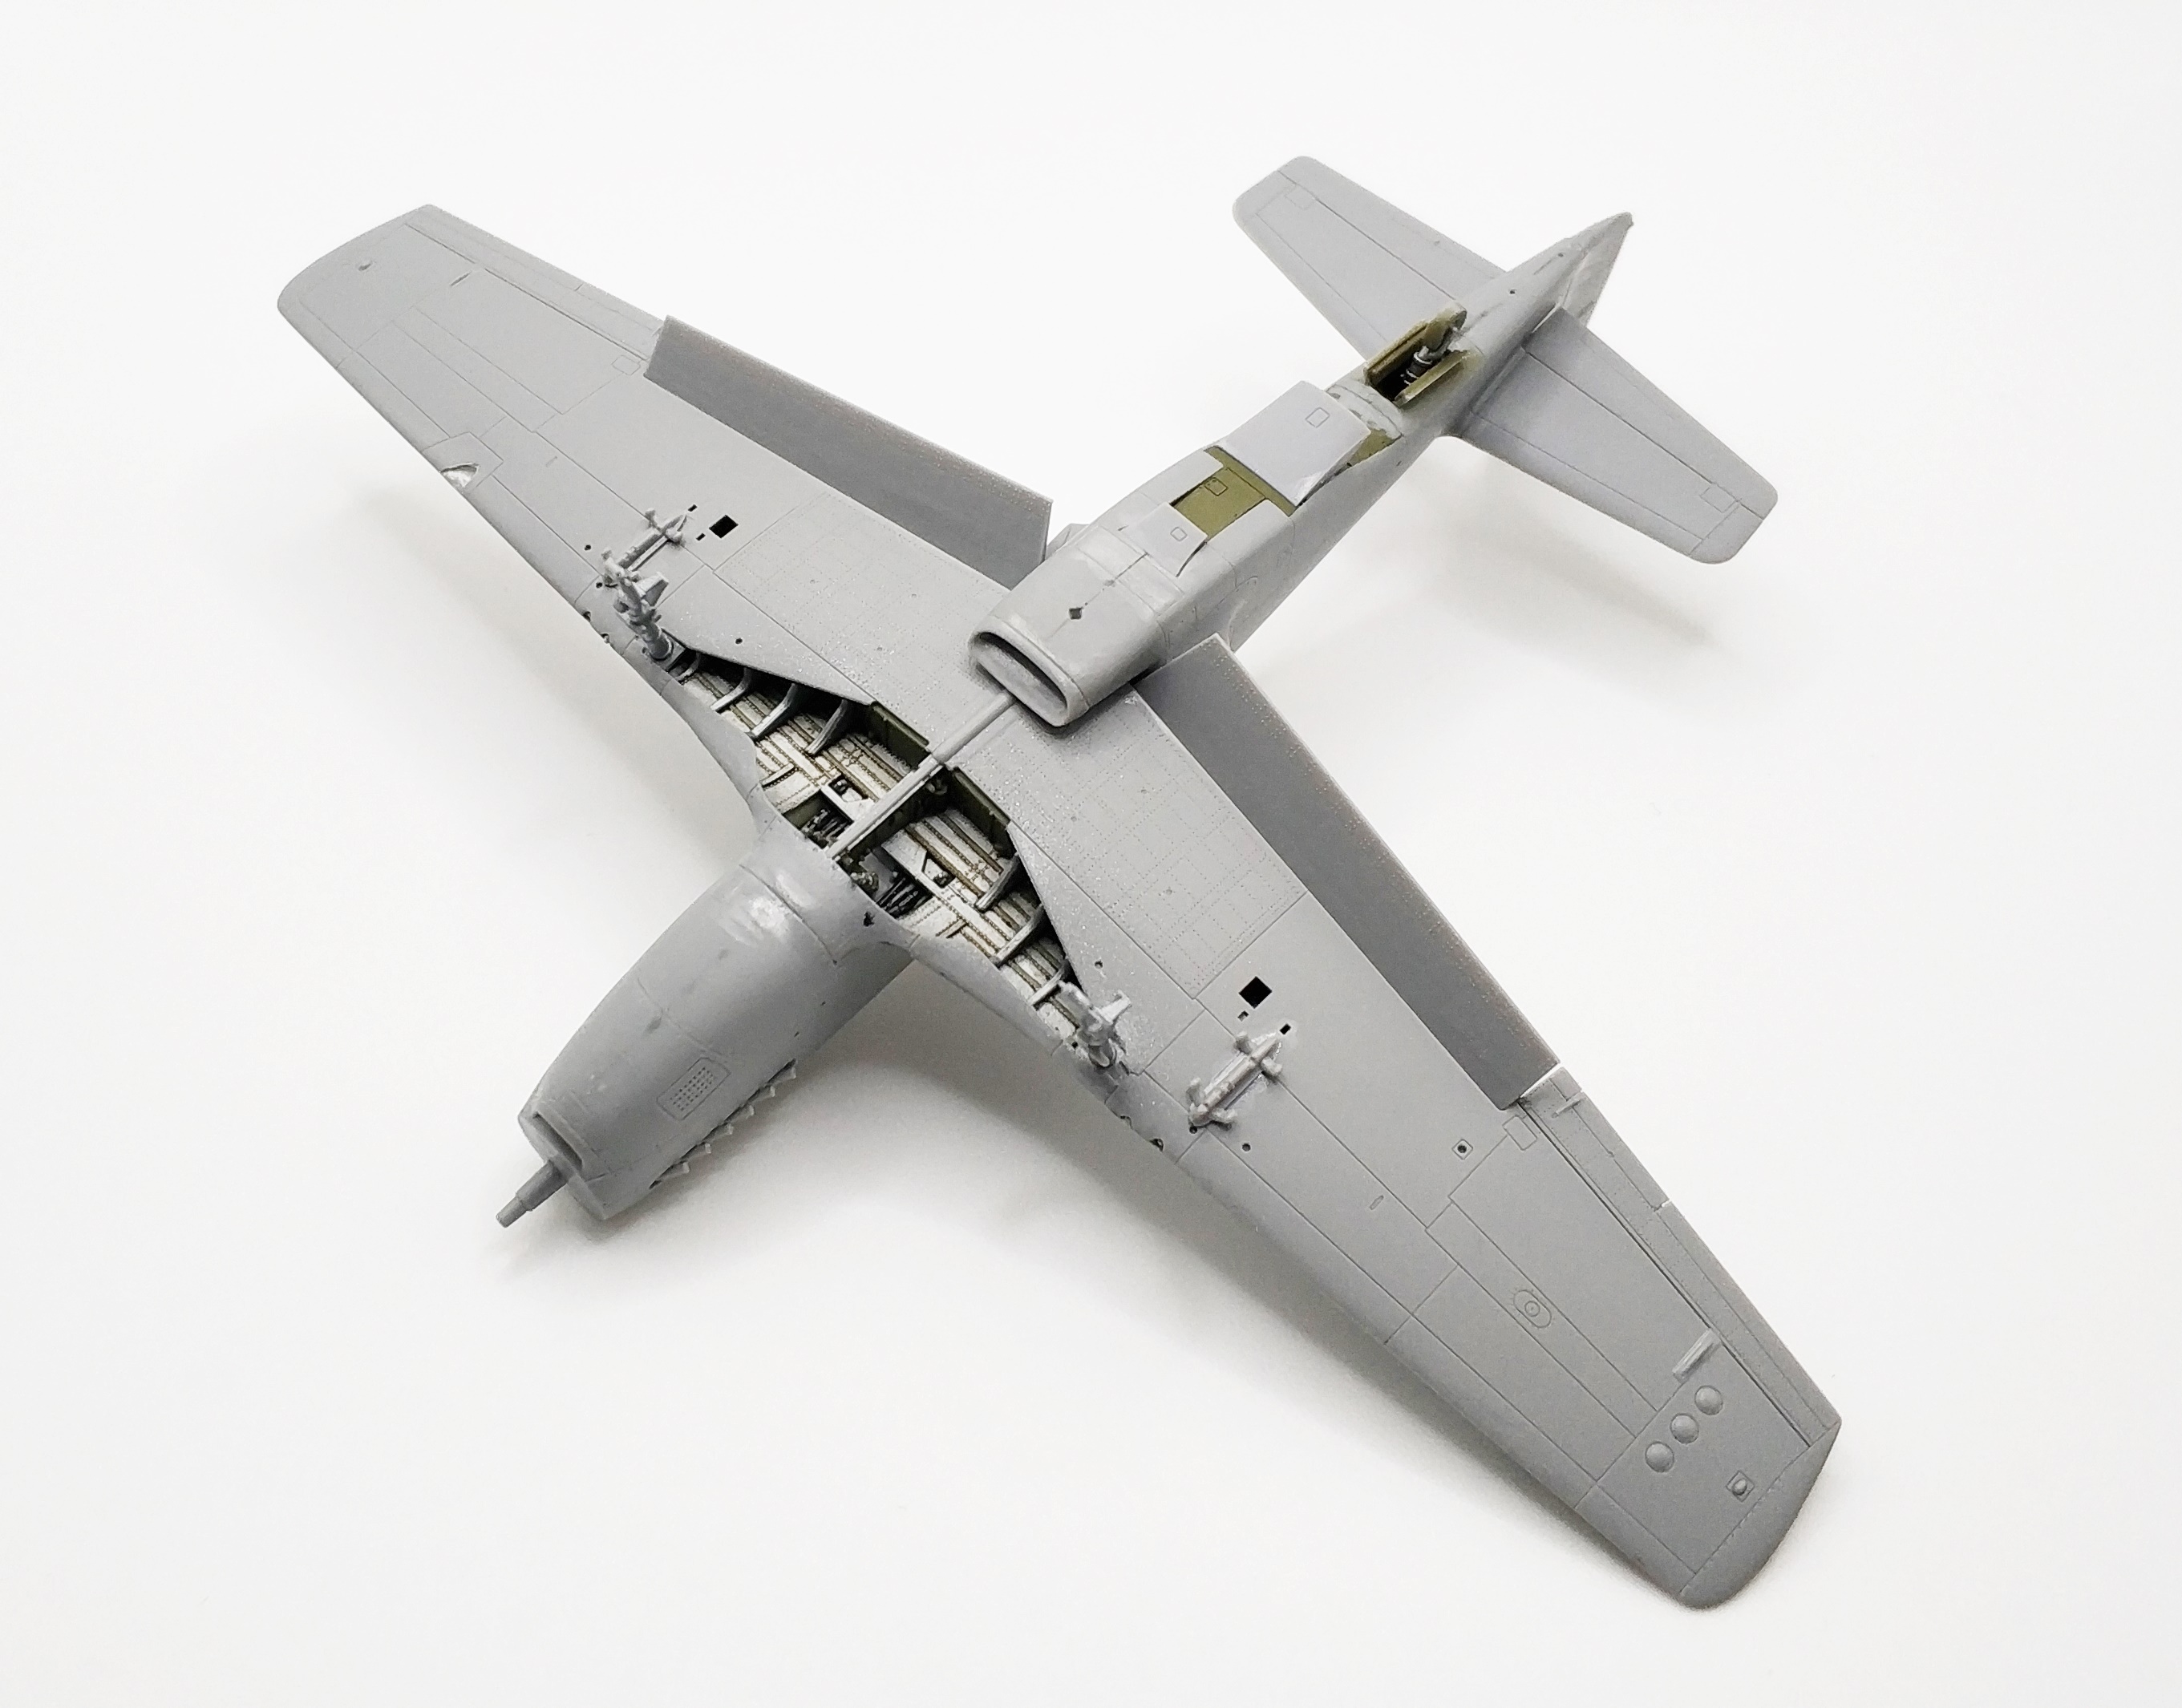
The third step was to connect both halves of the fuselage and glue on the wings. The parts fitted very well together. Whereas it is always best – irrespective of the kit that you’re building – to devote some time to preparing individual parts. I would recommend using good quality tools to cut parts out of sprues, and then removing any burrs and imperfections, checking whether everything fits before gluing, so as to ensure that there won’t be any unwelcome surprises when you apply the adhesive.

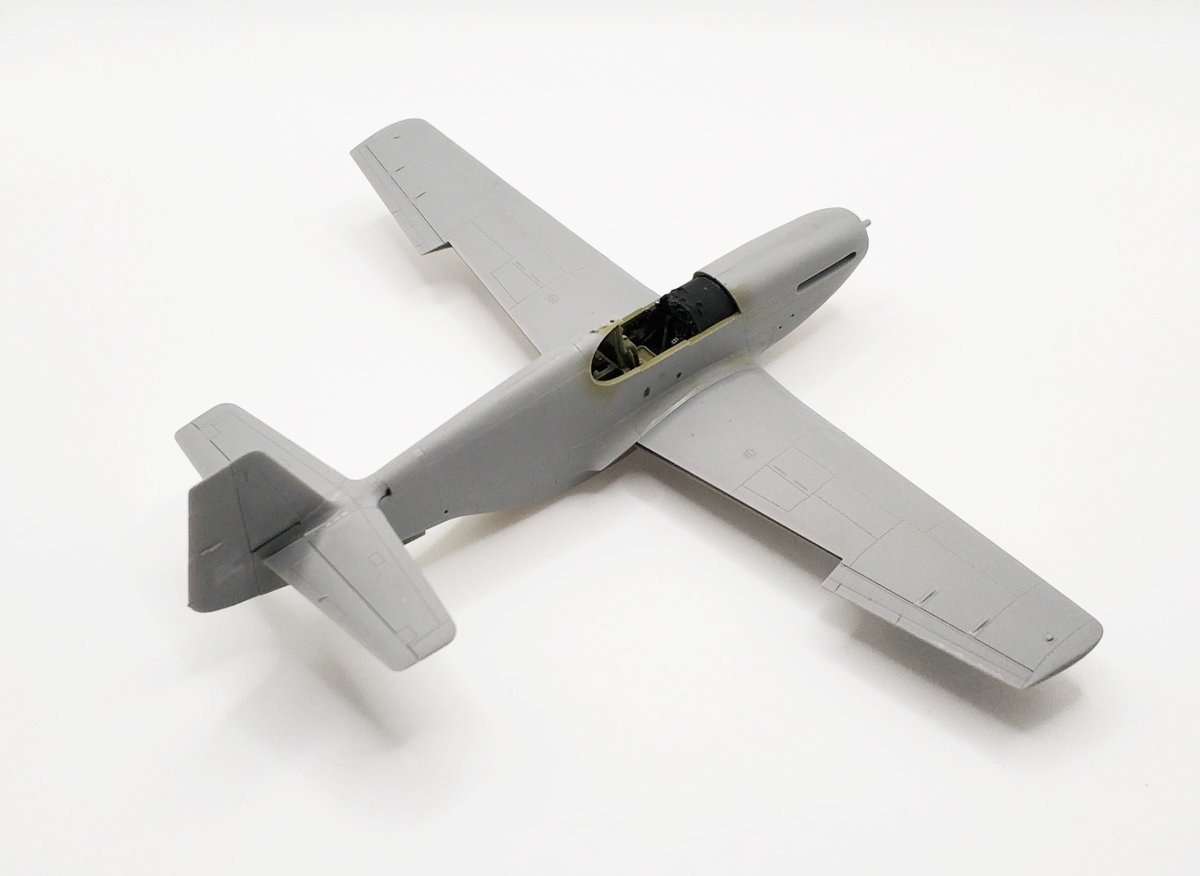
Passing from element to element, I arrived at the glazing, which I attached using Tamiya Extra Thin. Obviously, I had to take care that the glue didn’t penetrate unduly and fog up the window. Furthermore, for the selected paint scheme I had to fill the fuel inlet in the fuselage. For this purpose I used Ammo Black Slow Dry CA adhesive. As far as CA adhesives go, it is rather soft, which makes grinding easier.

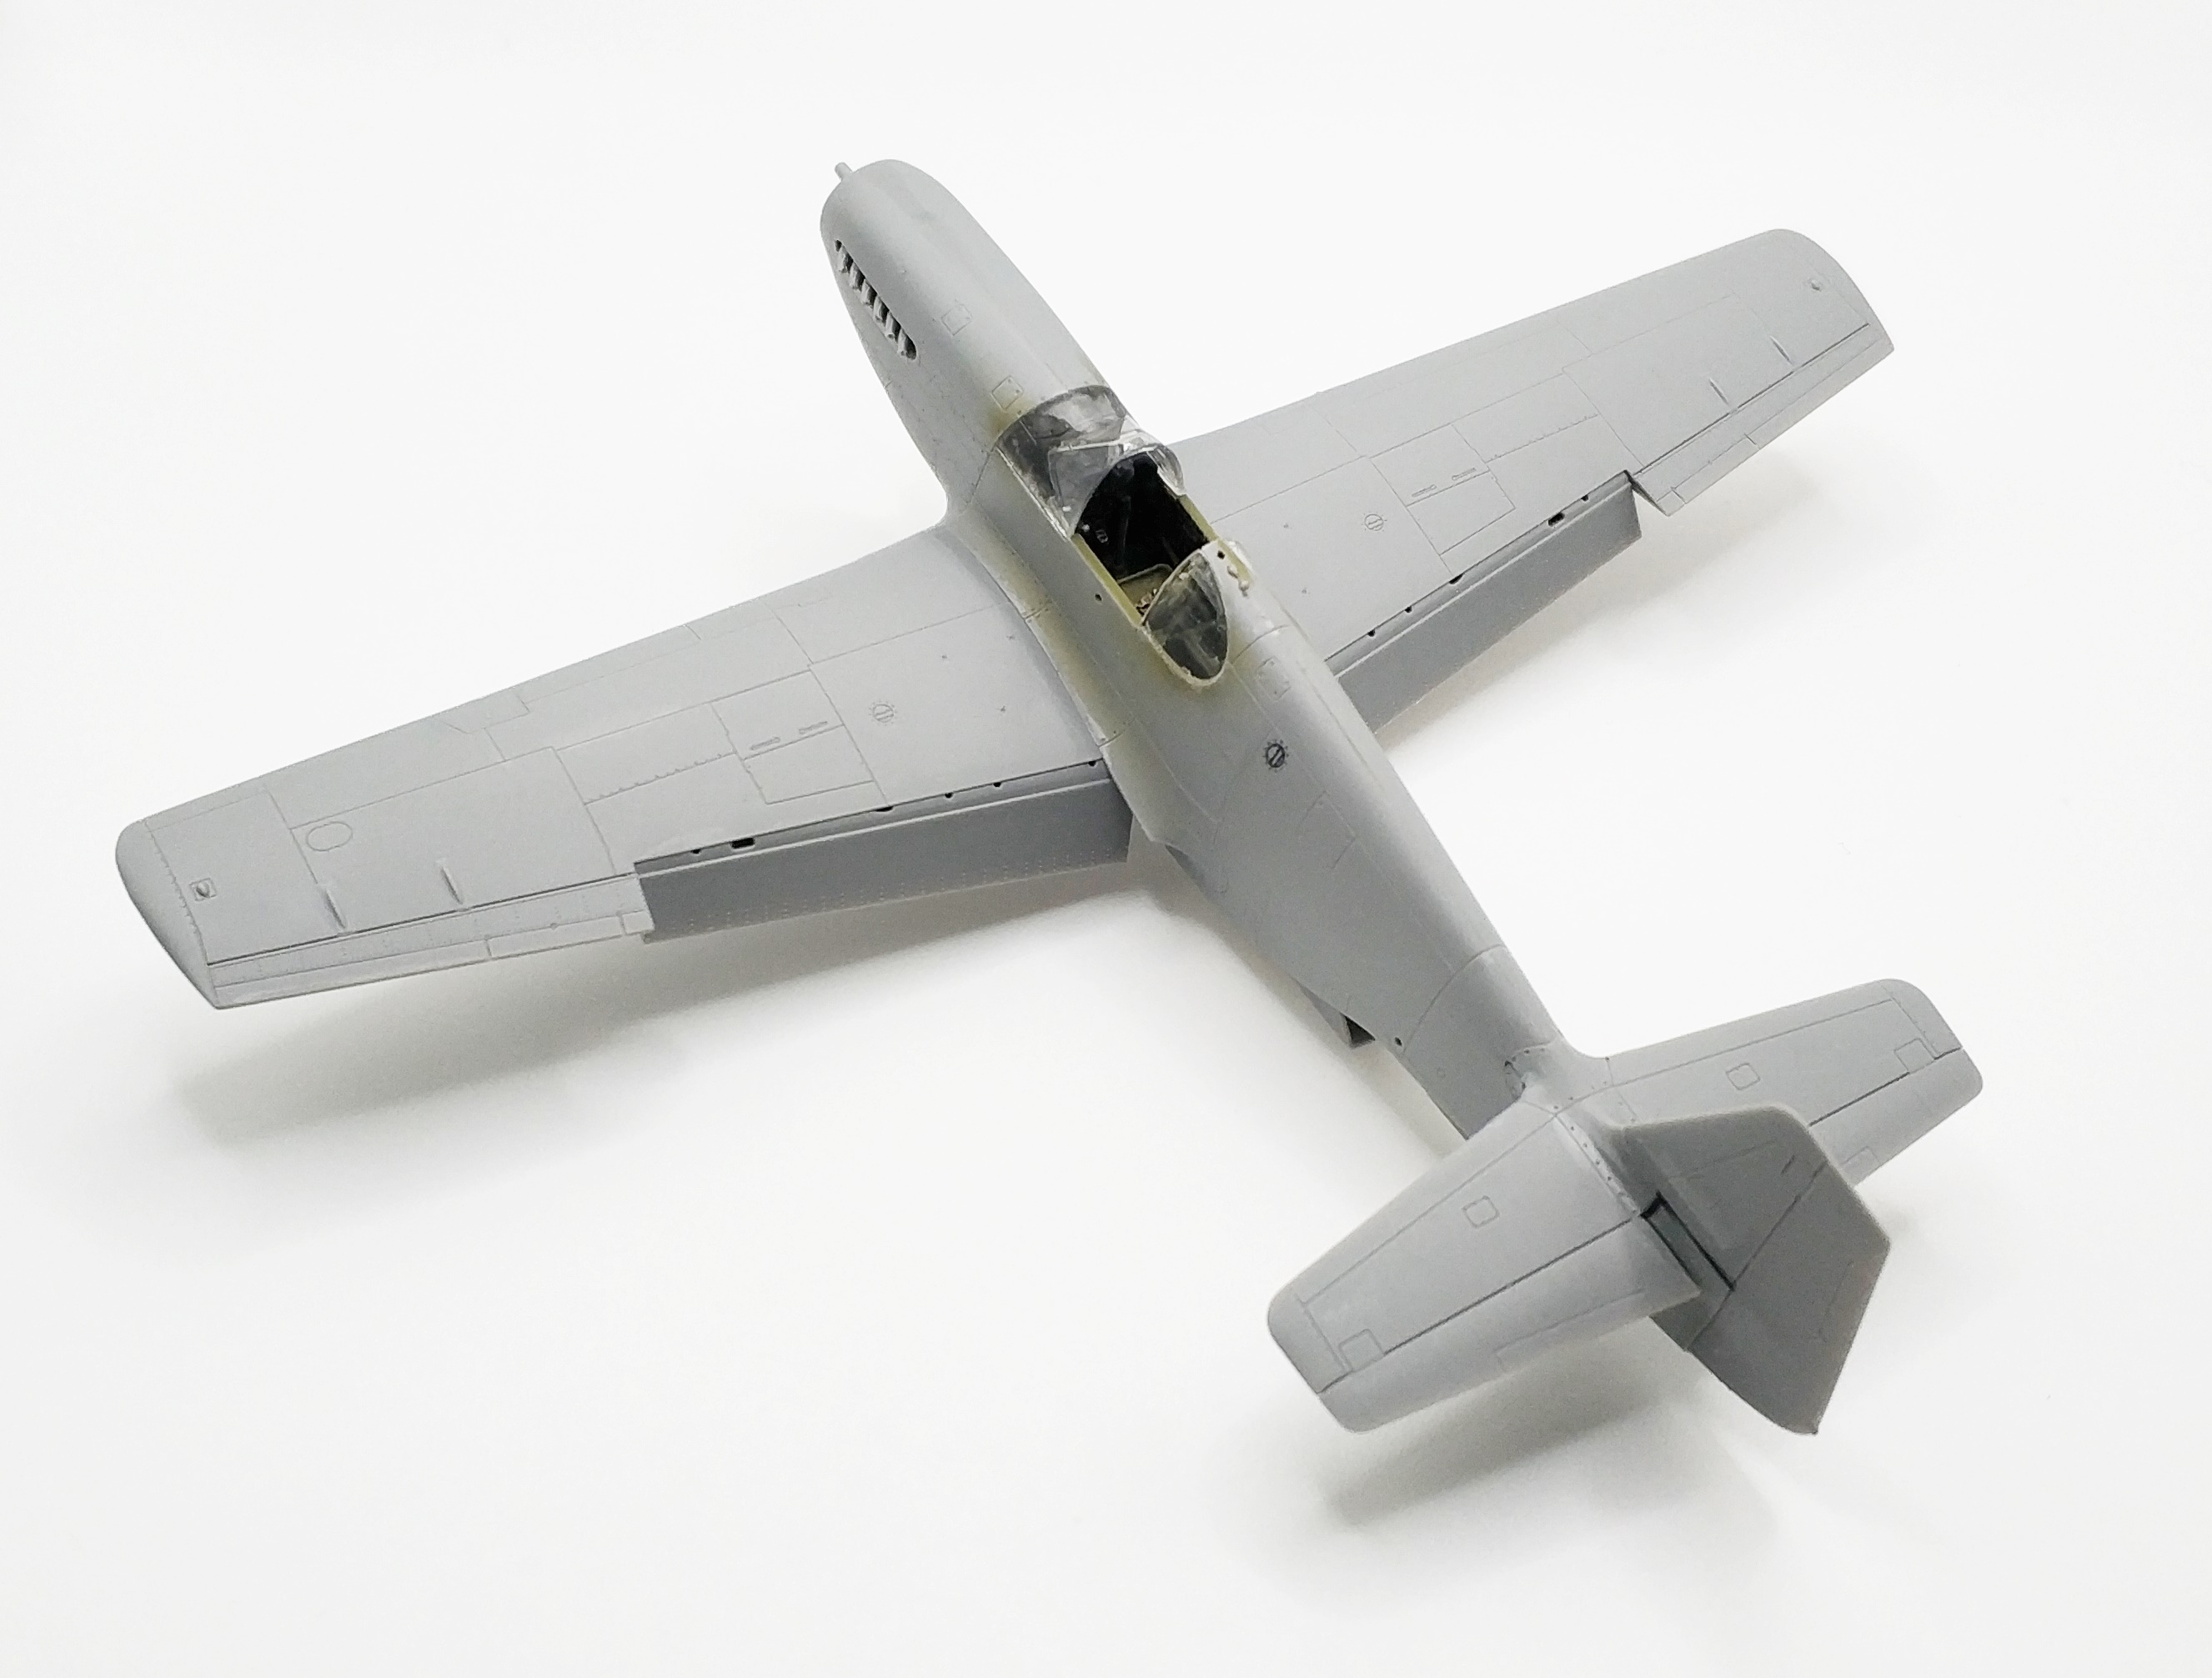
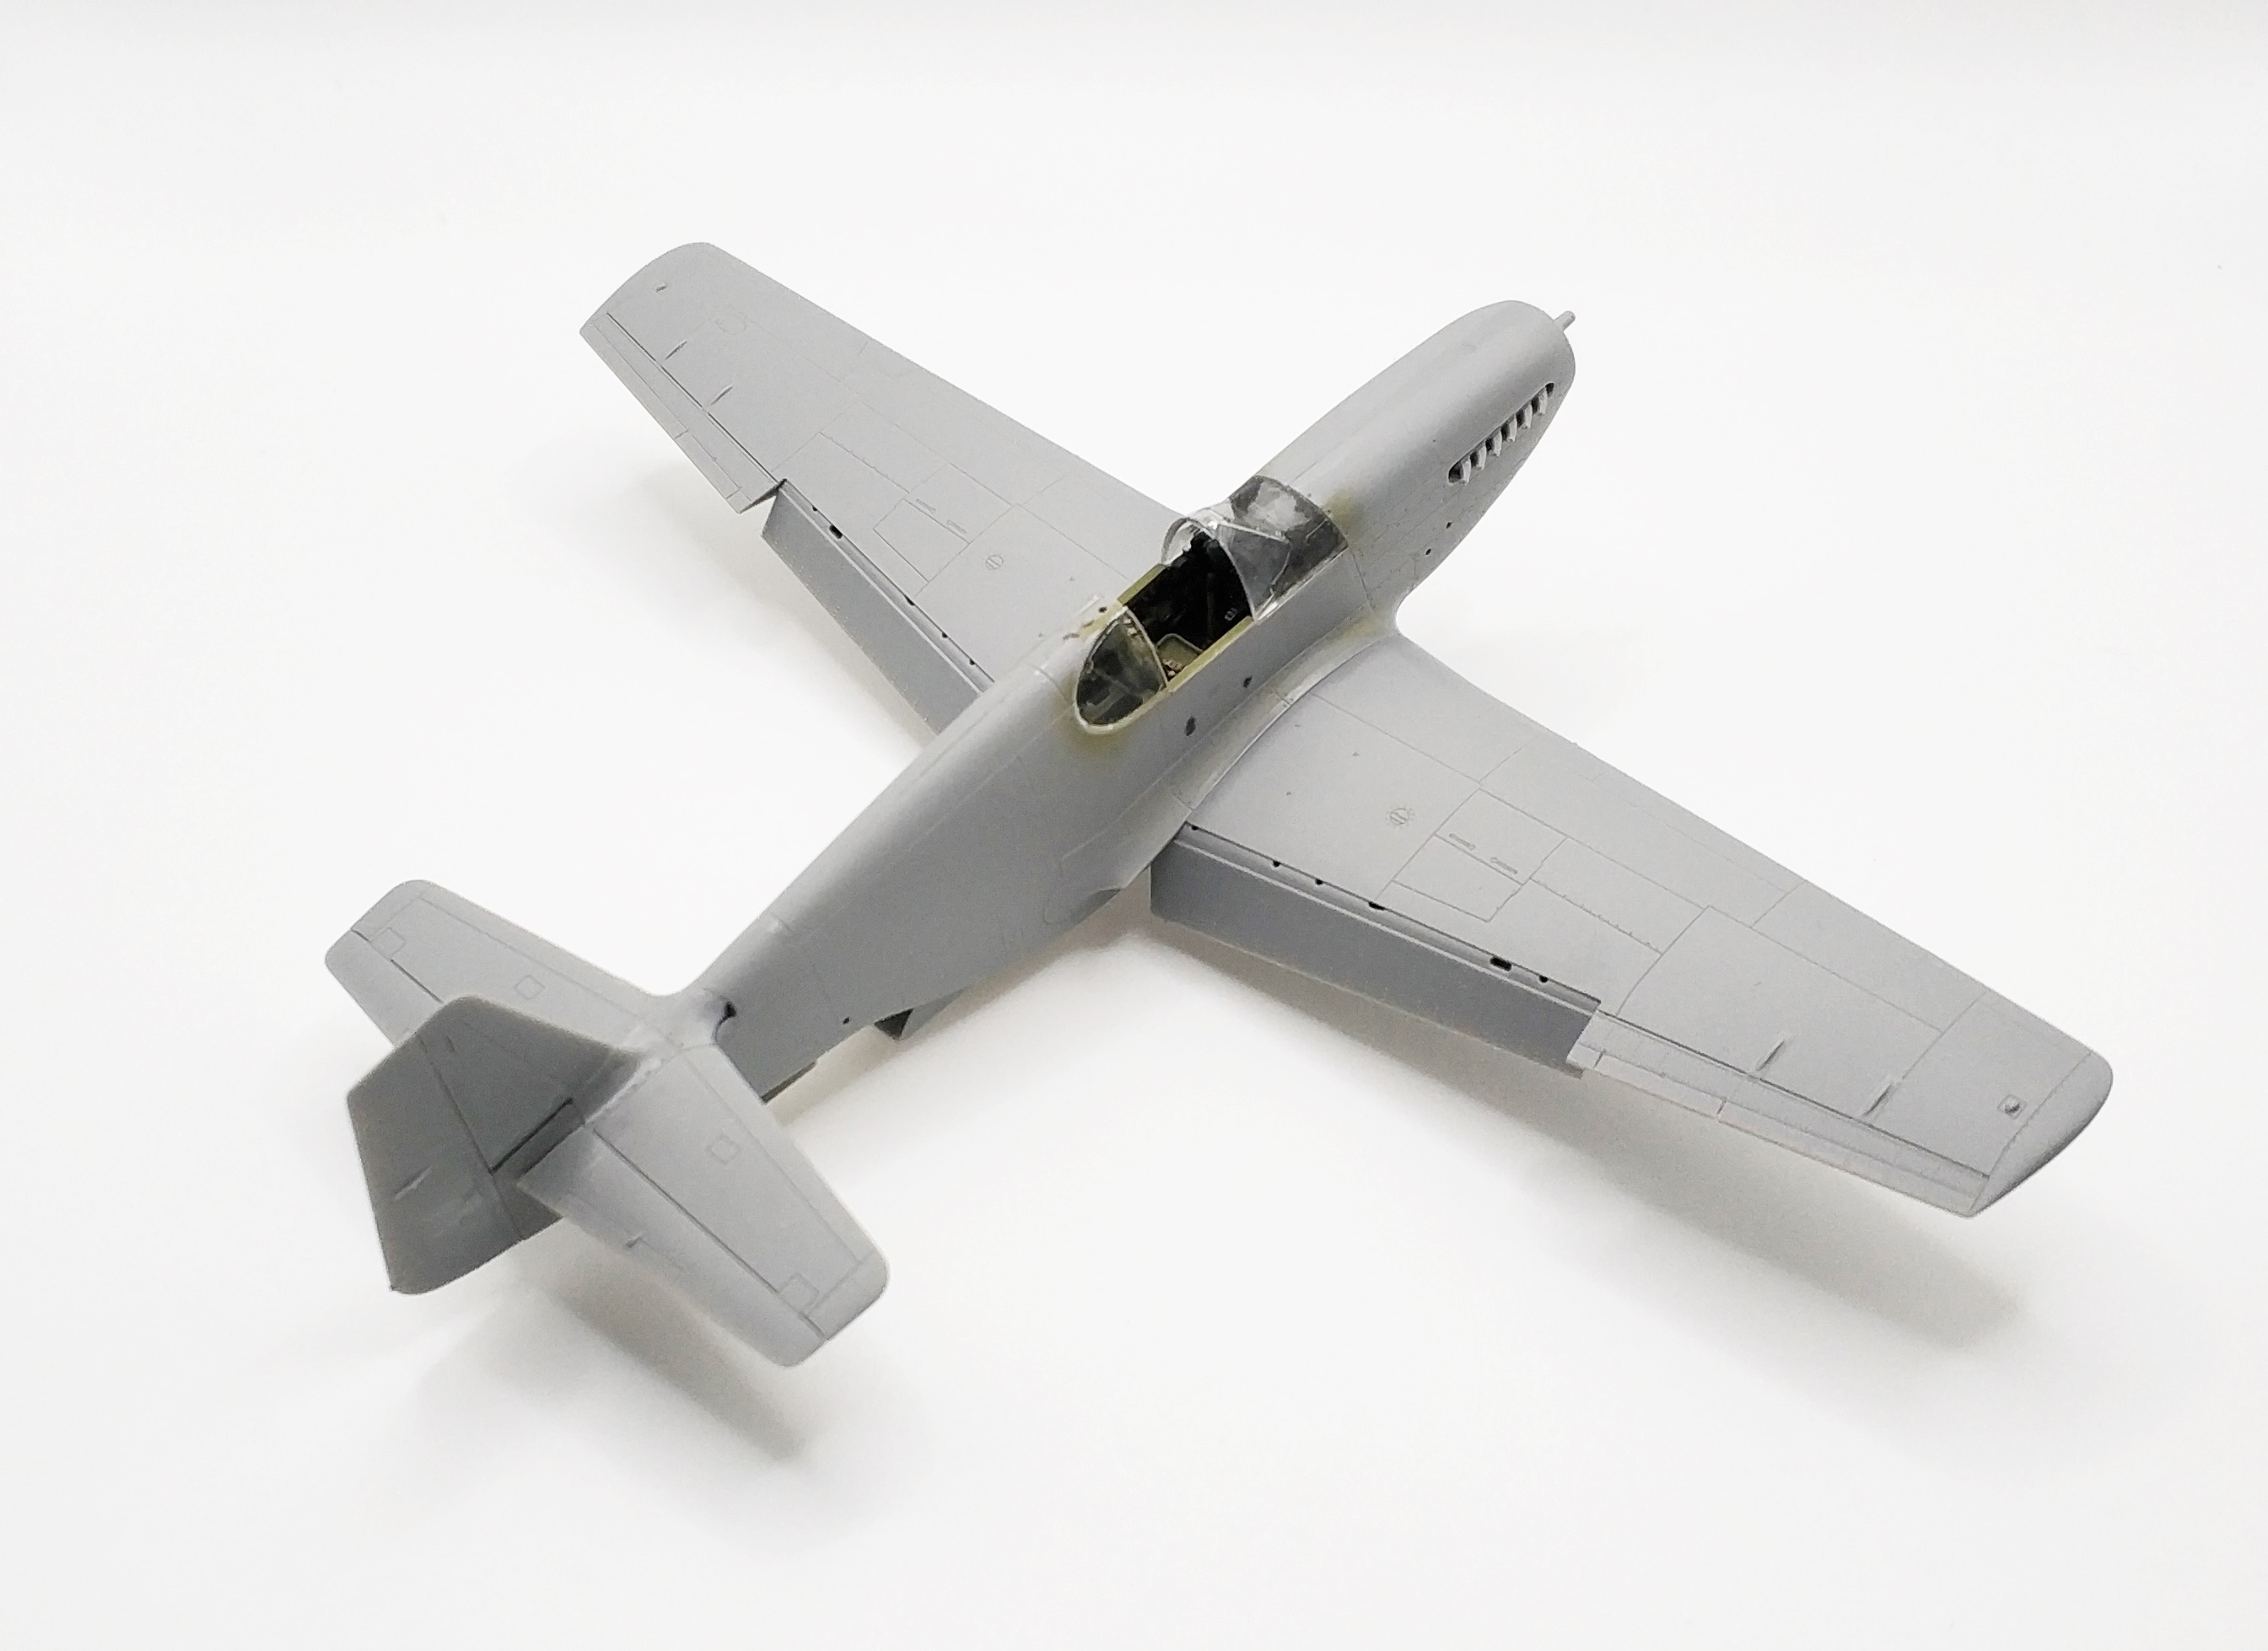
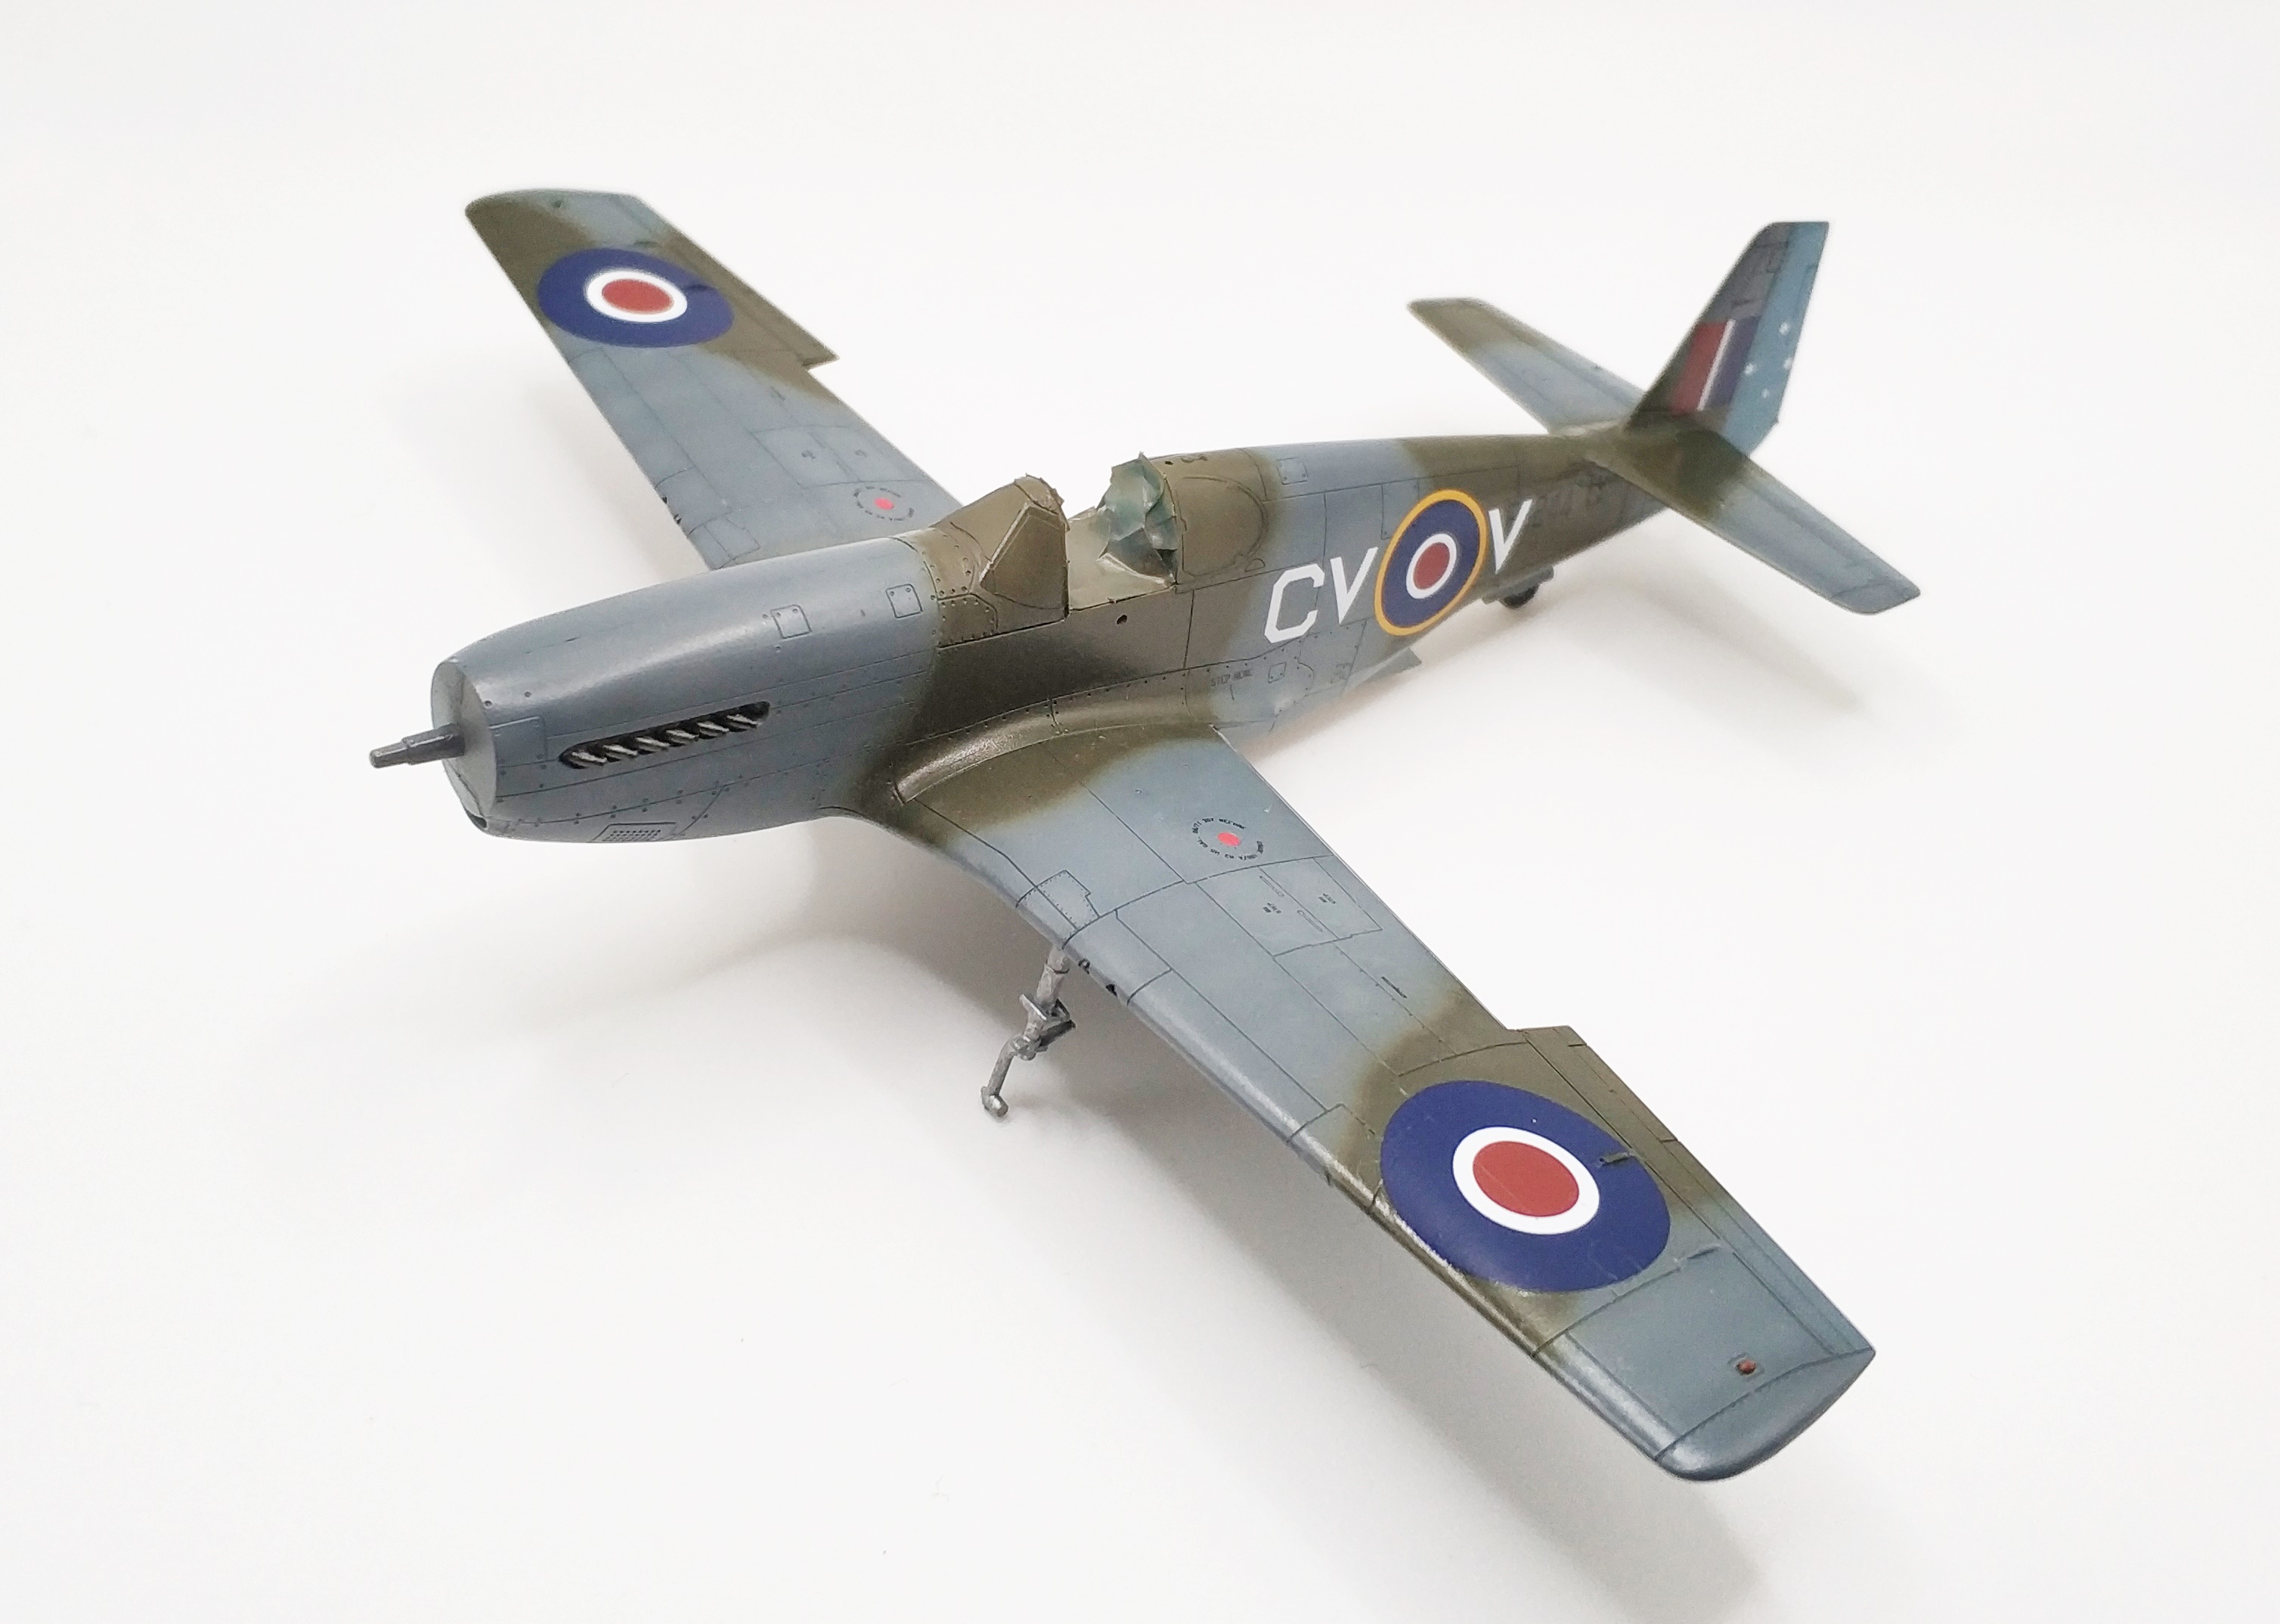
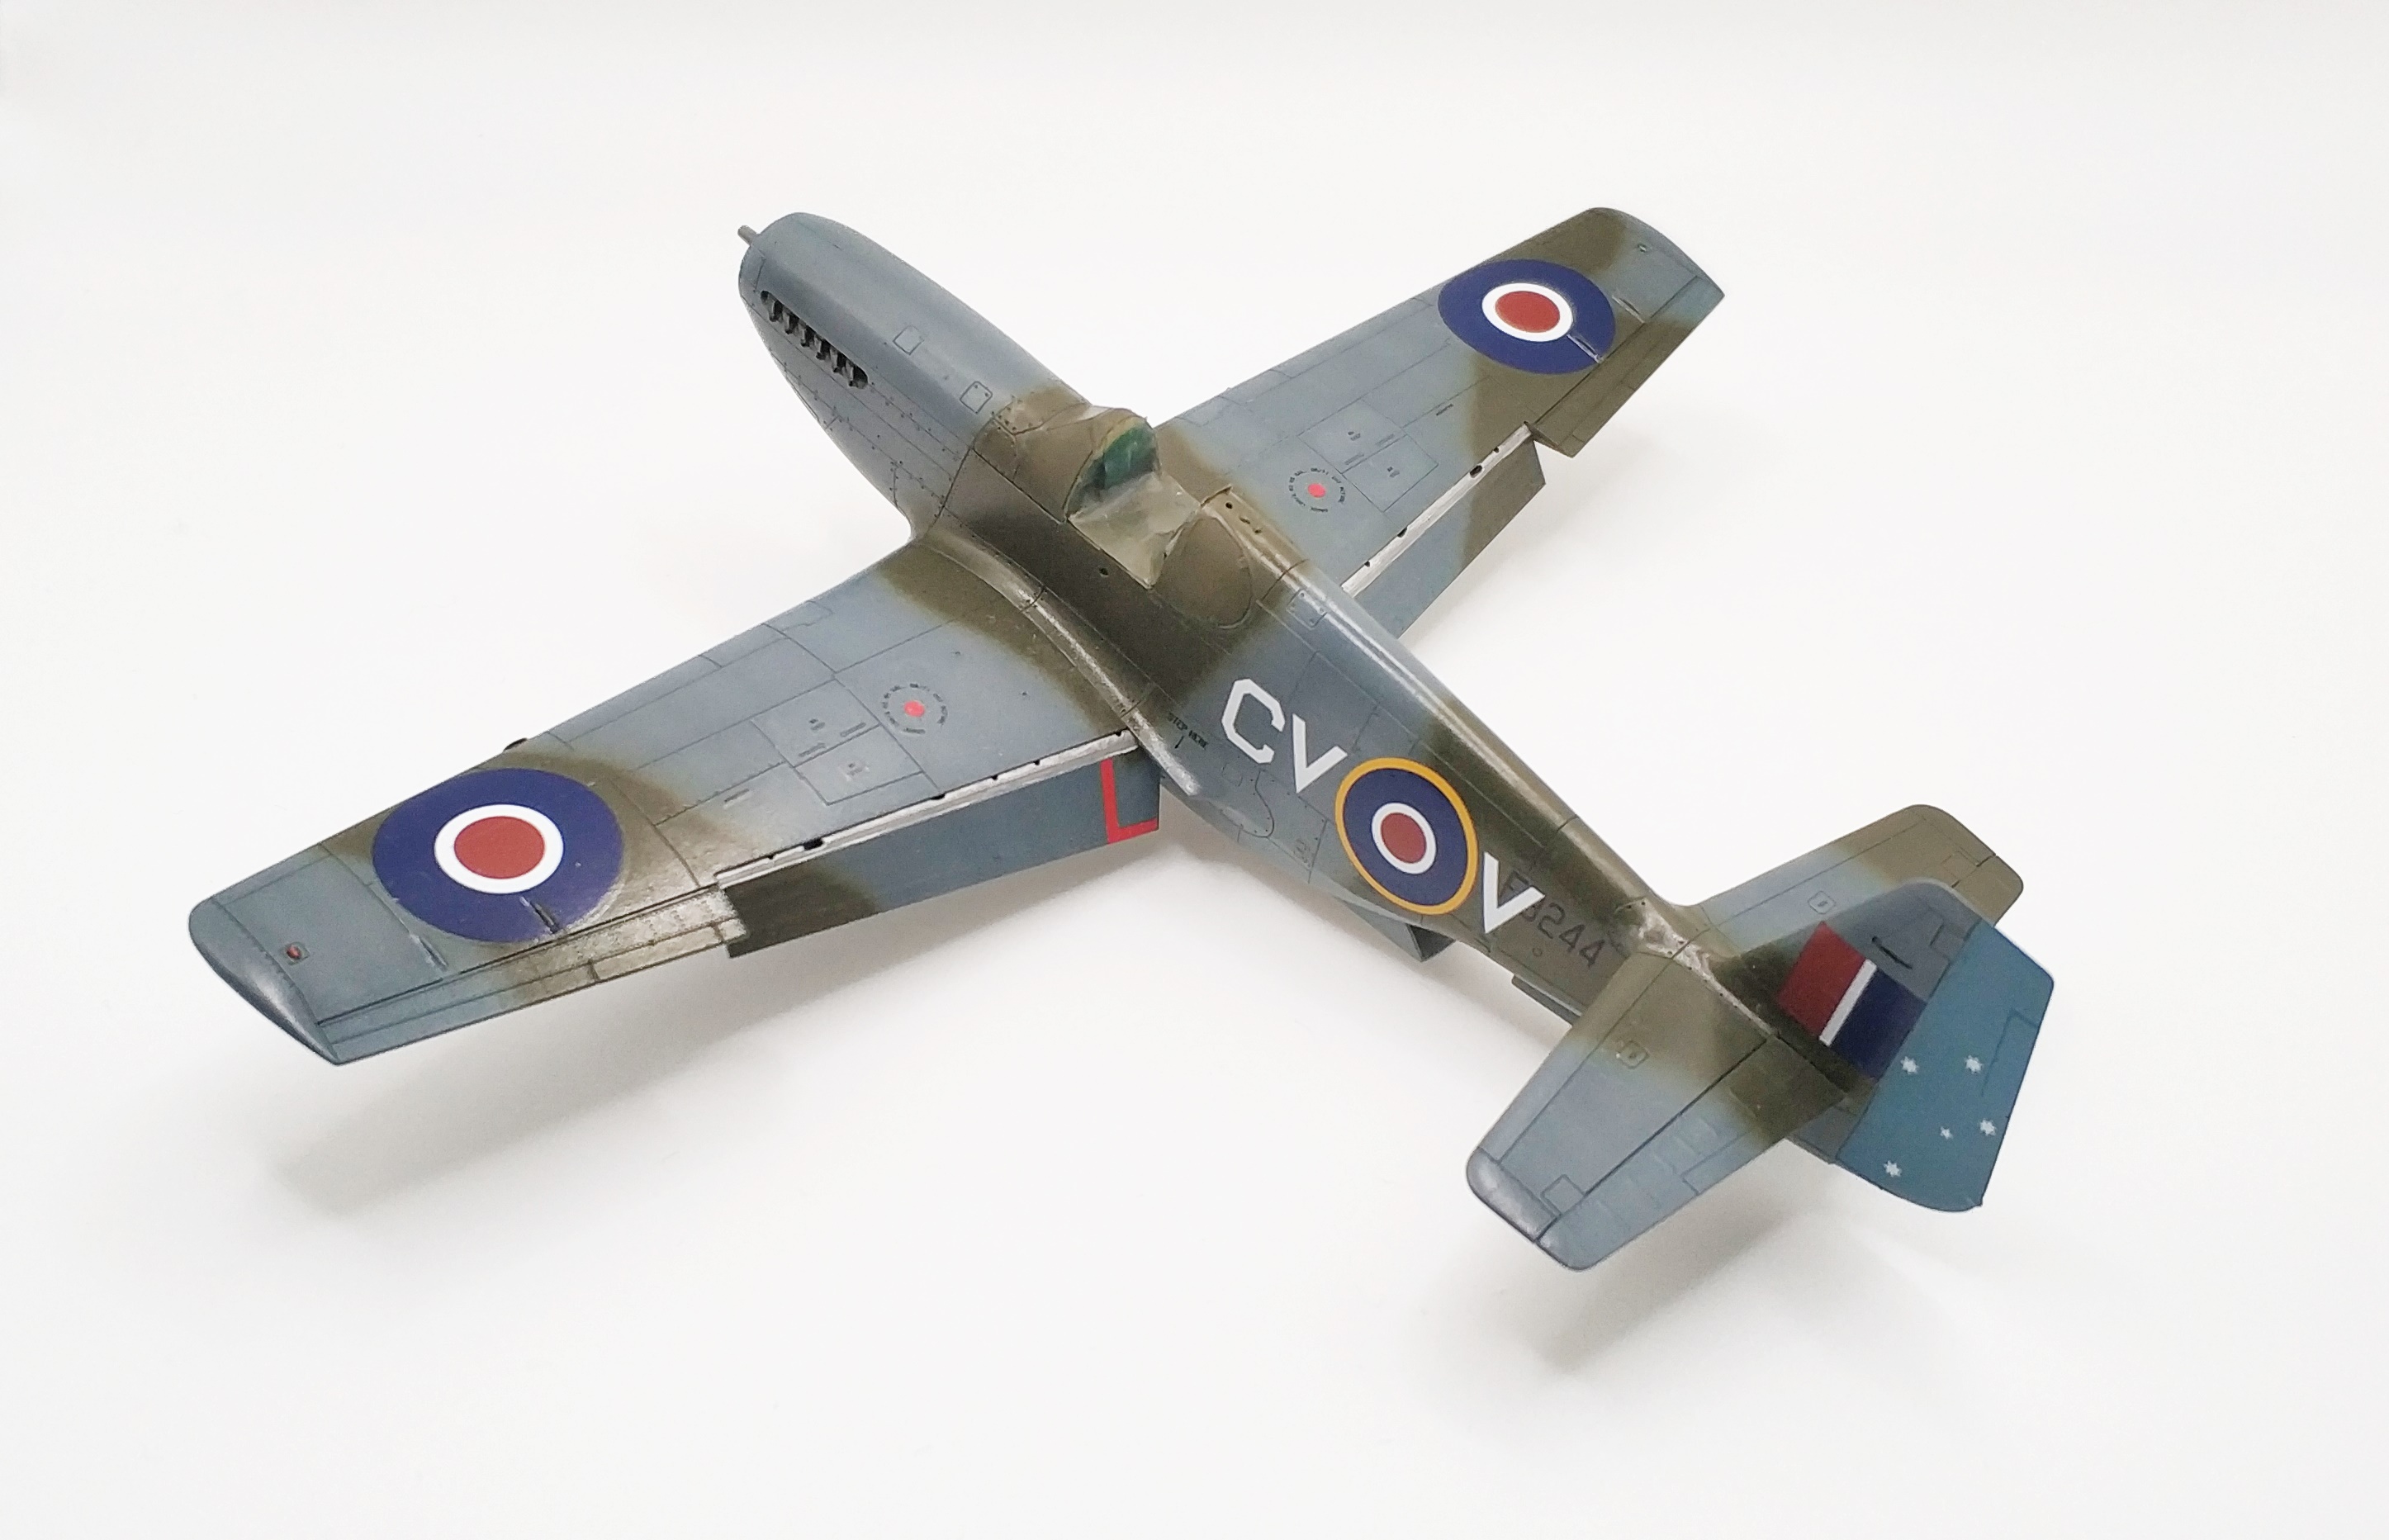
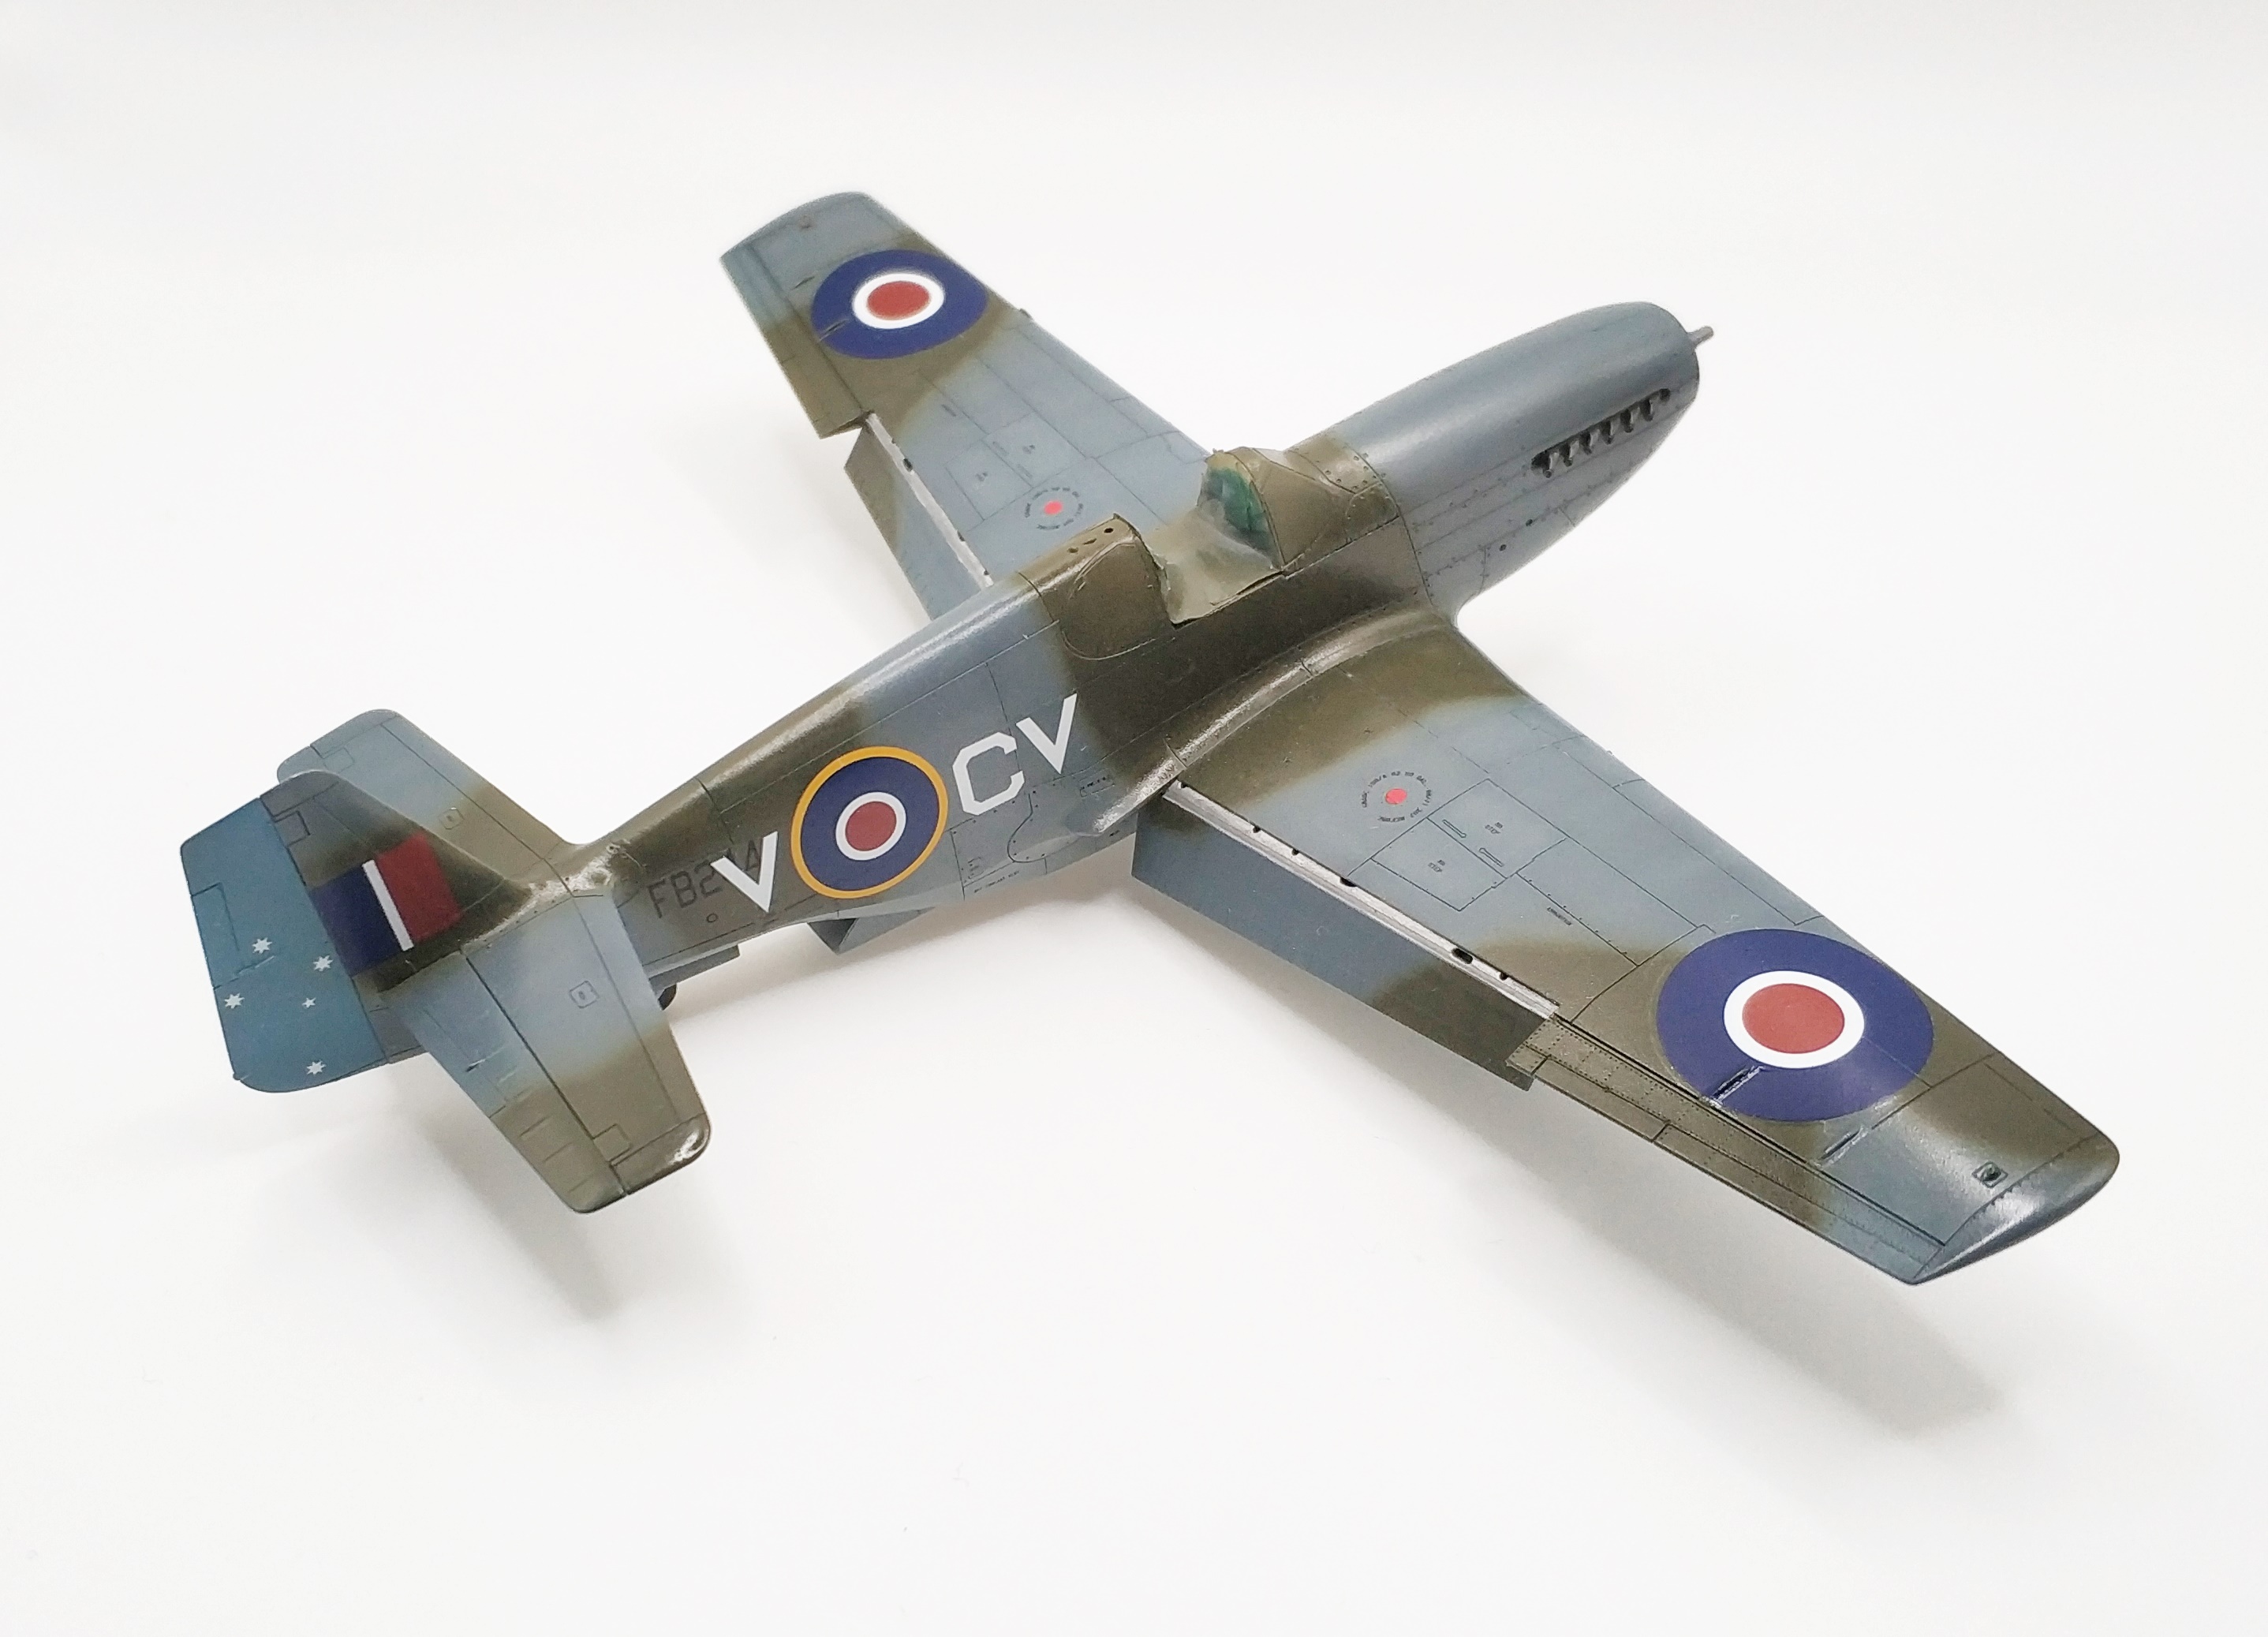
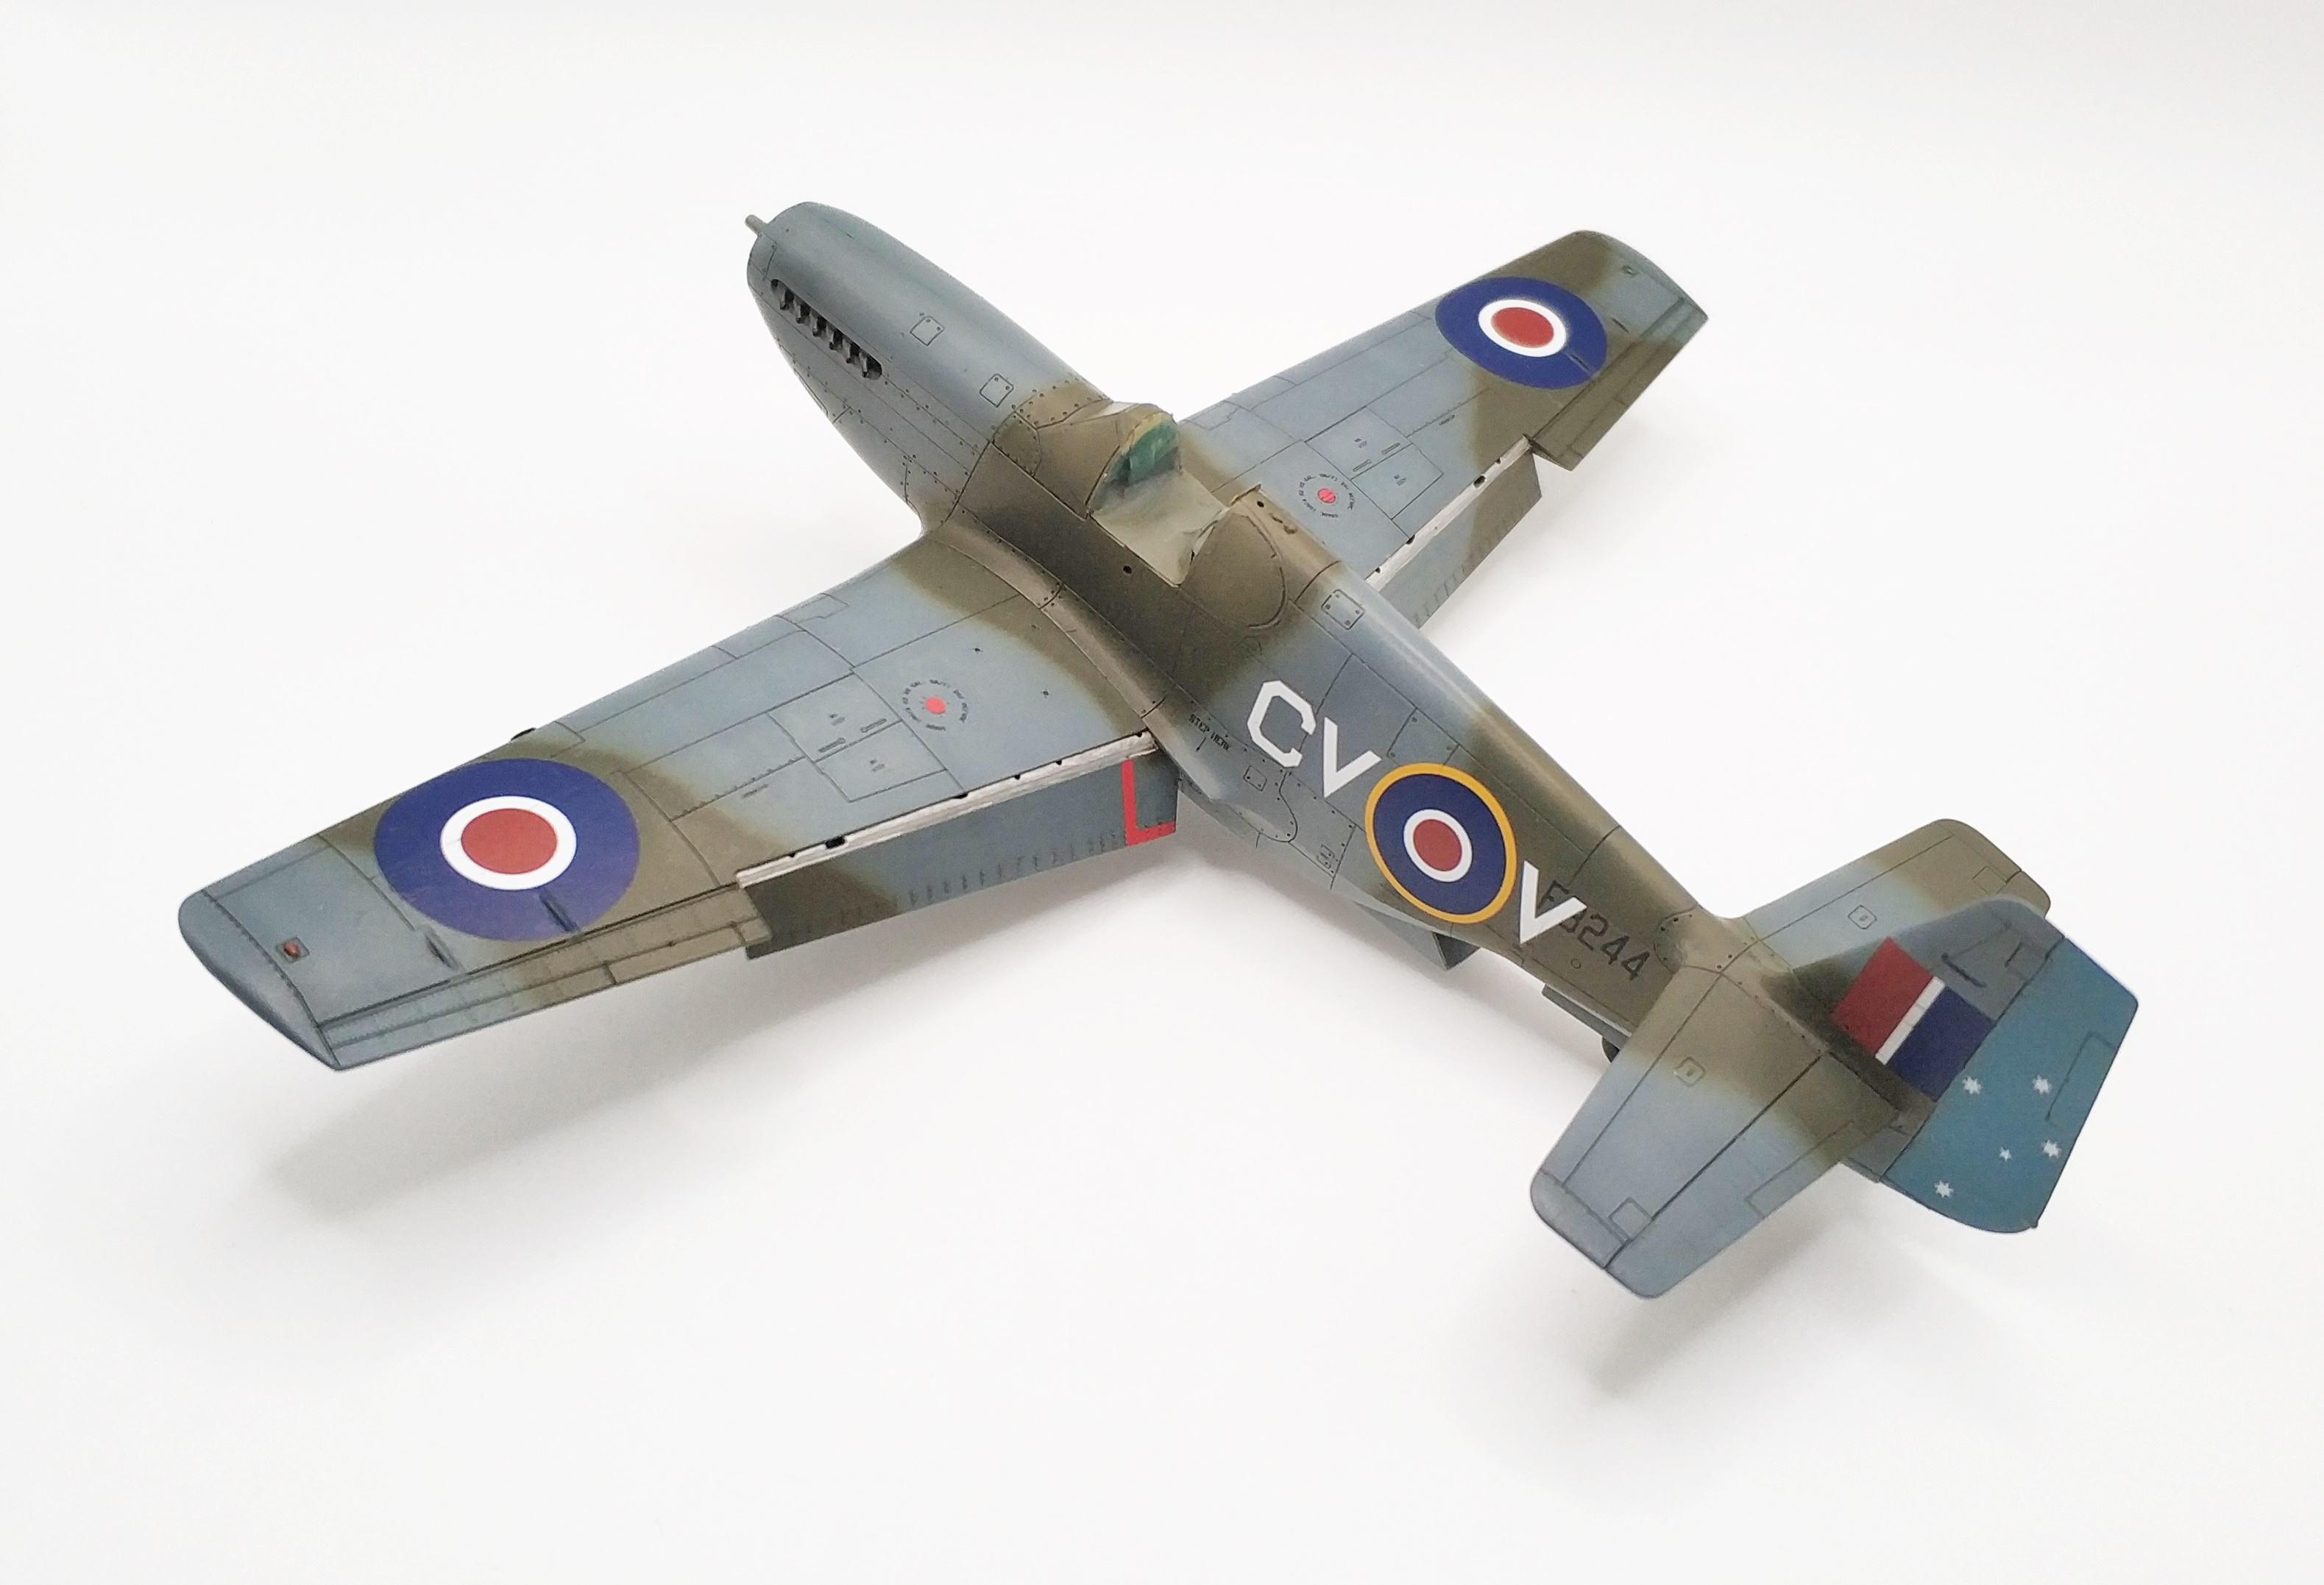
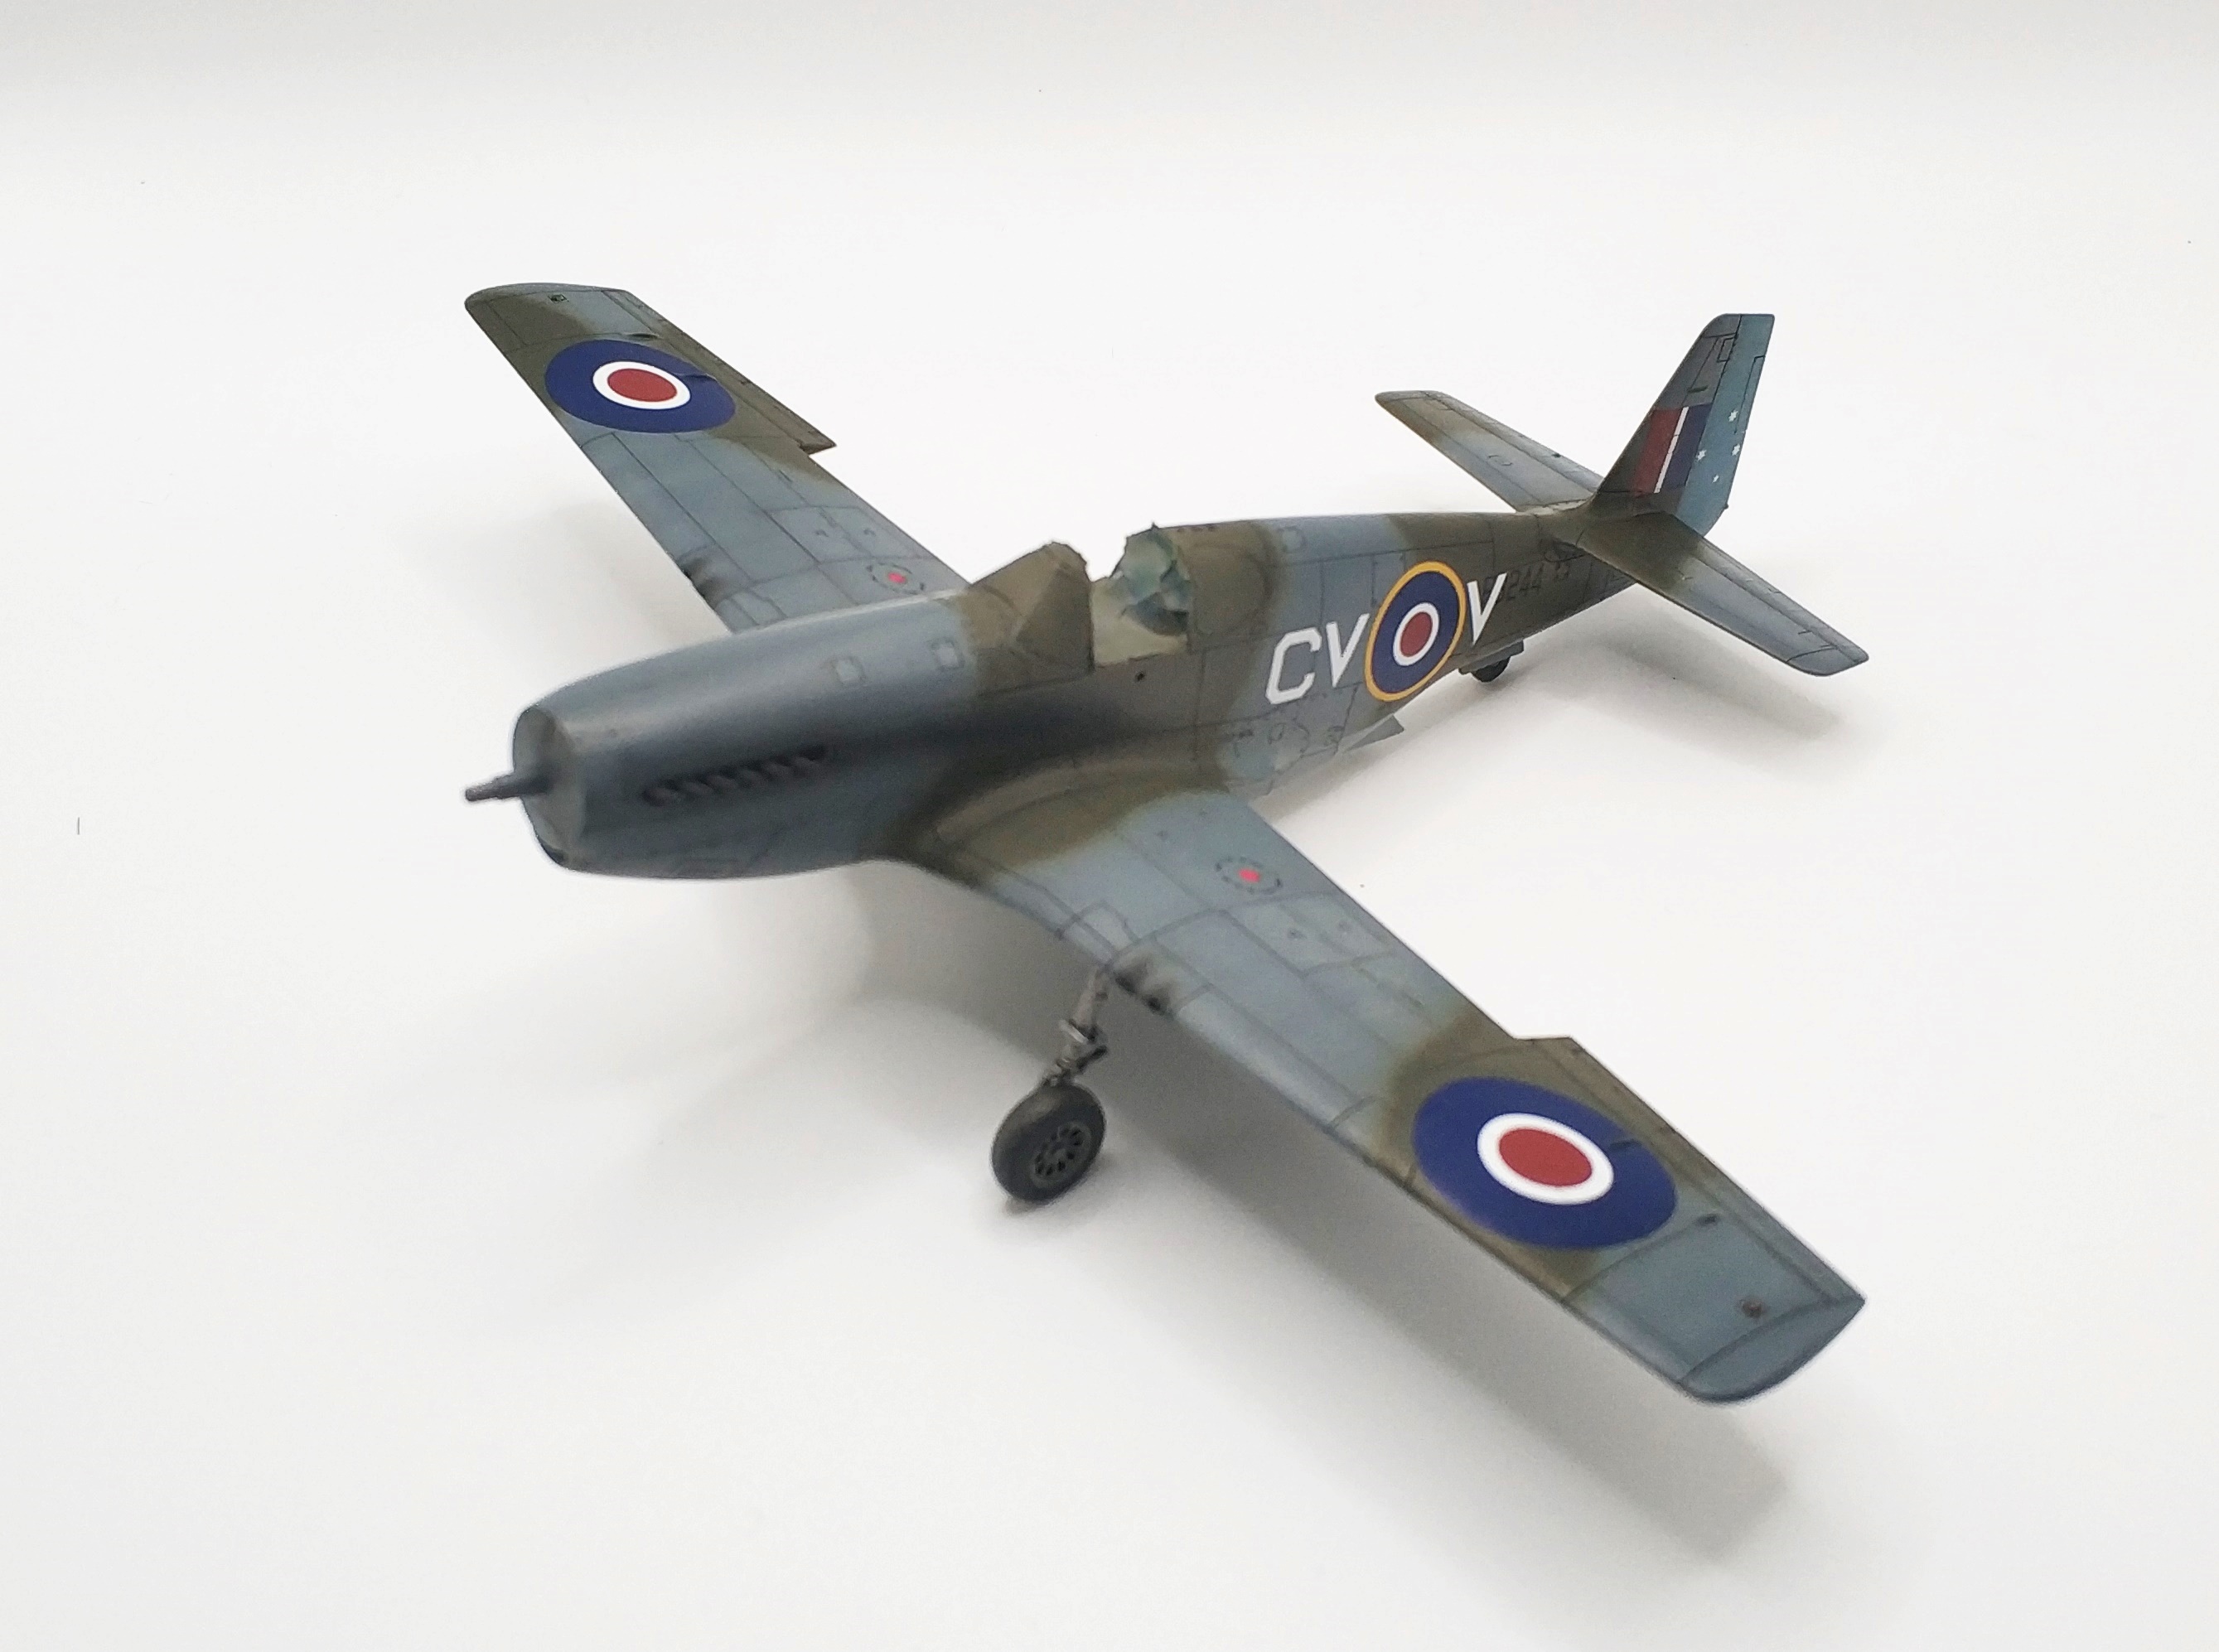
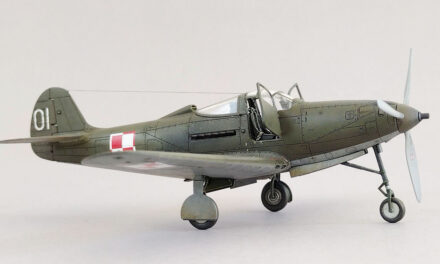
The model and the elements that were to be glued later were now ready for painting. I started with masking the canopy and cockpit. But while I am very satisfied with the whole kit and the decals, I found the vinyl masks disappointing. I could put them on the larger elements without any hassle, and they did not peel off. However, when I moved on to the rounded parts, for example the wing-mounted headlight or the upper front section of the canopy, they would peel off no matter what I tried. Perhaps paper masking elements, such as those used in the PZL-11 kit on a scale of 1/48, would have been preferable. Thus I made my own from paper masking tape (patterned after the originals) and the problem was resolved. I chose the number 4 paint scheme from the manual – plane from Australian No. 3. Squadron, with the older type of canopy. Since the model has its flaps extended, I decided to use an open canopy.
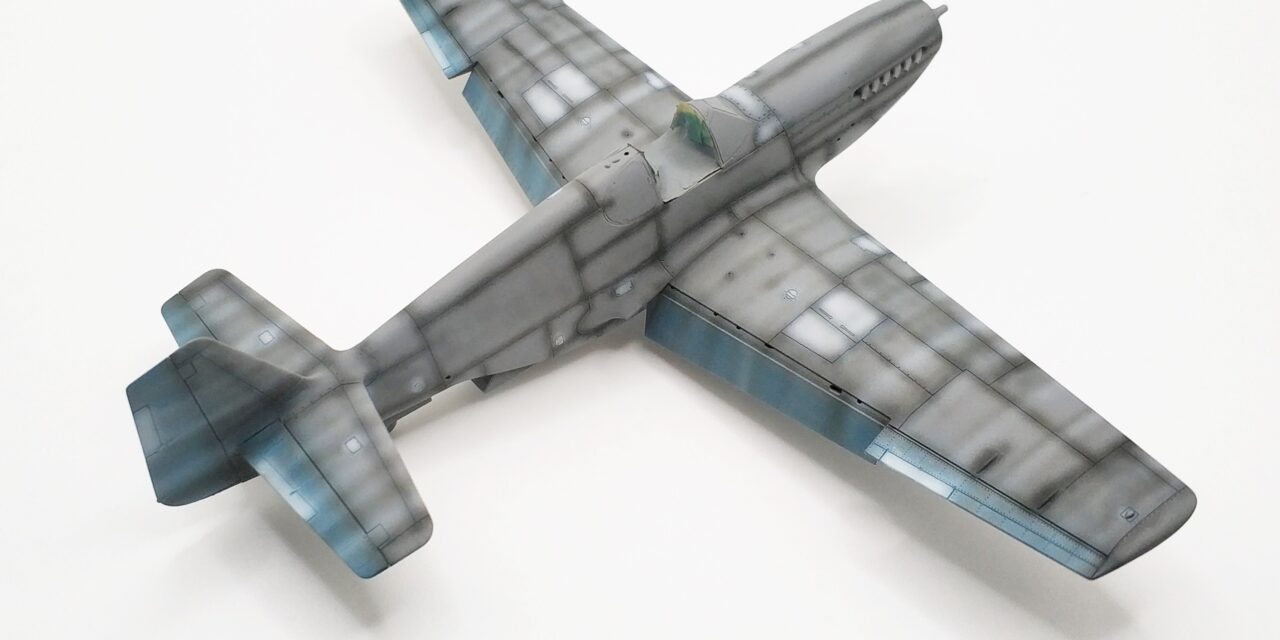
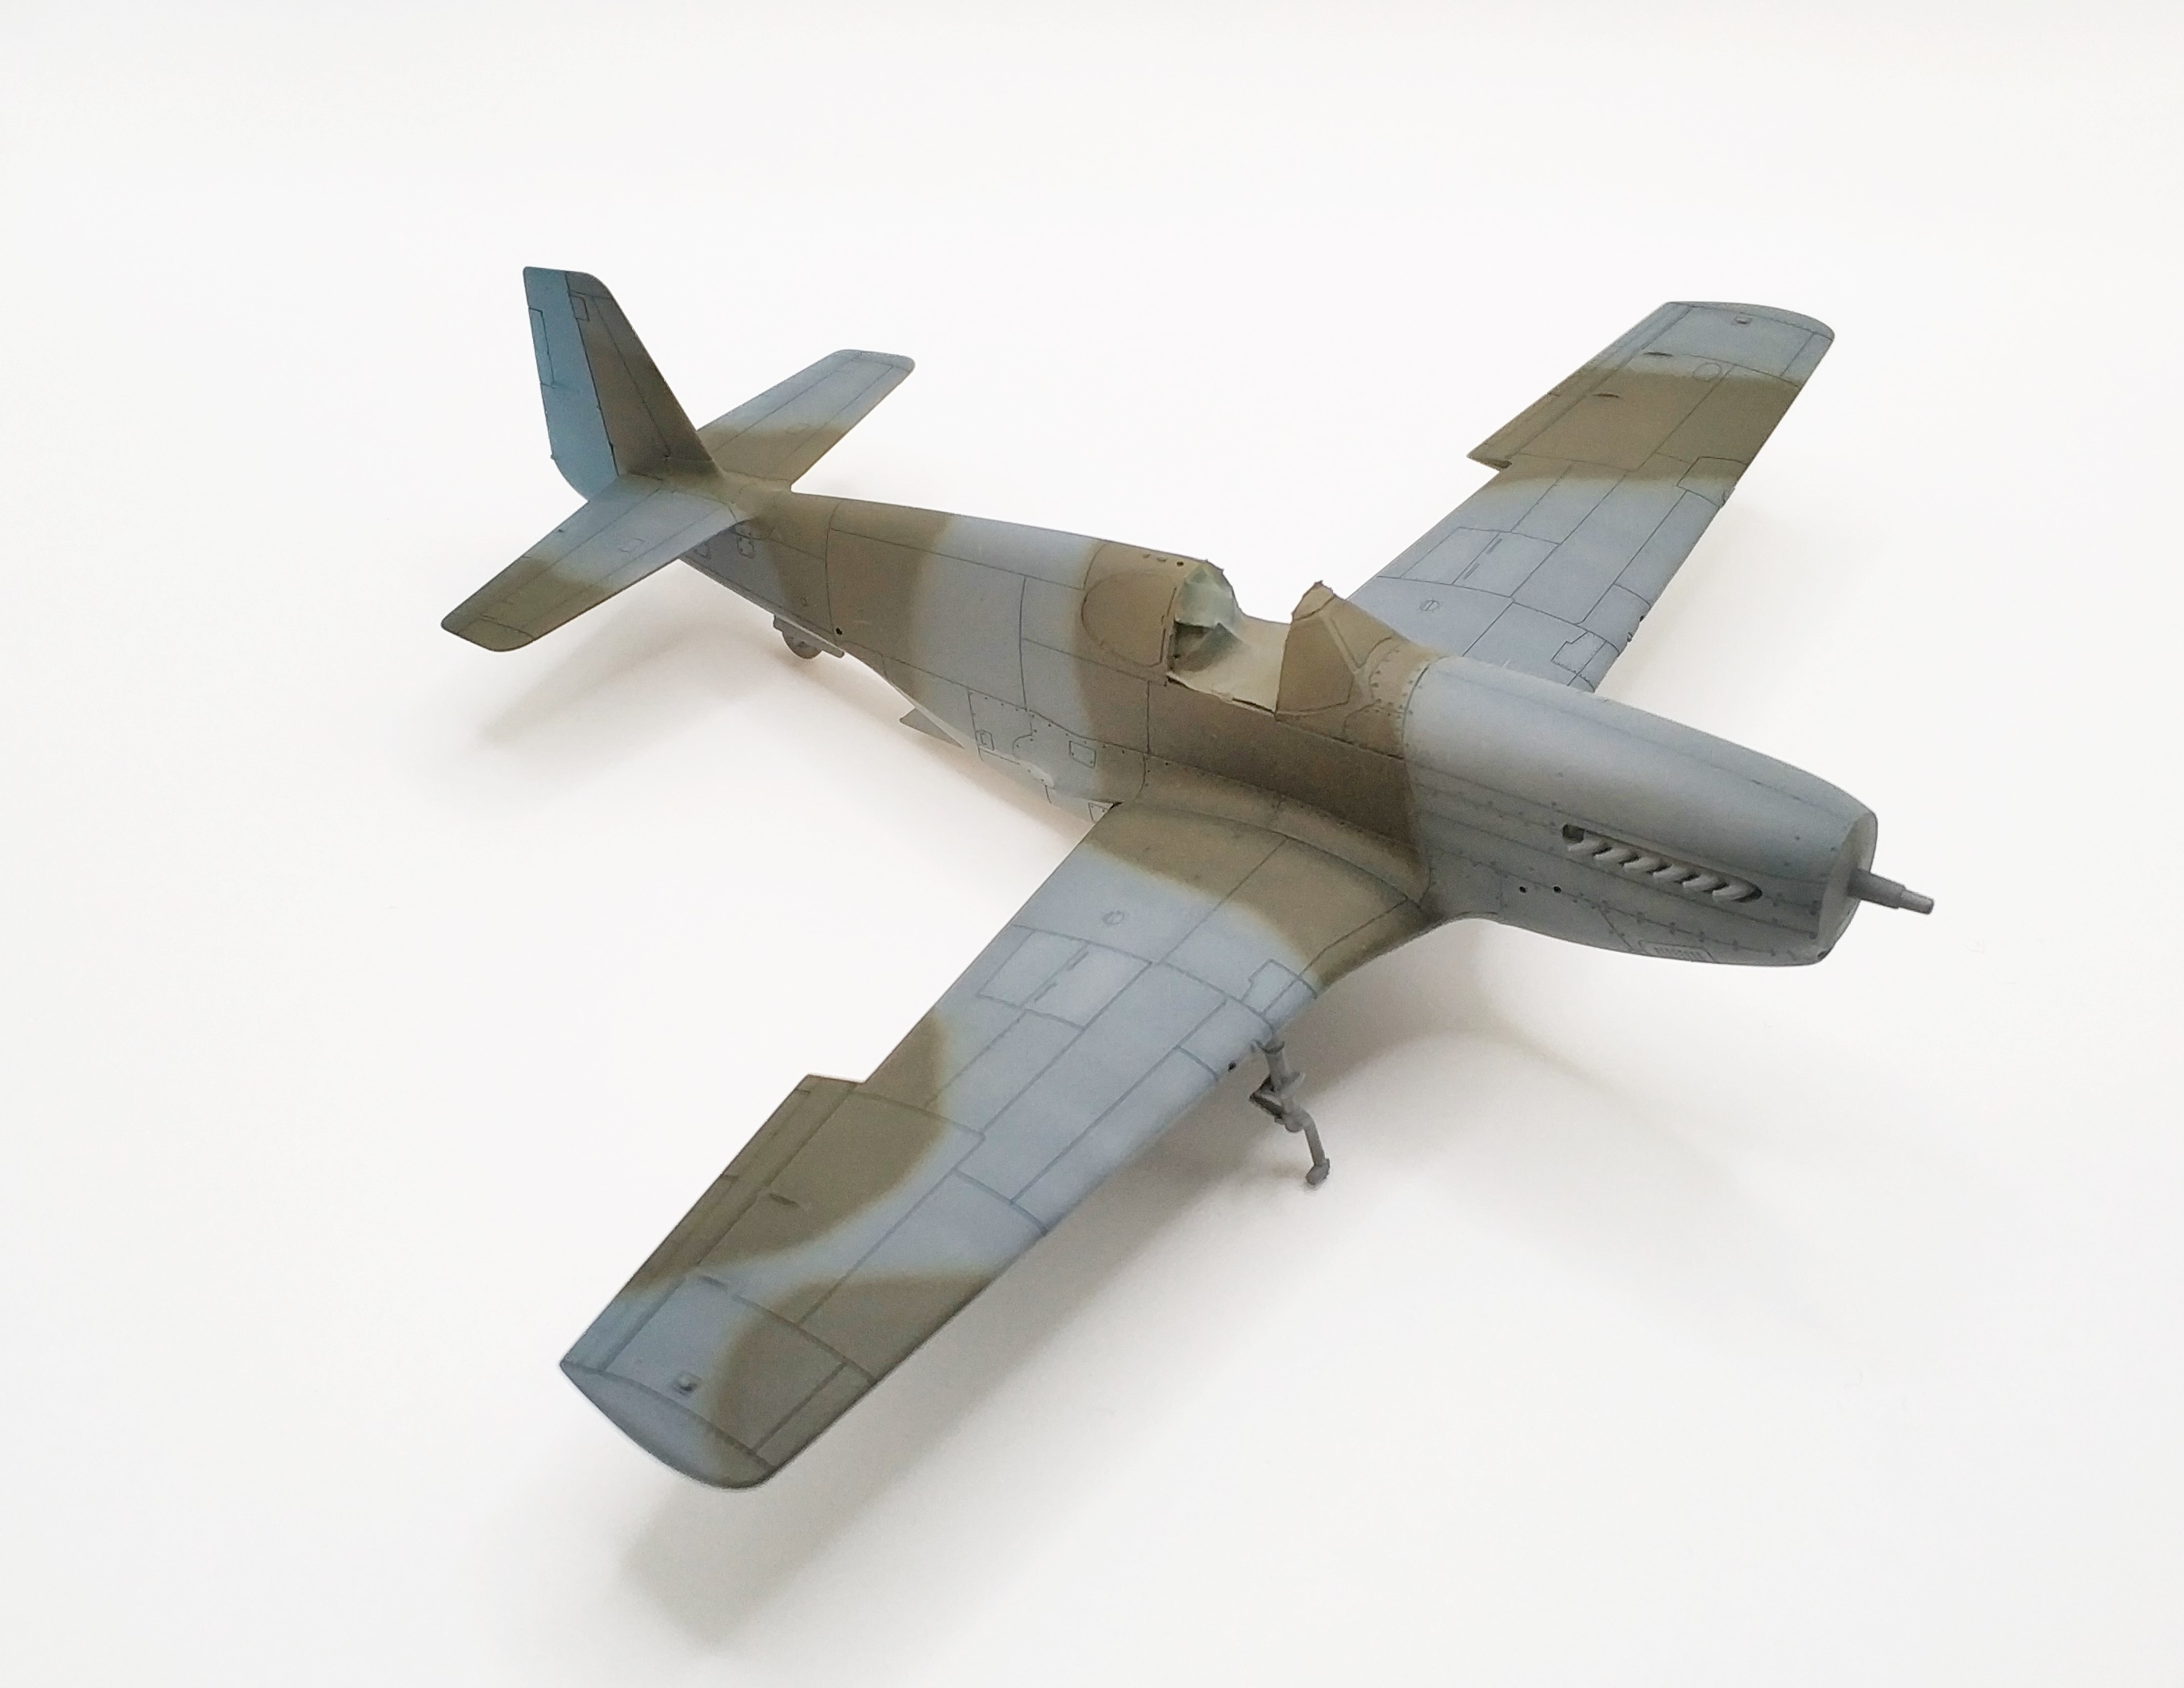
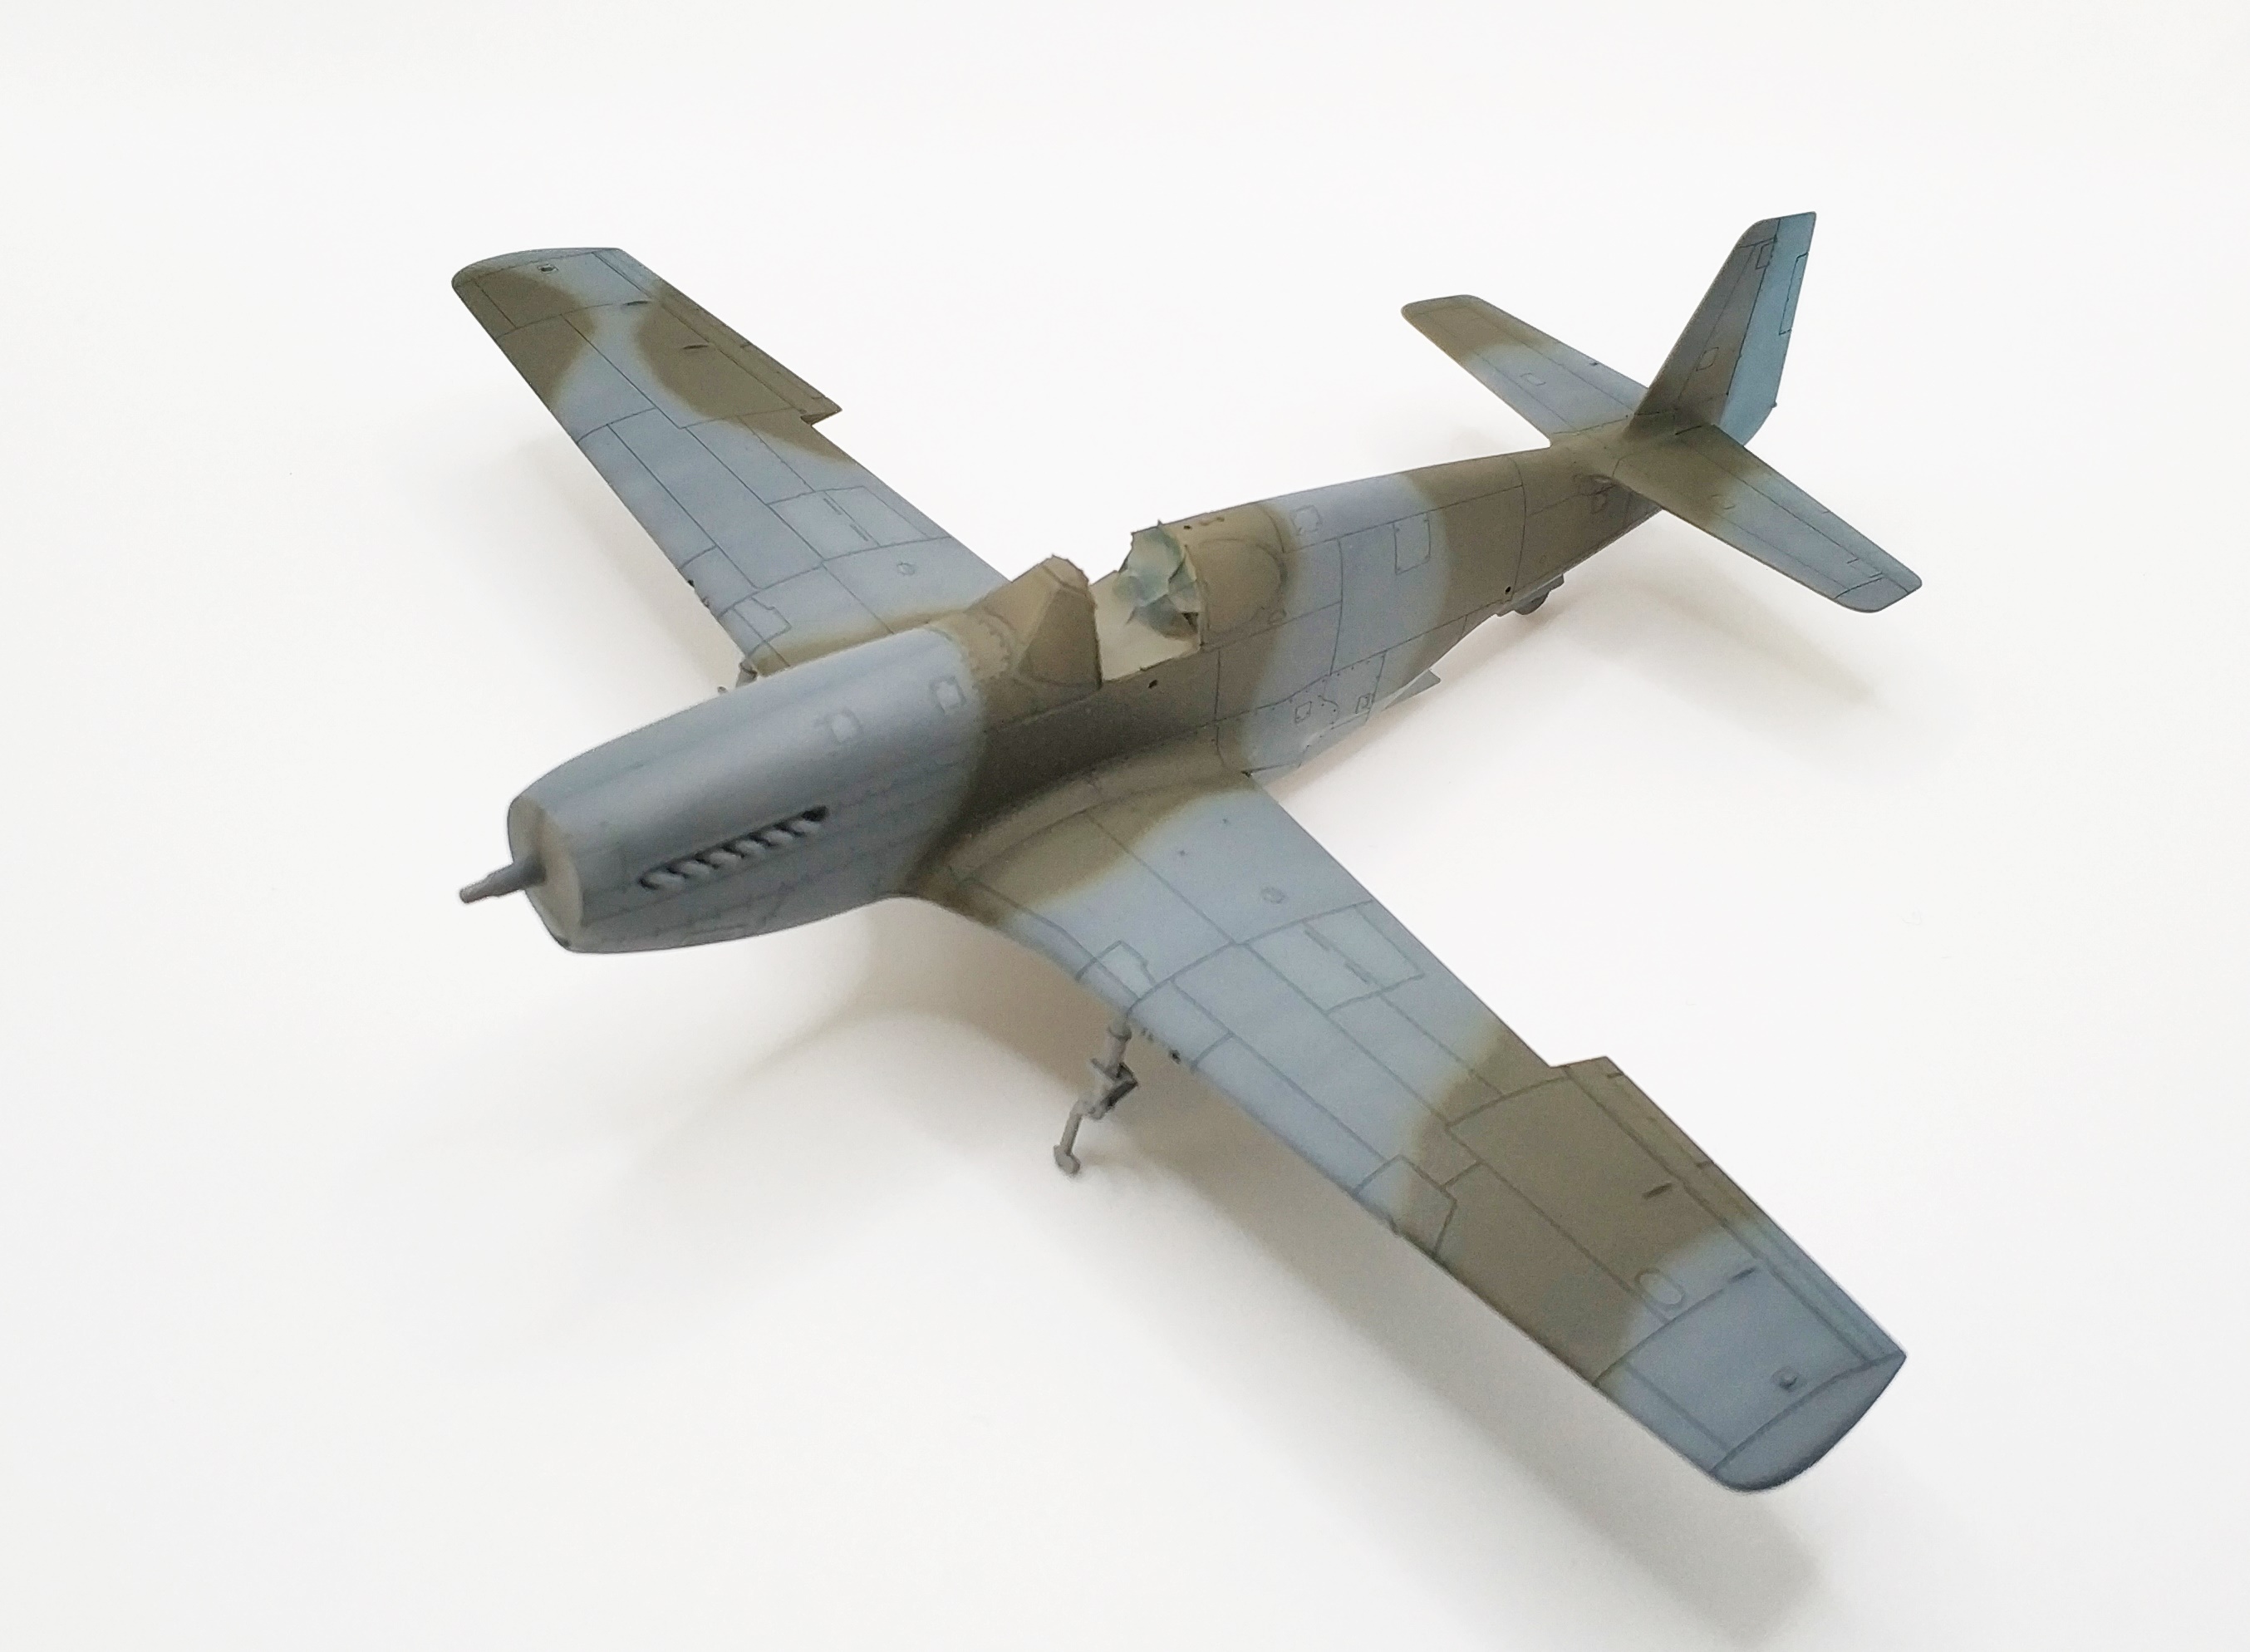
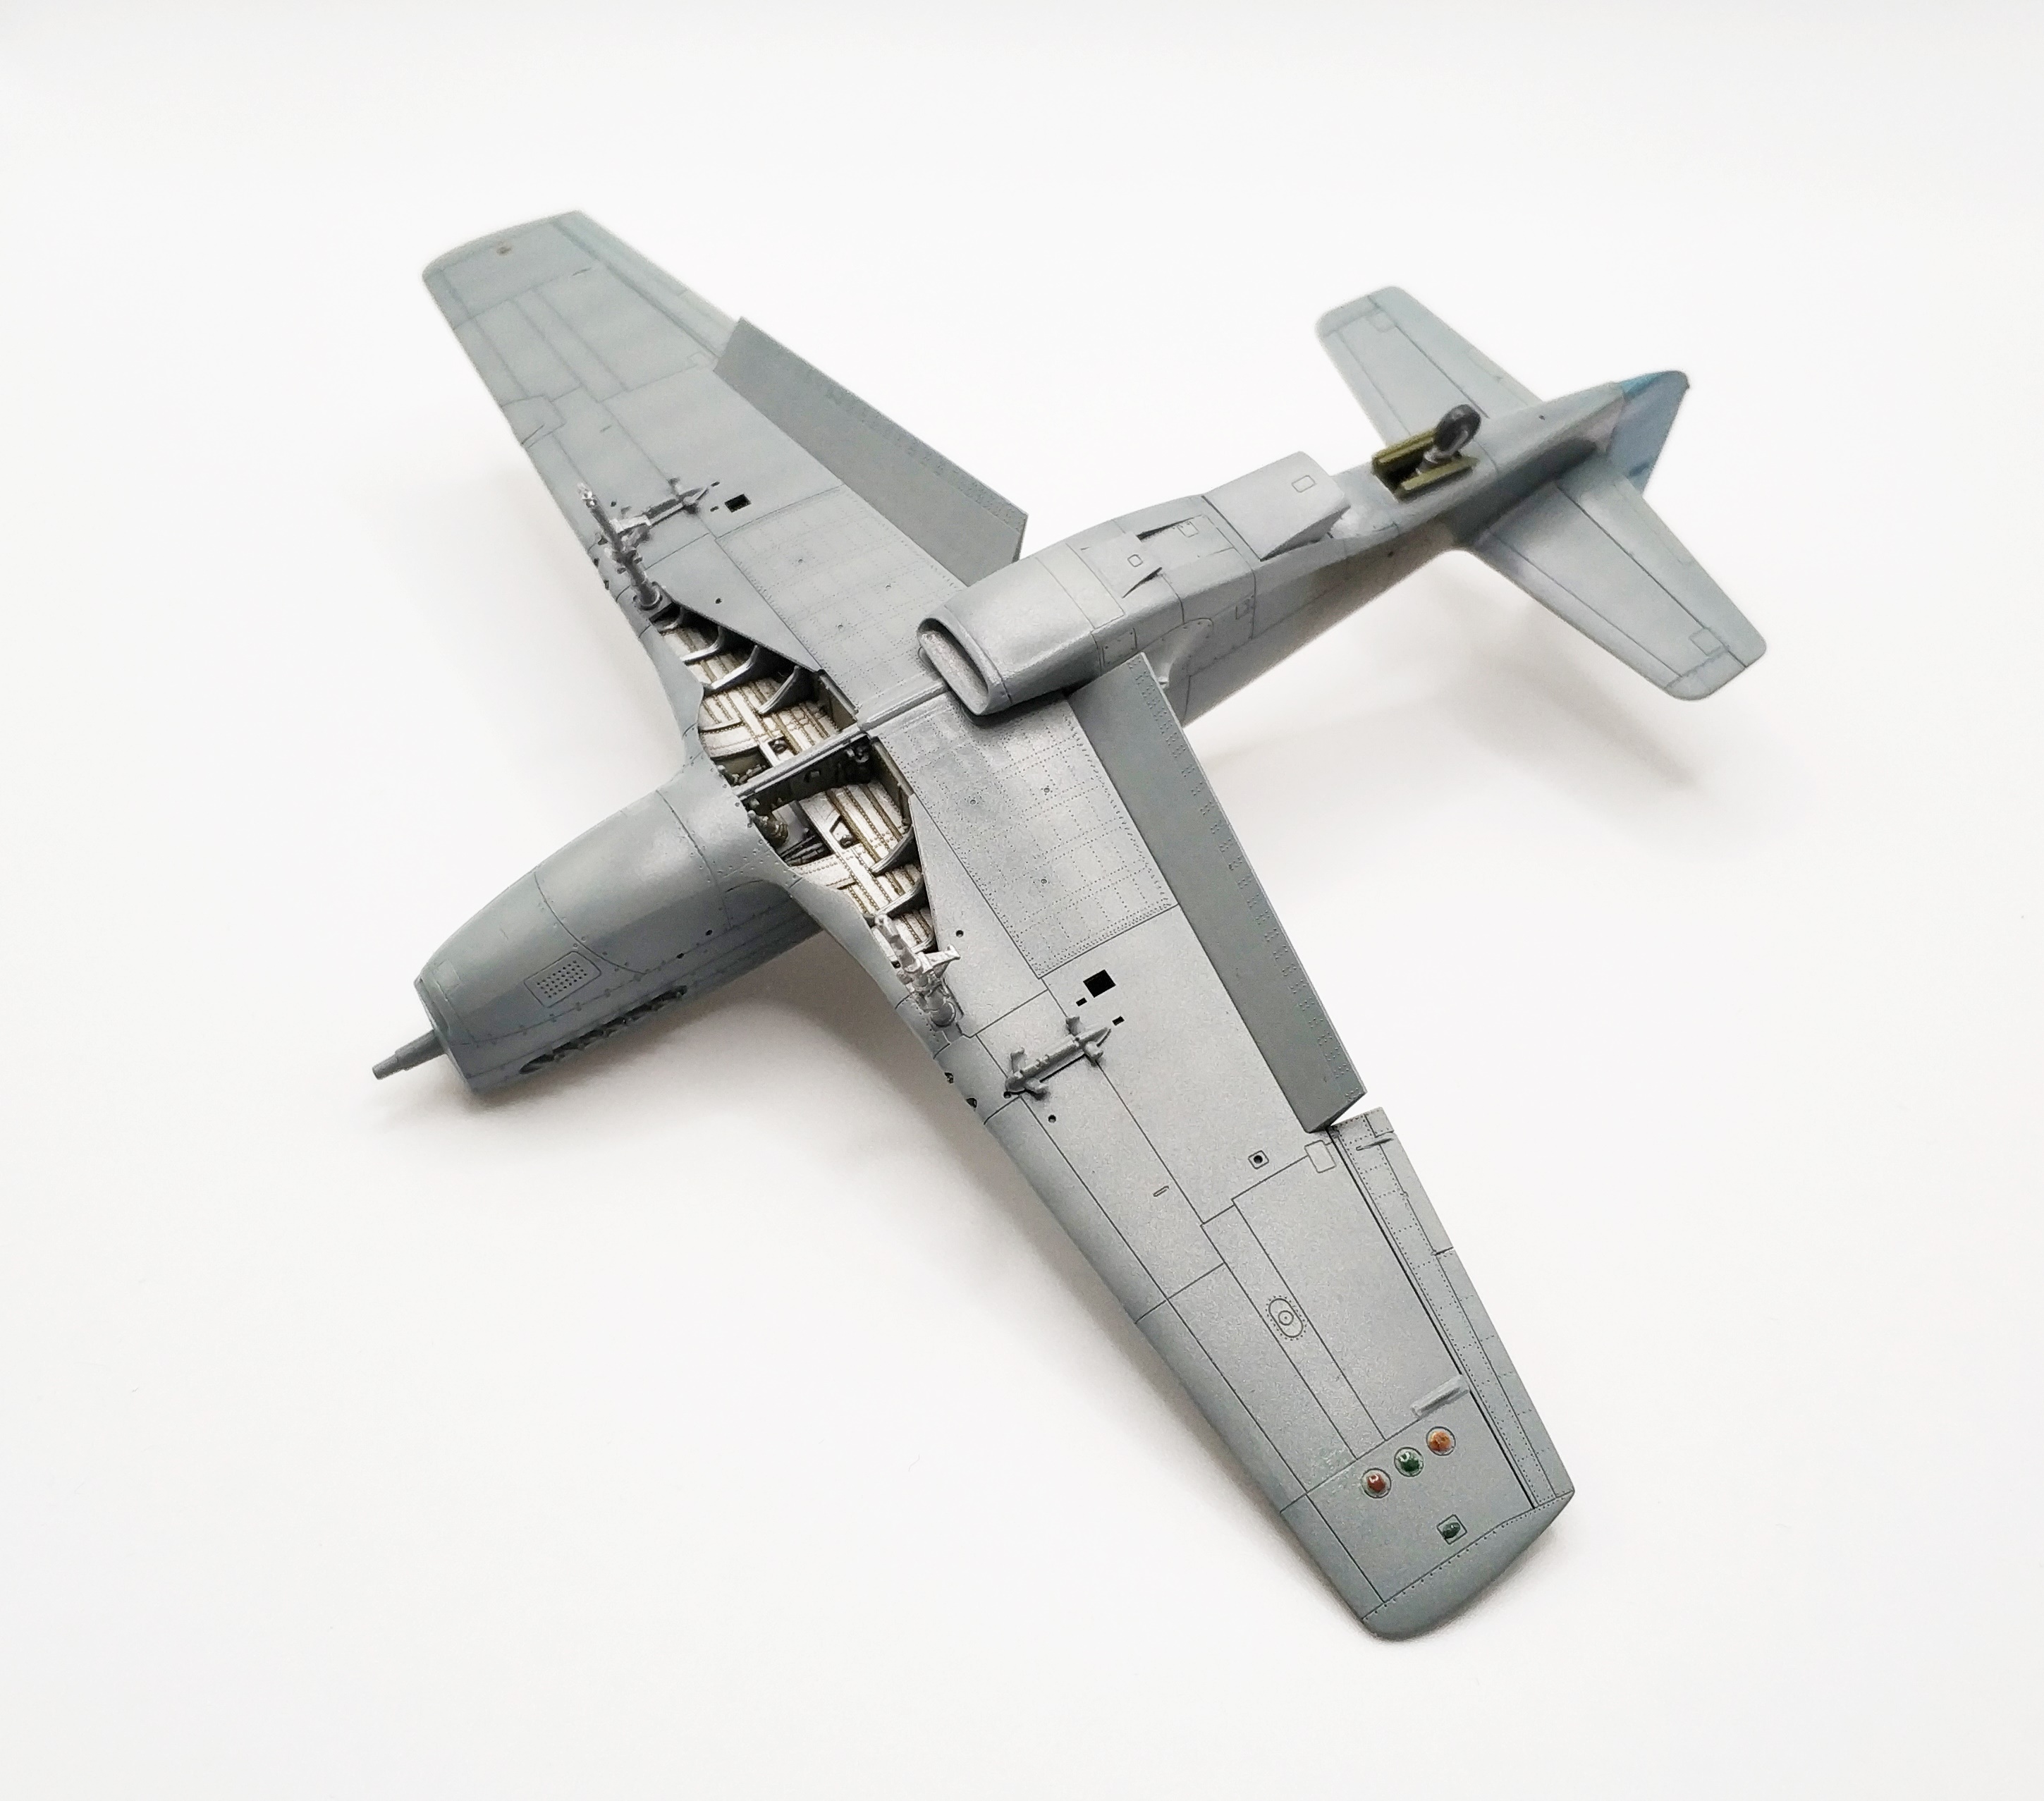
For this variant, however, there are no masks for the internal surface of the opened canopy section, and I had to make them myself. Once masked, the model was ready for painting. As I always do in order to ensure better adhesion, I washed the model with a brush soaked in water and detergent, and next in water alone, leaving it to dry. First, I sprayed the canopy with Vallejo Interior Green (used previously), and then with Ammo One Shot Grey primer. Next, I played around with preshading and colour streaks, using Tamiya XF-2 White, XF-69 NATO Black and X-23 Clear Blue. Once I finished, I set the model aside for the night for the paints to fully dry and harden before applying fresh layers.
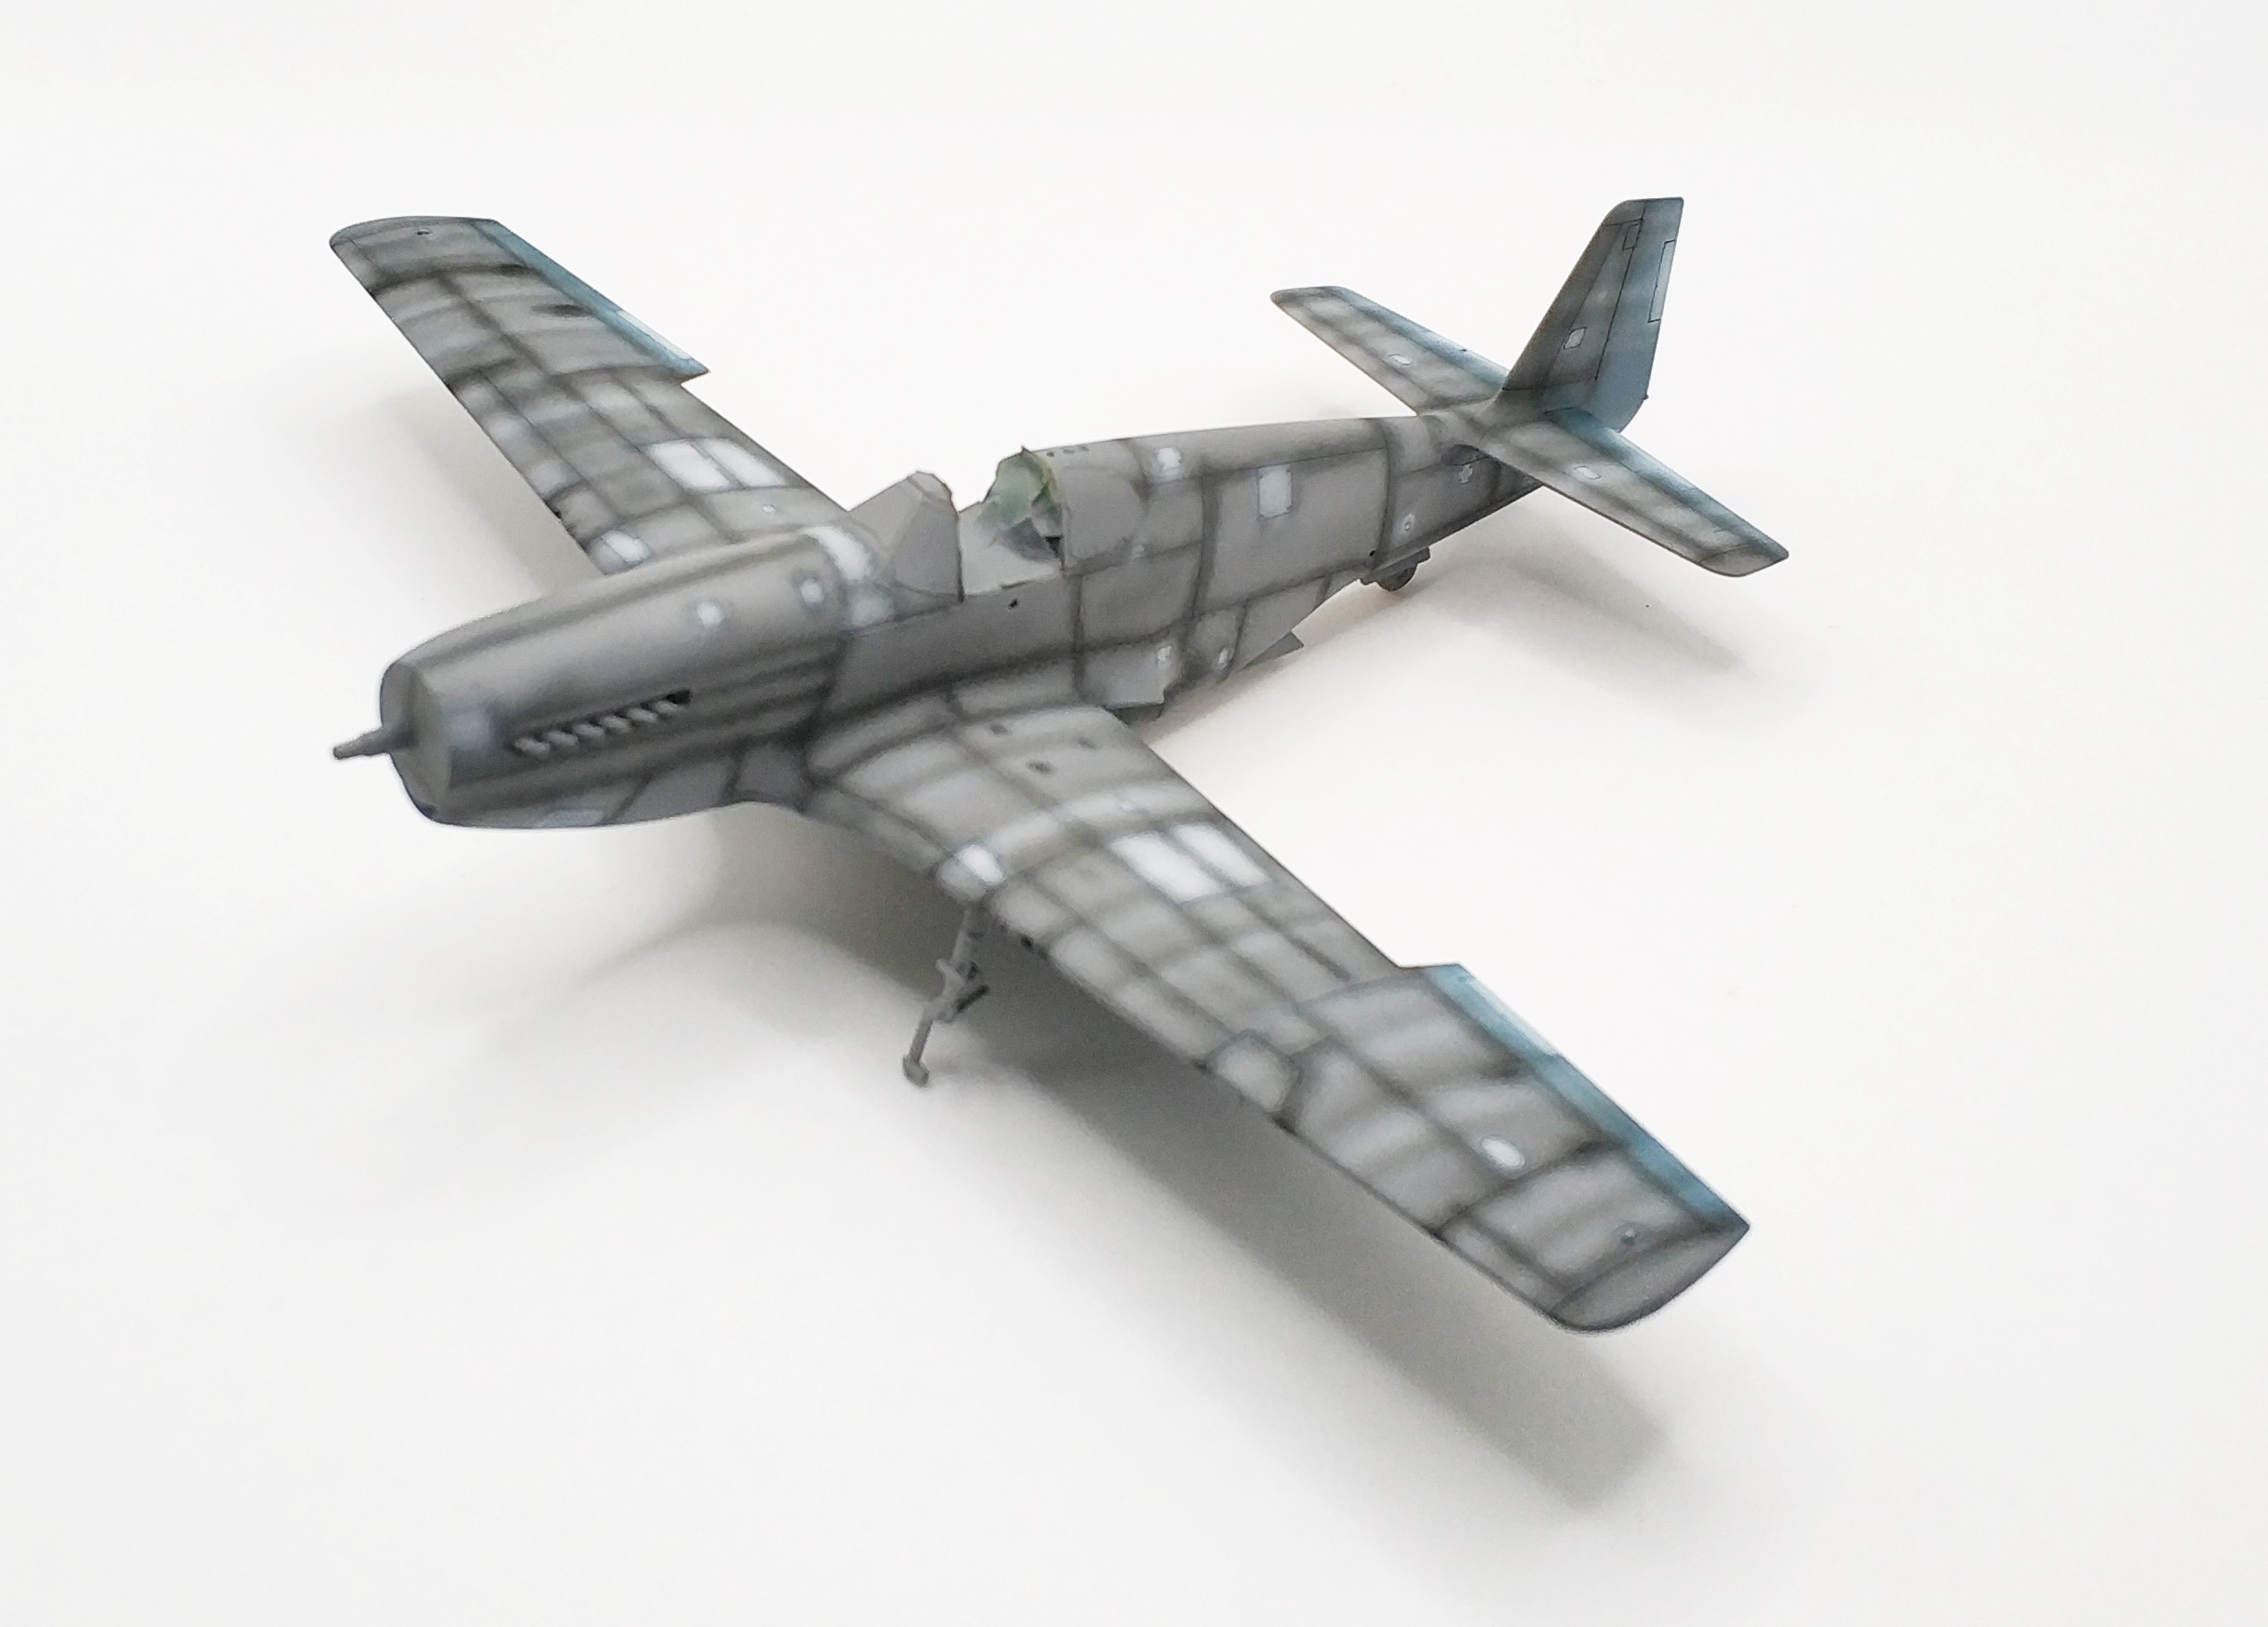
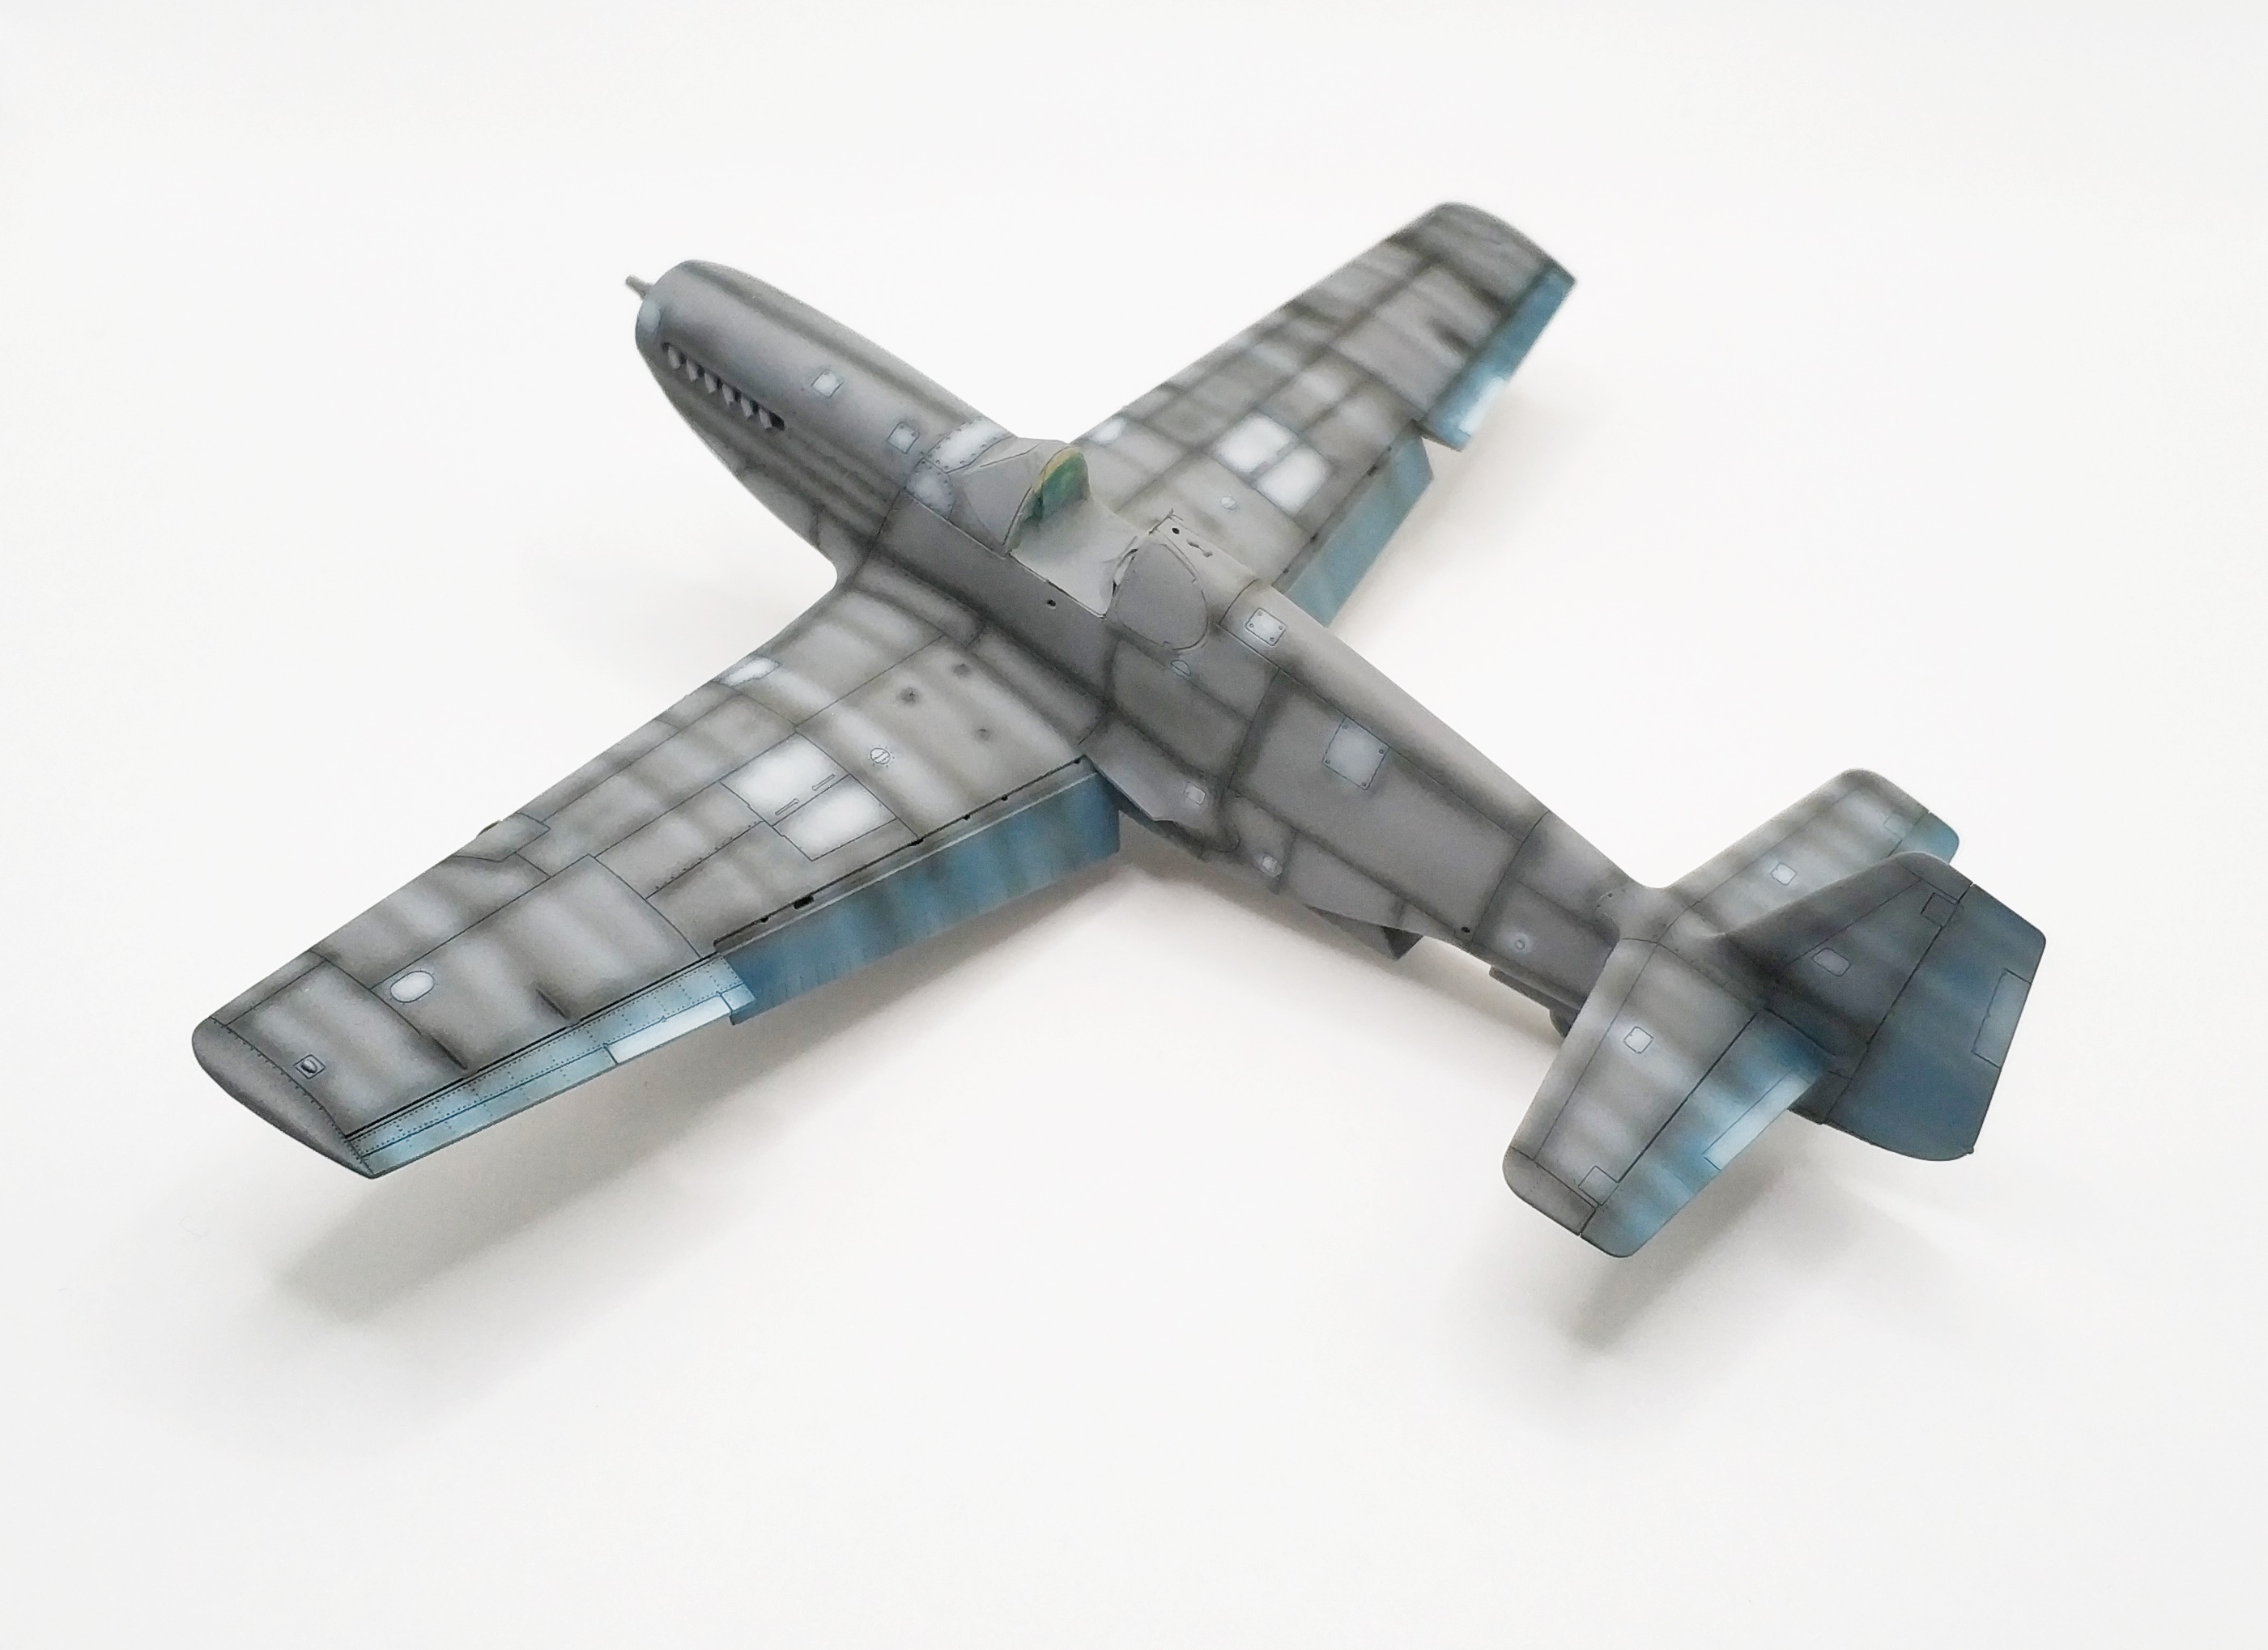
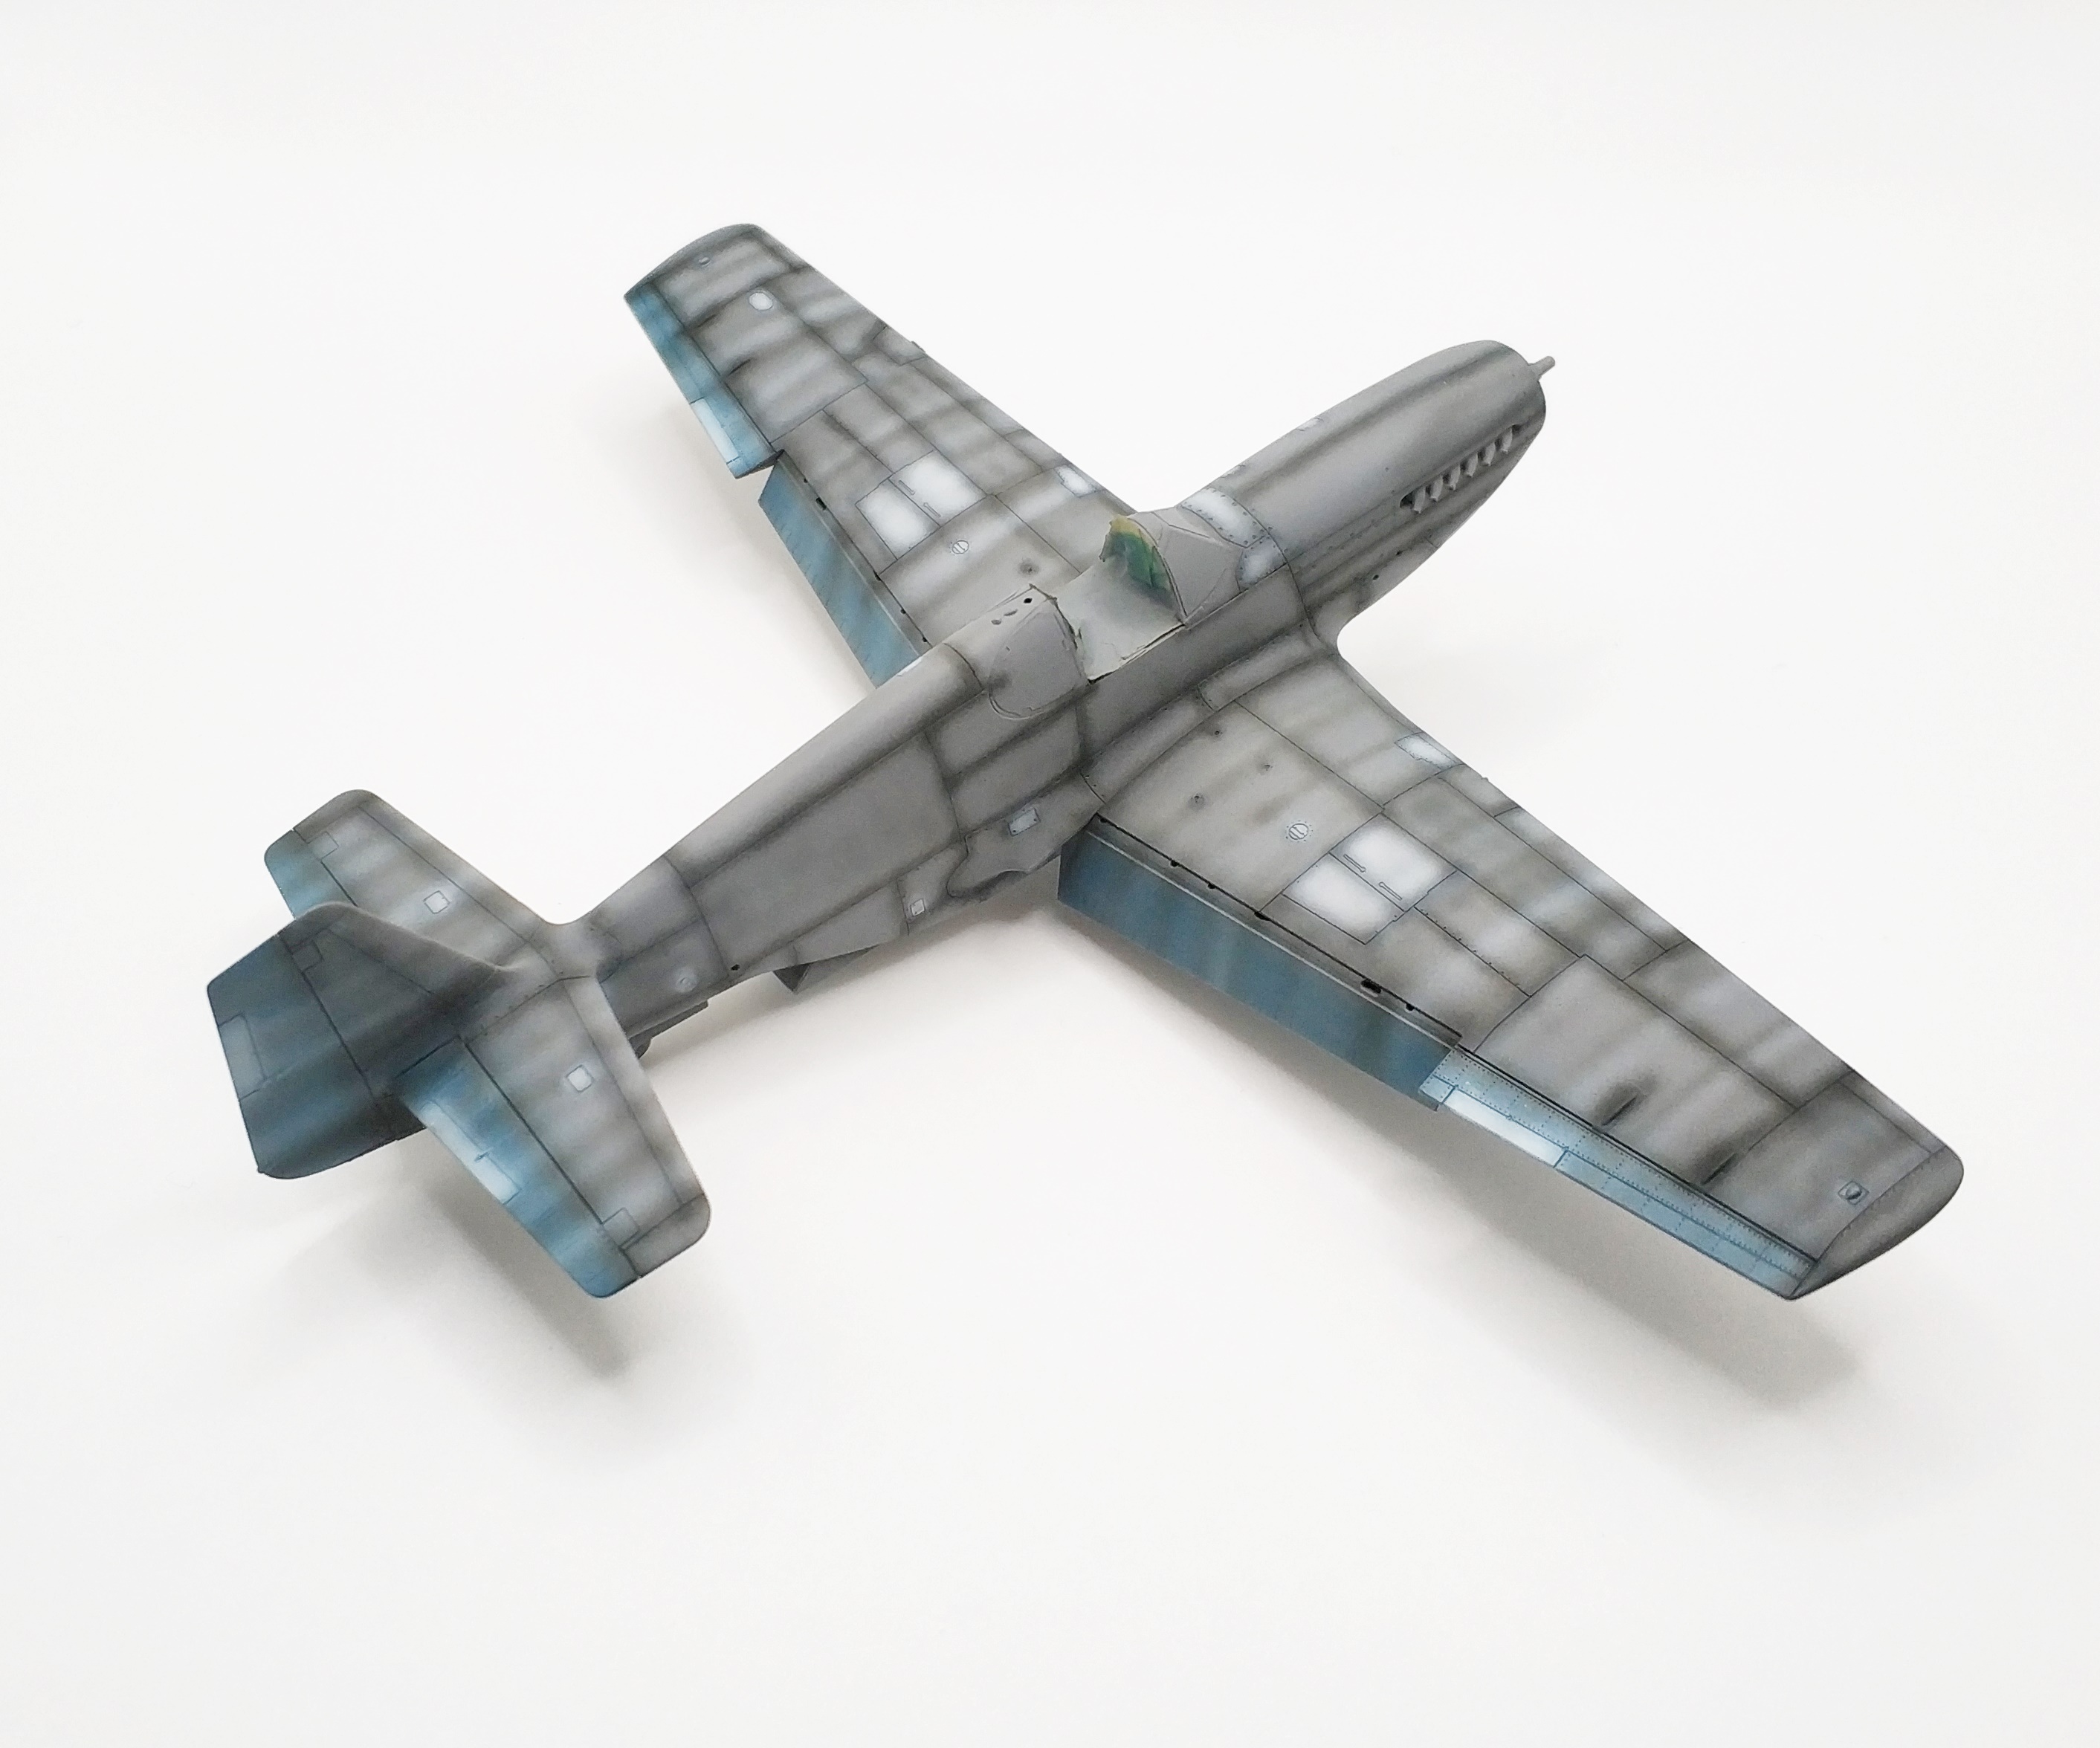
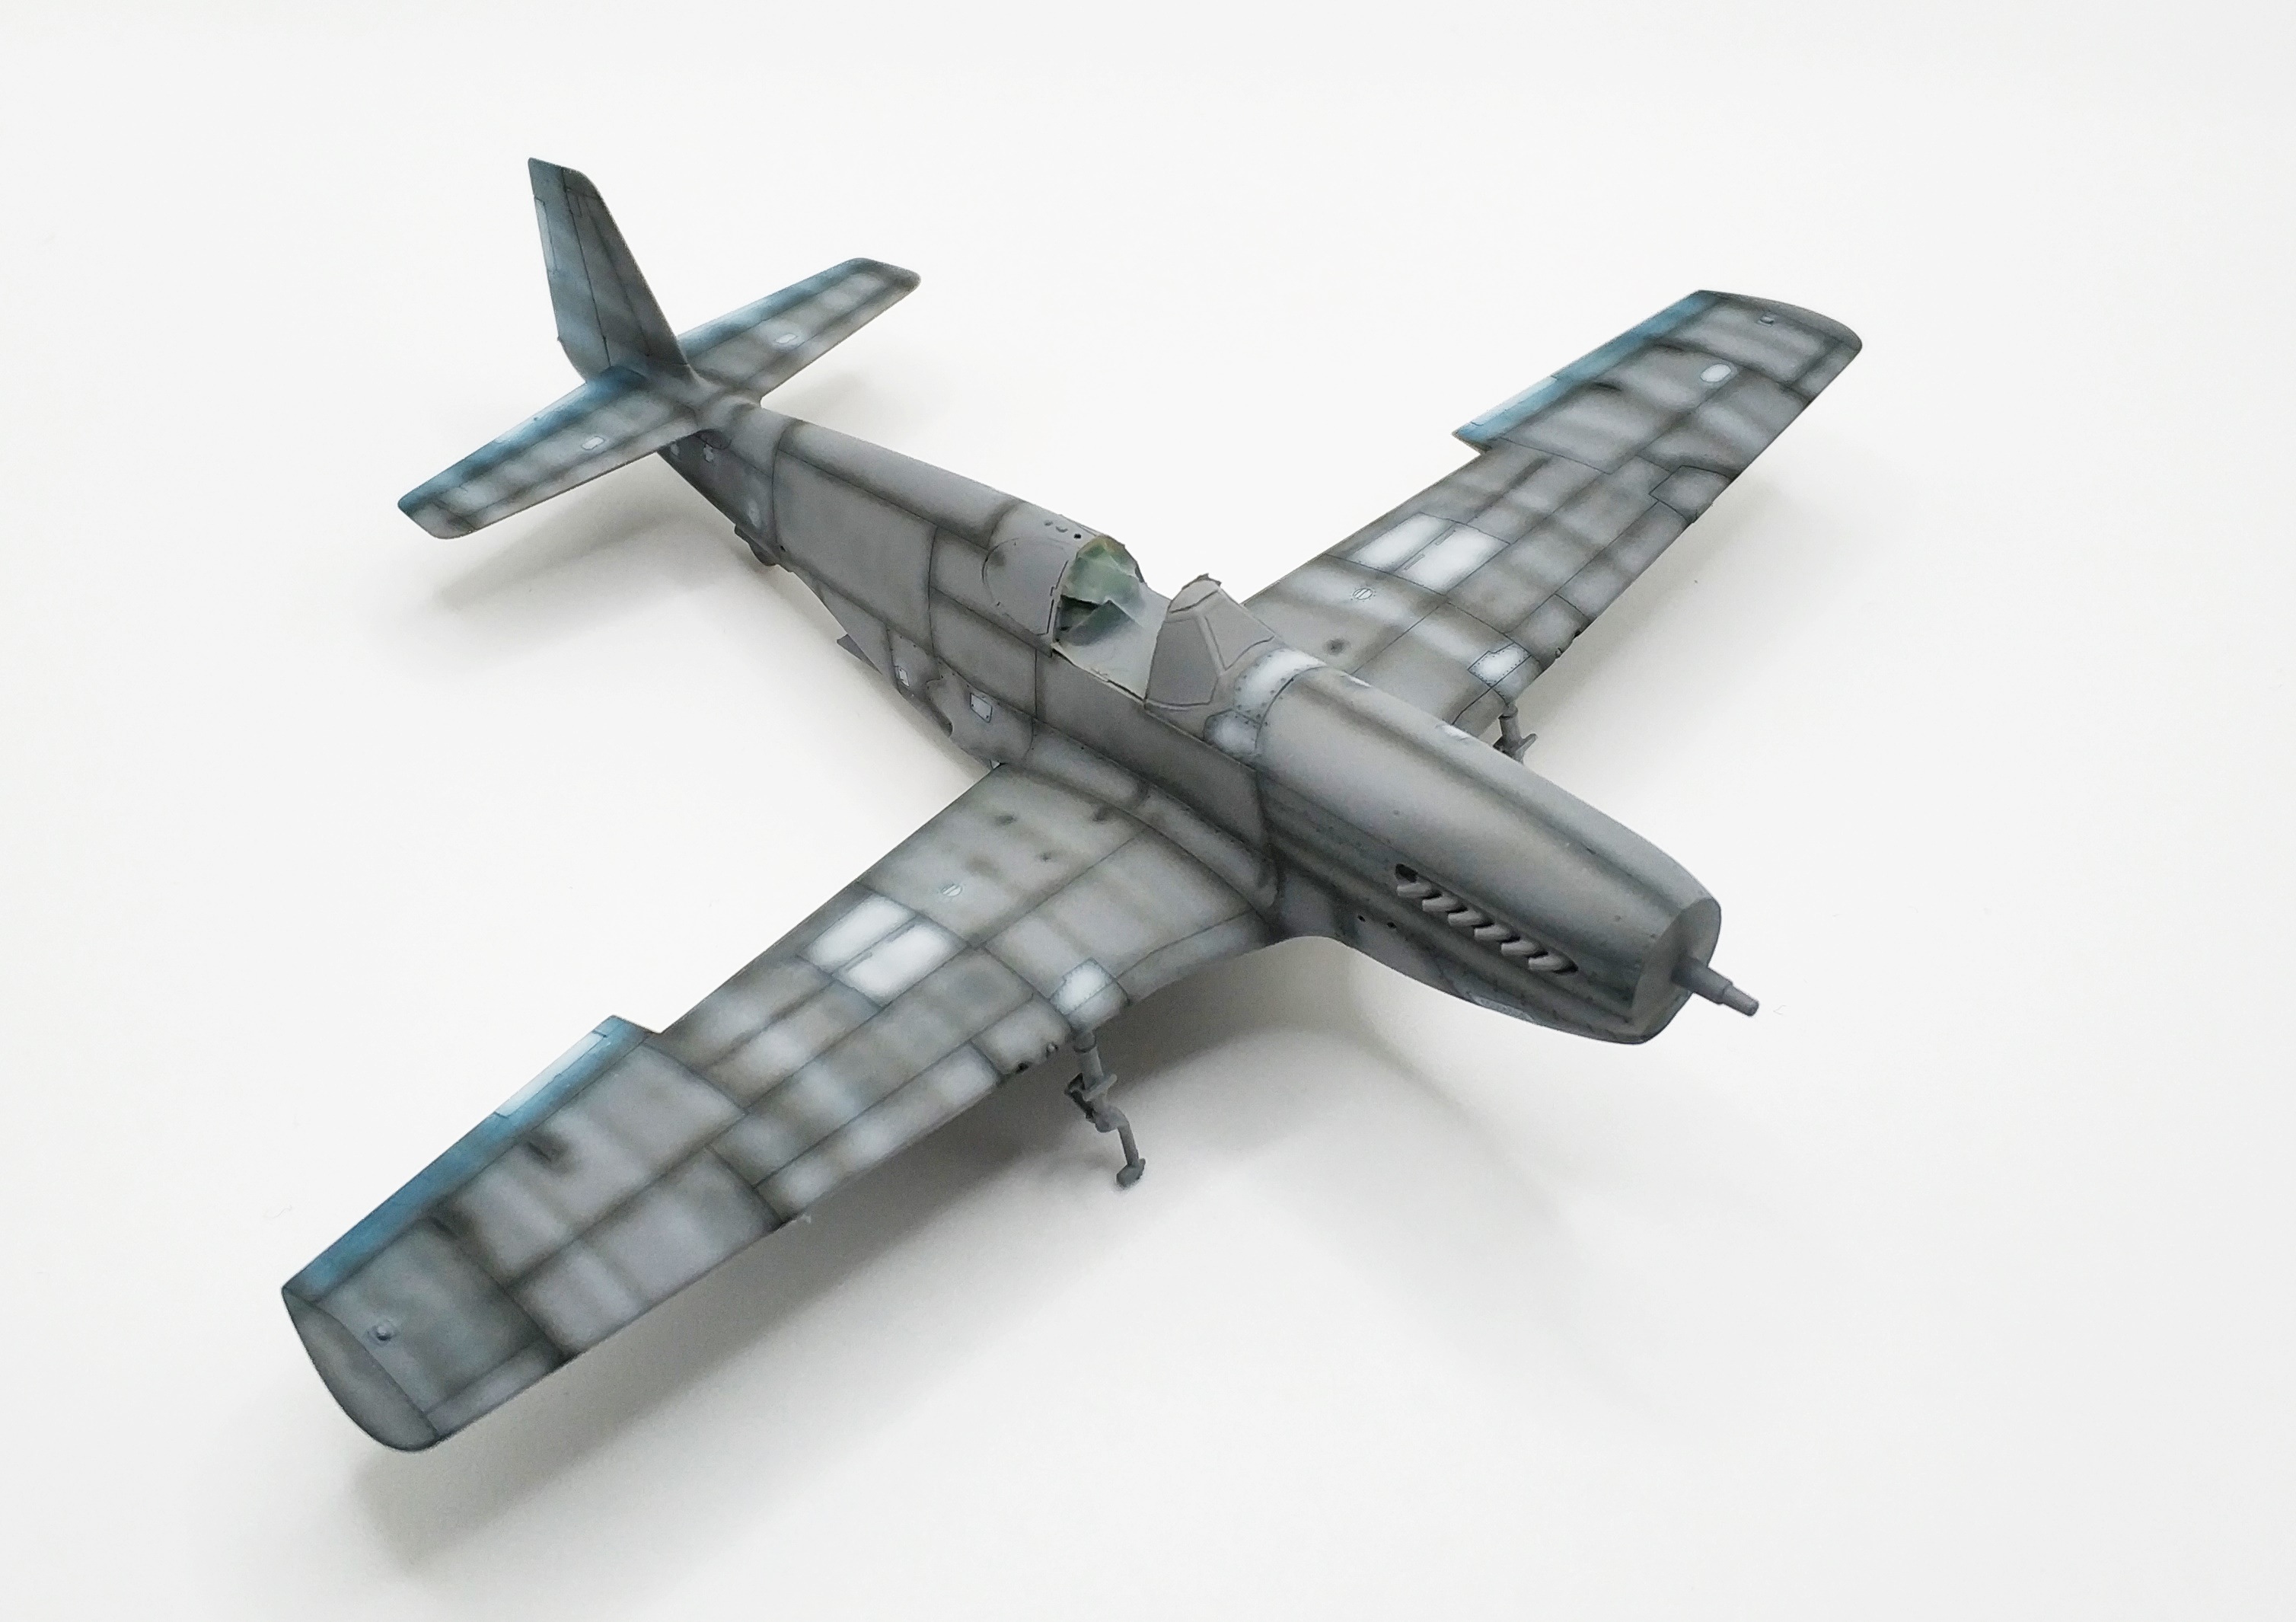

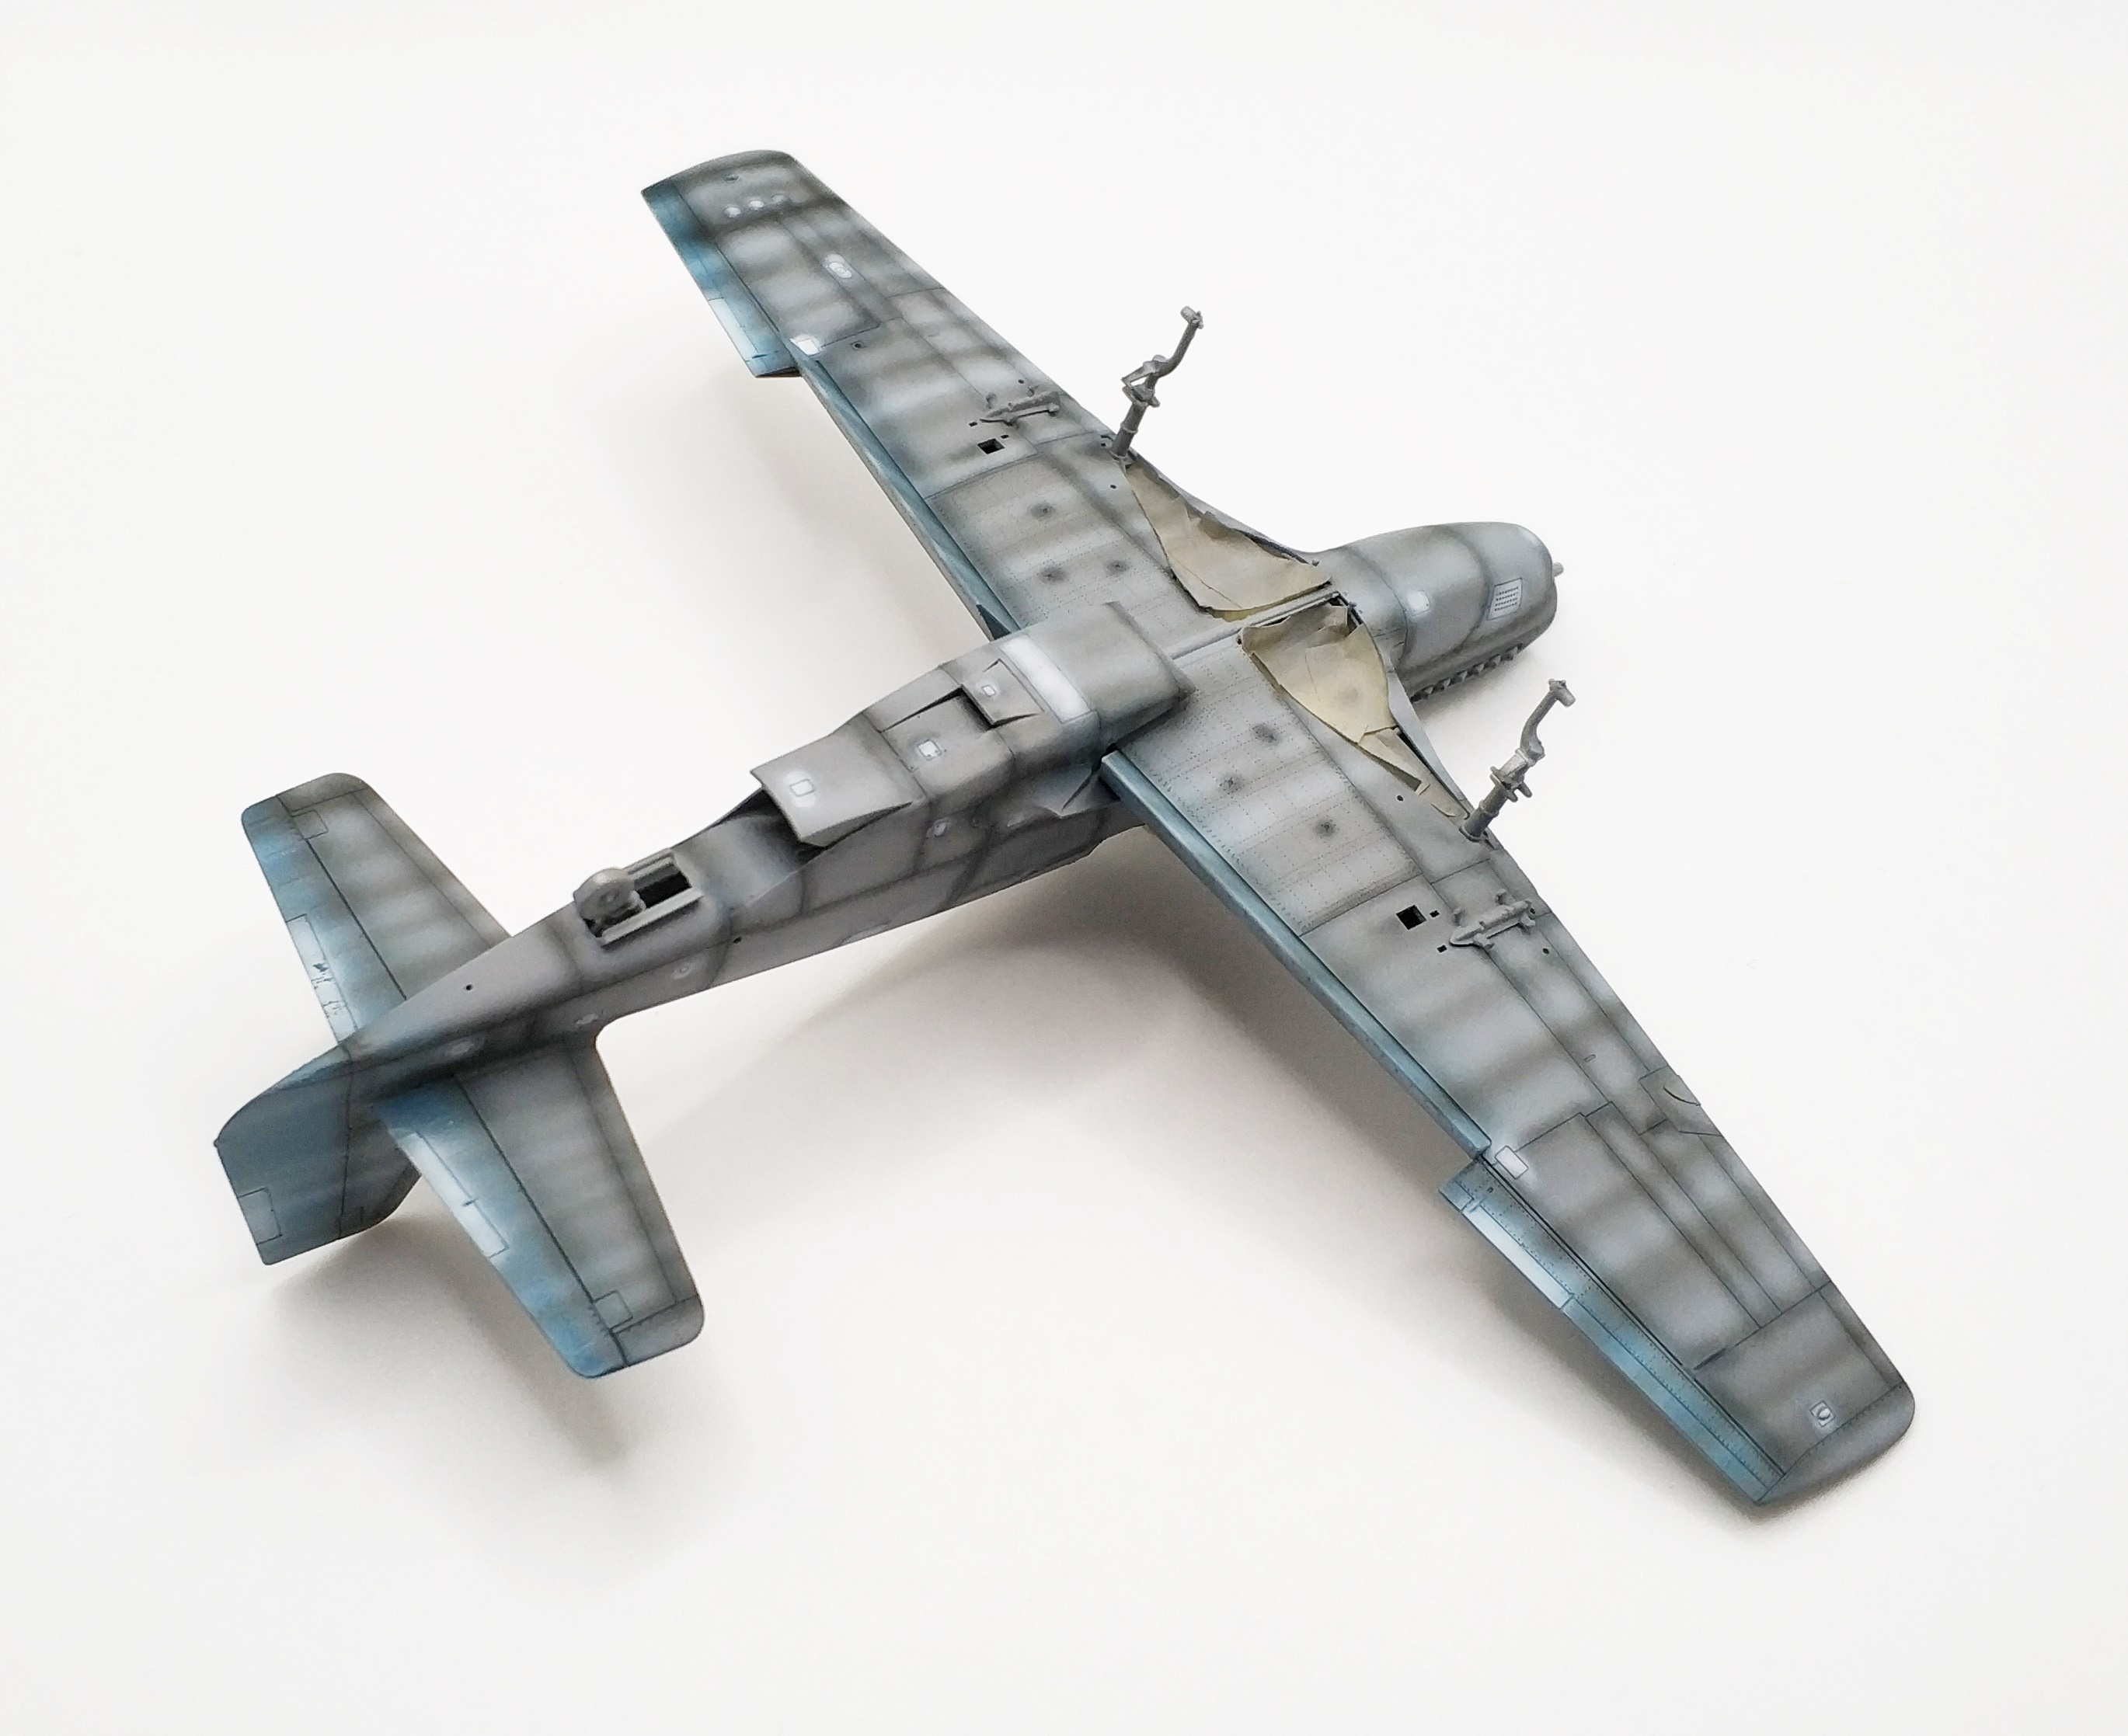
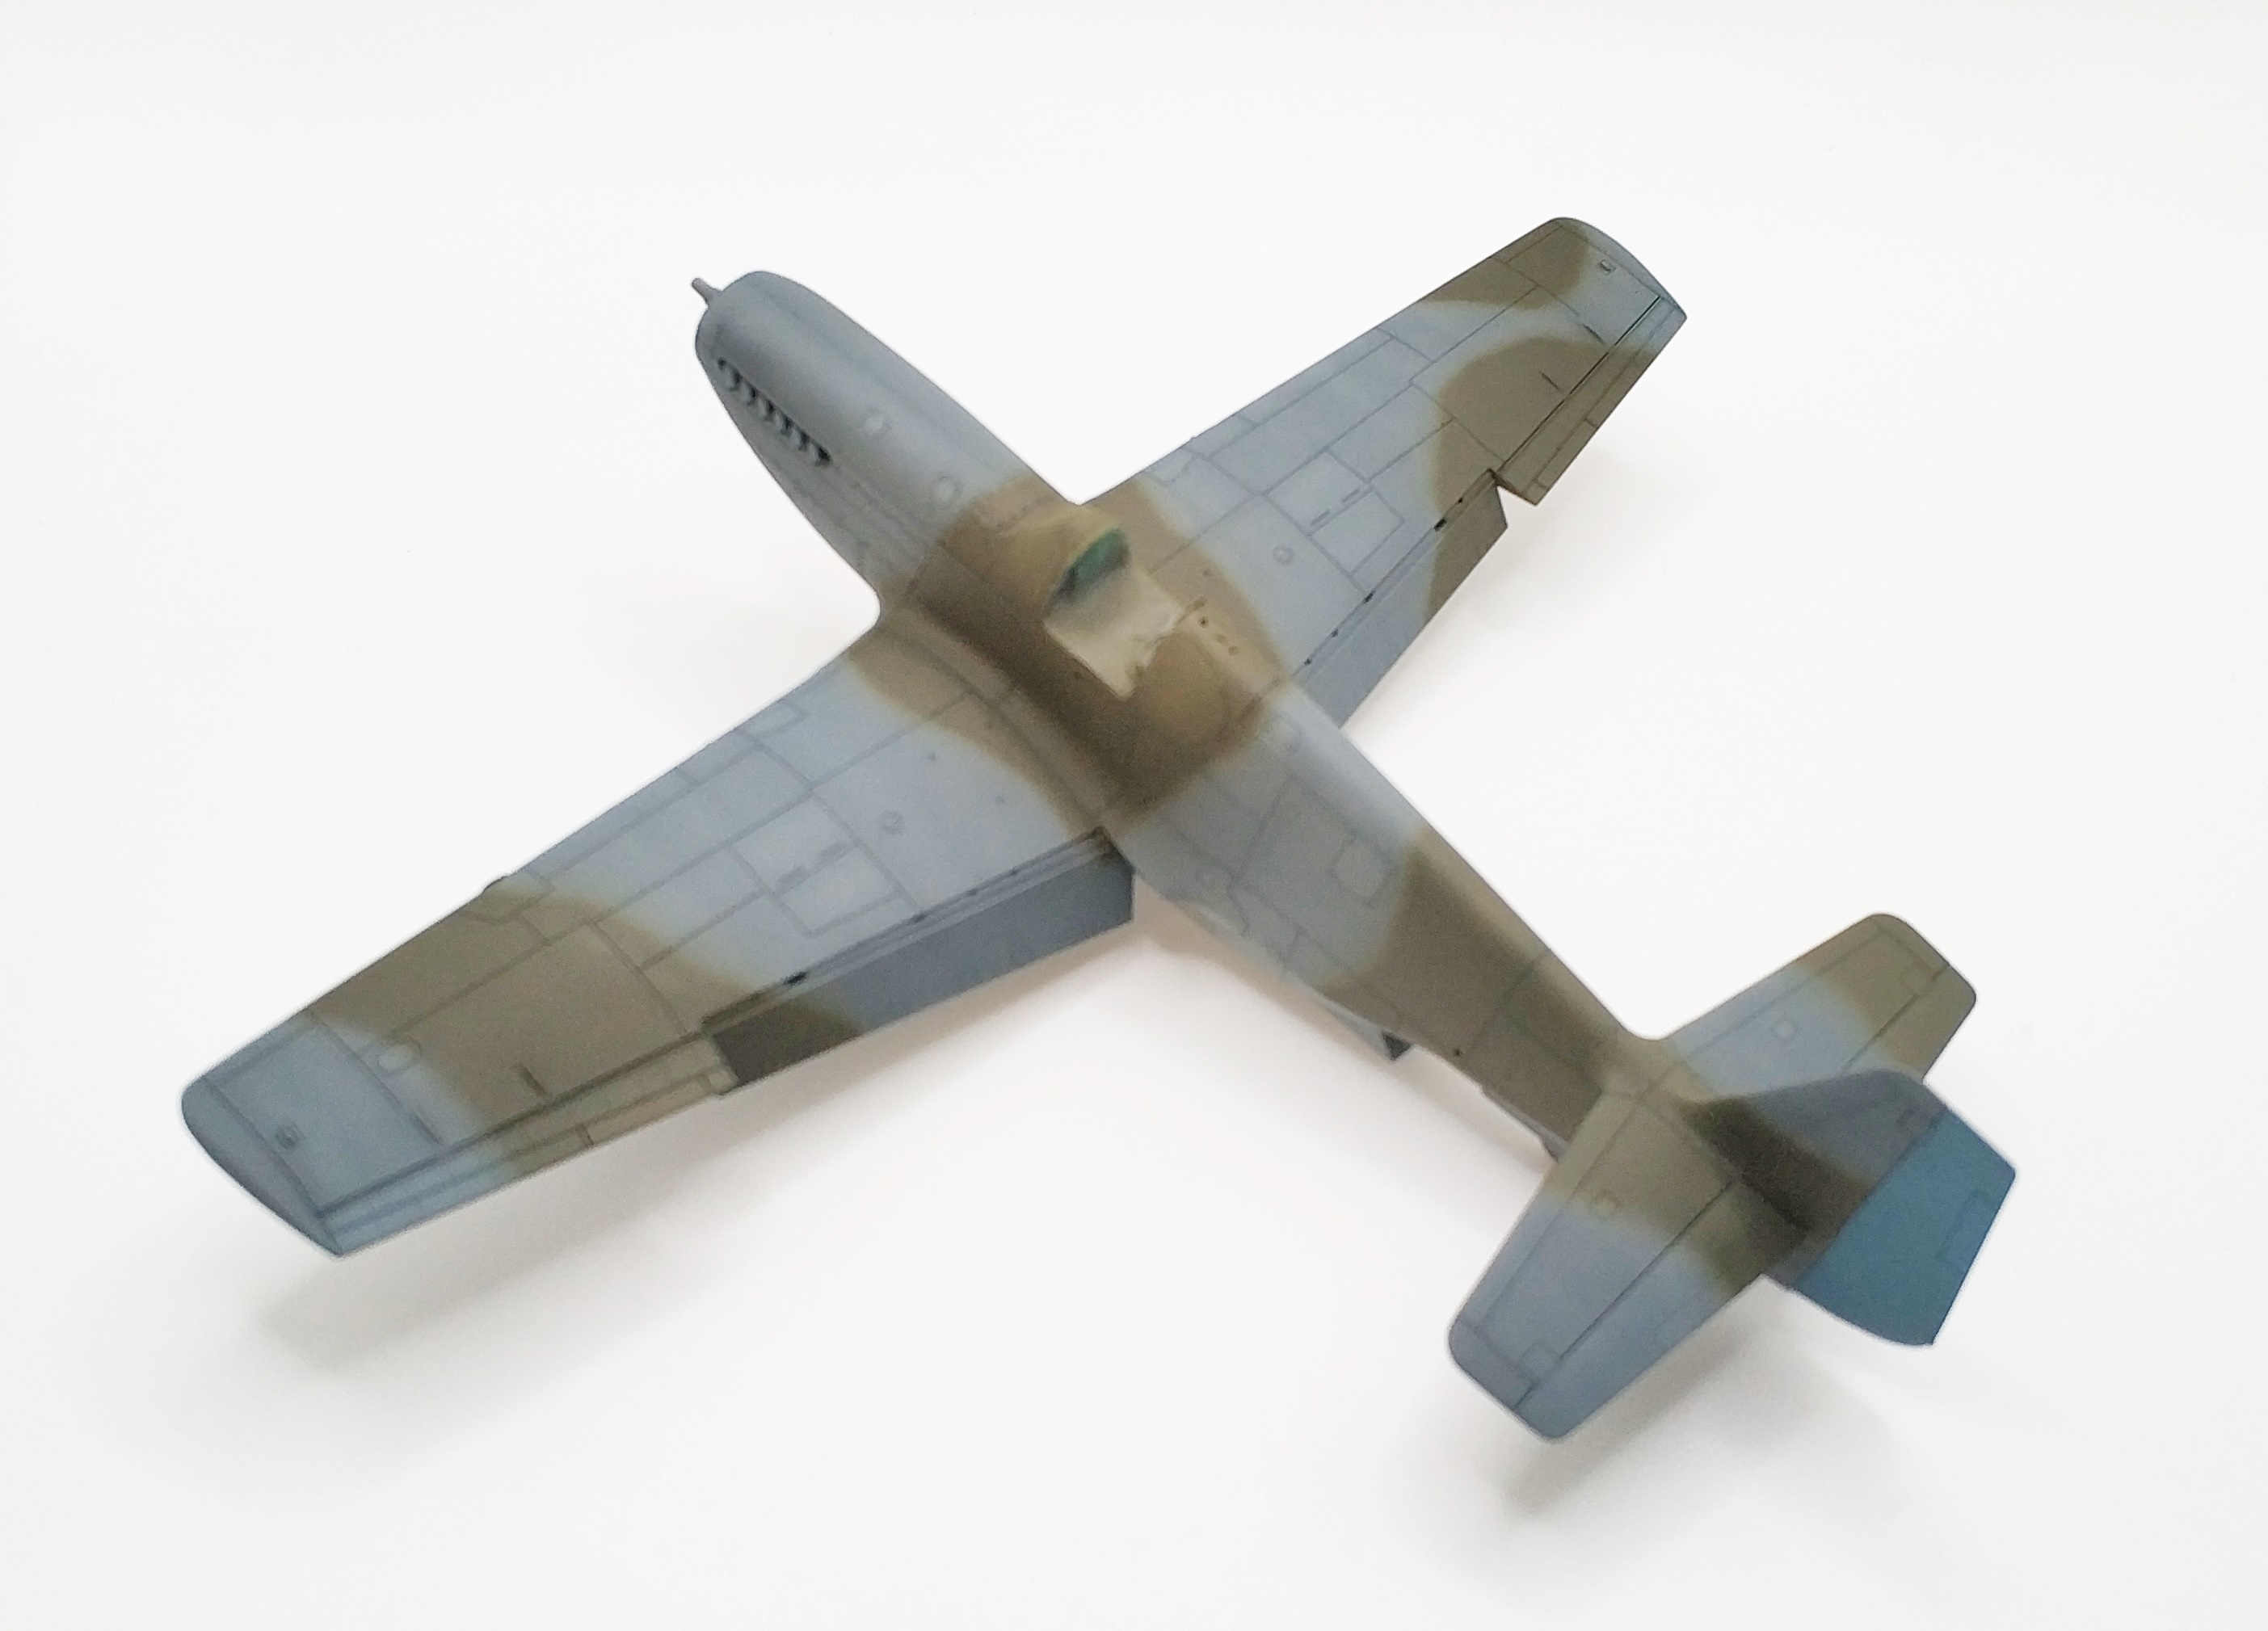
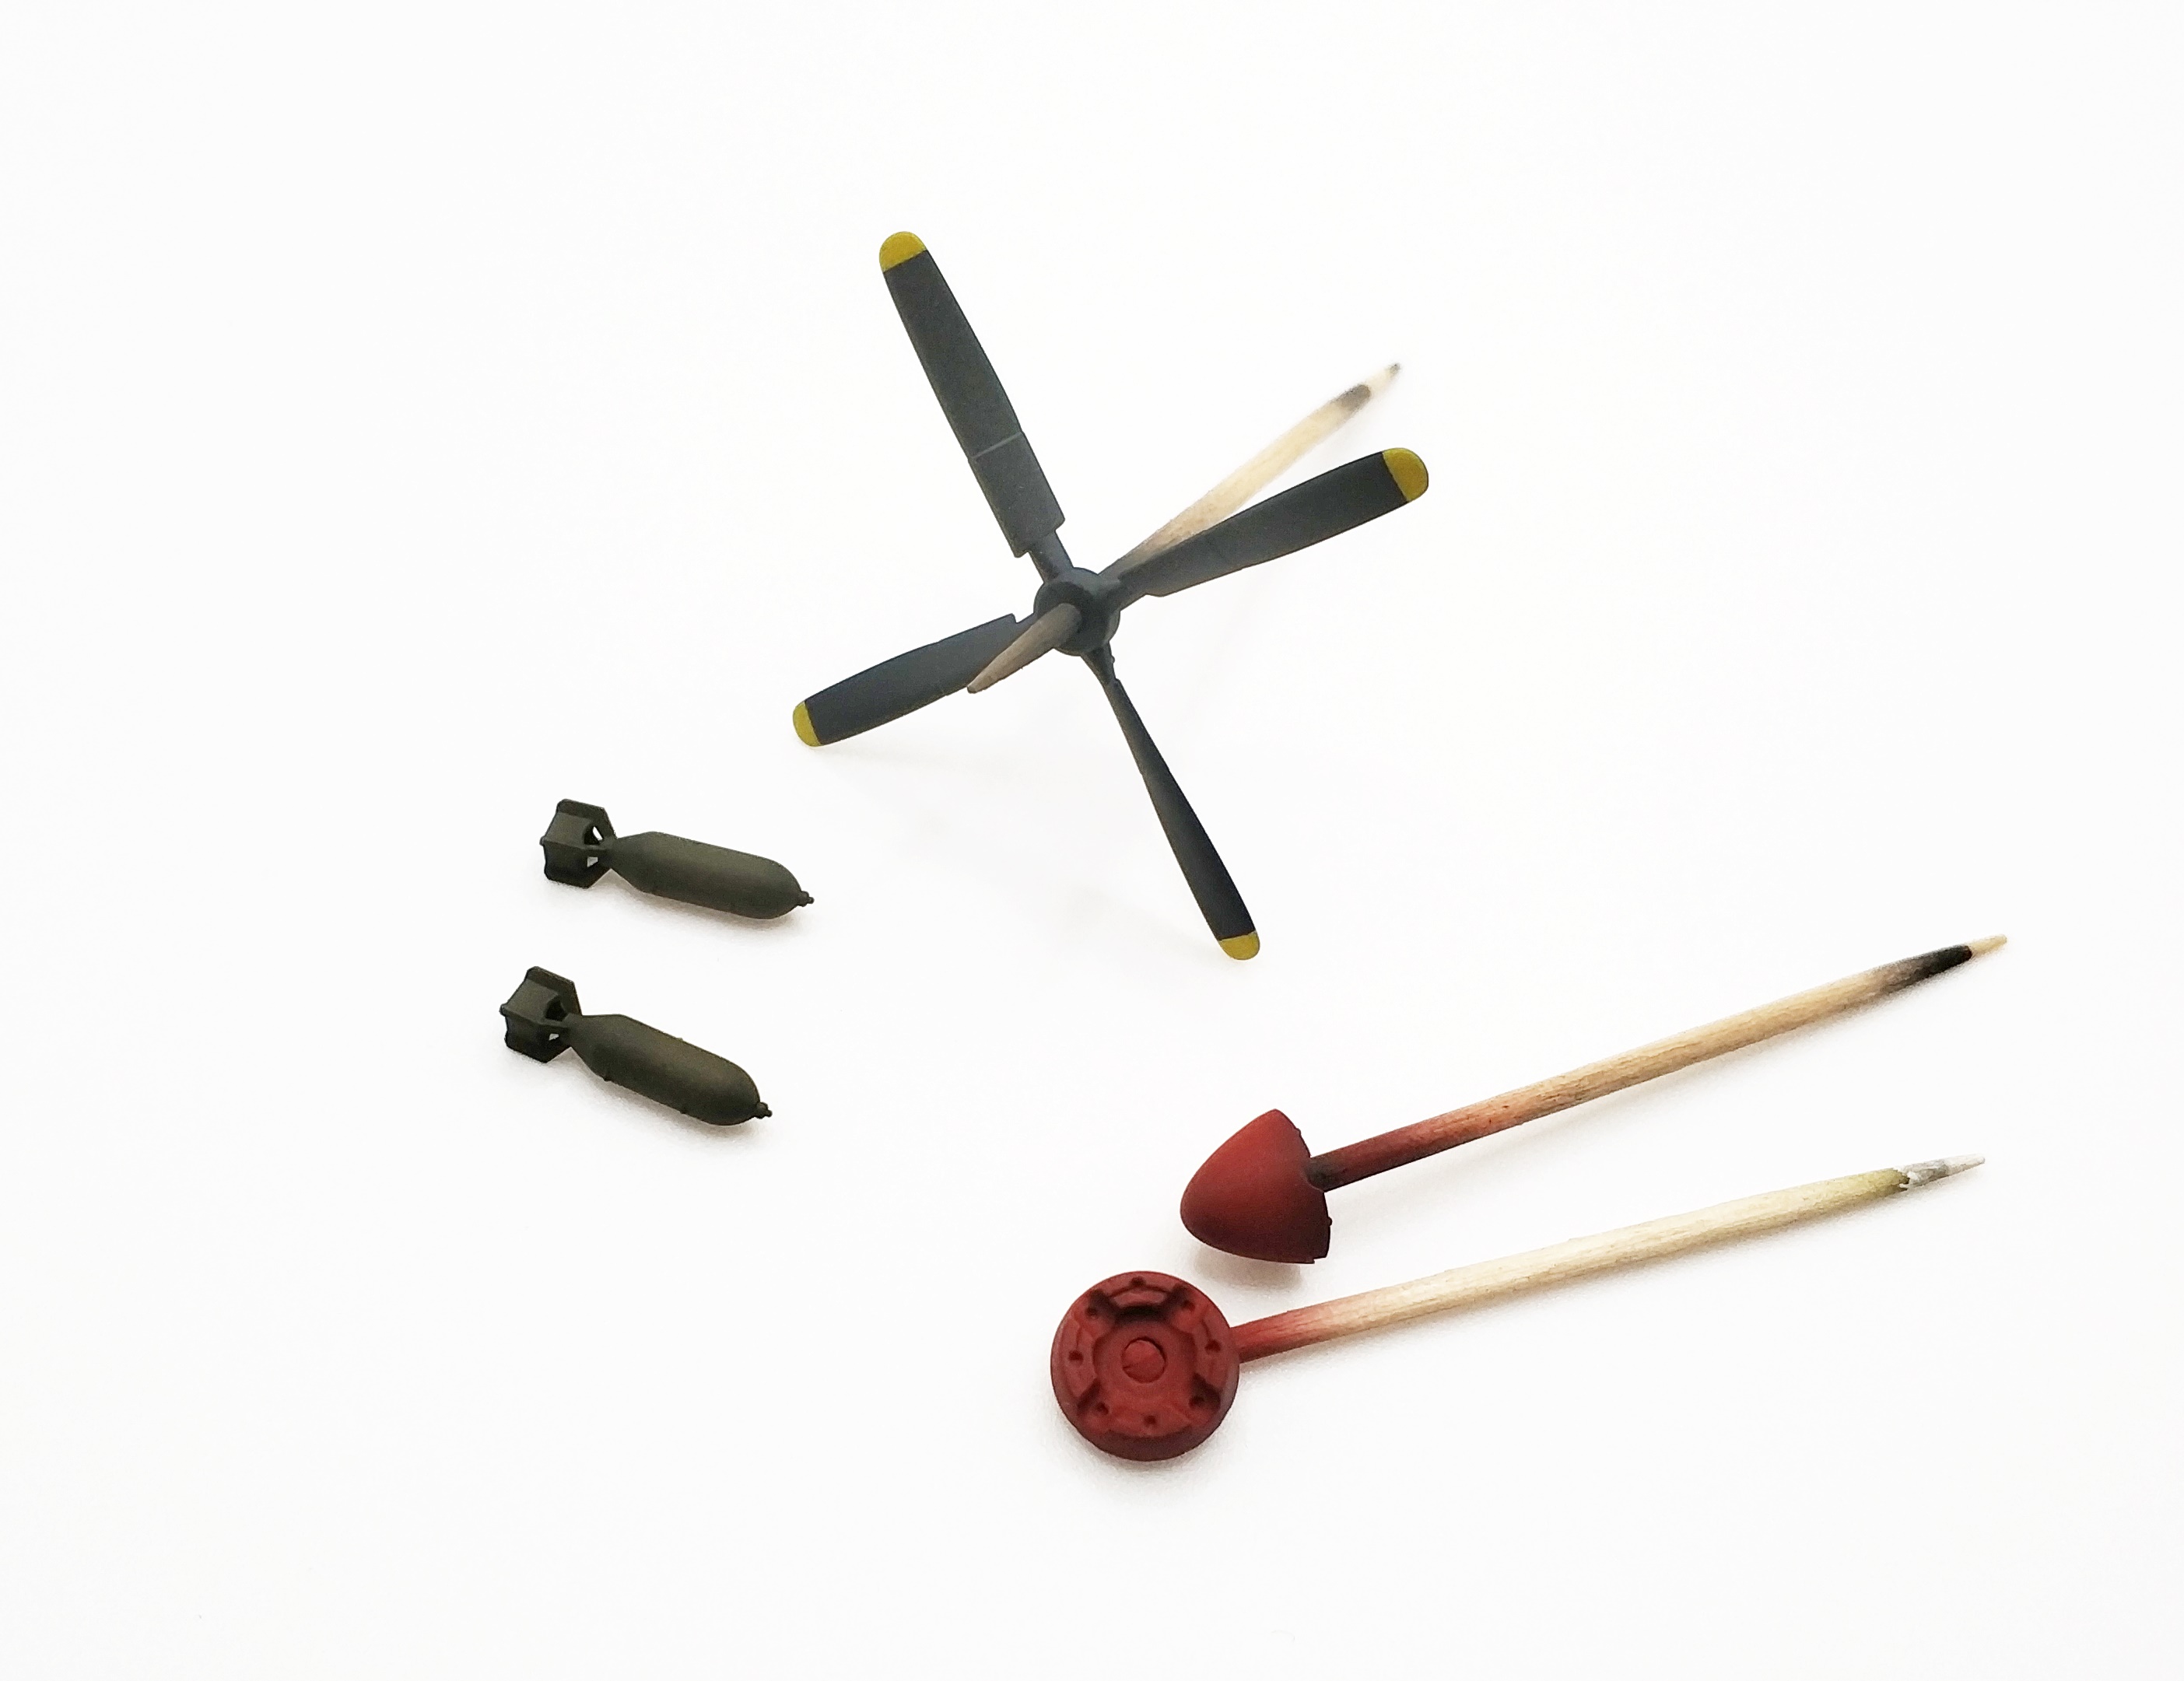
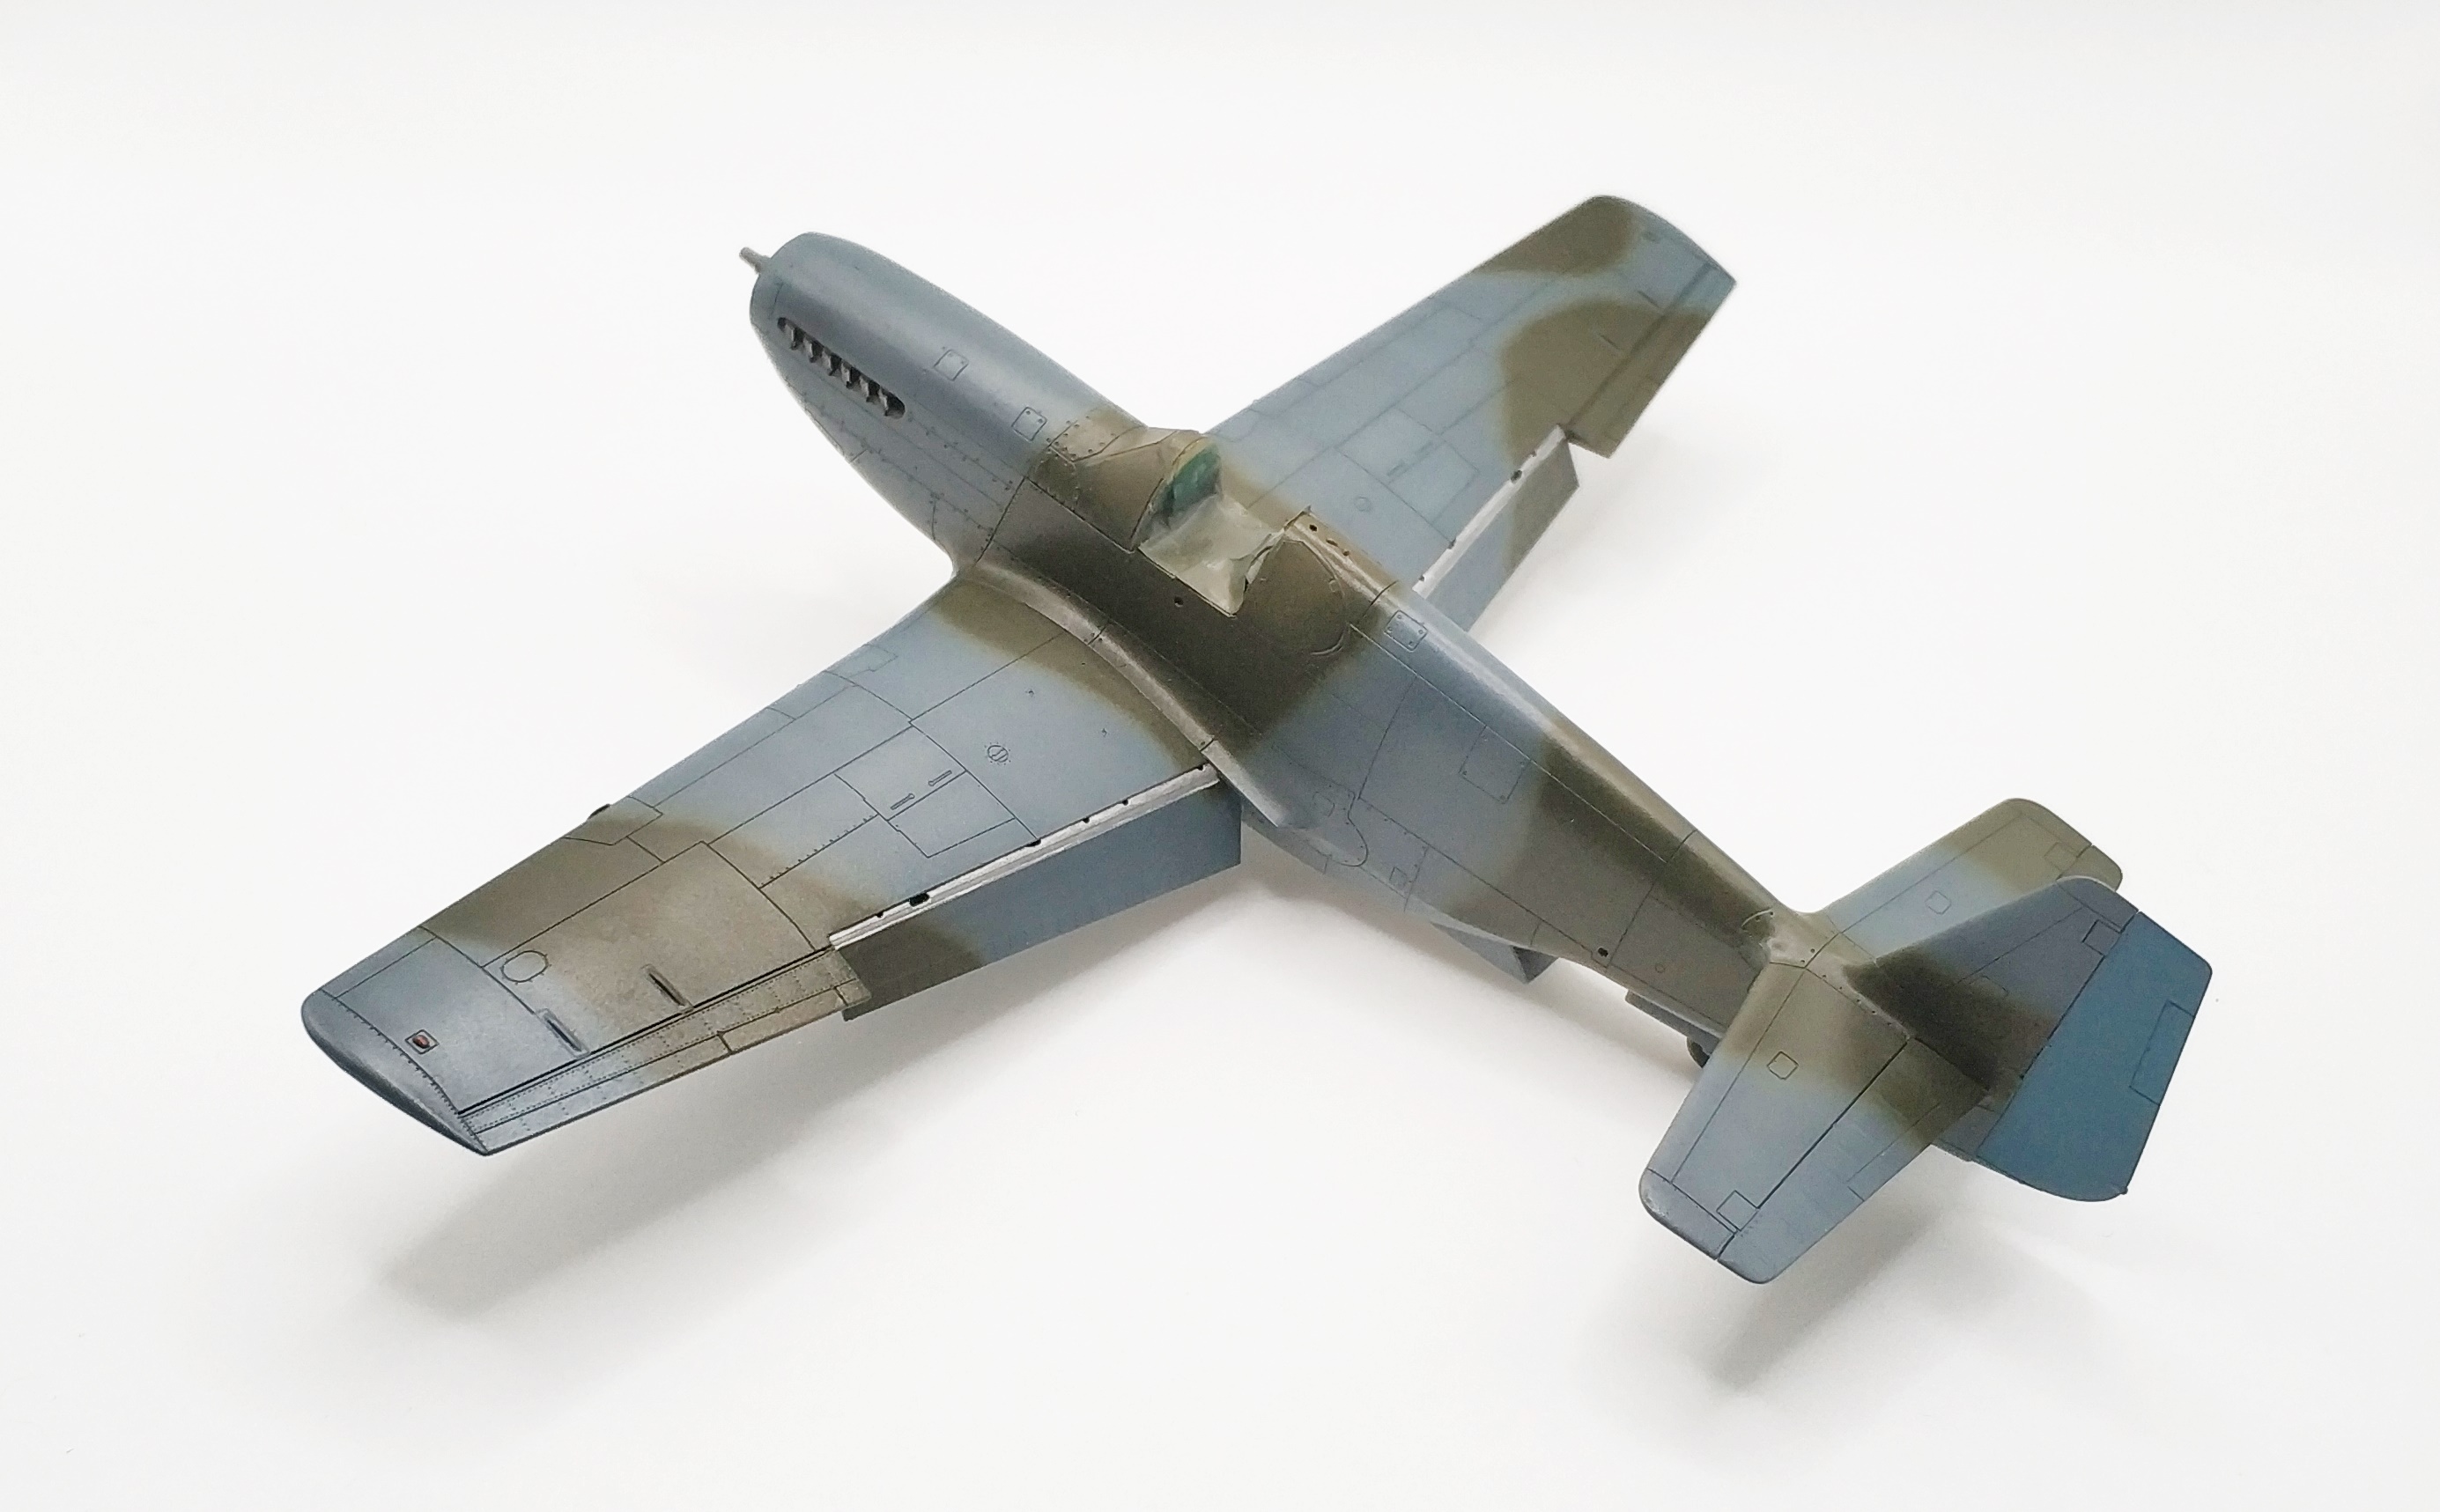
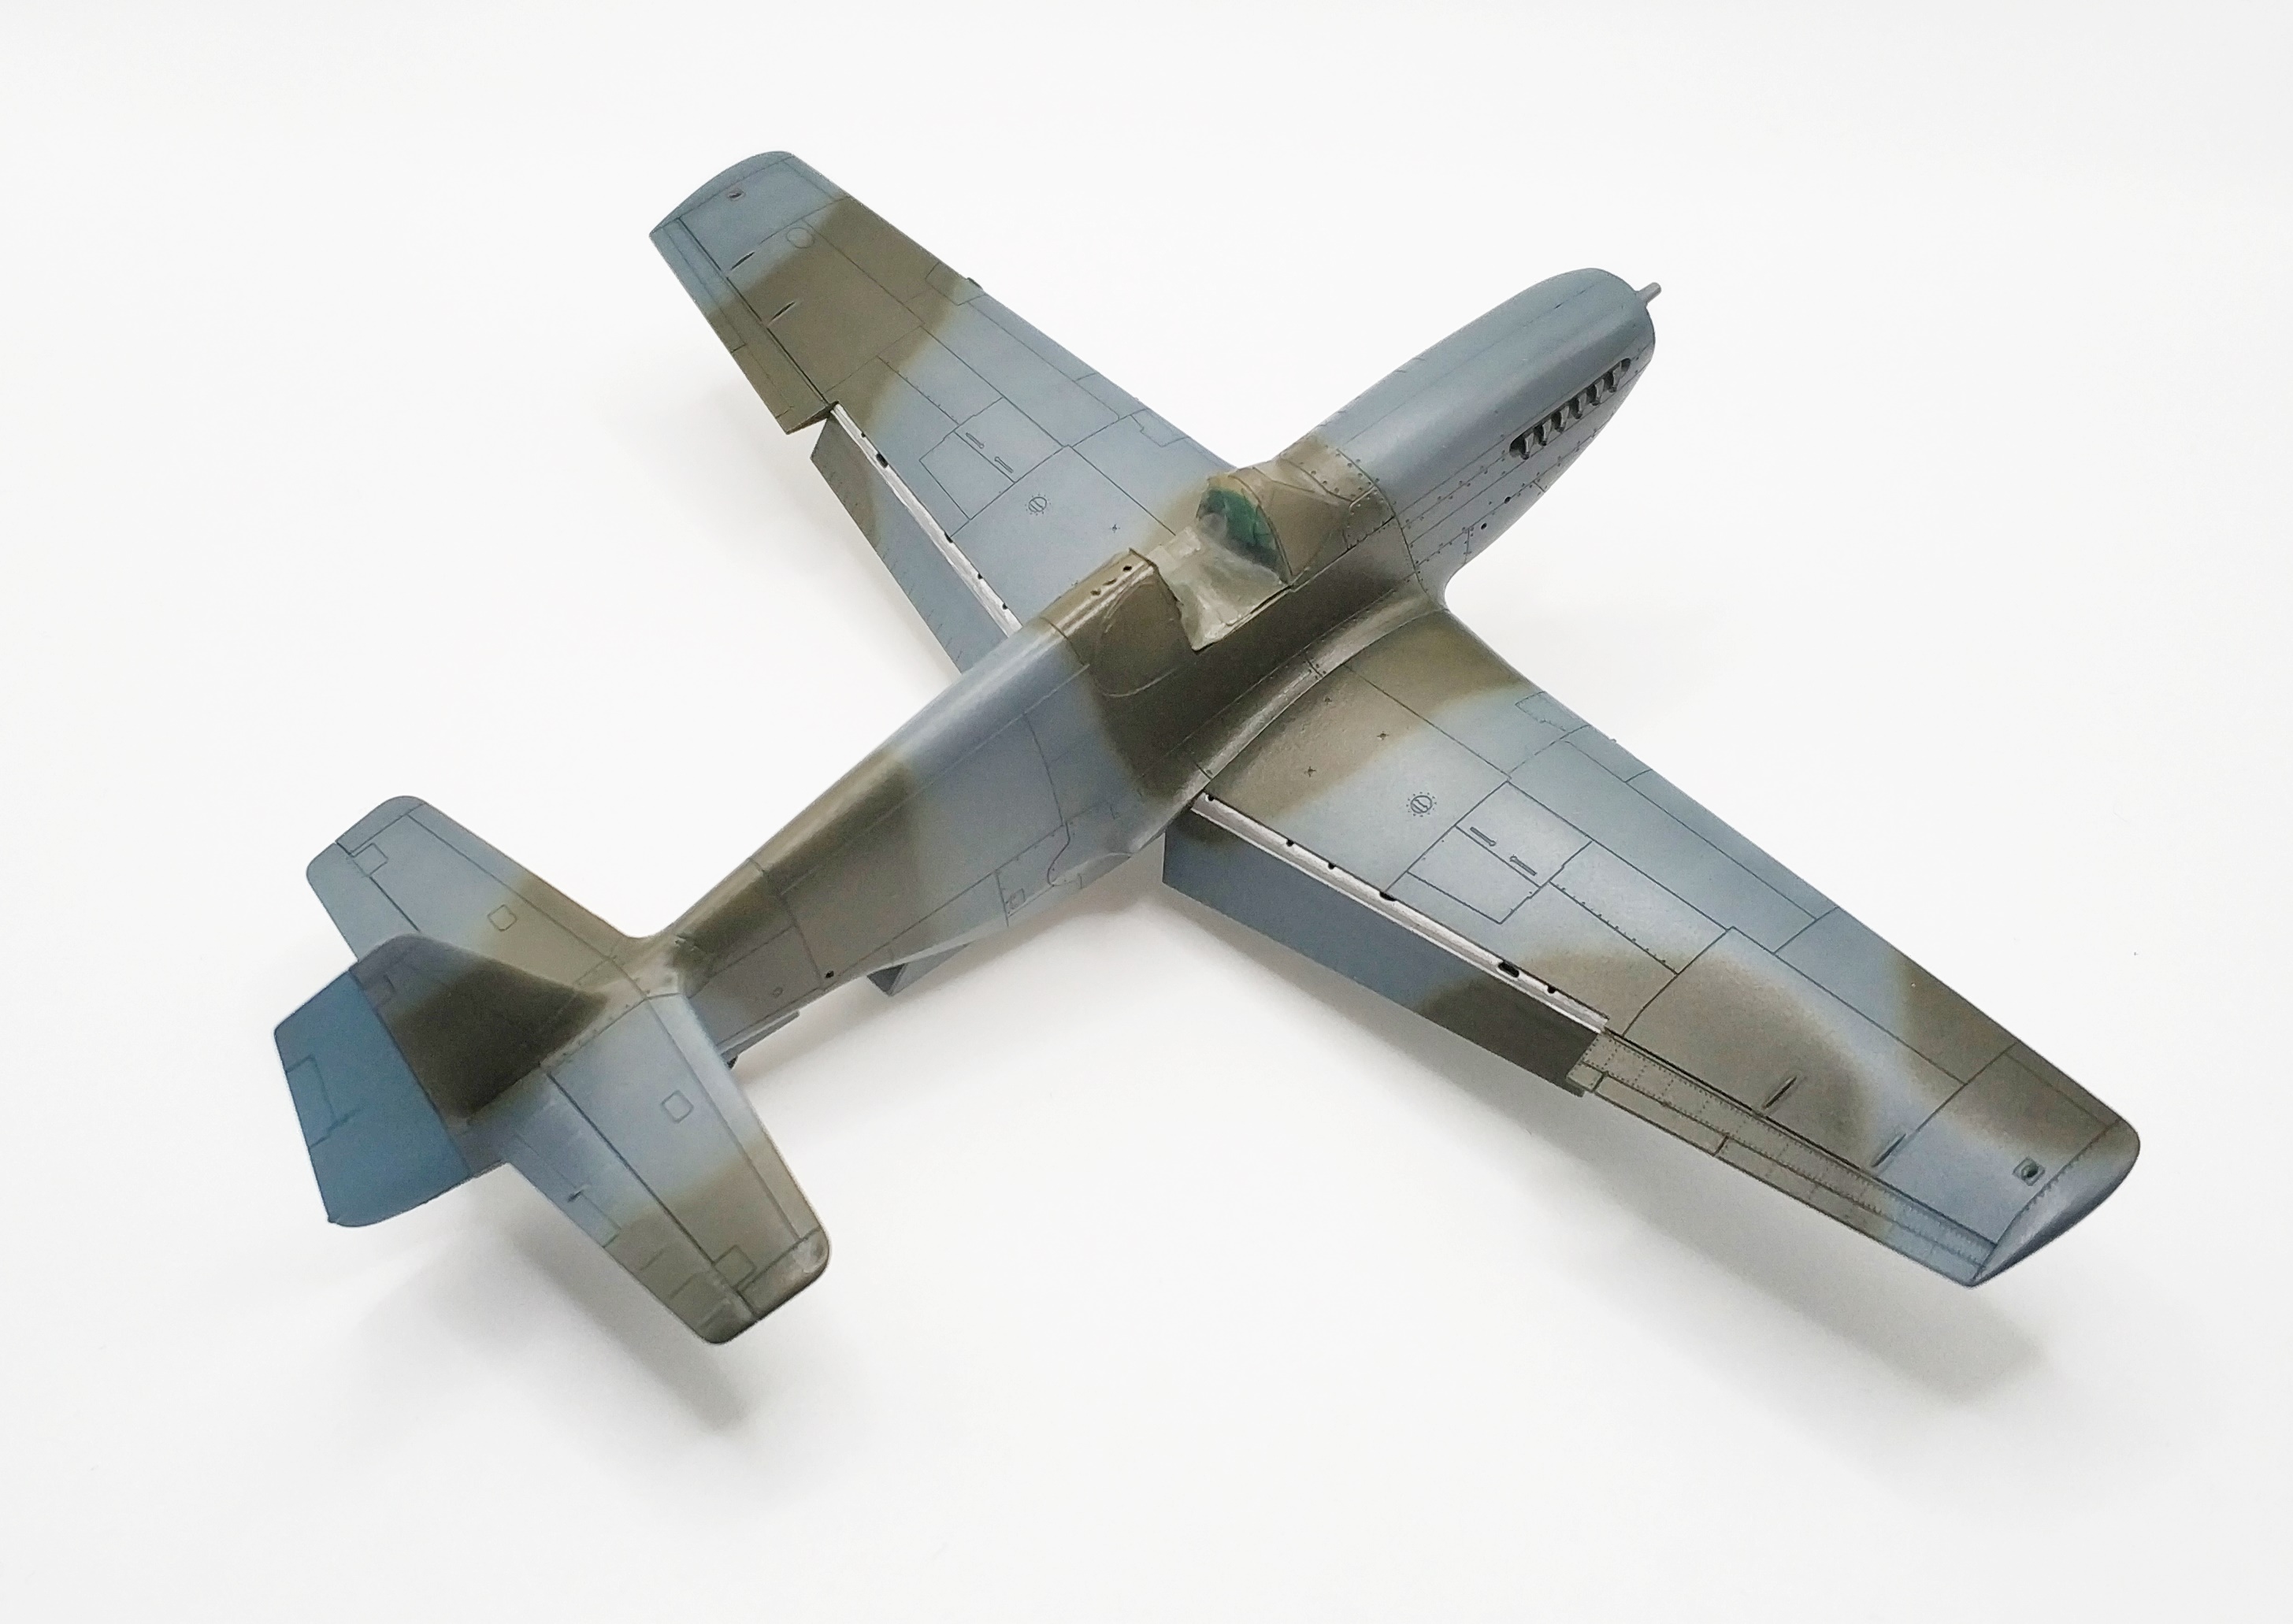
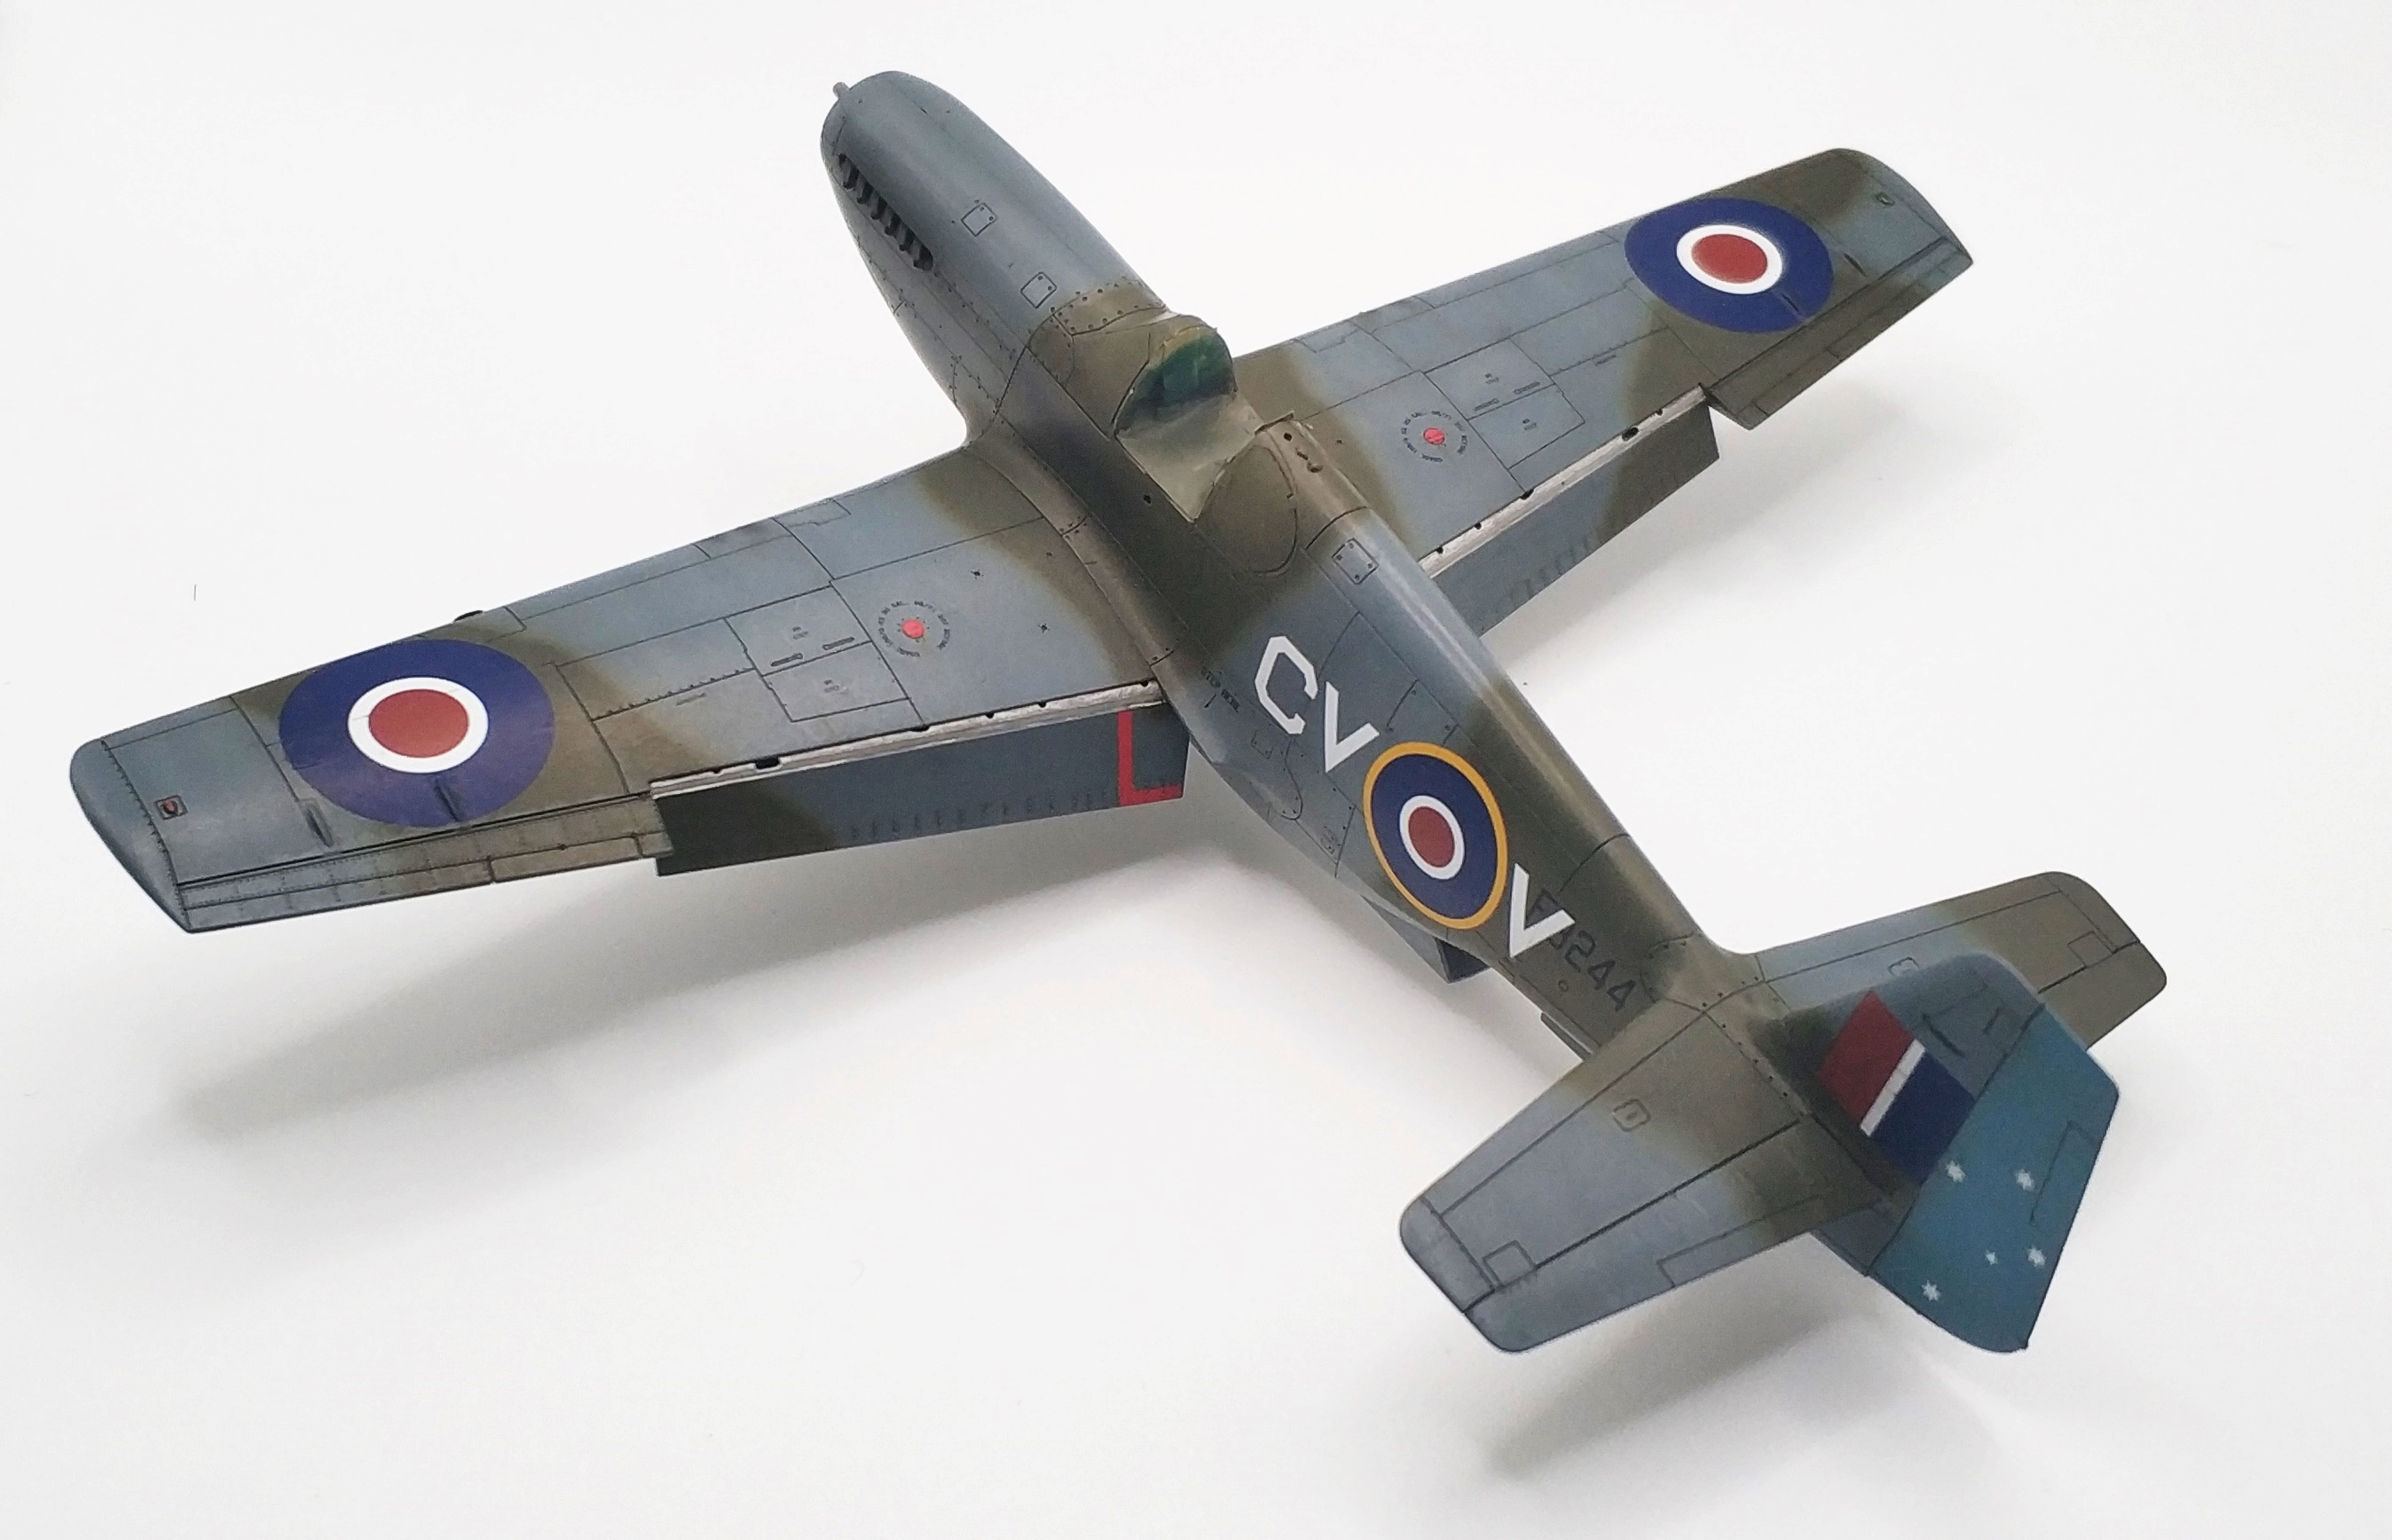
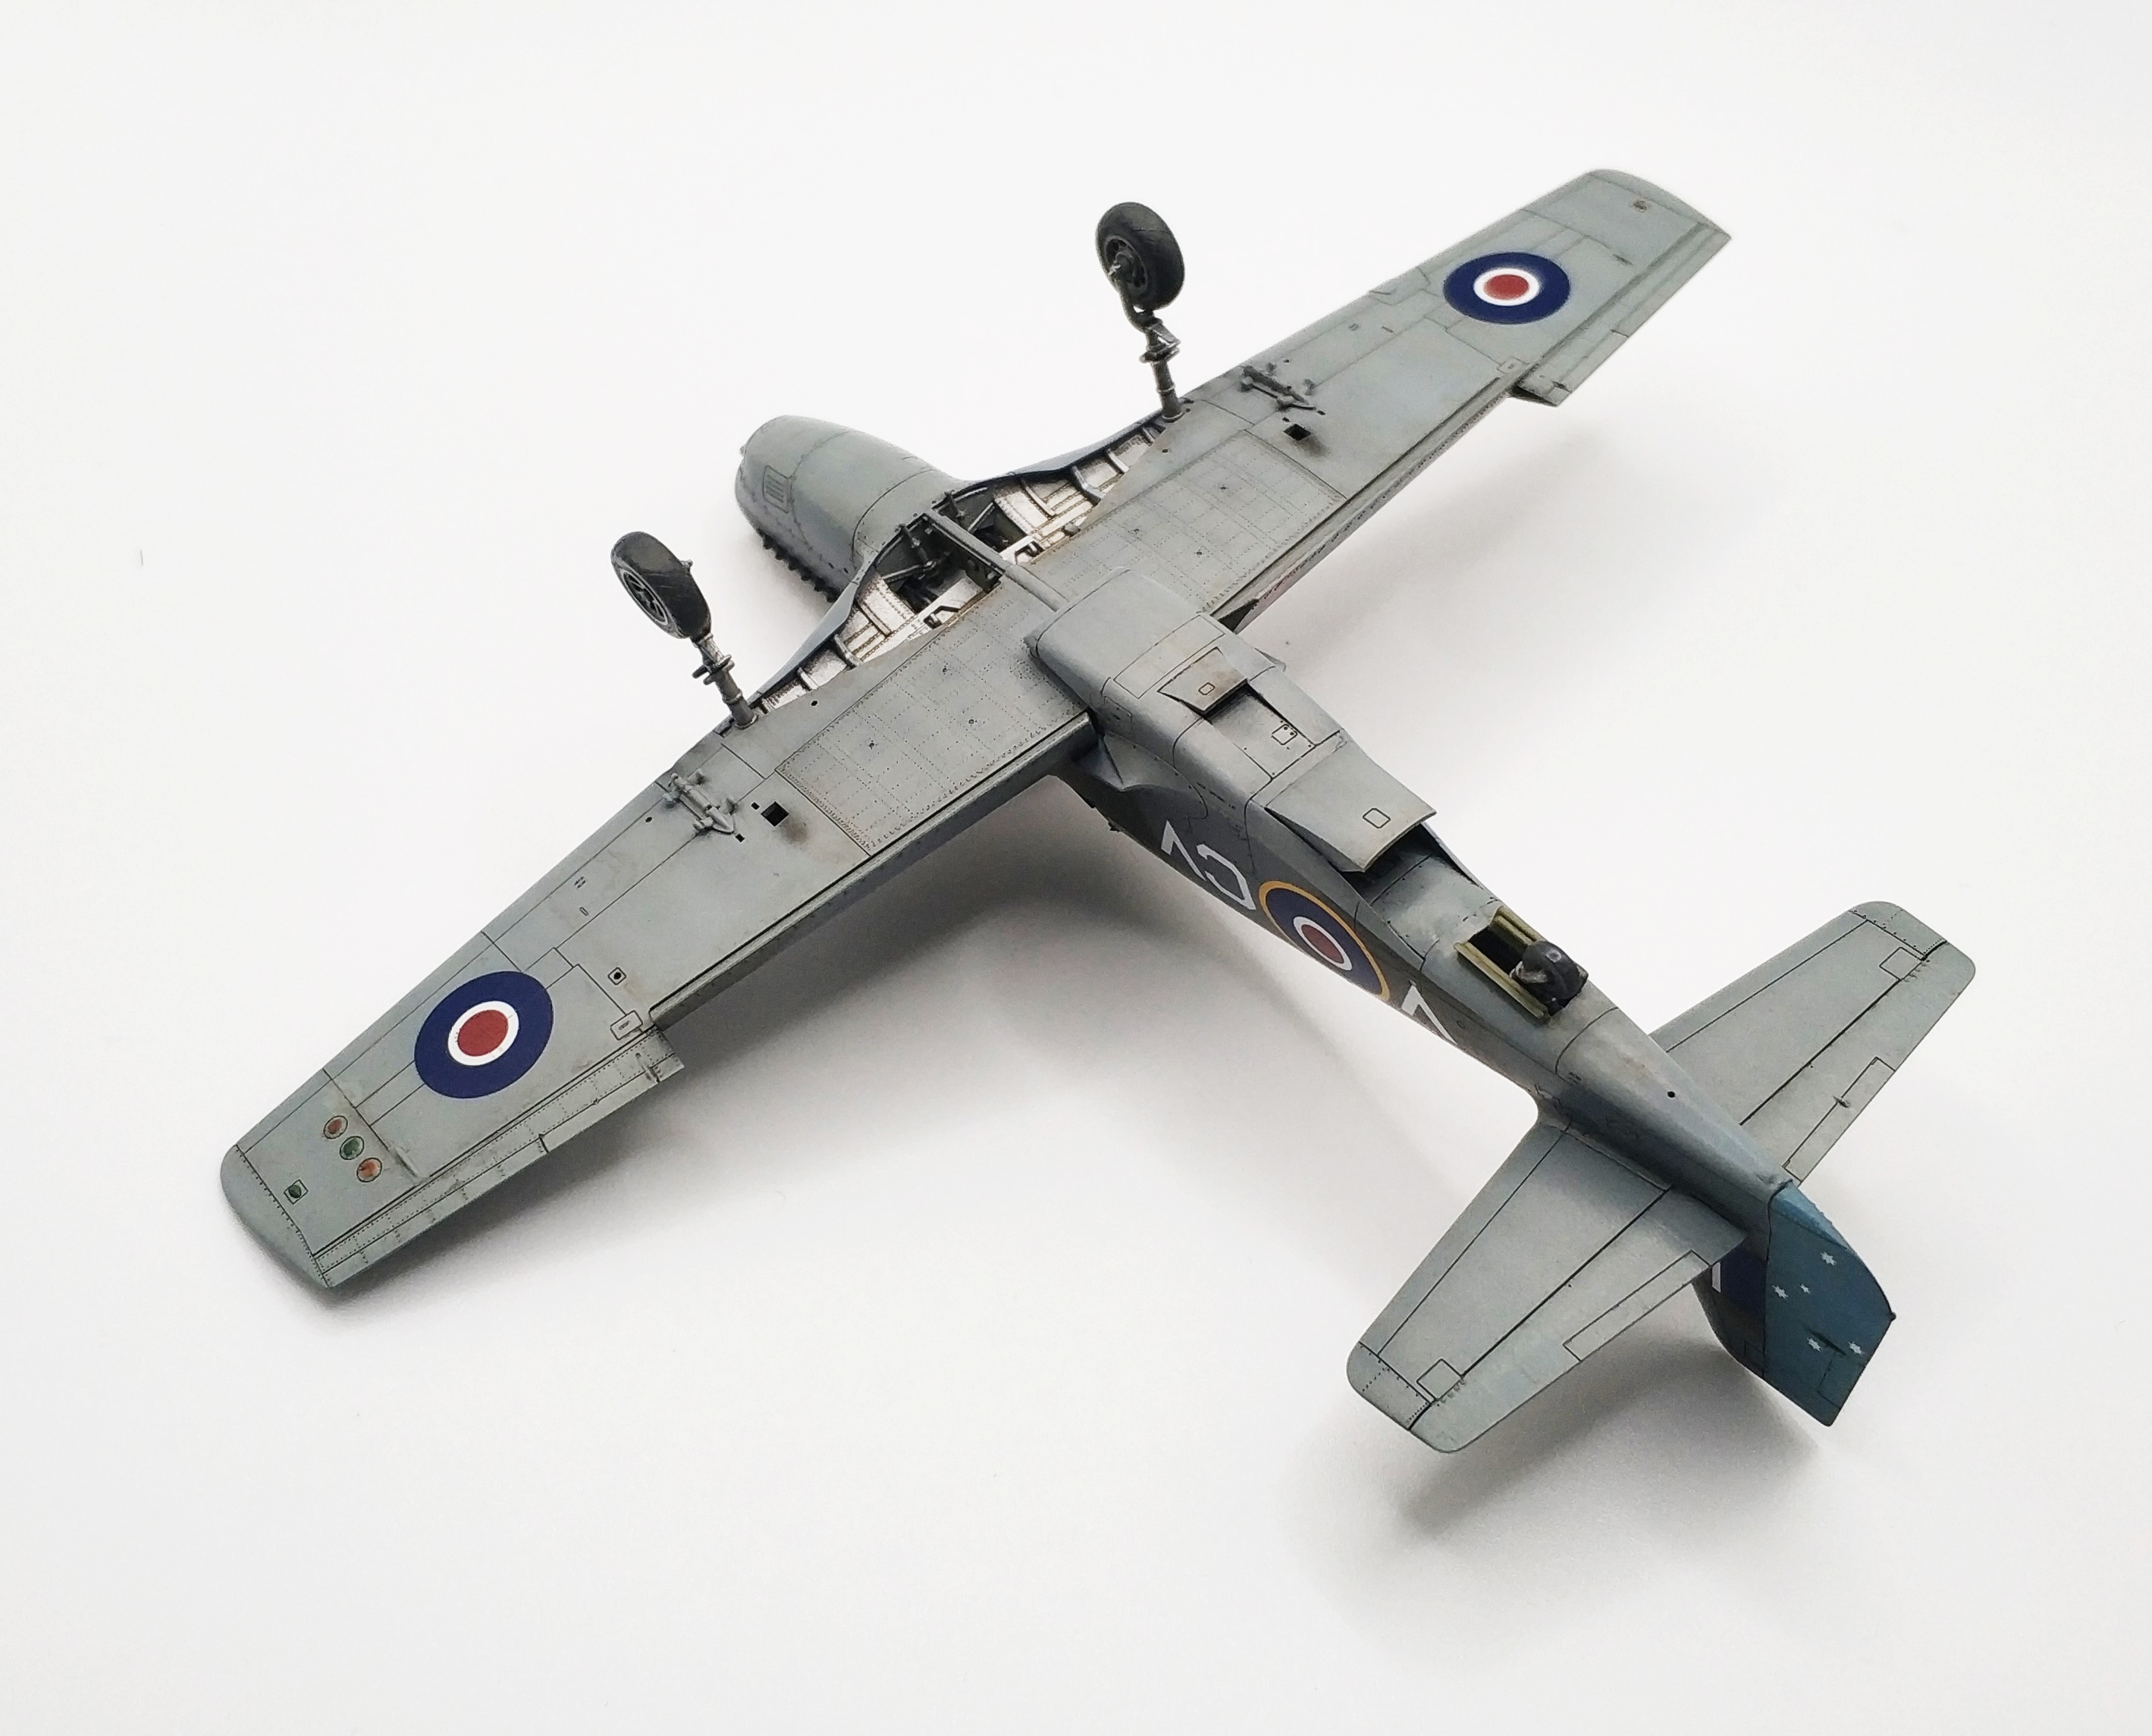
With the base prepared, I could move on to the application of colours. I started with the underside, putting on Tamiya XF-83 Medium Sea Grey and once again giving the paint time to properly dry, so that nothing would come off with the masking tape that I’d used to separate the upper surfaces and the underside. I painted the upper surfaces first with XF-82 Ocean Grey, and then with XF-81 Dark Green (free hand). The stabilizer was coloured with thinned XF-18 Medium Grey, and the propeller with XF-69 NATO Black, additionally receiving yellow tips. I painted the spinner using XF-7 Flat Red, and the bombs with XF-81 Dark Green.

I then went on to paint the details, namely the exhaust, undercarriage legs, flaps and position lights, afterwards applying a coat of gloss varnish.
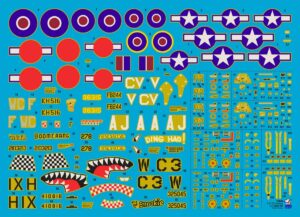
I could now put on the decals, of which there were quite a few – from the operational markings to the roundels. Here, I used Microscale liquids and set the model aside for the night in order for the decals to dry.


Before applying the wash, I put on another layer of gloss varnish and waited for it to dry. Next, I applied the wash (Ammo 1005 Dark Brown for Green Vehicle) to the whole model. When it had dried, I rubbed it down with cotton swabs, and then covered the entire model with a coat of satin varnish.


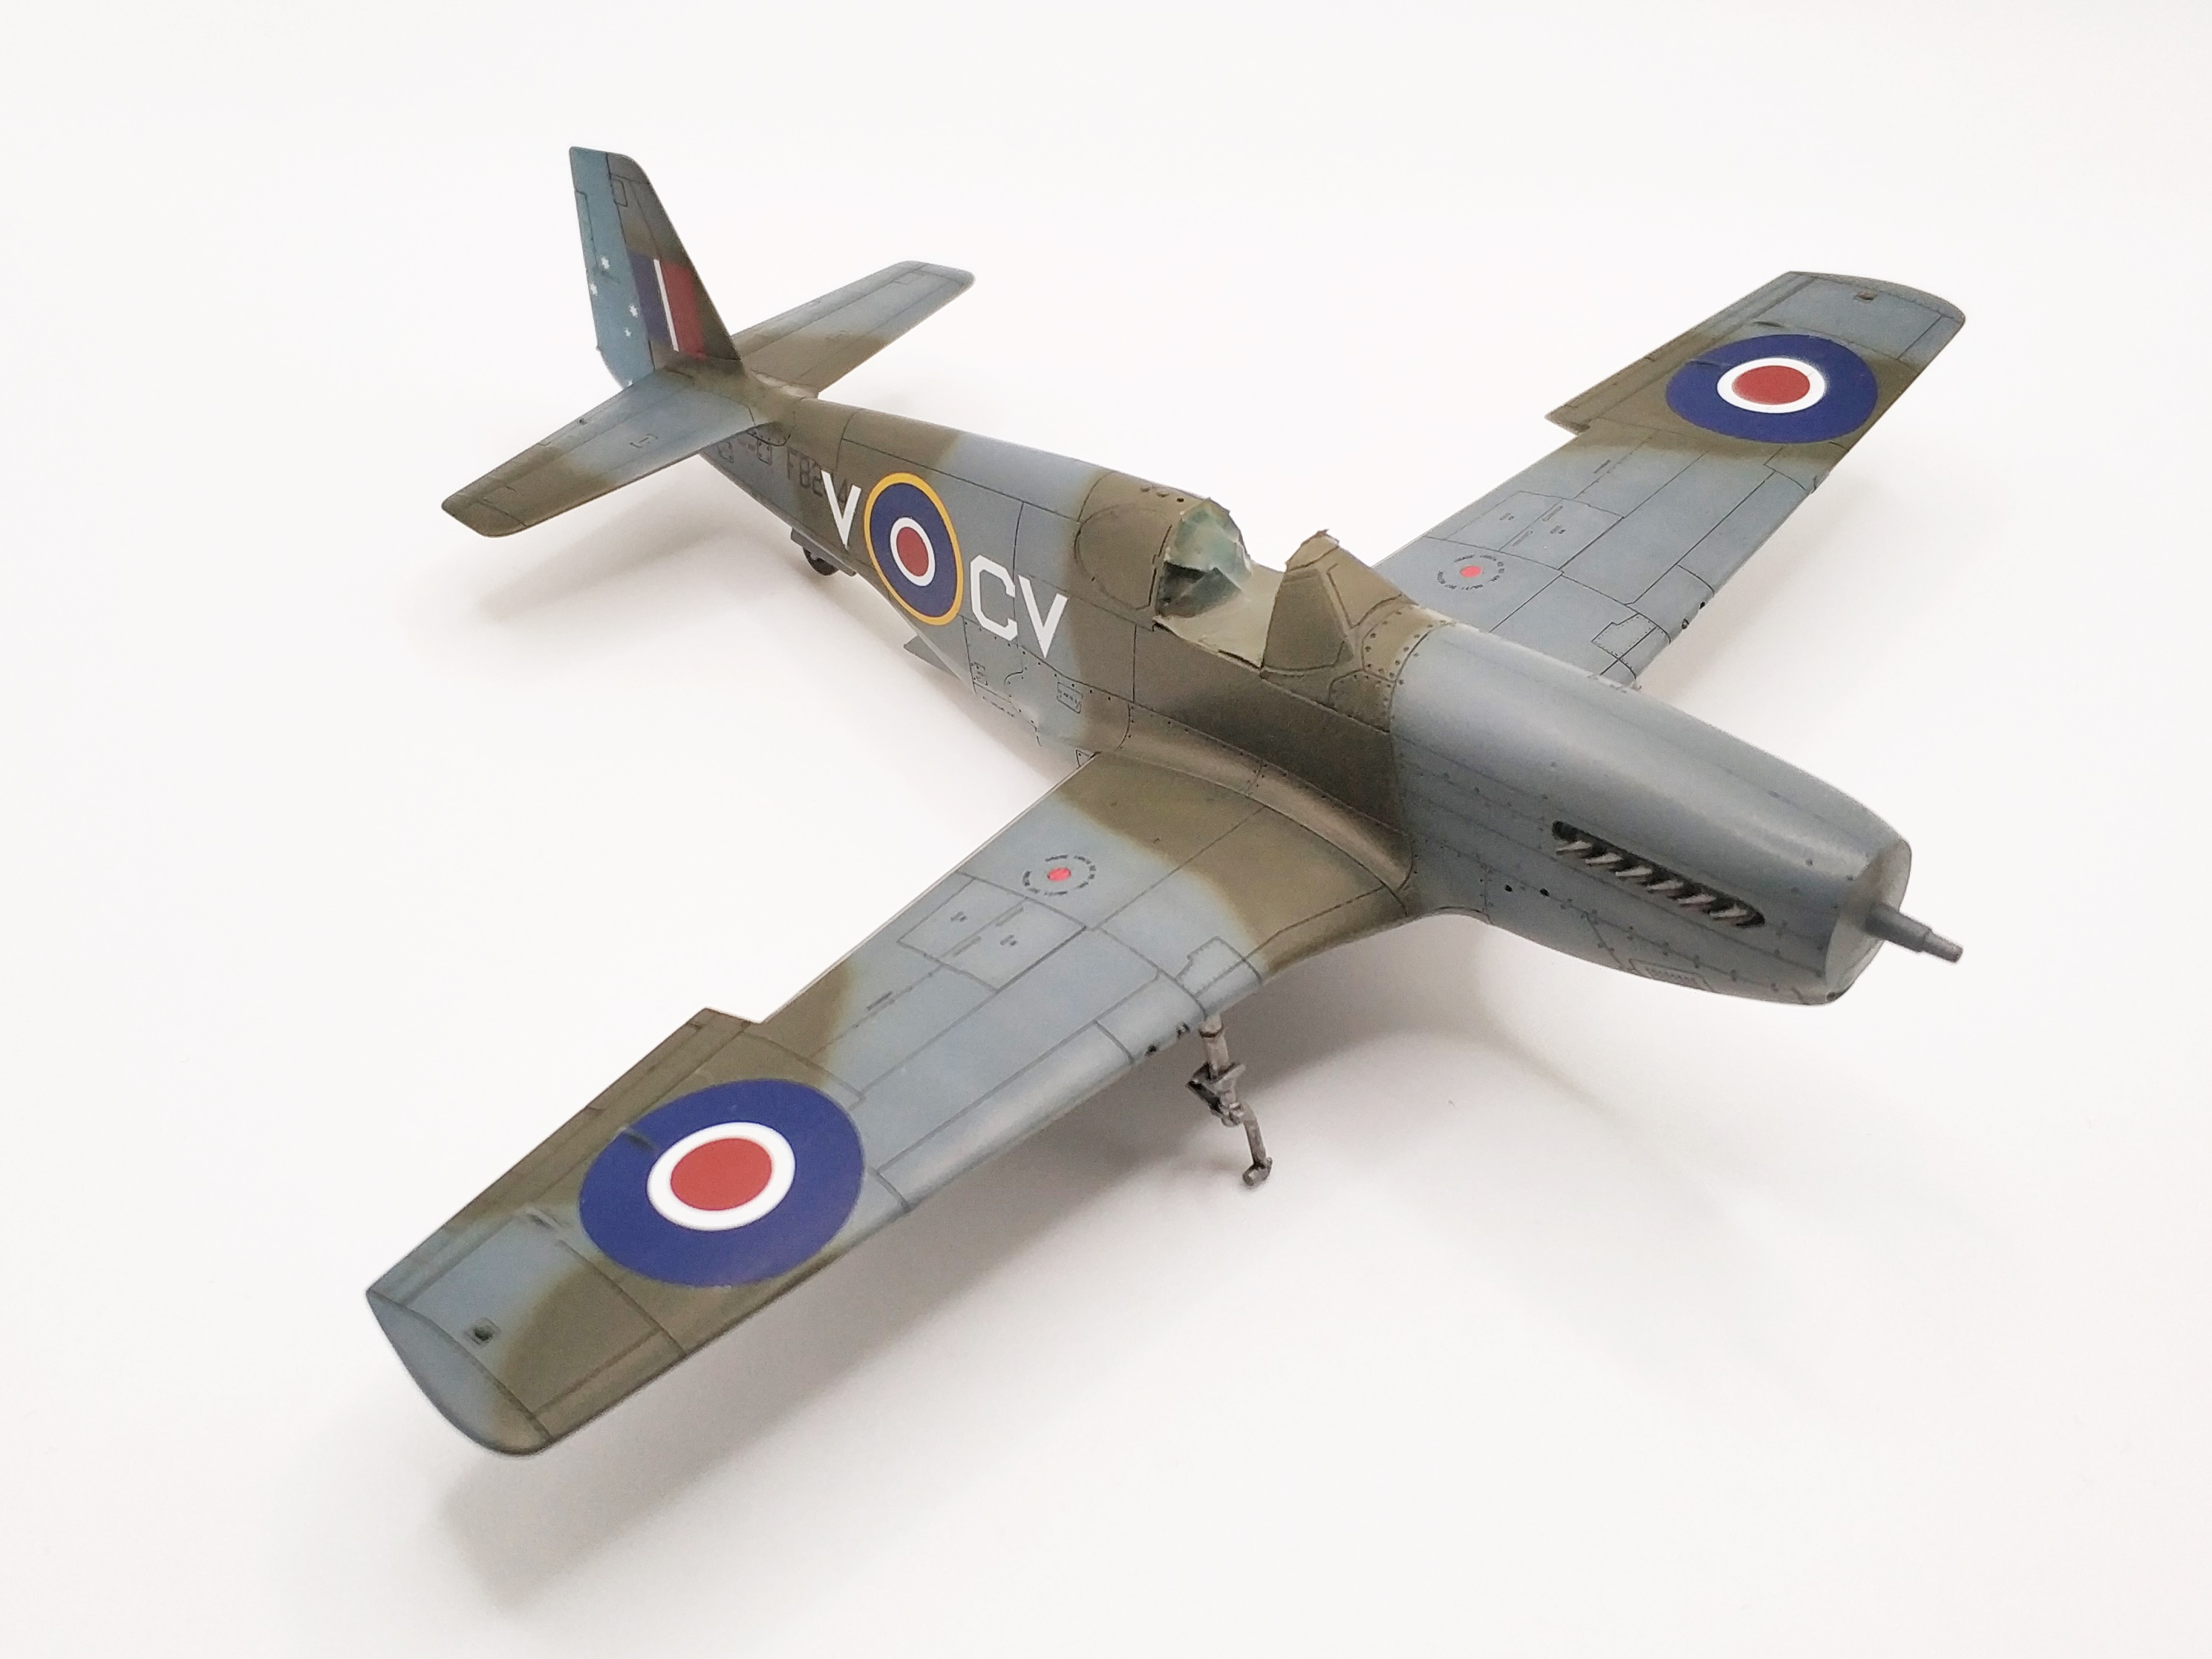
Before final assembly, I got the kit nice and dirty, adding soot and black to the exhaust and machine guns. I then played around with various Ammo products, ranging from brown to grey, on the lower and upper parts of the model, finishing off with another coat of satin varnish. Next, I took off the masks, luckily without damaging anything in the process. Now I could put all the elements together.
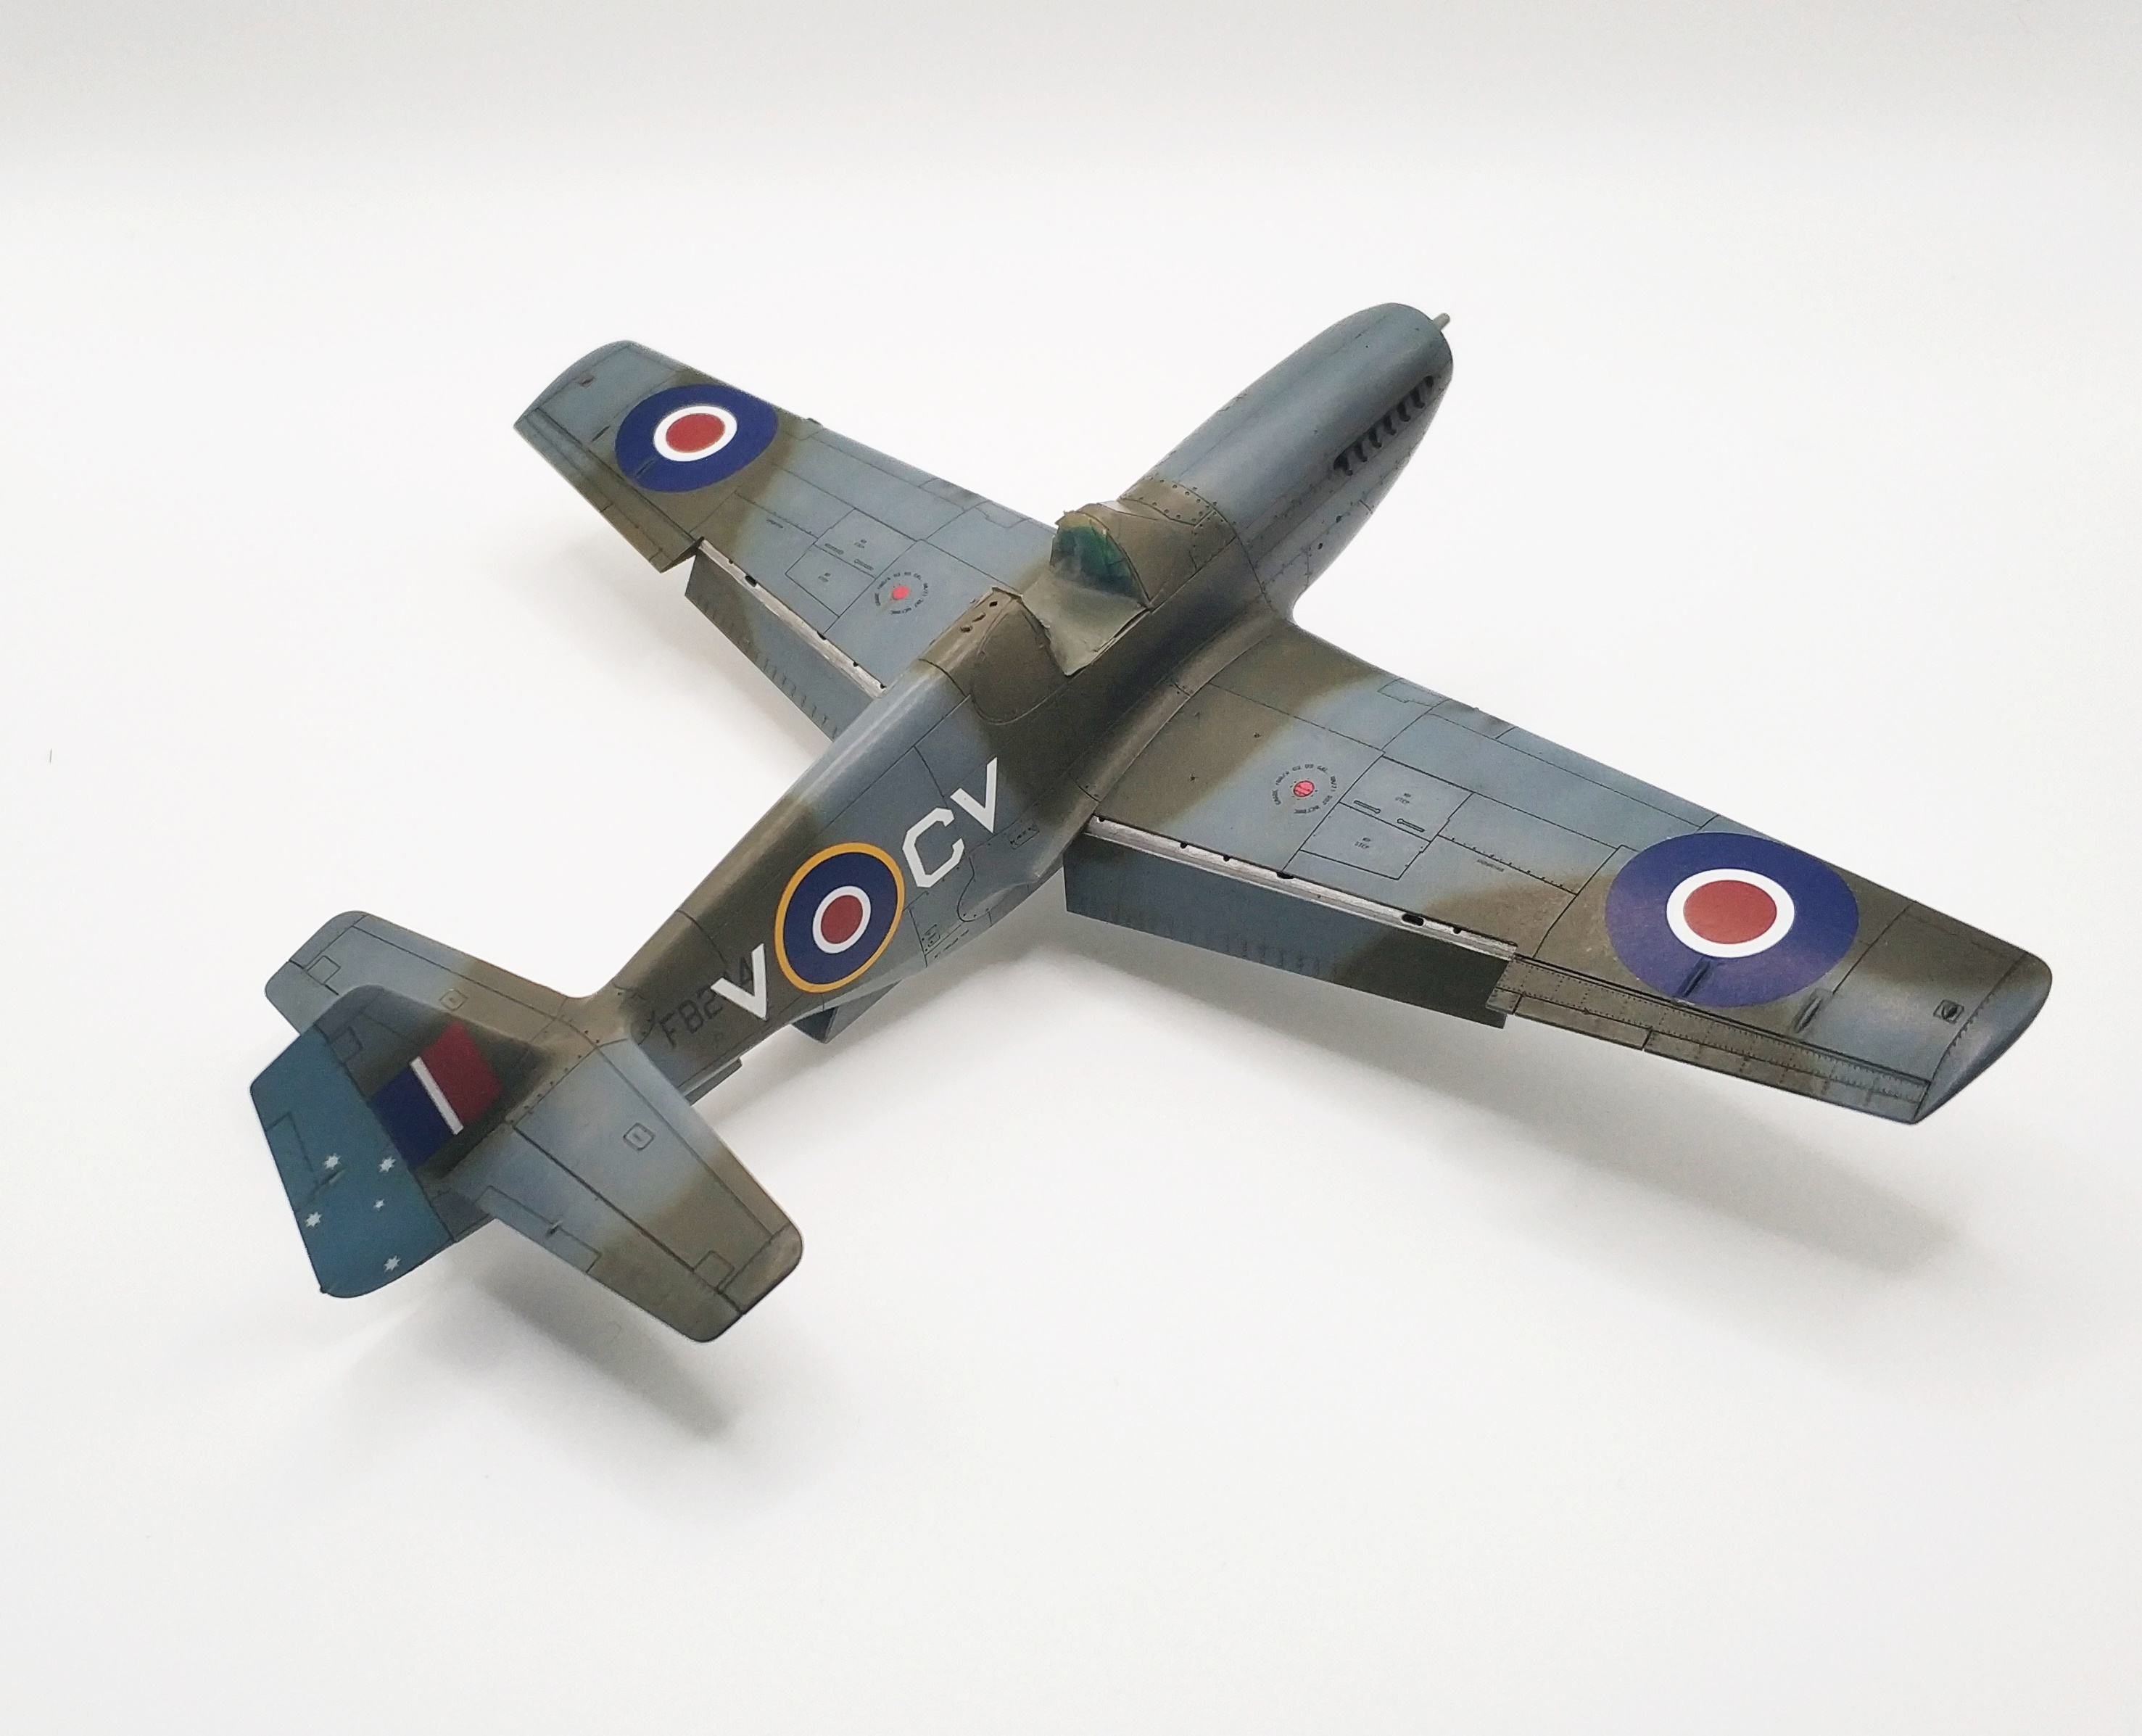

To sum up, I would like to say that working on the model was a pleasure, and the parts fitted without any real problems. Only the vinyl masks were troublesome, albeit slightly. Nevertheless, the finished model looks great and I will certainly make another one, although with a completely different paint scheme.

Complete gallery of finished model we will publish next week!
See also:
- P-51 Mustang™ model kits in Arma Hobby link
Wszystko co chcecie wiedzieć o Mustangu z Arma Hobby i nie boicie się pytać
This post is also available in:  polski